Timeless DIY Farmhouse Kitchen Remodel on a Budget
How can you update an entire dated kitchen when your budget is next to nothing? That’s the situation we’re in and I can’t wait to share our Timeless Farmhouse Kitchen Renovation on a Budget.

Making over a kitchen is a big project with lots of details.
Which also means this is a long post, but I want to make sure to share all the details of the step by step process in case you are also thinking of tackling a kitchen renovation yourself.
The main goal for this makeover is to minimize as much cost as possible but still end up with a stunning farmhouse kitchen makeover that flows with the rest of the house.
Now here’s the big issue.
Our budget is….
well…
There really isn’t a budget to speak of. This is penny pinching at it’s finest, so that means I need to be really creative with how I can transform this space.
Thankfully, working with a few sponsors will help complete this space. But when all is said and done, I promise to list out the bottom line as far as expenses go.
Let’s start with the before. This home was a rental for many years which means it wasn’t kept in the best of shape.
Meet my kitchen.
Timeless DIY Farmhouse Kitchen
Remodel on a Budget
(Some affiliate links are provided below. Full disclosure here.)
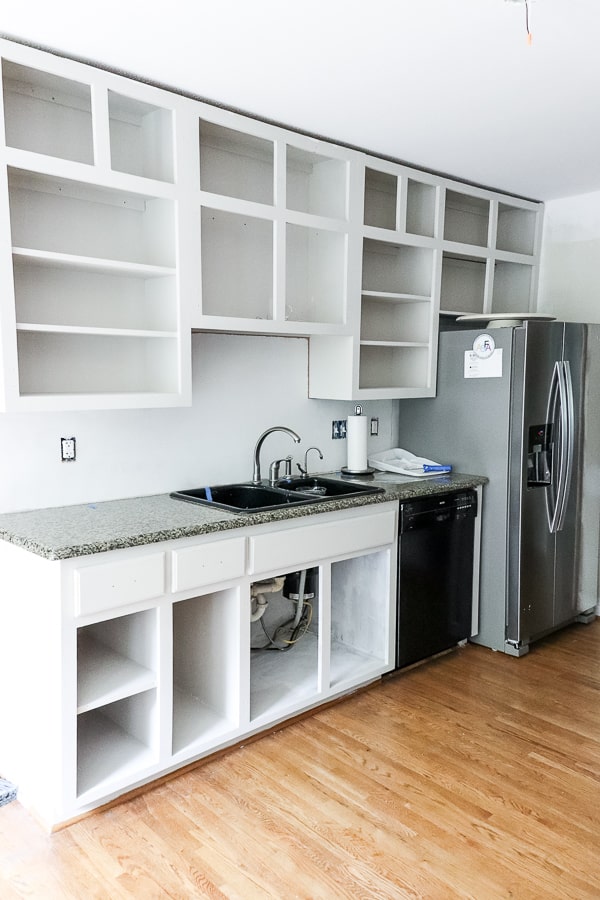
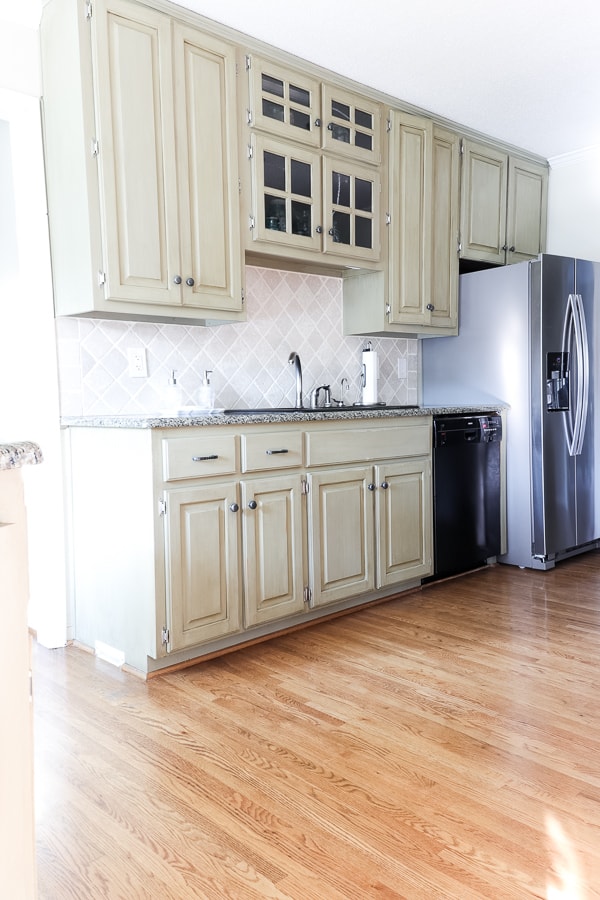
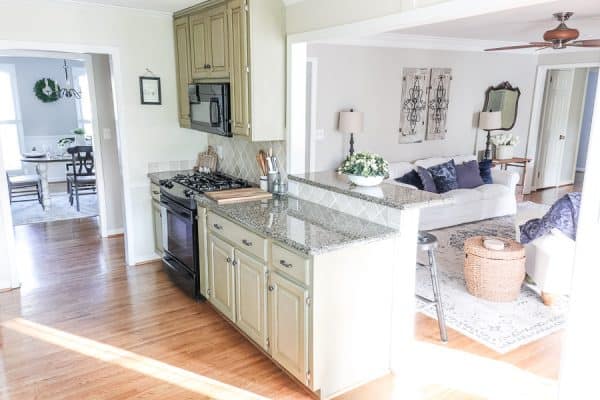
The Before
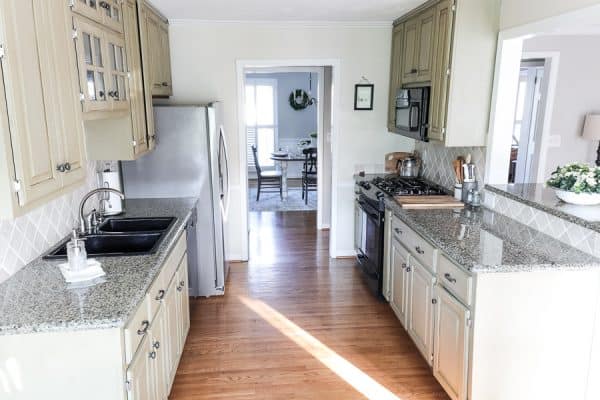
I definitely would describe this as a small space, but not a tiny kitchen.
With a little bit of elbow grease and modern design, we created a modern farmhouse kitchen makeover until we can afford our dream kitchen.
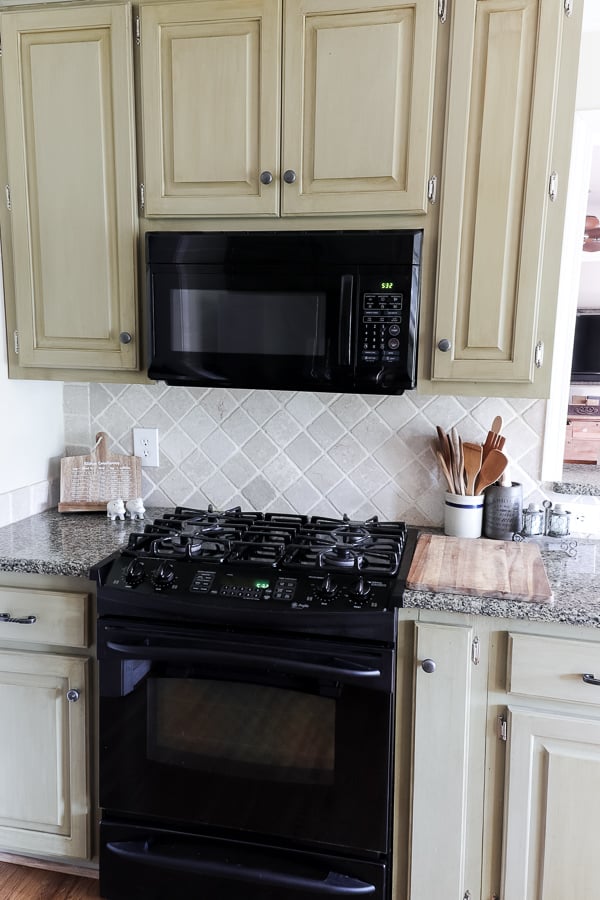
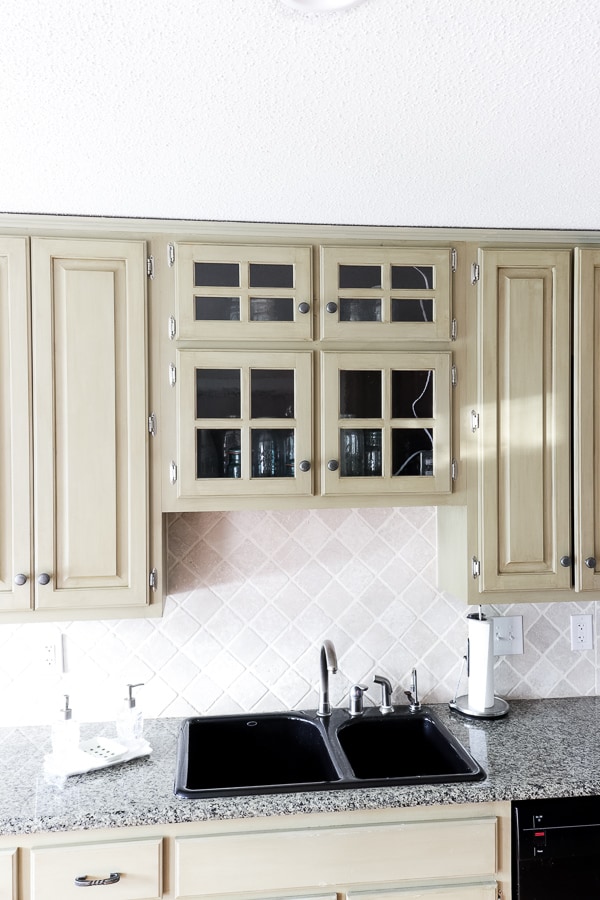
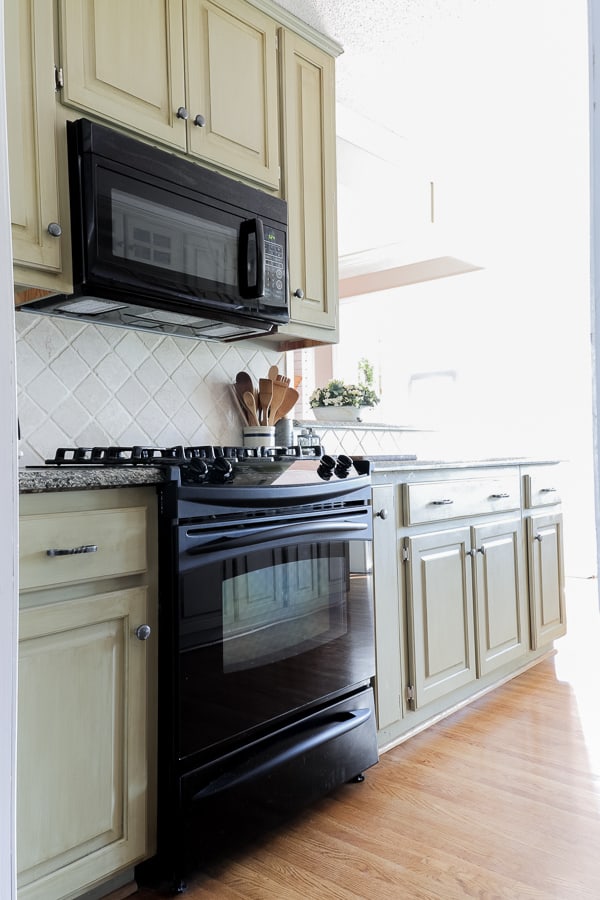
Our home was built in 1985 and from the style chosen, the old kitchen looks to have been updated in the late 1990s.
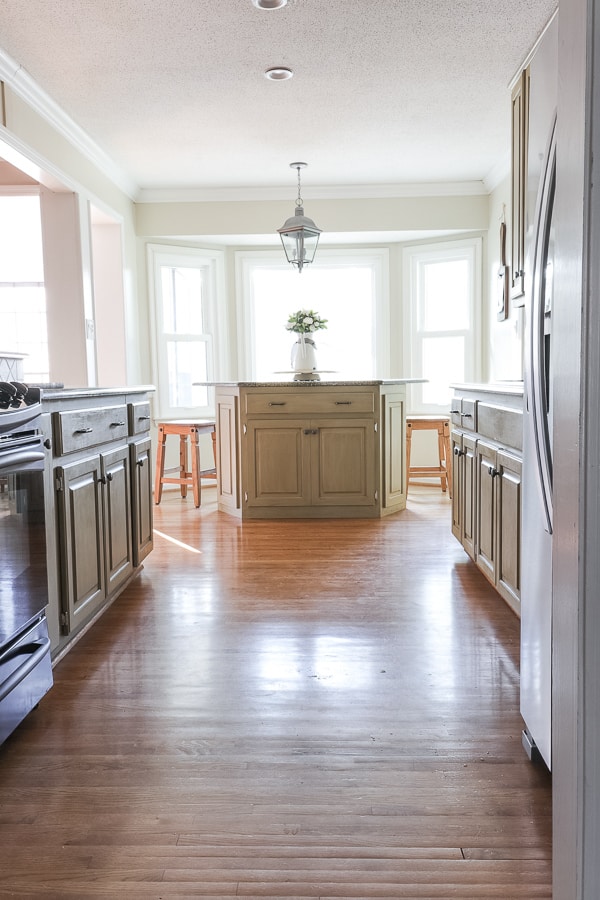
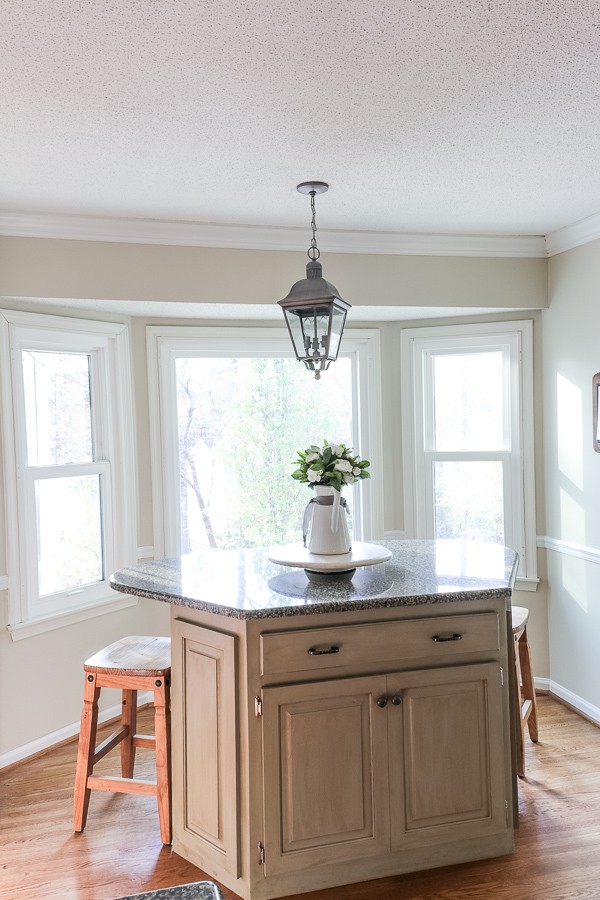
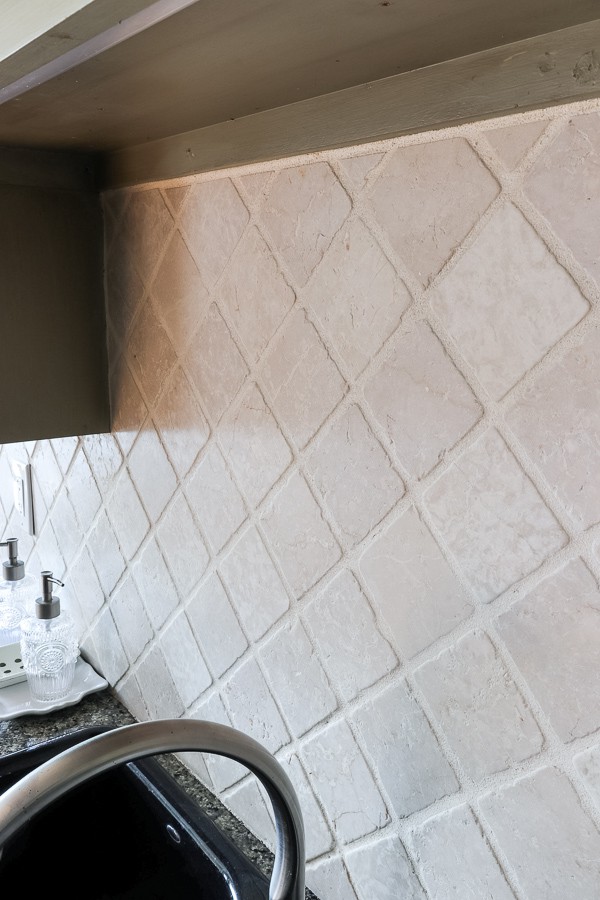
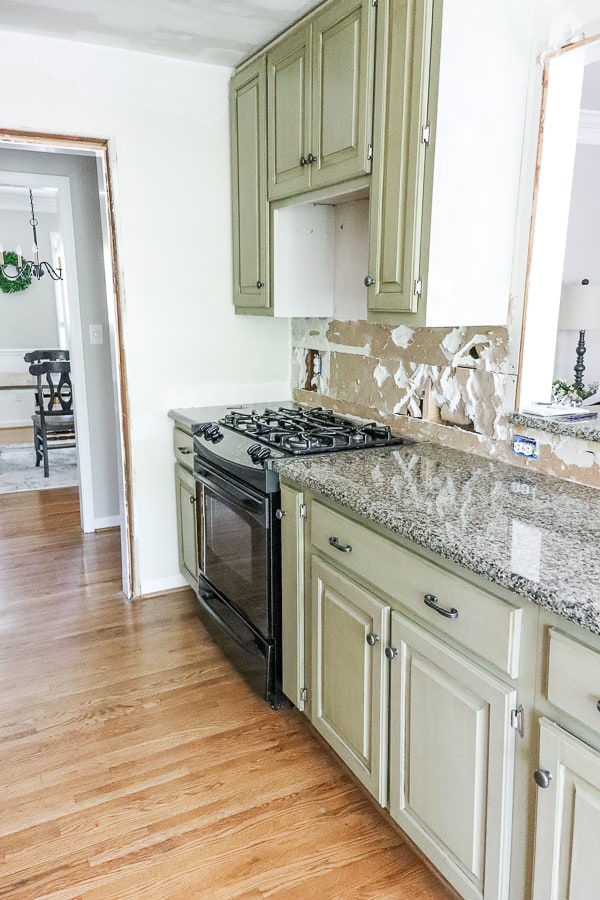
It’s a small space with tuscan green cabinets with dated glaze, travertine backsplash, and granite counters all topped off with a hexagonal kitchen island/eat-in space.
The big ticket items are staying like the countertops and the appliances.
Those are just too pricey to replace at this time.
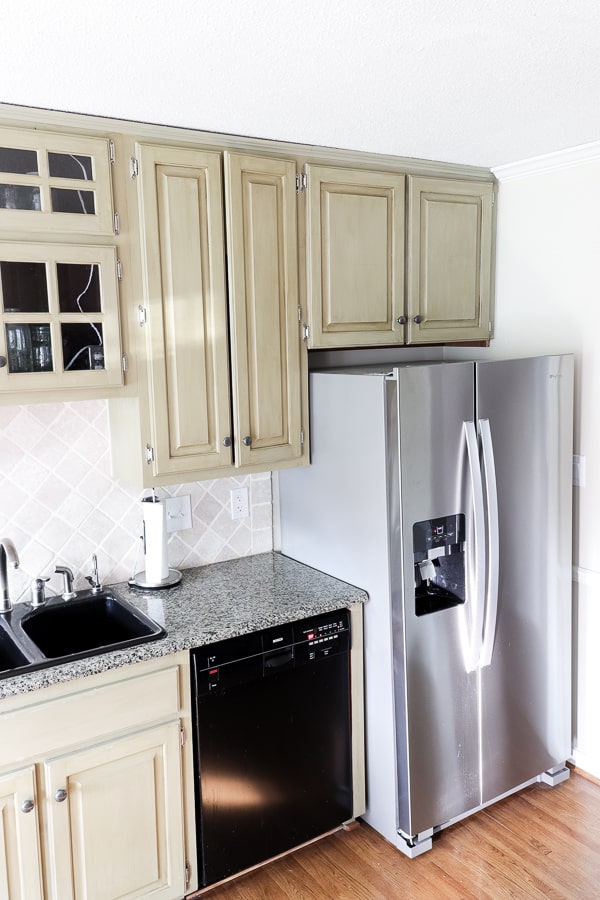
But we definitely will be giving those cabinet boxes a new coat of paint, moving away from that glazed look.
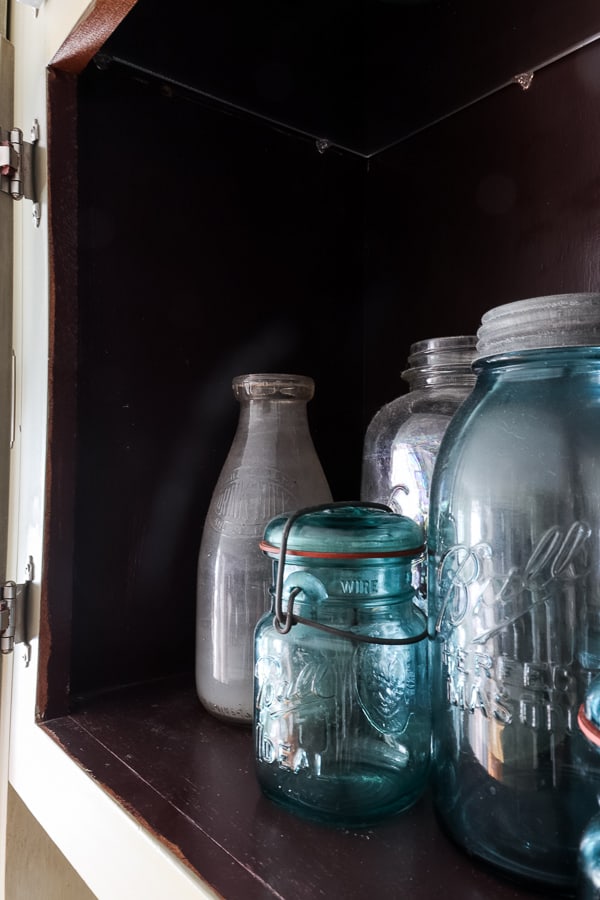
The inside cabinets needed to be refreshed as well. This eggplant color had to go.
To be honest, the counter tops are not my favorite.
But that is too big of a cost to replace at this time, so we will save up for that down the road.
And since the appliances don’t match, we will be using a stainless steel film to cover the fronts of the appliances to create a cohesive look.
The microwave is going bye-bye as well.
We found a scratch and dent vent hood and built a box around it to make it hidden. Our hope is to create a modern design that becomes a part of the existing cabinetry.
Demolition & Painting the Walls / Ceiling
When you are making over a room on a teeny budget, sometimes the tough stuff is left for you to do.
This kitchen was the perfect place to stretch our DIY skills!
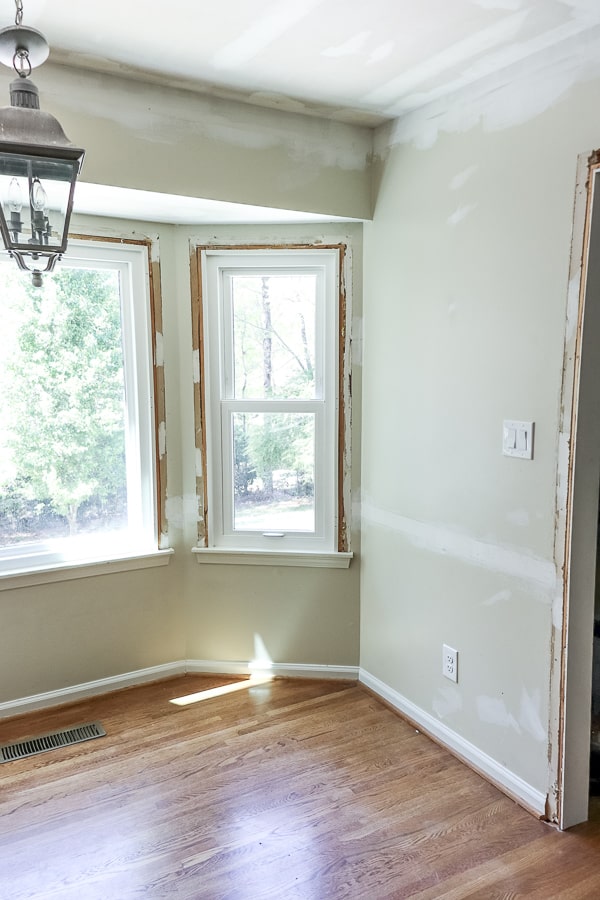
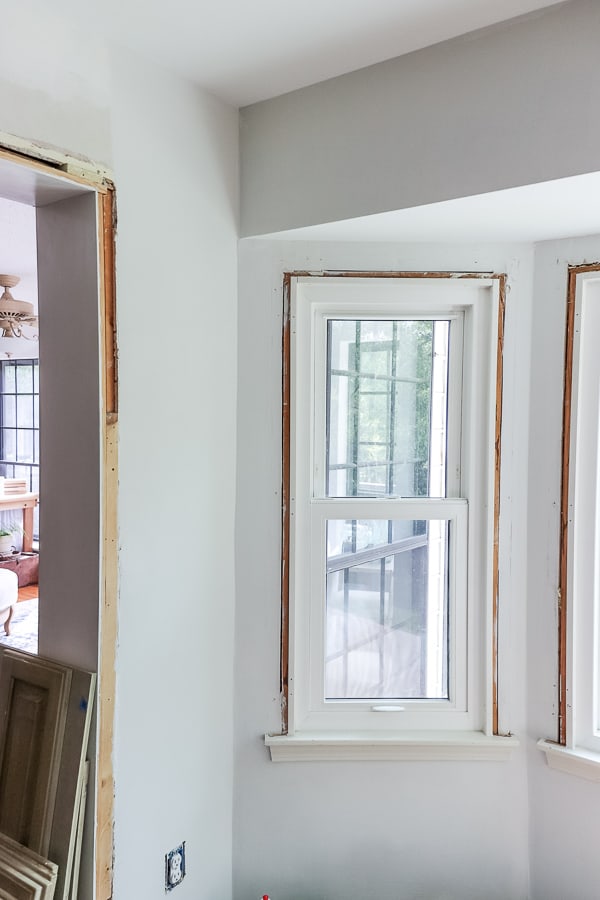
Our plan is to update the trim for the windows and doors, for an overall look that fit the design styles I was trying to reach.
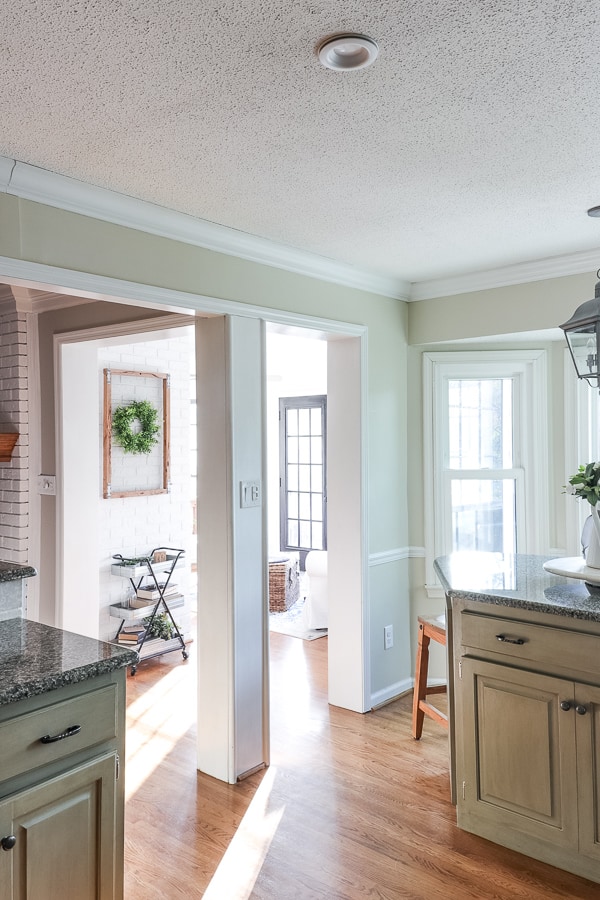
This house only has a ceiling height of 8 feet, and sometimes the moulding around the top makes the walls appear smaller, so we removed the crown molding.
After all the trim was gone, we started the messy task of scraping the popcorn ceiling.
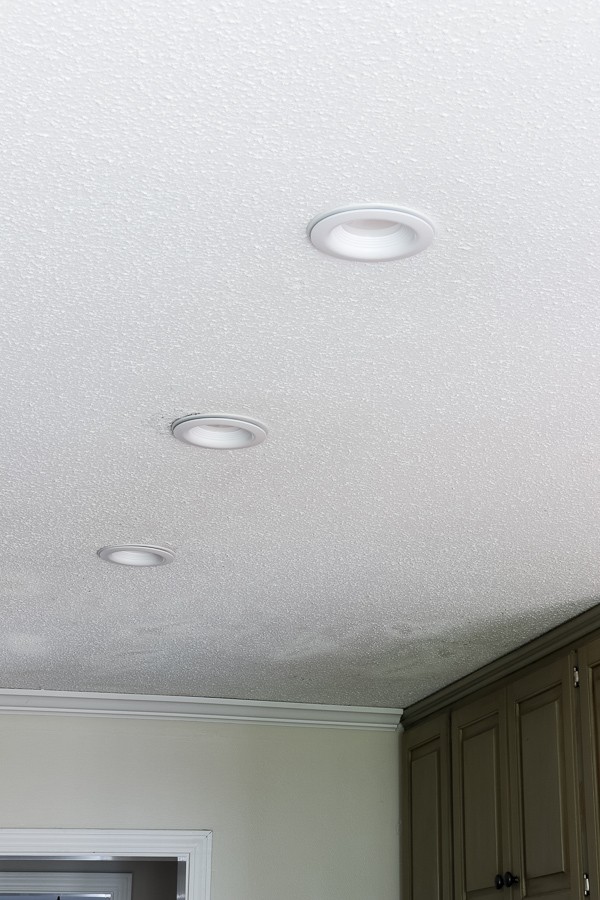
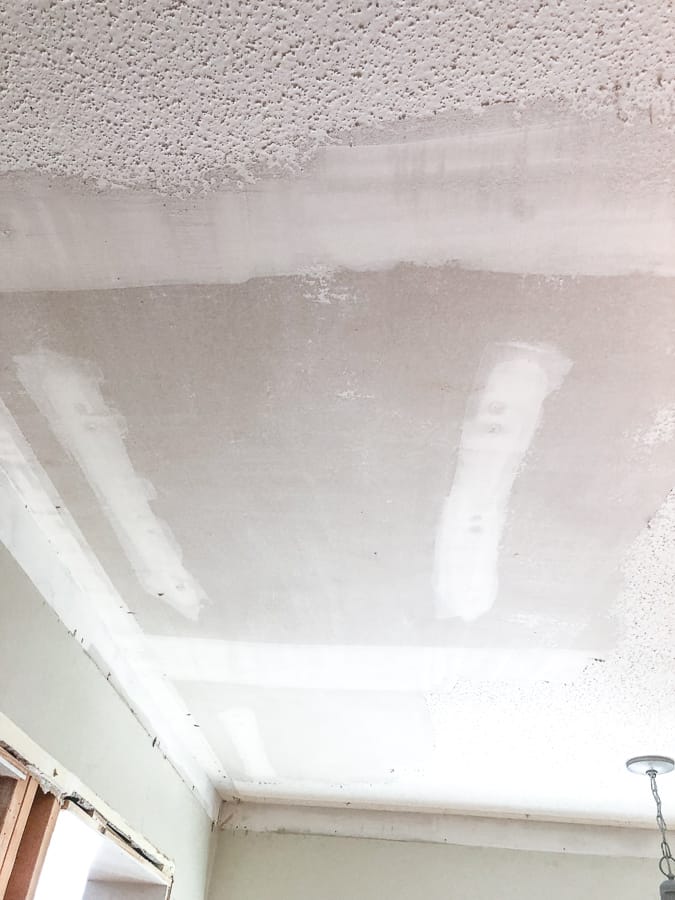
And after scraping almost all the ceilings in our home, we have learned a few tricks scraping popcorn ceilings that help control the mess and make for a quick DIY.
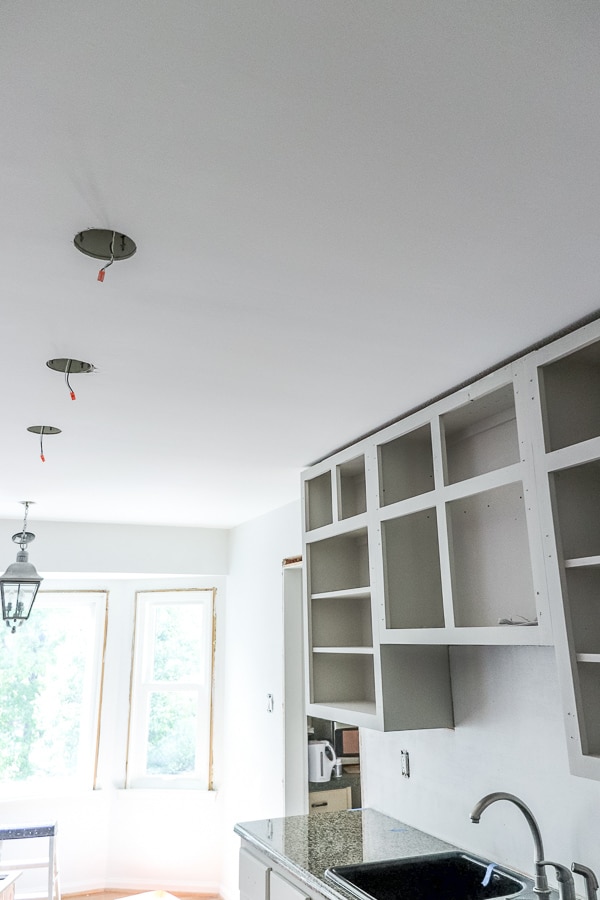
The ceilings were primed and then painted.
The ceilings aren’t perfect, but it’s an almost 40 year old house – and it’s a bit wonky here and there, so the ceilings match that character.
At least that’s what I’m telling myself!
I’m hoping to add some DIY Wooden Beams like we did in our master bedroom, but that’s a project for another time down the road.
Next the walls were repaired, primed, painted with two coats of Romabio Interior Paint.
One of the easiest ways to transform a room is with paint and that is certainly true!
This color is called Grace Note.
It’s a beautiful white paint that works perfectly with any modern farmhouse design.
Updating the Backsplash
We really struggled with deciding to remove the dated travertine backsplash tiles.
The natural stone tile is in really great shape.
Plus, you always run the risk of ruining the drywall when you remove the tile.
But it’s that thick grout line that keeps it looking dated.
So the tile had to go!
We used a hammer and chisel to break away each tile.
Behind the sink went pretty well with minimal damage.
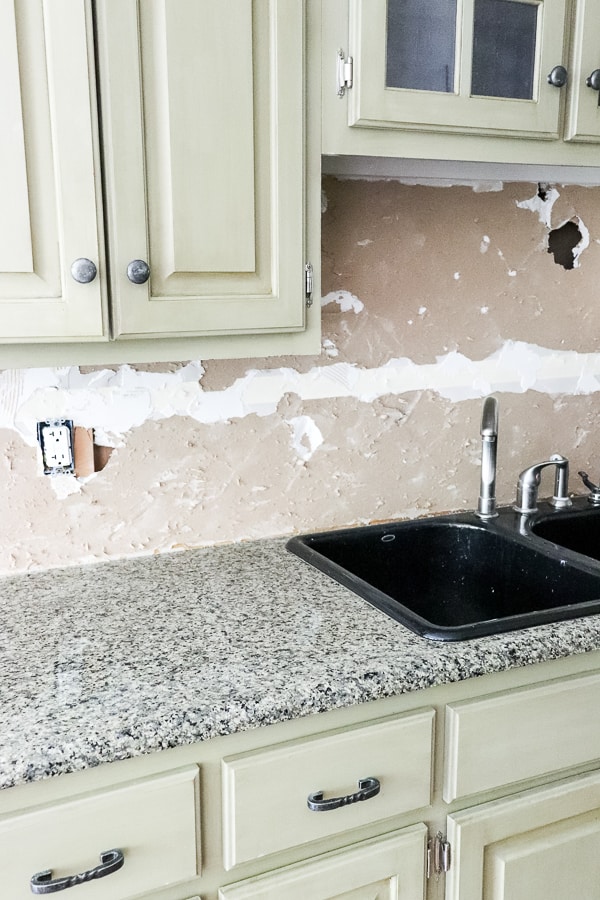
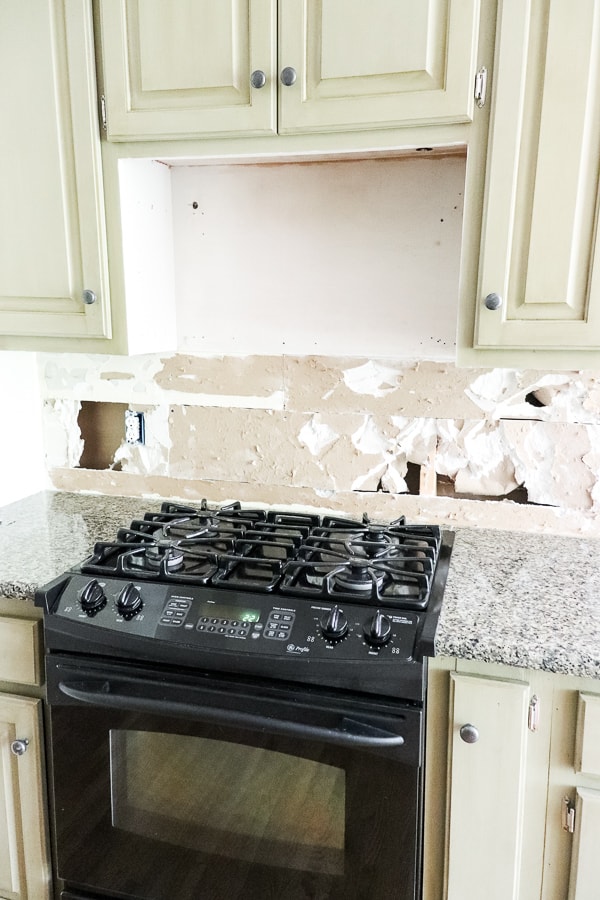
However, the tile behind our stove did not come off so easily.
The drywall basically crumbled as each tile fell.
Once we removed the tile, we learned that this wall was not one solid piece of sheetrock, but 5 – maybe 6 – different smaller pieces of drywall put together like a jigsaw puzzle.
As I mentioned, our plan is to eventually replace our counters one day.
So I didn’t want to install clean white tile over this granite only to risk it being damaged when that time comes to swap out the counters.
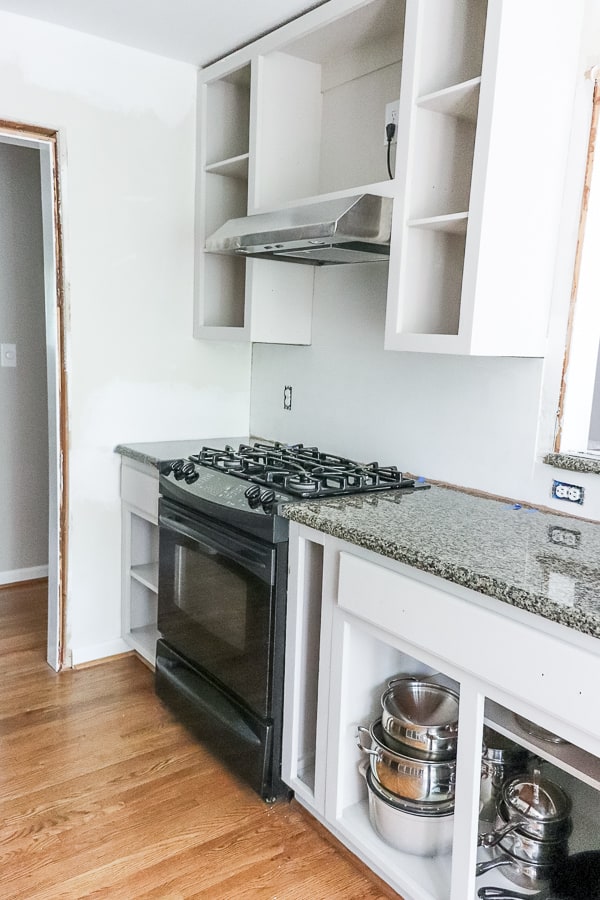
Since I know that’s coming, I opted to install a temporary backsplash.
We had lots of scraps from our shiplap walls we installed in our Master Bathroom renovation.
Trent cut them down to 3 1/4 inches on our tablesaw and we hung them on the vertical.
Replacing the tile with a paneled look creates that farmhouse feel as a temporary fix until we can afford the new counters and tile backsplash.
Since the walls were so damaged from removing the tile, we needed to add a backing to have our temporary backsplash plan work.
We installed a thin sheet of luan to get ready to attach our shiplap backsplash.
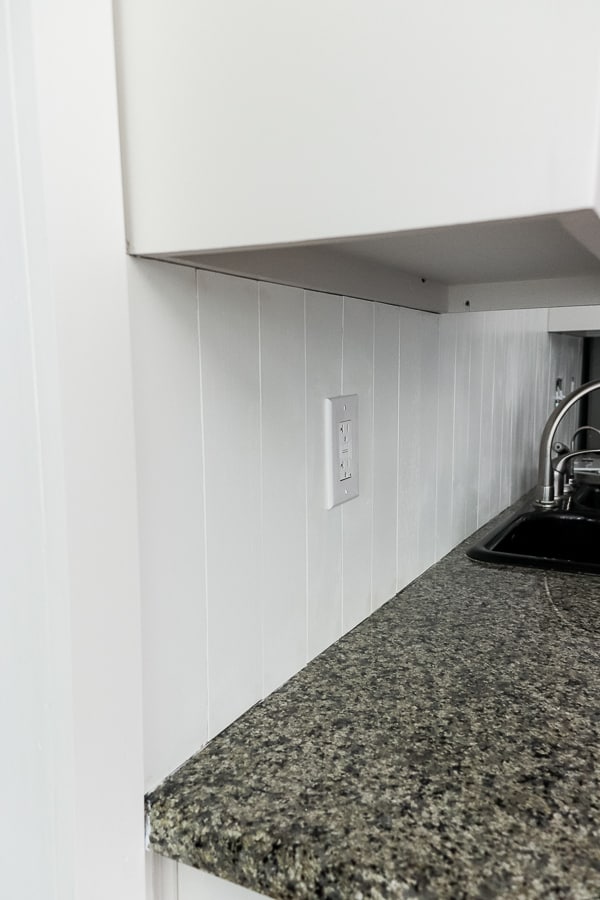
We cut the leftover shiplap pieces so they would fit flush between the upper cabinets and the countertops and installed them using a pneumatic nail gun.
Then we trimmed out the bottom and top edges.
Since it’s behind the sink and the stove, I wanted there to be a quick and easy way to clean, so I painted it with satin trim paint leftover from the previous owner!
The previous owners left an entire gallon of trim paint in Simply White by Sherwin Williams – so we didn’t need to purchase the paint!
Free shiplap and paint!! Perfect for this farmhouse kitchen makeover!
And FREE always makes me happy!
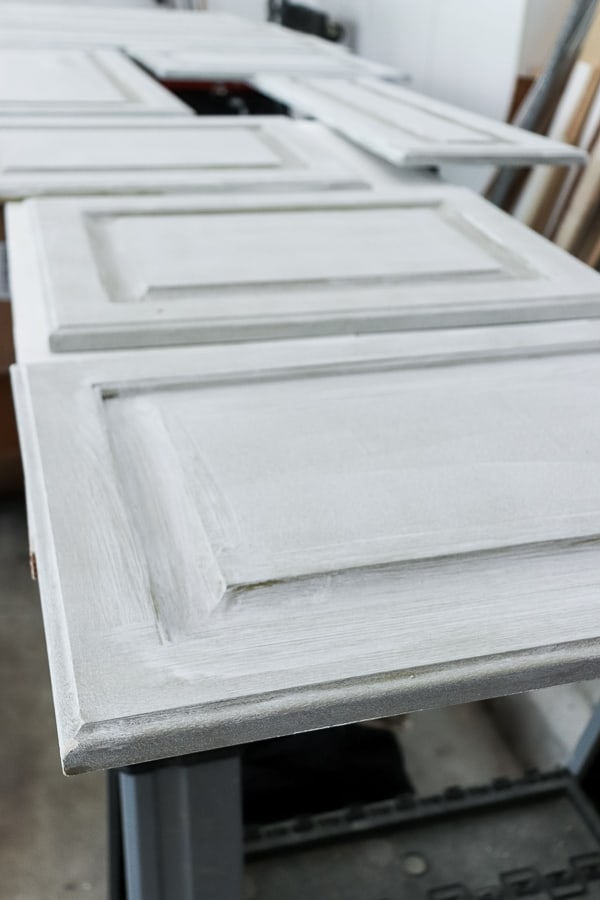
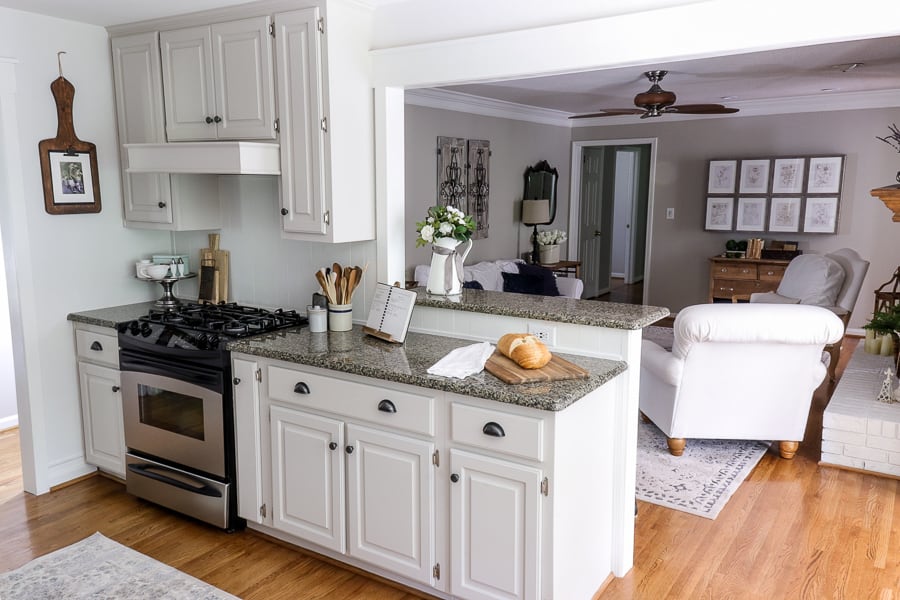
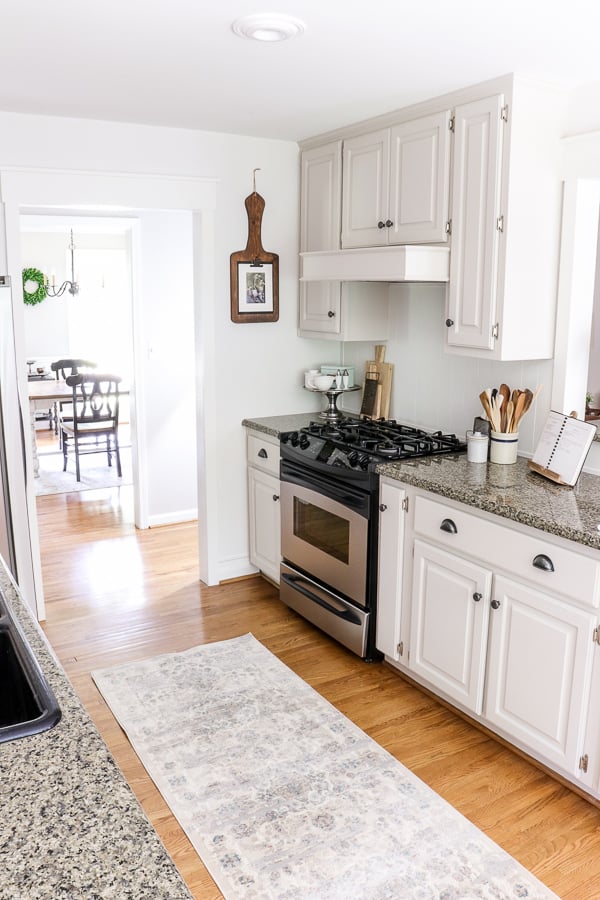
Painting the Cabinets
Finally, it was time for the cabinets.
It’s amazing how a fresh coat of paint with a neutral color palette can brighten up cabinetry.
While white cabinetry is a staple in most farmhouse kitchen ideas, I went a bit outside the box and chose a beautiful greige.
And since we had already created a white kitchen in our Tennessee home, I wanted to try something new.
So I pulled a lighter paint color from the granite in the hopes that it will lighten the counters a bit.
The cabinet color is a custom tint, but the closest matches I’ve found are Sherwin Williams City Loft or Benjamin Moore Wind’s Breath.
I cleaned the cabinets with TSP, then primed and painted them twice.
I didn’t want white cabinets with the while walls, so this soft, muted Greige works great with the kitchen counters.
When you have 23 doors – it’s never as quick as you think it will be.
Plus – our house was a rental home before we purchased it, so the cabinet doors needed an extra bit of scrubbing to fully remove the grime.
And as I’ve said many times, I’m not a fan of my counters, but I can now live with them after the glazed avocado green is gone.
The lighter flecks of cream now jump out from the granite with the warm greige color.
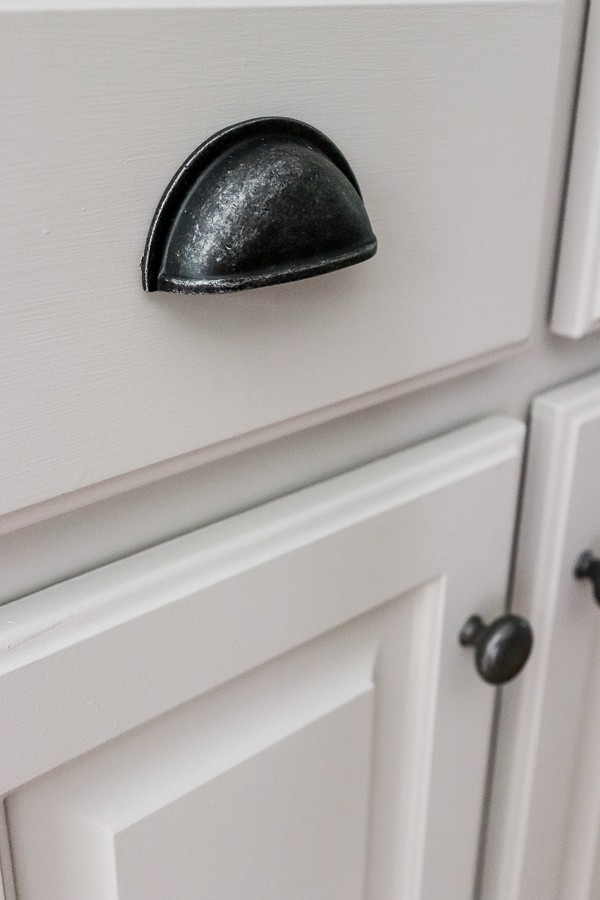
Deciding between this pewter hardware and brass hardware proved to be difficult, but I felt this choice fit this timeless farmhouse kitchen renovation nicely.
To save on costs, we kept the same door knobs and hardware, but I wanted to update the look with gorgeous drawer pulls.
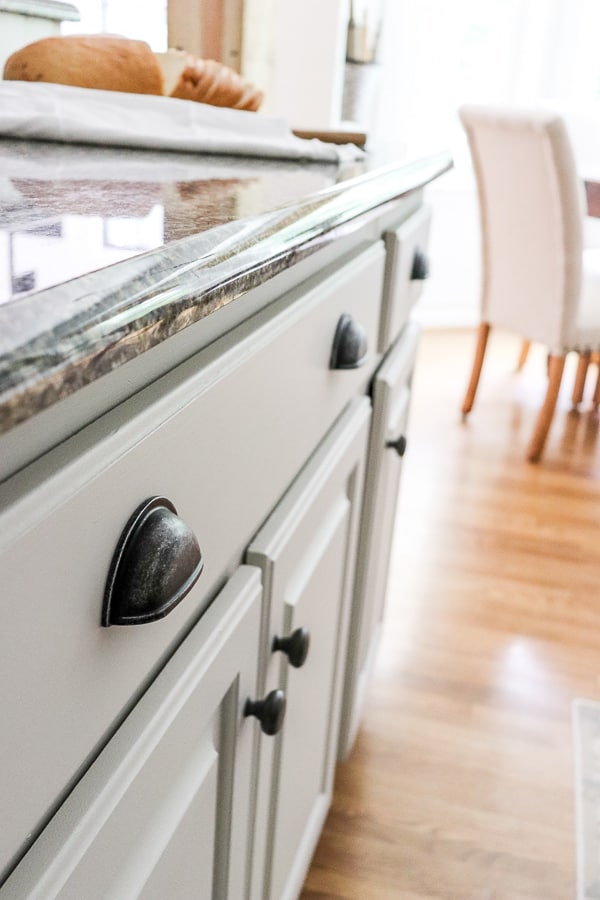
I found these pewter cup pulls and LOVE how they look!
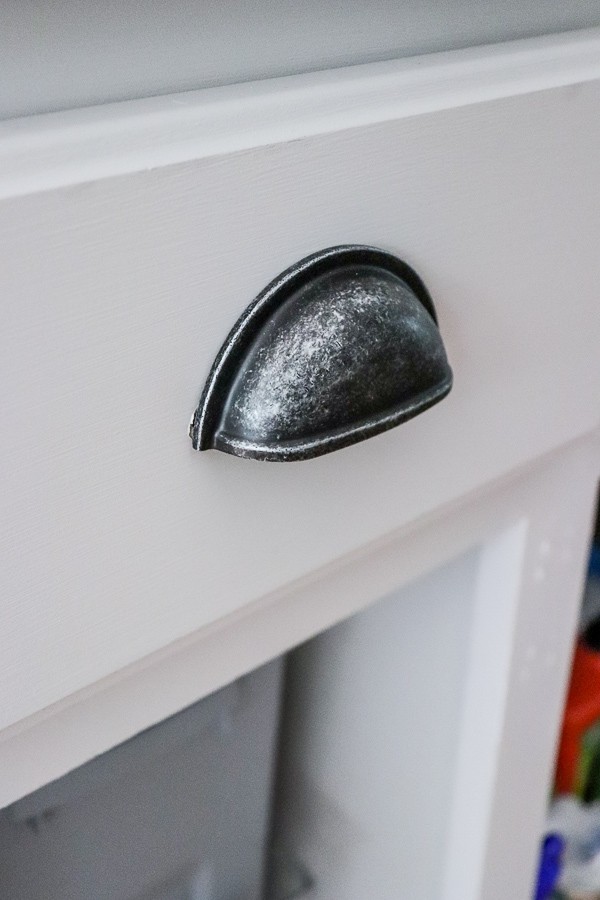
And I love how they pop against that greige cabinet color.
So for just $25 – replacing your cabinet hardware is a super simple, yet stunning way to update your cabinets on a budget.
Installing the Vent Hood
The last thing we had to demo was the microwave oven over the stove.
We moved that downstairs to our basement kitchenette and we installed a new range hood.
This was a deal from Amazon Warehouse. It was half off the list price!
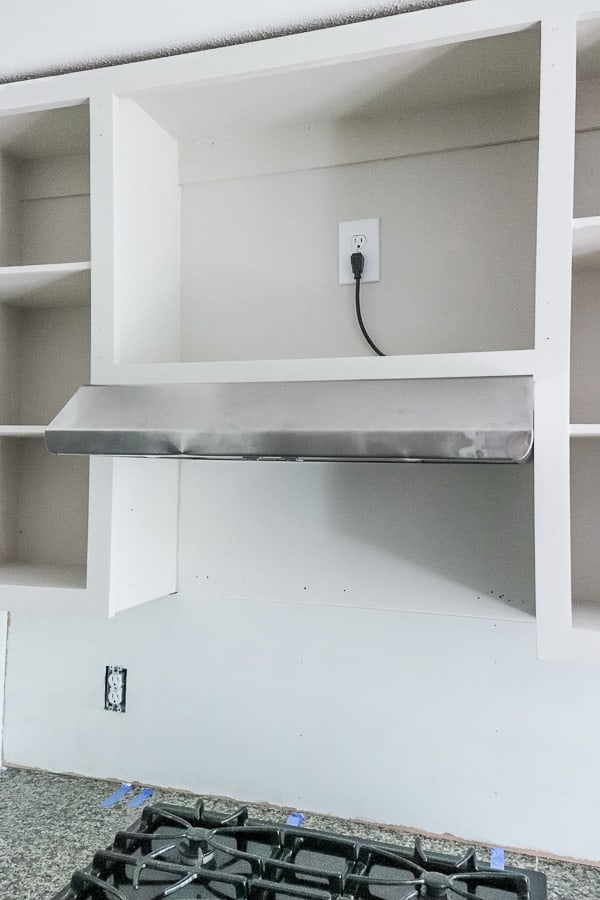
Notice the dents?
Well, we built a cover to create a built in hood – you don’t even see them!
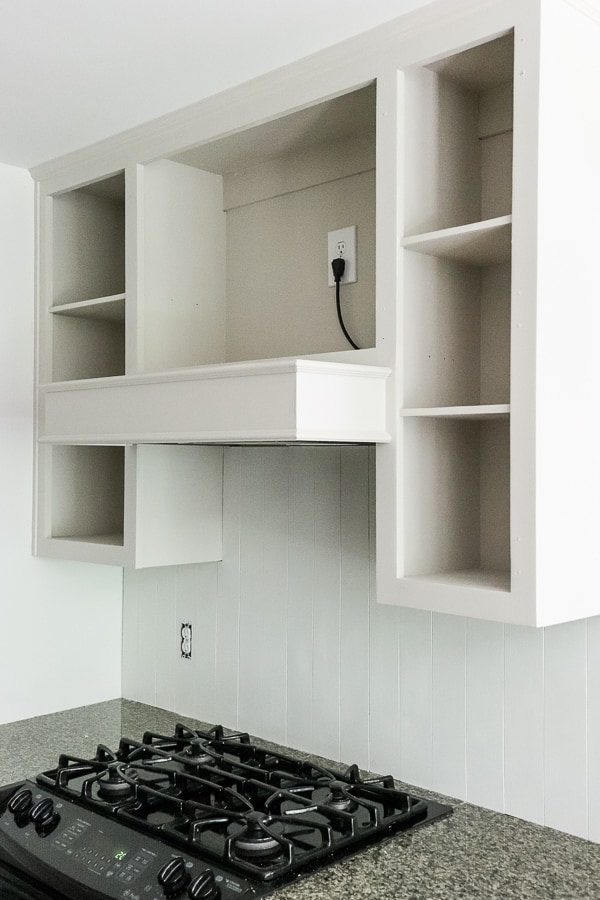
Adding the trim around the cover gives it a bit of a country kitchen feel.
But the overall design is still a simple look.
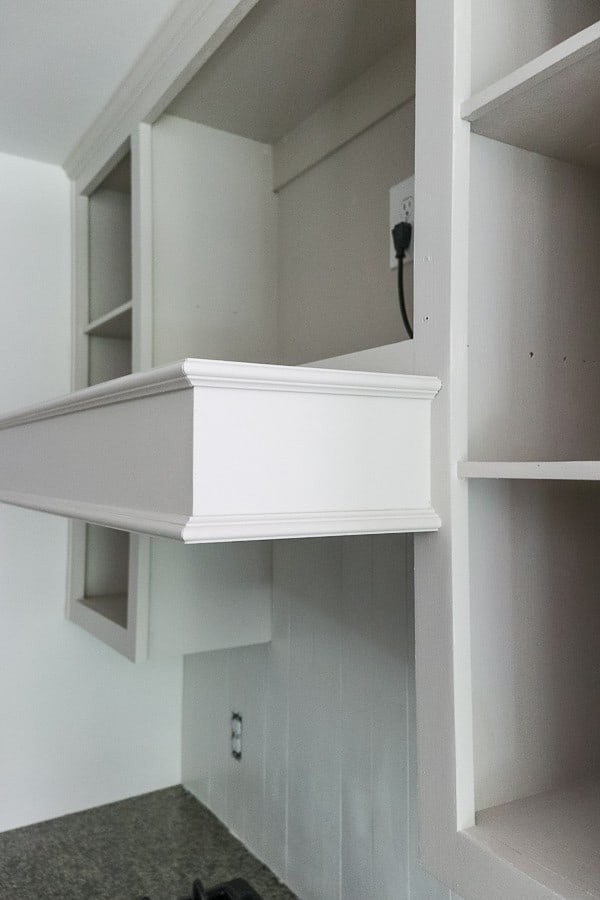
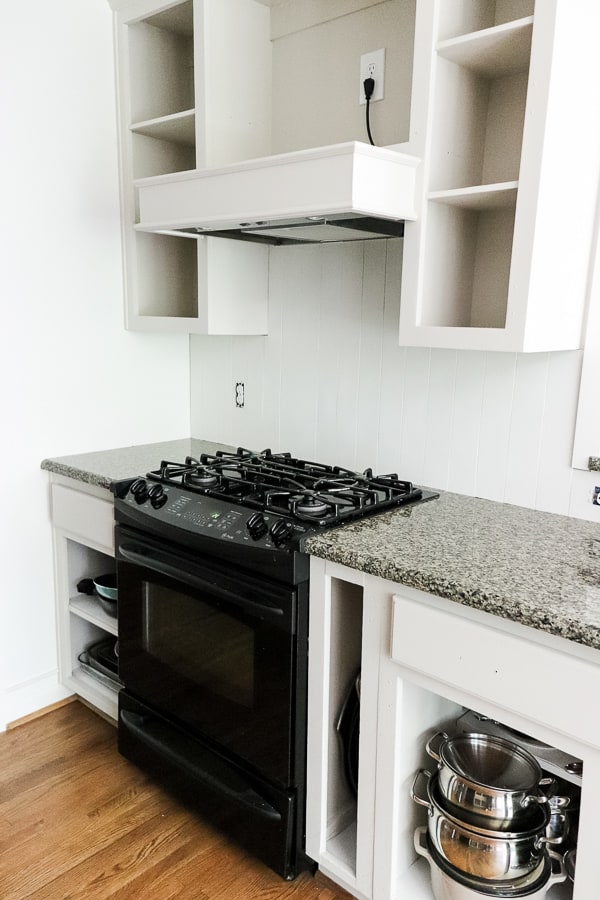
It turned out just as we had hoped and being able to save money with a scratch and dent was one of the best things we did with this remodel.
Removing our microwave from above the stove and building this DIY vent hood cover gave a much more open feel.
And that DIY cover was a pretty good idea if we say so ourselves! 😊
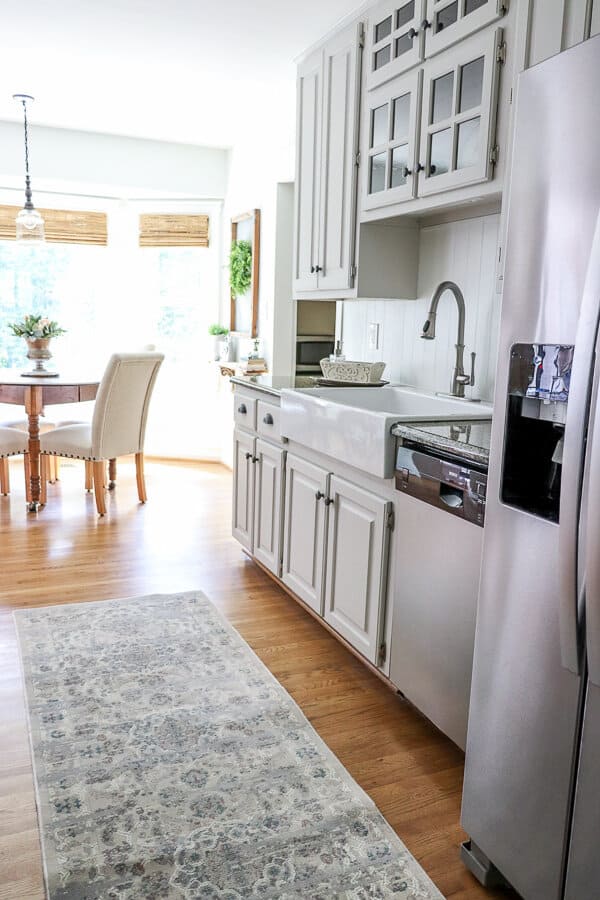
Replacing the Sink
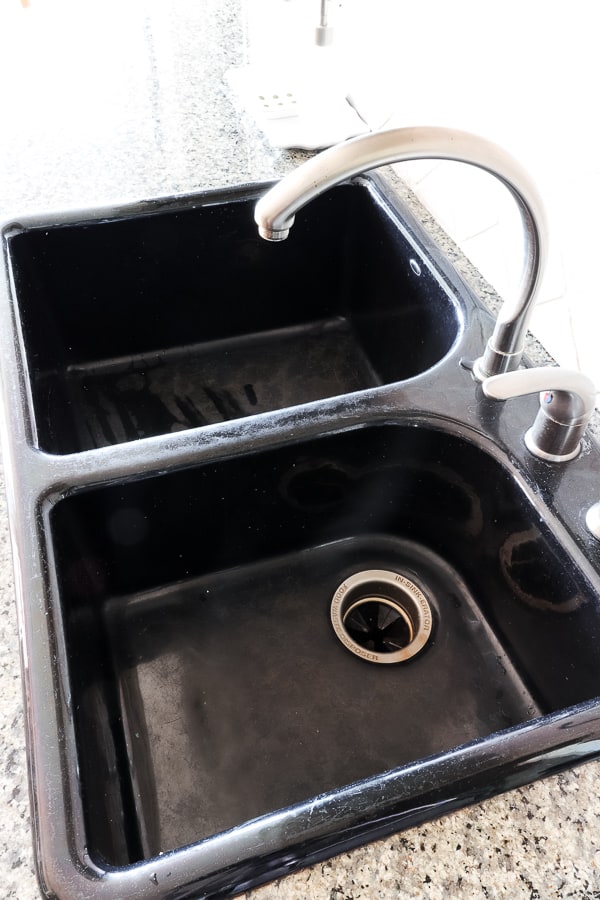
This scratched up sink with a black finish was on it’s last leg.
It’s enamel coated cast iron had taken a beating from the renters that lived here before us.
The clear coating was gone and rust started to seep through, so it always looked dingy.
I love apron front sinks – it is the showstopper for any modern farmhouse style kitchen!
So that meant cutting the granite and cabinet base to make that fit. Yikes!
Cutting the granite definitely scared us.
But if we cut a hole into a vintage marble top for our bathroom – we knew we could do this!
We took out the old sink and took about an hour to talk ourselves into making that first cut.
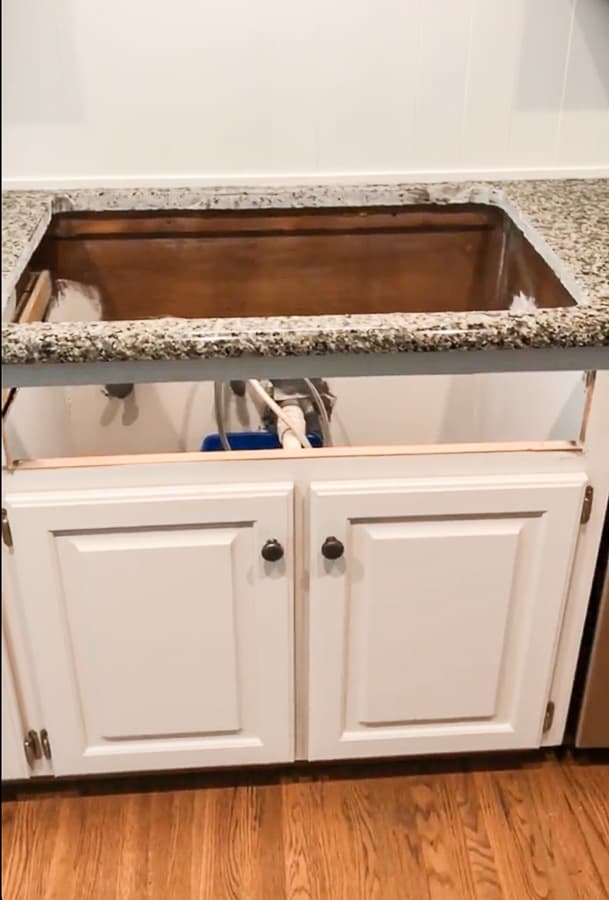
We used a diamond blade on a tile saw and went for it.
There is a post with a step by step guide on how to cut granite and install an apron front sink.
Look at that beauty!
And to this day, this still goes down as one of our scariest DIYs we have ever done, but this new sink was completely worth it!
If apron front sinks aren’t your thing, or you’re too afraid to tackle cutting your counters. we have another tutorial on how we replaced an undermount sink and installed a copper sink in our basement kitchenette.
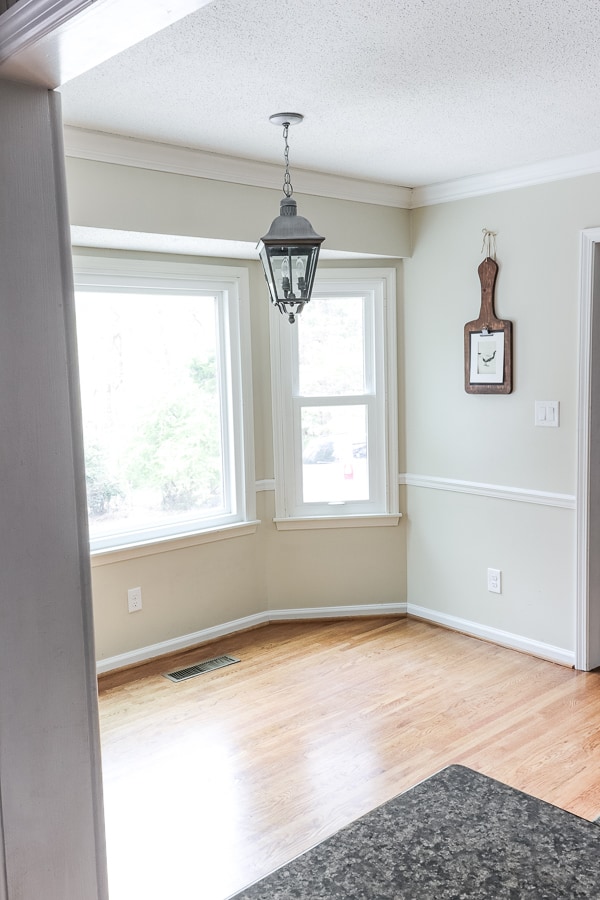
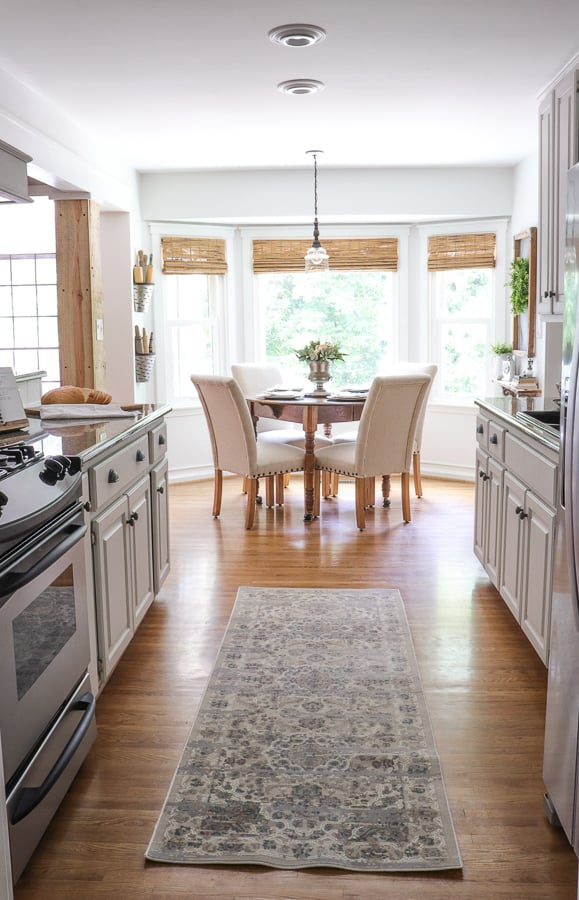
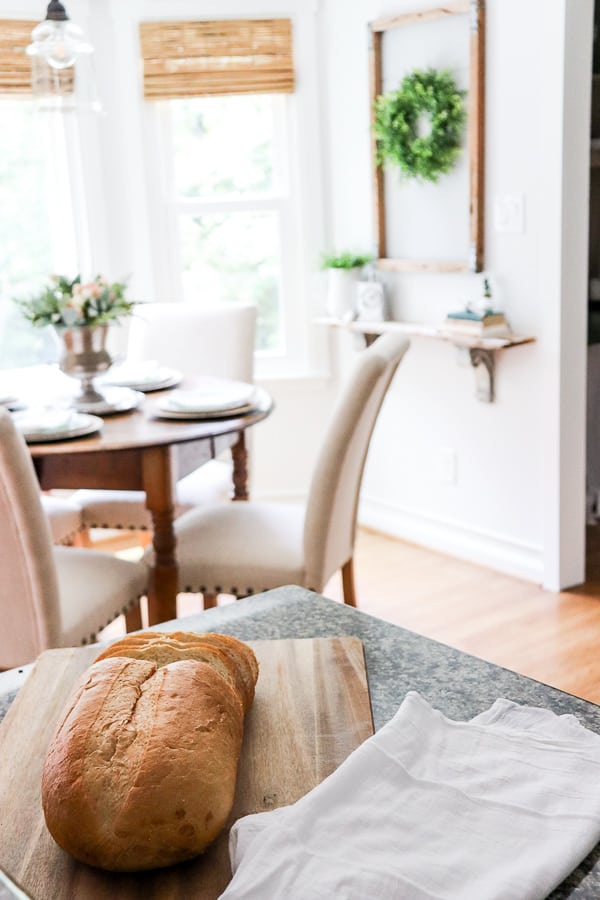
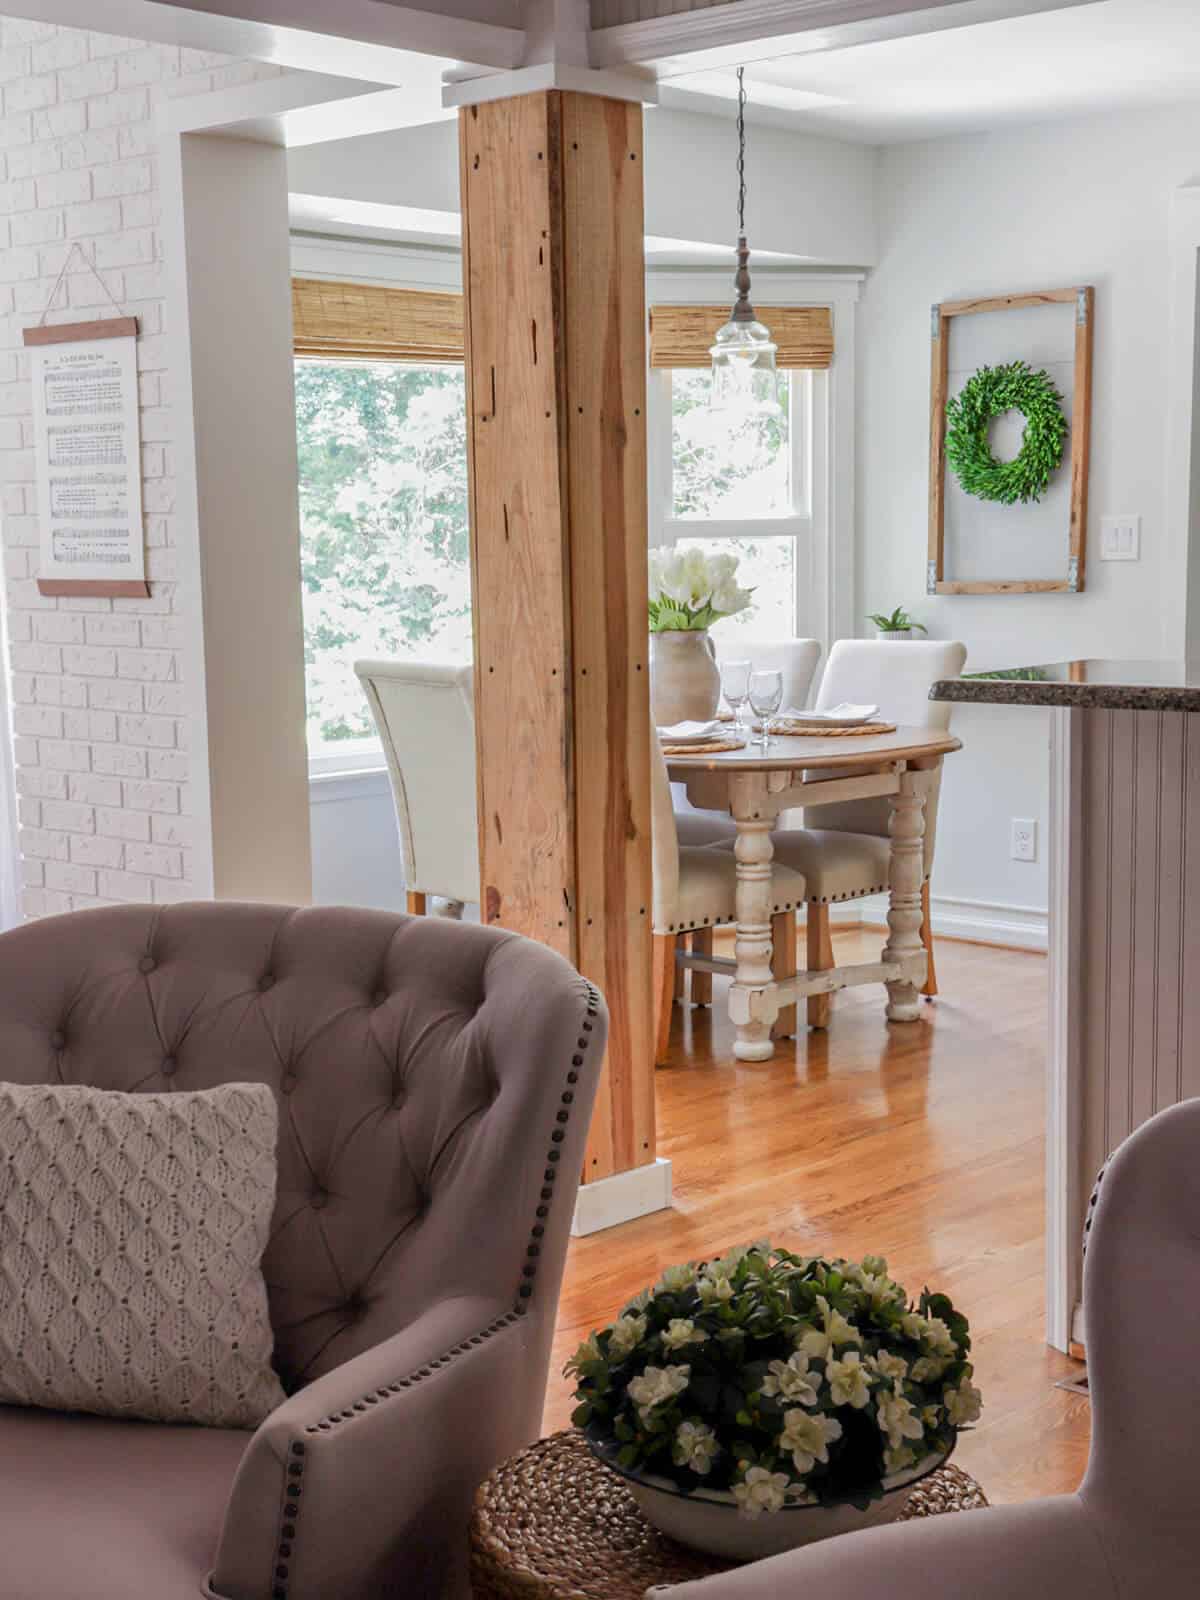
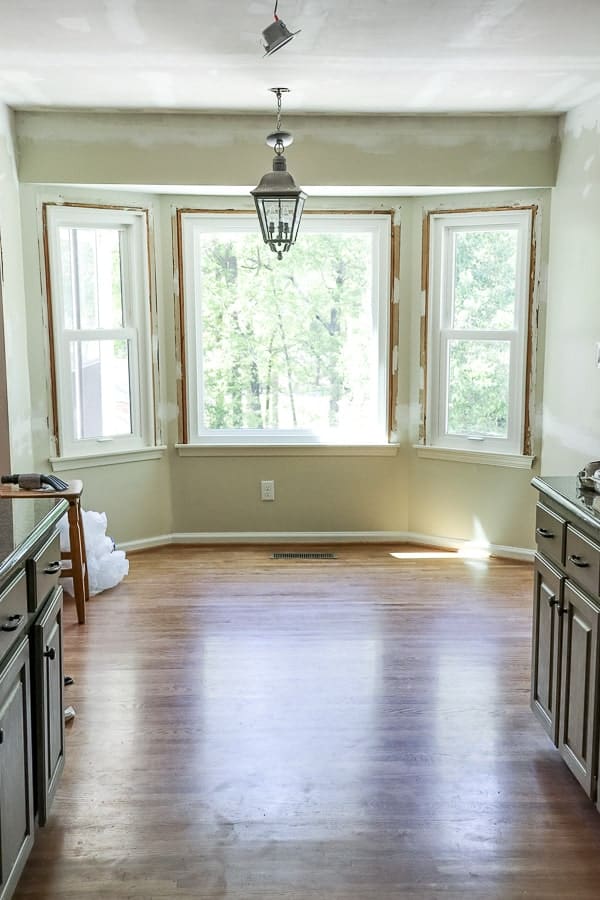
Creating a Breakfast Nook
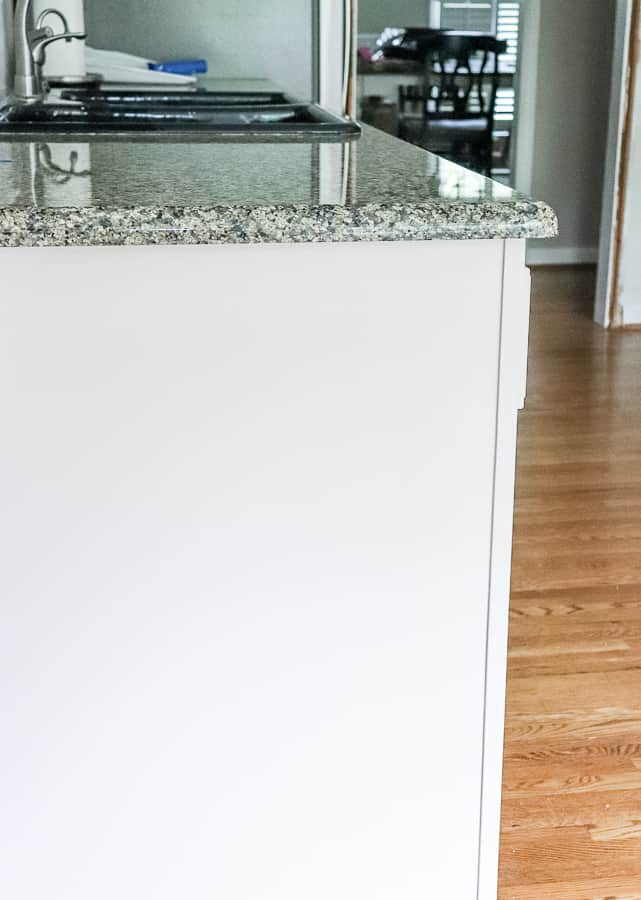
I couldn’t wait to remove this custom island. In fact, it was one of the first things to go!
It was an oversized, large island and an awkward, hexagonal shape.
We already have a small kitchen and that island just took up too much space.
We were also able to list and sell it on the Facebook marketplace the same day we removed it!
Our biggest concern was if the wood floors ran underneath and hallelujah – they did!
We just needed to refresh the finish on the hardwood floor and we were good to go!
Let’s take a moment to admire this HUGE open space! It immediately gave us a brighter kitchen.
So after that was gone, we removed all the old trim around the windows and updated it to create Farmhouse style windows.
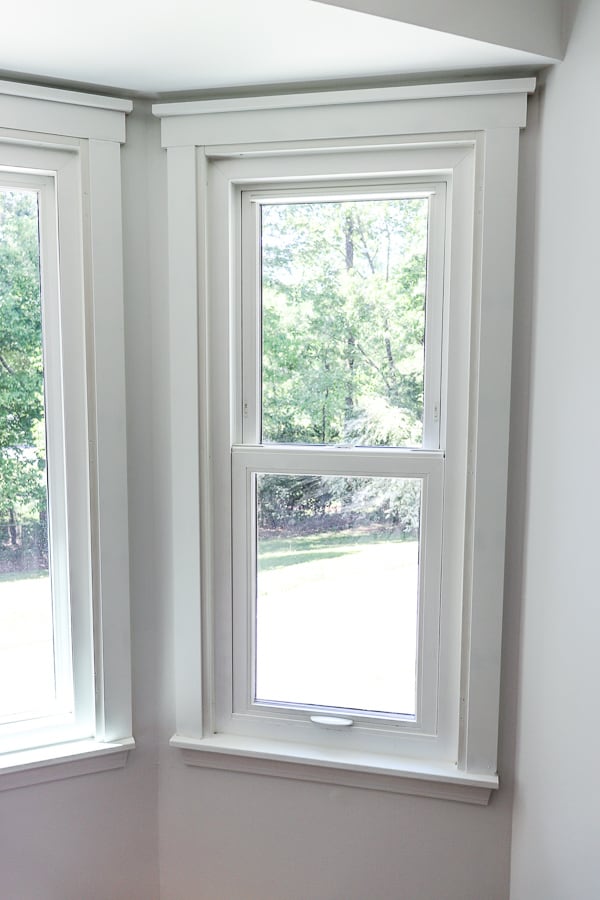
I opted to keep the lower trim under the sill and I love the angled look against the square edges.
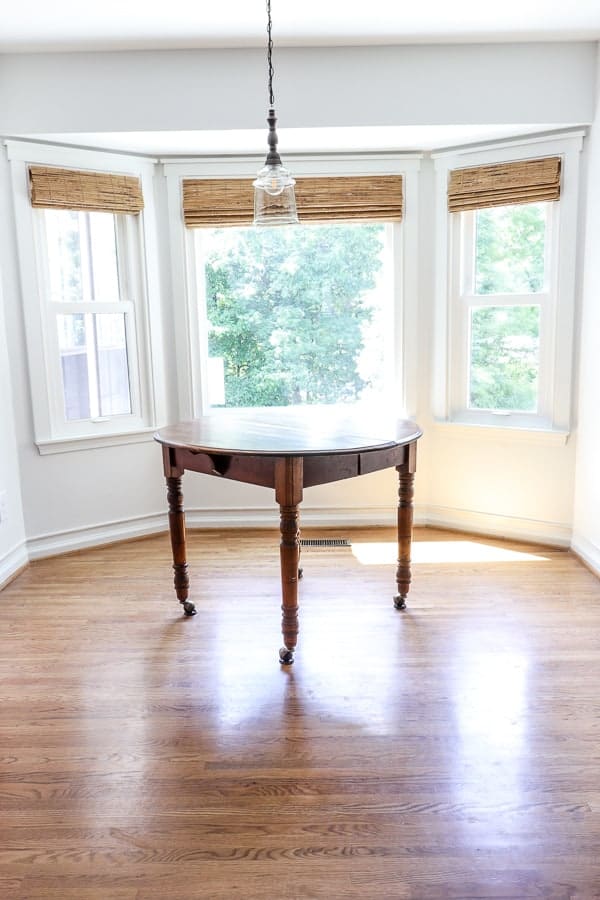
We hung these gorgeous woven blinds in the windows and it completely warmed up the room!
I love this updated look!
This vintage table was a $50 Facebook Marketplace find.
It is an antique round table that was used for many years as a cutting table for a seamstress.
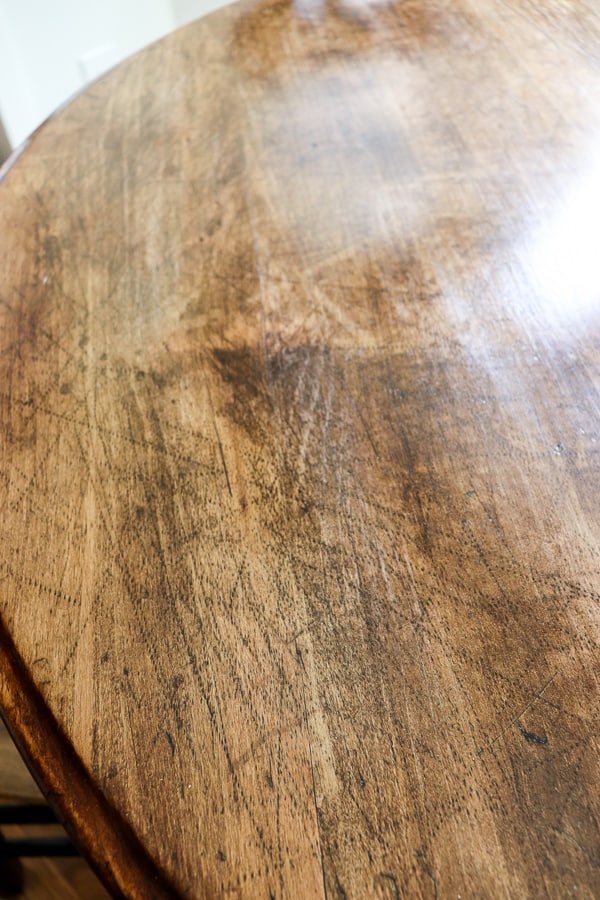
I love all those marks and weathering!
I gave the vintage kitchen table an update, and it works perfectly in this space.
A true vintage table that we restored the top and added some casters to.
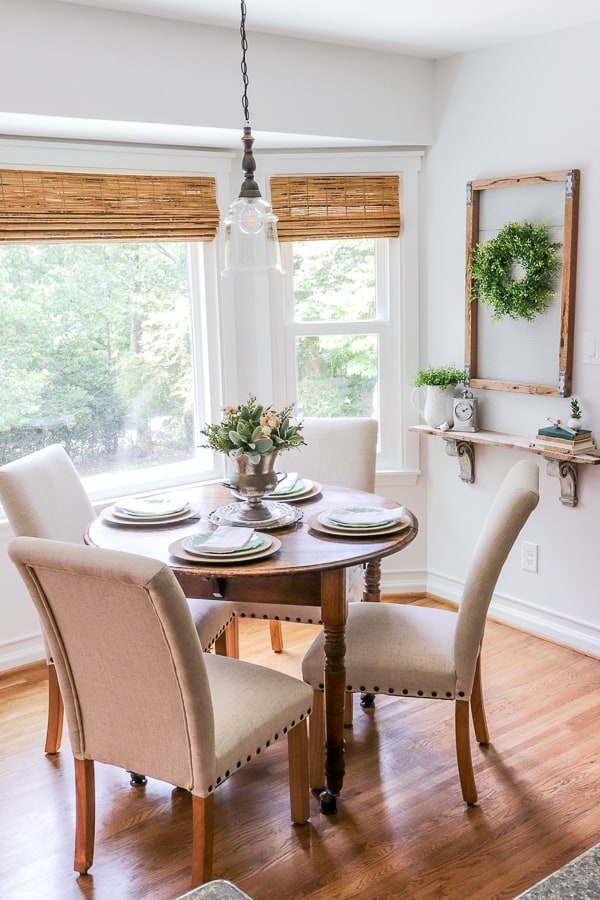
We will still use our dining room for family gatherings, but it’s nice to have this extra dining area for quick meals.
Plus it’s a perfect match to our wooden floors and creates a nice focal point for the room.
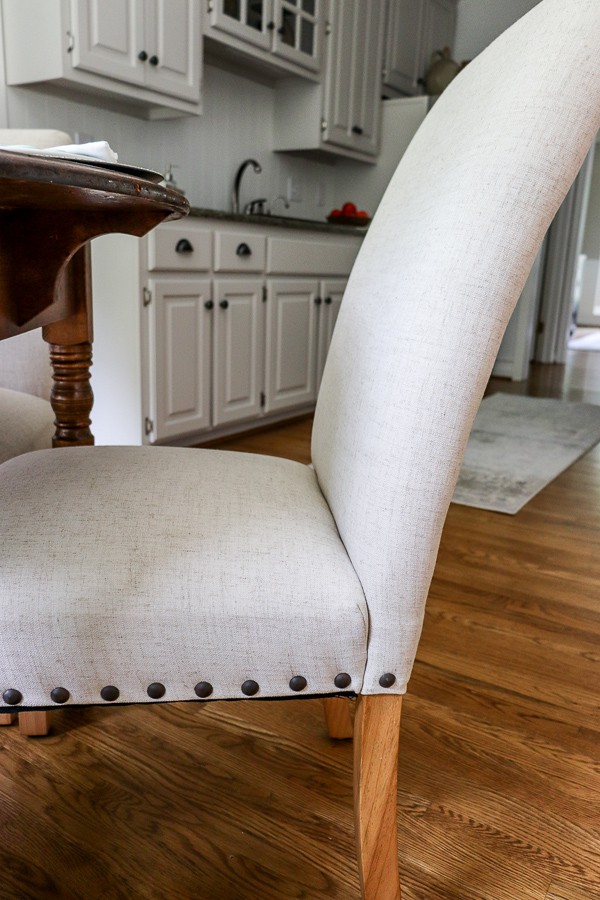
These parsons chairs from Home Pop are the perfect match to my table.
And finally, we also replaced the pendant light with a fixture from Hobby Lobby.
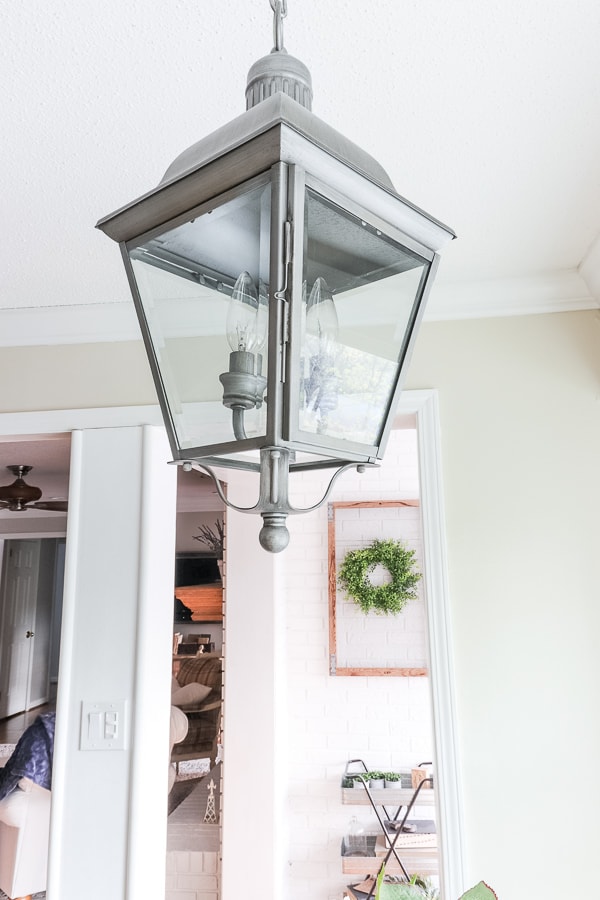
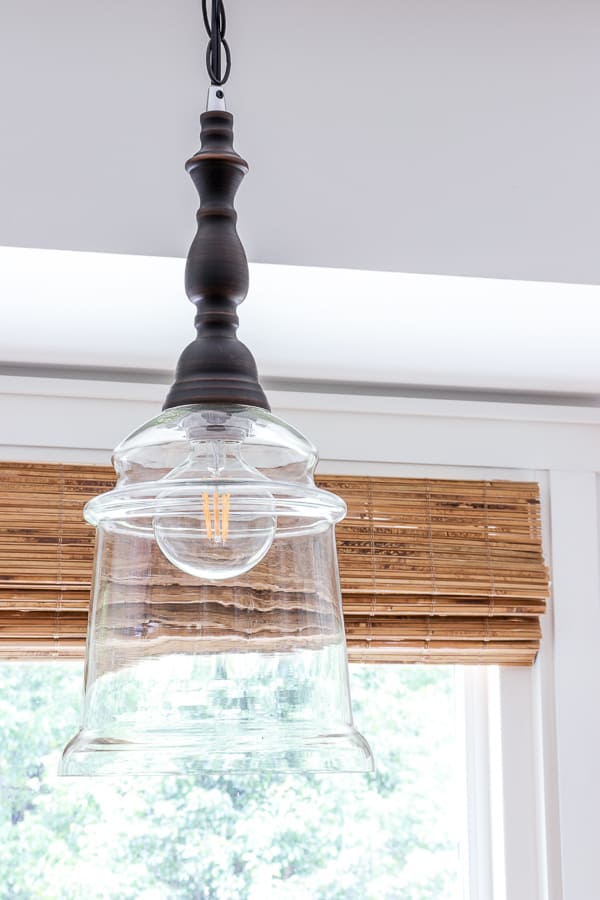
It’s actually a plug in light that we converted to hard wired.
I love how the natural light from the window is still able to shine through without obstructing the view!
Cedar Covered Support Beam and Shelf
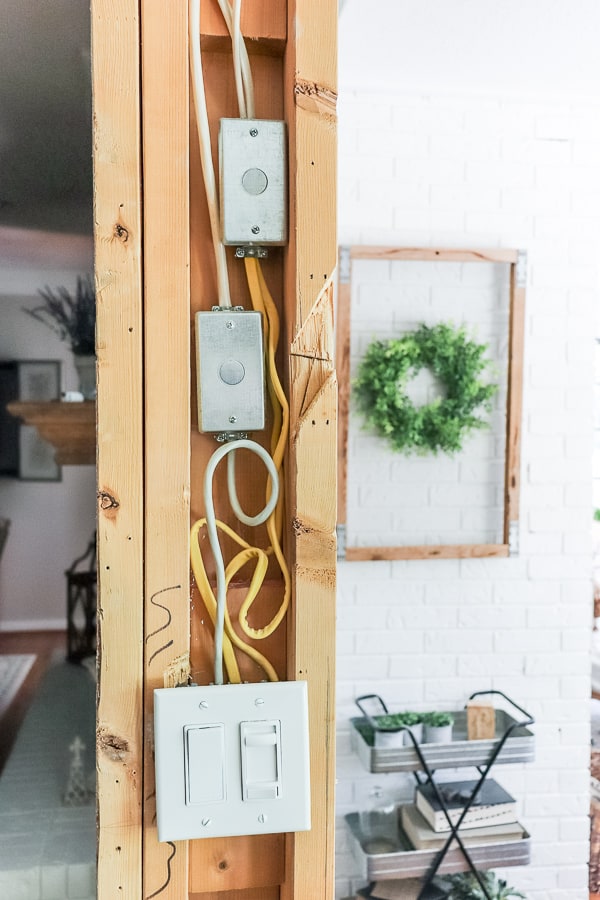
One thing we had to address was the dated support pole.
We removed the trim from the support post and covered it with rough cut lumber.
I found a local small business on Facebook Marketplace and was able to get four pieces for just $25 – which is way cheaper than the big box lumber stores!
It’s rough cut pine – complete with touches of weathering here and there.
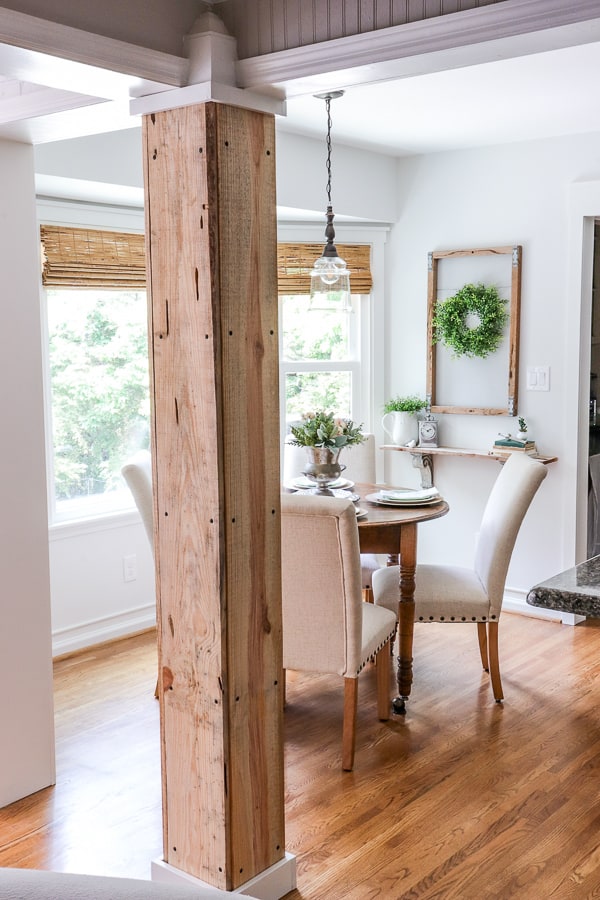
I knew the look of natural wood would add a rustic look to this farmhouse kitchen style.
So we sanded them down and installed them with some gorgeous fat head screws.
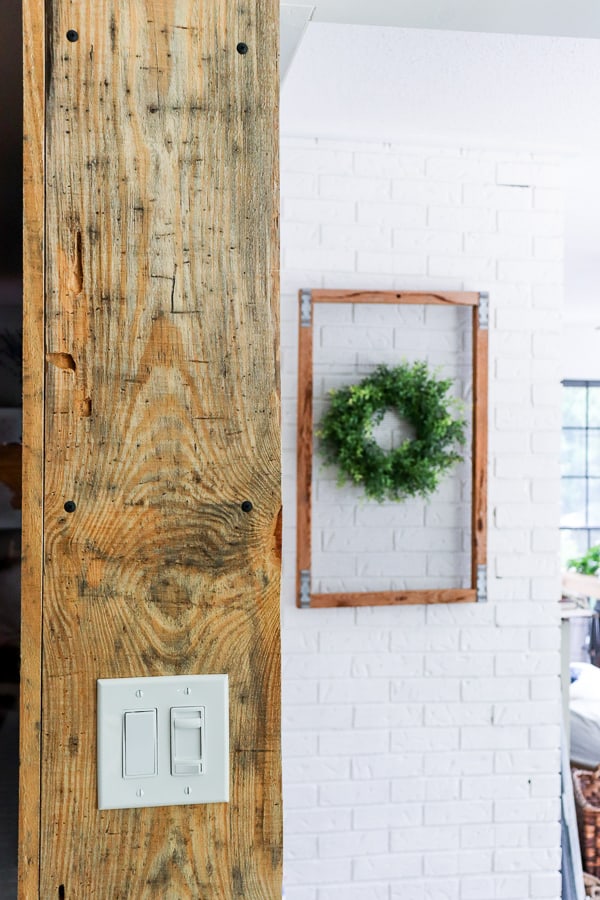
The nailhead trim is a wonderful compliment to the rough cut support post.
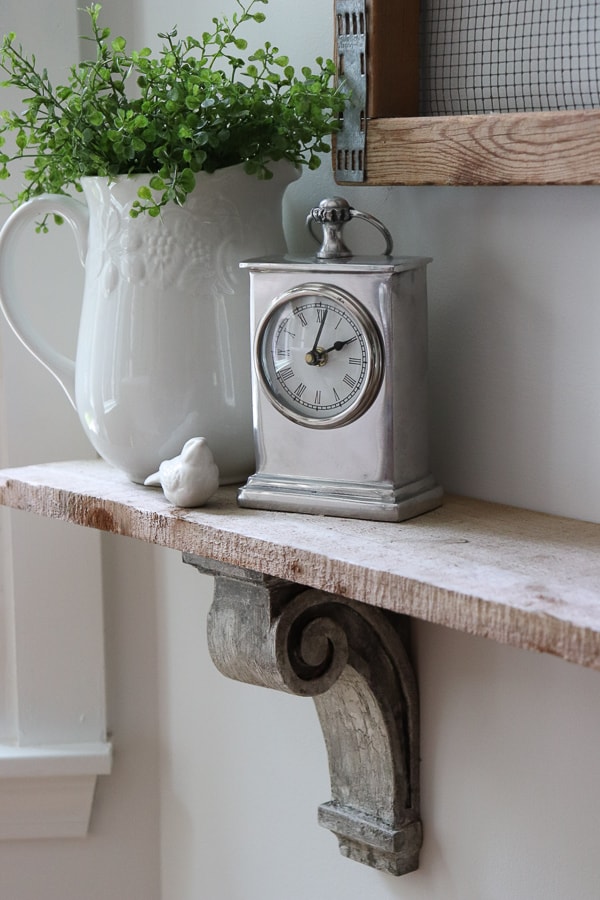
And as a bonus, the wood dealer gave me this small piece of cedar and look at this cute shelf we made!
We created these DIY Aged corbels and simply added the cedar wood as a shelf.
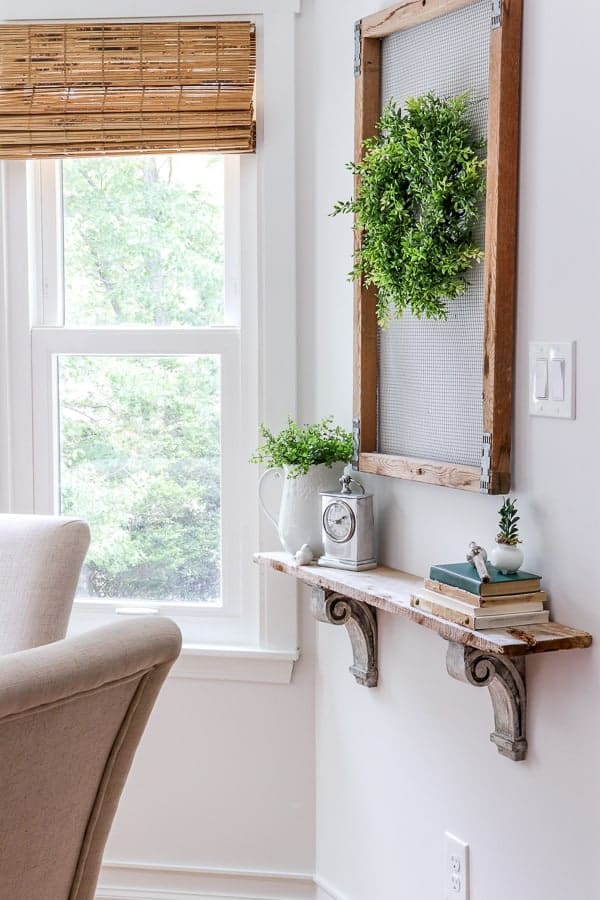
This small shelf is perfect for this eat in kitchen space.
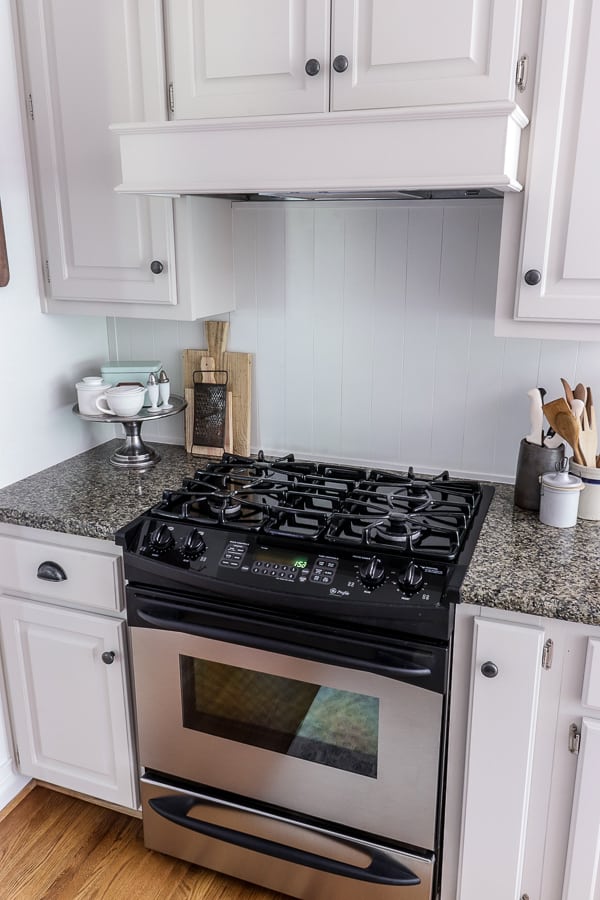
Affordable Appliance Update
Our existing appliances were in great condition, but the mismatched look doesn’t work for the modern kitchen.
We took a day covering our appliances with stainless steel wrap to match our refrigerator.
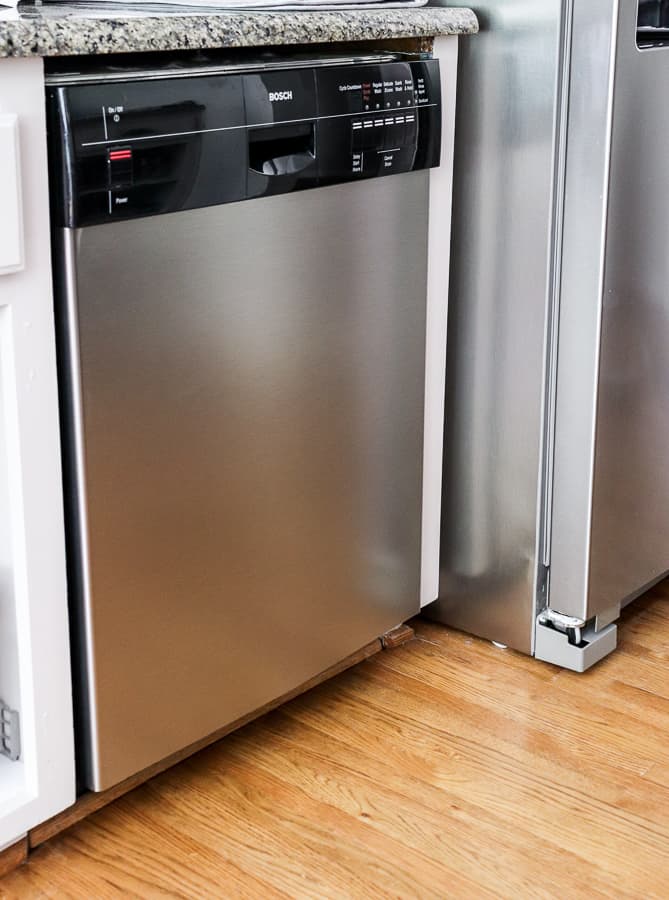
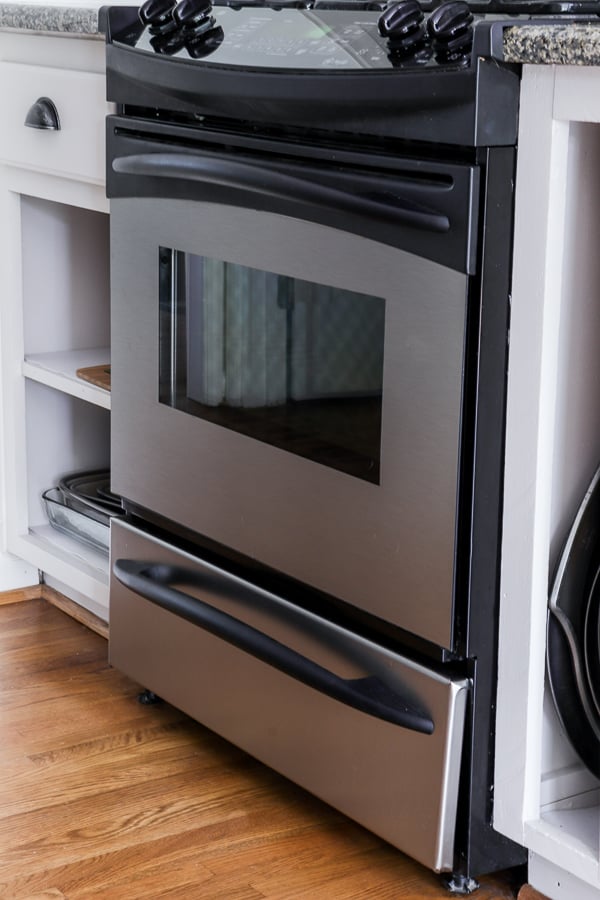
We used EZ Faux Decor panels to transform our appliances and was a great addition to this kitchen update.
Now it appears that we have matching stainless steel appliances!
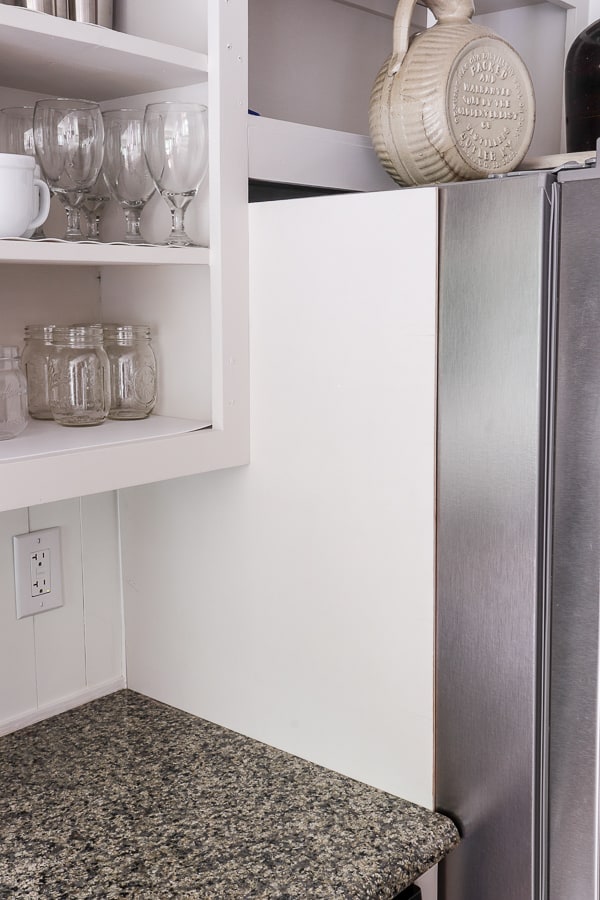
Another element we added was this small piece of luan to the side of our refrigerator to hide the gray, exposed factory side.
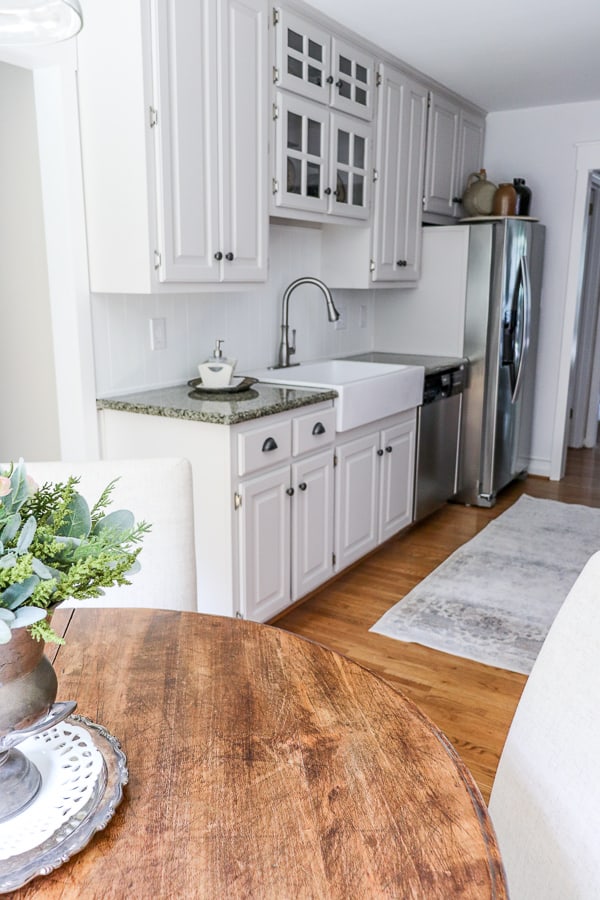
The Big Reveal
Here’s a quick recap with a look at the before and then the after!
As we all know, the kitchen is the heart of the home, so creating a look you love is important.
But kitchen updates are one of the most expensive rooms to tackle.
But it doesn’t need to break the bank.
While we didn’t get my dream kitchen (yet 😉), we were able to add some items in this farmhouse kitchen makeover that I had always wanted, like the farmhouse sink!
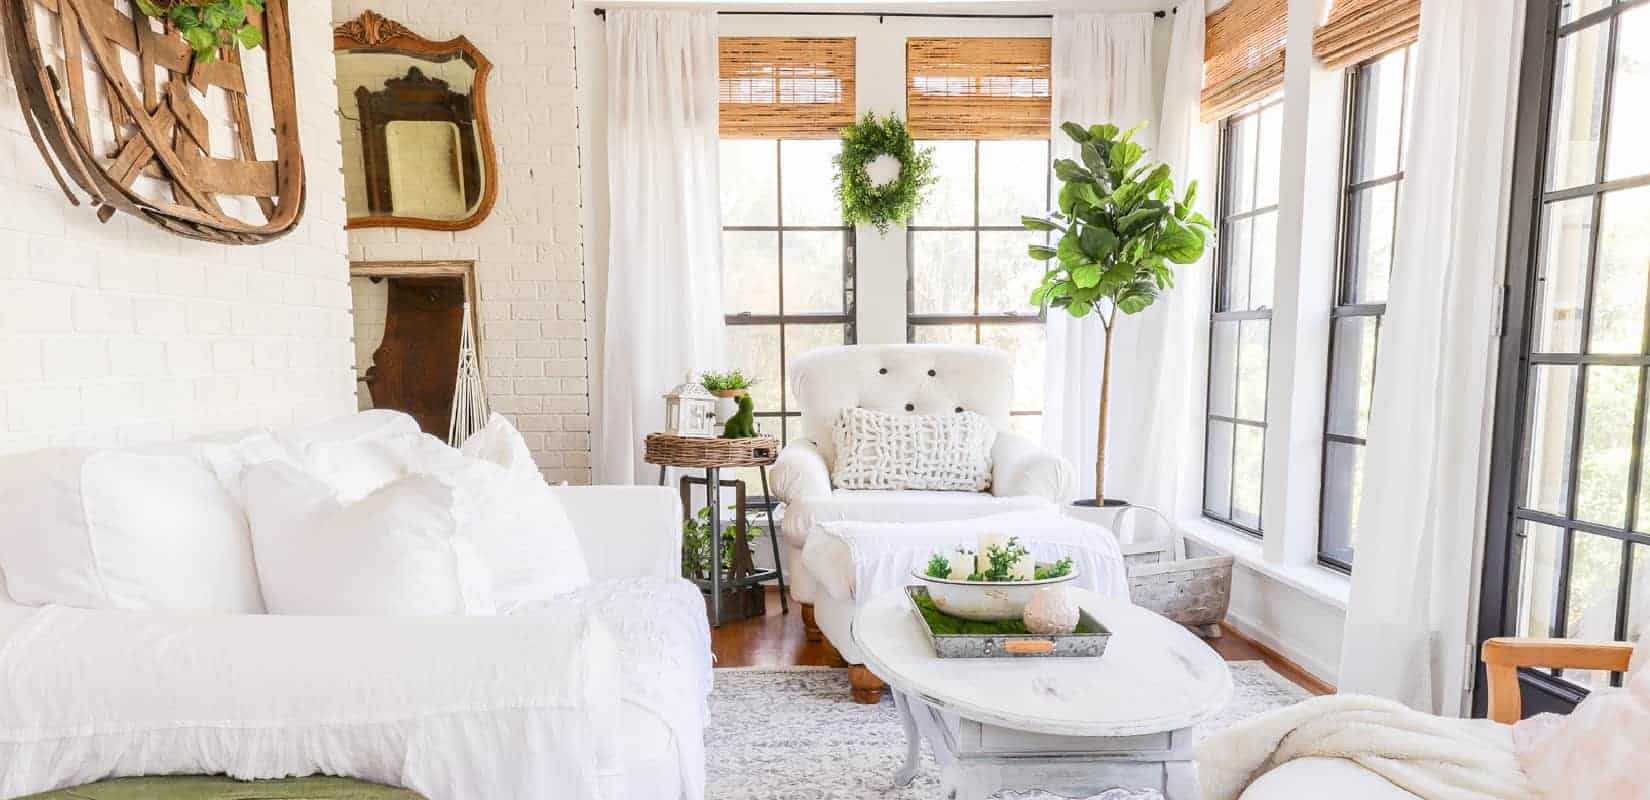
Casual, welcoming, and most importantly cozy – those were the words I wanted to illicit with this timeless farmhouse kitchen renovation.
An open concept space that’s next to our keeping room, where friends and family could gather and share a cup, a meal and laughter.
Now for my favorite part!
Let’s break down the numbers on this farmhouse kitchen makeover, friend!
Timeless Farmhouse Kitchen
Remodel on a Budget Cost Breakdown
- Remove Kitchen Island (Sold for $75 – so instant gain!)
- Remove Dated Trim (FREE)
- Demo Travertine Tile Backsplash (FREE)
- Scrape Popcorn Ceilings (FREE)
- Replace Microwave with Vent Hood ($80 from Amazon Warehouse)
- Frame Around Vent Hood (FREE using left over luan)
- Frame in Refrigerator (FREE using left over luan)
- Updated Farmhouse Trim and Support Beam ($25 for rough cut lumber and $235 in trim)
- Add EZ Faux Decor Stainless Steel to Stove and Dishwasher fronts (Sponsored, but retails for $65 for a 36″ x 72″ sheet)
- Remove Dated Sink and Replace with Apronfront Sink (Sponsored through Sinkology – All-in-One Kit Retails for approx $500-$600)
- Paint Kitchen Cabinets (Sponsored by Romabio)
- Paint Walls – Grace Note from Romabio Paints
- Install Shiplap Backsplash (FREE using leftover shiplap from Master Bath Remodel)
- Add Woven Blinds (Sponsored by Affordable Blinds, retails for $152)
- Replace Light Fixture (Hobby Lobby 50% off – $35)
- Replace Drawer Hardware (Sponsored by D. Lawless Hardware, retails for $4.15 each pull – $25 total)
- Create an eat-in nook with table and chairs (Chairs Sponsored by Home Pop, retails for $290. Found the table on Facebook Marketplace for $50 and added casters, $15)
- Decor (Jadeite plates – $20, White Elle Decor Amelie Plates $20 – the rest I used from home decor I had) Rug from WellWoven $35
Total Cost for this Renovation: $1472
I can’t even believe it!
This dated kitchen went from meh to amazing in six short weeks.
So by reusing and repurposing items, we were able to create a Timeless Farmhouse Kitchen renovation for under $1500!
And now that this kitchen is finished, for now – we can’t wait to move down the hallway to our butler’s pantry and to create a custom built food pantry.
UPDATE! Click Here to See Our Pantry Hallway Reveal!
Thank you to all my sponsors (linked below) for helping me create a kitchen that I love!


Thank you to our Hosts!
A huge thanks to Linda from Calling it Home and Better Homes and Gardens for hosting another fabulous One Room Challenge! It is always a joy to participate each season, find tons of inspiration, and most importantly – find great friends!
And of course – head over to the One Room Challenge to see all the other participants. There are some stunning reveals that you don’t want to miss!
Check out Previous Rooms we’ve completed through this
One Room Challenge
Master Bathroom Makeover for less than $4500
Industrial Teenage Bedroom Makeover on a Budget
Vintage Farmhouse Powder Room – for less than $500!
Making over our Master Bedroom Final Reveal!
Vintage Inspired Laundry Room – Final Reveal!
$1000 DIY Bathroom Makeover That Doesn’t Look Cheap


Thank you so much, Karen! I’m so glad you enjoy my content. This is why I love what I do! Have a great rest of your week!
I bought the kitchen runner rug products. I liked your content very much, it helped me a lot in my color choices, thank you very much 🙂