Farmhouse Woven Shades with Updated Trim
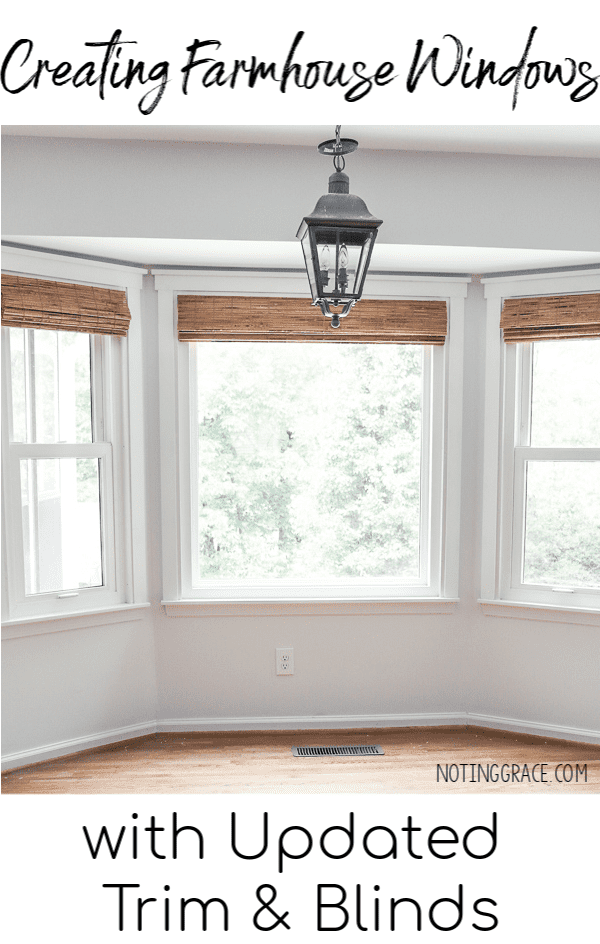
It’s easy creating Farmhouse Woven Shades with Updated Trim. You can update the look of your home with farmhouse flair for just a few hours and less than $200!
Let’s dig right in!
We started by removing the old, dated trim.
Farmhouse Woven Shades
with Updated Trim
(Some affiliate links are provided below. Full disclosure here.)
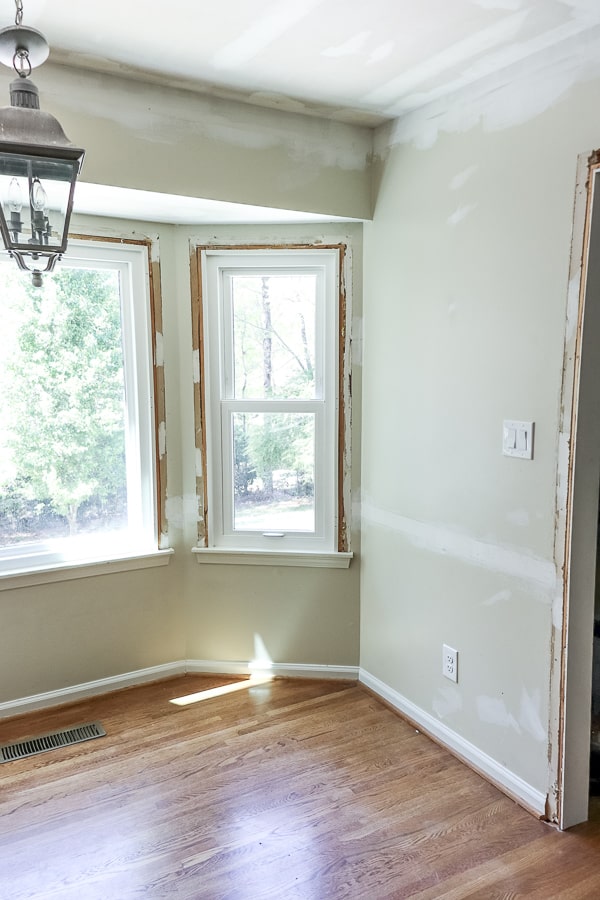
For this bay window, I needed to have the trim fit under the bulk head. Here are the sizes I used.
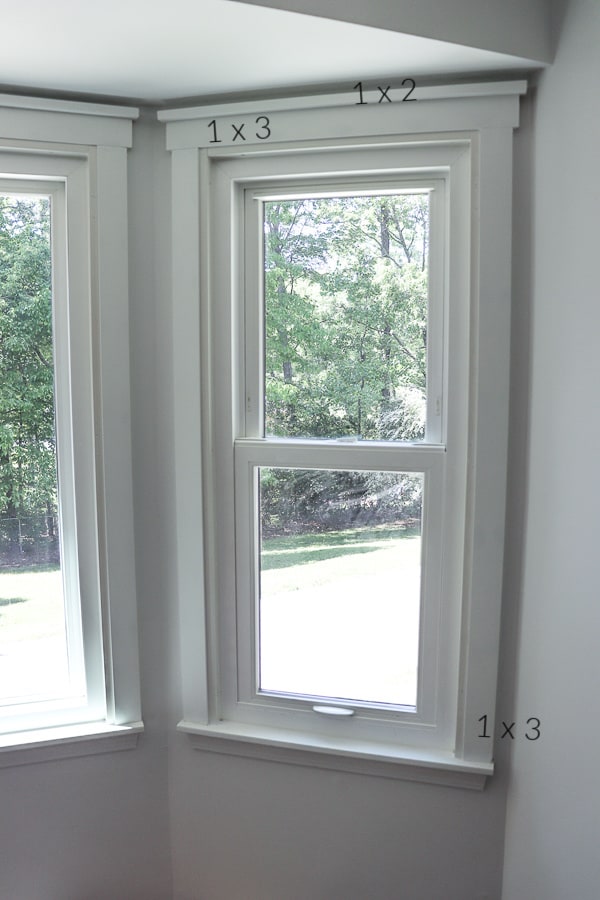
For the sides, I used 1 x 3 primed trim boards.
To top the framing, I cut the 1 x 3 trim board one inch wider than the side boards.
And finally to cap off the top framing, I cut a 1 x 2 primed trim board one inch wider than the top frame.
Tip: One way to trim costs is to find areas you can cut corners. I didn’t mind the trim on the bottom under the window sill, so I opted to keep that in place and only replace the side and top trim.
Once we had installed the framing, we painted the trim around with a fresh coat of satin in Simply White.
But I wanted a new look for our home. Back at our Almost Farmhouse, we installed some woven shades and loved the look.
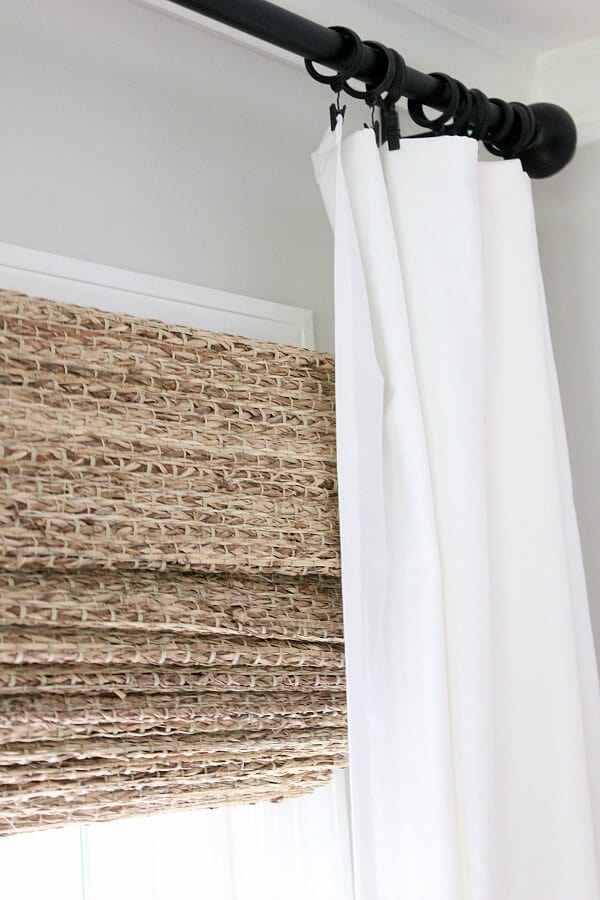
But these shades were heavy, pricey and had a cumbersome cord that you had to pull up and down.
So I looked for a more budget-friendly solution and love these that I found!
We added these woven blinds to complete the farmhouse look.

We chose the Cordless Woven Wood Shades in the Winthrop Tortoise color.
First, we started by removing the brackets from the frames.
Then you fit the blinds in place and mark where the brackets go.

Next, you hang the bracket with the screws provided.
We opted for an inside mount, meaning the blinds are inside the window frame.
We predrilled the holes before screwing the brackets in place.
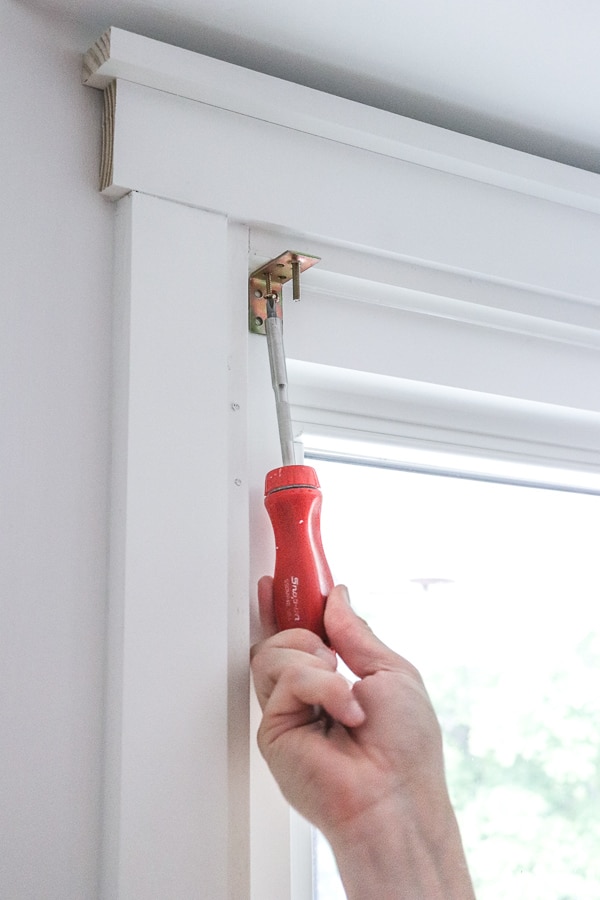
Once the brackets are hung, you can hang your blinds.
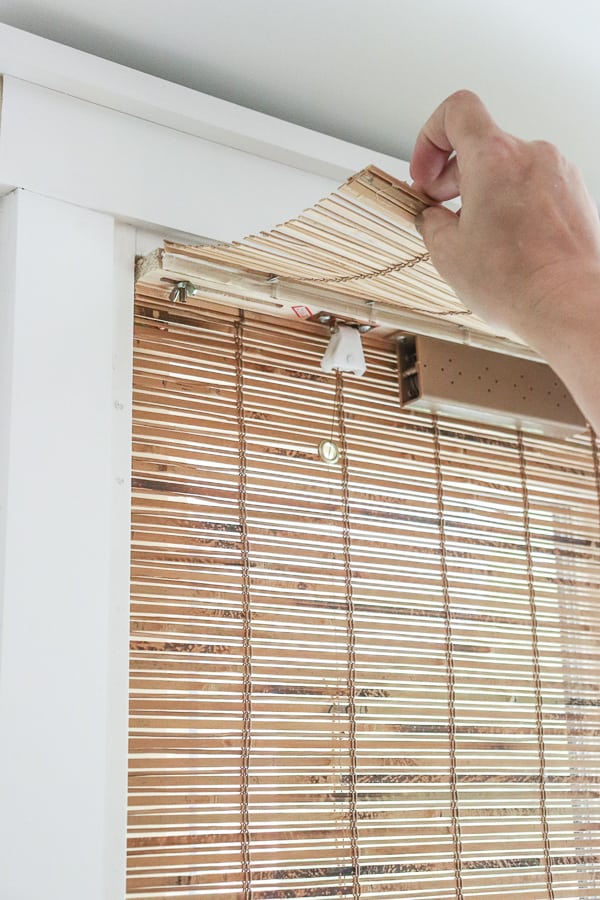
As you can see, the guide holes are very wide, making it perfect to adjust the bracket placement.
What I love about these blinds is that the cord mechanism is hidden.
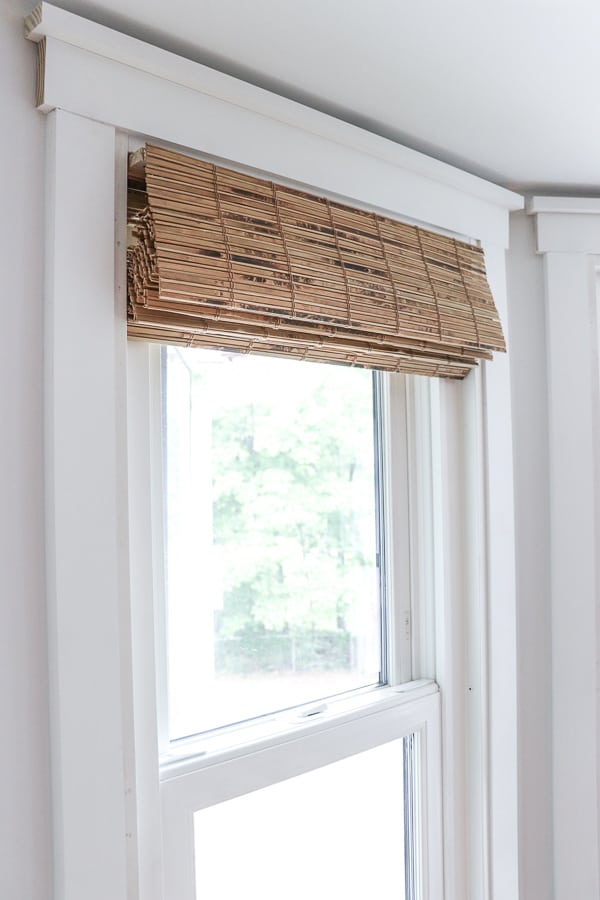
So when you want the blinds drawn, you simply pull down from the bottom of the blinds.
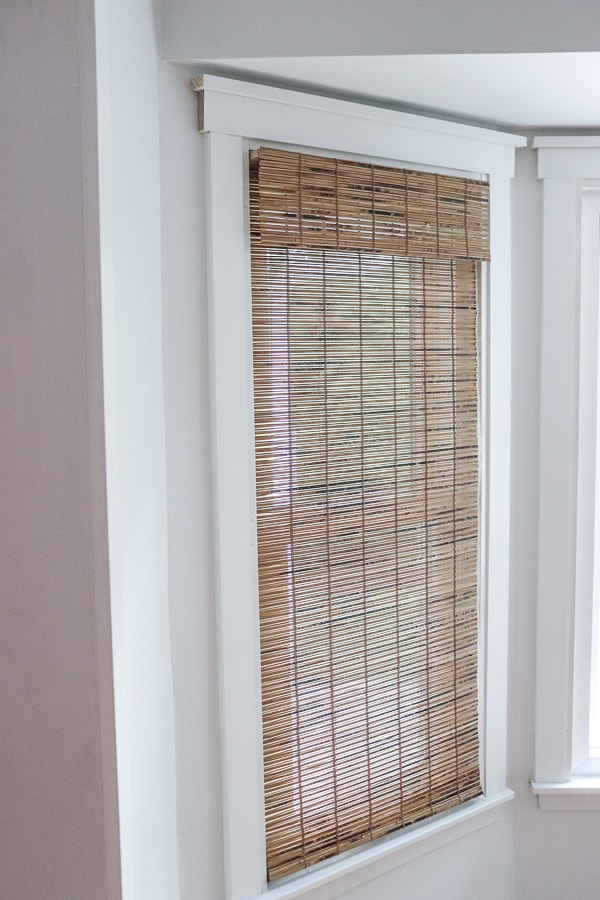
There is no need for cords to get tangled in! When you want to put them back up, you simply push them up into place.
You can always check out my video of how these work.
I LOVE THESE BLINDS!

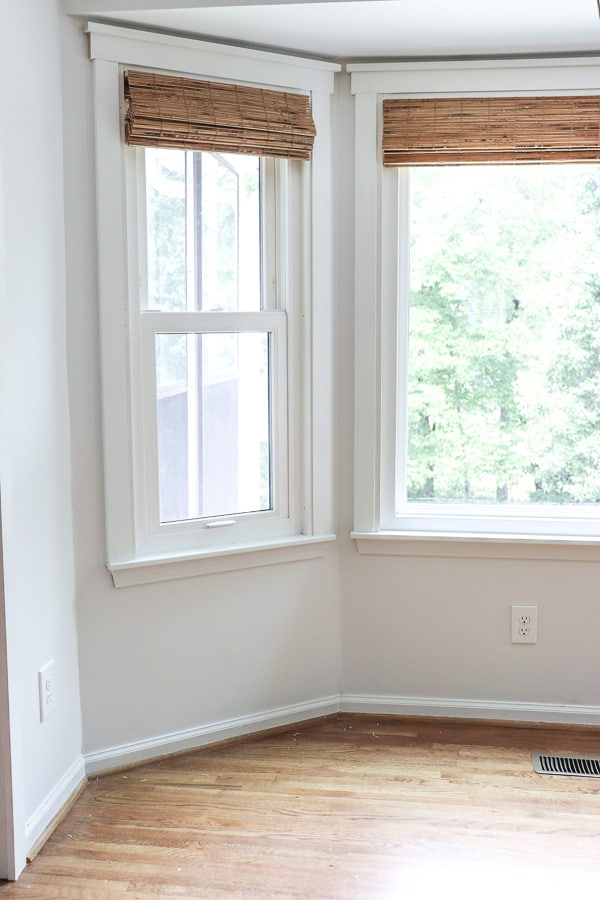
We installed all three blinds in less than 30 minutes!
In fact – I love these so much that I ordered another set for our Sunroom.
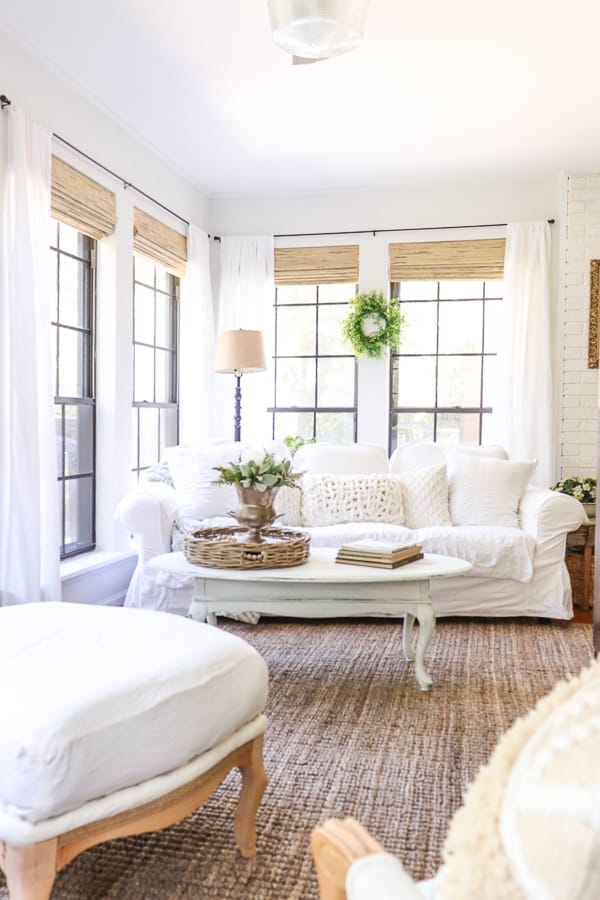
It’s an economical way to add farmhouse pizazz to your home!
Cost Breakdown
Update Trim – $37
Essential Cordless Woven Wood Blinds – $152
Total: $189
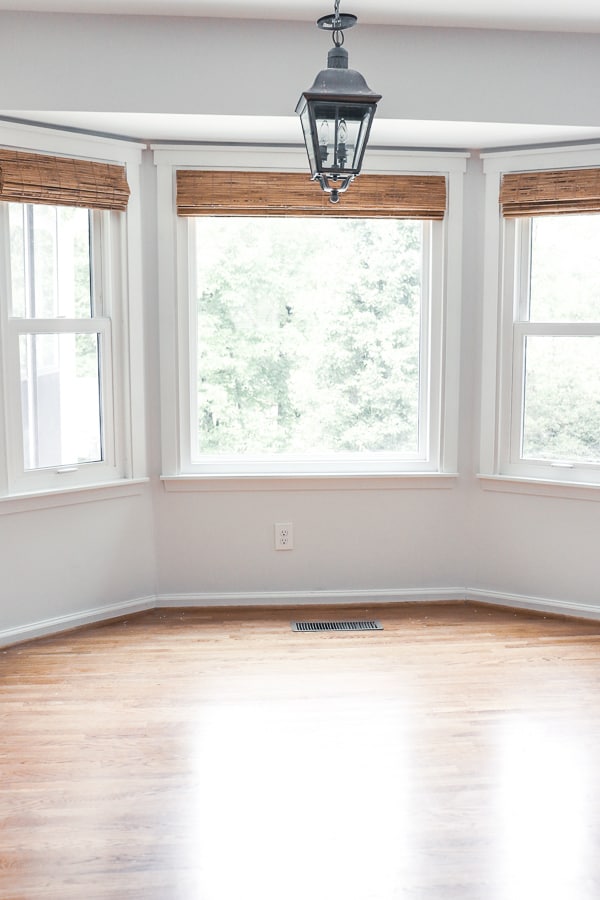
To be able to tranform a dated space for less than $200 is amazing!
I love how this turned out and will be perfect for the final reveal of our Timeless Farmhouse Kitchen Renovation!
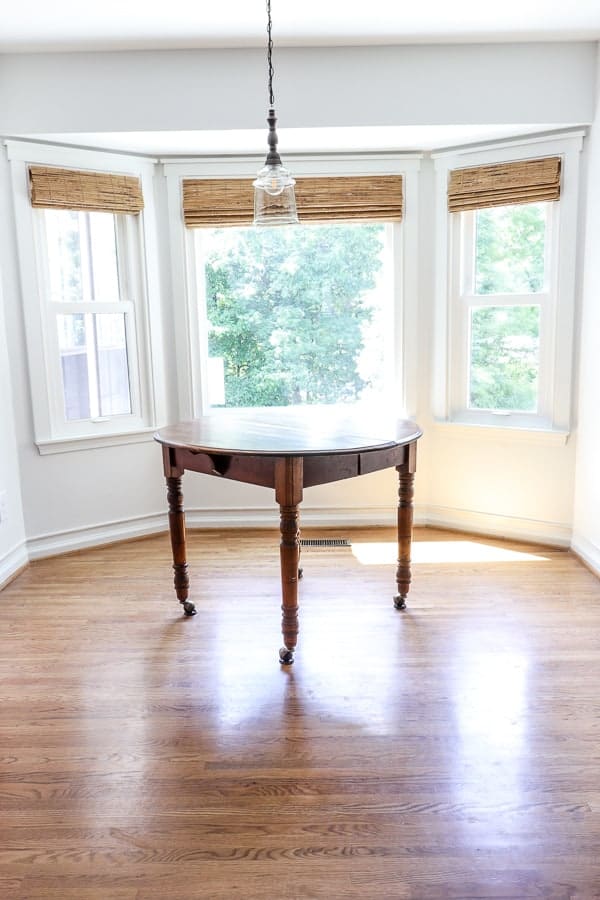
So now it’s time to tie everything together! We can’t wait to finish our kitchen to create a breakfast space we will enjoy everyday!
shop our favorite home items
shop now
Join Our Community
Don’t miss the next DIY! Receive exclusive content, including behind the scenes photos, our favorite home decor DIYs and more!


That’s a great question, Maggie!
You are correct, larger windows will cost more. My windows were average size, the largest 36×36 and the smaller 18 x 36, so that helped in keeping the costs lower.
Another tip is to wait to push that order button until they launch a holiday sale – that’s when they add an extra discount that helps with savings.
Hope that helps out!
Jen
Hi, I just read this whole article and went to the website you ordered these blinds from.
Just curious how you completed an entire room for under $200 when one 57×46 blind runs around $150?
I would like to know about the shade in the original picture. That’s what drew me to read your blog.
Hi Christina! I have the exact ones linked in the post above. Just click on the blue underlined link and it should direct you to them! Hope that helps!
Hi where did you order the farmhouse blinds from? Cordless woven wood blinds – they make the room look amazing.
Thanks
Christina
Hola ,dónde compraste las persianas de palitos..
Jen,
I am dying to add these woven shades to the main living areas of our home. You have definitely inspired me to get this project to the top of our to-do list.
They look amazing in your home!
xoxo,
Brendt
Hi Jill – my shades have been working great after 2 years. We did have to replace a set immediately after installation when we found one mechanism was a bit off, which the company replaced with no problems. I will say that we don’t pull these shades on a daily basis, so that may be something to consider. However, the shades in my sons rooms are used daily and have held up great! Hope that helps!
Hi. I was wondering how the cordless mechanism has been holding up on these shades now going on 2 years later? Do put the shades up and down a lot? TIA!
Thanks so much!
Thanks so much!
I loved your blog and thanks for publishing this about farmhouse woven shades !! I am really happy to come across this exceptionally well written content. Thanks for sharing and look for more in future!! Keep doing this inspirational work and share with us.
This is a great article and you are banged on with your points about farmhouse woven shades. Be clear about what you really need and want to accomplish at this point- you are right with this point.
Thanks, KC! We got the curtain rods and “curtains” (which are just twin sheets hemmed) from Walmart.
Your project looks great!
Where did you get your curtains and curtain rods!
Hi Linda – we painted our walls with Sherwin Williams Crushed Ice. It’s a perfect neutral gray.
What paint color are your walls? I love your shades and panels! Will those colors go with light grey walls?
Certainly – check out this post:
https://notinggrace.com/woven-shades-orc-week-3
It gives all the details of those shades – let me know if you have any questions!
Hi,
Can you tell me more about the original, more expensive shade that you have in the first picture? Thanks
Hi Becky – thanks for reaching out! We ordered the Winthrop Tortoise and love how they look. Hope that helps and that you score a great deal!
I love your blinds!! Do you remember what color you got?? They are having a major sale right now…and I love the color you have!