Cozy French Farmhouse Sunroom Renovation
For the past month, I’ve been working on updating a quiet corner of my home. I can’t wait to show you my Cozy French Farmhouse Sunroom Renovation.

Oh, I had such a vision for this room. It wasn’t necessarily decor related.
It was hopes for a cozy space – a quiet spot to enjoy a book, or to take a nap. A place to sit with my bible and a warm cup of coffee.
A place of rest.
But it was anything but comfortable. I knew this room needed a major overhaul.
Let’s start with the bland before.
It was dark and dated and needed a pick me up ASAP!
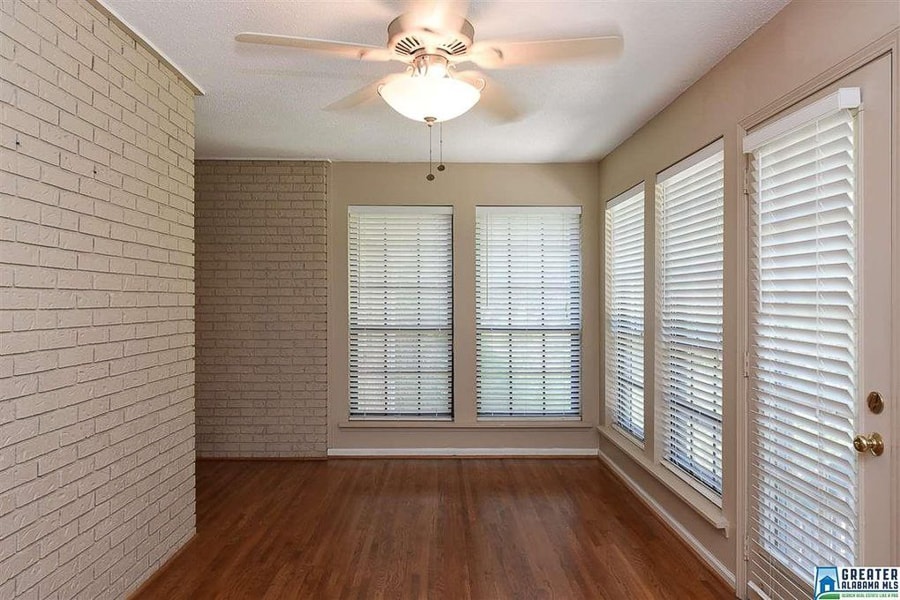

Beige upon beige with dated faux wood blinds.
Definitely NOT a place I wanted to relax in.
So with a little bit of effort and time, I finished a cozy french farmhouse sunroom renovation. And just look at this room now!!!
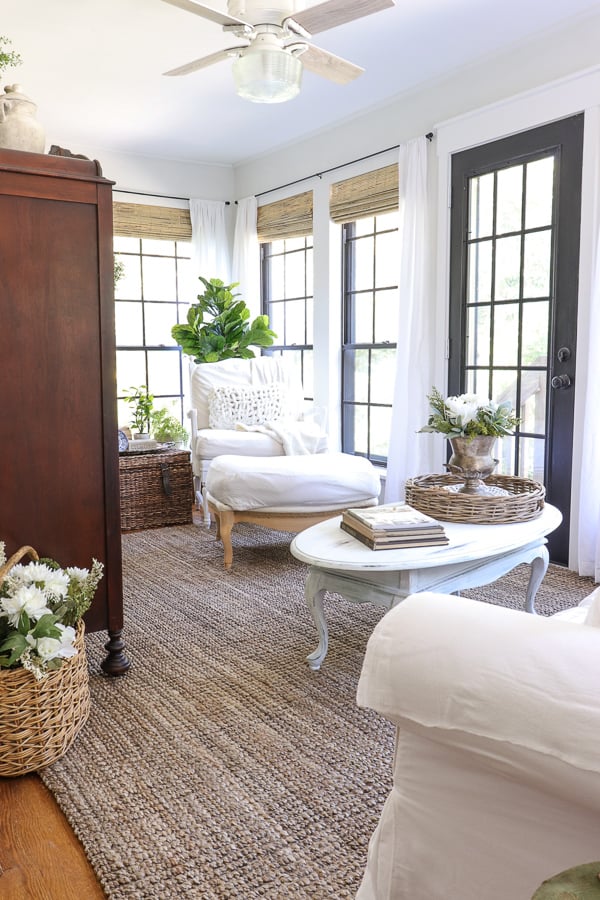
So much lighter and brighter than before with just a little effort!
Underneath those blinds were these beautiful black windows. They are 3 season, metal windows and are completely energy INEFFICIENT, but I love them so!
So let me share how I transformed this space over the past month!
Cozy French Farmhouse
Sunroom Renovation
(Some affiliate links are provided below. Full disclosure here.)
Paint Masonry and Walls – $100
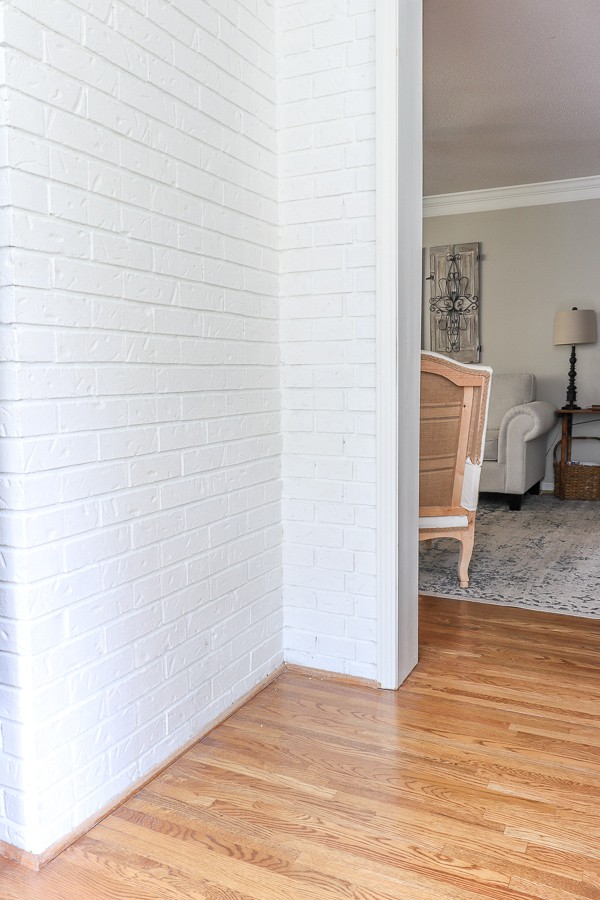
RomaBio BioGrip Micro Primer
RomaBio Masonry Flat in Avorio White
Grace Note – a color from my custom collection with Romabio
Our brick was painted in a glossy, bland beige and I wanted the chalky texture of RomaBio’s Masonry Paints. First, I primed the brick with their BioGrip Micro Primer to allow their mineral paint to adhere. After priming, I used their Masonry Flat in Avorio White and LOVE how it turned out! You can read all the details of updating prepainted brick here.
We also painted the walls using a color from my custom collection with Romabio. This beautiful, neutral white is called Grace Note.
It is so easy to apply and is eco-friendly! I had some leftover from our kitchen paint, so there was no cost to paint the walls.
Paint Back Door Black and Update Trim – $36
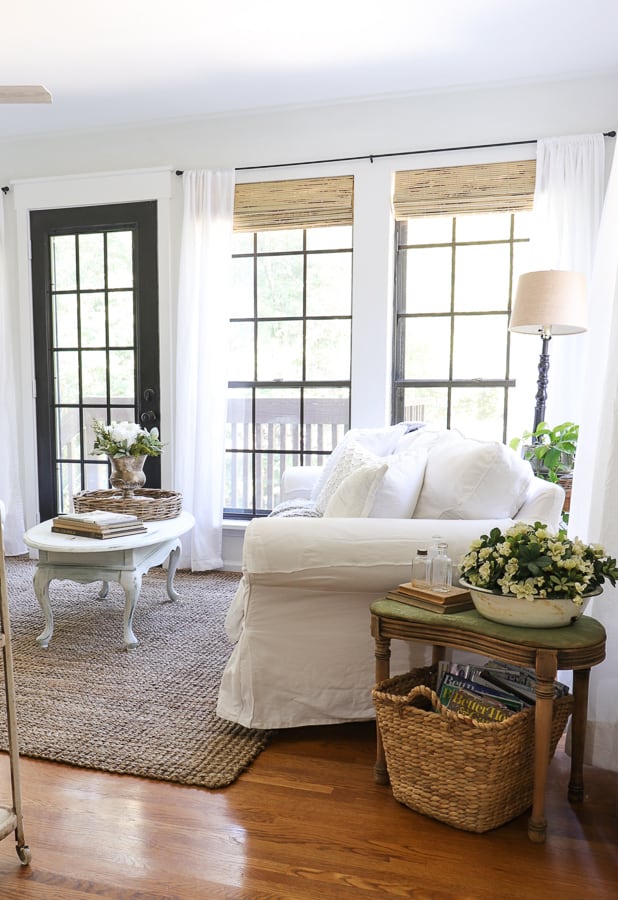
This was an easy fix, especially when the previous owners leave a can of their Tricorn Black Paint for you! I love how the door now flows with the windows seamlessly.
We followed the same technique to update the trim as we did in our kitchen remodel and love how easy it is to change the look of the trim!
Scrape Popcorn Ceiling and Paint – $35
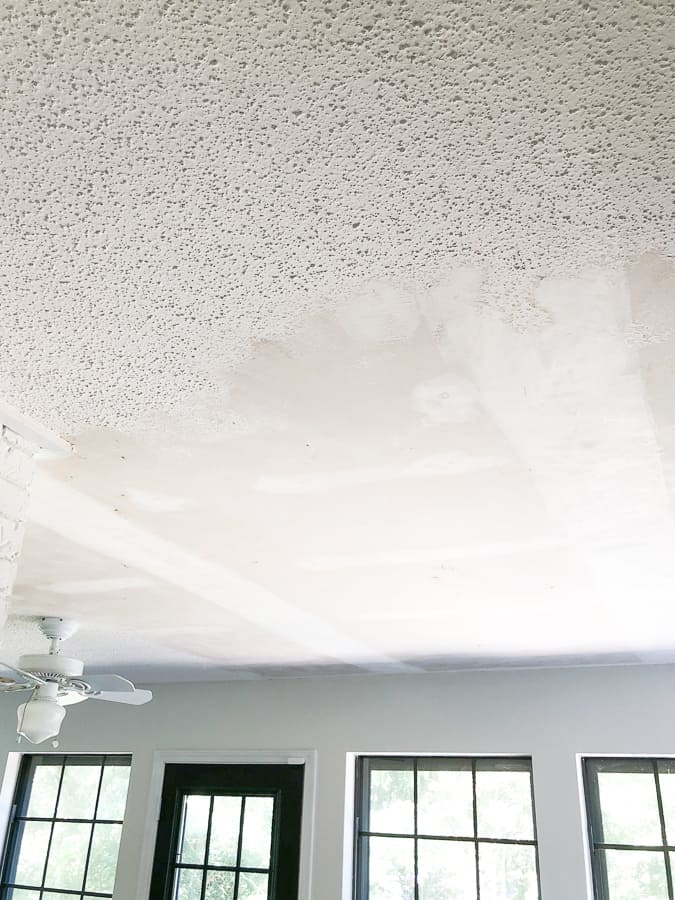
Using a scraper attached to a shop vac, I was able to get the ceilings scraped and painted in 3 days. It actually took a week if you add the days I took off to let my neck rest.
Stay tuned for a tutorial on how to do this yourself with minimal mess!
We had hoped to install ceiling beams, but loved the look of the room without the popcorn and opted not to do that!
Update Ceiling Fan – $110
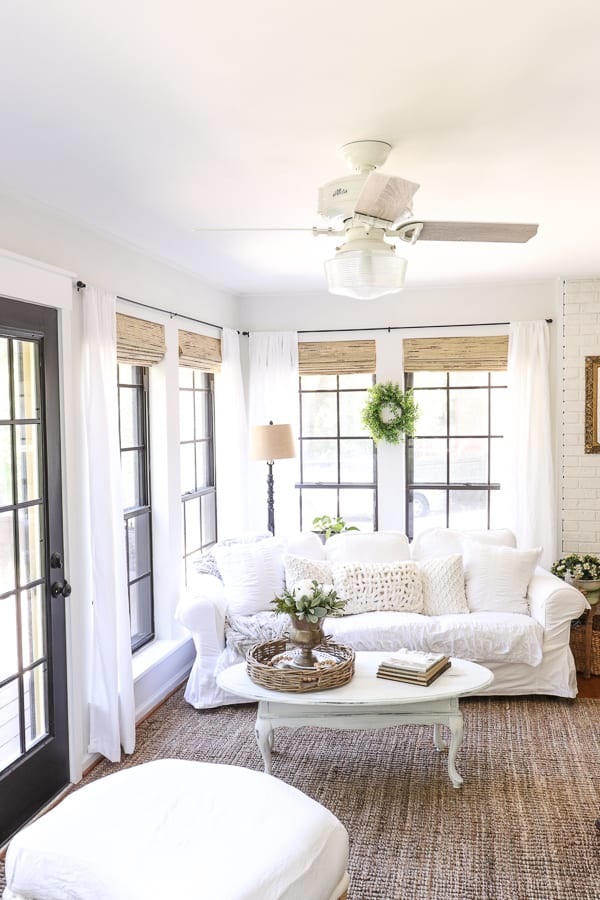
I LOVE my new fan! I got this one from Hunter Fans – it’s the Brunswick Model. It was on sale for $110 and I snagged it quickly.
I opted for a white fan to blend in with the ceiling. I didn’t want anything to take away from those windows!
Now, can I take a minute to toot my own horn? I installed this BY MYSELF! In the past, Trent, aka Sparky, has done most of our electrical. After watching him for all these years, it didn’t seem difficult and I wanted to learn how to do this on my own. He was there to guide me along the way, but it was easy peasy!
Hang Woven Wood Shades – $440
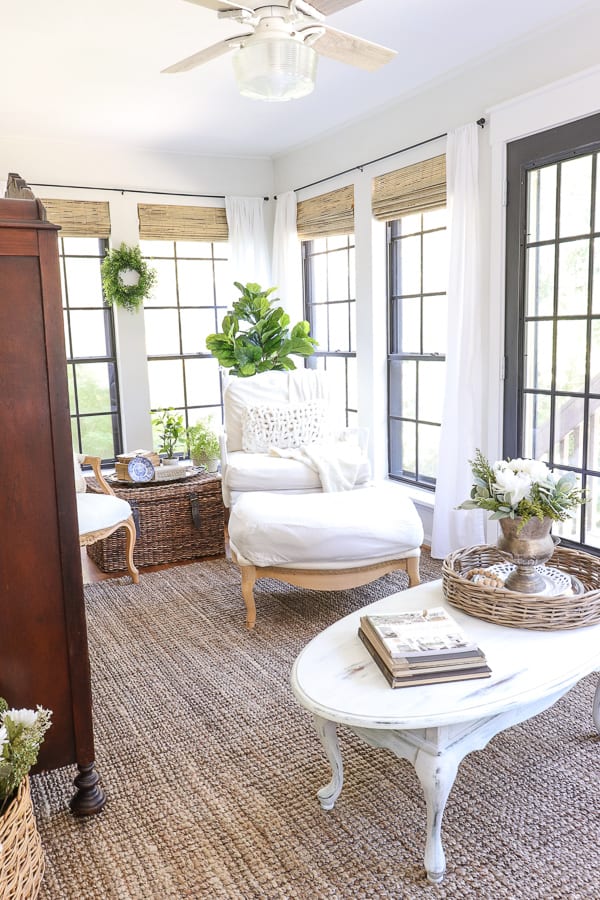
This was the priciest item of the renovation. Since my windows aren’t energy efficient, I needed a way to block the sunlight without completely covering the windows like the ugly blinds did. With eight windows to cover, I knew it could be expensive, so I went with AffordableBlinds.com. I used their blinds for my kitchen remodel and loved how they looked.
Plus, they are cordless!
They had a great summer sale and I ordered all eight for 70% off! For this room, I ordered the Winthrop Tortoise. Winner!
Hang DIY Curtains – $60
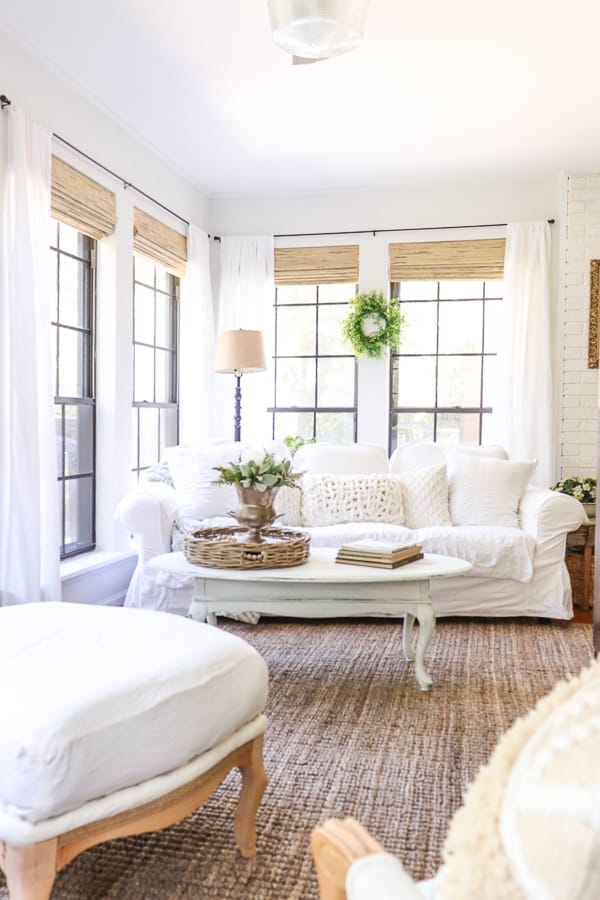
These curtains were the easiest and I love the light airy look! I went to Walmart and purchased 8 of their White Twin Sheets. At 5 bucks each, I was able to create easy curtains for just $40.
The rods were super affordable – $5 a rod. Here’s a tip: they were cheaper in-store than online.
Refresh an Antique Wardrobe – $30
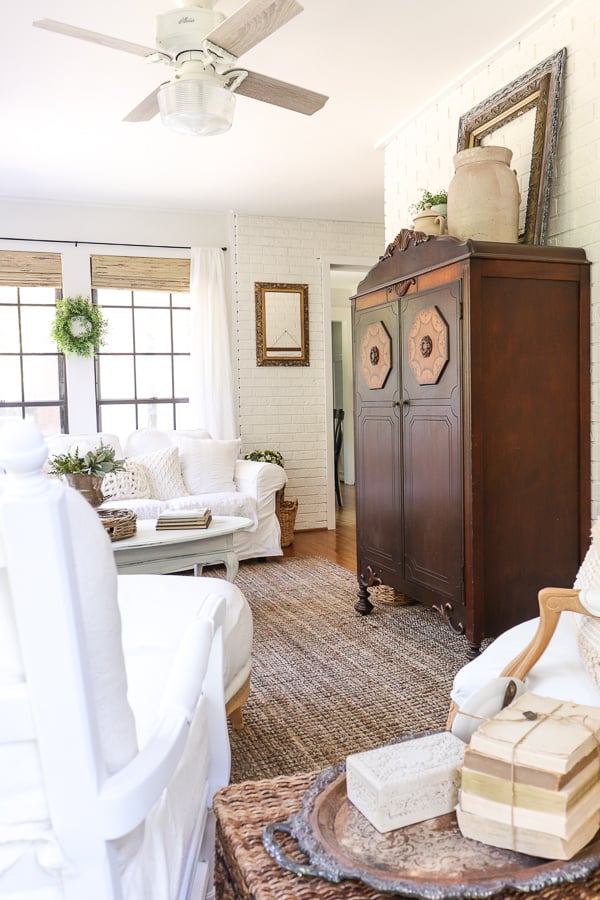
This wardrobe belonged to my husband’s great grandmother and needed a bit of love. It had been stored in a shed for a few years and had seen better days.
I used Howard Restore-a-Finish followed up by their Feed and Wax to refresh the piece and now it’s the focal point of the room!
Paint Green Hutch – free
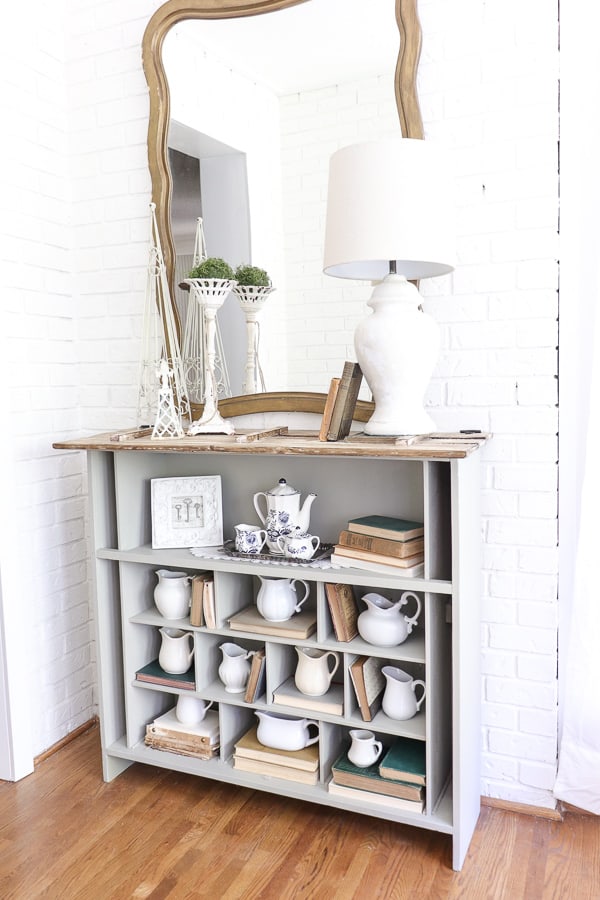
This little hutch was left behind in our laundry room. I had some mineral paint on hand and gave it a quick refresh and love how it turned out!
Vintage Vanity Makeover – free
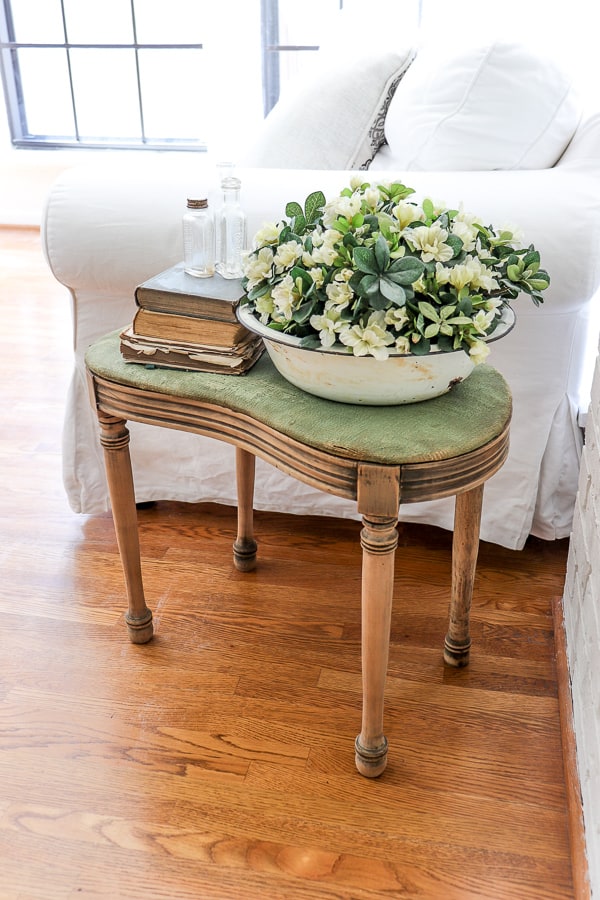
This little vanity bench had been with me for many years – one of my first junkin’ finds. I had recovered it many times and wanted to give it a refresh.
I took all the covers off and found this tattered beauty underneath! It was such a score! You can read the awesome story here.
Reupholster Chairs for This Room – free
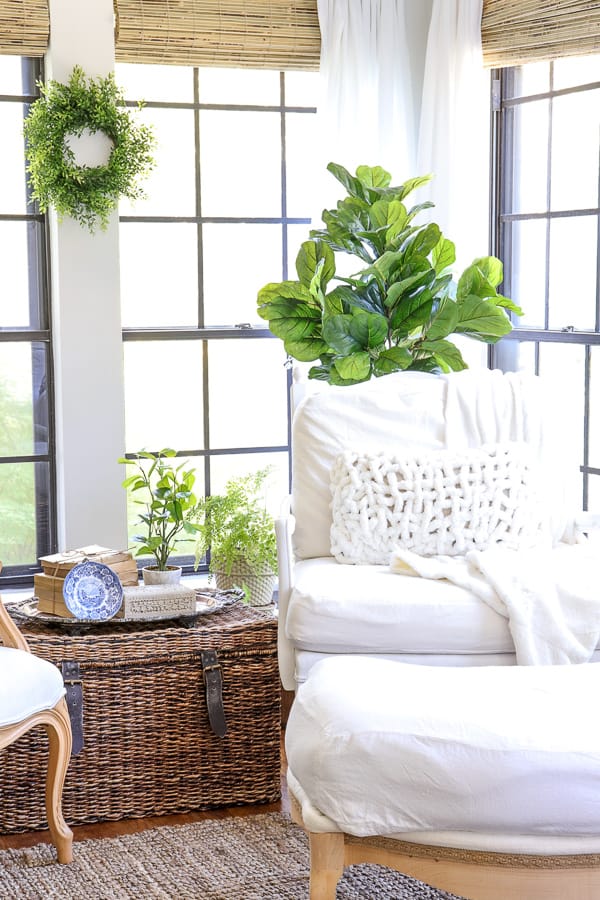
I had two chairs in this room that I had collected at estate sales over the past year and finally got around to recovering them.
Last week, I shared how I painted one chair with mineral paint.

It was a quick and easy update for this dated chair.
For the other chair, I used some bleached drop cloth that I had on hand from previous projects and made slipcovers for the cushions.

Then I gave the frame a fresh coat of paint and couldn’t be happier with how it turned out!
To see the full tutorial on how I recovered this chair, click here!
Get a Jute Rug for the Room – sponsored

When the folks from NaturalAreaRugs.com reached out to me to review one of their rugs, I knew that it would be perfect for this room. I love the texture it adds while also creating a cozy atmosphere. The rug is an 8 X 10 and is the Gideon Beige Jute Rug.
They have a great selection with many seasonal deals, so I would definitely purchase from them for an affordable option!
Create Washable Slipcovers for Ektorp Sofa – free

One question I get asked a lot is how do I keep my couches white with 2 boys in the house.
First off, the covers are washable, but secondly, I stretch the time between washes by using sheets to cover the cushions and arms. I had an old duvet cover on hand that I used and cut it to cover the seat.
Decorate – $136
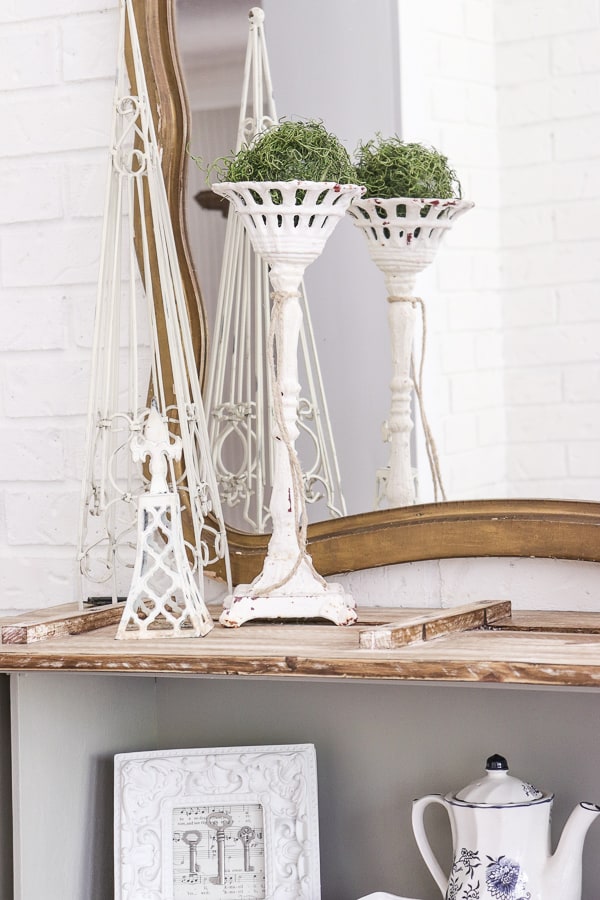
I tried my best to keep this to a minimum, using what I had on hand to decorate with. But I still needed a few items to create that cozy feel. These were the purchases I made to finish this room.
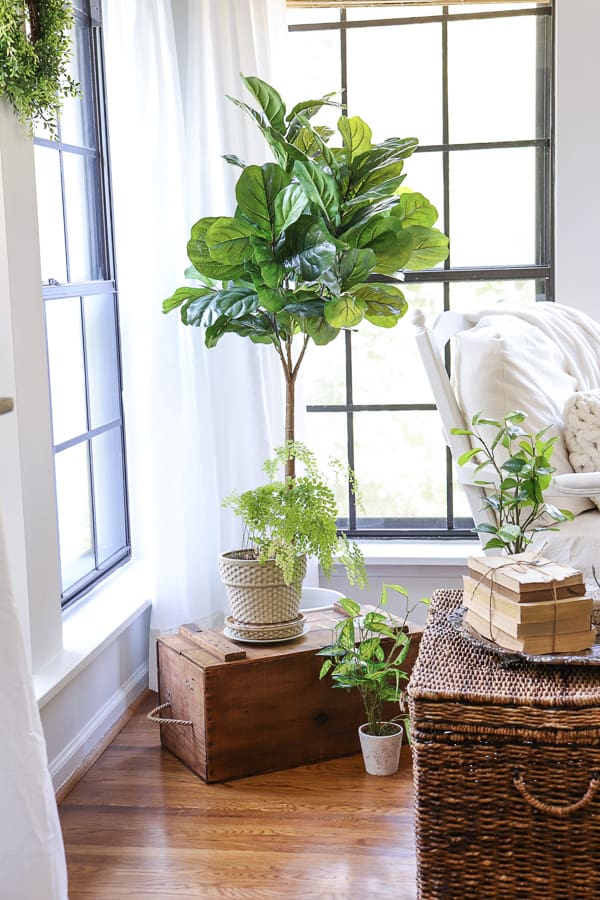
Fiddle Leaf Fig Tree – $49 at 50% off at Hobby Lobby
All other greenery I had on hand. The maidenhair fern and pothos plant are the only 2 real plants. I am green-thumb challenged, and I’m surprised these are still surviving!
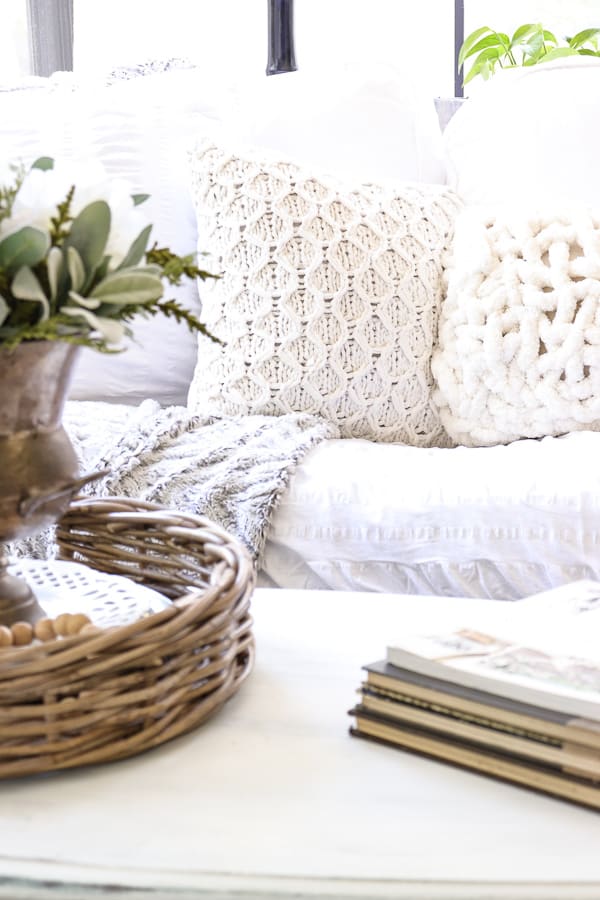
BHG Knit Throw Pillows at Walmart – $26
I loved the knit look of these pillows and had to get a pair! I remembered that I had some chunky yarn on hand, So this prompted me to knit my own covers for the other pillows – I share the trick on how to do it next week!

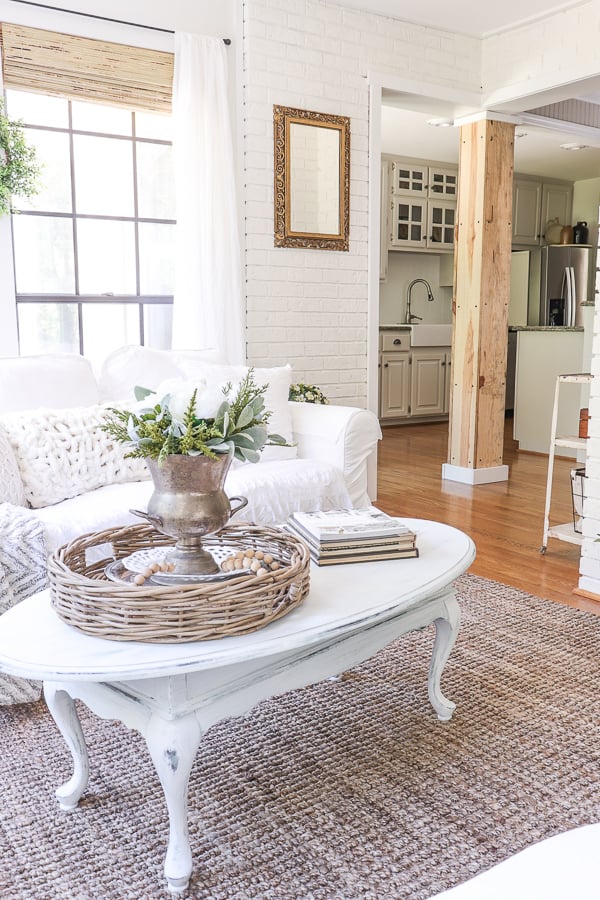
New-to-me Coffee Table from Facebook Marketplace – $40
I found this cutie on the marketplace. It was baby blue and I gave it a fresh coat of white and distressed it so some of the blue would peek through.
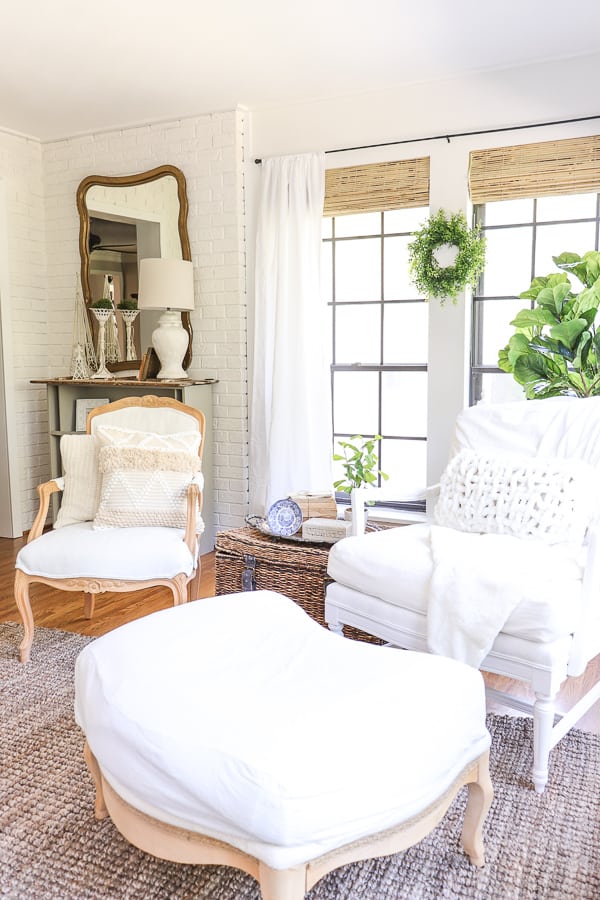
Cream Throw Blanket – $12 at Hobby Lobby
Natural and White Pillow Cover – $8 at Hobby Lobby
Of course, you can’t have a cozy space without some fun textures. And this blanket and knobby pillow were the perfect fit!
Everything else are items I’ve collected over the years or had been gifted from family.
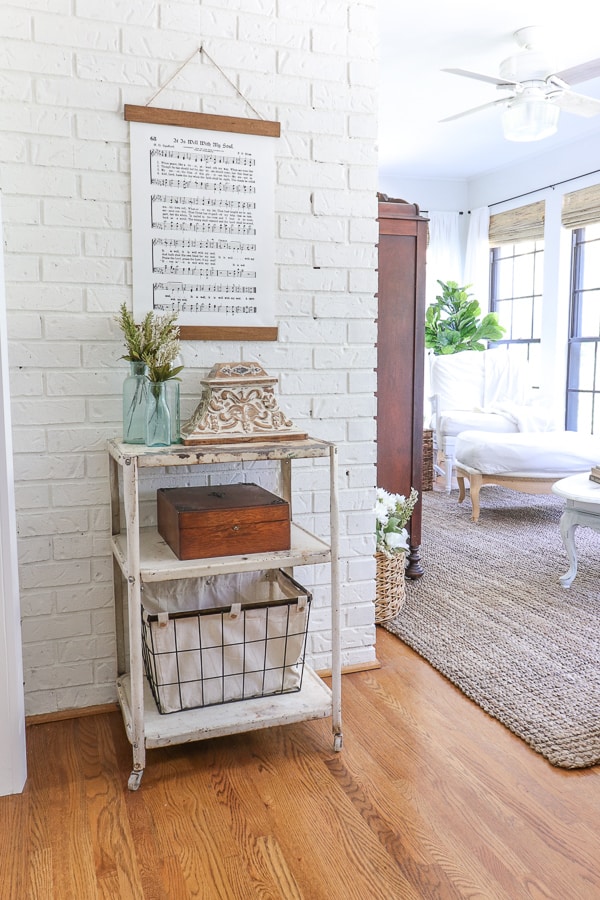
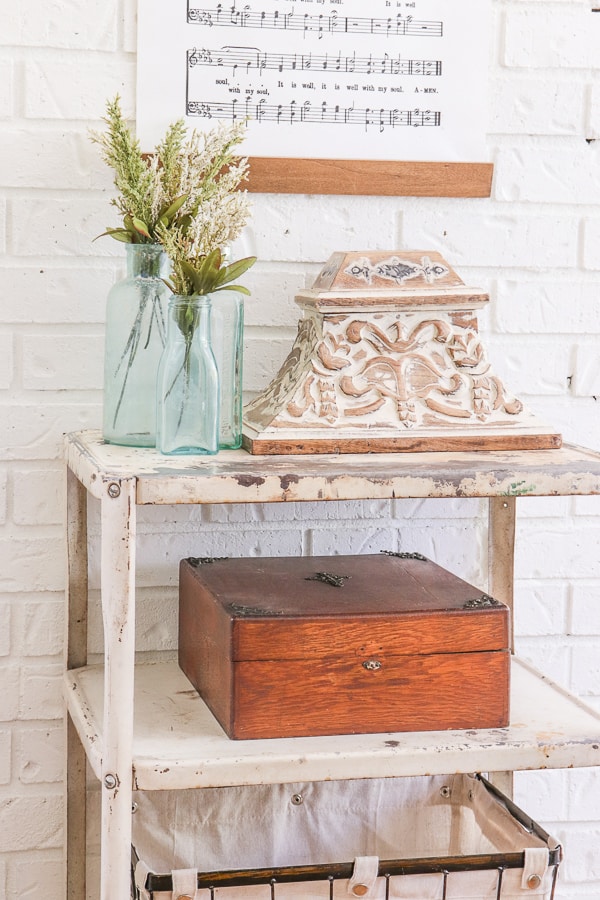
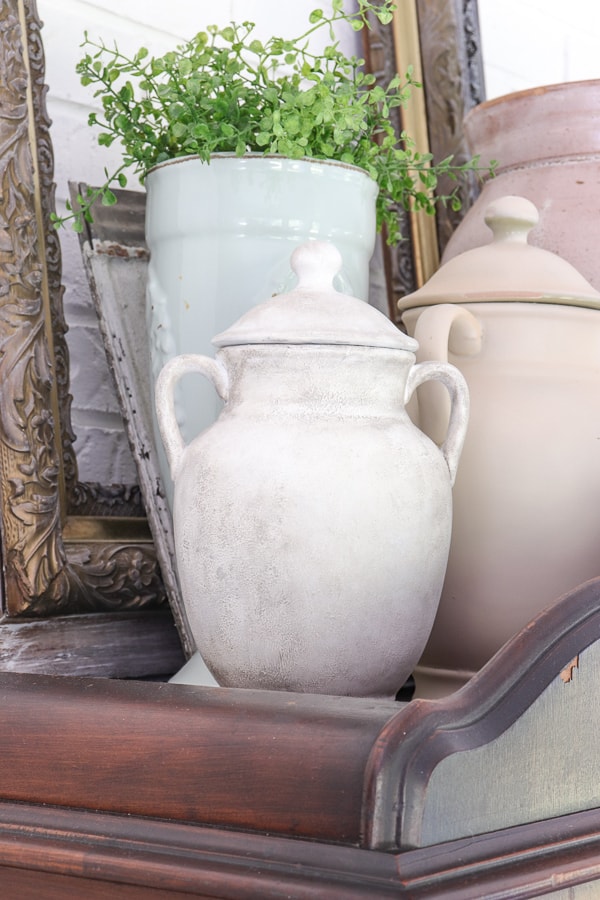
So the grand total for this room renovation was $947! For less than $1000, I was able to completely transform this room and I couldn’t be happier with the result!
Next week, I will start sharing tutorials on some of the DIYs I made in this room, so be sure to come back!
Let me know what you think in the comments below. You can find me on Facebook, & chat with me on Instagram.
Thank you so much for following along with me on this renovation! It always means so much to hear from my readers!




Oh – thank you so much!
This is exactly what I would want (if I had a sunroom)! Relaxed, yet sophisticated at the same time. I love your style.
Thank you for your kind words, Amber! And yes! You can still apply Romabio! If you want to be sure, they have great customer service you could reach out to.
And please send pics! I would LOVE to see it. You home sounds lovely – I love the classic design of old homes. They just don’t make them like that anymore!!
This is so pretty! We bought a new (1920’s) house with a sunroom similar to yours that hasn’t been updated since the 60’s. I fell in love with at first sight, knowing what it could become. We primed the brick walls already and now I am wondering if I can still use the Rombio products? I would love that white chalky finish on my brick too. We are moving in this summer, and I will send you a link to a before and after post when we get finished, I think you will like it!
Love your sunroom!
Love seeing the transformation! It is just gorgeous!
Oh, thank you so much! Good luck with your Living Room! Sounds like fun!
Hey Lynne – thanks so much! I found it at a little shop in Tennessee. They sell some on etsy as well. Here’s an aff. link to one
hope that helps!
Jill – this made my day! Thank you for taking the time to leave such kind words! This is why I share all the details of what I do! I am so glad this has inspired you!
Thanks so much Kate! I’m so happy with the result!
Thank you so much Cindy!! I am not a good seamstress either, so I’ve used stitch witchery before. Love that stuff – all you need is an iron!
Thank you Carol! I love the history of the piece as well!
Wouldn’t that be lovely! Thank you so much for the sweet comment!
Thank you sweet Jayme! Your words mean so much!
Oh I just love everything you have done in this space. I am so inspired that I think I will tackle my living room. I like all white with pops of color.After seeing your sunroom I can’t wait to get started. Always love your blog. Keep up the good work.
Your sun room turned out so pretty. It looks so cozy yet so clean and calm. I love every choice you made for it. Do you happen to remember where you got the sheet music hanging on the wall?
Jen
I have been scrolling through the pics of your sunroom quite a few times today. You have achieved the most
coziest, fresh and inviting space to sit in. What an amazing job! I too have a white ikea couch. I love all your touches, and thought I could incorporate some of your styling into our home. But first…..I need to scroll through all the pictures again. 😉.
WOW!!! Absolutely LOVE it!
This turned out amazing. So bright and very cozy and love all your touches added. Curtains from sheets, brilliant and them bunched together you would never think it for a moment. No sewing abilities really stinks . Should have listened to my amazingly talented mom and let her teach me.
Looking forward to reading more.
Enjoy your hard work
Cindy
I love this room! The old wardrobe cupboard looks fabulous in in room and I see why it’s the focal point!
You are so talented my friend. Another win! I’d love to plop down in a chair with a cup of coffee and gab and giggle!
Love the look. I can’t wait to see how to make the pillows. The look is amazing, and I’m going online to look at the rugs – now!!!?
Thank you sweet Ruth! Missing our Zion Family!!
Thank you and I will happily have a warm cup ready!
Thanks Tina! I appreciate you taking the time to leave such nice words and am glad you are following along! Those posts should be coming soon!
Thank you so much Molly!
Perfection! As usual Jennifer your touch is spot on!
Love the room! Makes me want to join you for a cup of coffee and some girl talk. Great Job. I’m impressed that you hung the fan on your own. Your actions inspire others to not be afraid to tackle something new. BRAVO! Keep up with your knitting. The cushion covers look awesome.
II LOVE this space!!! It looks so calm. And I am looking forward to the post on the popcorn ceilings. Our house has them 🙁 And I need an easy way to get them off! I also love the chunky knit pillows. I have a place ready for them, so I’ll be looking for this post, too!
Great job and beautiful room!