Easy French Country Armchair Makeover
Ever have a piece of furniture sit in your home begging to be updated? That’s what happened with this easy French country armchair makeover.
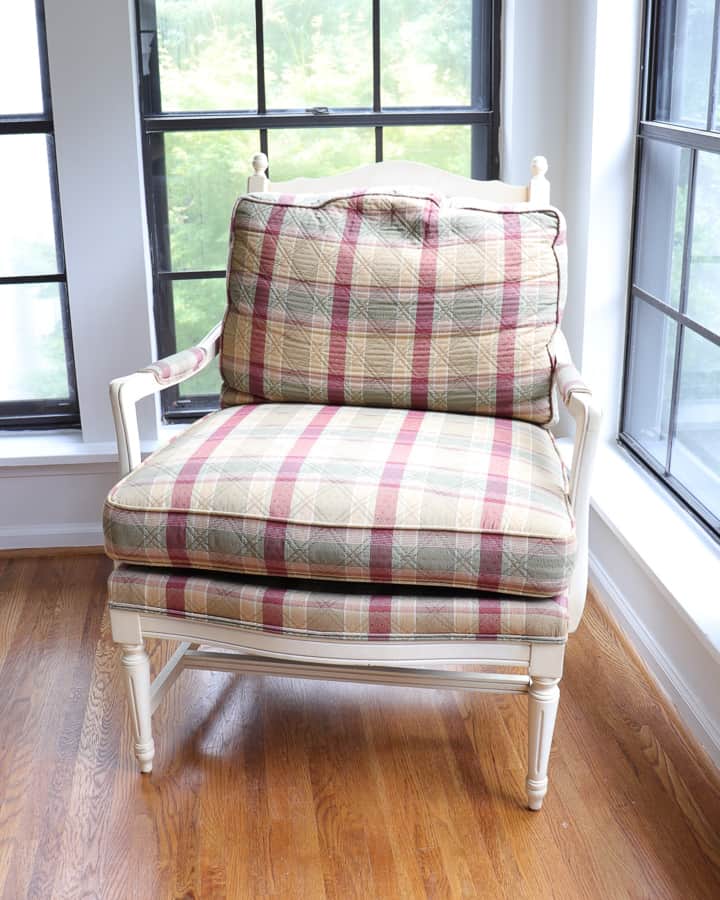
This little occasional chair is finally sighing in relief.
You see, it was the oddball of the room for the past year – sticking out like a sore thumb.
It came to our Birmingham home as a necessity and was put at the top of the project list.
But it kept getting pushed further and further down the line of priority.
It didn’t match any of the other decor and was crying out for a pick-me-up.
I found this chair on the Marketplace and immediately fell in love with the lines.
Then I found out it was for sale in my neighborhood.
So I snatched it up from a fellow furniture flipper whose talent far exceeds my own.
But it sat and sat and sat in my home untouched.
The upholstered base intimidated me and wasn’t sure how to approach it.
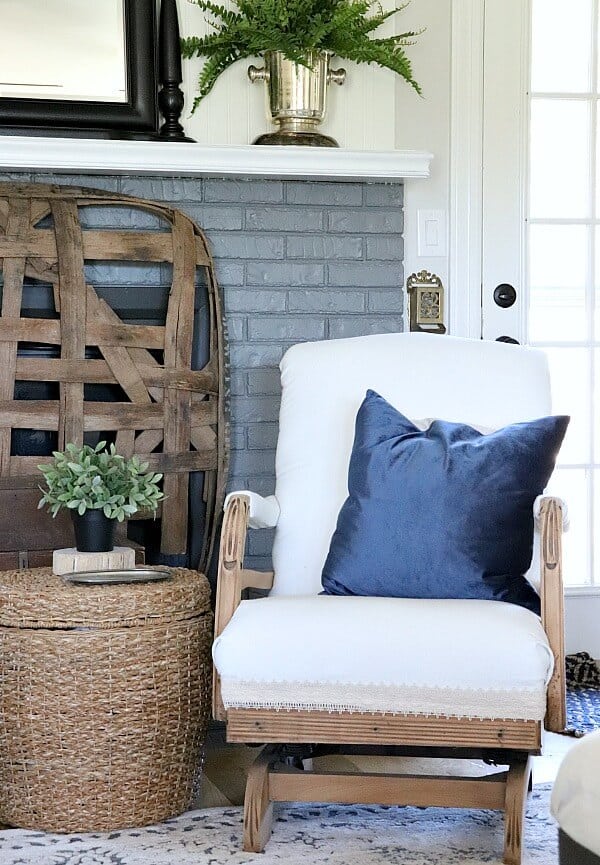
When I made over my french armchair using mineral paint, I found my inspiration! Here’s how this easy French country armchair makeover is now my favorite piece in my sunroom.
Easy French Country
Armchair Makeover
(Some affiliate links are provided below. Full disclosure here.)
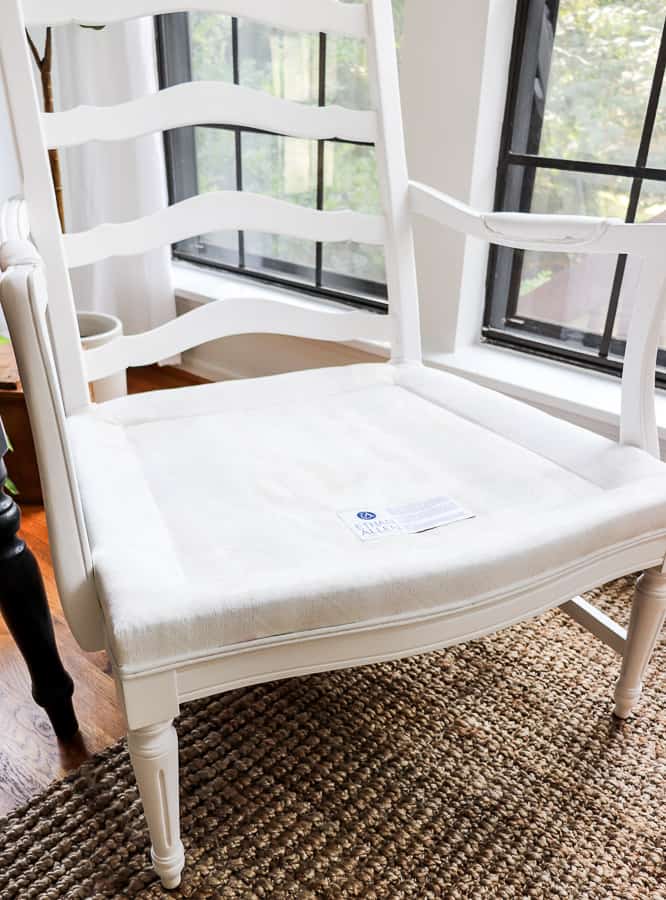
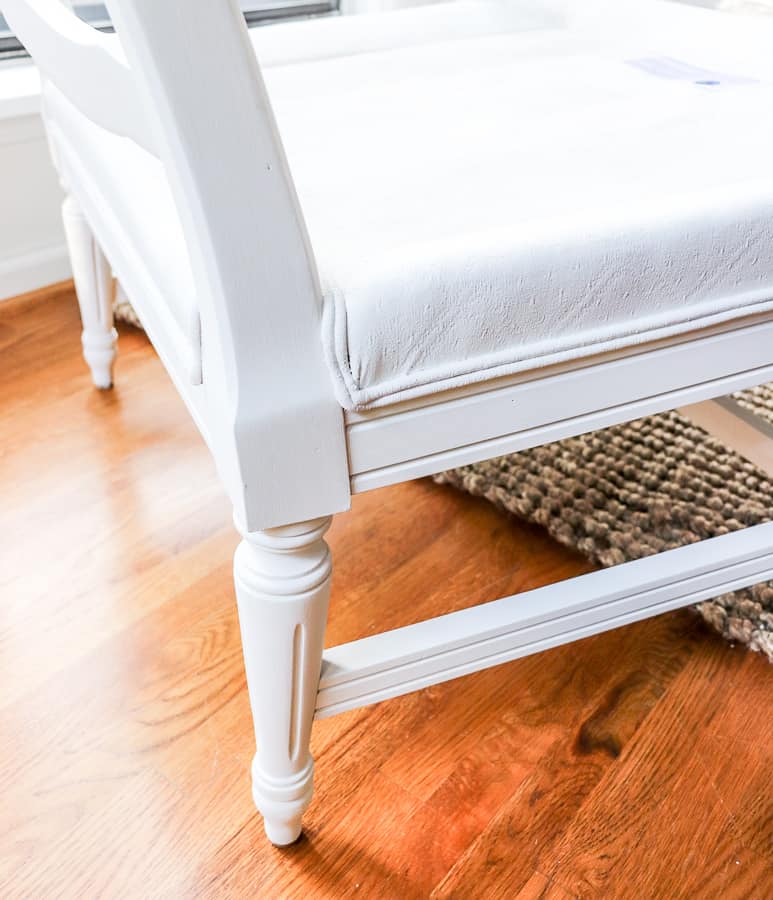
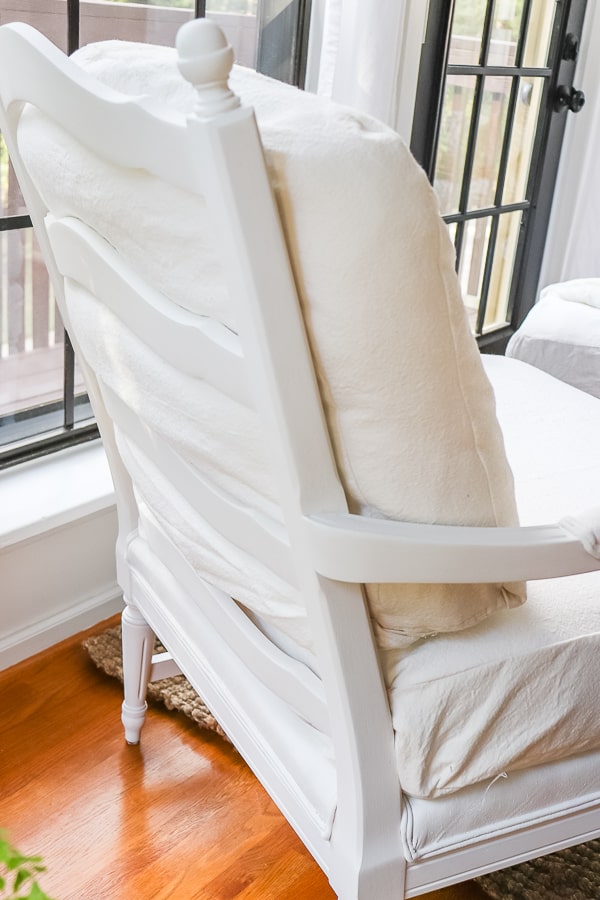
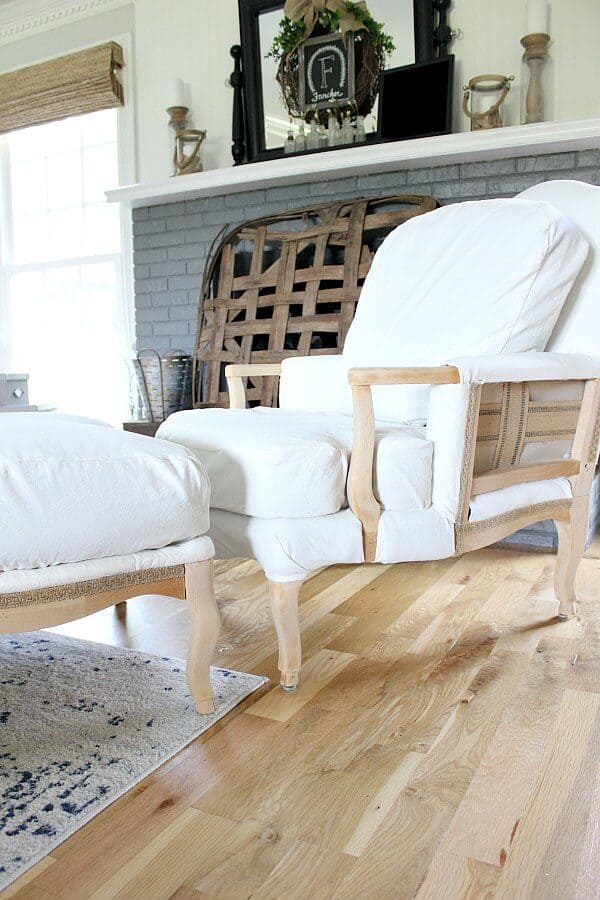
I took some mineral paint I had on hand in a creamy white and painted the wood frame.
Using the same technique on the painted fabric, I wet the fabric first and then painted it with mineral paint.
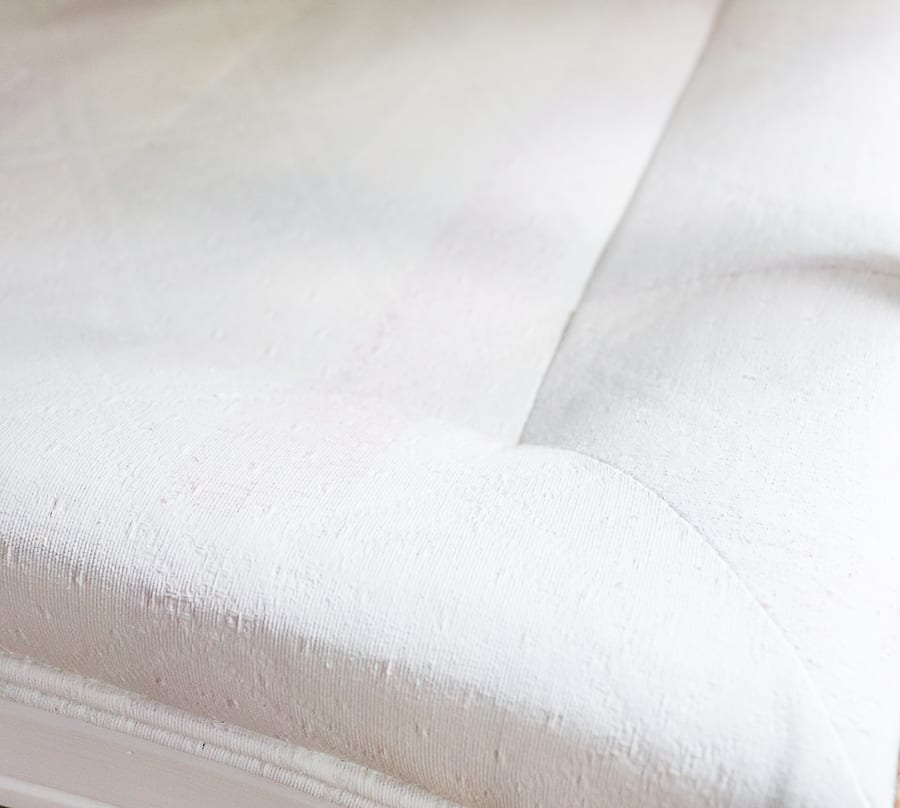
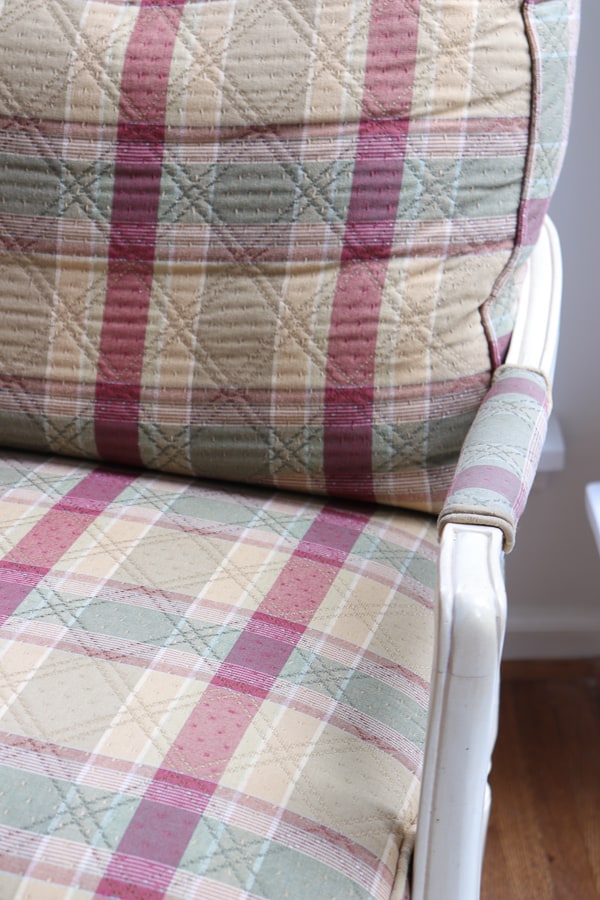
Since some of the original fabric was that reddish color, I had to give it several coats for coverage.
After letting it dry overnight, I was ready to move on to the next step.
I have recovered three chairs using bleached dropcloth fabric and had a bunch leftover.
I quickly sewed together two envelope covers for the cushions.
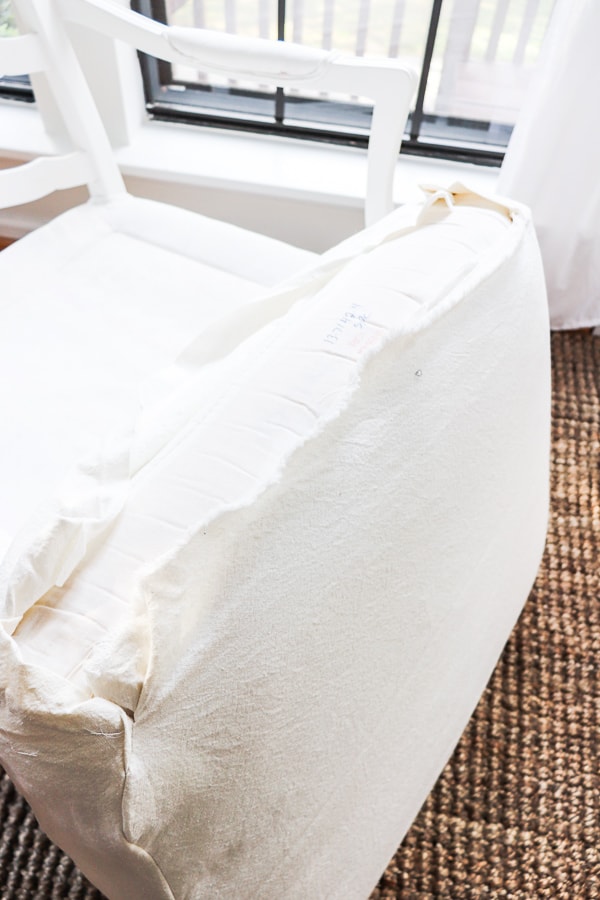
Now this is where I get lazy – every. single. time.
If you were to inspect the cushions I’ve covered, you will find them all like these.
Unfinished.
Since the back of the chair covers the cushion, a safety pin is my go to trick.
One day, I promise to learn to finish these, but for now, this will do.

And once it’s in place – it works fine.
Plus – how many people come to your home pulling the cushions off your furniture?
I repeated the same for the back cushion.
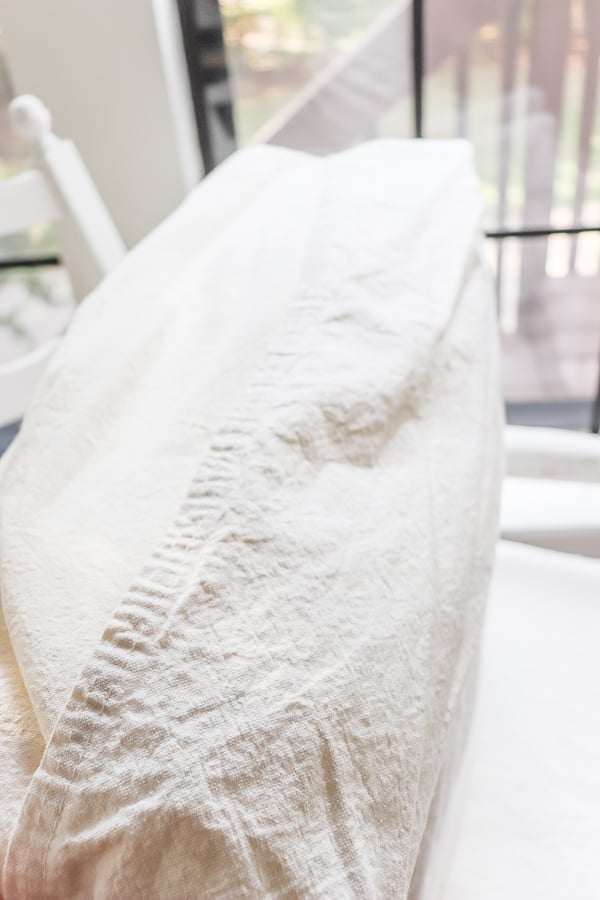
This one turned out much better!
So here they are, both cushions in place.
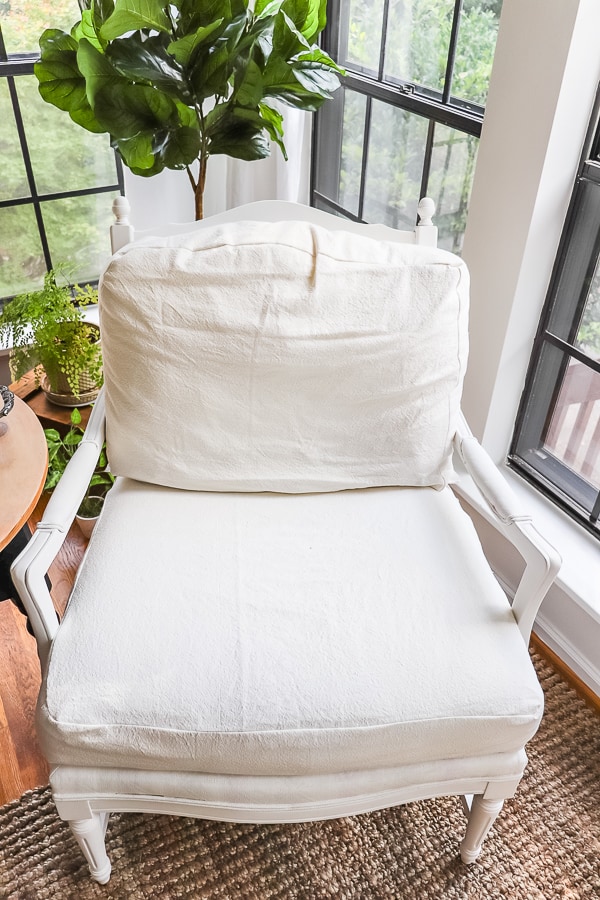
And even with the open back, you can’t see the unfinished edges.
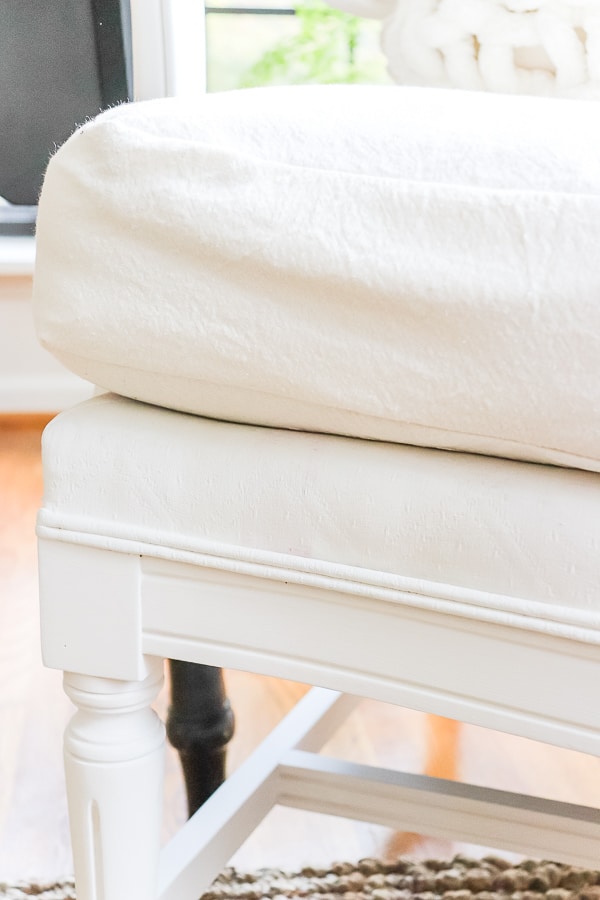
I love the combo of the creamy furniture paint against the painted fabric with the bleached drop cloth slipcover.
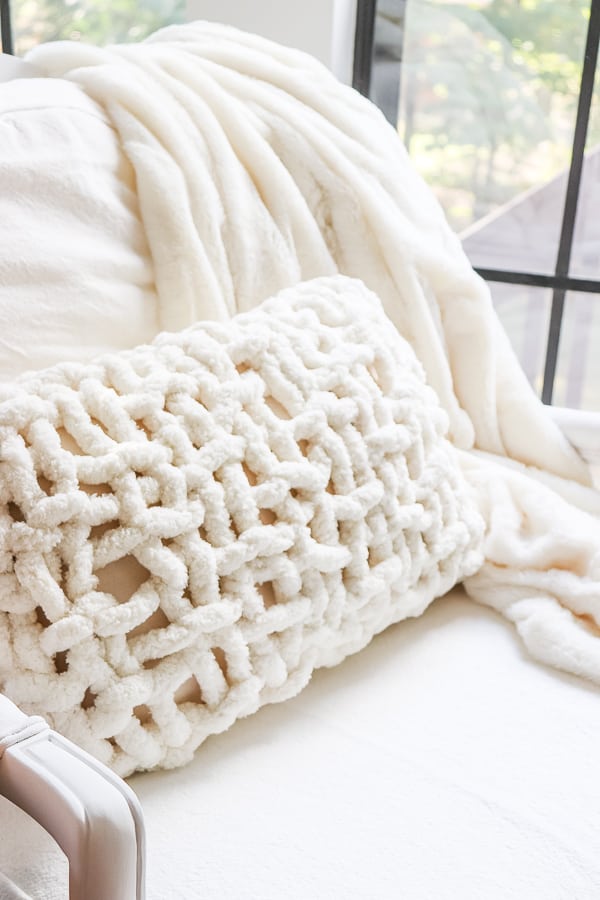
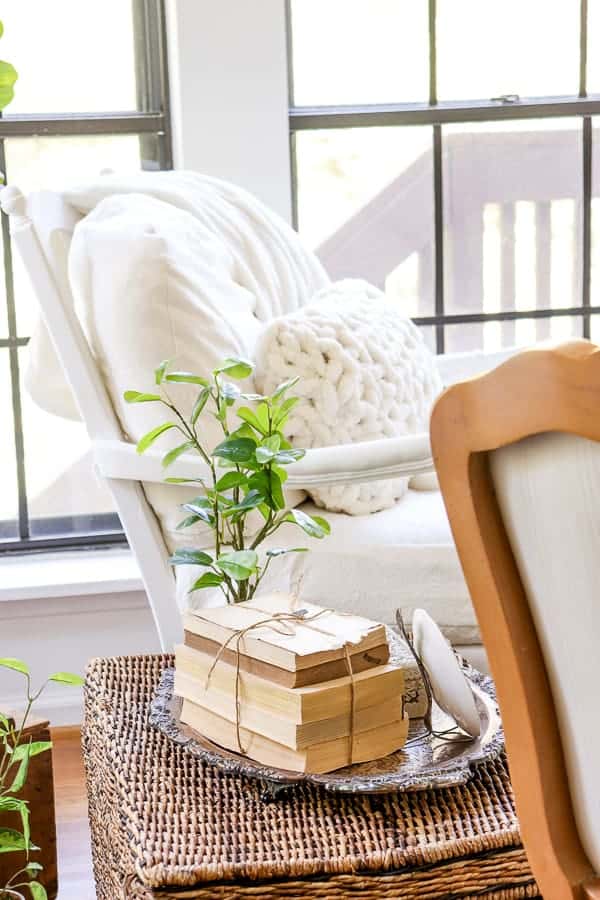
I added my latest DIY project to the chair – my chunky knit pillow cover.
It’s the perfect fit for this chair.
This took me just a few hours to complete.
And I’m not a seamstress. Easy straight lines are all I can sew.
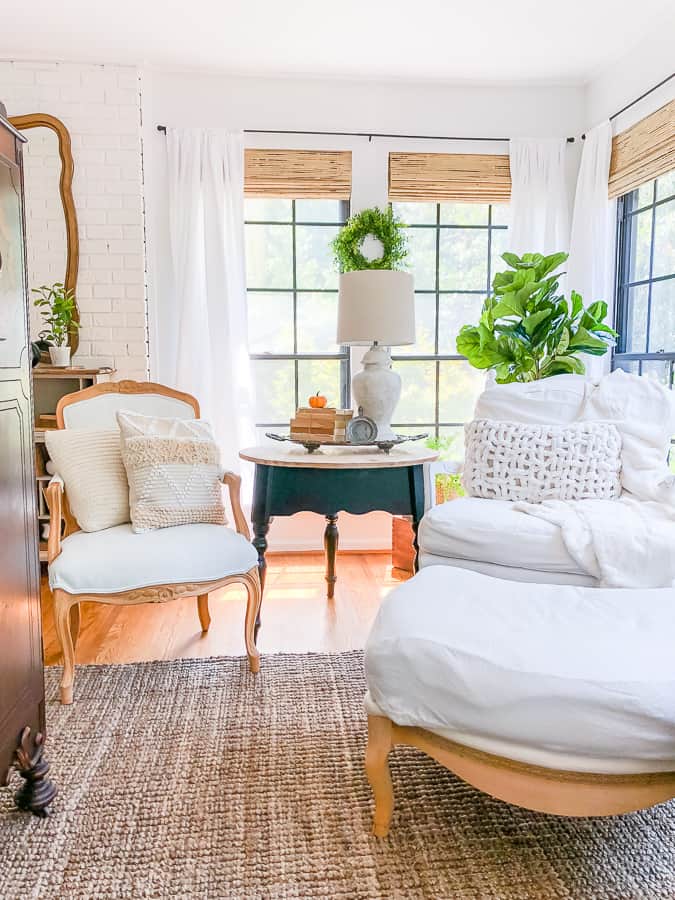
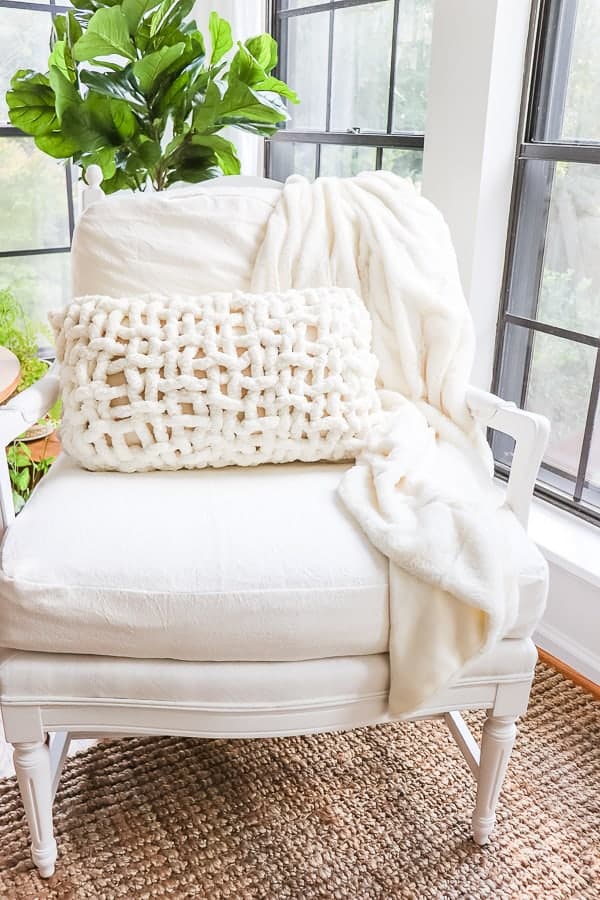
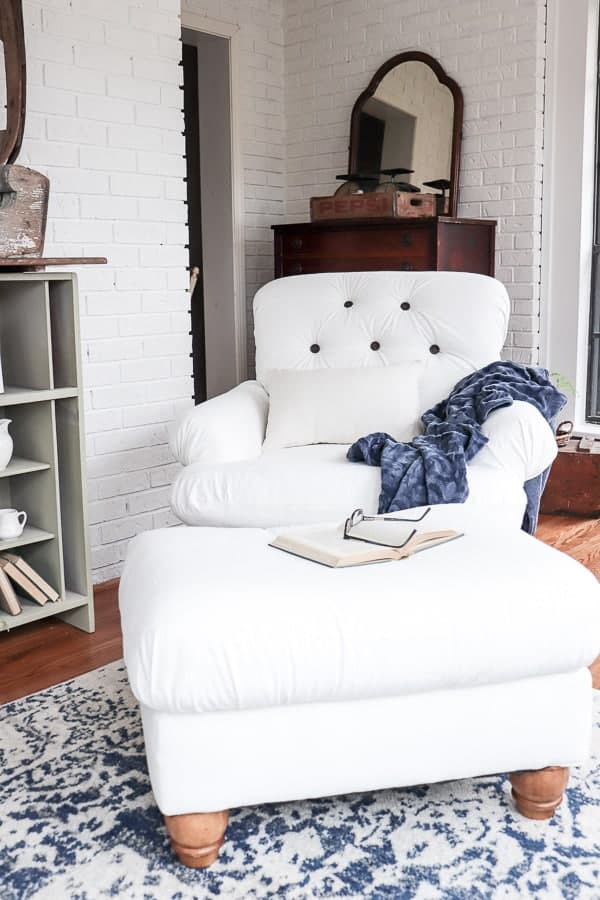
I added an ottoman to the front of the chair and it’s now my favorite place to sit and relax!
So, I hope this inspires you to give that chair you’ve been eyeballing a second look.
Of course, it’s intimidating to take on an upholstery project, but my friend, it truly is easy once you get into it!
But j ust be sure to hide those safety pins! 😉
Thanks so much for reading this post and for always leaving such encouraging words. If you have any questions about the chair, or anything I may have left out, please feel free to leave me a comment below.
You can also find the behind-the-scenes of my projects over on instagram. Be sure to say hi if you stop by!


Hi Sherie – thanks for reaching out! The curtains are made from twin bed sheets and the blinds are from affordable blinds. I link to the exact ones in my sunroom post if that helps!
Where did you get the drape panels and the matchstick blinds in your livingroom?
I’m so glad this inspired you! Thanks so much for always stopping by!
Those are wonderful suggestions! Thanks so much for sharing this! I will have to give it a try. Thank you for your kind words and for subscribing!
Thank you Leigh! I love how it turned out and am always on the hunt for a furniture flip!