My $35 Flip: An Easy Reupholstered Chair and Ottoman
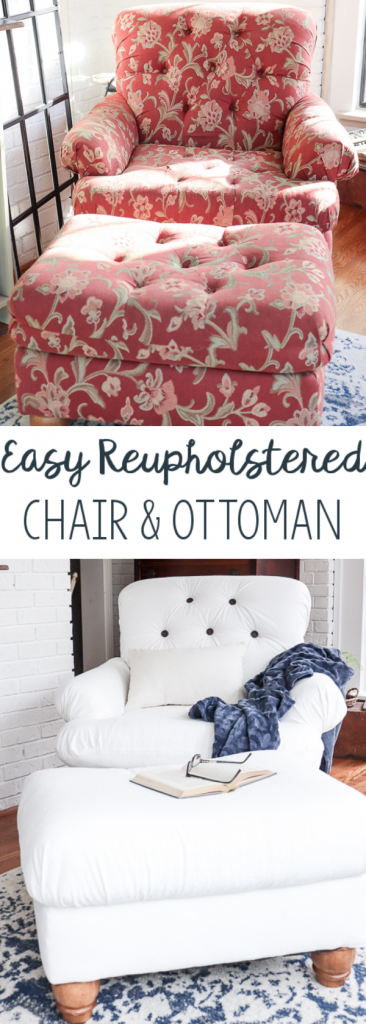
When I found a chair and ottoman for $35 on a buy/sell/trade site, I knew I could flip the chair into something perfect for my home. Here’s an easy reupholstered chair and ottoman that took just a few days to complete.

I promised myself that I wouldn’t do another reupholstery project.
It’s not that reupholstering is difficult or an impossibility – but each time I’ve tried a project, the initial start is always daunting.
But when I saw the price of this chair – I jumped in our 21 year old van straight out of Samford and Son with the windshield wipers that don’t work and the back window that opens with each speedbump or pothole you hit – and went to pick her up.
Trent wasn’t so sure.
I showed him the picture from the listing and he scrunched his nose up in disgust. He couldn’t see the vision I saw when I looked at that picture.
So I grabbed my teen son and we went to get this chair and ottoman.
It was covered in cobwebs in a dingy basement. After a trial test run, we said we’d take it. We loaded it up into our junk van and out of the corner of my eye, I spotted a dresser with a detached drawer front.
I asked if they were selling it. He said I could have it as long as I took their La-Z-Boy chair, too.
Umm…say what? I think tears welled up in my eyes. If they only knew what those words mean to a DIY Blogger.
So, I bring the chair inside and it sits for a few weeks.
I don’t know what it is about DIY projects, but sometimes I have to sit with the project piece for a while to fully let the ideas be born.
My plan for this chair was to use bleached dropcloth fabric – mainly because it’s so durable and affordable.
While the dropcloth was bleaching, I stripped all the old fabric off.
I shared a full tutorial on my No-Sew Recovered Wingback Chair, so for photo details of this process, head over to that post, but let me outline the steps for you here.
Easy Reupholstered Chair and Ottoman How-to
(Some affiliate links are provided below. Full disclosure here.)
Tools needed:
Staple Puller
Scissors for cutting fabric
Electric or Pneumatic Staple Gun
Staples
Hammer
First, disassemble the fabric from the chair.
The important thing to remember when disassembling the chair that you plan to recover is to notate your process. The first piece you remove will be the last piece you put on.
I typically start with the bottom, move the the back, then the sides and finally the front.
Be sure to save each piece of reupholstery findings – like tack strips, or pronged buttons.
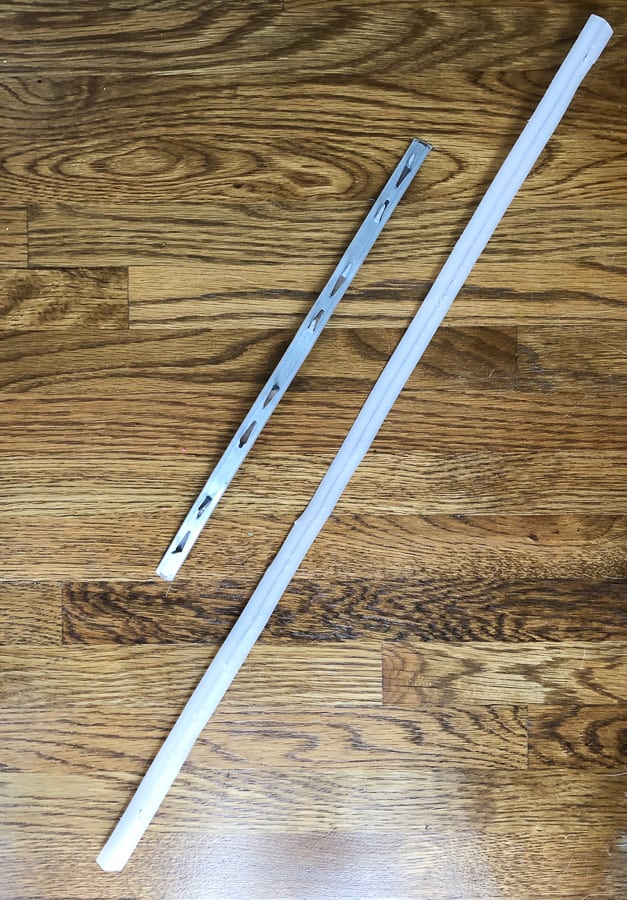
And don’t leave a tack strip out for someone to step on. This klutz learned that lesson the hard way!
TIP: A way to keep track of the order is to label each piece as you go. I use good ole paper and pen, but you can snap a pic of each stage, or mark each piece you remove.
Next, use the old fabric as a template for your new fabric.
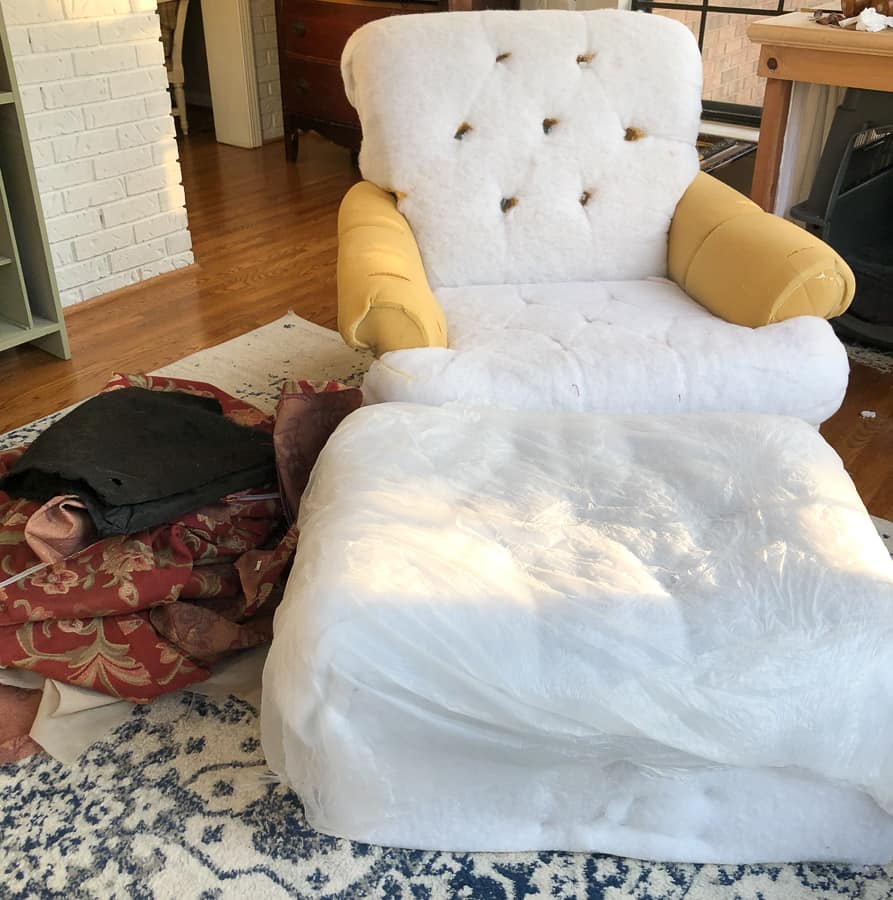
Now that your chair is down to the bare basics, it’s time to start cutting the new fabric.
I set out my bleached dropcloth on my kitchen table. I would start with the last piece I removed and cut that out first.
TIP: The cuts don’t have to be exact. I typically cut about a half inch around each piece. It’s better to have too much fabric than not enough.
Time to reassemble.
By working backwards, you rebuild the chair the same way you took it apart.
I follow the staple lines from before and staple in those same general locations.
The tack strips can be tricky.
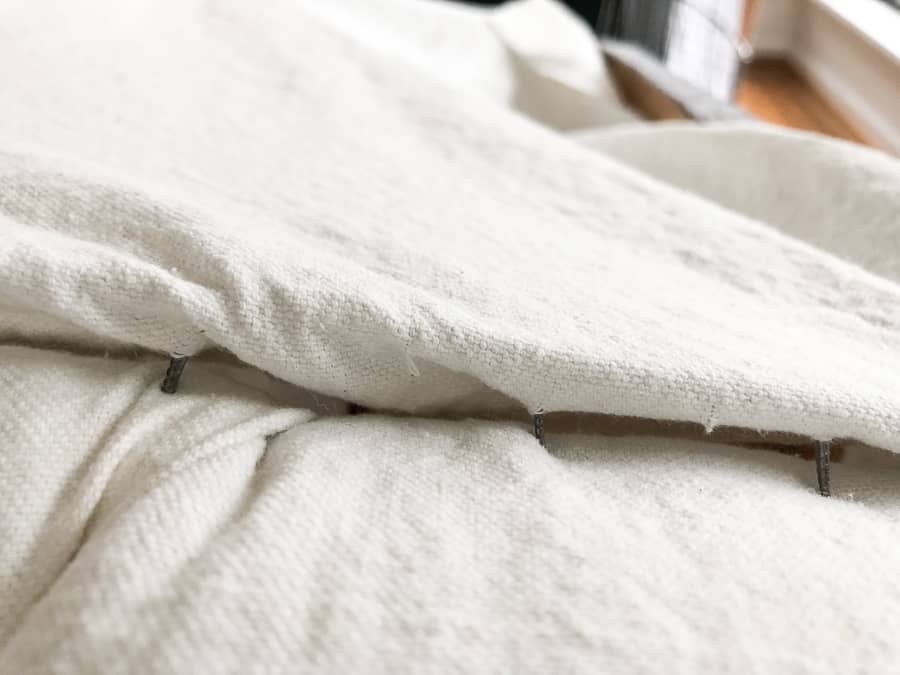
Upholsterers use tack strips to create clean edges along the sides and back.
This took a bit of thinking for me, and then a coffee break to clear my head.
What worked for me was to attach the piece with staples at the top, then focus on the tack strips.
Keep the fabric taut, and realize that the edge folds under (like pictured above), and hammer the tack strip in.
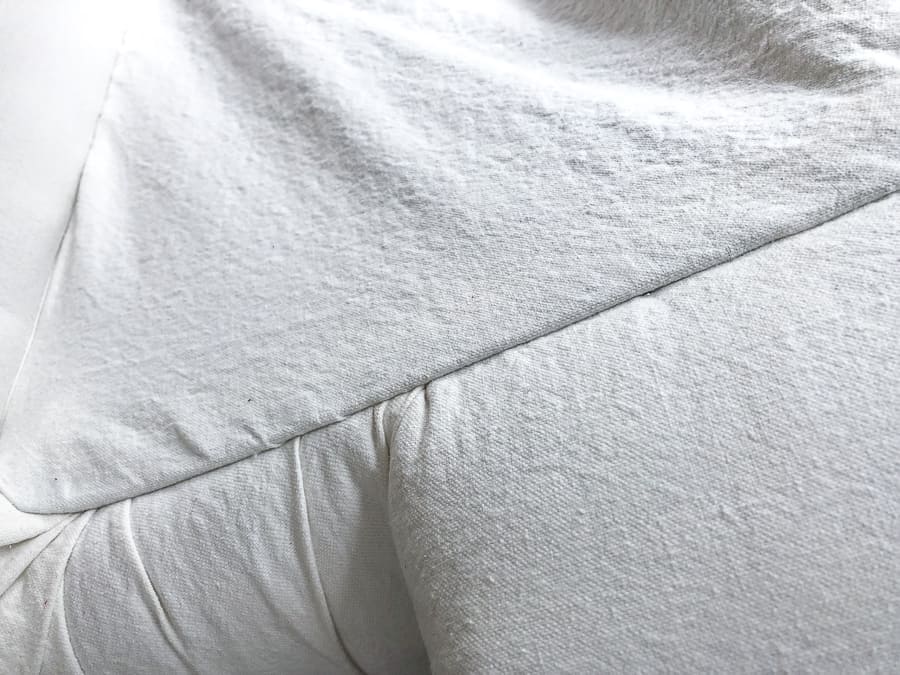
You are left with a nice straight edge without any staples.
Repeat the process on the other side.
TIP: It’s a good idea to have extra fabric on hand in case you mess up.
So that’s the basic gist of it. It seems daunting, but trust me, if I can do this – so can you!
Ready to see the final piece?

Can you believe it’s the same piece?
What I can’t believe is that this Easy Reupholstered Chair and Ottoman was done in just 3 days. And that was with lots of breaks in between. Had I worked non-stop, I could see this possibly finished in one LONG day.
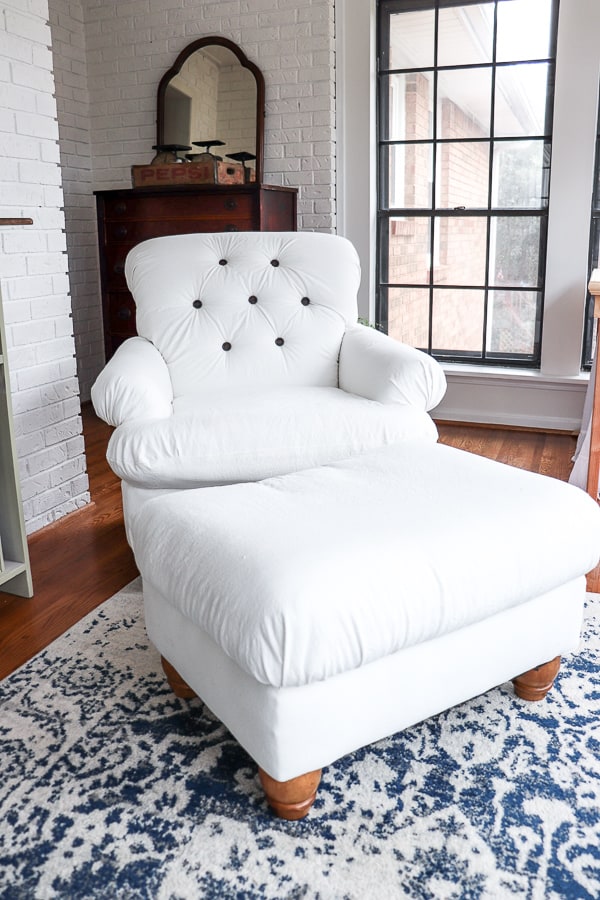
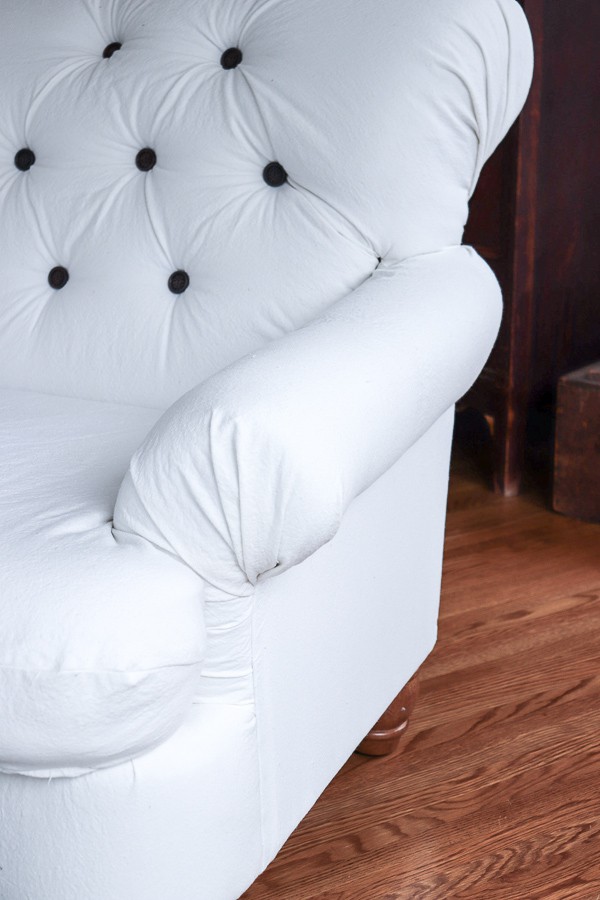
I opted to not use the tufted buttons on the ottoman or the cushion seat.
I did that for two reasons.
Son #1 and Son #2
We had a tufted ottoman and the buttons took a beating with my boys, so I only added the tufted buttons to the back.
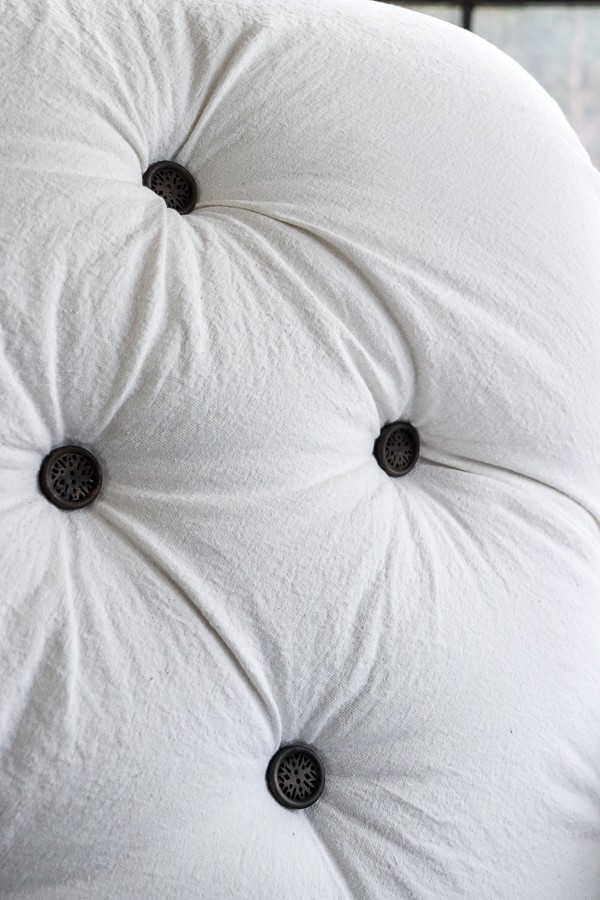
I reused the pronged upholstery buttons from before and glued these wood buttons to them using fabric adhesive.
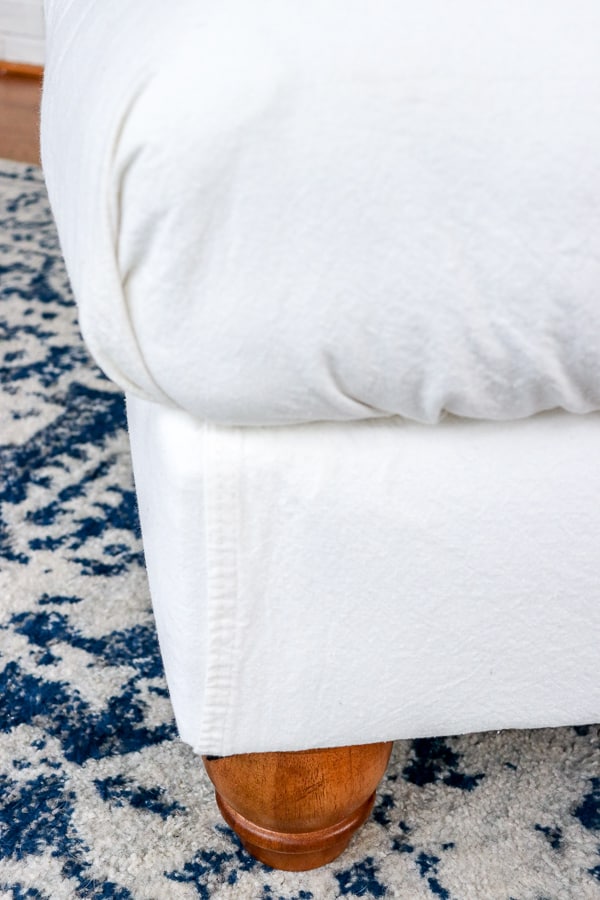
The ottoman was a bit tricky because the original fabric was sewn together.
I opted NOT to sew and was left with a seam from the dropcloth fabric.
But, you know what? I kinda dig it!

I did dust off my sewing machine for the seat cushion.
Thank goodness the seams are hidden on the backside! I’m not an expert seamstress by any stretch of the word!
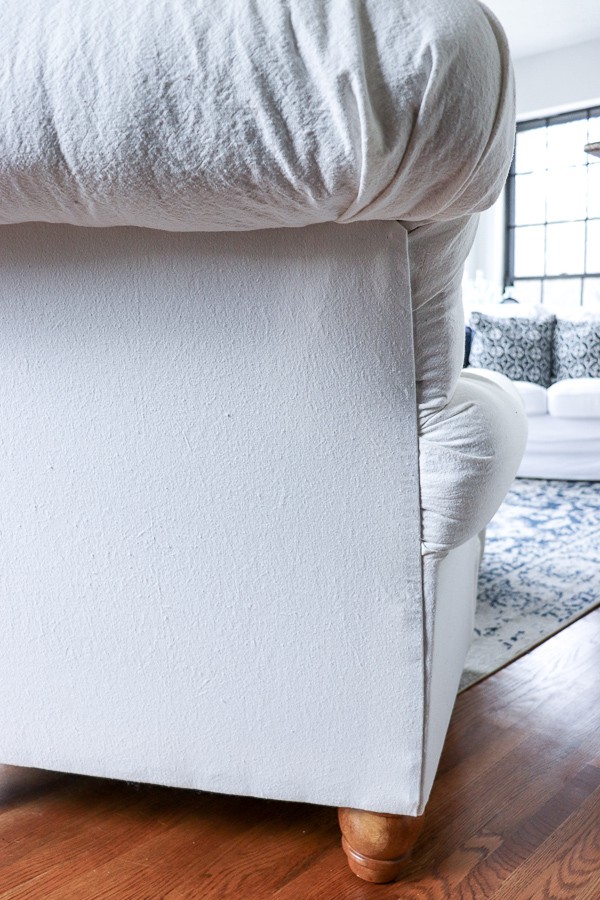
The back turned out surprisingly well with the tack strips. I love how clean that line is!

So, I tackled another upholstery project and guess what!
I have another chair waiting for it’s makeover. Obviously, it’s not that daunting or I wouldn’t keep doing them. So if I can find the courage to do these projects, you certainly can!
Check Out My Other Upholstery Projects
REUPHOLSTERING A WINGBACK CHAIR – A NO SEW METHOD
DROPCLOTH RECOVERED DECONSTRUCTED CHAIR AND OTTOMAN
VINTAGE ROCKING CHAIR MAKEOVER
GRAIN SACK STRIPE PAINTED OTTOMAN
Pin This For Later!




nice
It was super easy – I followed the same pattern of the original fabric and left the indentions in the foam so finding them were super easy. If you are using a patterned fabric, it may be a bit trickier to line up the patterns.
Who knew this chair was so popular?! I have the exact same chair and ottoman I was looking to recover (that red fabric faded really fast in the sunlight from the window). It is my favorite reading chair so I really didn’t want to get rid of it. How hard was it to line up the buttons to get the spacing right on the top?
Hi Alison! You can do this! I found an awesome tutorial from Lisa at Farmhouse on Boone on how to bleach drop cloth fabric. That has been the trick I’ve been using for years and my go to fabric choice. It’s affordable, easy to work with and is great for quick clean ups. Hope that helps!
Hello! I’m wanting to reupholster a couple chairs and this post give me hope! You did a really great job and it looks very doable.
One question I have, where did you get your fabric? What fabric do you recommend?
Hi Daci – thank you for taking the time to leave such kind words! I truly appreciate it! To answer your question, for this piece, I didn’t need to replace the cushion, but the batting that was around the ottoman was rather tattered, so I did replace that.
Hope that helps and I’d love to see a picture of what you create! Tag me on social media if you share it!
Hi! Your article showed up in my feed because I’ve been doing a lot of research about DIY reupholstering.
I am sooo glad! I had no idea of bleaching and using dropcloth!!! Your chair looks fabulous and you made it seem possible for newbies even to accomplish such! Great job and thank you for sharing! Also, did you need to replace foam/cushion? If so what did you use? Thanks and I look forward to checking out your past & future posts.
Oh I am so glad you stopped by! And bonus points for leaving a comment! This is why I love doing what I do and sharing these tutorials. If you have any questions along the way, please let me know. I’m happy to help!
Ha! I’m searching Pinterest for tufted chair reupholstering tutorials and I found this! It’s the exact chair that I’m contemplating tackling 😳
Thank you Cheryl! I wish I had the sewing skills to guide you! I wing it as I go! Hope you find a way to get your cushion to work.
Love it
When I try and make a cover and turn it right side out to put it on my cushion, it’s backwards
What am I doing wrong !
Oh thank you Pat! Your kind words mean so much!
Jen,
I love the transformation!
That seam showing on the ottoman. . .stunning!
You did a wonderful job!
Pat