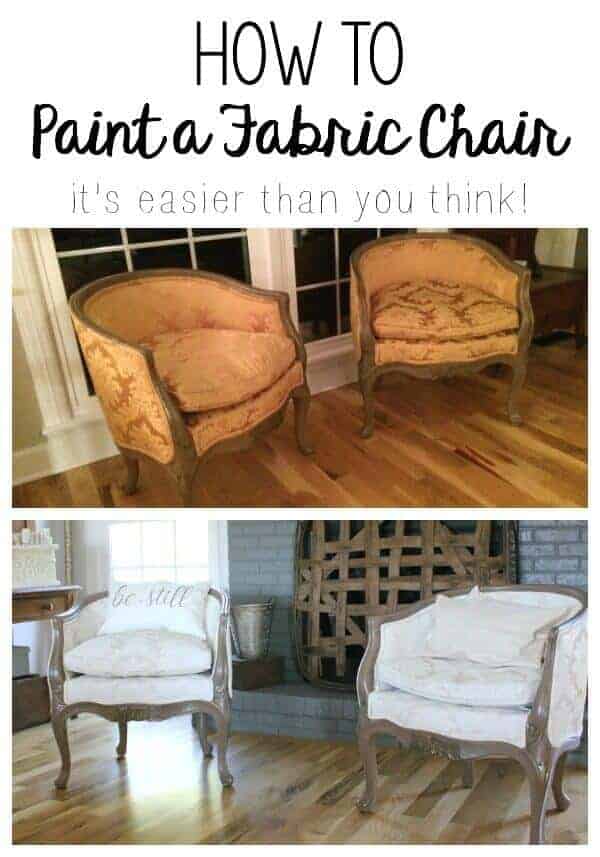
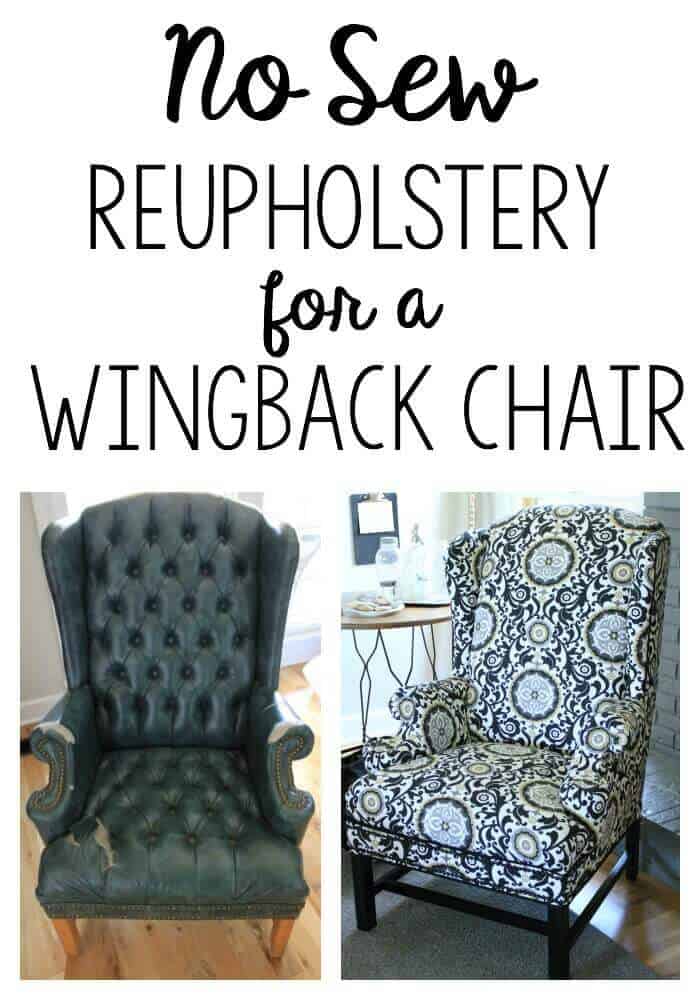
How to Reupholster a Wingback Chair: a No-Sew Method
Here’s how I took an eyesore of an old armchair and turned it into a showpiece. My no sew method to reupholster a wingback chair makes this easy!

When life gives you lemons, you make lemonade.
And when your Mother-in-law gives you an old, beat-up chair, you recover it.
I think that’s how the saying goes. My in-laws had a chair that was on it’s last leg sitting in their body shop.
When my MIL asked me if I could do something with it before they took it to the trash, I said yes, but wasn’t quite sure.
I had never tried reupholstery and was a wee bit intimidated!


I’m sure this wingback was a stunner 30 years ago, standing tall in it’s tuftedness wearing those brass nails with pride. But just as we all do, it succumbed to age and wear and tear.
The cushion no longer cushed, and the smell that wafted from the ripped pleather was quite unique.

Yes, I said pleather – rubbery and sticky in a few places.
This chair had seen better days, but I loved the idea of giving new life to this beautiful chair.
So I jumped at the chance for a new project! I wanted to give this DIY a Try!
I found a no sew method to reupholster a wingback chair.


So I started by doing my homework.
I referenced a few other bloggers to help me out and am including the links for you. Jessica from Four Generations One Roof has an awesome no-sew reupholstery tutorial that was a huge help for me – plus she has a video which is what made this whole thing tangible.
But this chart from Jenny from Juniper Home helped me know how much fabric and batting to purchase.
I highly suggest you use their posts as references to help out your upholstery project. Here are the basic steps to makeover your outdated chair.
No Sew Method to Reupholster
a Wingback Chair
(Some affiliate links are provided below. Full disclosure here.)
The Plan
Before I began, I mentally prepared my mind for reupholstering this chair since this was my first attempt ever at upholstery.
Honestly, all those buttons intimidated me.
I knew that if I tried to mimic the tufting, this project would be a beast to tackle.
So I made it easy for myself and opted to forgo the 45 tufted buttons and just recover the chair.
According to Jenny’s chart, I purchased 6 1/2 yards of fabric and batting. You want to make sure to have enough fabric for your project as well as overage in case there’s an oops that happens!
A piece of advice for first timers about fabric choice: Steer clear of expensive fabric. If you have a massive mess up, you’ll be kicking yourself knowing you may be wasting money.
Next, I gathered my tools and let me tell you, this was the smartest step.
I purchased one of these tack and staple puller claws. Be prepared to remove hundreds of staples – HUNDREDS – and you will need the right tool for the job.
I also purchased a pneumatic staple gun to make the no-sew process easier on me. You just hook it up to an air compressor and it makes the stapling easy peasy. Plus I felt like a boss with each pop of the stapler!
The Process
A great way is to start underneath the chair.
I began by removing the old upholstery from the back of the chair, but quickly realized I should have started with the bottom of the chair.
The bottoms are typically covered in a web-type upholstery fabric to hide all the springs, etc.
By removing panel, this exposes all the handiwork from the factory.

As I started disassembling the chair, I made sure to document the steps to make it helpful to reassemble.
Here’s a good idea to keep in mind before you get started on your project.
Have a camera and notebook handy.
I took lots of pictures as I went along removing panels and kept track of the different fabric pieces.


I numbered each panel as it was removed and notated it so I knew which piece was which.
You will want to save the old panels and use them as templates to cut out the new fabric panels, so don’t throw them away!
Once the bottom was removed, I continued removing the original upholstery fabric.


Be sure to take note of the cotton batting and where it was placed with the existing fabric.
This is make it easier to work in reverse rebuilding the chair.
One thing to note if you are working with an antique chair – batting was rarely used – it was mostly hay or straw. I don’t suggest reusing those materials!
I found this out when we updated this vintage rocker.


Continue to slowly work around the chair documenting as you go.


Another thing is to look out for are the upholstery ribs and tack strips.
When I turned the chair on it’s side and removed that lower panel, I found a cardboard strip.


The cardboard strips act as a straight edge that helps create a crisp line when the fabric is pulled taut.
When that panel is stapled to the frame of the chair, it is attached with the piece of cardboard.
So this is where taking photos saved this project. Seeing how the manufacturer placed them and mimicking their method made this project doable for me.
When I moved to the upper wings, I found something different.


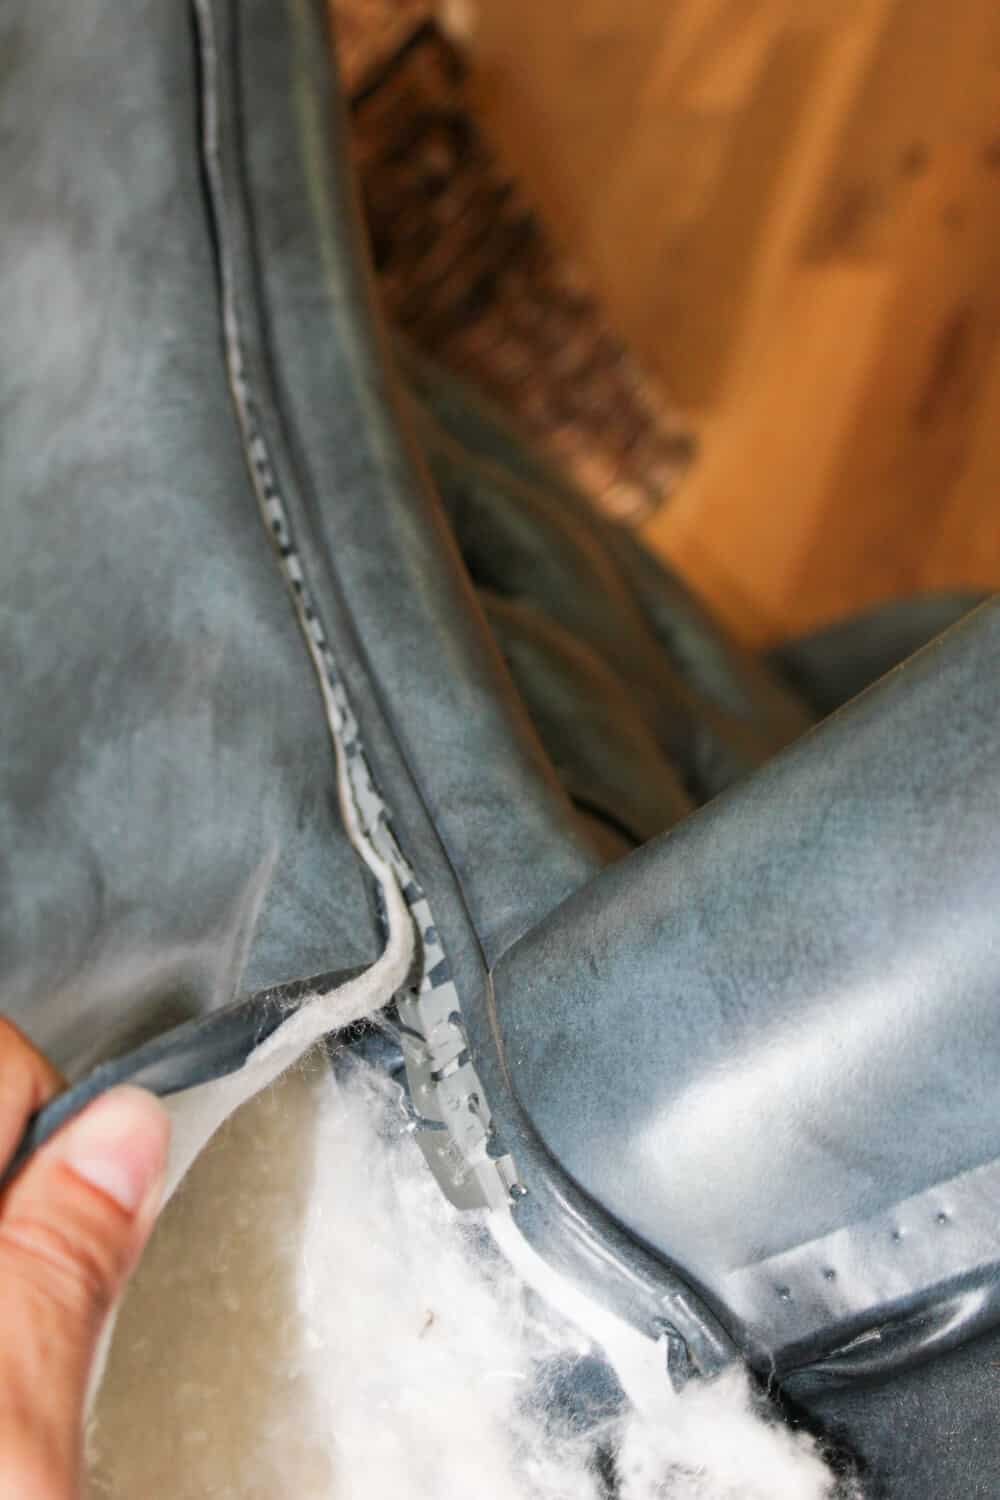
It was a flexible metal strip that ran along the side edge.
And lemme tell ya – those metal teeth are sharp!

After removing the strip, you see how they placed the piping for the edging.


After the sides were done, it was time to move to the front of the chair.
While removing the fabric, I noticed that the foam in the back and seat of the chair had holes where the buttons were.
If your chair is tufted like mine, the buttons are attached to string and tied to huge hunks of batting on the back side of the tufted buttons.
I snipped the buttons free removing the batting.
To fix the holes in the foam, I came up with a neat idea.

I used those huge gobs of cotton from the buttons to stuff the holes on the front side.

The front panel was rather large. In the pic above, you can see the extra fabric on the floor.
They covered the seat first, then stapled it to the back edge of the frame and fed the fabric back through the front to use the remainder for the upper half.
It took an entire day to remove everything and it did take a long time, but mostly because I was so meticulous.

Hopefully this helps you with your project!
After disassembling the chair, I covered the entire back and cushion cover with batting.
It amazed me that it looked as if those holes were never there!
The last thing I did before referring to the tutorials was to add the cush back to the seat cushion.
We happened to have 3 inch foam on hand from sound proofing our recording studio, so I used those scraps to fix the saggy seat. I also spray painted the legs of the chair black.
Then I followed the steps in the tutorials to reassemble the chair.
Unfortunately, my photos of the reassembly didn’t turn out – my settings on my camera were off. GRR…
But let me break down the details of the reupholstery process.
Reupholstering the Chair
Using my notes and photos as a reference, I gathered the old fabric pieces I saved and worked in reverse order.
Then I cut new pieces from the saved fabric panels leaving a few extra inches to make it easier to reassemble and staple back to the piece of furniture.
FABRIC UPDATE: The fabric I used is Waverly Celestial Sun Twill Nightfall – which is now discontinued, sadly.
The first piece I attached was the last piece I removed, which was the seat.
The process was to grab the old pieces of fabric one by one, cut the panels in the new fabric, and then re attach them to the chair.

The one thing that was tricky for me was the piping.
I did have to use our sewing machine to make black piping for the edging. For this type of chair, I felt the piping was necessary.


If you are using a patterned or floral print, keep in mind how the pattern lays when you are cutting the panels.
I spray painted the old brass trim and decorative nails black and added it back to the chair.


But one disappointment were the armrests.
I tried to nail the the brass tacks back on the armrests, but they wouldn’t go in straight, no matter how I tried.
After about four hours of failed attempts, and finally calling uncle to have Trent give it a try with no success, we abandoned the nail heads on the arms.
It was just too frustrating, but even without the brass tacks, so we used fabric glue and glued the panels to the arms.

I think it still looks great!
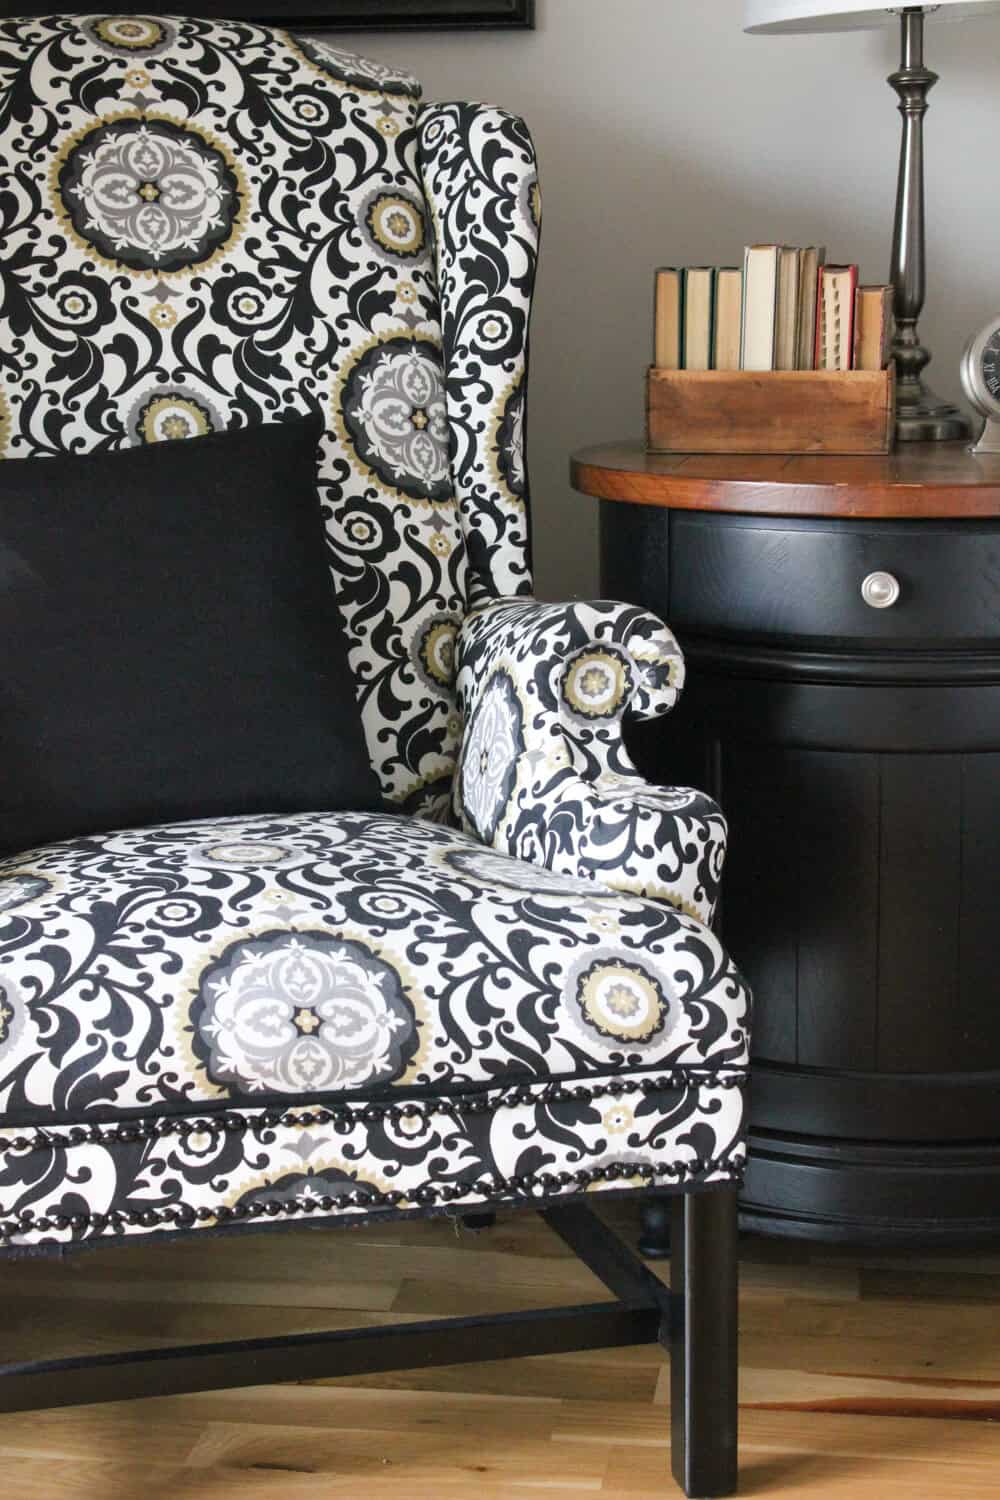
The Reveal
We are loving this fresh look! It feels like we have a new chair!


I took this discarded, headed to the dump of a chair and turned it into a stunner!
This wingback chair makeover was a scary DIY project as a first timer, but since then, I’ve found the confidence to recover other chairs!


I’m so glad I opted for black piping to give the chair a little pop.
It looks great with the black nail heads and black legs.
The other tricky problem was getting the patterned fabric to line up.
That little detail made my head hurt as if I were solving an algebraic equation and this girl don’t do math!
Reupholstering a Wingback Chair: a No-Sew Method
It may not be perfect, but I’m very pleased with the end result!
It’s super cushy and comfy and I’m proud to know that I rescued a piece from the dump.

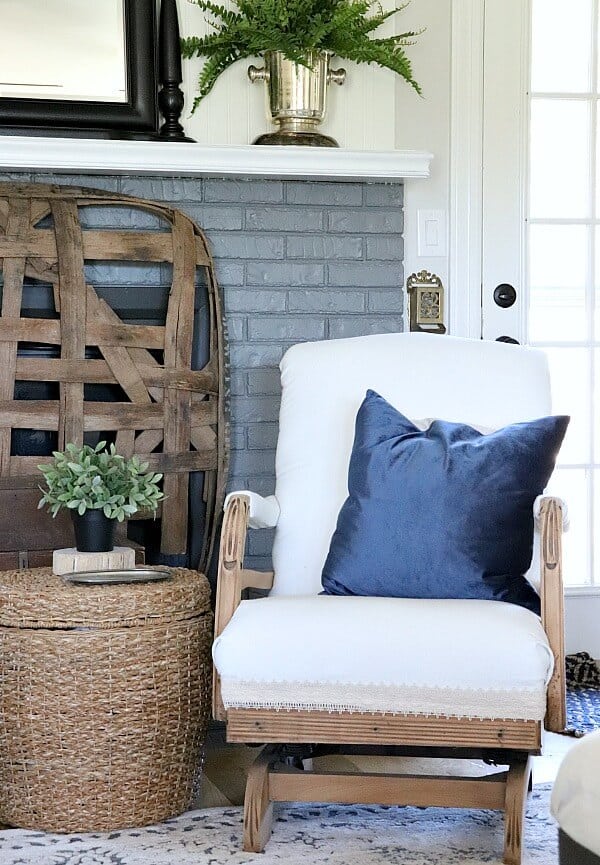
I had it sitting in our living room, but you can CLICK HERE to see the chair in it’s new space in this blog post!


So I hope this no sew method to reupholster a wingback chair inspires you to tackle your next project!
Maybe now you won’t pass up that old chair you spy at the thrift store!
Instead of purchasing new furniture, just give your old furniture a new look with this simple tutorial.
If you decide to DIY a chair of your own, send me a pic! I would love to see it!
Looking for More Reupholstery Hacks?
You may like these posts!
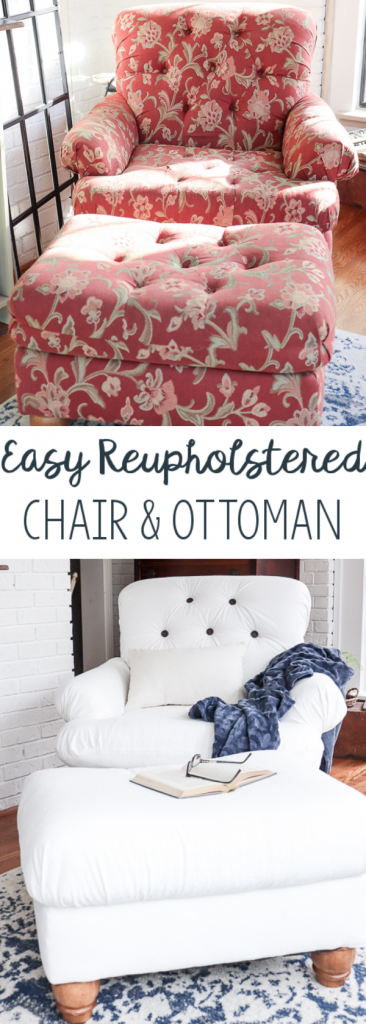
Easy Reupholstered Chair and Ottoman
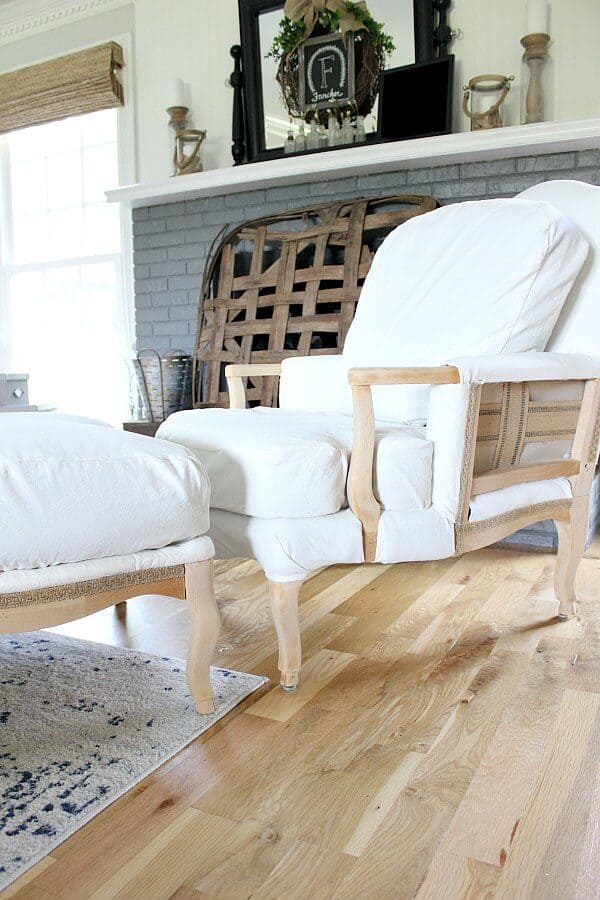
Deconstructed Chair and Ottoman
Pin this project for later!


It always had the crosspiece. It was an optical illusion in the angle of the picture. If you look at some of the before pictures, you can see the crosspiece there. Hope that helps!
Why does the recovered chair have a crosspiece between the legs? Did you have to reinforce it for some reason?
Thank you for your sweet words, Cindy! You have made my day!
I just had to comment on the fantastic job you did on your chair. Thank you for sharing your project with us and I will be following you. I’d be crazy not to!
Michelle! This is exactly why I blog! If I can do it, anyone can – which is why I share to encourage others to give it a try. Thank you for making my day with this comment. Be sure to send me a before and after pic! I’d love to see it!
I found your blog while looking for tips to reupholster my chair. It looks almost like yours, pre-makeover, The fabric I picked is very similar to yours and I plan on putting it in my bedroom also. I was dreading it but after reading your blog I can’t wait to start. Thanks for sharing.
Thank you so much Frances! I appreciate your kind words!
Shirley – your sweet words are so encouraging! Thank you for all the kudos!
Whether or not you used other information from other blogs, doesn’t mean you shouldn’t give yourself credit here too, as you are the one that did all the work and a beautiful job of it too! We all use help of some sort, a pattern, a map, etc. Upholstry is not an easy job, especially if you don’t mark everything ahead of time, so kudos to you for a job very well done!
The chair is beautiful ! I have helped my Cousin reupholster and it is not easy ! Big pat on the back for such a good job. Lovely fabric and you placed it just right. Applause to you !!