Making over our Master Bedroom Final Reveal!
Excited. Exhilarated. Exhausted.
I can’t believe we are already at week 6 for the One Room Challenge® hosted by Linda from Calling it Home and House Beautiful.
And I can’t believe we actually made it to the finish line. If you were to ask me 10 days ago, I would have answered with a big negative.
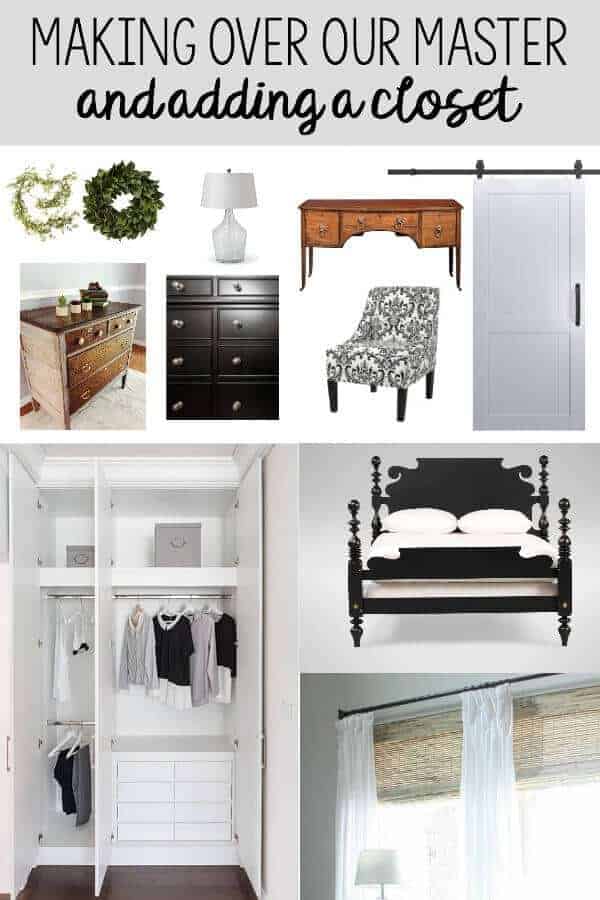
But, we are here and I am over-the-moon to share with you the final reveal.
If this were an audio post, I’d have my talented drummer husband kick off a huge drumroll!
Since that can’t happen, be prepared for multiple exclamation marks because I’m squealing in delight over here!
So let’s recap where we started:
The pic on the left is how it looked when we moved in, and the one on the right was after we painted the walls with Crushed Ice and installed the hardwoods.
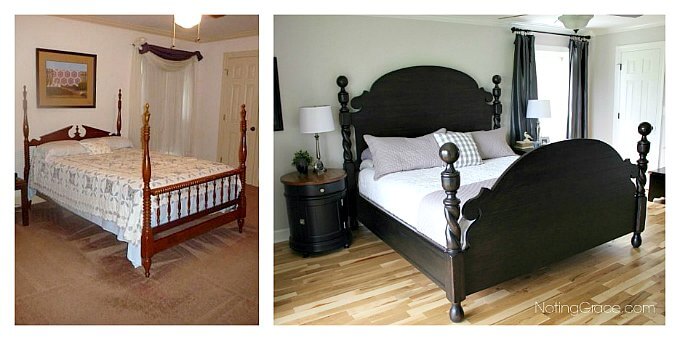
We lived with it that way, only halfway done, for 2 years and it was time to finish this room.
I just wasn’t happy with the dark curtains and matchy-match furnishings. I wanted a space that was light and welcoming instead of dark and dreary.
Are you ready to see how I switched it up?
Making Over Our Master
(Some affiliate links are provided below. Full disclosure here.)
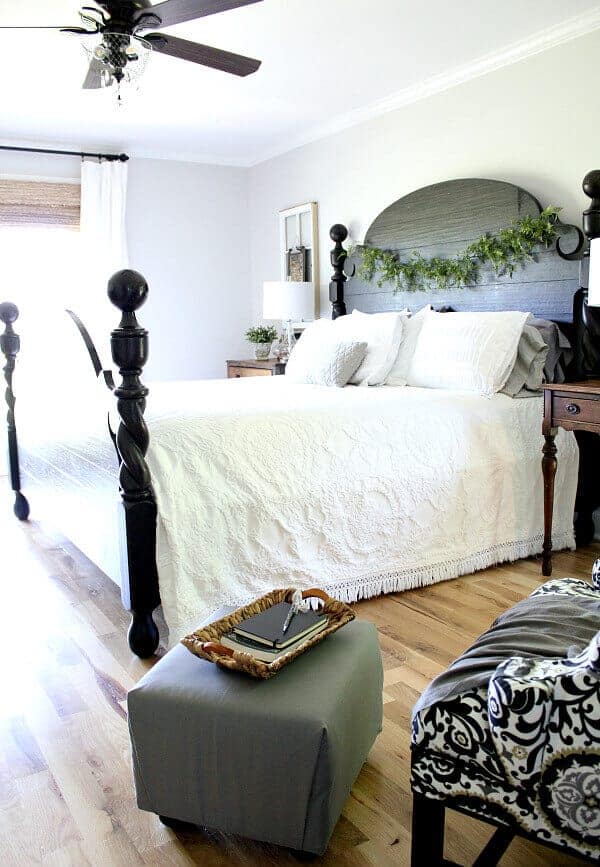
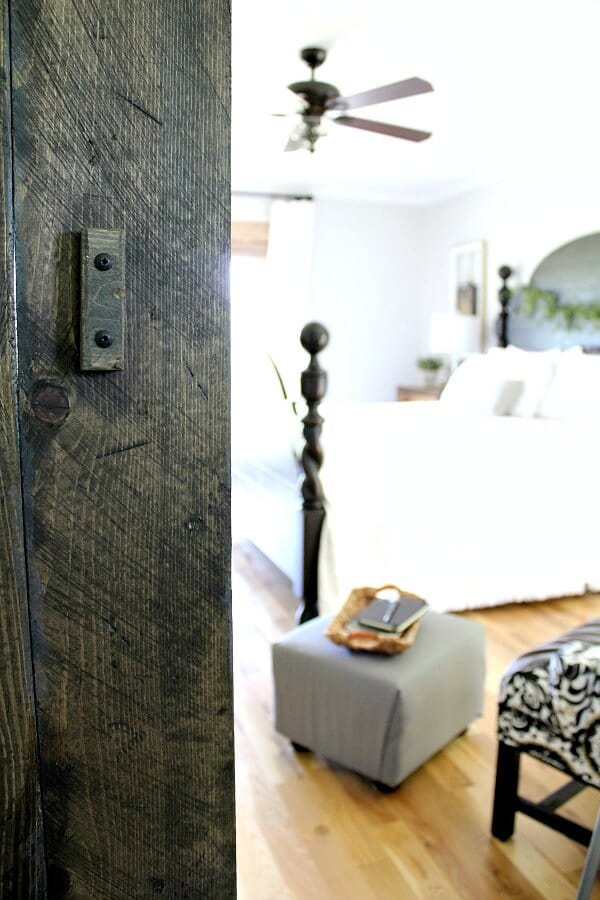
Isn’t it so much brighter and cheerier? I kept the bed because… duh.. it’s gorgeous!
I was hoping for new bedding, but the budget didn’t allow for it.
So I just updated the shams with brighter whiter ones, but hopefully the bedding fairies will come to give us some new bedding soon!
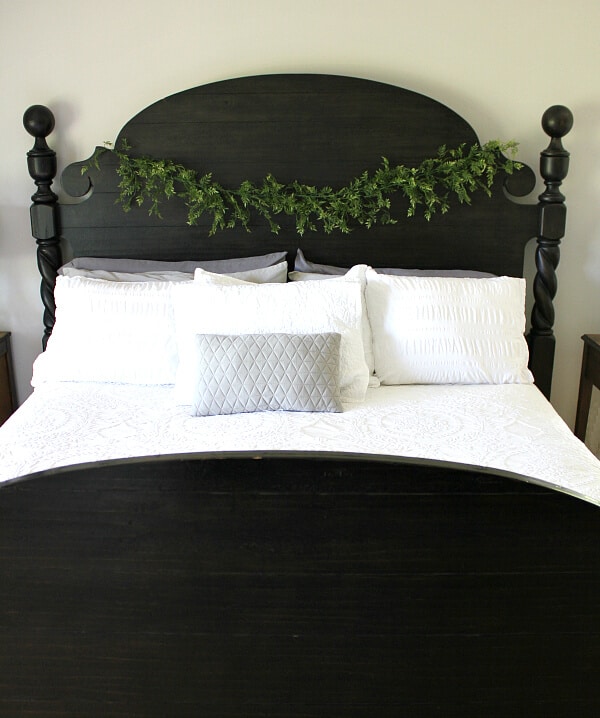
I LOVE the swag garland hanging from the headboard.
It always amazes me how simple touches of green can transform the look of a piece.
Speaking of transform – have you seen my windows?
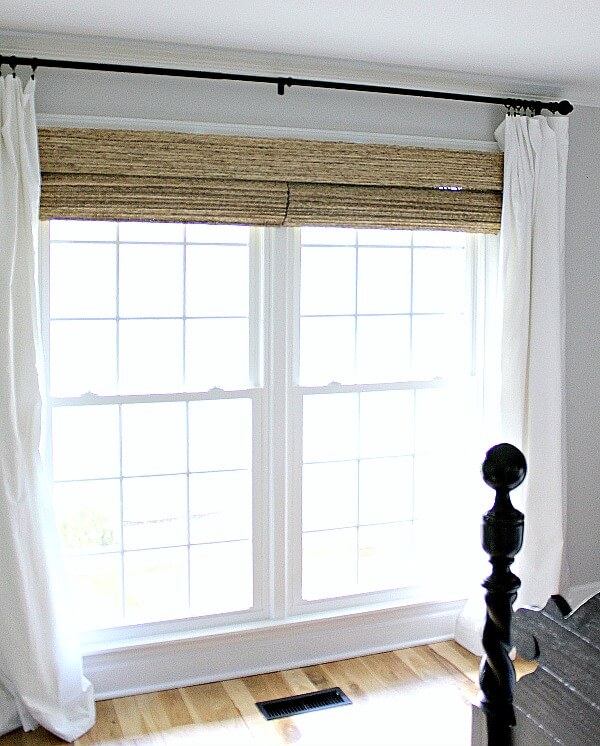
Aren’t they amazing?!
I dressed up my windows with these awesome standard woven wood shades from The Shade Store in Fair Harbor – 2.
You can read all about them in my week 3 One Room Challenge post.
They are so beautiful and add such a cozy element to the room complimenting our floors perfectly.
I also removed the previous dark curtain panels and replaced them with DIY curtains using flat sheets.
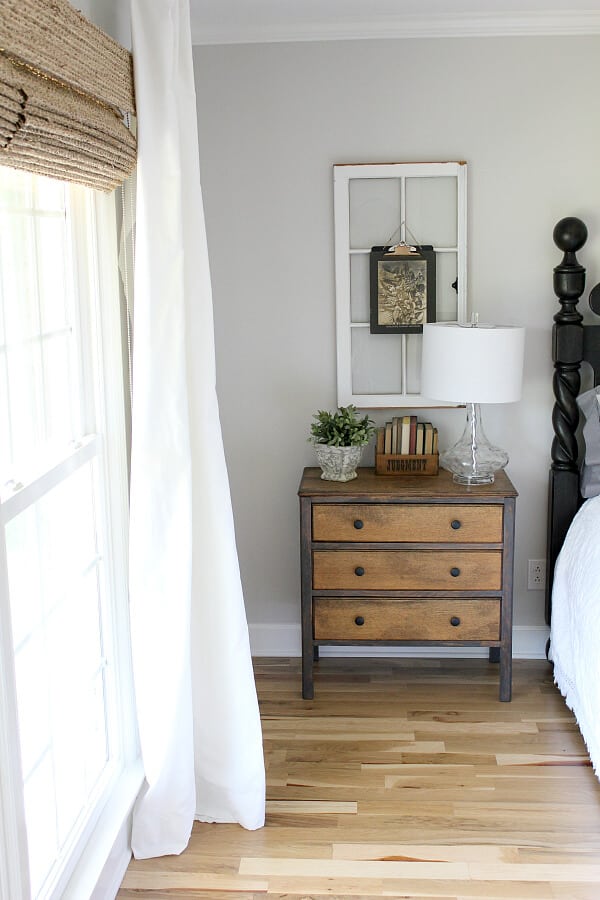
I wanted to switch out my matching side tables and decided to shop my house to keep the budget happy.
This chest came from my boys room, and on a whim, while waiting for the poly on the floors to dry, we gave it an update with paint and antiquing glaze.
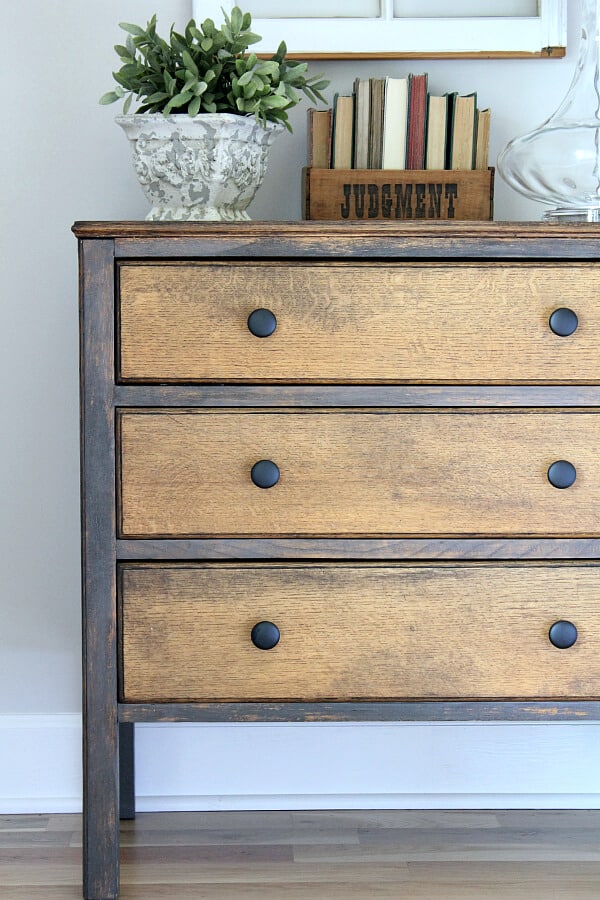
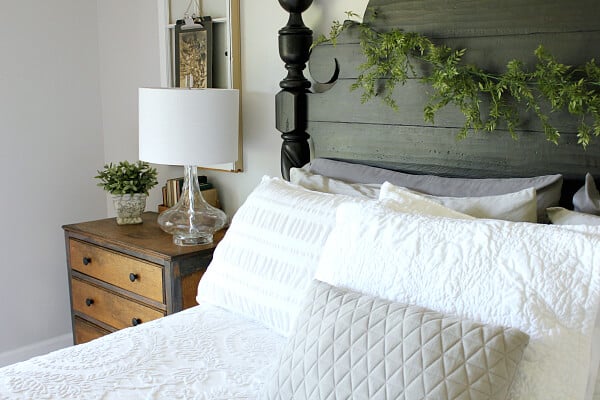
In my design plan, I wanted to update our lamps on our bedside tables and was a bit discouraged when I started pricing the ones I wanted.
Then, I scored these on clearance at Hobby Lobby.
It was one of those meant-to-be moments.
The guy was just setting them out for markdown and I snatched them up. Before they touched the shelves, they were in my cart and I was running to the check out counter giggling with delight.
50% off happiness right there!

For the other side table, I used this vintage desk.
I love my little desk. It was my first purchase ever at a local thrift store over 10 years ago and I could never find the perfect place for it – until now. It went from place to place to place until finally landing in its forever home – and I just love it.
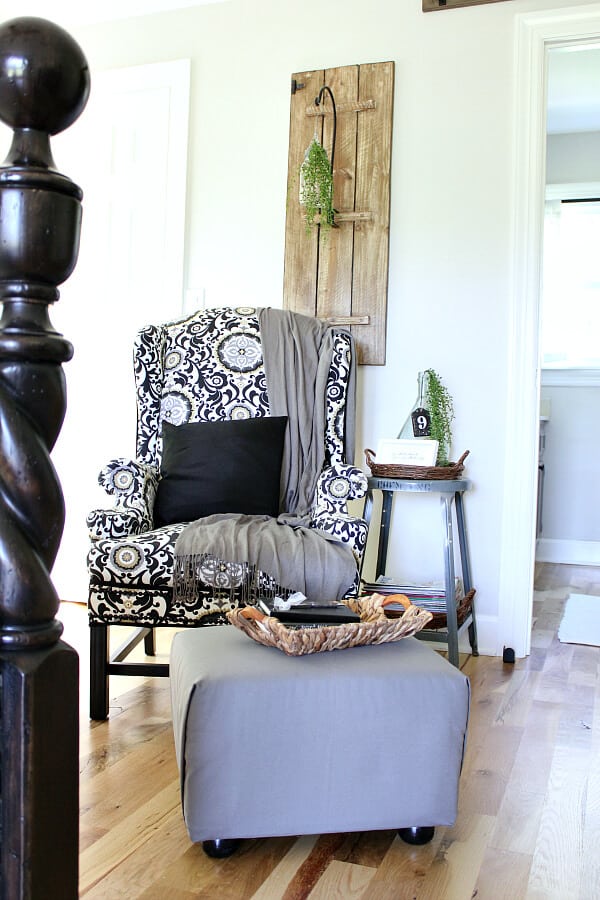
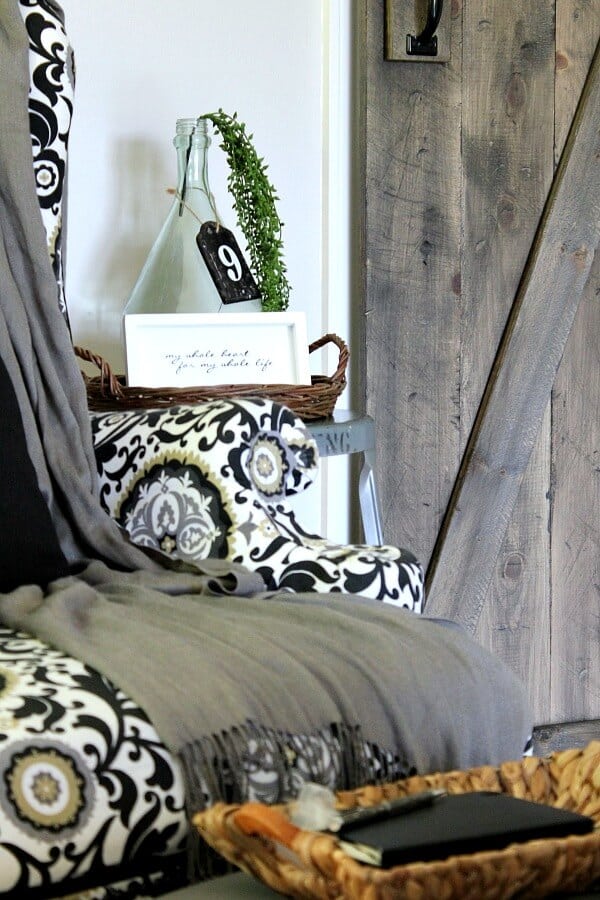
I wanted to create a reading space in my room so I moved my No Sew Reupholstered Wingback chair into my room hoping that I will make time for a moment of sanity from my busy boys. So I paired it with a DIY ottoman (tutorial here) and an old metal stool I found at a garage sale for $5!
I love my shutter over my chair.
Well, it’s not a shutter.
It the top to an old bench that I found years ago and had repurposed into other things. The top was just sitting in my garage begging for a new home. Doesn’t it look so cute with that hanging succulent?
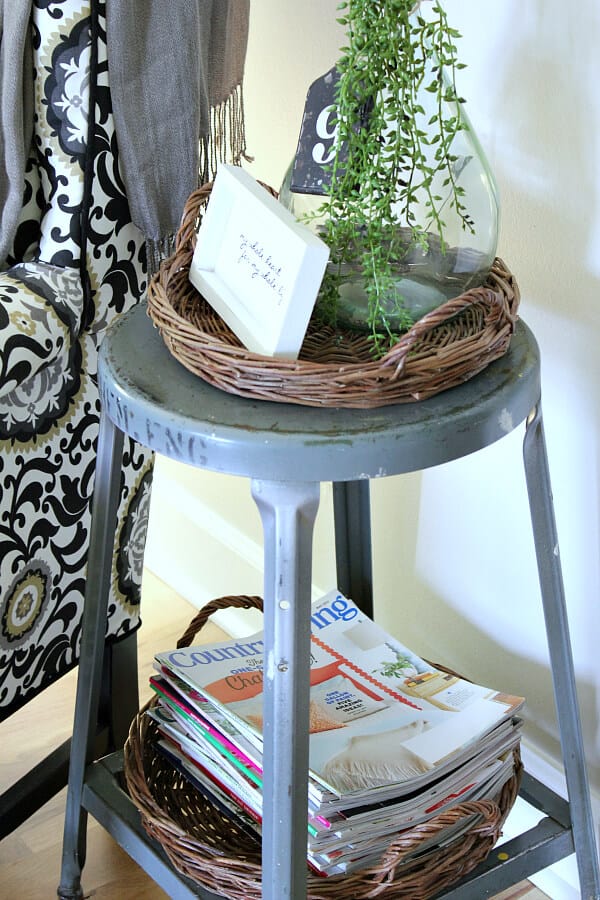
I added these adorable willow trays to store my magazines and to soften the metal. Plus I needed a stand for my coffee mug!
A definite space to escape, put up your feet, and read a bit.
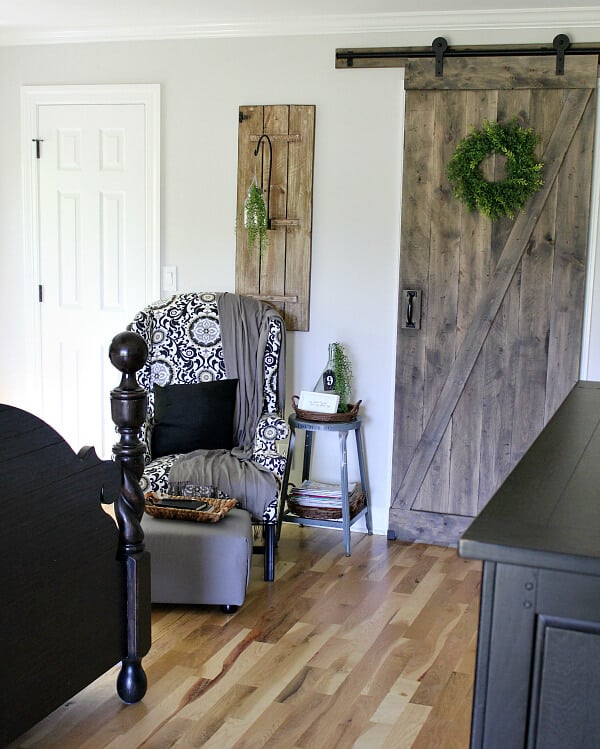
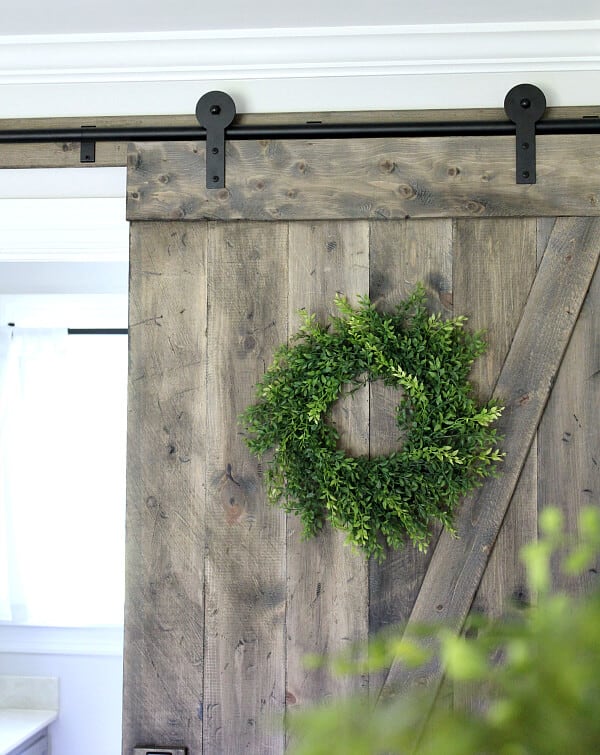
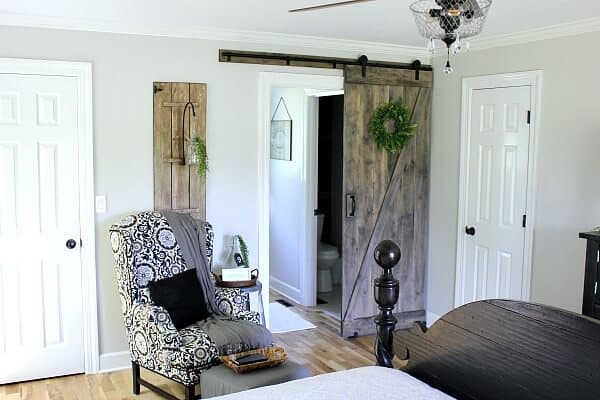
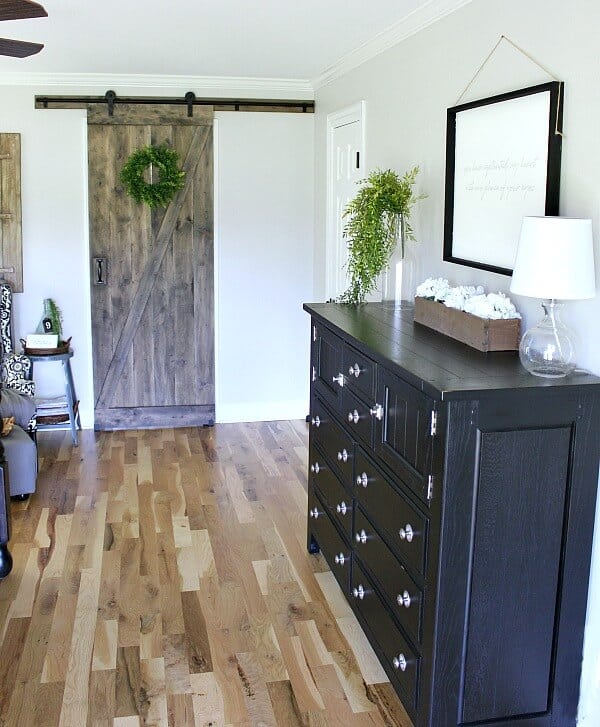
The hero of the room is our amazing DIY Barn Door tutorial that we shared in week 4. It truly transformed the wall of doors and became a showpiece. It was an easy build that we were able to accomplish in a weekend and you can do it too!
Adorning it with a wreath I had from Hobby Lobby makes the piece.
The one thing I was on the fence about was painting my big dresser and I’m so glad I kept it the same. It helps balance the black in my room.
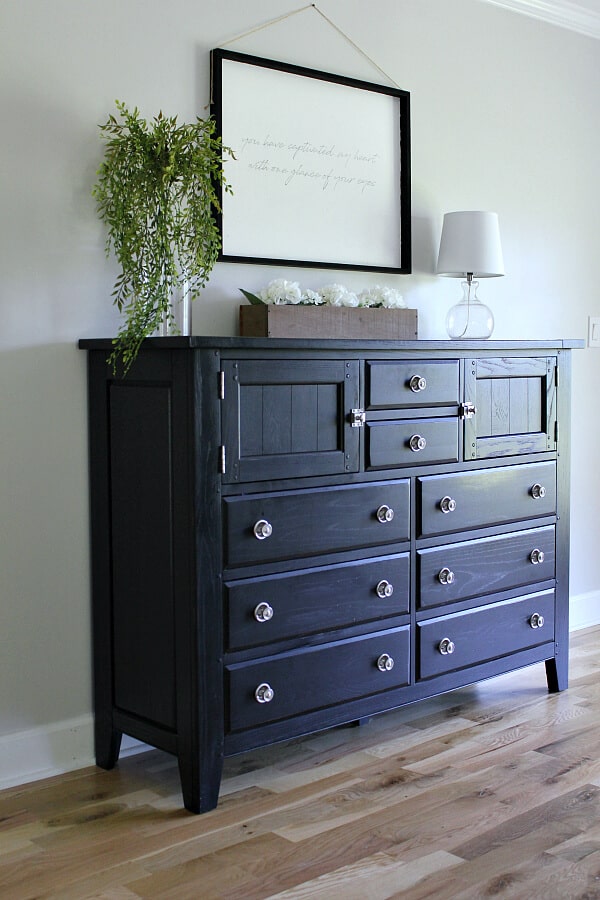
I found that tiny lamp at Lowe’s and it matches my other lamps so perfectly! I added a DIY flower box I made from leftover wood from my Weaber Lumber accent wall.
And I created some custom artwork that I will share with you all soon. I wanted something simple and not too bold and this is what I created.
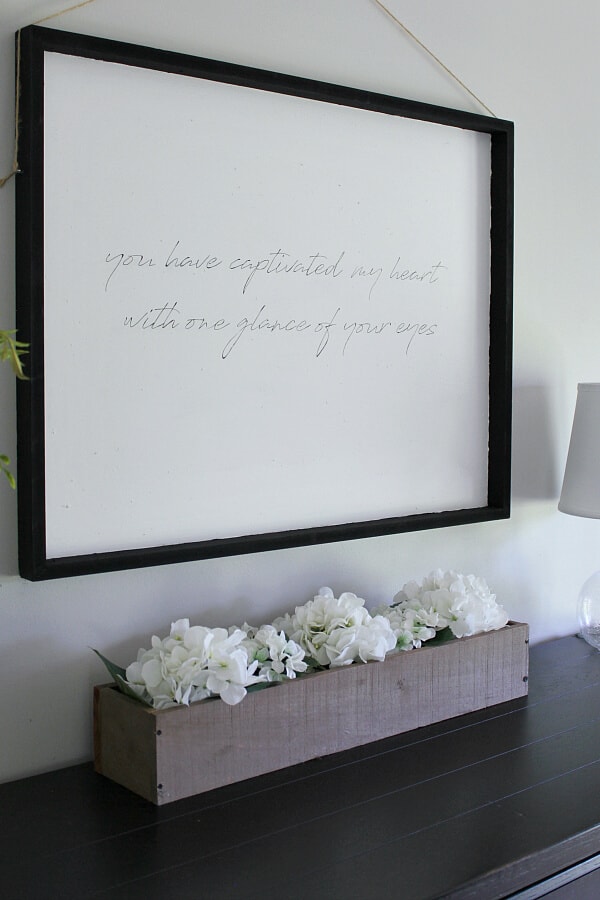
It’s a perfect verse for our love story and was such an easy DIY – plus it was all FREE!
Yay!
But what about the major makeover?
I’m chomping at the bit to share with you how we transformed our one closet bedroom into a His and Hers amazing addition!
Let’s start with my She-Chic closet.
We shared this closet for the past 3 years and it was starting to get a bit cramped, not to mention tight quarters for getting dressed at the same time.
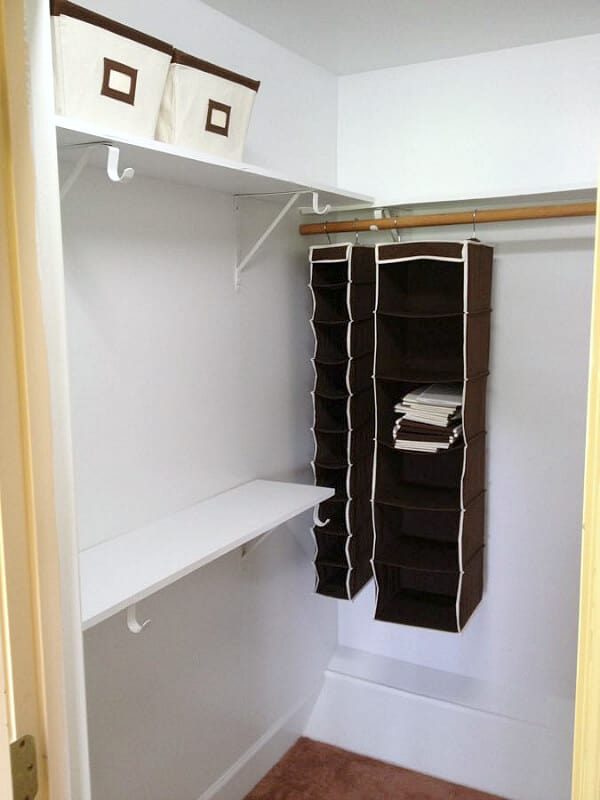
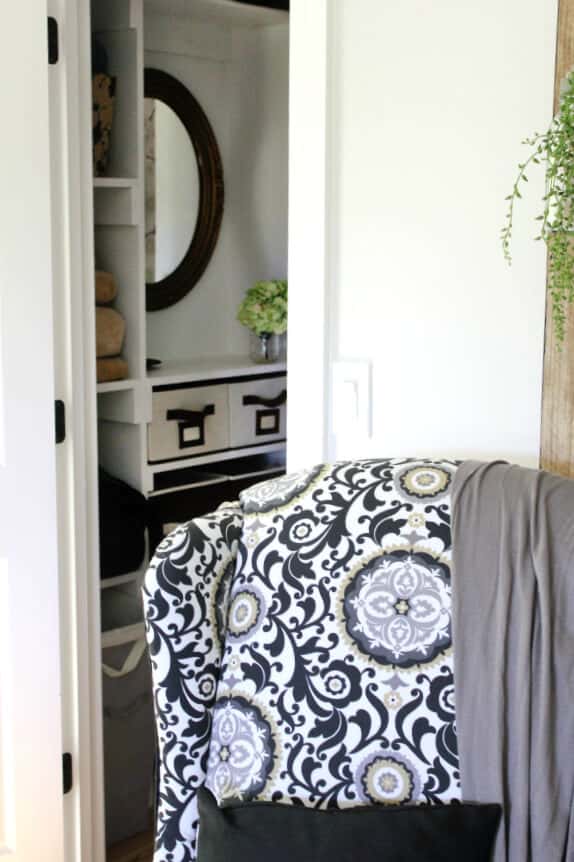
Last week you had a sneak peek of the progress when I shared my plans for this closet and how I wanted to make it into the one girly spot in my stinky boy, testosterone-filled house.
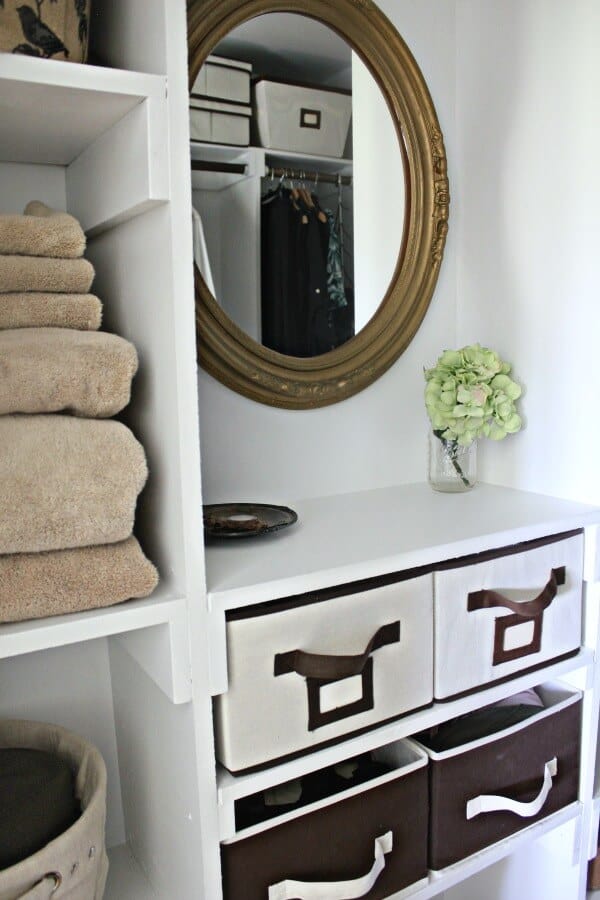
Just look how pretty it is!
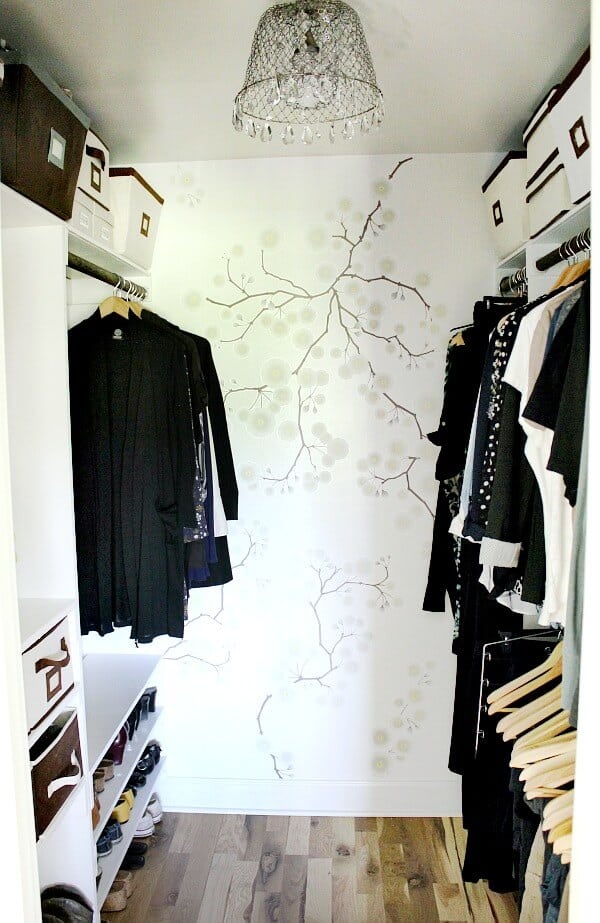
Isn’t that amazing? So spacious – organized and feminine! Plus – I did all the building myself and feel like a complete rockstar!
And isn’t that accent wall the coolest?!? Those are Jumbo wall decals from Paper Riot called Modern Bloom. I love that I was able to create the look myself!
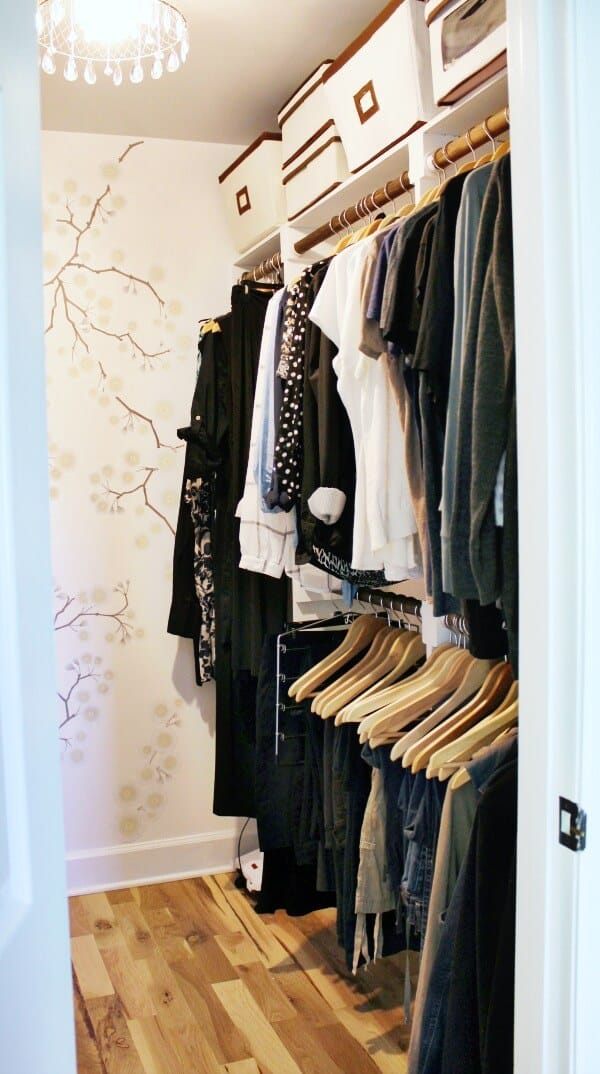
The right side has 3 separate sections – 2 with upper and lower hanging rods and the third for long dresses.
On the left side, I have a single rack that is perfect for longer shirts, tunics, and coats. And look -now I have some awesome shoe storage!
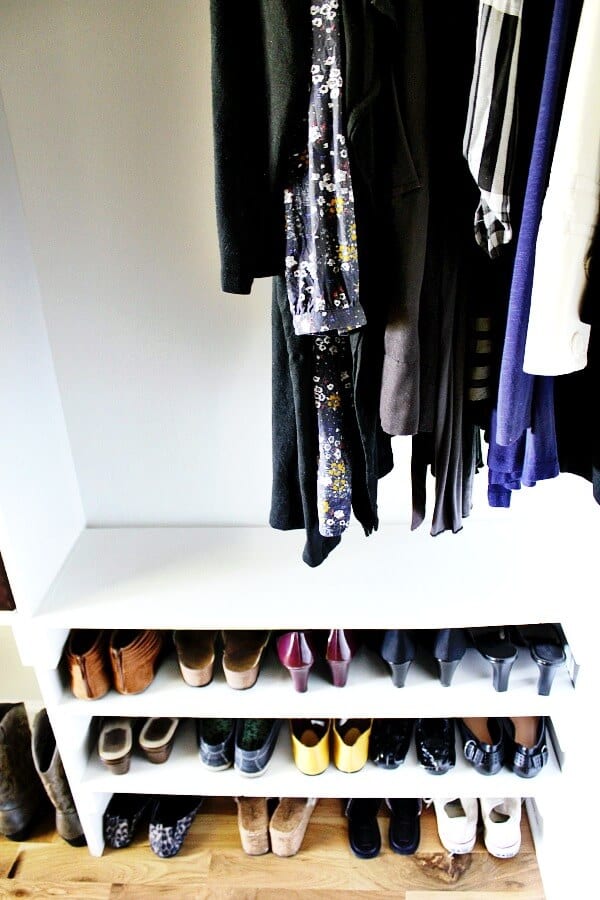
I have an area for tall shoe storage, like boots, as well space for some small cloth drawers to hold scarves and socks.
We also added shelving to accommodate linens for our bedroom and bathroom and a hamper.
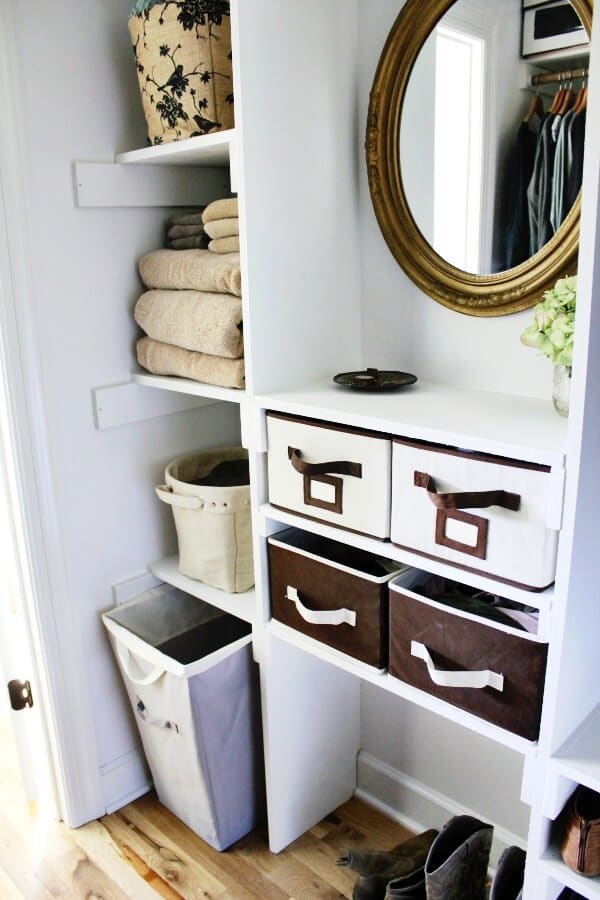
I simply love the little dressing table I made for myself to check my makeup – put on jewelry, or just close the door and hide away in my dreamy space!
But this is my favorite!
She-Chandy meet my friends.
Friends, let me introduce you to my She-Chandy.
I LOVE THIS THING!! I used an old vintage hanging vegetable basket and added crystals to create a one of a kind, budget friendly chandelier!
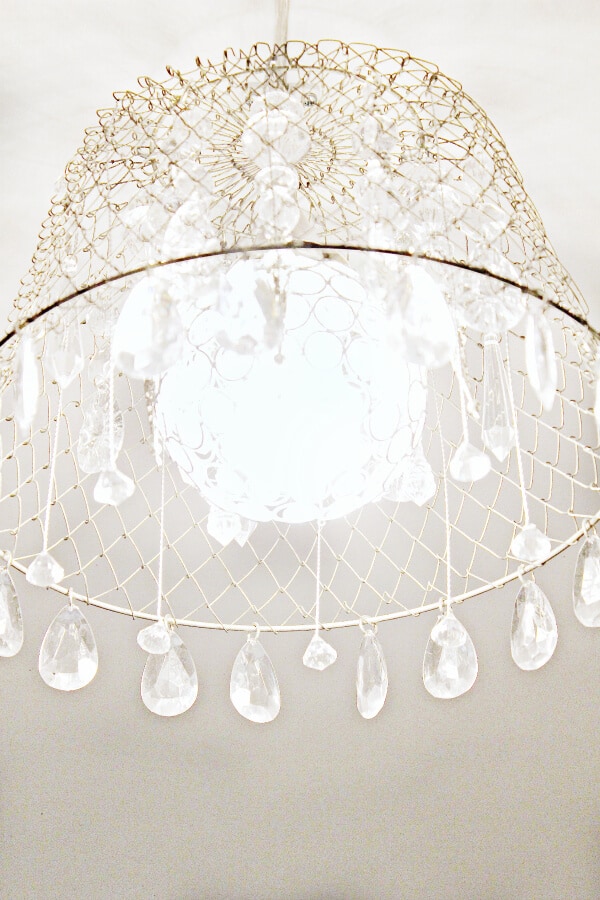
So sparkly and elegant. I will be spending lots of time in my She-Chic closet and swooning over how beautiful it is!
Here’s a tutorial for Miss She-Chandy!
But, what about our addition? Here we go!
We started with a solid wall.
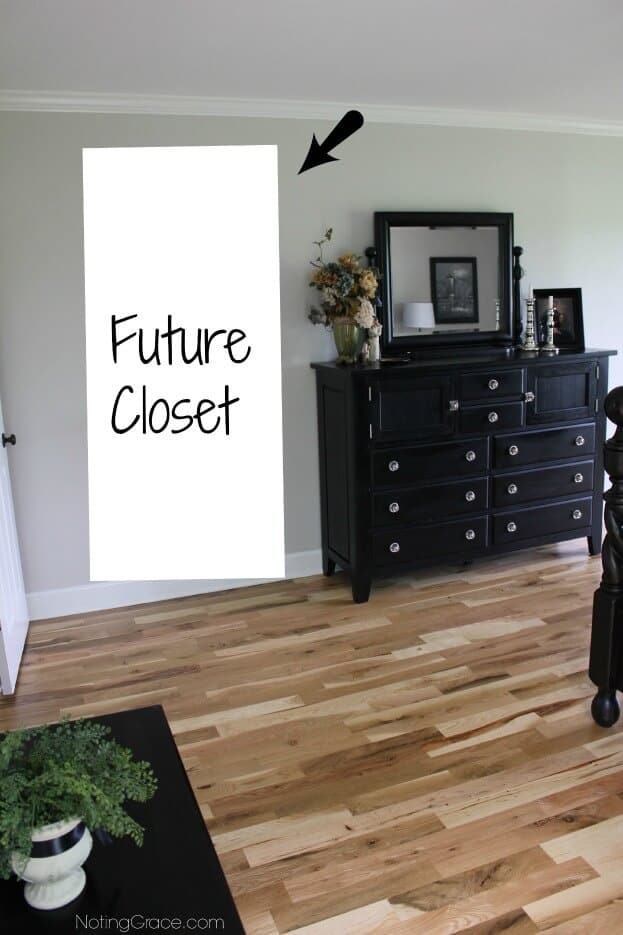
And we added a door into our master from an unused and awkwardly placed 1/2 bath.
From this mess we made in week one of this One Room Challenge…
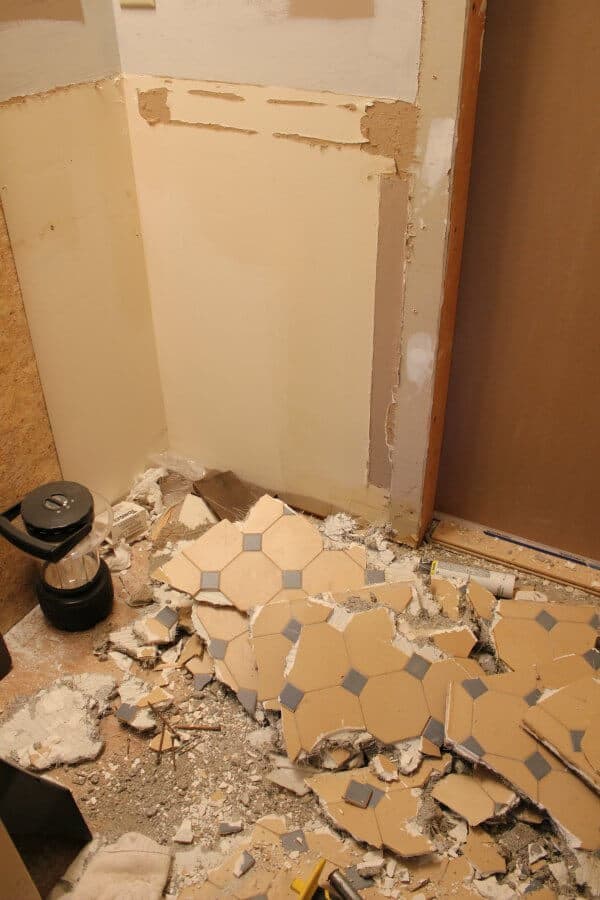
…it turned into this – a unique, masculine, man-cave closet.
You are greeted with this full length mirror we built with a storage cabinet behind it.
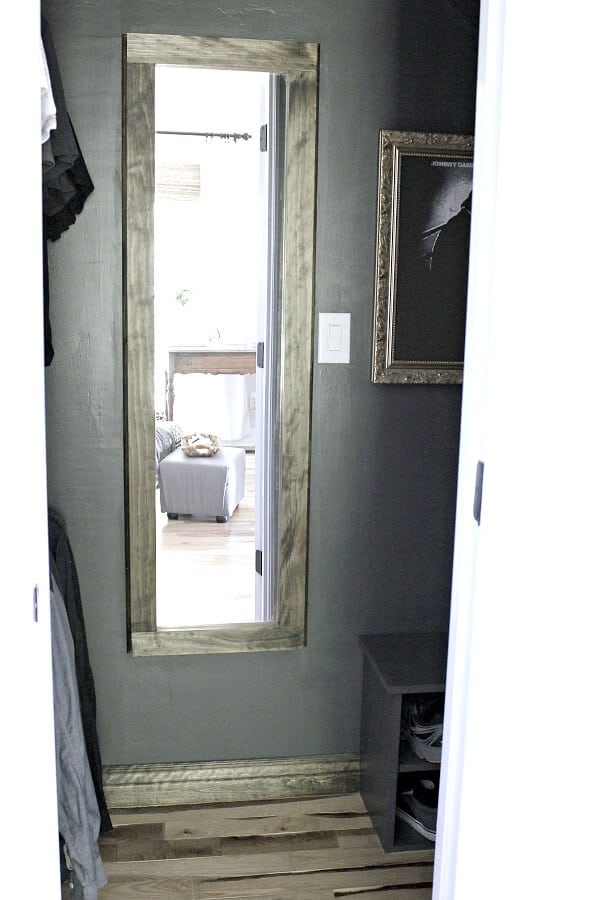
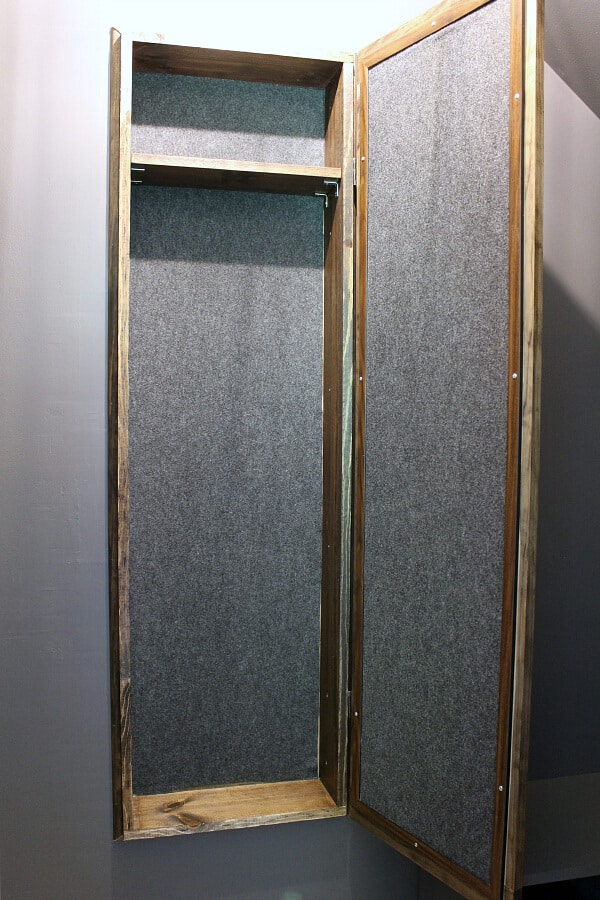
We also installed a shoe storage bench since this tiny closet also doubles as our storm shelter.
Plus there’s a nifty place to sit and put your shoes on!
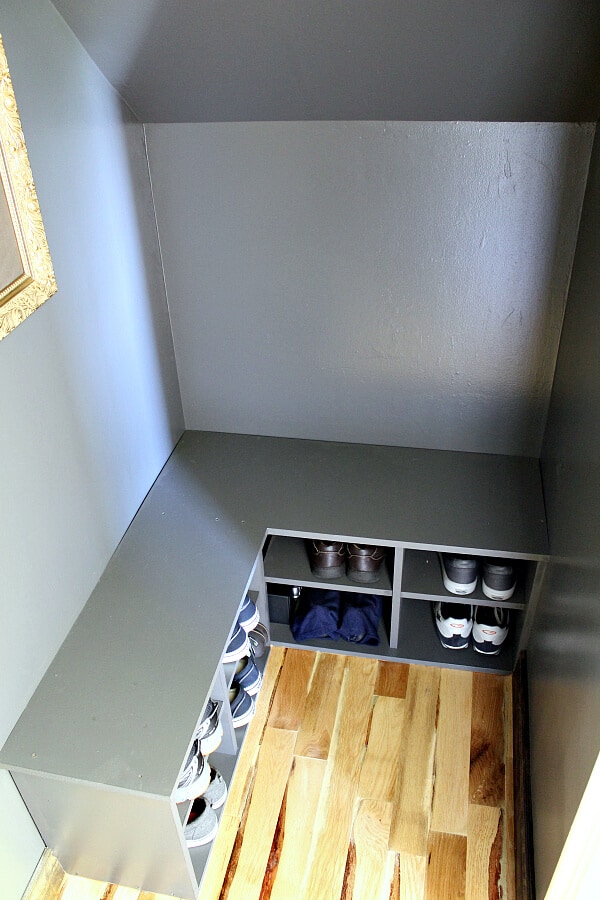
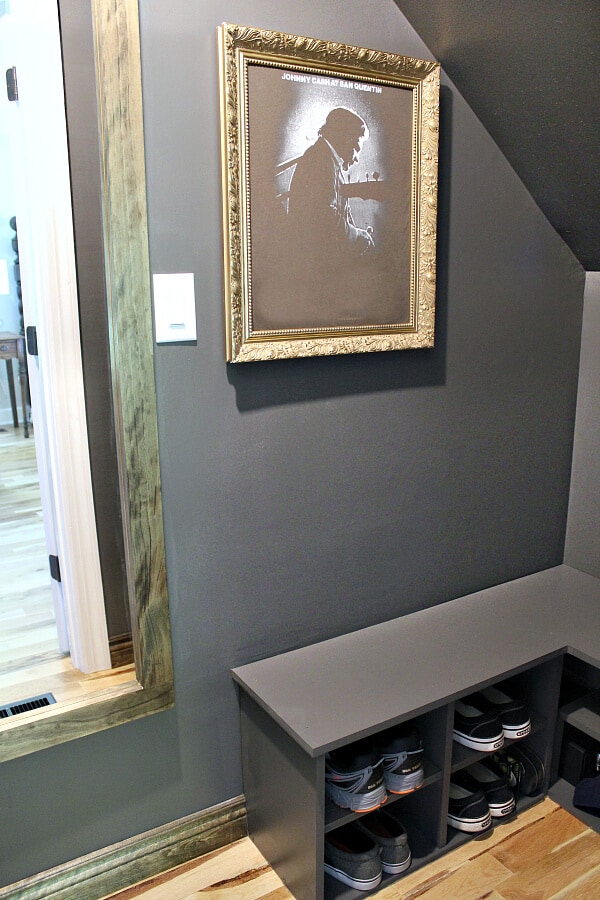
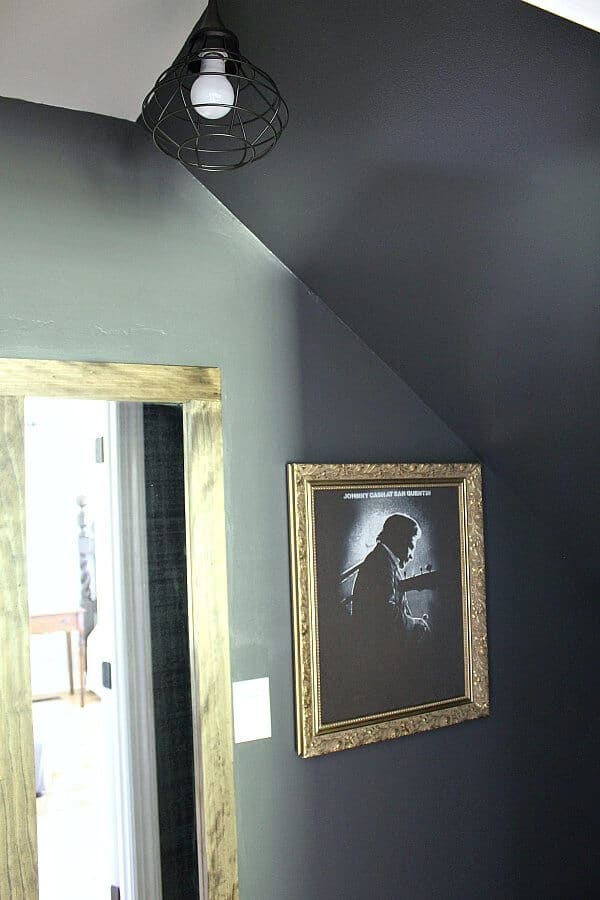
To make this room perfect for my husband, I took one of Trent’s old T-shirts and framed it.
The gilded frame adds a gentlemanly charm.
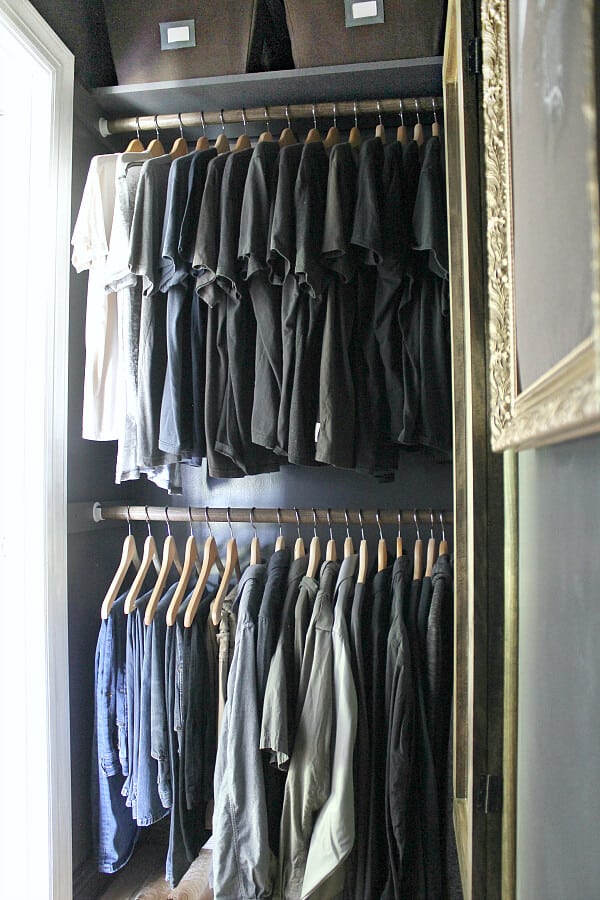
We raised the hanging bars from standard height for his clothes since he is so tall.
The addition of an industrial cage light ties it all together.
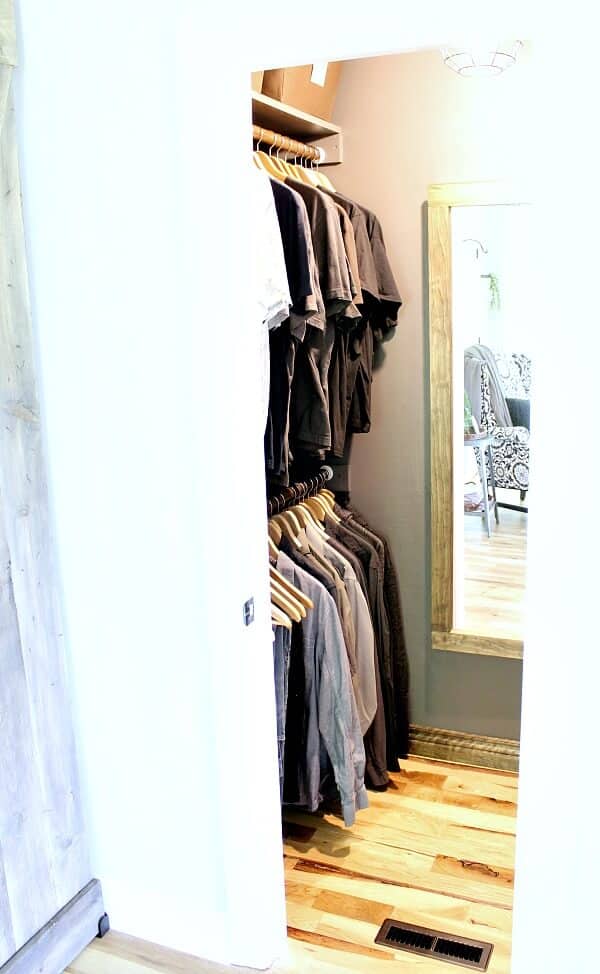
We DIYed our floor with the scraps left behind from our Hardwood install – because we try to repurpose everything.
It was an easy install, but our boards were a bit rougher than anticipated since they are scraps. So we have some deep grooves that we have to live with, but the floor flows seamlessly into the closet and matches the rest of the house.
I call that a win!
He loves his man cave closet and I often catch him propping his feet up on his bench.
I am so glad that we made it to the end of this challenge with successfully completing everything on our list. I was seriously doubting if we’d make it a few weeks ago, but it really happened, friends!
And I’m really happy with the results.
But really tired. I think a DIY vacay is in order after this one, so if you need me, I’ll just be in my She-Chic closet swooning or resting in my new reading nook!
Thanks for following along on this makeover journey with us. I hope to hear your feedback!
So don’t forget to head over to Linda’s site, Calling It Home, to see all the other amazing room reveals the other bloggers are sharing.
One Room Challenge Makeover Sources:
This post contains affiliate links.
While I may receive a small compensation, all prices remain the same for you. Thanks for supporting me!
- Fern Garland – Hobby Lobby $15 (got it for 50% off)
- DIY Curtains – 3 Flat Sheets from Walmart $15
- Teardrop Lamps – Hobby Lobby – no longer available but shared similar ones below – $100
- Lemon Beauty Wreath – Hobby Lobby – $20 (got it 50% off)
It has been an honor to join with these wonderful companies to help make this room makeover the success it is! Thank you from the bottom of my heart for believing in me for this challenge!
Master Bedroom Reveal Sponsored Products:
The Shade Store – Standard woven wood shades in Fair Harbor – 2
Rockler Woodworking and Hardware – Barn Door Hardware Kit
Paper Riot – Modern Bloom Jumbo Wall Decals
To see our design plans and process for this room transformation, check out my previous posts:
week one, week two, week three, week four, week five, week six





Hi Krysti – thanks so much for your kind words and taking the time to comment. We used Sherwin Williams Crushed Ice and loved the neutral tone!
Everything looks stunning! What is the paint color you used on the walls in this room please?
Thank you so much Jeanie! I absolutely love finding ways to recreate a look I love on a dime, and keeps me creating those spaces in my home. I so appreciate you taking the time to comment and am honored that this inspired you to tackle your own projects. Feel free to reach out anytime if you ever have questions!
Your DIY project was so charming and with ingenious ideas. Actually, I just tuned in and I am so glad I did. I love your colors and all the repurposing of things.. My DIY thoughts (dreams) do not really come to fruition as I am such a procrastinator. However, you have inspired me. One thing I have been considering is to buy large painter’s cloths and make window treatments for all the windows in my basement (which does not require much talent or DIY experience) …. but they are not costly. Thank you for sharing!!
Thank you Kathy! Now that we’ve moved, I miss how bright this room was! I appreciate your kind words and that you took the time to comment!
I love your bedroom redo! It’s warm, functional
& so lovely. I love that is is both simple & elegant!
Kathy T
Cindy – you are such a kind lady! Thank you for taking the time to reach out and leave such nice words. You made my day today!
What a creative professional job ! Love your style! You and hubby make a very talented team! Your new bedroom looks cozy and inviting( and so does your closet) . Love how you personalized the “he”closet too!
Love the dark/light contrast-the white bedding on the dark beautiful bed and the white curtains are gorgeous! Love the greenery you added to the barn door and over the headboard too! Just love it all! Thank you for sharing your talent!! Cindy
Stephanie! Your kind words are why I do what I do! Thank you so much for taking the time to visit Noting Grace and for leaving me such a sweet comment. You truly made my week!
I just read your tutorial on Hometalk for your She Chandy. I came to your blog hoping to see it lit up and you did not disappoint! Shes so pretty! I’m thoroughly impressed by all the changes, new creations and furniture swaps. You have a great eye and talent for putting all kinds of things together that don’t match per se, but coordinate beautifully. Totally magazine worthy! I’m glad that you’re happy with how it all came together and that you are proud of yourself…you should be! Amazing job!
Thank you so much for coming to my blog! I’m so glad this inspired you and am honored you took the time to comment! Thank you for your kind words!
Stinky testosterone house. you made me laugh I live in one of those too. Even the cats are all male. Your room is just gorgeous. I love that chandelier you made for the closet. That is what made me come see your room. I saw that post on Hometalk. just beautiful.
wow .. you are soo creative.
Hi Sharon! We found that about 10 years ago at American Signature Furniture. I don’t think it’s available any longer. Maybe I should do a round up post of similar beds?
Where ever did you find that gorgeous bed?
Thank you so much for taking the time to leave me such encouraging words! I am so thankful that you found inspiration from this makeover!
THANKS SO MUCH!
YOUR REDOS ARE FANTASTIC ORIGINALITY!
KEEP UP THE IMAGINATION & BRIGHT IDEAS! BE BLESSED AS YOU BLESS OTHERS!
I ADORED THE MAKE OVERS OF DIY FOR BEDRM, CLOSET, WINDOW TREATMENT & USED LEFT-OVERS SO NICE TO SEE AM NOT ALONE IN RECYCLING WITH IMAGINATION & GIFTED TALENT! WILL JUST REDO WITH WHAT HAVE AS TOO MUCH AND SAVE WHAT DO NOT HAVE OR CANNOT AFFORD! JUST SOME HARD WORK AND TIME WITH A FEW AIDS! THANKS SO MUCH! FROM AN ELDERLY ENJOYING RETIREMENT AND ALL KIDS GONE! LOVING TO REDECORATE & GET IDEAS FOR FREE! HAPPY IN WINTER YEARS! STILL ONE MAN’S TRASH ANOTHER’S TREASURE!