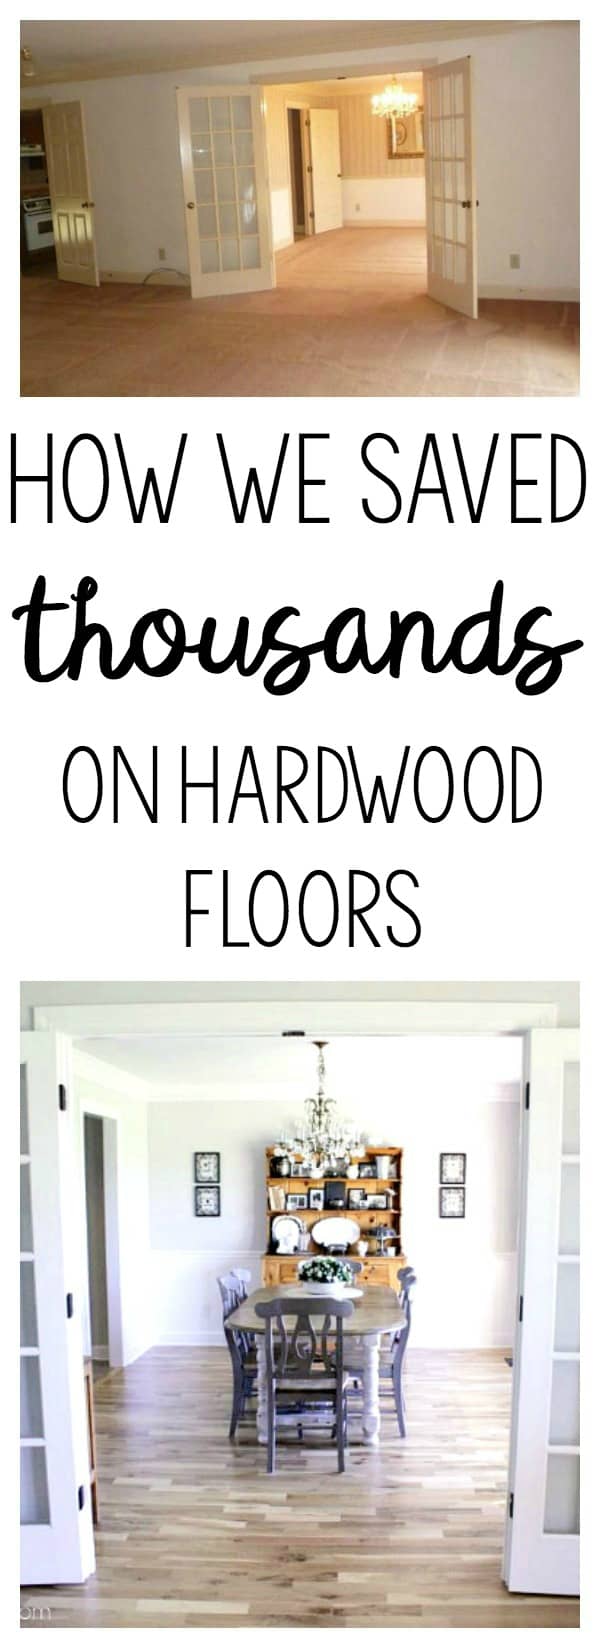
Affordable DIY Hardwood Flooring – How We Saved Thousands
Installing Hardwood floors can get expensive, especially when the budget was tight. We needed to find a way to get the look that we wanted without the huge cost. Here is how we found affordable DIY hardwood flooring for our home.
When we purchased our Tennessee fixer upper, there were many elements about this house that was perfect.
We loved the location–close to the city, but removed enough to give it a country living vibe.
The neighborhood was just what we were looking for. It was well kept with very little traffic…until you opened the door.
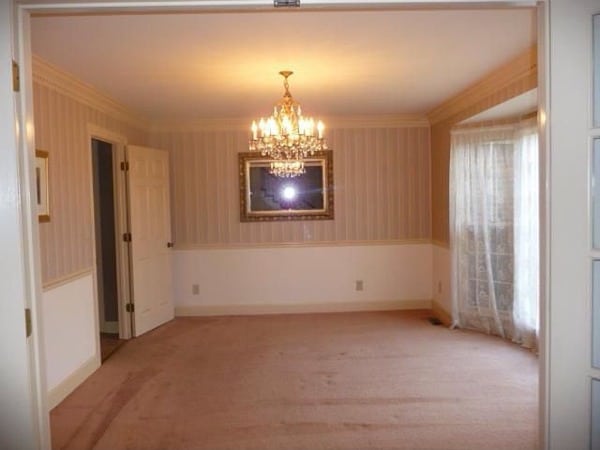
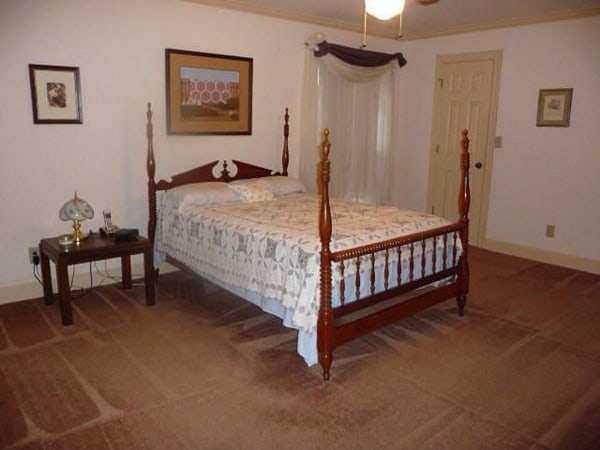
PINK CARPET
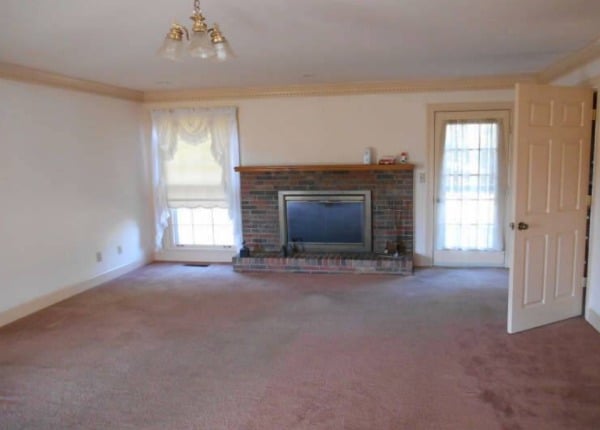
YIKES!
Is it Pink?
Or would you call it 80s mauve?
To begin with, we realized this carpet was definitely the original to the house. Over 25 years of muck and mire — never replaced and maybe not even cleaned!
I have always wanted hardwoods and without a doubt, I knew I would find affordable hardwood flooring! I was a girl on a mission. First, we started receiving quotes from installers.
{from MLS Listing}
Our first quote came in at almost $15,000. UGH! That just hurt our feelings, so we decided to try another company. That quote came in at $11,571, which was an improvement, but still to high for our budget. The installers noticed our disappointment and said they would get back to us with revised the estimate. Boy, did they deliver! That last quote was the trick – $6500, but it was going to take a bit of work on our end to get that price.
As they measured our house, the flooring guys were impressed with our Pallet Kitchen Island and our Pallet Bookcase. I babbled on and on about my blog and explained how we loved to DIY on the cheap. Once they saw we preferred the rustic look of wood, they recommended Cabin Grade Flooring.
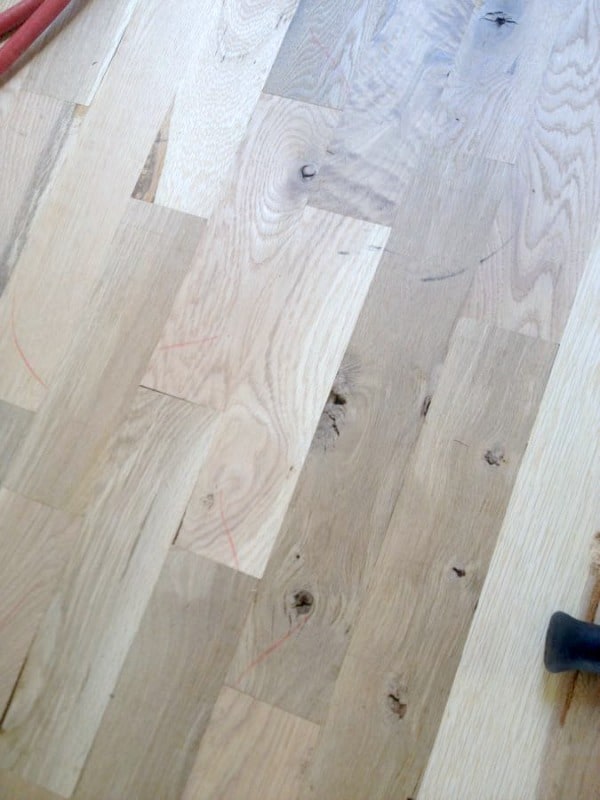
What is cabin grade flooring?
Basically, it’s the seconds, or rejects, from the factory. Those rejects, with the beautiful blemishes, veins and uneven tones, are for sale at a lower price point. But the Cabin Grade flooring offers the same look of barn wood floors without the astronomical prices.

The installers first recommendation was to not install hardwoods upstairs or in the kitchen. But the install would include the hall at the top of the stairs, the stairway, and most of the downstairs. So by cutting those rooms from the install, the price began to drop.
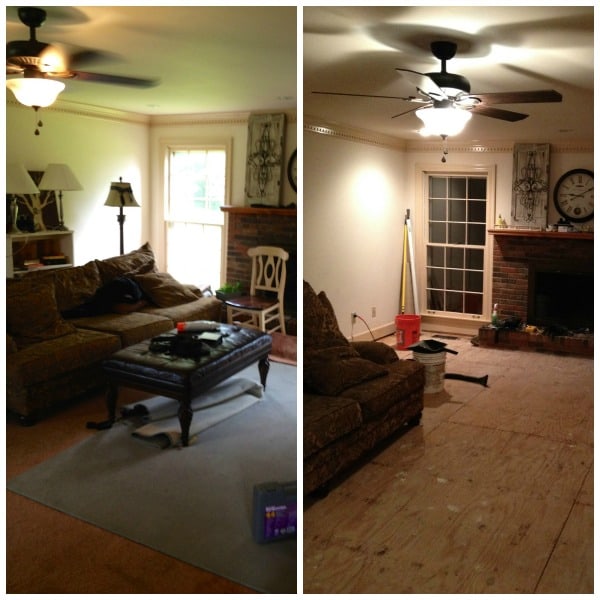
However, the second recommendation is where we saved the most money — about $1500! They suggested we do the prep work ourselves. Under our carpet and pad was pressboard.
But you can’t install hardwoods over that type of underlayment. So if we would rip up the carpet, pad and pressboard, then the labor cost would drop drastically. It was work that the installers aren’t too fond of, and by allowing us DIYers to tackle the prep, we saved money and saved them the headache!
It was a daunting task, but knowing that by doing the hard work ourselves would save us BIG BUCKS in the end, made all the effort worth it.
Affordable DIY Hardwood Flooring
The Demo Process
First, we rented a dumpster. A big, blue monstrosity of an eyesore that sat in our driveway for weeks.
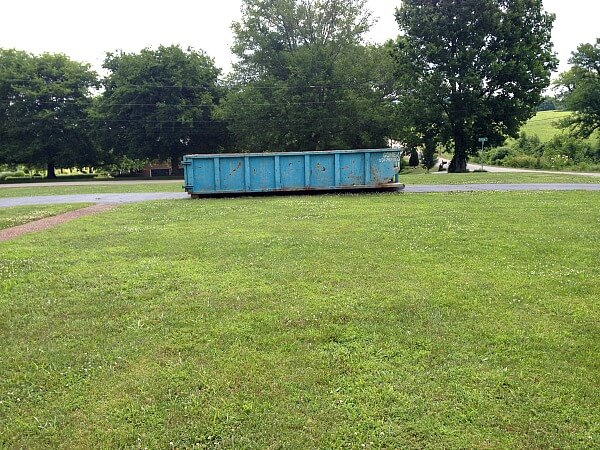
Isn’t it so lovely?
I must have apologized 100 times to the neighbors. But we couldn’t wait to start ripping up all that pink.
Ripping up the carpet was easy, but having the right tools is essential. Here are some of the tools we used for this demo. Affiliate links are provided for your convenience. You can read my full disclosure here.
- Carpet Ripper
- Razor Blade Carpet Knife
- Circular Saw
- Crowbar
- Claw crowbar – the best tool for this project!
- Staple hammer tacker – for the vapor barrier
- Hammer
- Screws
- Drill
- Dust Masks and Goggles
You can find some tutorials on YouTube on how to remove carpet, but it’s really simple. Start in a corner and rip away. For easy hauling to the dumpster, we cut 4 foot wide strips of the carpet.
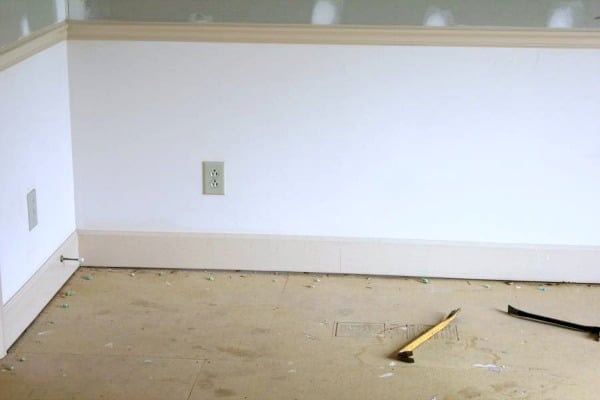
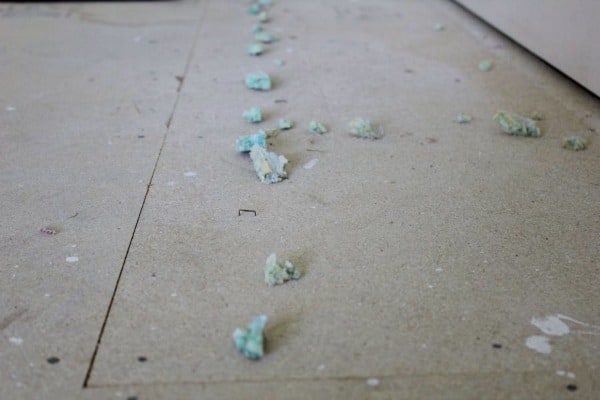
Next came the hard part! Demoing the pressboard was a bit tougher. It had been nailed in (NAILED IN!) so it had to be chipped away with hammers and crowbars, instead of easily unscrewed and lifted out.
Each ping of the metal tools sounded like CHA-CHING to our ears and one step closer to affordable hardwood flooring!

It was messy and we used buckets and shop vacs to get up the pieces.
*Tip: Tape over your floor vents to prevent trash from falling down into the duct work.
{sorry for the blurry pics – sawdust does that
Note the earplugs, kneepads and facemasks. Safety first!}
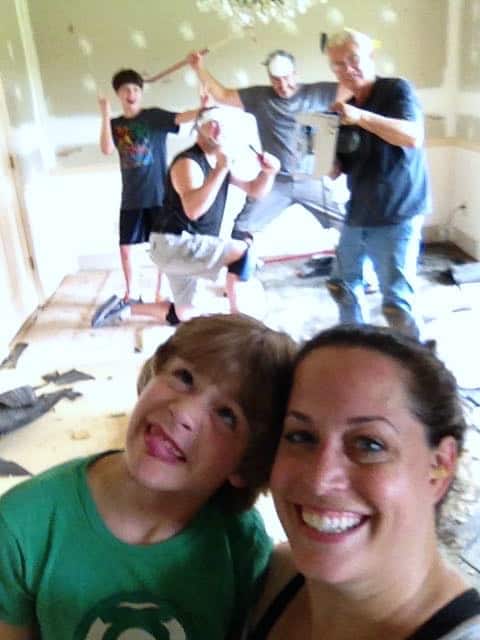
Little hands helped us out along the way as well as Trent’s Dad and a good friend of ours whose construction knowledge ended up being invaluable.
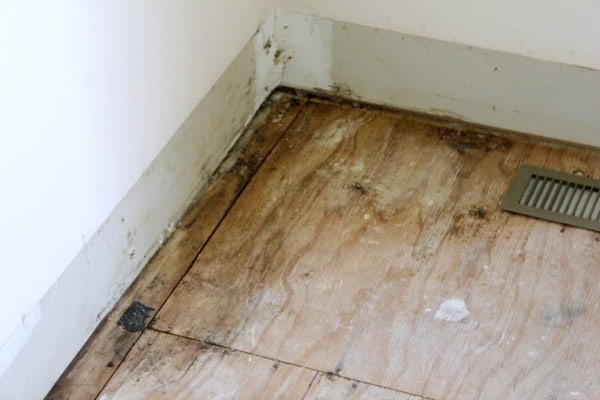
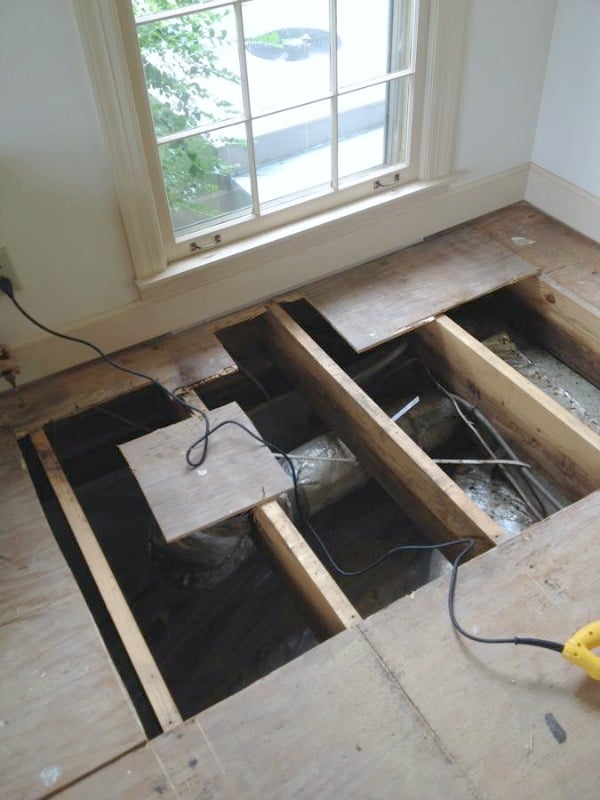
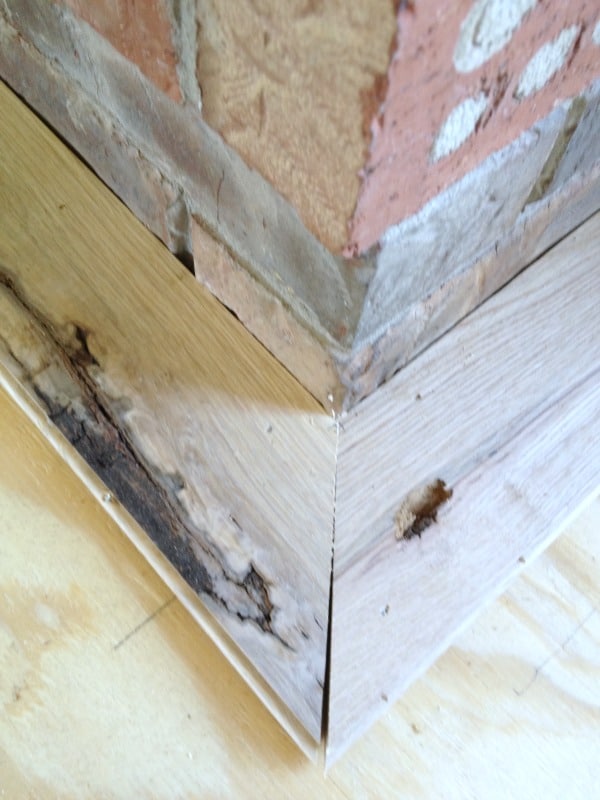
Uh-Oh! That’s wood rot!
(sad trombone)
The subfloor was so bad in places, you could have fallen through. It was a surprise, but we were glad to know that we could fix the problem, replace the rotten pieces and end up with a better foundation than before.
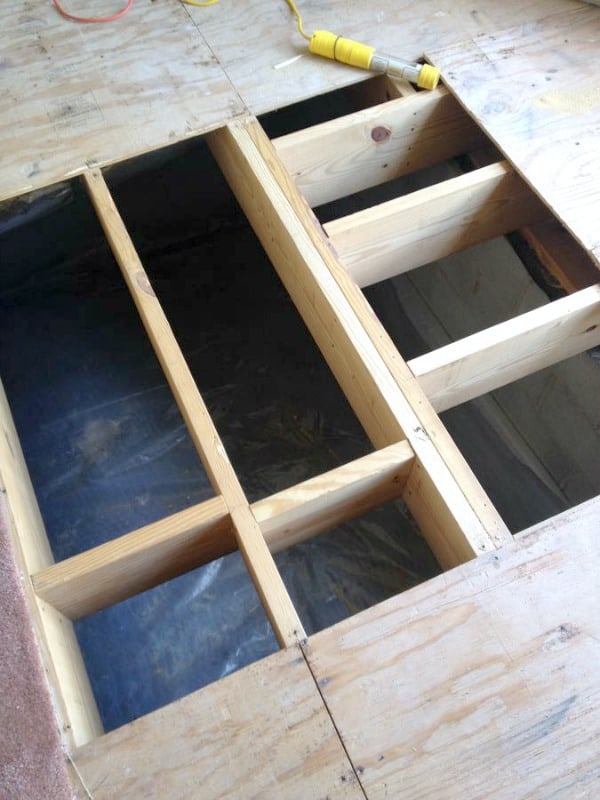
There was an entire section needing to be replaced in the Dining Room.
{much better}
As well as in the Master Bedroom.
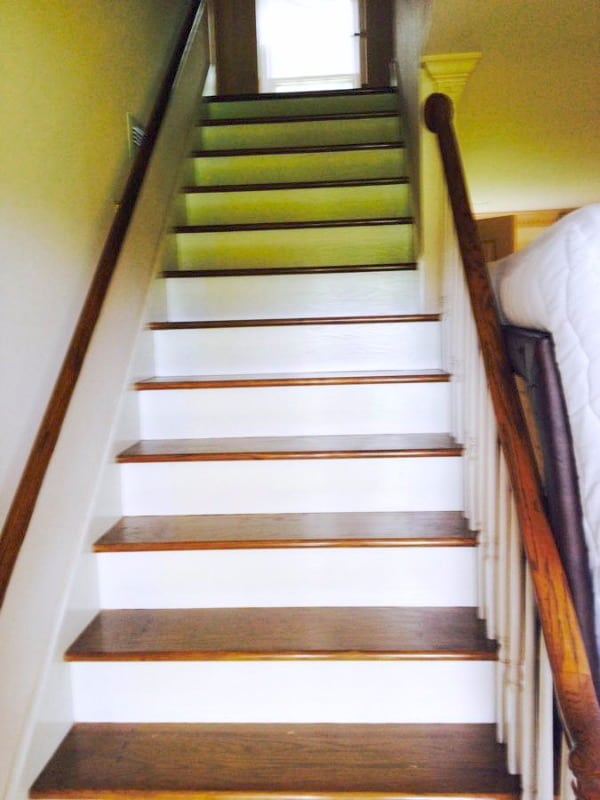
Under the carpet the treads were fully stained and in perfect condition. That was a relief!
Phew! No repairs! Once we made the necessary repairs to the subfloor and screwed down the plywood, we also added extra screws throughout to prevent floor squeaks.
Now we could start the next step.
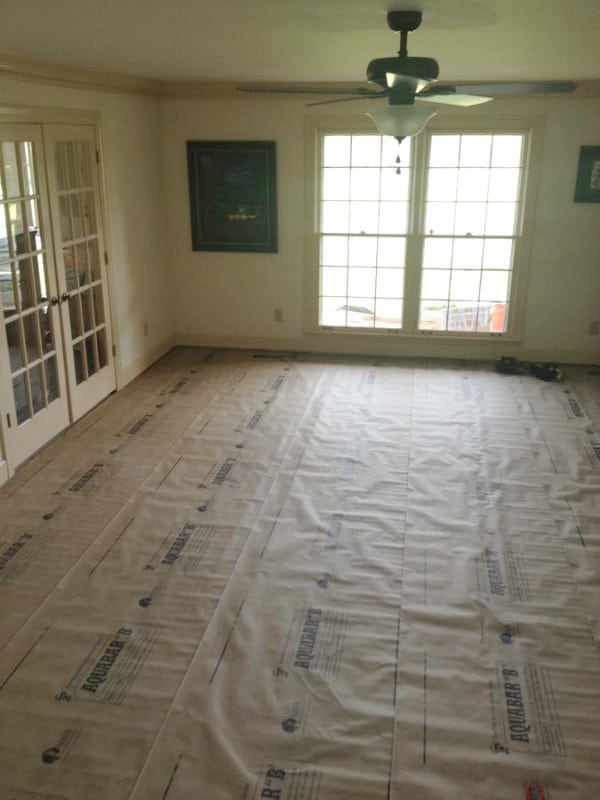
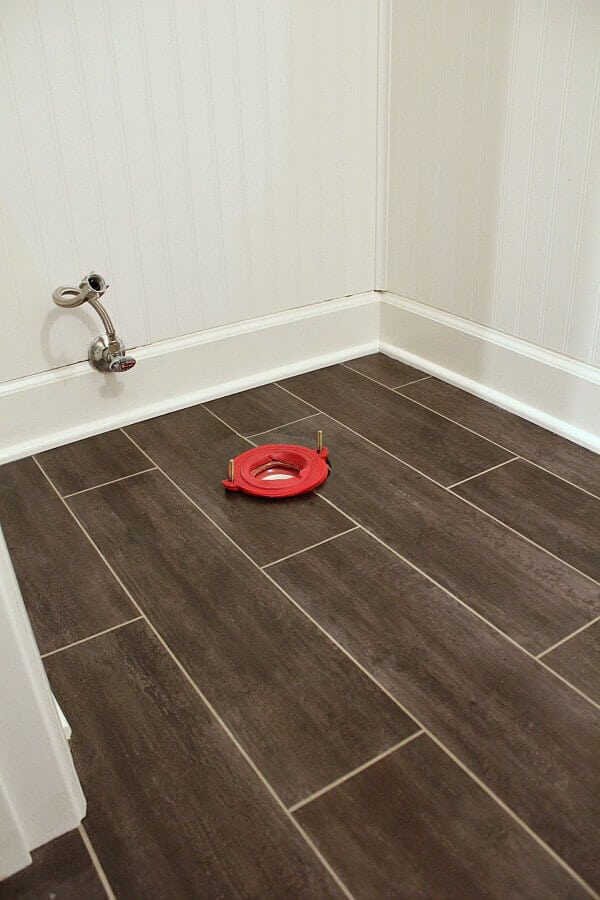
Prepping for Install
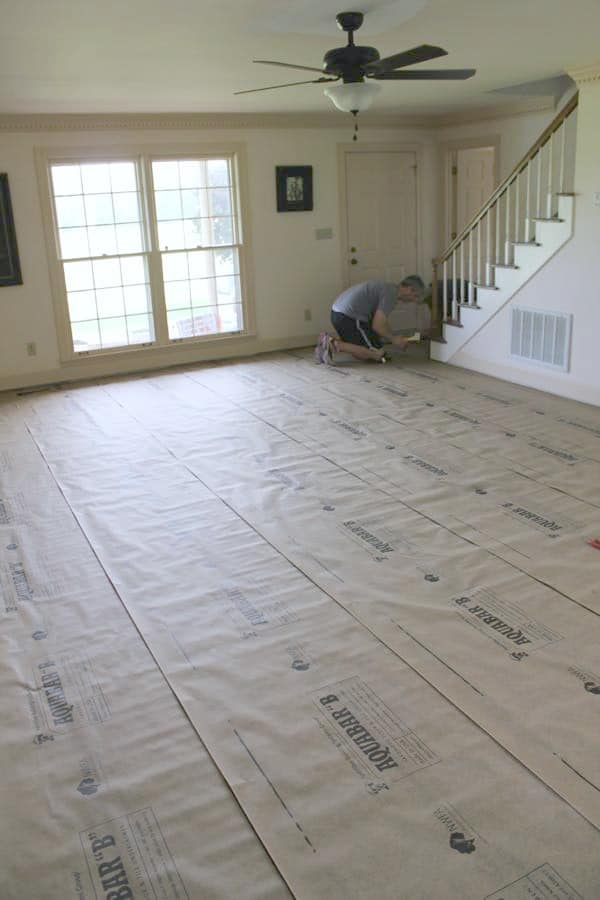
Next, we installed a vapor barrier over the subfloor. The installers provided us with 2 rolls of vapor barrier and suggested we lay it sandwiched between the subfloor and another plywood layer. The vapor barrier helps with moisture issues that could cause cupping in the hardwood floors.

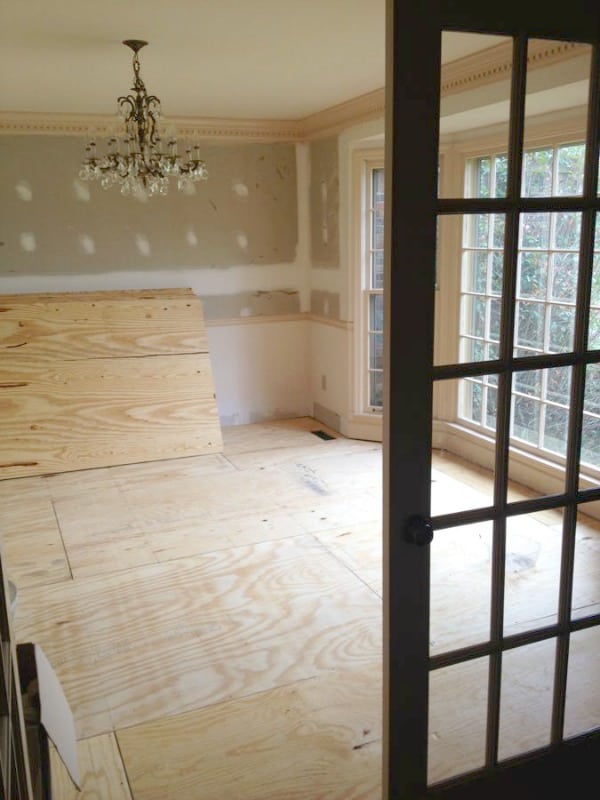
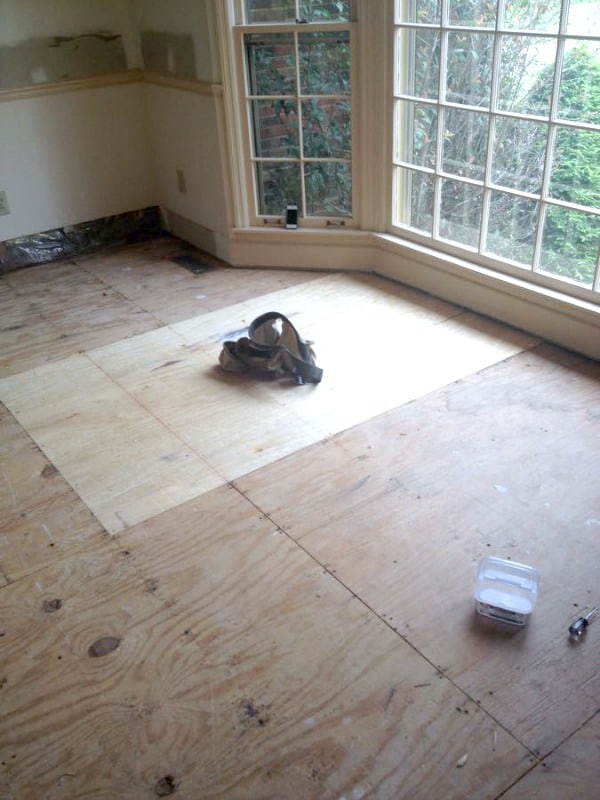
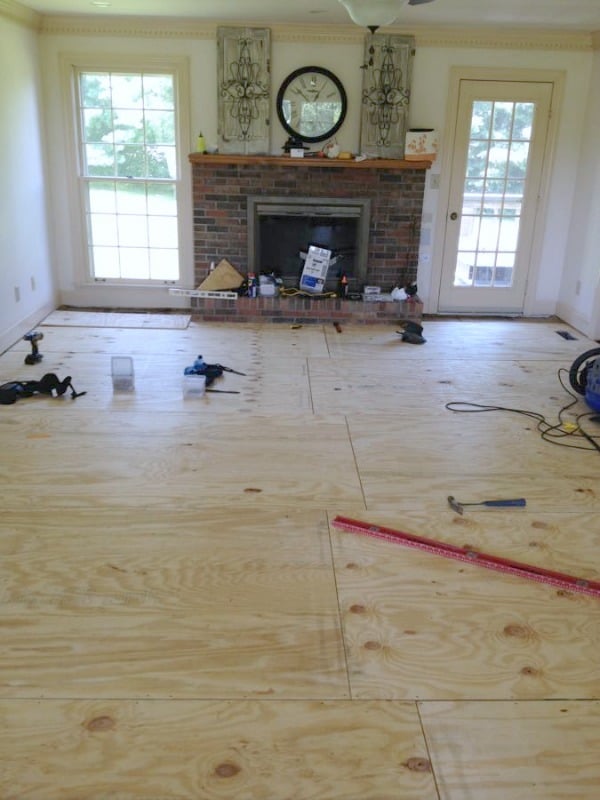
Finally, we could lay down the last layer of plywood subfloor on top of the vapor barrier.

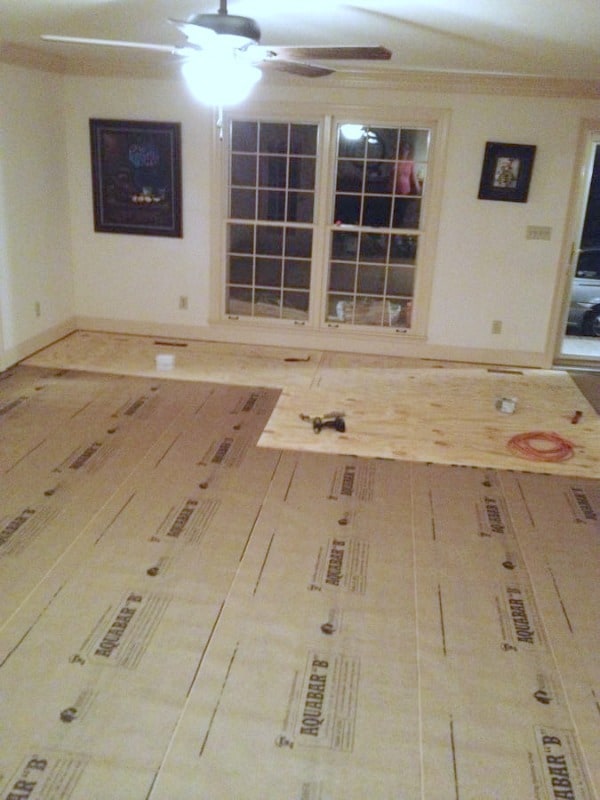
We laid the top plywood layer perpendicular to the pieces beneath.
*Tip: Mark the baseboards where the floor joists run so you can quickly install them.
So this is where our work ends and where the flooring experts take over.
But now it starts getting good!
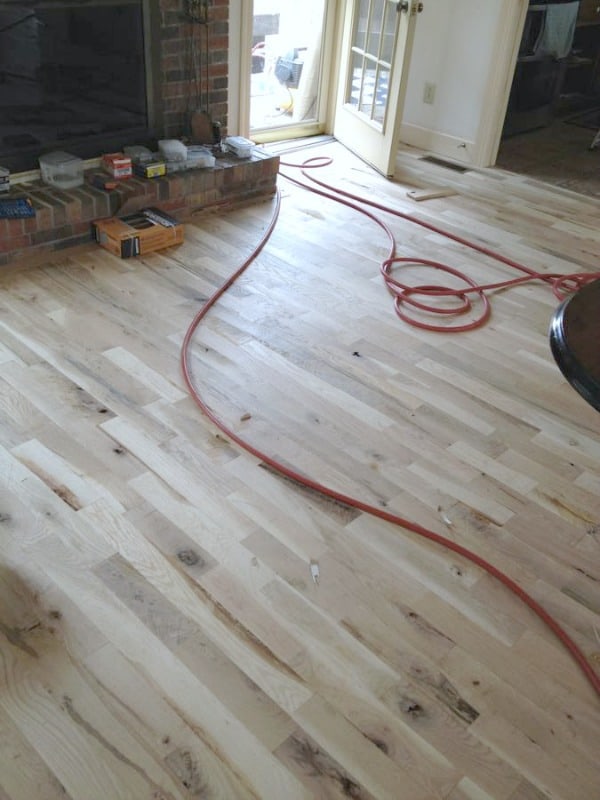
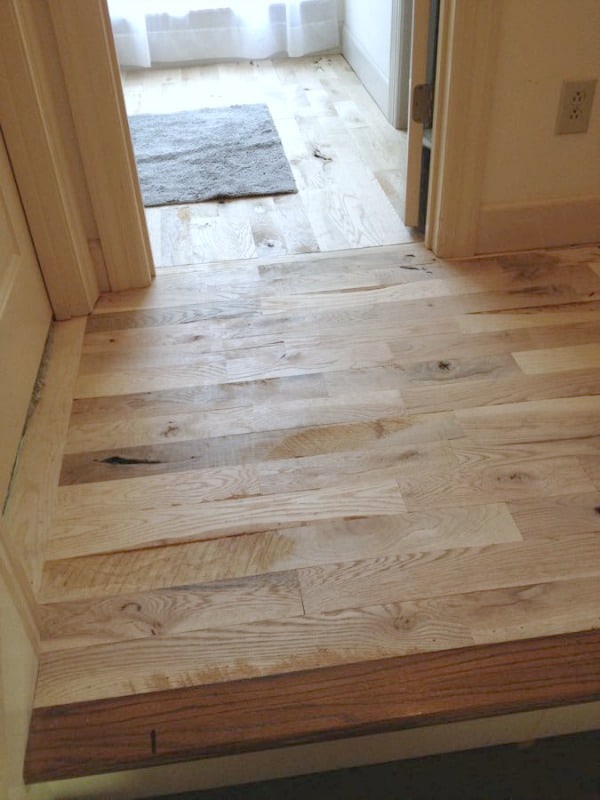
The Install
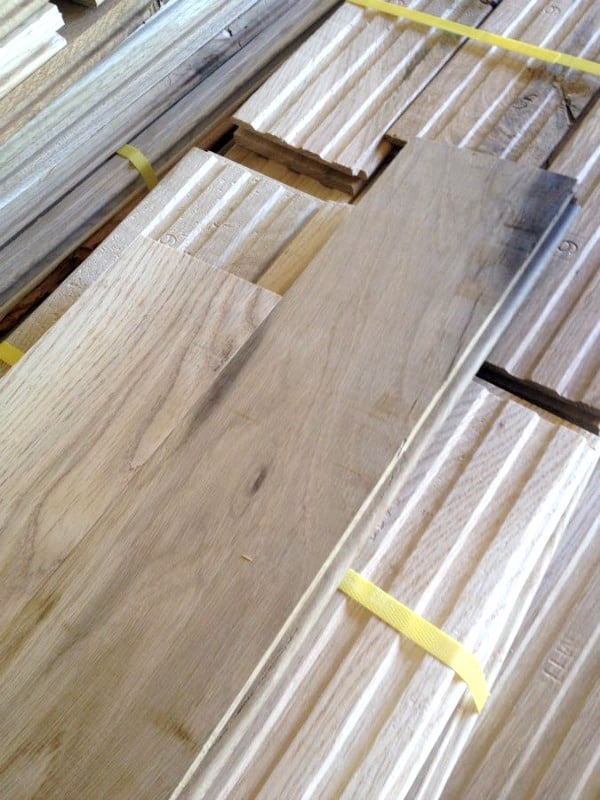
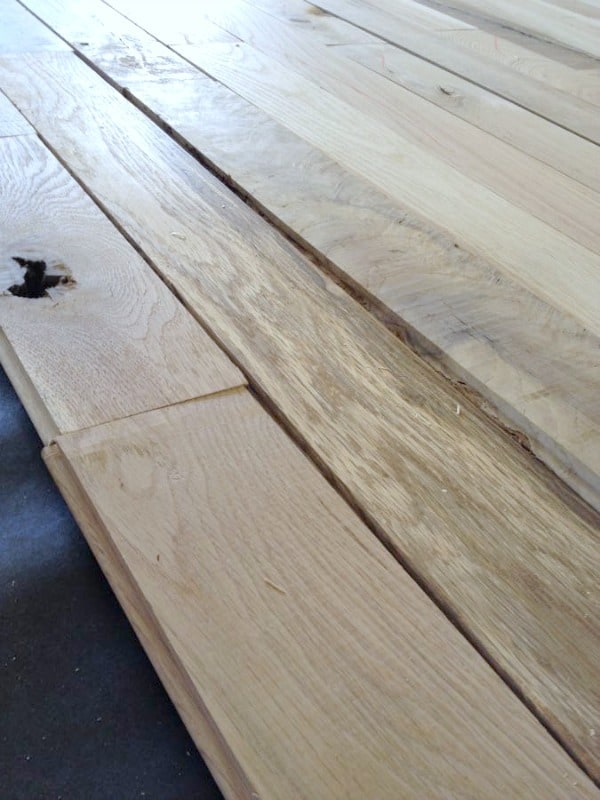
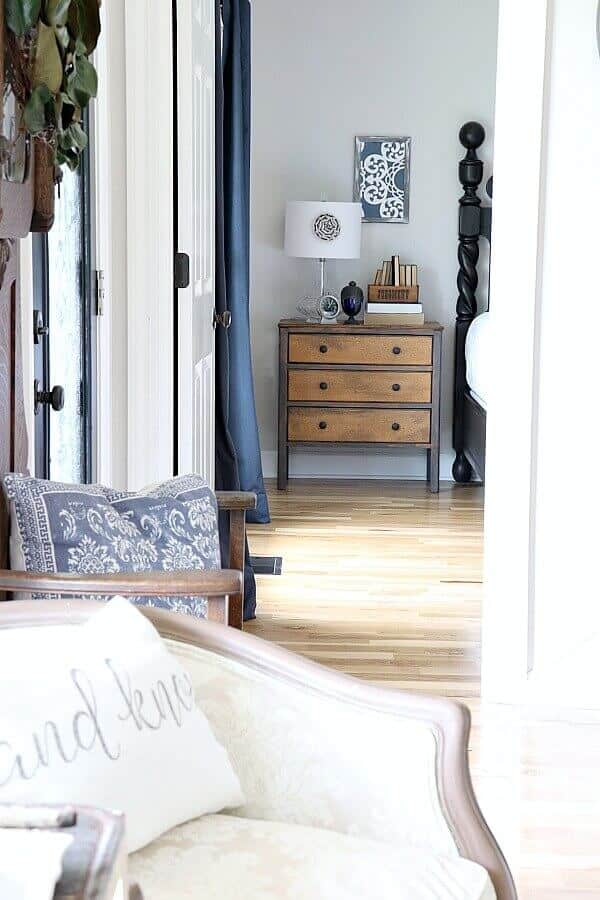
Look at that hardwood floor!
They are 3.25″ cabin grade white oak planks – all chippy and knotty and gorgeous!
The flooring guys added a nice touch by framing-in the fireplace.
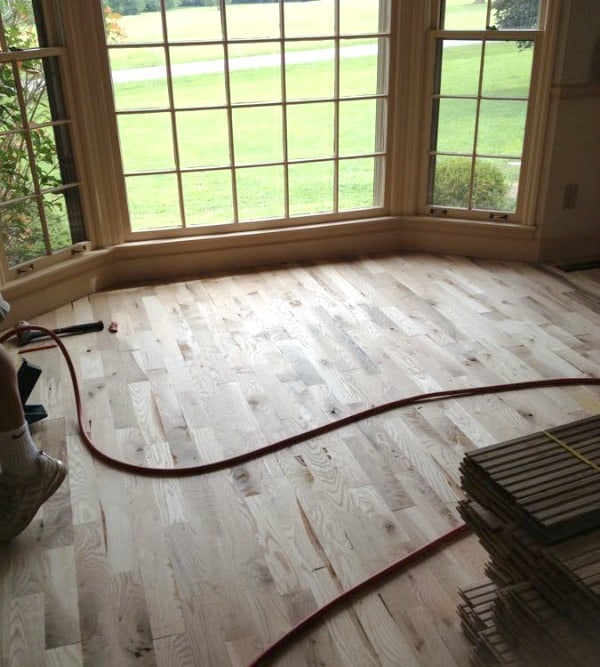
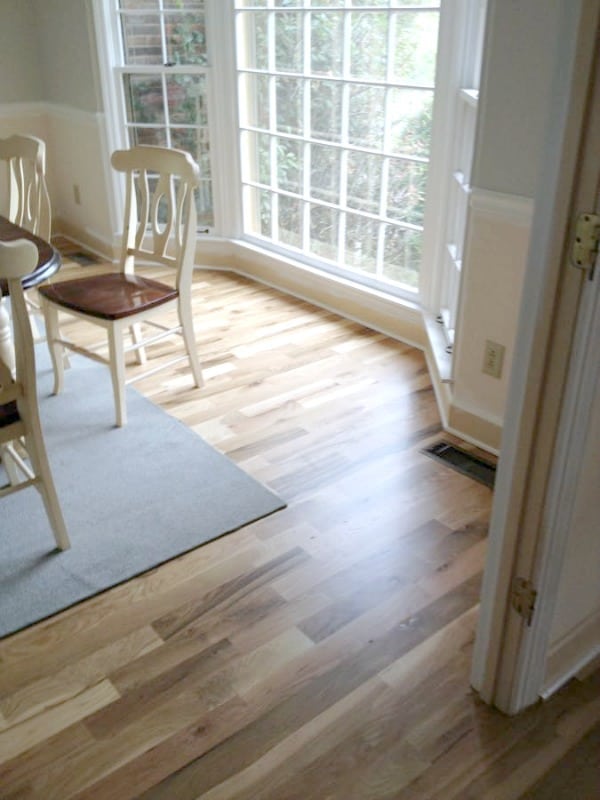
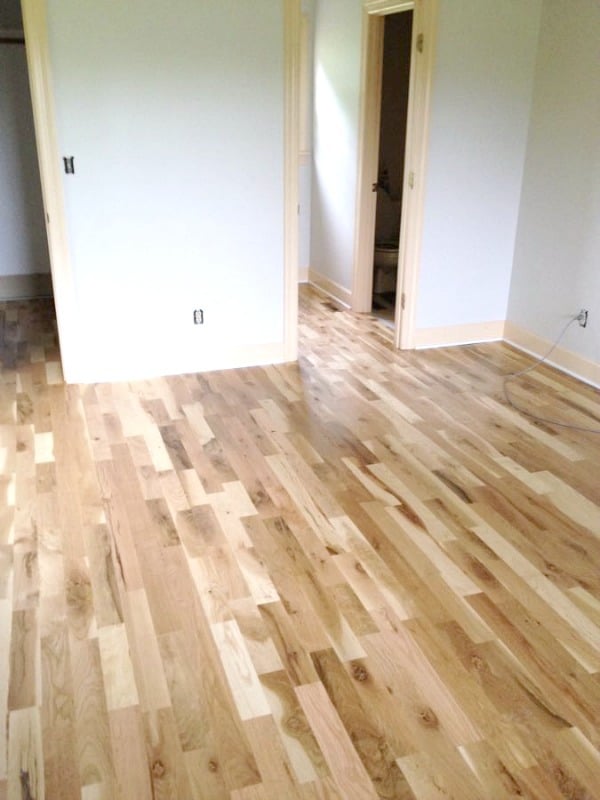
We loved how they looked, but we had to live with the floors unstained and unsanded for about 3 weeks to acclimate to the moisture in the house and to prevent cupping.
The original plan was to stain the floors, but after living with them in their natural state, we fell in love with the wood. We were afraid to lose the variegation with the stain, so we opted for a satin clear instead of stain.
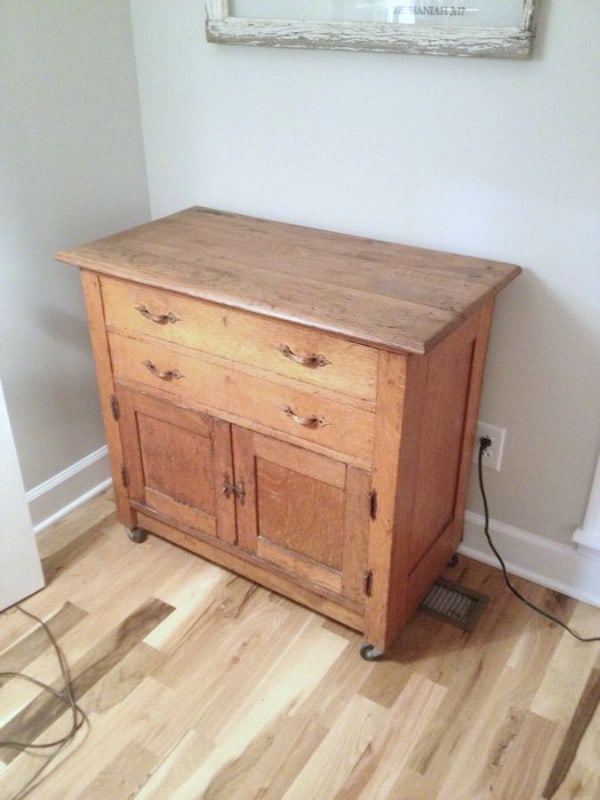
Affordable DIY Hardwood Flooring Reveal
Finally the day had come! We had to leave the house for a long weekend since the fumes weren’t safe. After all this hard work, a mini-vacation away from all this work was well worth it!

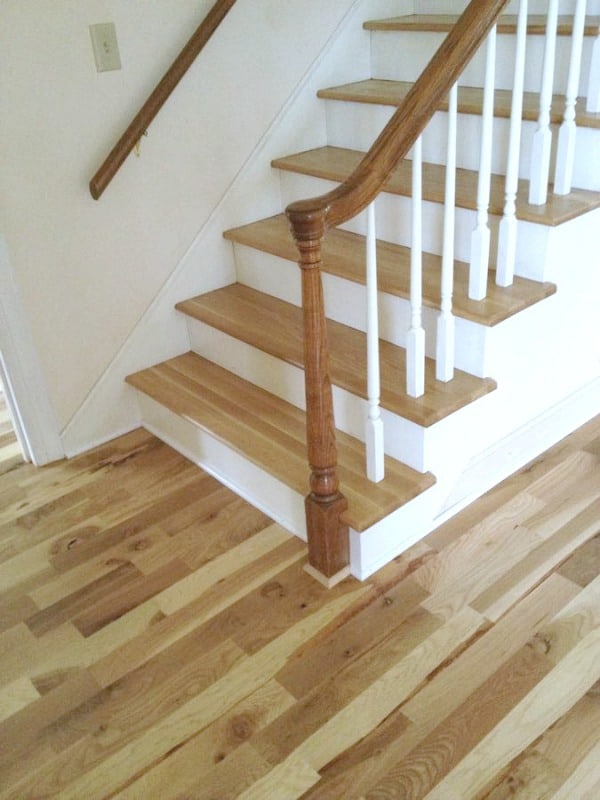
Finally, they sanded the treads on the stairs and left them natural, which matched up nicely and flowed well with the rest of the house.
All in all, the final cost came to $6446 — a total savings of $5,125 from the original estimate with a little bit of hard work on our part.
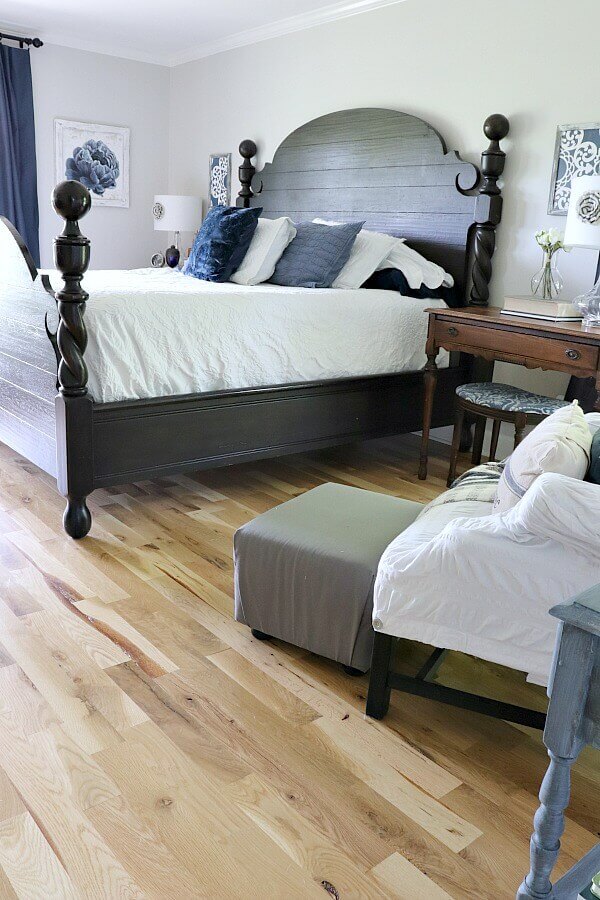
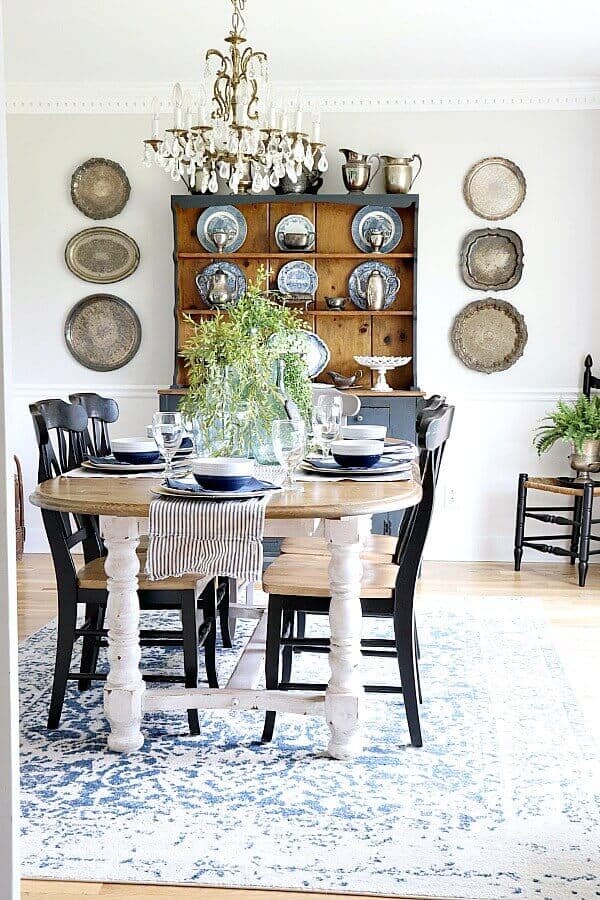
As a result, we got the affordable DIY hardwood flooring that we wanted and saved over $5000 by doing the prep work ourselves.

34 Comments