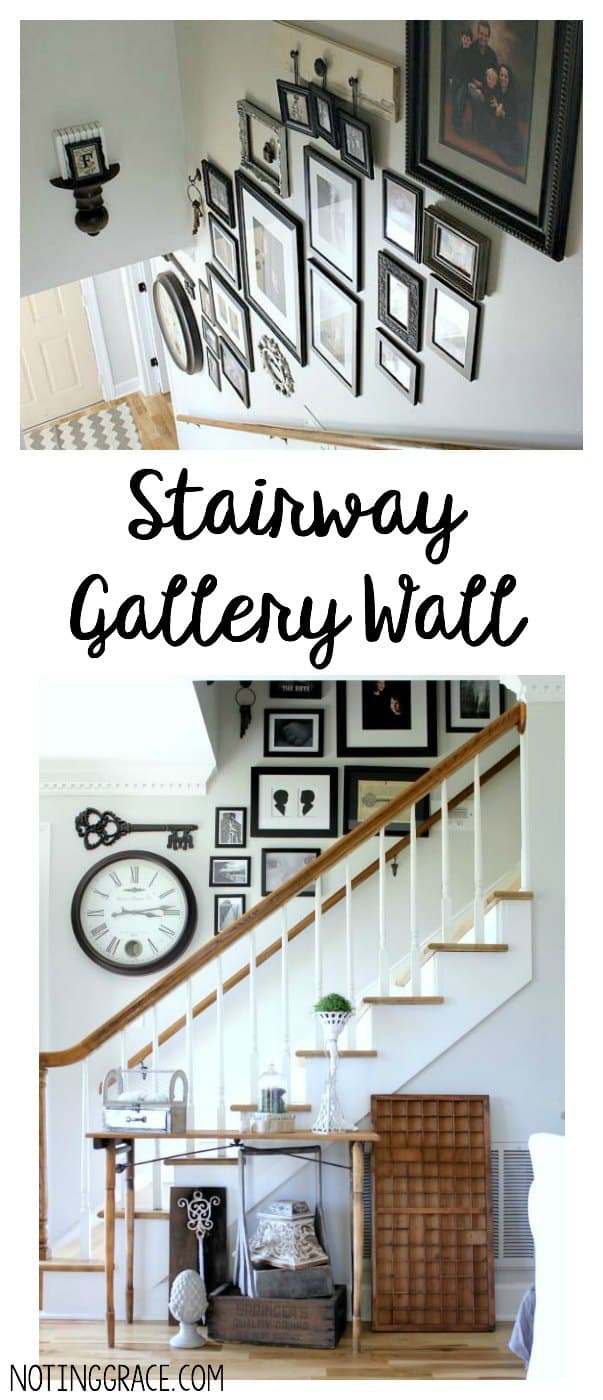
Creating a Stairway Gallery Wall
Creating a Stairway Gallery Wall in our entryway was a fun and easy project we were able to complete in one afternoon and on a budget!
While we are waiting for the paint to dry on our Kitchen Cabinet Remodel, we decided to recreate our entry with a gorgeous Stairway Gallery Wall by reusing and combining pieces from our previous homes. It only took about an hour, was thrifty, and created an instant home-y feel.
Let me take you back to what you saw when you first opened the door – the before from when we first moved in.

YOWZA!
We removed the carpet and had the stairs sanded and clear coated when we had our hardwood floors installed.
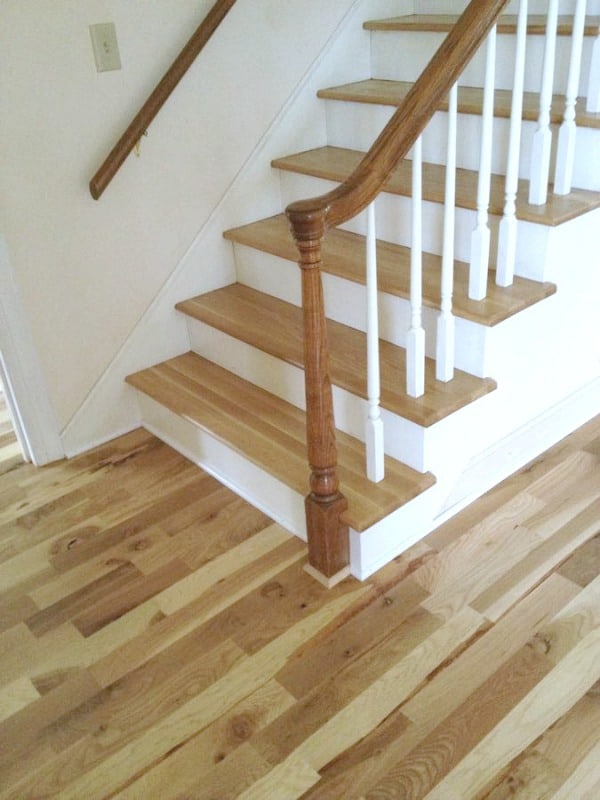
Next, we painted the walls with Sherwin Williams Crushed Ice.

Obviously it was still such a blank space and not a very welcoming entry.
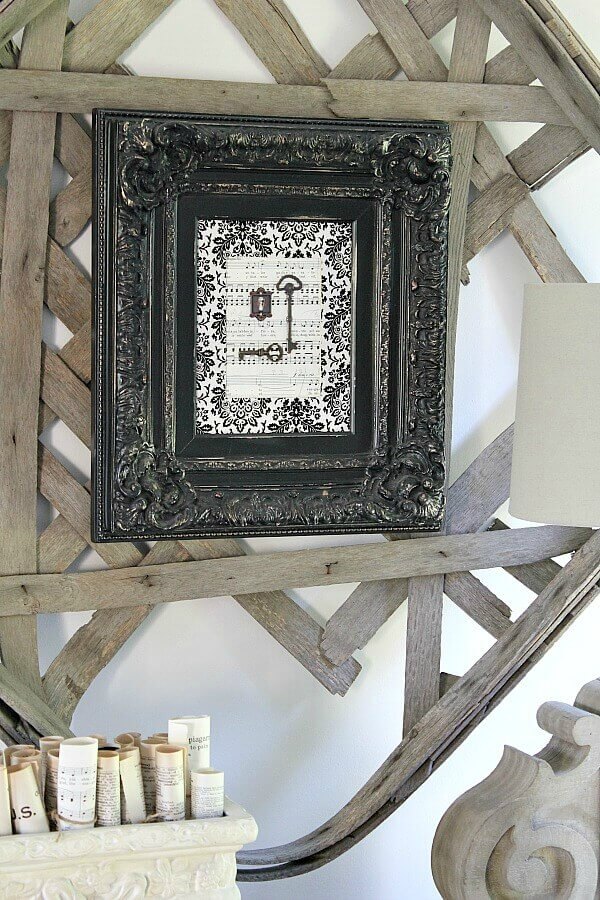
Since I love to decorate with keys and stars, I wanted to continue that theme up my stairway. I recently rematted some Sheet Music Prints for my Dining Room so I used that as my inspiration.
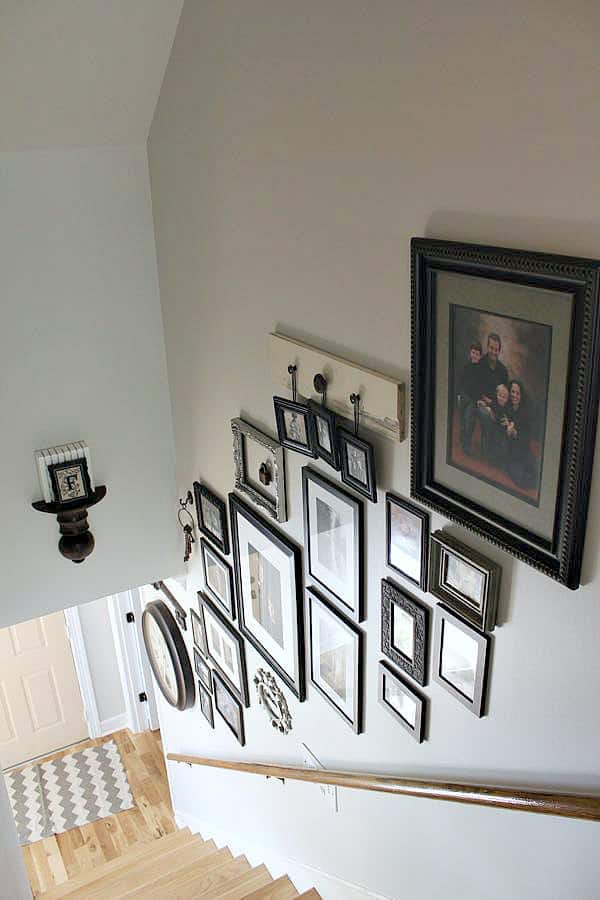
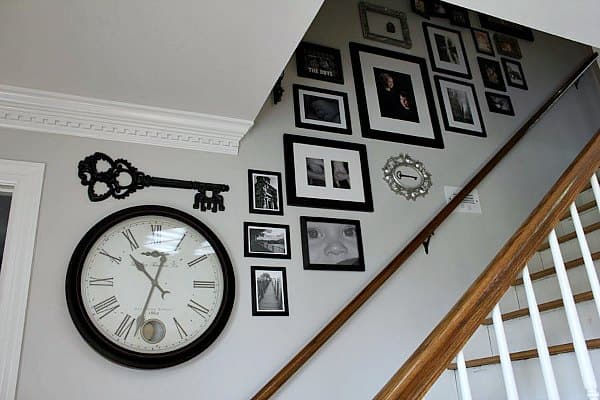
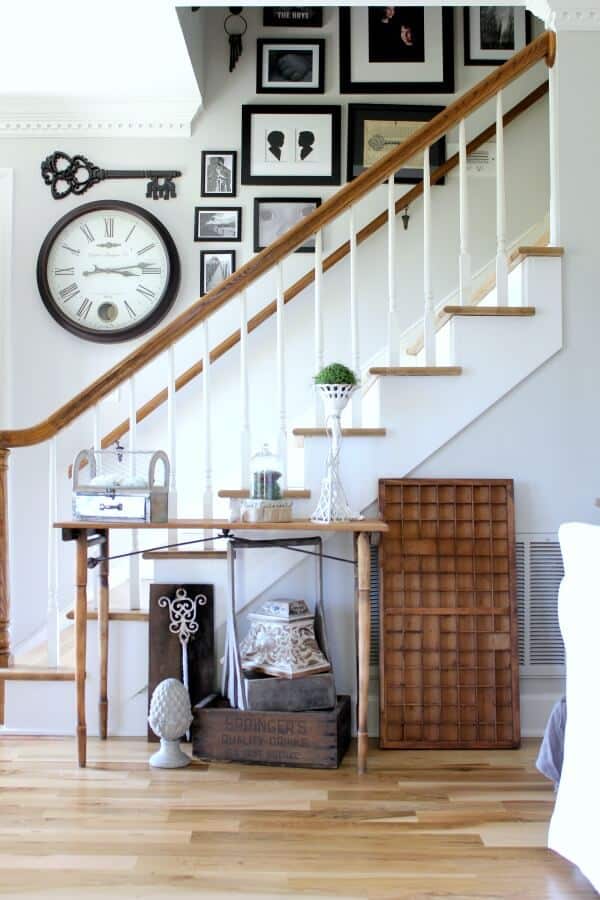
And here’s the reveal!
What do you think?
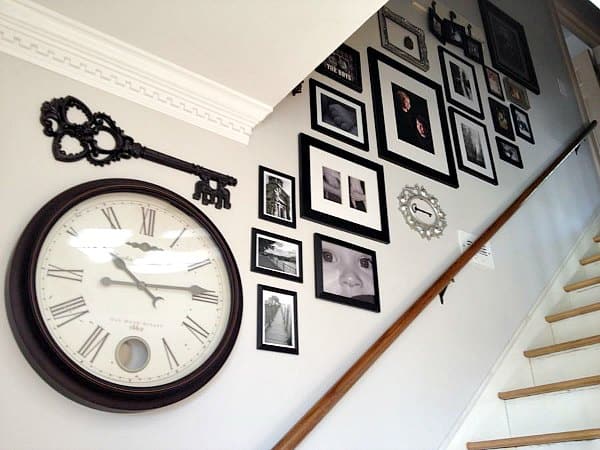
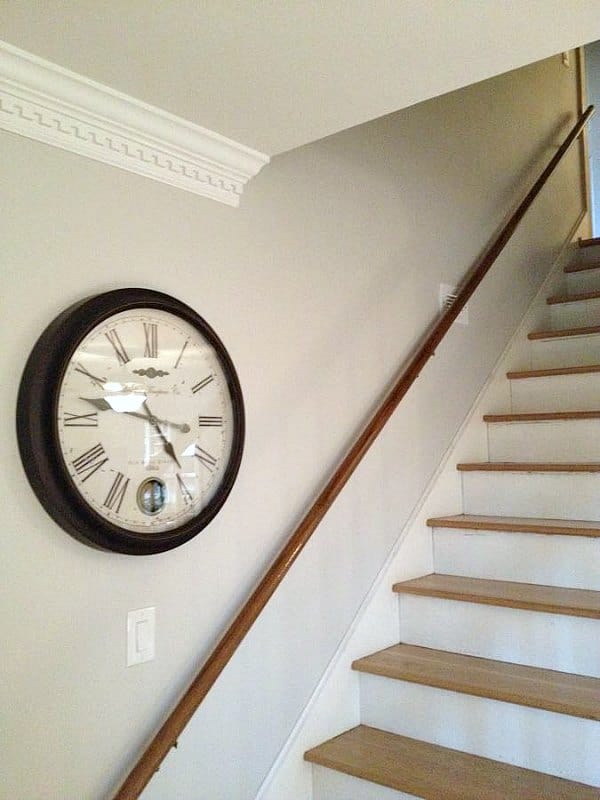
The giant key over the clock came from my grandmother’s estate. They came in a set of 3 and had a gold finish. I spray painted it Oil Rubbed Bronze to match the color scheme.
Keeping costs down meant reusing items from our previous homes. I mixed my Baby Collage black and white pictures from our rental. {another view from our old loft}
I also included photos Trent took from his travels along the way that were used in our 1/2 bath ribbon collage.
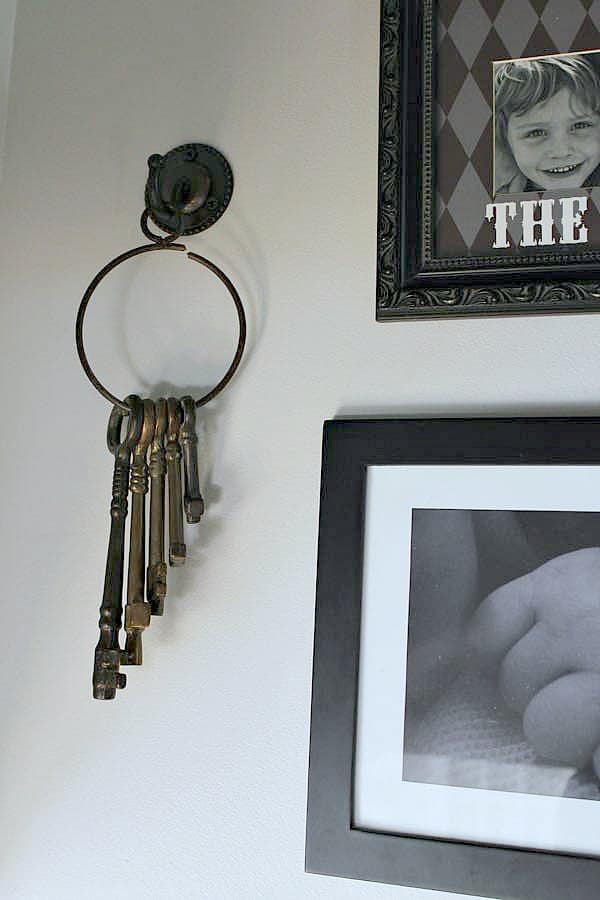
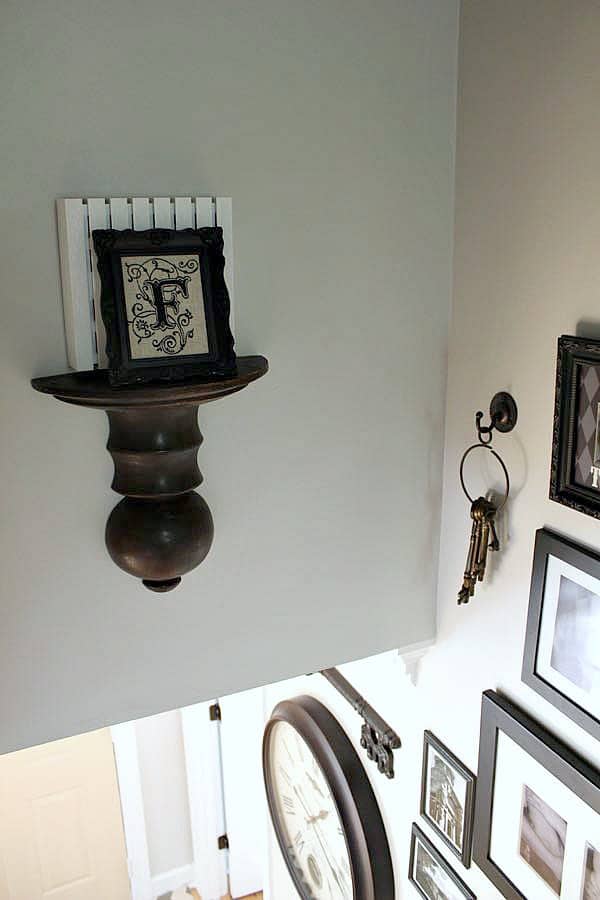
These keys were hanging on the bookcase from my other grandma’s house for as long as I can remember and were passed on to me. I think it’s so neat that I have both of my grandmothers represented on my wall.

In keeping with the key theme, I hung these locks that we found junkin’.
I added a frame around them that I found from Goodwill years back.
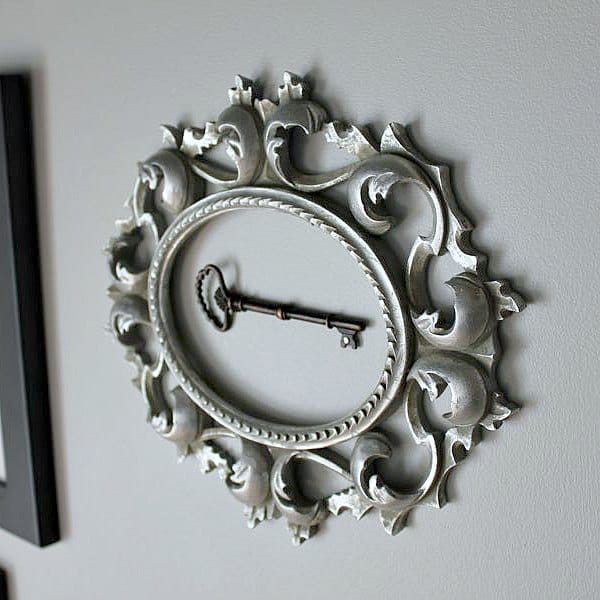
I mirrored the idea below with another key.
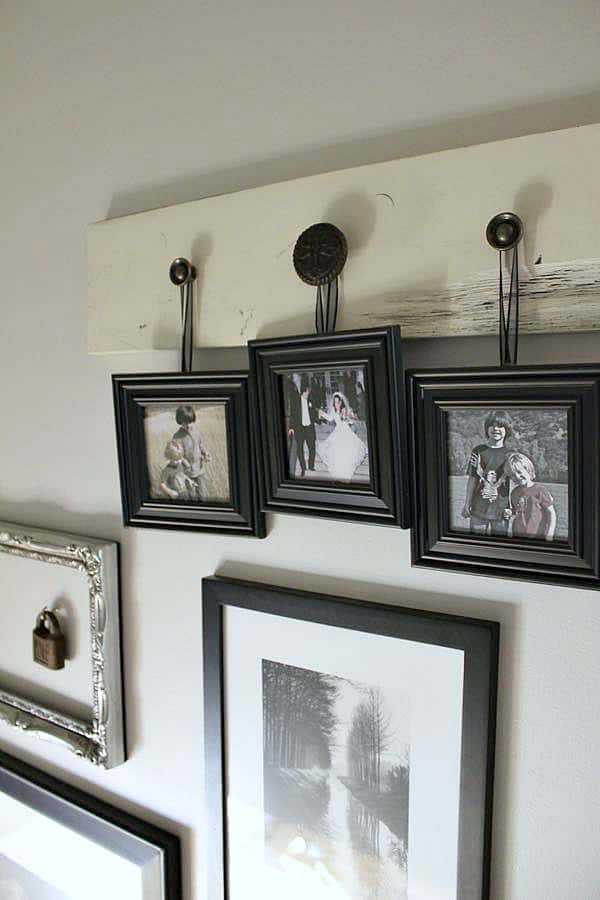
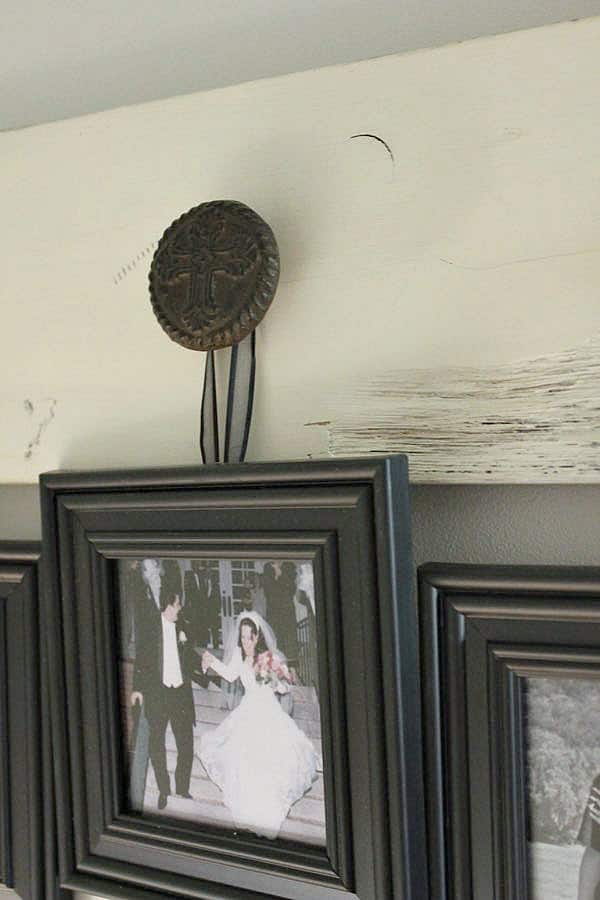
This homemade hanging picture plaque is something I made from a piece of wood and drawer pull knobs. I hot glued ribbon to the back of Dollar Store frames to hang them.
One eyesore I’ve hated is the doorbell box. It was the only thing you saw when you descended the stairs.

Using a wooden ornamental ledge, I hung it just beneath the box and added a fun element to hide it a bit. I framed an embroidered tea towel with a garage sale frame spray painted black.
I never used the tea towel for fear of ruining it, so now it’s a display piece!
So that’s it! By reusing items, I was able to create a more welcoming entry way for free!
Can’t beat that!
Try your own Gallery Wall using photos of varying sizes and styles. Include heirlooms and knick knacks to add your personal touch and provide you or your guests something cool to look at!


Hi Vicki! That’s a great question and a difficult one! The highest pictures on my stairway gallery wall are hung with me standing on the stair riser below. I didn’t use a ladder for safety issues…plus, I’m a klutz so that would end up in disaster! It only appears high from the floor level.
How high are you wanting to hang things? My only suggestion is to hire someone, or ask a tall friend or neighbor to help you one afternoon and pay them in cookies! Maybe send me a pic so I have a better idea of the space you’re working with.
Hope that helps!
Jen