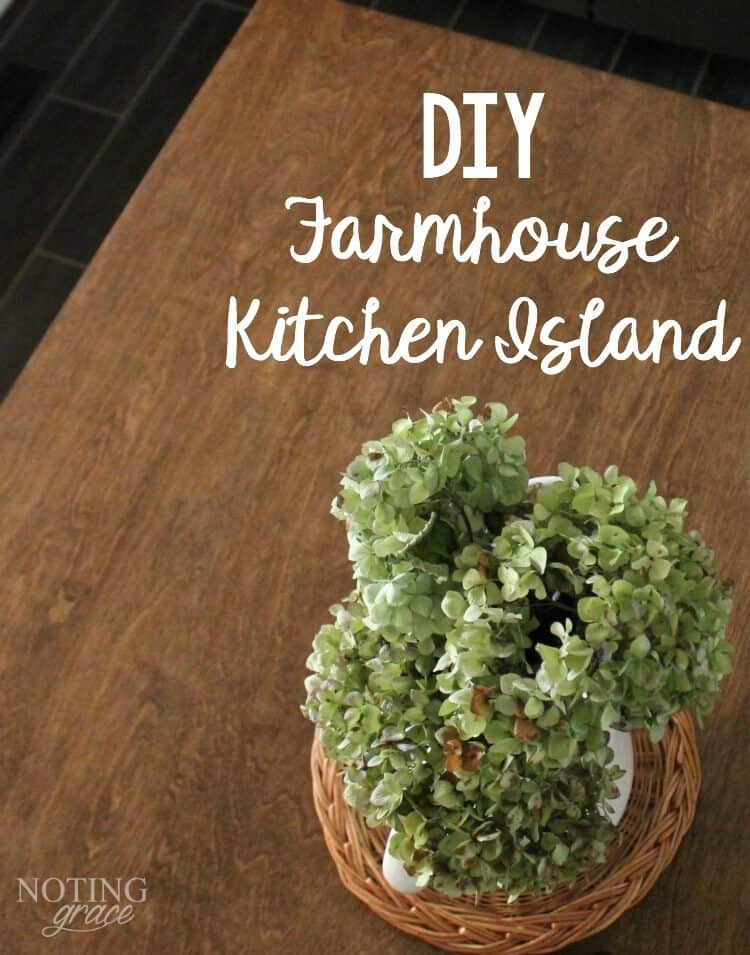
Farmhouse Kitchen Island DIY
A great tutorial on how we took a budget pallet project and transformed it into a gorgeous, DIY farmhouse kitchen island built-in for less than $150!

Once upon a time, there was a kitchen island.
It wasn’t a grand kitchen island. It started with humble beginnings and simple surroundings covered in repurposed pallet wood.
And it was happy in its simple surroundings, but always dreamed of becoming a Farmhouse Kitchen Island.
Then one day, the world around the kitchen island suddenly changed. The cabinets, walls and floors weren’t so simple and this little kitchen island needed a new dress to fit in at the ball.
Okay, it didn’t exactly happen like that, but it kind of did.
In true fairy tale form, let’s start at the very beginning. Even Julie Andrews says its a very good place to start. (Now you’re singing it, aren’t you?)
Prior to purchasing our Almost Farmhouse, we went through the grueling process of selling our Nevada home and moving to a rental before we made the big move back to Tennessee. Our rental lacked counterspace and cooking was tricky.
Not wanting to invest money in a temporary situation, we created a budget friendly kitchen island from scrap and pallet wood to help our countertop situation. You can read all about how we built our Pallet Kitchen Island here.
We brought it with us to Tennessee, and thought it would work nicely in our kitchen.
While we were in the midst of our Farmhouse Kitchen Remodel, our budget came to a screeching halt leaving the last of the remodeling untouched – the awful floors. So we lived with the floors like this for almost two years until we could afford to change them.
And that little kitchen island, built from humble beginnings worked just fine.
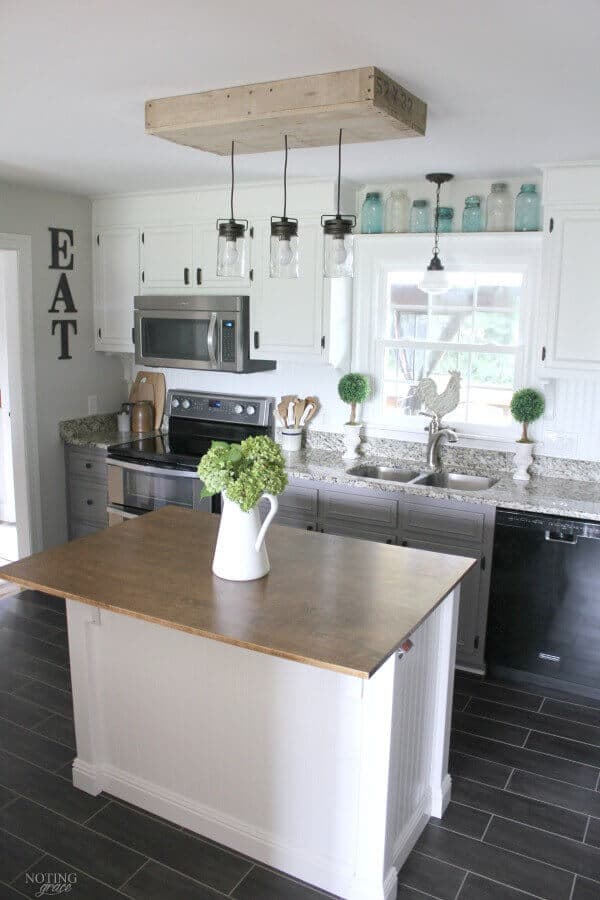
Until the new floors were installed! That rustic kitchen island looked like someone wearing a gunney sack surrounded by belles at the ball.
So this is how we took just a little bit of money and dressed her up into a Farmhouse kitchen island that fits right in.
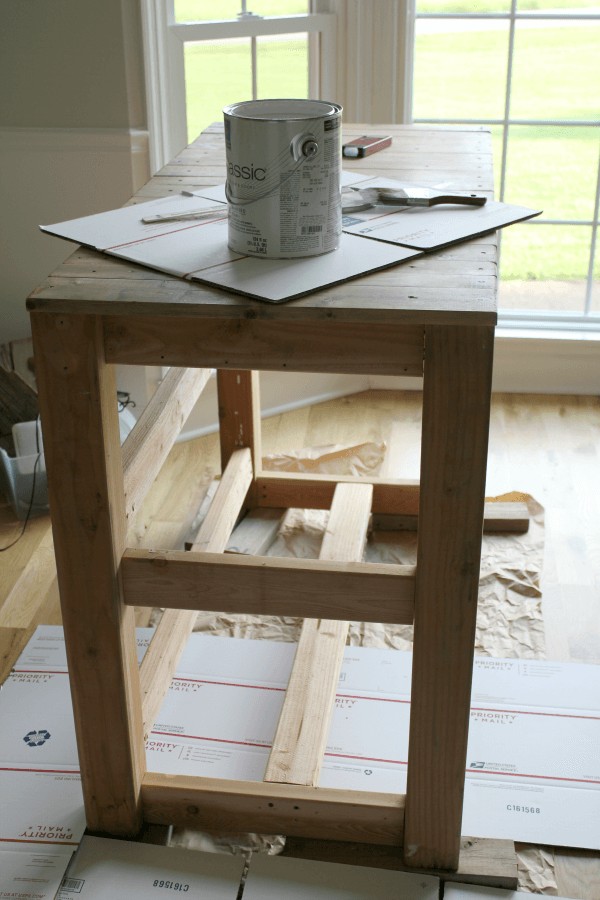
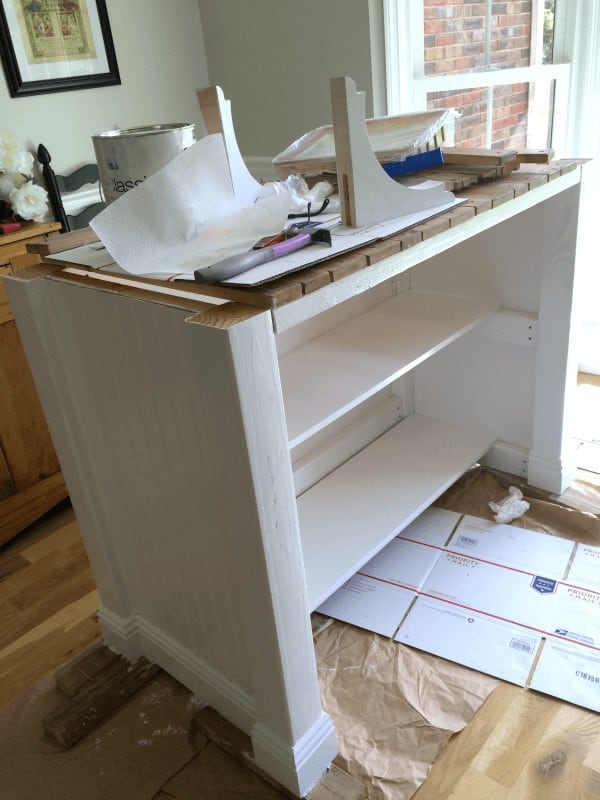
We stripped the kitchen island down to it’s bare bones. Our plan was to add beadboard to the sides where the pallet wood was to have it match our backsplash.
We repurposed the pallet wood to built the Light Box over the kitchen island.
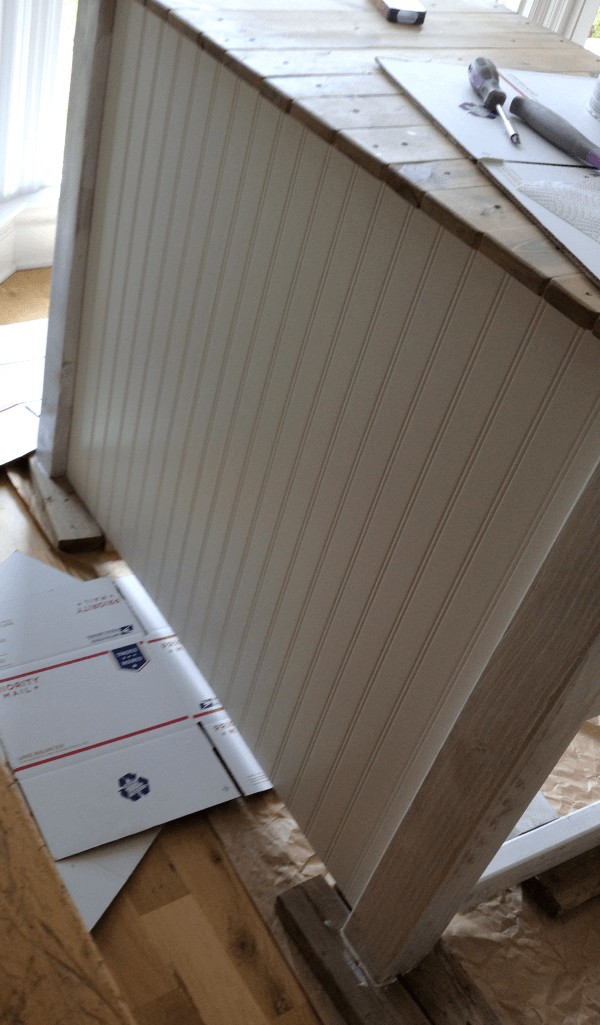
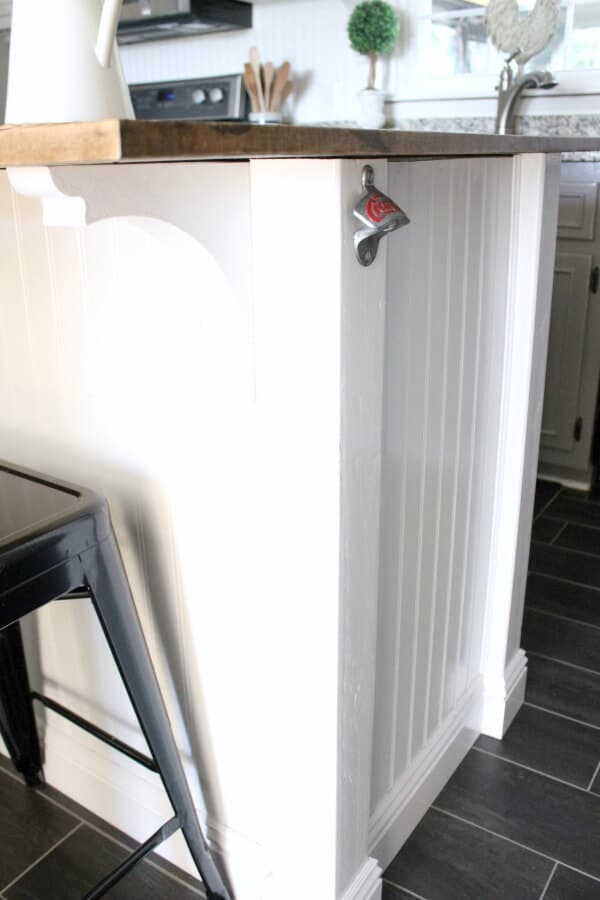
After painting the frame and inside shelves, we cut the 4 x 8 beadboard panel to cover the back and the sides, and then painted that. We used the same color used on our upper cabinets – Sherwin Williams Pure White SW7005.
I love how the beadboard instantly gives it that Farmhouse Kitchen Island feel.
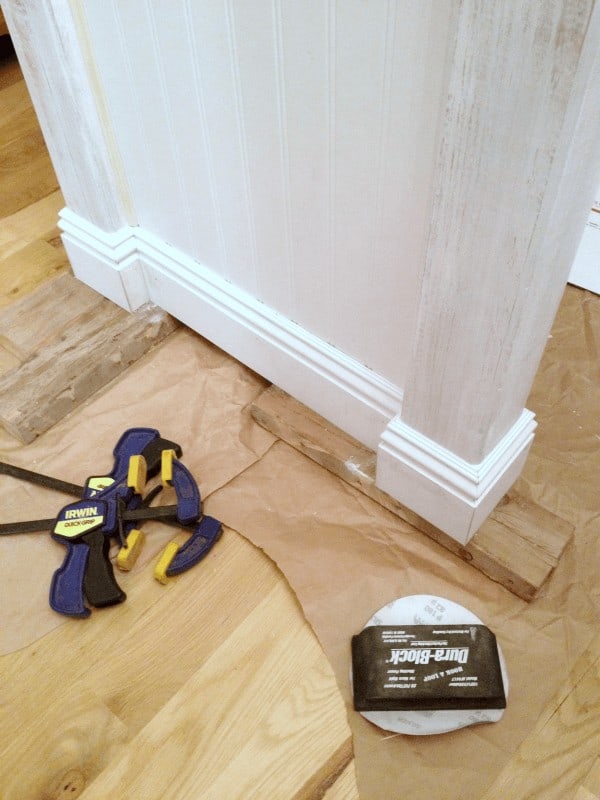
Next we added baseboard trim that we had leftover from another project around the bottom of the cabinet to give a look and feel of an actual built-in, even though it’s free standing. And lemme tell ya – the magic of caulk – it hides all errors, especially if corners didn’t quite line up.
After caulking the seams of the baseboard trim and applying a second coat of paint, we knew we needed to address the countertop. The wood slats were unique with the pallet wood frame, but we wanted a larger space to create an eat-in area. Plus – those little spaces between each board were a crumb magnet that made my OCD cranky, so it had to go.
We repurposed the old top as the counter for our folding table in our Vintage Inspired Laundry Room.
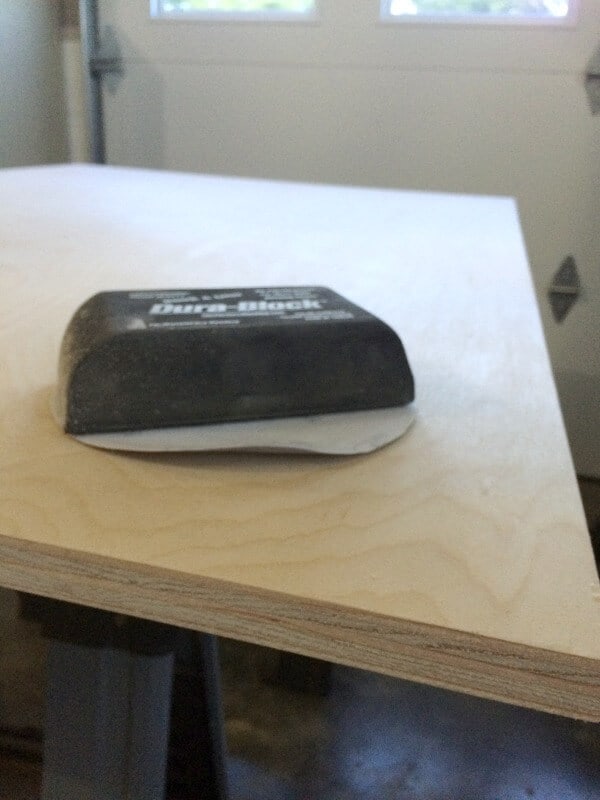
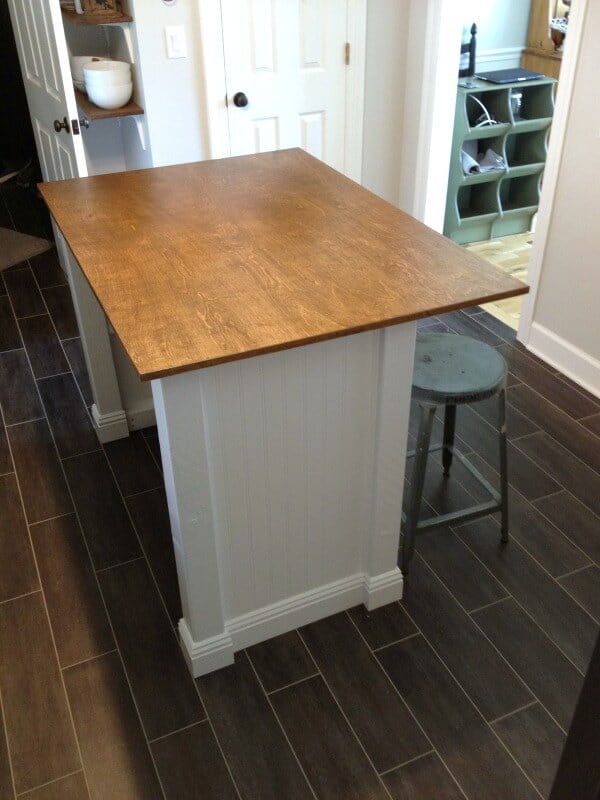
We purchased a 3/4 thick Birch piece of wood. This was the most expensive aspect of the project because of the type of wood. I’m sure there are cheaper options, but the thickness of the top and durability have been wonderful.
Look at that dust fly!
We had the store cut the wood for us using their big saw. Our top measures 36 inches by 51 inches, and their big machines can rip right through the wood in seconds with really straight lines.
We sanded the top to give the stain ‘teeth’ to adhere to. See that rough edge up there? We used iron on veneer strips to hide the ugly.
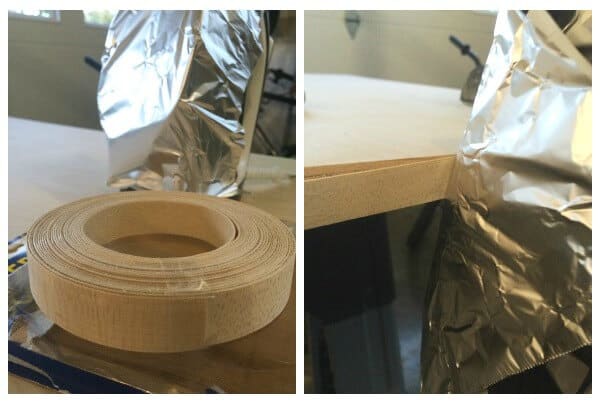
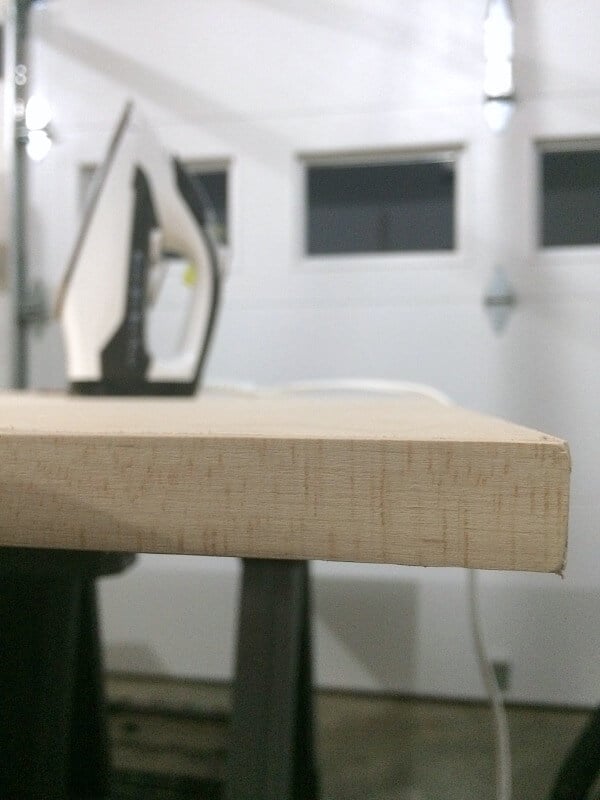
It comes in a neat little roll and is so easy to do!
Cover your iron with some tin foil in case the glue seeps onto the ironing surface. Line it up and iron away. It took about 10 minutes to cover all four sides.
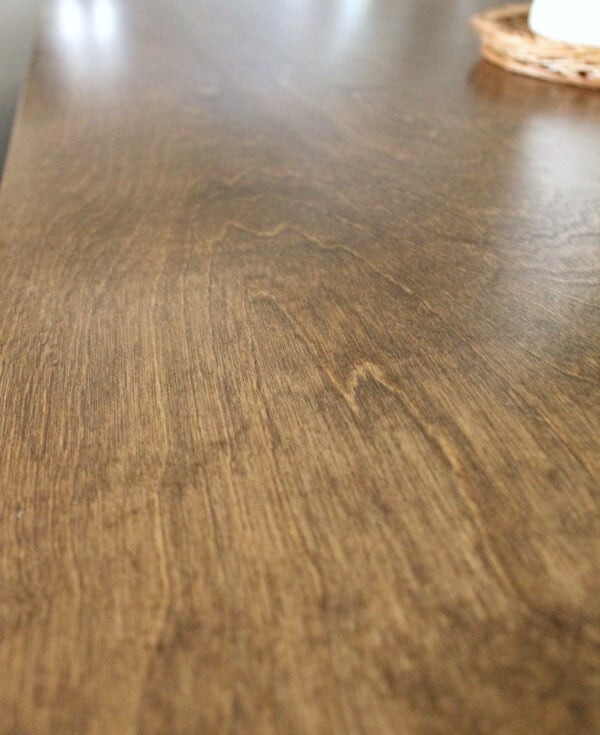
My staining pictures were a fiasco – we couldn’t decide on a color and after trying different options, we went with a custom mix of stains we had on hand, so unfortunately, I don’t have any info on what our stain color is.
One thing I will tell you about is the poly coat. This is a high traffic, heavily used area that I wanted to be able to wipe off easily, so I applied 3 coats of a wipe on poly in a Satin finish.
Just wait until you see how this Farmhouse Kitcen Island looks against the new floors!
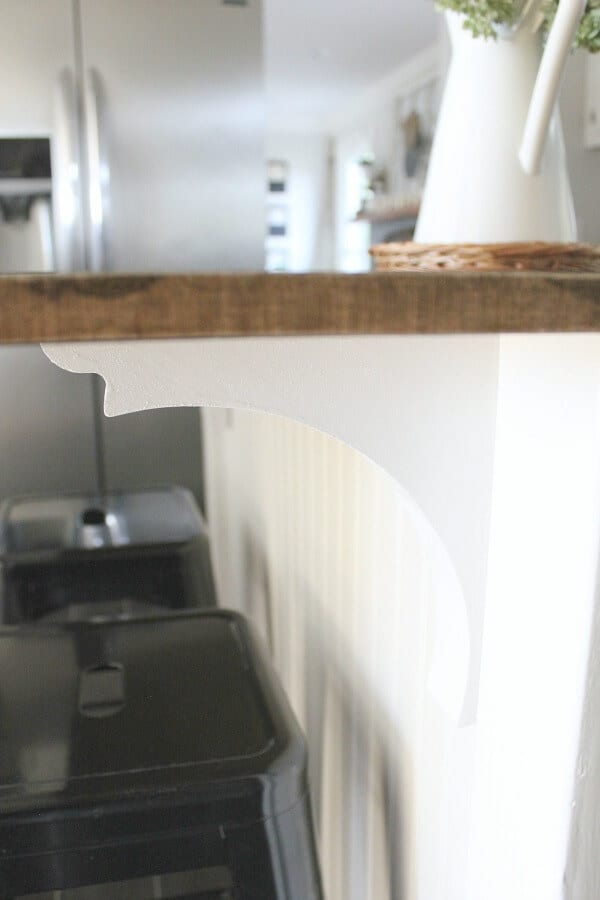
Once everything was dry, we moved the island in place and had to install the top. We used the same corbels we placed under our kitchen cabinets on the bar side to add additional strength to the overhanging edge.
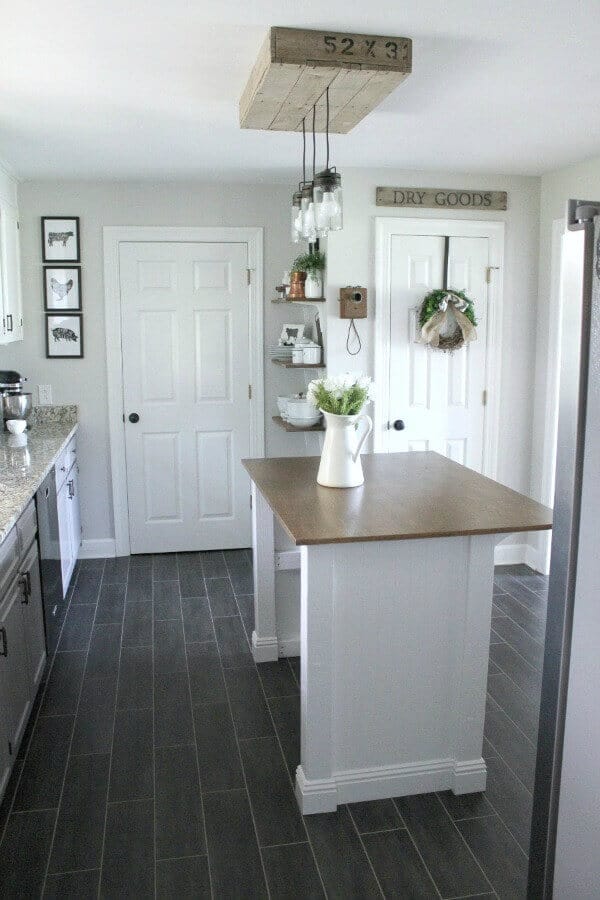
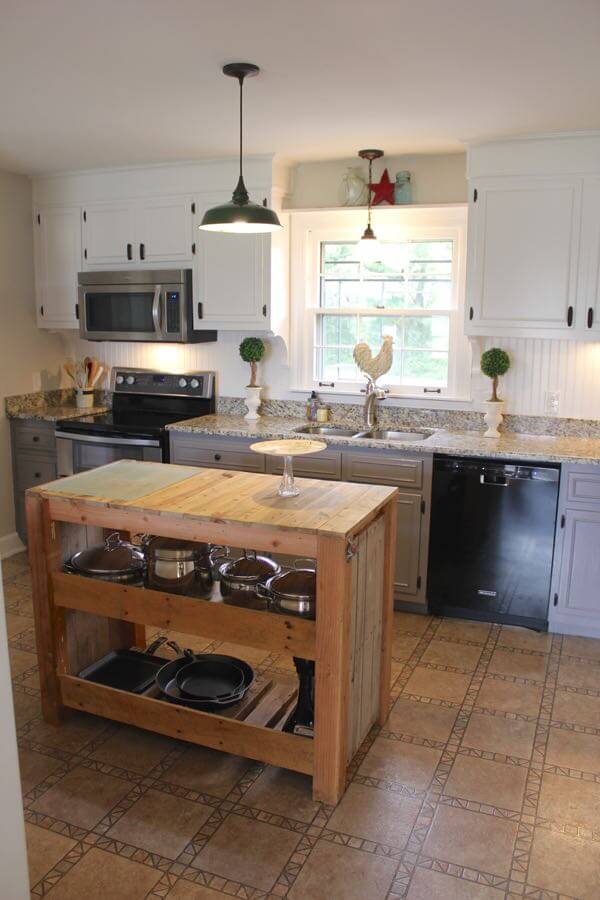
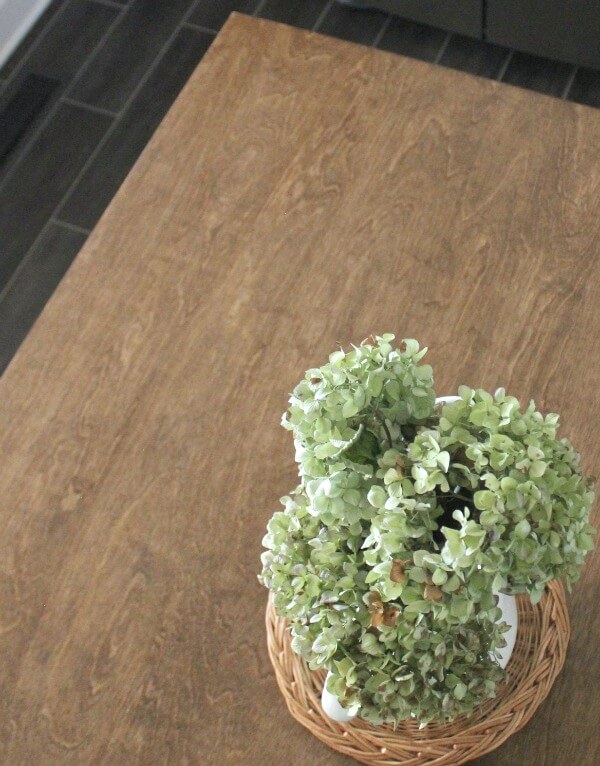
Doesn’t she look oh-so pretty? She’s all dressed up and ready for the ball!
It fits so beautifully with our Farmhouse Kitchen style and updated floors!
I wanted to add stools, needed to find some that fit in our budget. These stools I scored from Amazon!
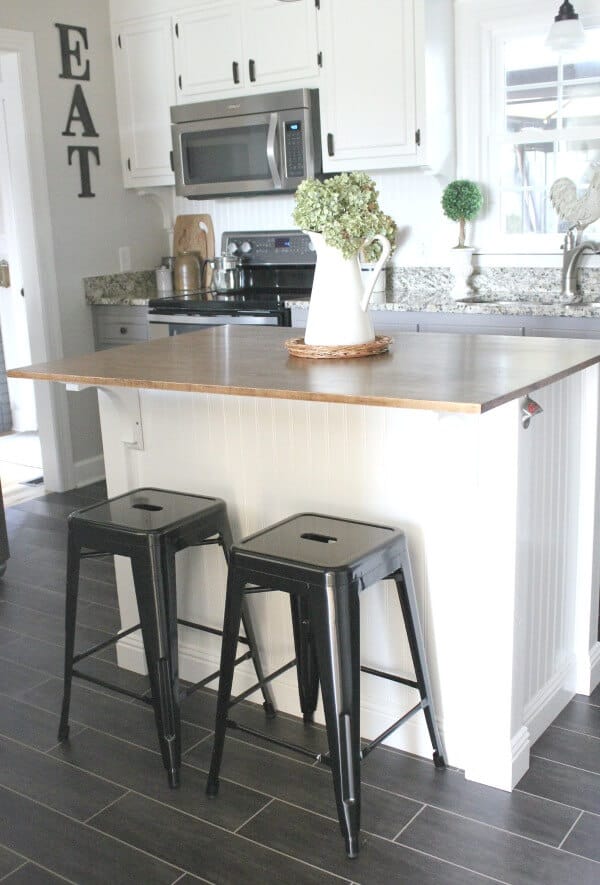
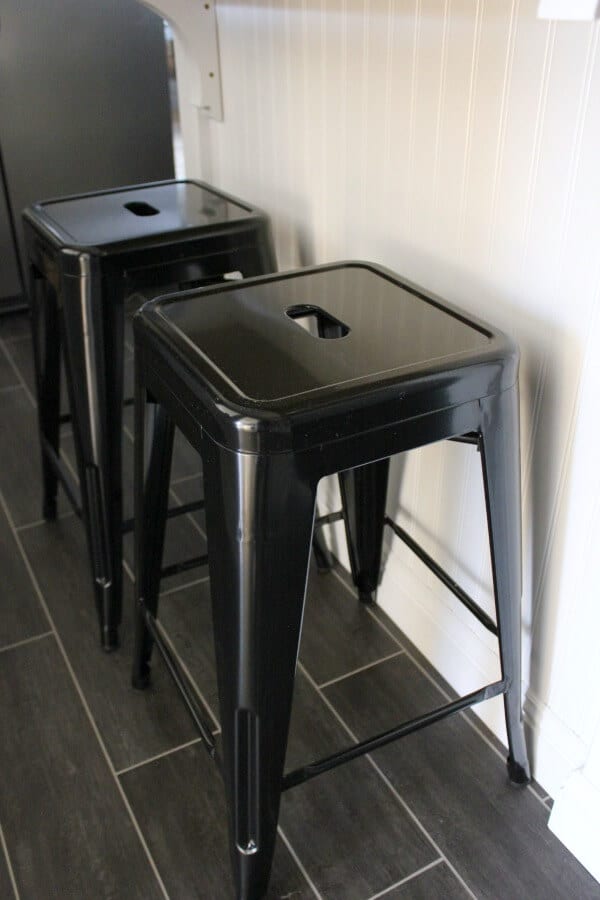
I love the simple lines and how they make my touches of black splattered throughout the room just pop.
And as if my fairy godmother came in and sprinkled pixy dust on me – I happened to win the coolest vinyl decals from Kristy from The Painted Nest on Instagram! BTW – if you aren’t on Instagram yet, you really should be! Oodles of fun giveaways happen all the time!
So I went to work and the vinyl decals added the neatest detail to the top of the chairs.

Are they just adorable? And it makes them so farmhouse-y!
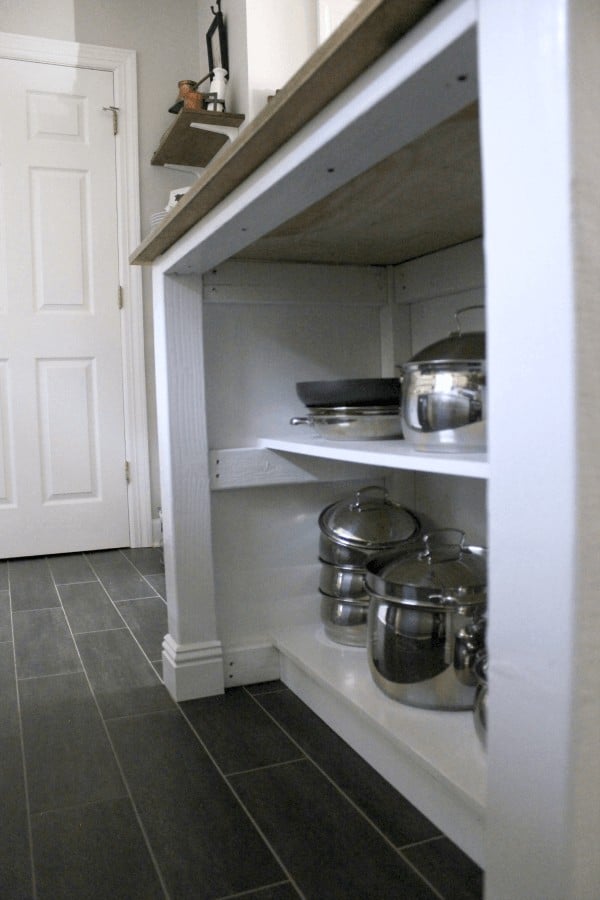
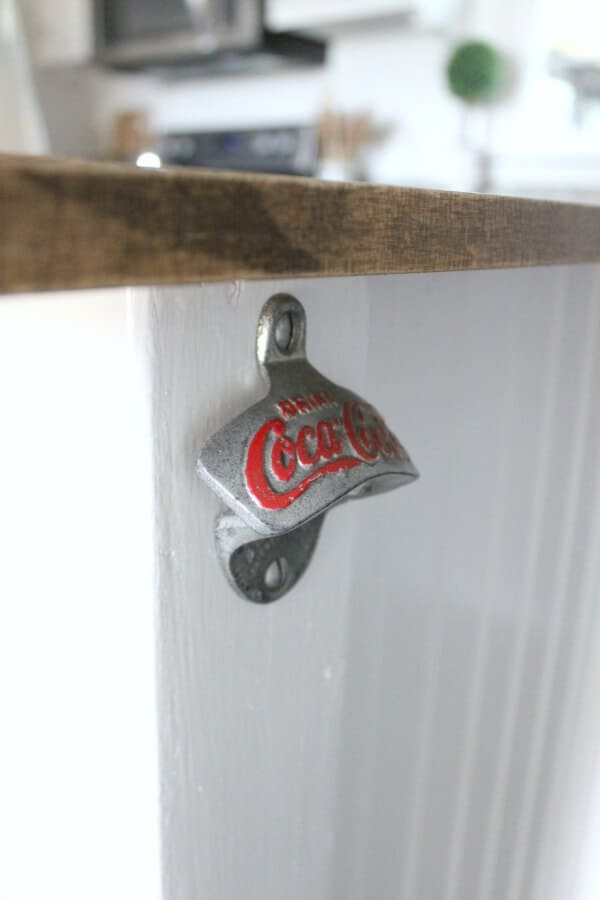
The only element I have yet to remedy is the open side. Eventually, I want to add a skirt to hide the pots and pans, but I can’t decide on the fabric. I’ve wrestled with tea towels, cafe curtains, burlap, or even drop cloths or sheets! If you have suggestions – please, please, please let me know!
So how much was this entire transformation? Scroll down below to see the final cost! Affiliate links are provided for your convenience. Read my full disclosure here.

Farmhouse Kitchen Island Sources
Affiliate Links Provided. While I may receive a small compensation, all prices remain the same for you!
- 4 ft x 8 ft Beadboard Sheet Panel – $20
- Paint: 1 gallon High Gloss Oil Based Paint – Sherwin Williams Pure White SW7005 – $38
- Birch Top: $50
- Birch Veneer: $6.58
- Corbels: Home Depot $20
- Stools: 24″ High Barstools Backless Black Metal barstool Indoor-oudoor Counter Height Stool with Square Seat, Set of 2 from Amazon
- Items on hand that we didn’t have to purchase:
- Stain: a custom mix
- Polyurethane: Minwax 40910000 Wipe-On Poly Finish Clear, pint, Satin
Total Cost (not including the stools) $134.58
Can you believe it was less than $150!!! And she looks as if she’s been there the whole time – no more sore thumb!
To find out about the other projects in this kitchen – here are the links for you to check out:
shop our favorite home items
shop now
Join Our Community
Don’t miss the next DIY! Receive exclusive content, including behind the scenes photos, our favorite home decor DIYs and more!


Great Question! Trent screwed the top to the base from inside the island, drilling up into the top. Make sure your screws aren’t too long that that poke thru.
Hello! How do you install the top? Thanks
Thanks Kasie! That’s a great suggestion!
I would do some sliding barn doors for the open side! It would add to the whole farmhouse theme and be functional and more durable than a curtain.
Wow, Val! That’s awesome!! If you decide to make one, send me a pic! I’d love to see it!
I absolutely love your Farmhouse Kitchen Island! I’m going to try to talk my husband into making one. Thank you so much for sharing!!