Vintage Inspired Laundry Room – Final Reveal!
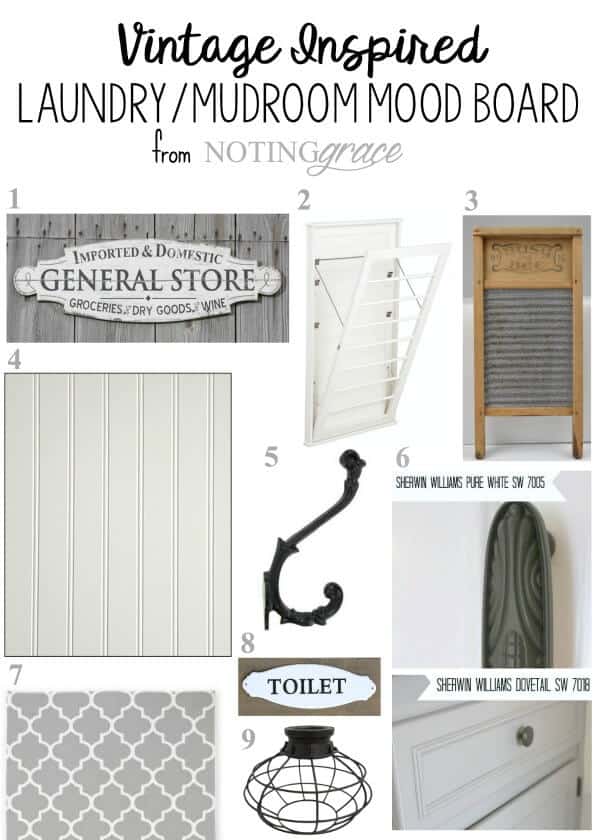
S0, we are here – Week 6 of Calling It Home’s One Room Challenge! My how the time has flown!
At last, it’s reveal day!! (imagine fanfare, trumpets blaring, confetti flying)
When we started this challenge 6 weeks ago, I was a bit hesitant, worried that I wouldn’t make it to today – the Big Reveal, but we’re finally here and we have finished the room, folks! Presently, I may or may not be running on fumes wrapping up all the little details these past few days. A few bunny trails here and there, a sore back and knees, and lots of trips to the Home Improvement store were all worth the stunning result.
Because our main goal for this Vintage Inspired Laundry Room was to have it flow seamlessly from our adjacent Farmhouse Kitchen, we drew inspiration from the kitchen. The two rooms are connected and is a pass through for the half bath when company visits.
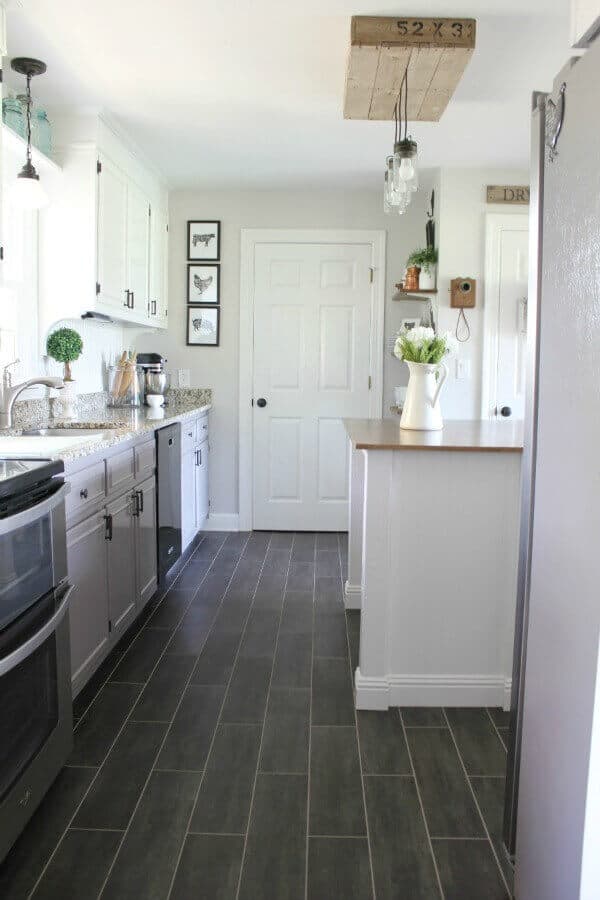
By using the same color scheme and paint from our Farmhouse Kitchen Remodel, and tying in similar, farmhouse-y elements, we were able to have both rooms compliment each other beautifully.
Before I show you the big reveal, let’s take a step back in time for a moment to see where we began with our room:
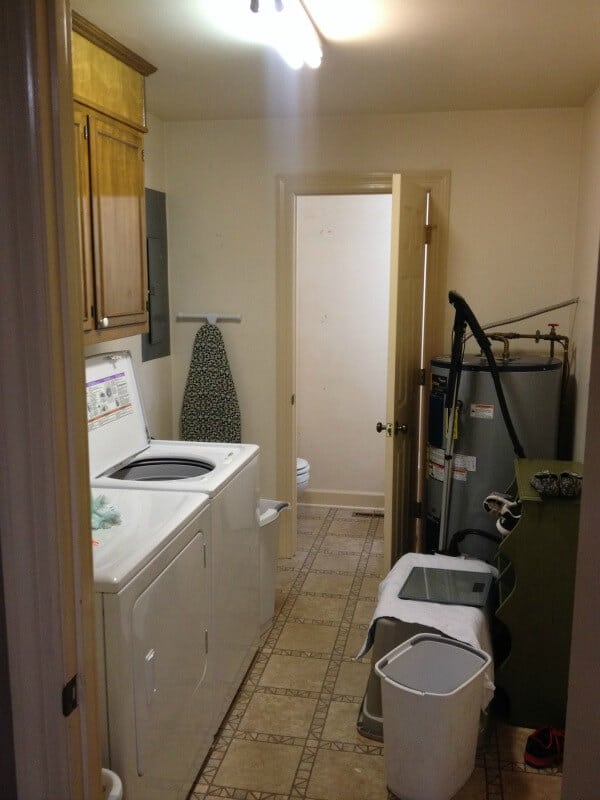
We started with a dated laundry room, weathered and worn floors, and 2 ugly eyesores with the breaker/utility box and ginormous water heater.
Ready to see how it finally looks?
Give us a drumroll, Trent!
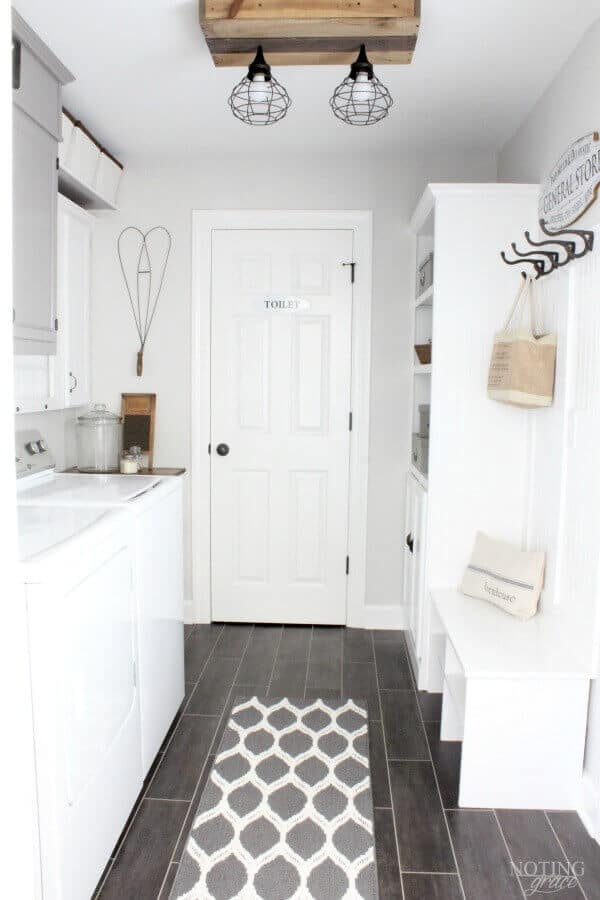
I stand in this room amazed at how it turned out!
It’s as if I can hear the house give a huge sigh of relief to have all that ugly gone!
Or is that just me?
Here’s how our transformation happened:
- First, Week 1: Painting ceiling, walls and upper cabinets and adding shelves
- Second, Week 2: Move the Water Heater and Install the flooring, which bunny trailed into installing flooring in our kitchen as well!
- Next, Week 3: Creating the Mudroom Built-in Cabinets and Bench

- Week 4: Building the Drying Rack and installing the folding table and painting all the built-ins
- Finally, Week 5: Painting, painting, painting. Installing a new insulated door to our garage, installing the light box, and adding all the finishing touches.
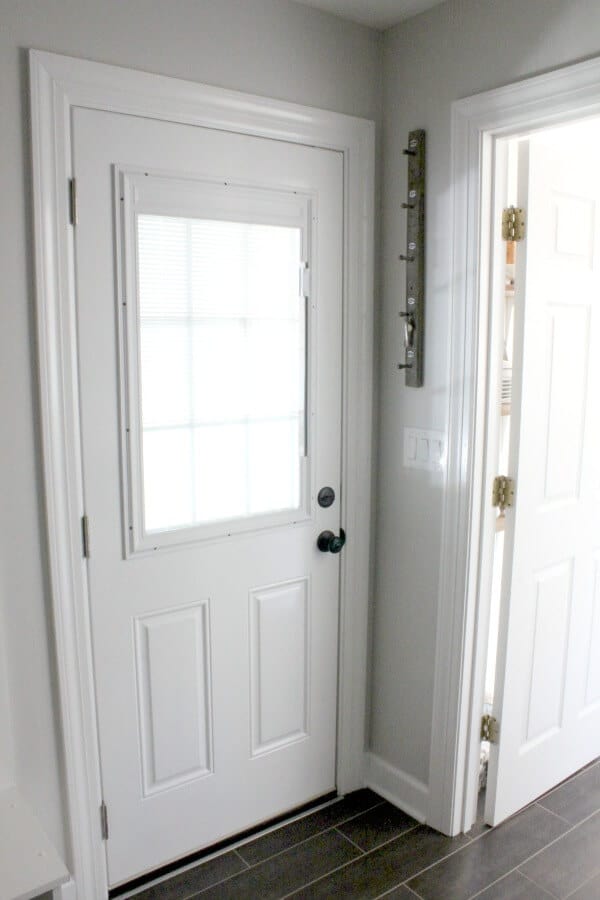
Adding the insulated door was another bunny trail that happened during this project, but so worth it. This room doesn’t have any windows and is rather dark, so by installing a door with a built in window, it allows light from our garage to come in, where we have 2 huge windows bringing in loads of light!
Plus, it’ll save us money down the road in heating and cooling costs!
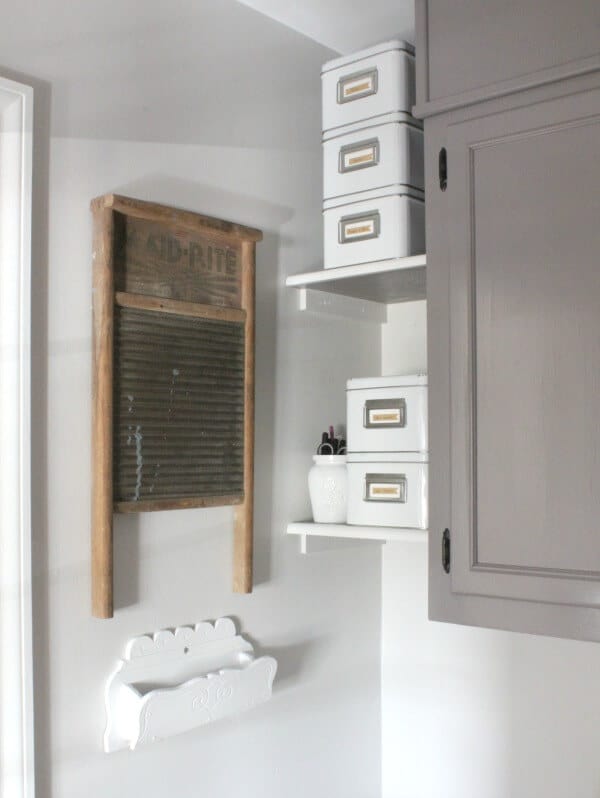
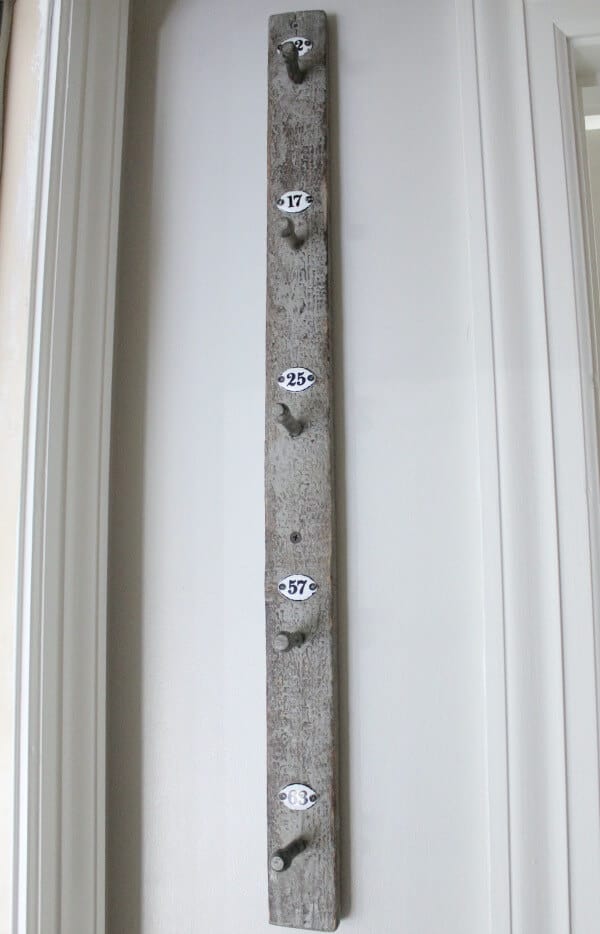
See that cute little key rack? We’ve had that for years and I came across these little metal numbers the other day while rummaging through my craft drawer.
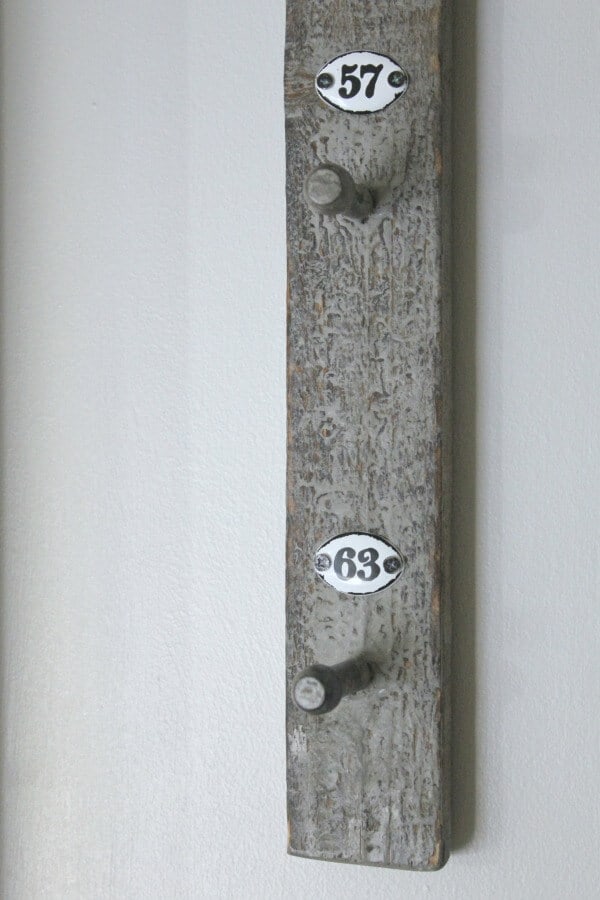
I purchased these a long time ago, but never used them! Can you believe it?
It was fate that I stumbled upon them this week. I knew I had to add them to our key rack and I just adore how it turned out!
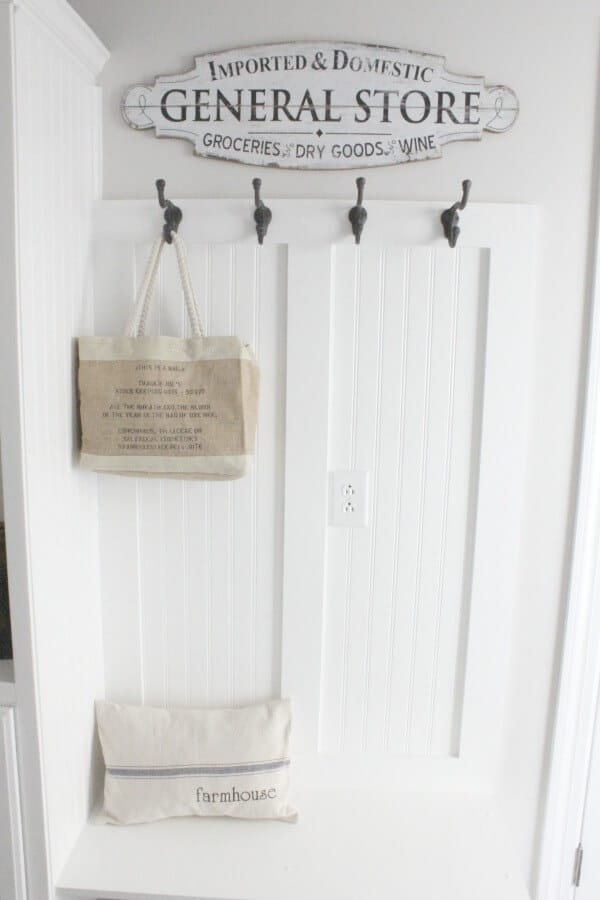
Most of my design plan came from this gorgeous General Store sign that my dear friend Tiffany gave to me! It spoke to my vintage-loving heart and it means the world that she saw this sign and knew it would look great in my home.
Isn’t it the cutest?
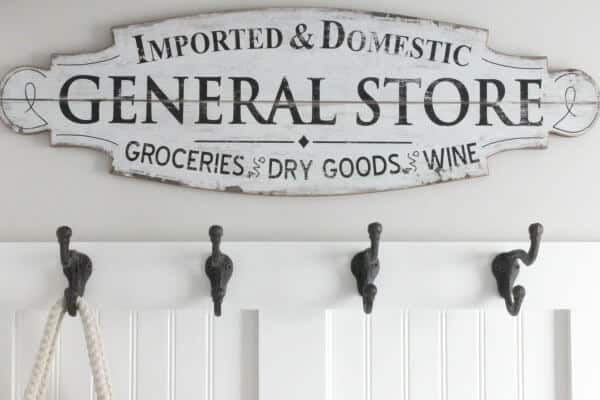
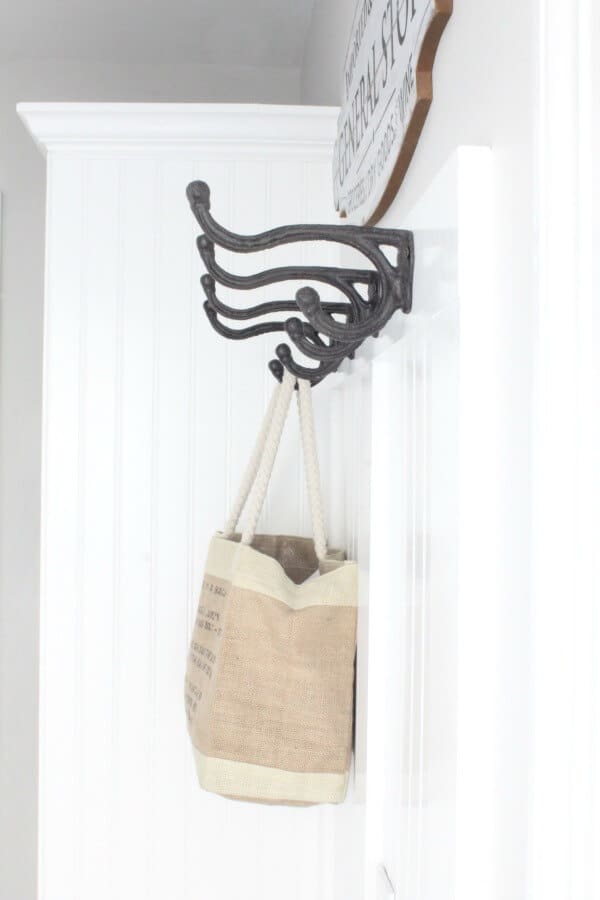
We installed the hooks for our mudroom built-in bench and it changed how this entire room looked.
Now I have a place to put my purse when I come in, and my kids have a spot to hang their coats and let’s not forget the beautiful shoe bench!
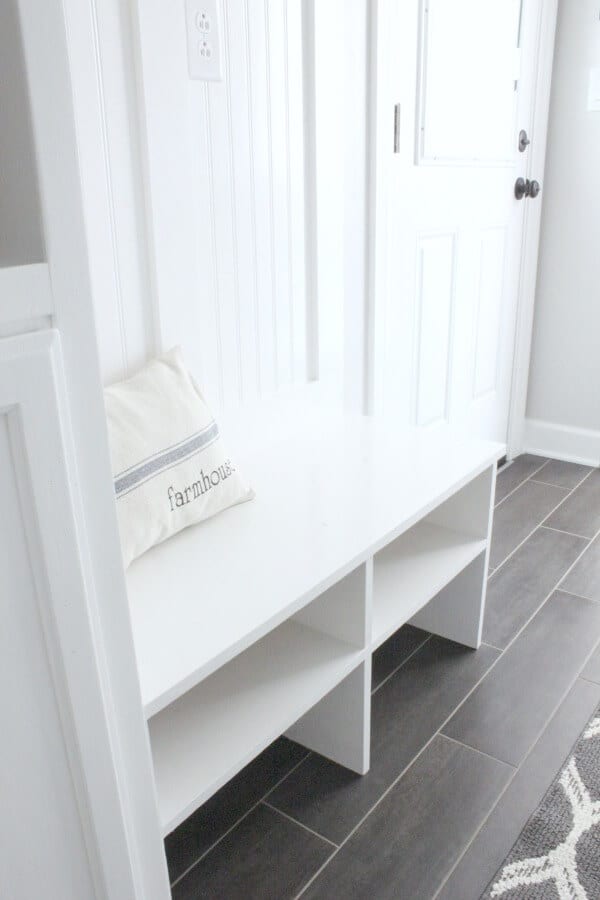
I know this shoe bench will put me back on speaking terms with my boys shoes! (wink)
In our kitchen, we made a Pallet Light Box and I wanted a similar fixture for this room, but with a slight change. Same, but different. That way they aren’t twinsies, but more like cousins! We followed the same build as we did for our Pallet Light Box, but instead of pallet wood, we used Weathered Wall Boards from Weaber Lumber.
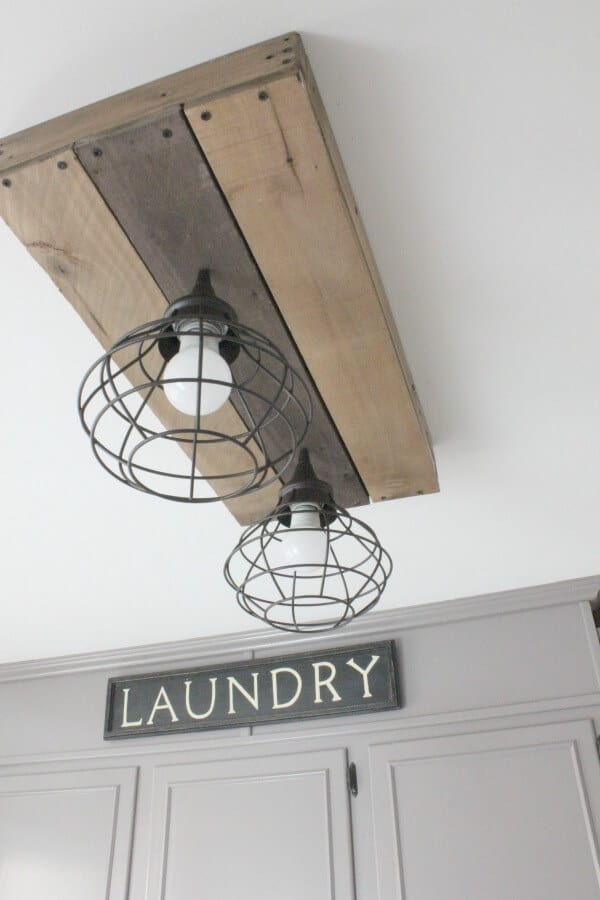
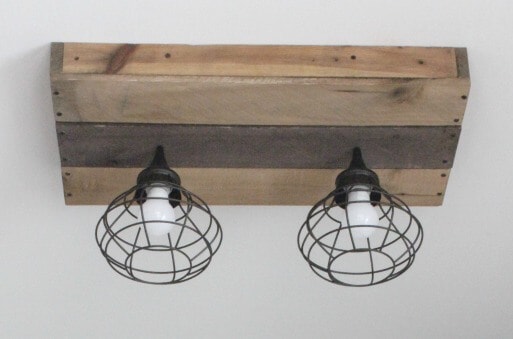
The color of their boards are gorgeous and I ultimately opted for a fun stripe down the center. It is such an easy DIY and looks Ah-May-Zing!
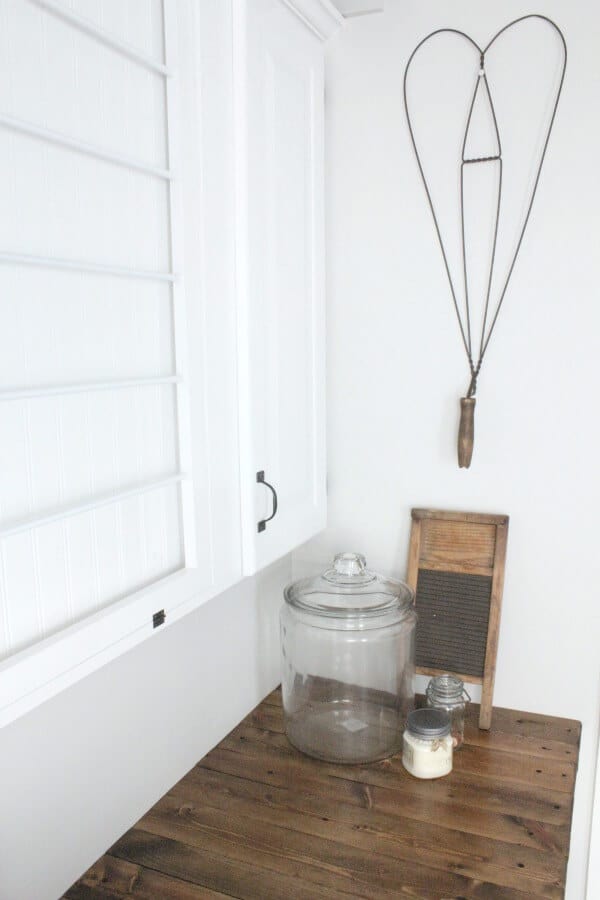
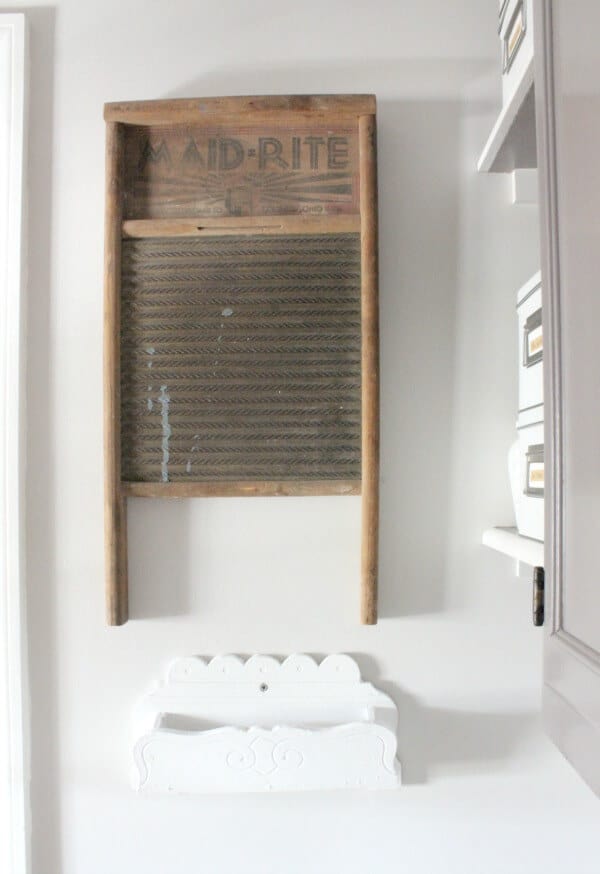
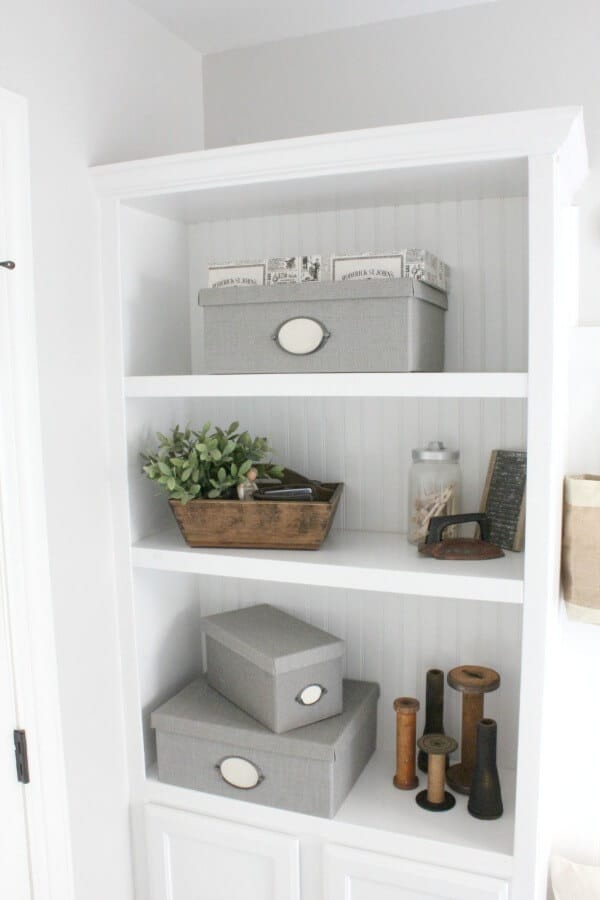
For this Vintage Inspired Laundry Room, I used treasures I’ve collected over the years while junkin’.
My favorite is the old letter holder.
The lady who sold it to me said it came from an old farmhouse that was being torn down. It’s built all wonky and crooked and I imagine the farmer hand carving this piece for his wife for a gift. I am so happy to have rescued it and am proud to lovingly display it in my home!
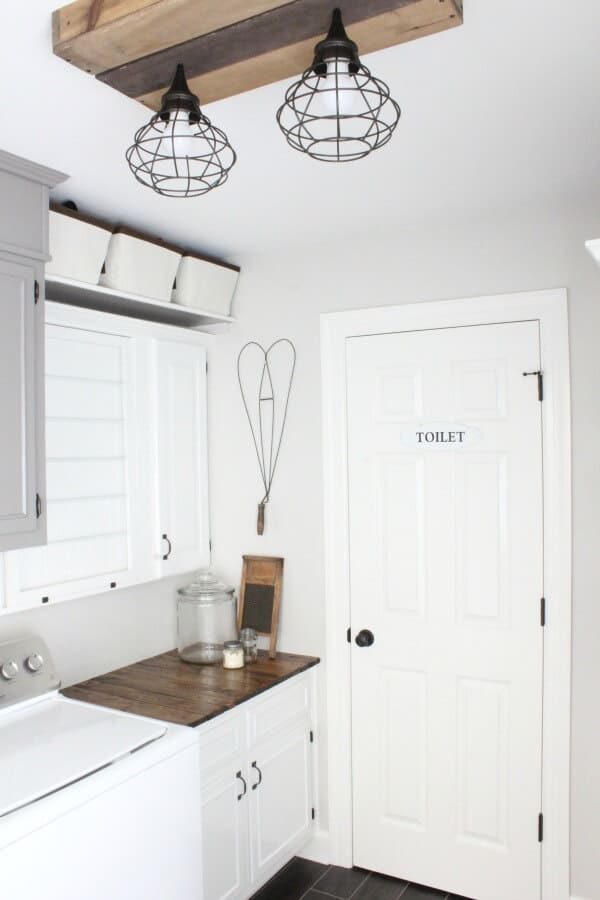
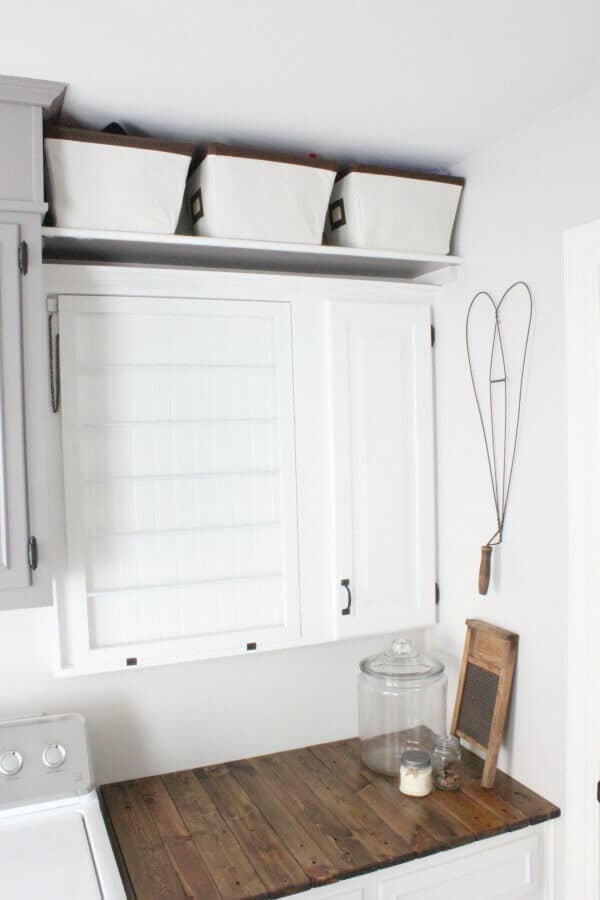
Since y’all know we’re all about repurposing and up cycling, we opted to reuse the top that came off of our old kitchen island as the topper for this folding table. So there was no waste and obviously budget-friendly!
My folding table turned out beautifully!
Of course, I must toot my own horn. I cut all the top pieces to fit, sanded and stained them all by myself! I’m typically a scaredy-cat when it comes to power tools, but I’m slowly getting over that fear and I am rather proud of myself!
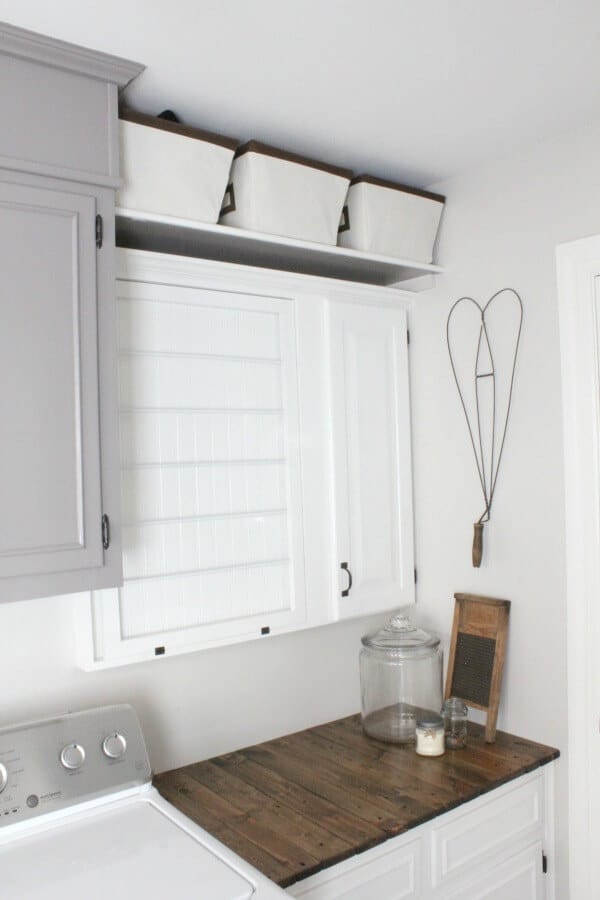
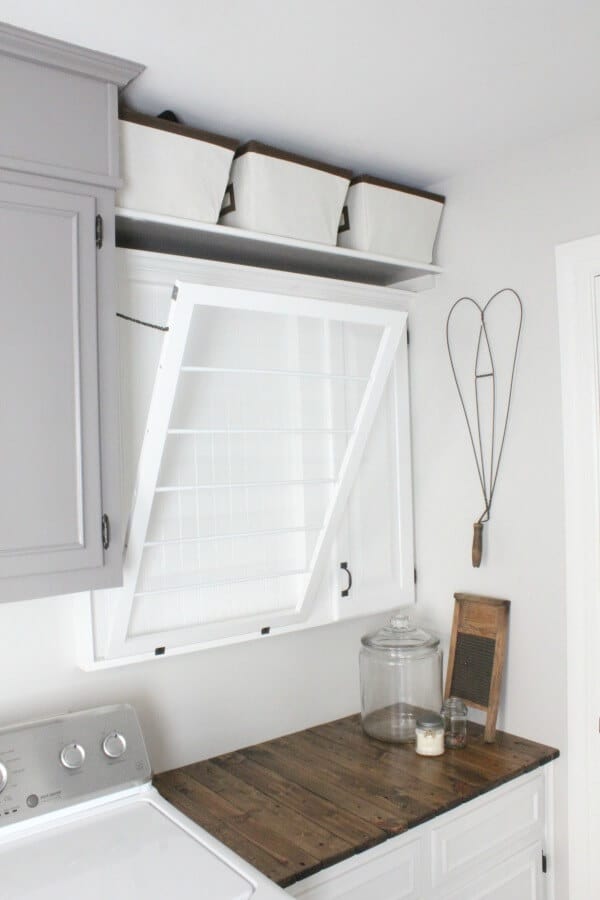
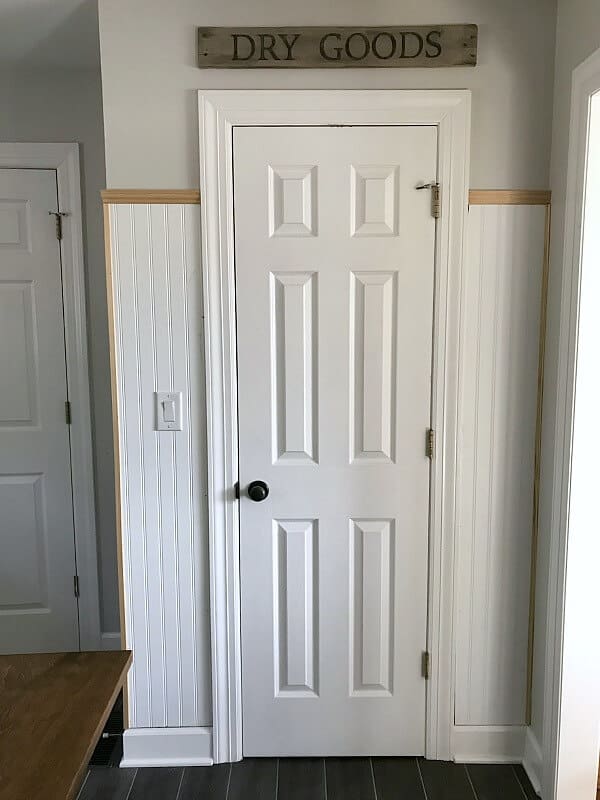
I’m particularly amazed how the ugly breaker box is hidden away! Plus, I have a working drying rack that doesn’t involve me turning into a contortionist to open it!
See that sad, empty glass jar? It was the one tiny thing I just didn’t have time to complete. I’m planning on filling it with cute little washing detergent pods. This year has been the year of filling my boys tool belts. Ya know, give them the tools to make it in the real world and one of those tools is learning to wash their own laundry. Those detergent pods will be very handy for teaching them, once I get them. But if filling my glass jar with detergent pods was the only thing lacking in this room challenge – I’ll take it!
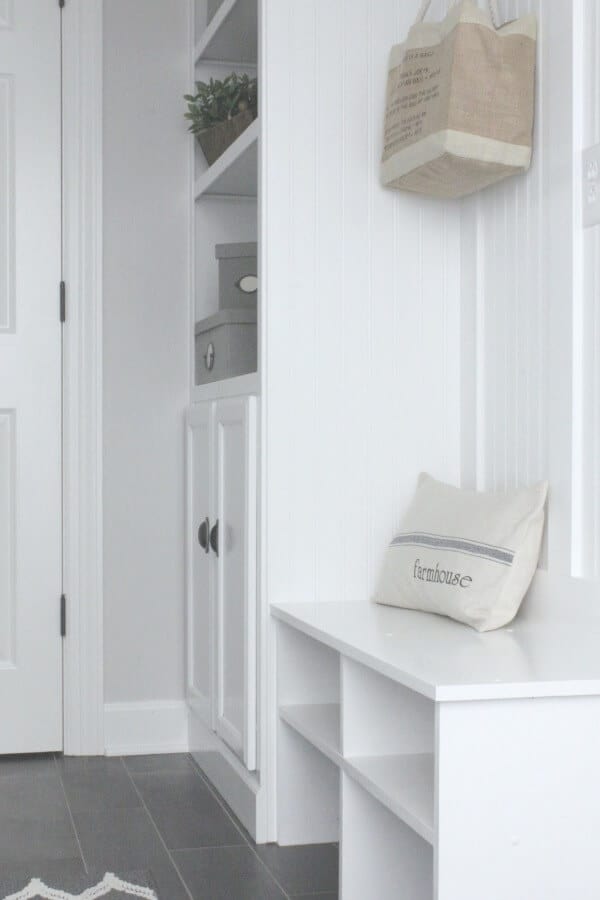
Additionally, I have been thinking about getting is a cushion for my bench. I’m still figuring out how rough my boys will be on it, so investing in a cloth cover scares me a bit, knowing it will be ruined within the first week, so I’m undecided on that one.
For now, I have this cute pillow I won in a giveaway from Farmhouse on Boone on Instagram.
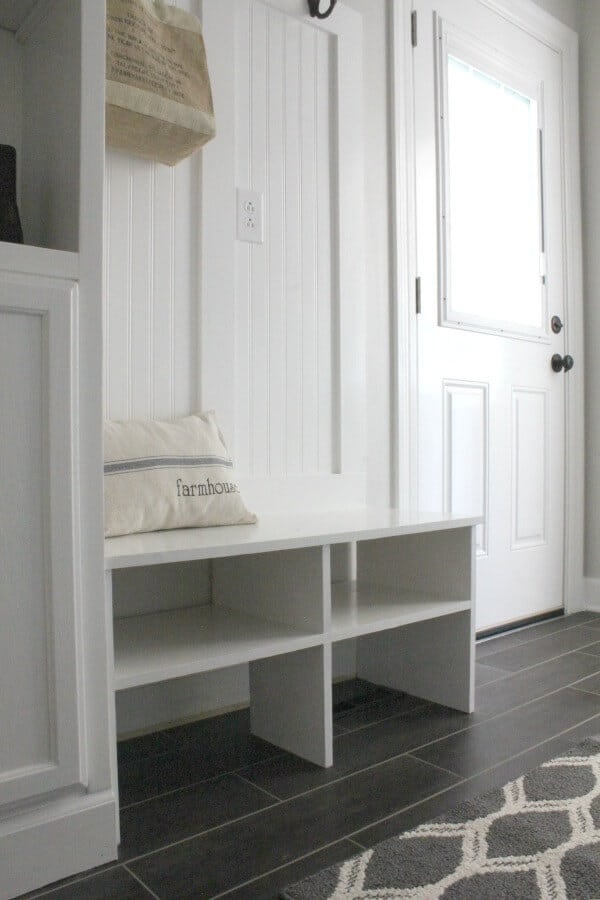
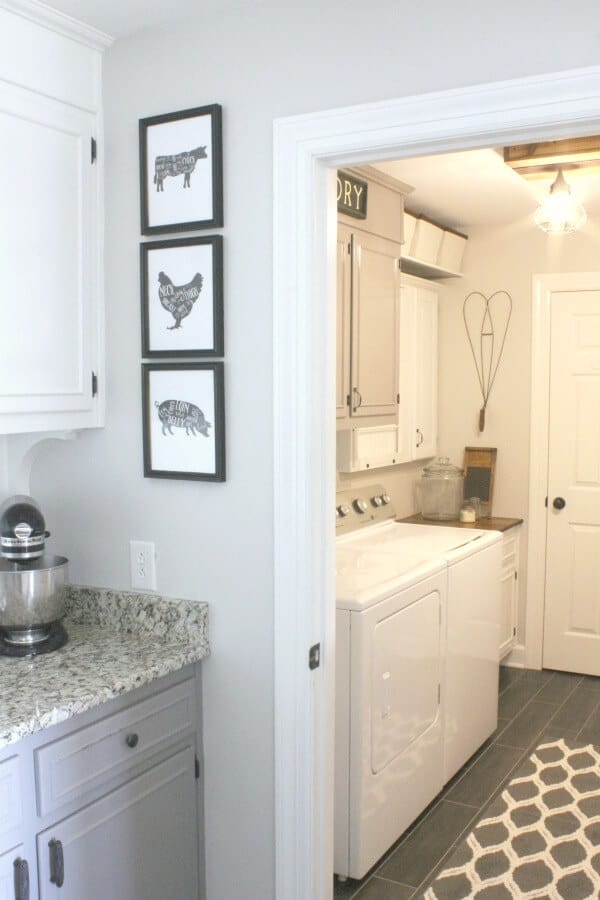
I especially love how it flows from the kitchen into the laundry room. It’s as if this room has been like this all along.
So now it’s a joy to do laundry.
It’s the room that greets me when I walk in my door.
Undoubtedly, it’s a wonderful extension of our farmhouse kitchen and I think it compliments it nicely.
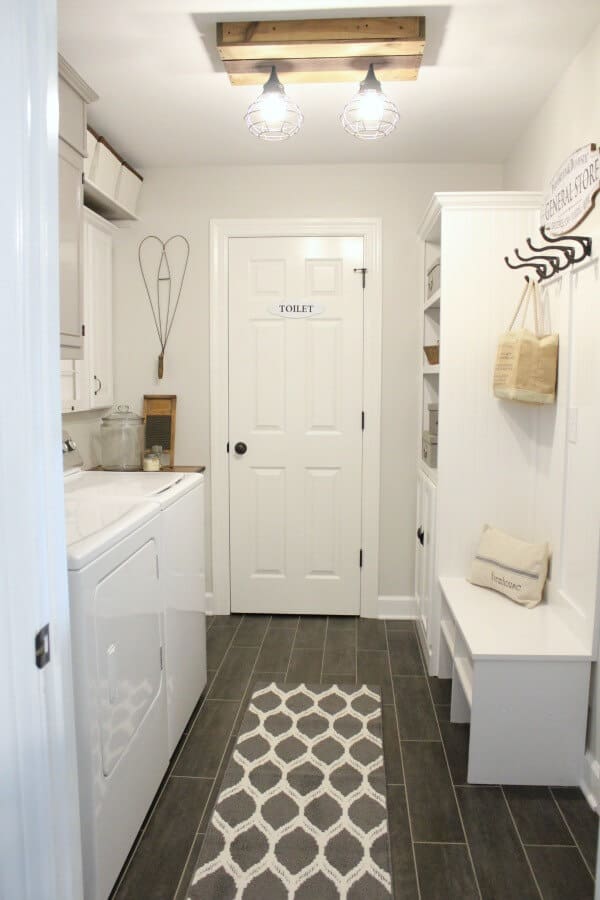
Vintage Inspired Laundry Room
Source List
(Some affiliate links are provided below. For more information, see my full disclosure)
Wall Color: Crushed Ice by Sherwin Williams (SW 7647) in eggshell finish. We used leftover paint from our Farmhouse Kitchen makeover, so this was like a freebie $0
Upper Cabinet Color: Sherwin Williams Dovetail (SW 7013) in Gloss – leftover paint – $0
Built in Mudroom and Drying Rack: Sherwin Williams Pure White (SW7005) Oil Based Paint in Gloss – 1 gallon $38
Moving the Water Heater: Plumber $500
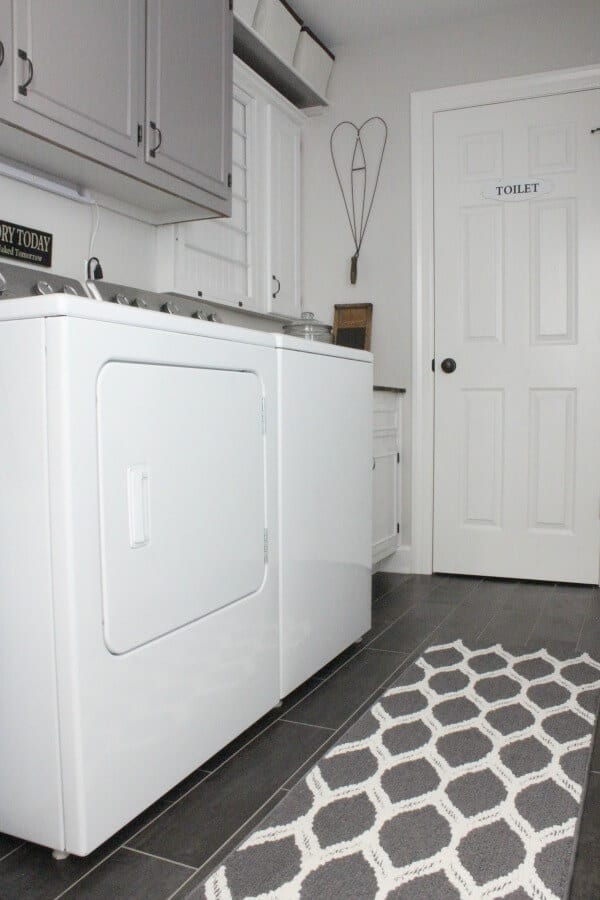
Flooring: See this post for our entire flooring breakdown, but for this room it was around $100
Built in Cabinet and Bench: Reused a DIY Cabinet and scrap wood. One piece of trim purchased $10.00
Light Box: from Weaber Lumber received for free as a brand rep, but you can replicate this for free using pallet wood $0
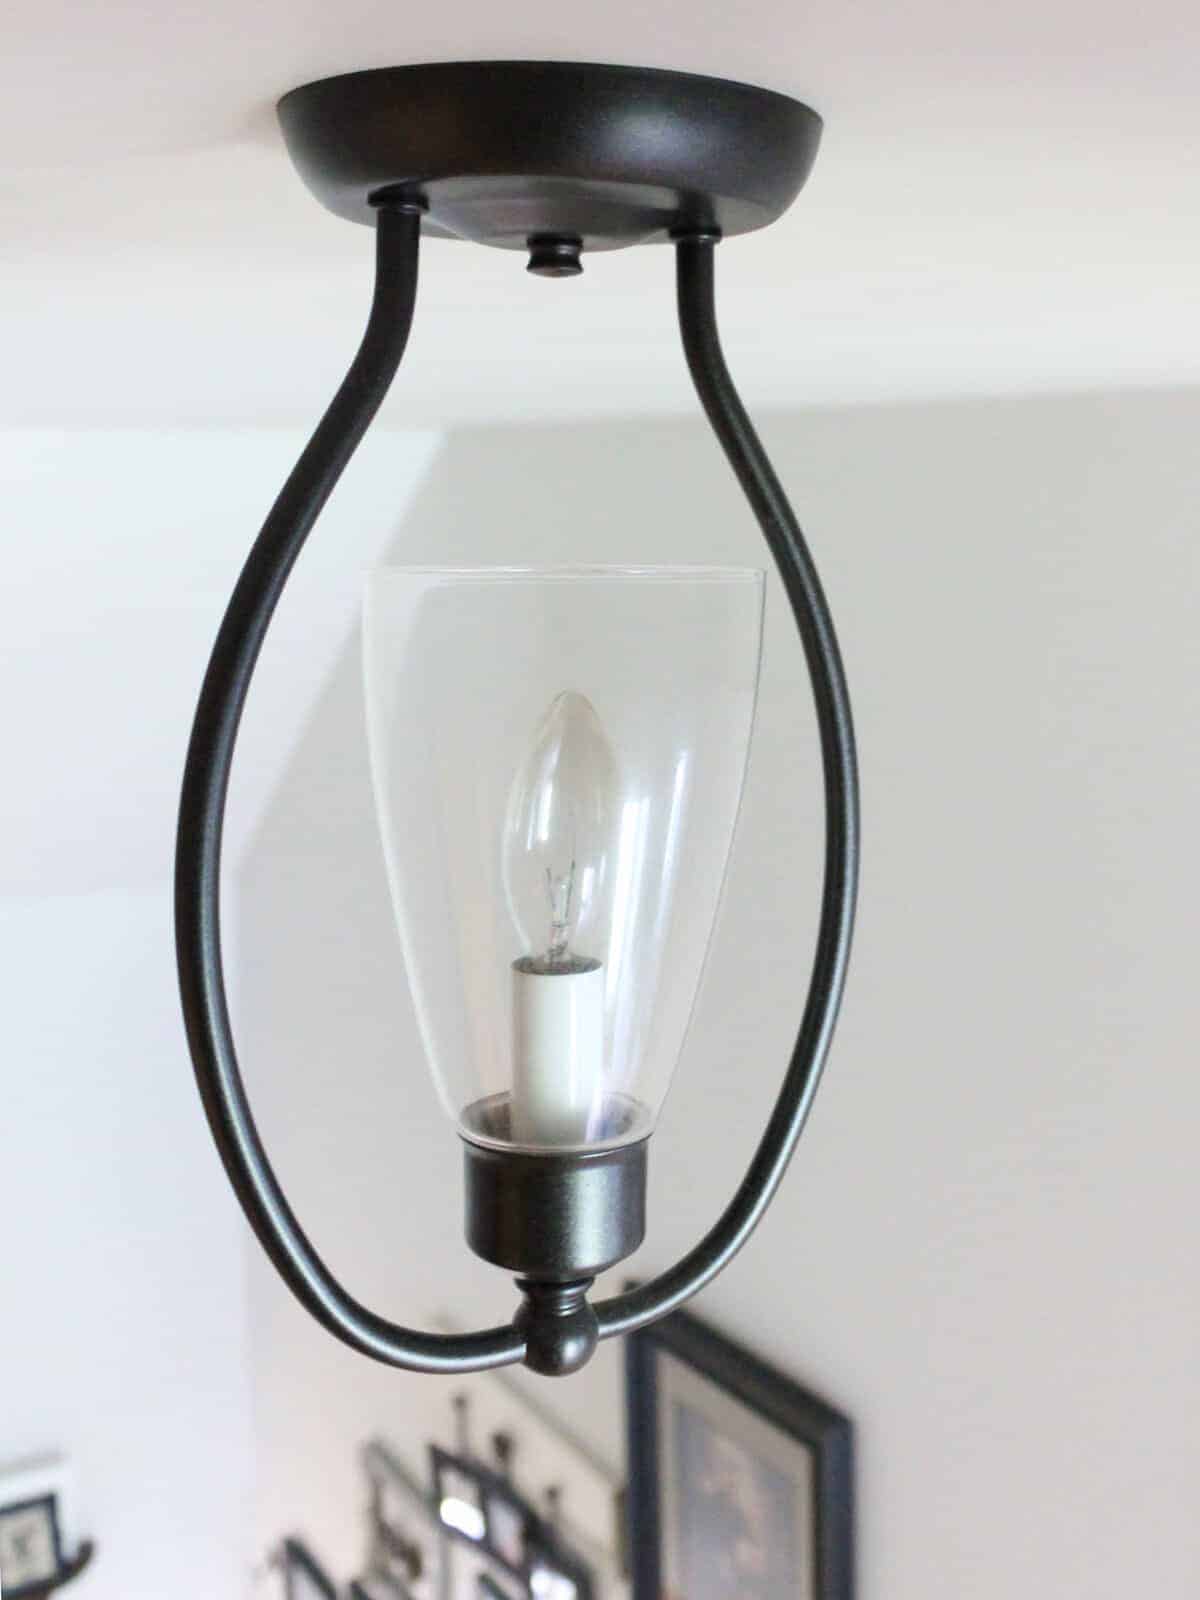
Light Fixture: Reused this light kit from an old kitchen light and purchased a match with Wire Industrial metal Pendant light cages. Lowe’s $53.44
Drying Rack: Reused an old drying rack and scrap wood. Purchased trim pieces to built the drying rack frame and trim it in $18.98
Folding Table: Repurposed an old sink base and reused wood from an old Pallet Kitchen Island for the topper $0
Door: Reliabuilt Insulated Door with Blinds from Lowe’s $329
Rug: Walmart Mainstays Sheridan Ogee Runner Rug in Gray $19.96
Enamel Toilet Sign: Faded Farmhouse Orig. $12, but I got this one on clearance for all the dings in the enamel – which I LOVE! $3.60
Gray Cloth Boxes: Ikea Kvarnvik series – Floor models from their clearance bins $5
Vintage Newpaper Print Shirt Box: Gift $0
Mudroom Hooks: from Hobby Lobby on sale 40% off – $9.57
Wooden Caddy: Junking Find $3.00
General Store Sign: Gift from a friend, but can be purchased here. $0
Vintage Elements: Items I’ve had from collecting over the years $0
Farmhouse Pillow Cover: won in a giveaway from Farmhouse on Boone $0
Burlap Tote: I’ve had it for years from Trader Joe’s $0
Grand Total: $1090.55
(FYI: if we didn’t have to move a major plumbing appliance, or install a new insulated door, this remodel would only have cost $261.55 – AMAZING!)
Here was our Plan
- Move the Water Heater.
- Paint the existing cabinets, walls, trim and door.
- Replace the floors.
- Add to existing upper cabinets to increase storage.
- Create a built-in mudroom cabinet and bench.
- Repurpose an old sink base into a folding table.
- Find a way to hide the breaker box and hang a DIY drying rack.
- Replace the lighting with a Pallet Light Box to match the kitchen.
- Add vintage elements to tie it all together.
Overall, I can’t believe we have completed this room challenge and was able to tie it all together. I have loved every minute of this and can’t wait to join in for another challenge! Eventually finish up the 1/2 bath behind that door? Or maybe tackle something even bigger, like redoing our master bath? The wheels are churning!
So have you checked out the other participants in this challenge? You have head over to Calling it Home, and see all the other bloggers big reveals! Certainly, some serious rock stars over there and I’m honored to be a part of it!
A special thank you to Linda, creator of this challenge. You’ve inspired me to create a beautiful space in my home and made me stick to a tight schedule to complete it in record time. Most importantly, I loved every. single. drop!

Week 1, Week 2, Week 3, Week 4, Week 5, Week 6

Sources (affiliate links-see my disclosure here): 1 | 2 | 3 | 4 | 5 | 6 | 7 | 8 | 9



Absolutely fabulous! Thanks for sharing