DIY French Shutter Sconces on a Budget
Looking to add French country charm to your home without spending hundreds? These DIY French shutter sconces are the perfect weekend project. Using repurposed wooden shutters and plug-in wall sconces, you can create affordable, vintage-inspired lighting in under two hours.
Here’s how to make your own—step by step!
There is always one thing that stops me in my scroll when I am looking through French country decor.
After scrolling past one too many out-of-budget beauties, I finally decided to make my own.
This DIY project turned out to be incredibly simple, affordable, and full of charm. Plus, it gave me a chance to repurpose some shutters with a special story behind them.
Now, they’re one of our favorite decor pieces—and today I’m showing you exactly how we made them.
Quick Project Summary
Skill Level: Beginner-friendly
Estimated Time: 1–2 hours
Cost: Under $100 (depending on sconces)
Main Tools: Drill, countersink bit, screwdriver
Key Steps:
- Prep & paint vintage shutters
- Detach and rewire plug-in sconces
- Drill & attach mounting brackets
- Feed wires cleanly through the back
- Mount sconces for a polished, rustic look
✔️ Perfect for: DIY home decorators who love French country style and want affordable, character-filled lighting.
This post contains some affiliate links for your convenience.
Click here to read my full disclosure policy.

Hey there! If you’re new here…
We’re Jen and Trent – your budget-loving, brick transforming BFFs! With over 5 years of hands on experience lime washing homes (including 2 of our own!), we’ve helped homeowners turn their brick homes into gorgeous, timeless exteriors.
What started as a DIY project turned into a full-blown passion and business. Now, we’re here to share all our pro tips, hard-earned lessons, and tried and true techniques with you. Because loving your home shouldn’t break the bank – and yes, you can do it yourself!
How to Make DIY Shutter Sconces
Supplies You’ll Need
We’ll list our favorite gear and brands we use for you at the end of this post.
Step by Step Instructions:
How to Turn Old Shutters Into Plug-In Sconces
Would you rather opt for video tutorials instead of step-by-step instructions? We’ve got you covered with a comprehensive video tutorial that guides you
Step 1: Choose & Prep Your Shutters

We used old wooden shutters that had been with us through multiple homes.
They were full of character but needed a color update.
So I gave them a fresh coat of paint and some distressing years ago and hung them over our DIY faux fireplace.
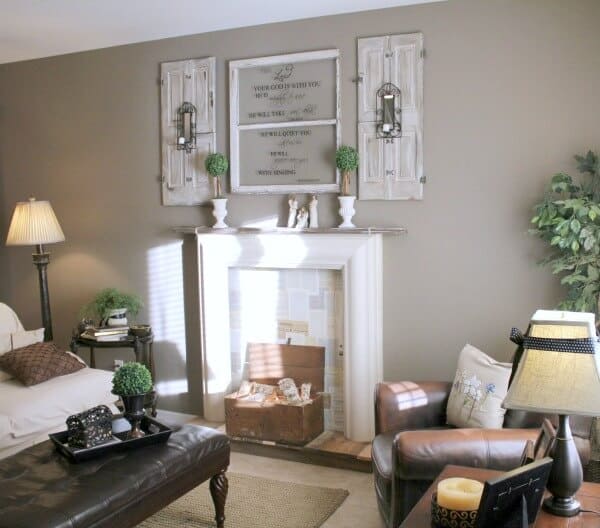
We’ve kept them for all these years and held them up to see how they would look in our French Inspired Primary Bedroom.

The combo of that wood against that white!
Sigh. I knew I found my dream solution!
PRO TIP!
If your shutters have old hardware or patina, keep it!
It adds authenticity and texture to the final look.
Step 2: Detach Plug-In Cord from the Sconce
Most plug-in sconces are made to be either hardwired or plugged in.
We wanted to use them as plug in lights, but needed to be able to disconnect the wire to feed it through to the back.
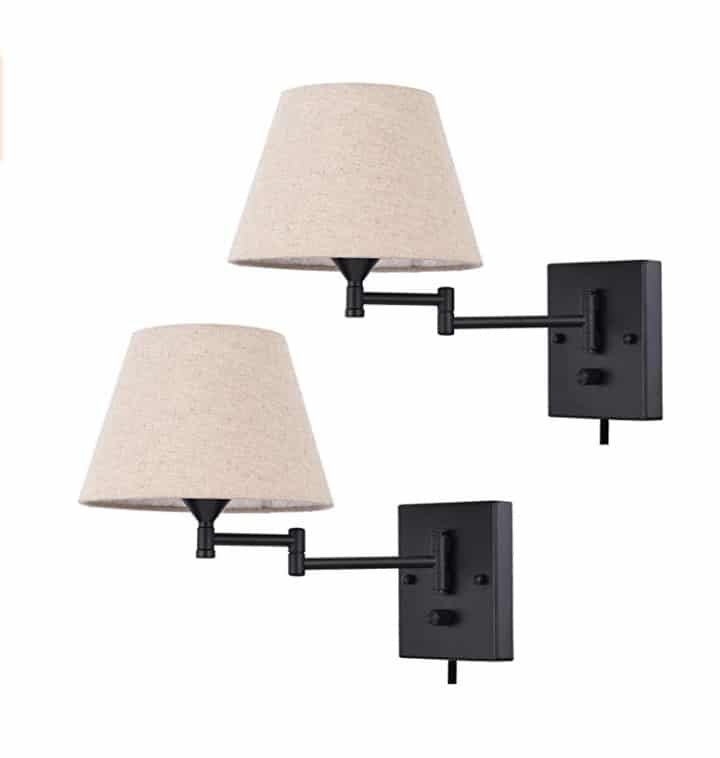
Ours allowed us to remove the cord temporarily—this made it easier to feed the wire behind the shutter for a cleaner look.

The instructions show how to easily remove the plug in cord to prepare for hard-wiring to the wall.
Follow the instructions carefully, and set aside the cord—you’ll need it again soon.
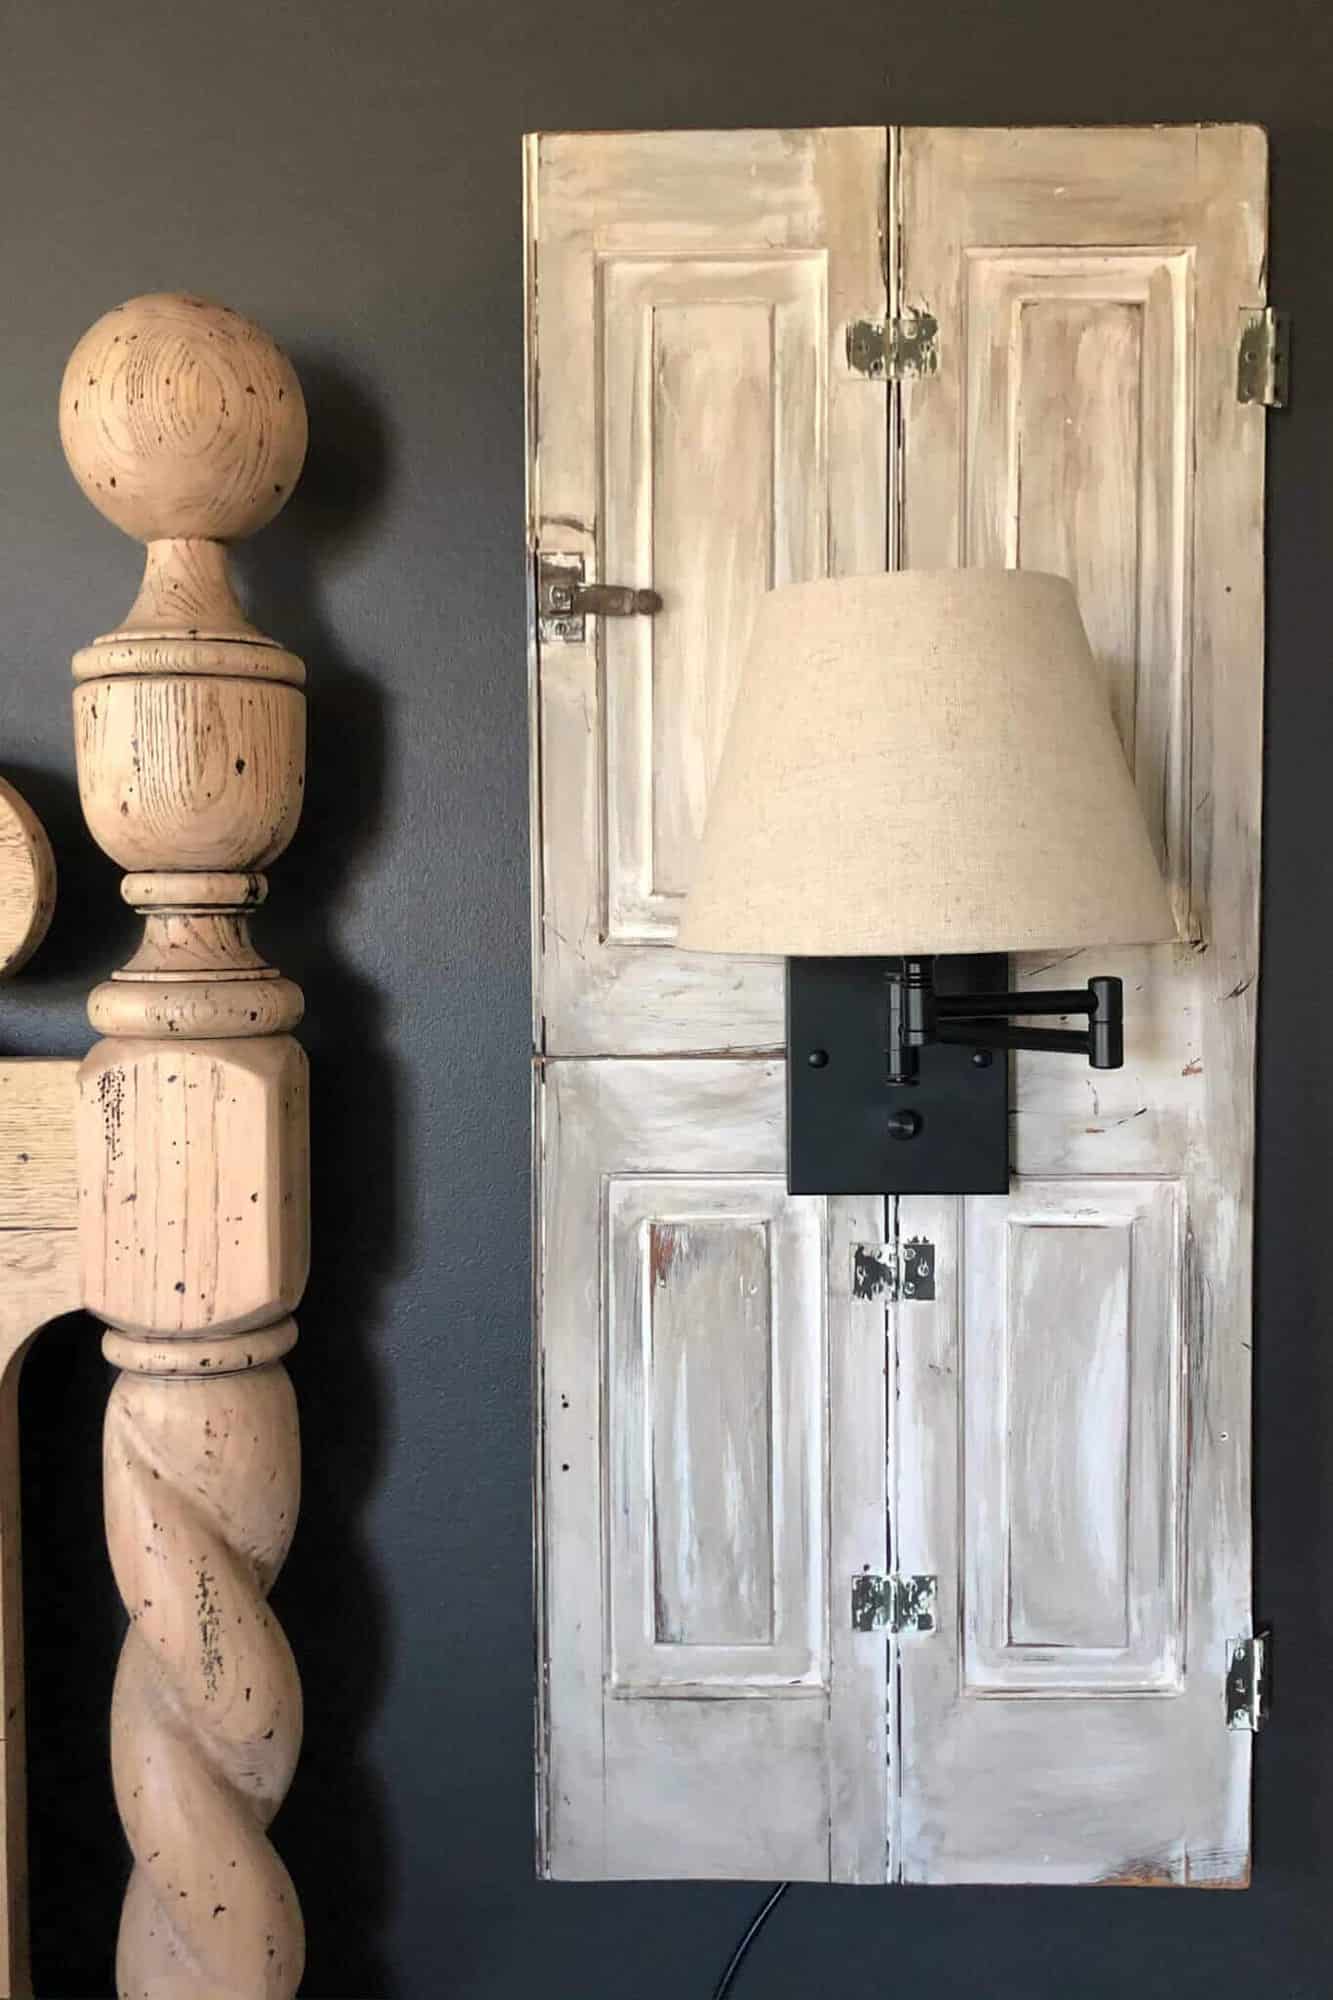
Step 3: Prepare the Mounting Bracket
You want the mounting bracket to be flush to the shutters.
Mounting the sconce flat against the shutter required a little adjustment. The screw heads on our mounting bracket stuck out slightly, which would have made the light wobble.

To fix this, we used a countersink drill bit to create small indentations in the shutter where the screw heads could sit flush.
Do this slowly—drill a little at a time to avoid going too deep.
Step 4: Attach the Bracket to the Shutter

With the bracket flush and secure, we drilled a small hole in the center to feed the cord through from the back.
This makes the wire practically invisible when the light is mounted.

After drilling a hole in the center of the mounting bracket, we were ready to feed that cord from the back through to the front.
Step 5: Rewire the Plug-In Cord

We reattached the cord according to the sconce’s instructions.
If you’re unsure about any electrical steps, please get help from someone who’s experienced—safety always comes first.
Step 6: Mount the Sconce to the Bracket

Finally, we secured the light fixture to the bracket—and that was it!
The light sits perfectly flush, and the cord runs neatly behind the shutter for a tidy, polished look.

The Final Look & Budget Breakdown
We installed these DIY shutter sconces as bedside lights in our bedroom, and I couldn’t be happier with how they turned out.
The warmth of the wood against the white wall, the soft glow of the sconces—it’s everything I dreamed of, without the designer price tag.


Don’t let price tags hold you back from creating a home you love.
And speaking of price tags – here’s what this project cost vs what we would have spent retail. Let’s start with retail!
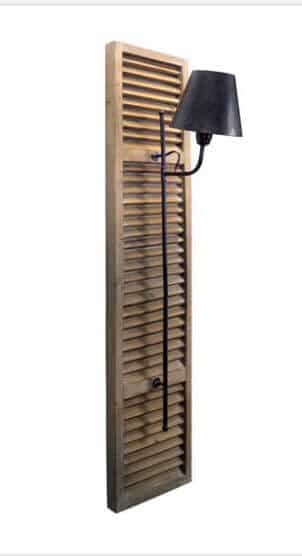
Here are a few options of similar shutter light fixtures online:
- Crestview Shutter Wall Sconce – $460
- Park Hill Mirrored Distressed Shutter Wall Sconce – $405
- Shelby Shutter Styled Sconce – $398
- Bombay Shutter Wall Sconce – $636
- Rustic Shutter Sconce – $425
- Everlasting Shutter Wall Sconce Candelabra – $478
- Walmart Shutter Lamp Fixture – $295
That’s an average of $442 EACH – Purchasing two could have cost us $884 smackeroonies.
Our shutters were free, but for sake of argument let’s say we found a pair at a thrift store for $50. The tools we owned, but purchased the $10 countersink drill bit. We found the pair of lights on Amazon for $50. And we used leftover paint from previous projects.
That’s $110 – if we purchased shutters, but since ours were freebies – our actual out of pocket was only $60.
That’s a savings of $824!!!
And that is why we DIY and why you should too!
With a little creativity and confidence, you can turn everyday finds into beautiful, meaningful decor—just like these DIY shutter sconces.
You don’t need to be a pro to pull off a project like this. Start with what you have, trust your eye, and give yourself permission to try.
Your home should tell your story—and DIY projects like this make it even more special.
You’ve got this!
Video Link
You can find more video tutorials on our Youtube Channel
Frequently Asked Questions
❓ Can I use hardwired sconces instead of plug-in ones?
Yes! Most sconces can be either hardwired or plugged in. Just follow the instructions and consult an electrician if you’re unsure.
❓ What kind of paint should I use on old shutters?
Use chalk paint or latex paint for best results. Light distressing adds a vintage French look.
❓ Do I need to be experienced with wiring?
Nope! This method keeps things simple by using plug-in sconces. Just follow safety tips and ask for help if you’re unsure about wiring.
❓ Would wireless light bulbs work?
Of course! That would save you the wiring work and you’d have zero cords to hide. One thing to remember, rechargeable lights aren’t always as bright, so maybe use this option for accent lighting.


XVII century was Nicholas Jarry [fr].
I added some sawtooth picture hangers to the back of my shutters and that made hanging them up super easy!
Hope that helps!
Jen
Love the look and I have some old shutters I would like to do the same. How did you hang the shutters to your wall?
Thank you so much Karolyn! I was surprised at how easy they were to make! I’m glad you enjoy them and your sweet compliments made me smile!
What an absolutely beautiful, peaceful bedroom! i, too, would look forward to bedtime every night….in fact, I’d be in there during the day reading a good book and enjoying the surroundings!! Love the bed and the shutters definitely add a French country flair!! Great job!