Farmhouse Pantry Makeover Reveal
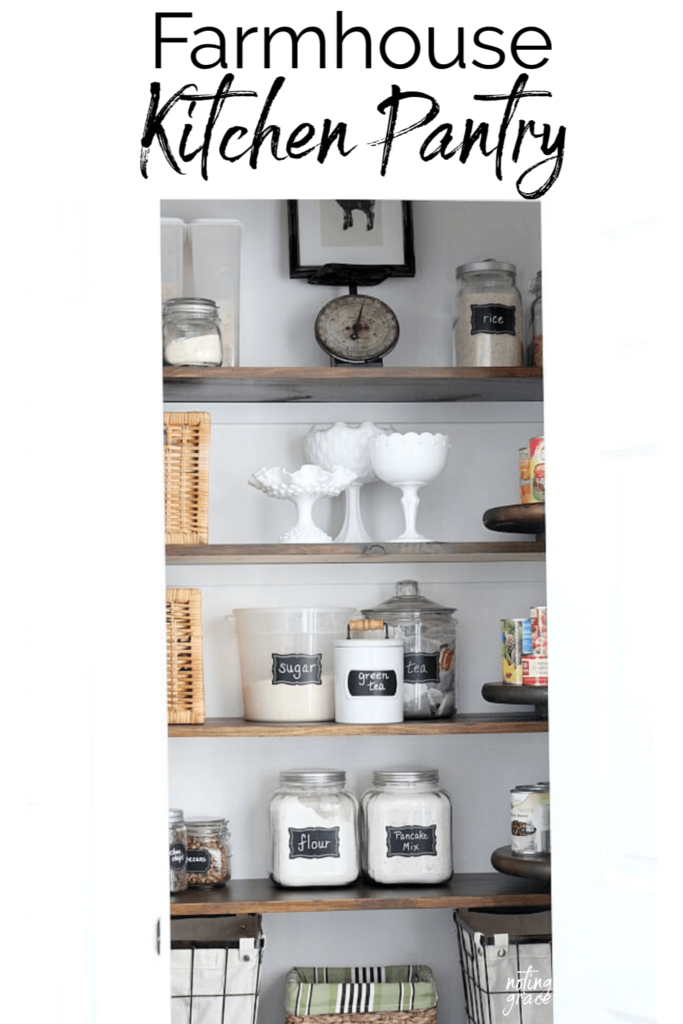
We gave our kitchen an update with this Farmhouse Pantry Makeover. It took a few weeks to knock it out, but it was well worth the wait!
It took a few weeks to knock it out, but isn’t that how life rolls? The flu came in and turned our well oiled machine into a clunker and I’m so excited to finally be able to share our reveal with you!
This Farmhouse Pantry Makeover was well worth the wait!
Let’s rewind the tape to a few weeks ago and show you where we began.
The exterior was improved from when we first moved in, but not the showpiece I wanted!
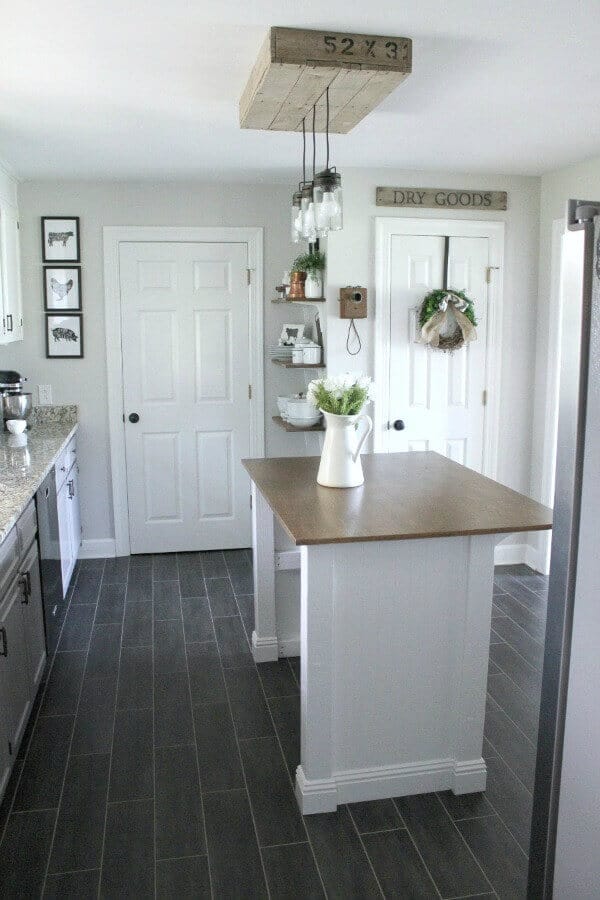
It faded into the background and I wasn’t pleased with the shelving brackets we used. And I hoped to have the glass paneled door completed for this project to fix the wall of doors!
However – This was all about what’s behind that door! The inside was…..meh.
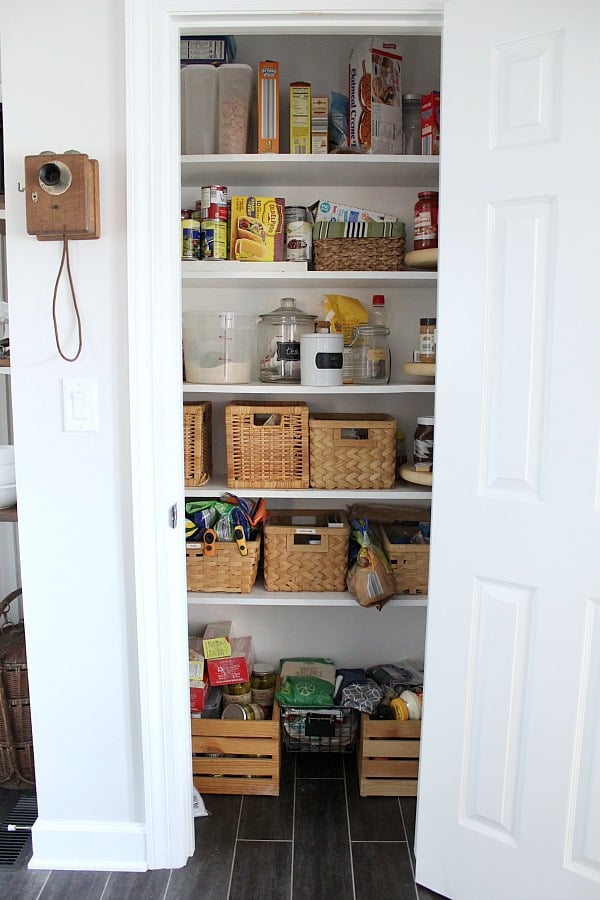
And because it was meh, my organizational efforts were meh, too. Plain white shelves with nothing special to show.
First, we gutted the insides and I had pantry items all over my house.
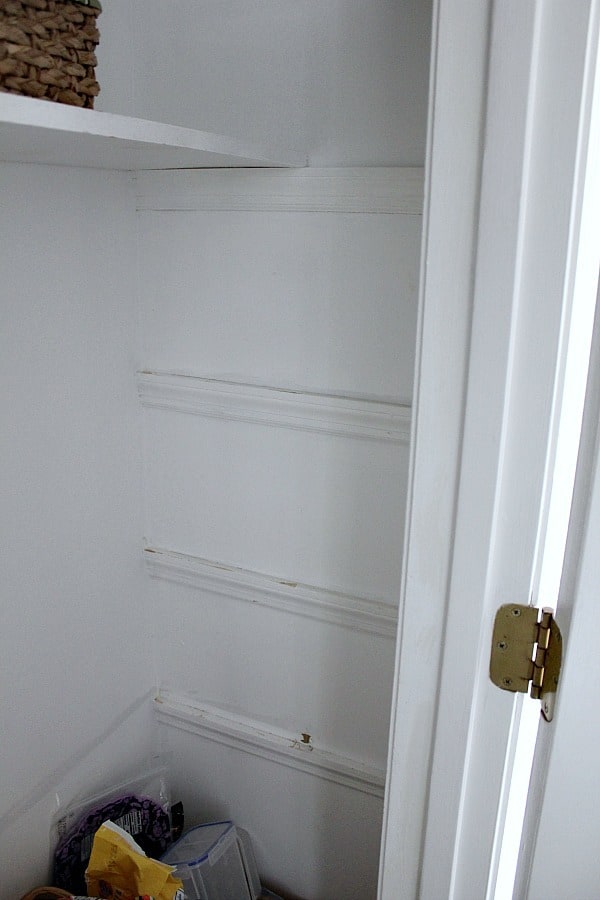
Next, we added ribs to the back wall to give the new shelves a sturdier foundation.
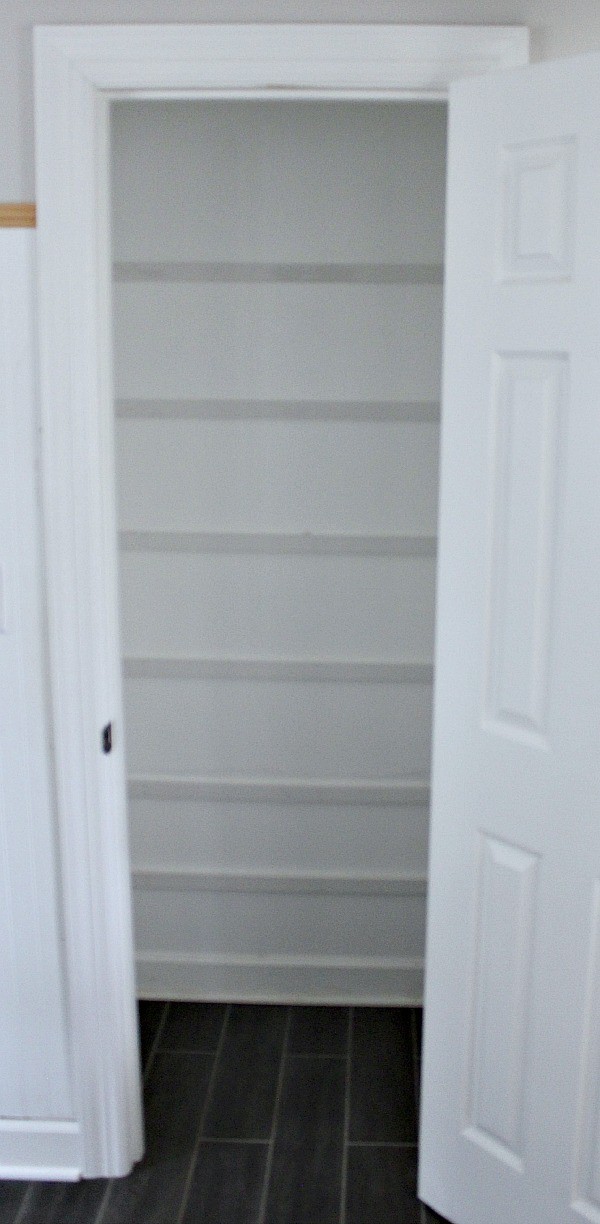
Then we gave the inside a fresh coat and lemme tell ya – painting white over white can make your eyes cross! It was hard to see the coverage. Any hoo…
While the paint dried, we started staining the shelves and framing in the outside with the beadboard panels and gave it a nice coat of paint.
The wall color is Crushed Ice and the trim and beadboard is painted in Pure White – both by Sherwin Williams.
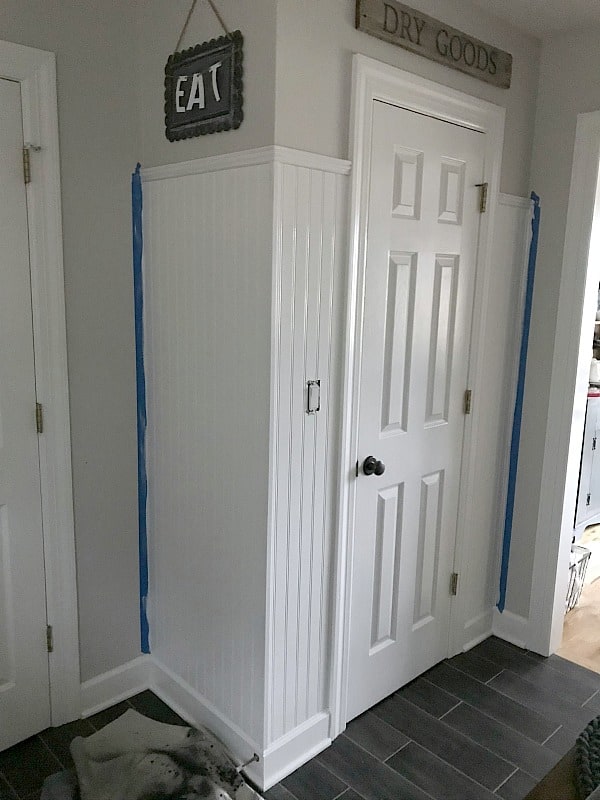
Ready to see what’s behind door number 1?
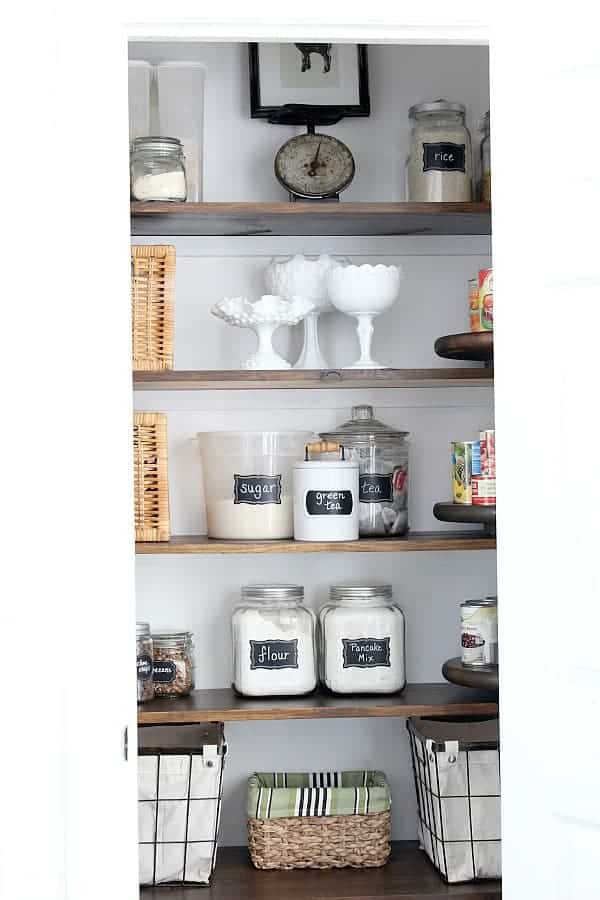
I love love love how the stained shelves look! Don’t you?
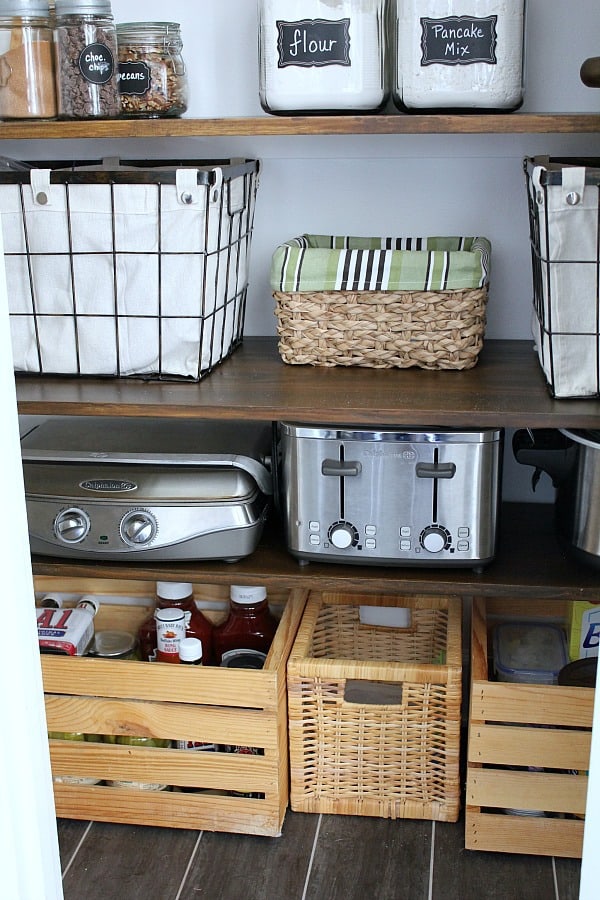
To maximize storage space, we added an additional lower shelf to house our kitchen appliances.
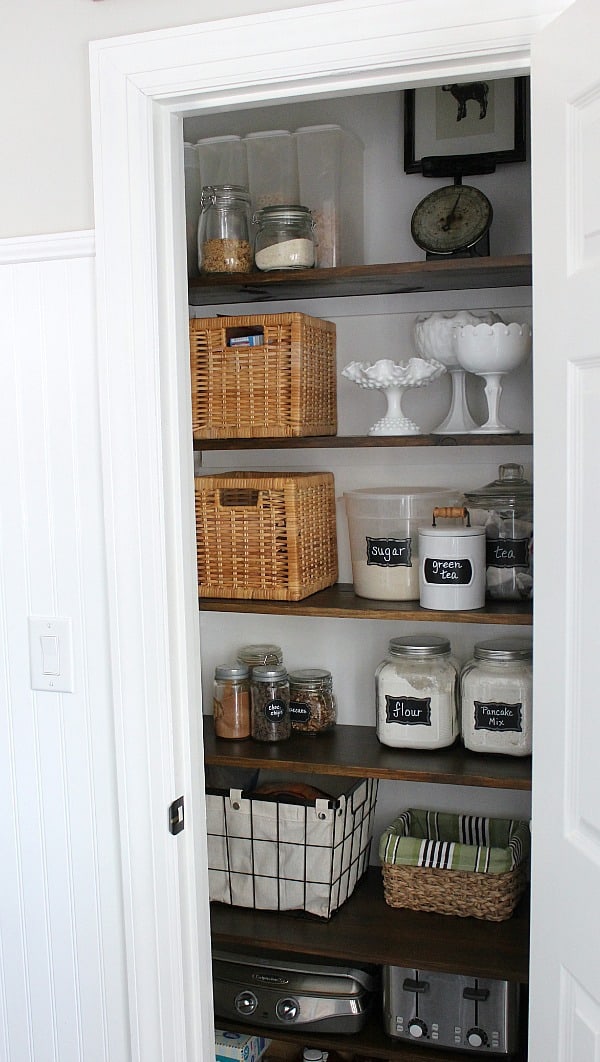
The baskets and crates are not my favorite and I wish that I could replace them with water hyacinth baskets like that cute, green lined one.
But the budget ran out. So I will wait a wee bit longer until I can find ones at the best price point.
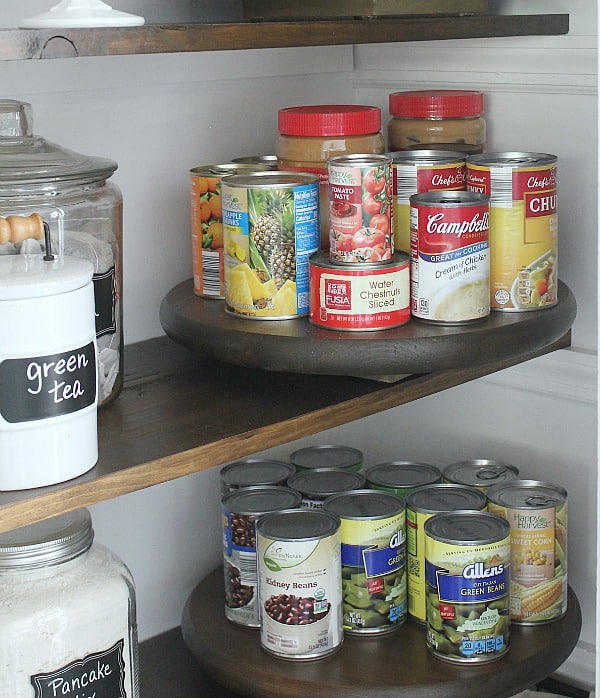
My DIY Lazy Susans got an update with the matching stain.
You can hop back to this post to find out how I made these for fraction of the cost of the retail ones!
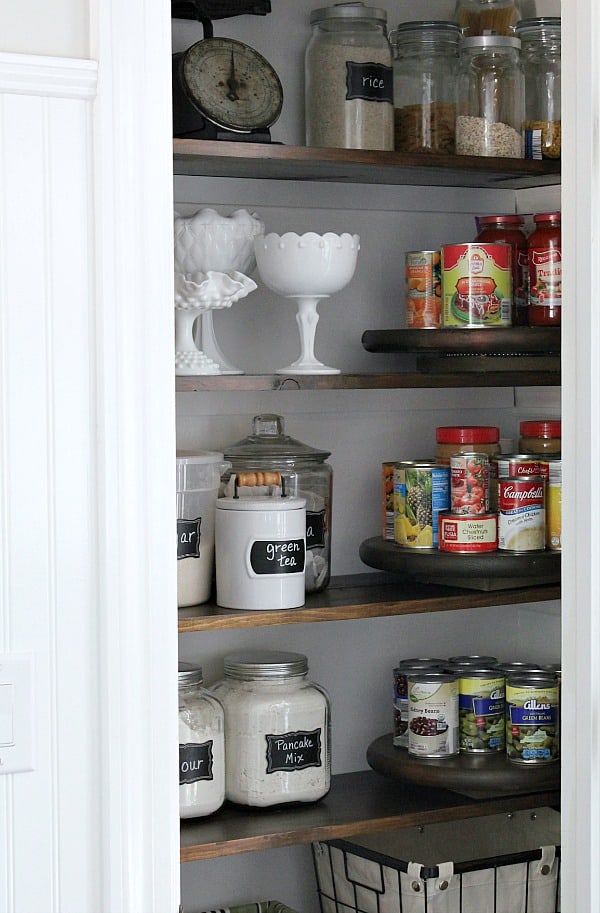
And nothing makes this Farmhouse Pantry Makeover more perfect than my favorite milkglass greeting me each time I open the door.
Remember, I shared that my ultimate plan is to eventually add a glass panel to the door. That means all the pretty stuff needs to be front and center!
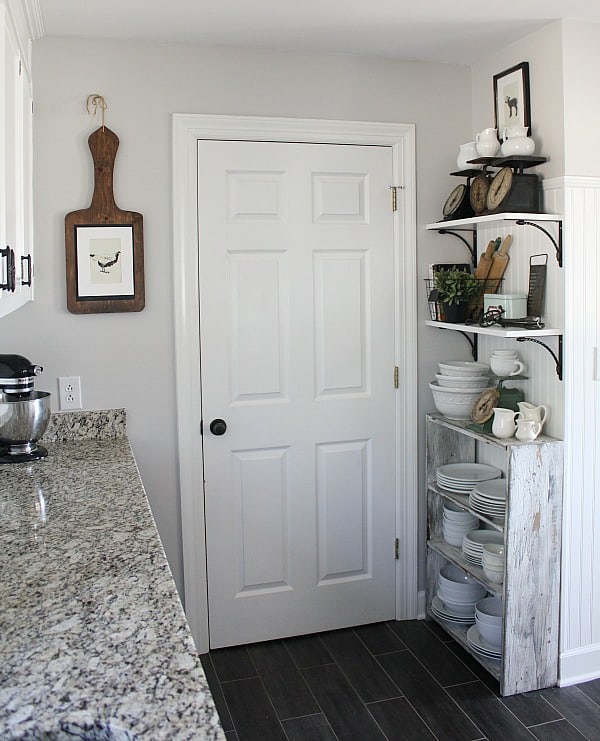
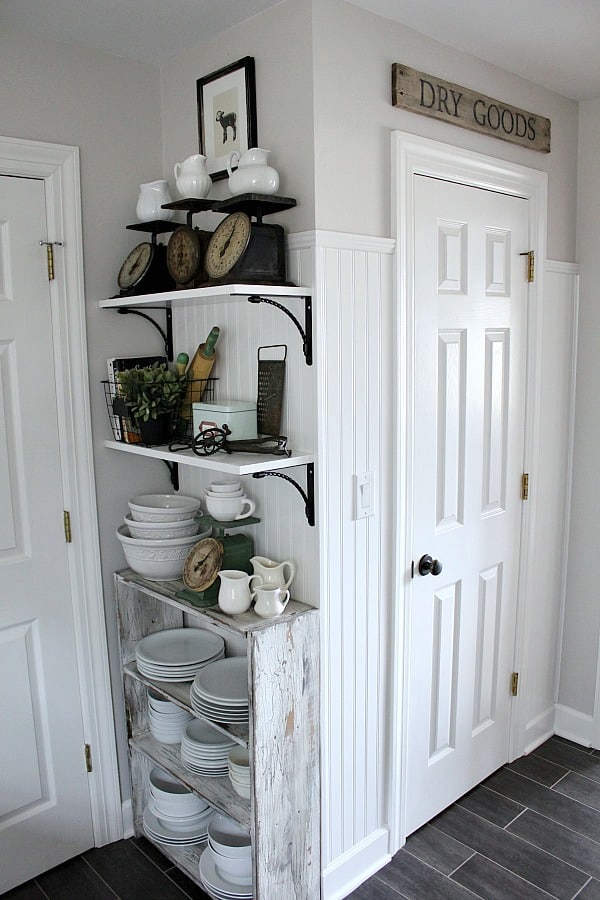
We updated the shelves on the outside with gorgeous metal brackets.
Later this month, I’ll be sharing how I’m reorganizing my kitchen into zones to help make our lives easier, and one portion of that is this DIY plate cabinet.
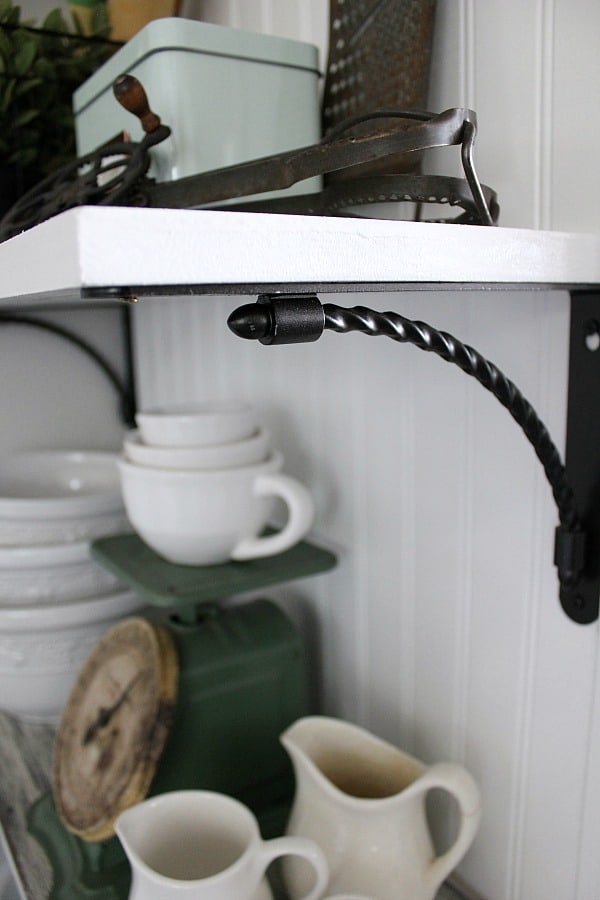
The brackets game with a bit more bronze than I liked, so I spray painted them and love the result!
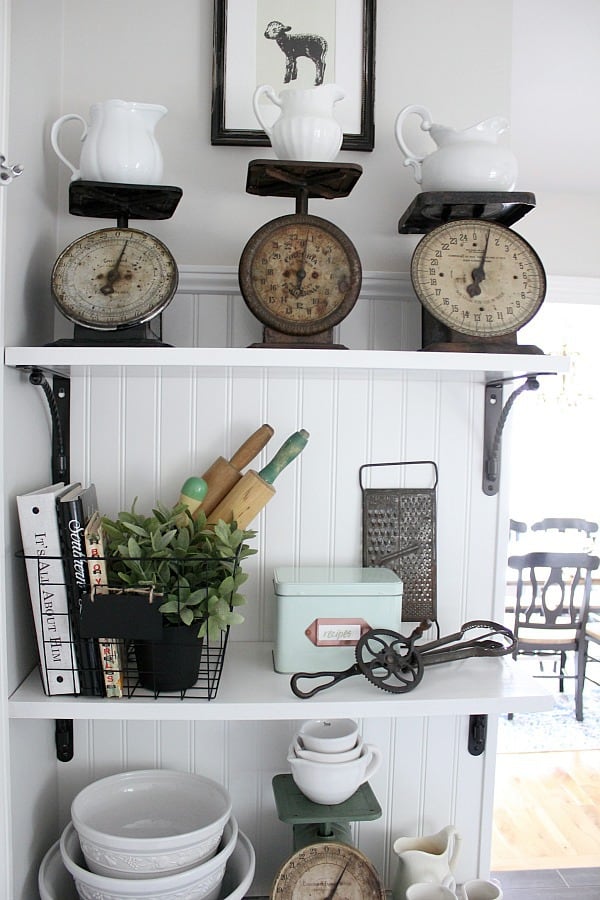
Vintage scales and my creamer collection looks perfect against the beadboard.
I kept my DIY Dry Goods in the same spot – I just love it too much to change it!

So, there ya have it! It’s not 100 percent completed, but that’s what life is.
Baby steps to perfection and even then, it still won’t be perfect, but I can stand back and admire my work and stand proud of how this Farmhouse Pantry Makeover turned out!
Pin This for Later!


44 Comments