Painted Metal Shelf Brackets – One Room Challenge Week 5
We didn’t get as much accomplished as we hoped for the One Room Challenge, but we still made progress! Here’s how we Painted Metal Shelf Brackets for over the toilet.
If you’ve been following along with our progress on our Powder Room for the One Room Challenge, hosted by Calling it Home and House Beautiful, then you’ve seen the great strides we made in just four weeks. But this week, it seemed to come to a screeching halt.
So here we are at week 5 of the One Room Challenge and progress was slow going. We didn’t get as much accomplished as we hoped, but slow and steady wins the race. Here’s how we Painted Metal Shelf Brackets for over the toilet.
Painted Metal Shelf Brackets
Affiliate links are provided for your convenience – at no cost to you! Read my full disclosure here.
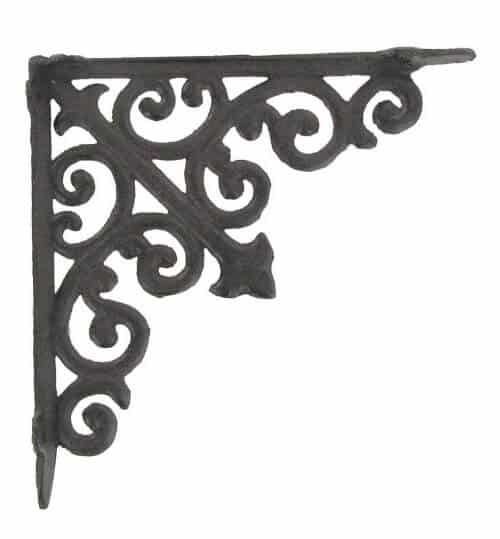
Since the looked we hoped for this room reno had a vintage flair, the detailed elements needed to fit that same aesthetic. I hunted for rusty metal shelf brackets but had no luck finding what I was looking for. When I stumbled upon these 8″ Cast Iron Shelf Brackets from Hobby Lobby – I had an idea on how to get the Vintage Farmhouse look I wanted for our Powder Room.
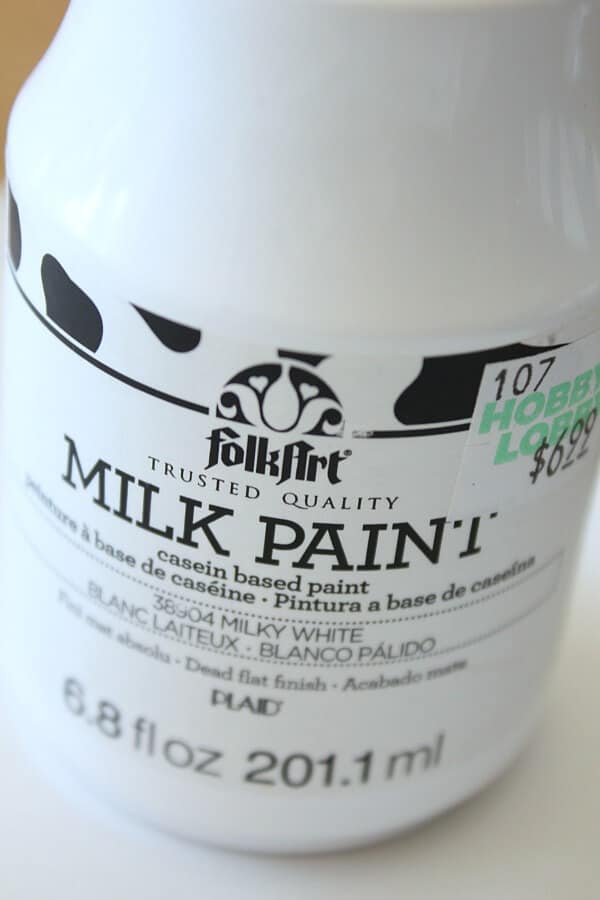
I had purchased some milk paint made by Folk Art a few months ago. I knew the look of milk paint would add that vintage feel to the cast iron.
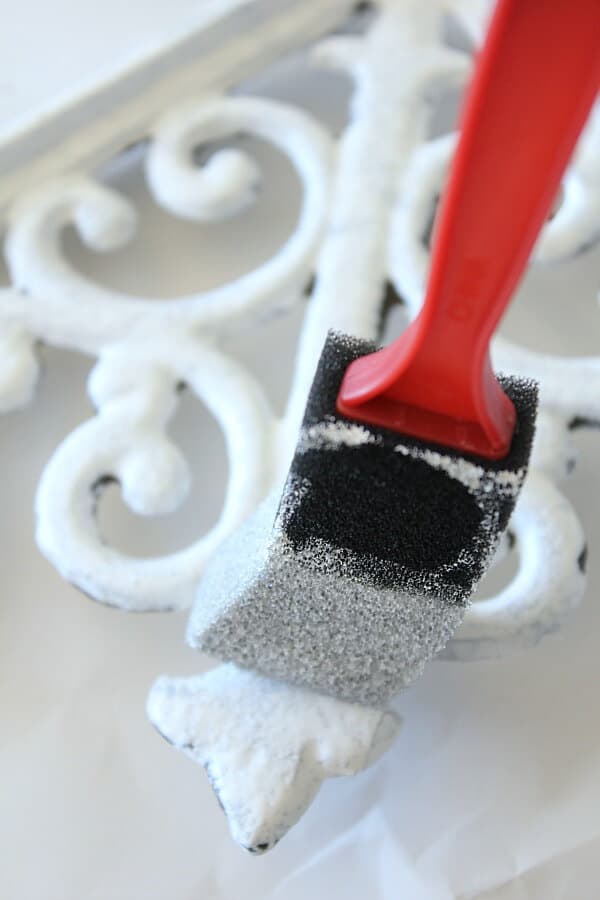
Using a sponge brush, I dabbed the shelf brackets with milk paint, leaving a few bare spots here and there.
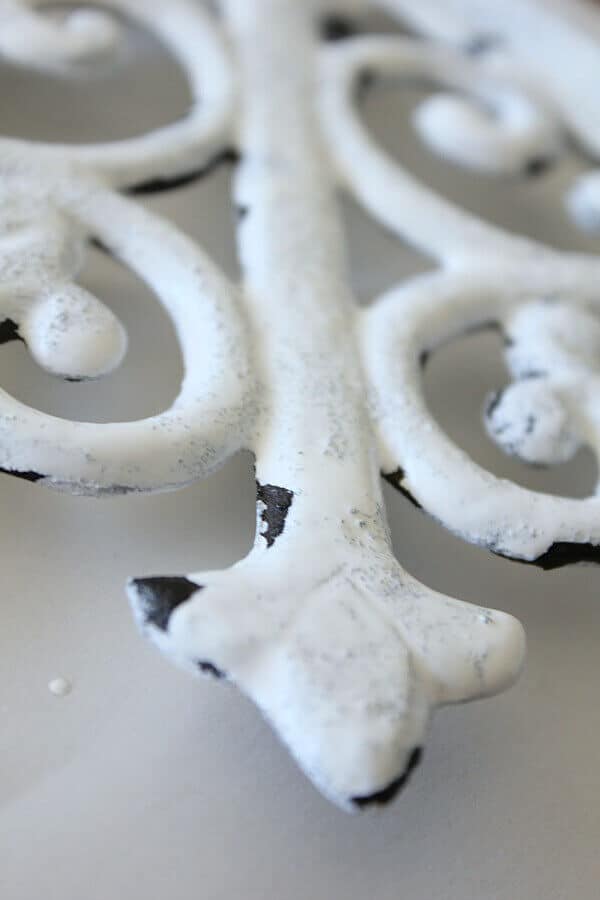
Such an easy transformation! This entire process took just minutes to paint, and a few minutes more to dry.
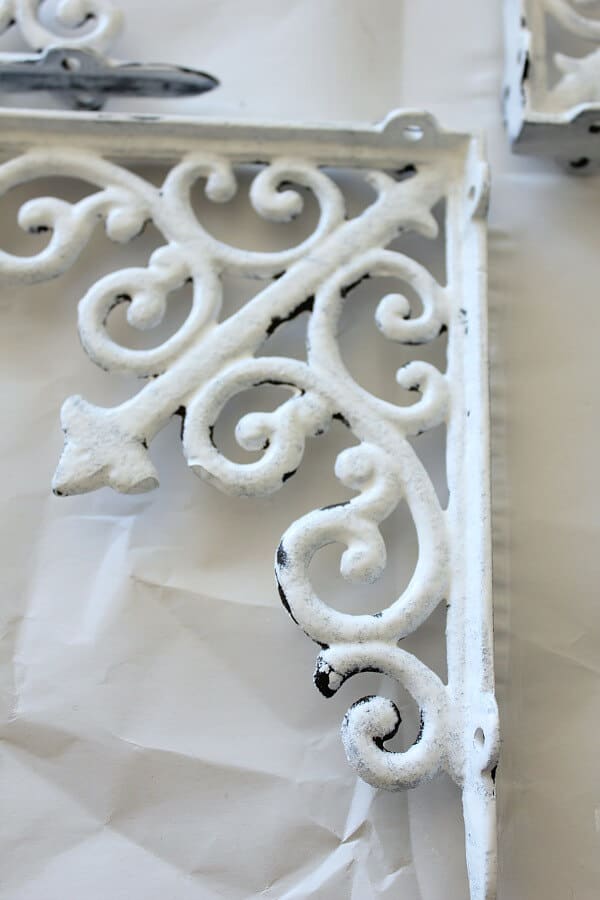
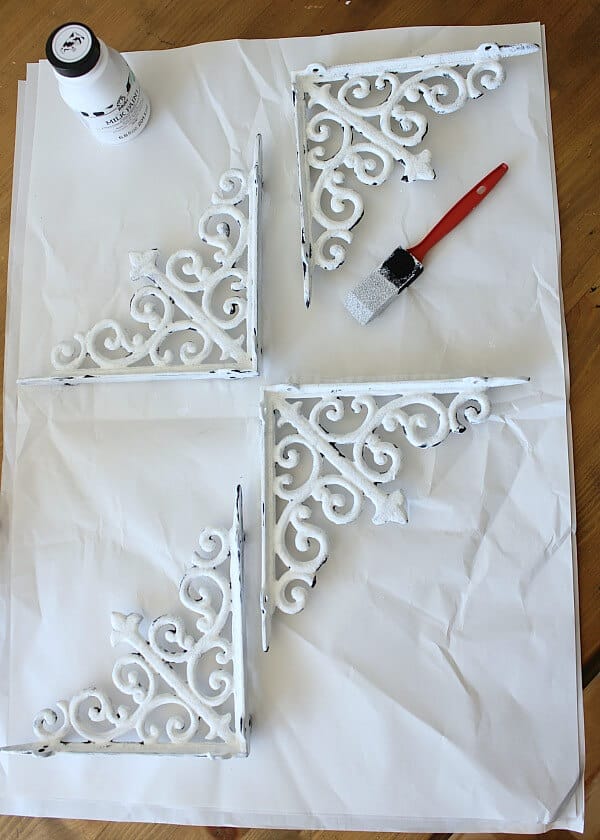
They look as if they’ve been taken from an old house right? Super cute!
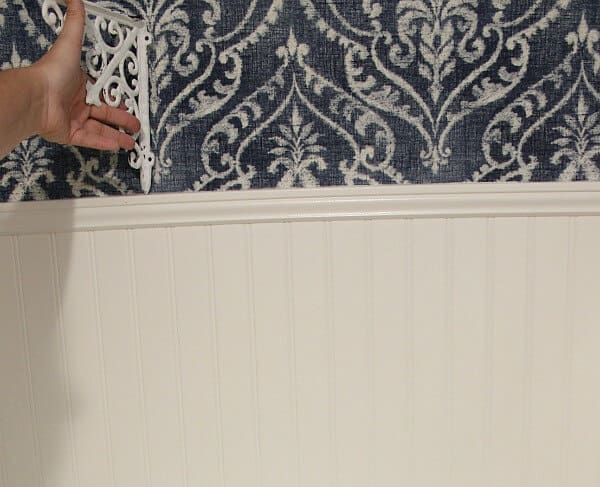
I think they are going to look great against the wallpaper. I hoped to have them blend in as much as possible and this does the trick!
My plans were to hang the shelves, but they are still getting stained and weren’t quite ready.
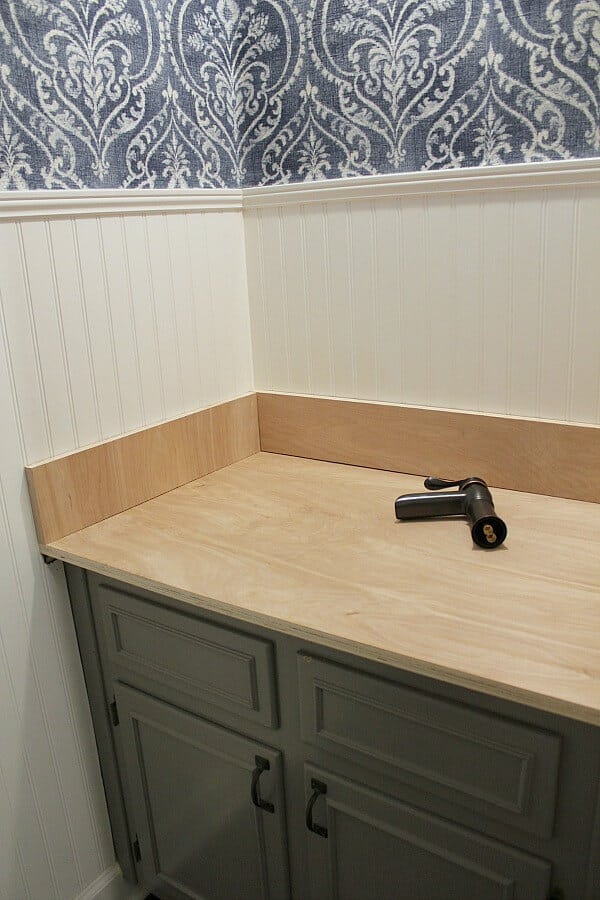
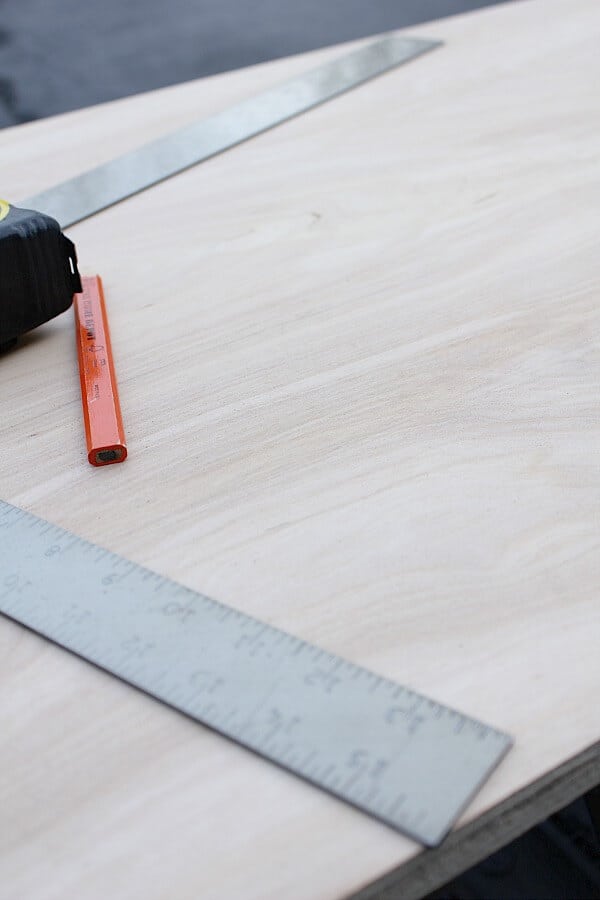
One headway we did make was purchasing and cutting the wood for the countertop. We bought 2 birch veneered sheets of plywood in 4 X 4 foot sheets.
We cut the plywood to fit and still need to stain and trim out the pieces, as well as cut the hole for the old basin sink we plan to reuse.
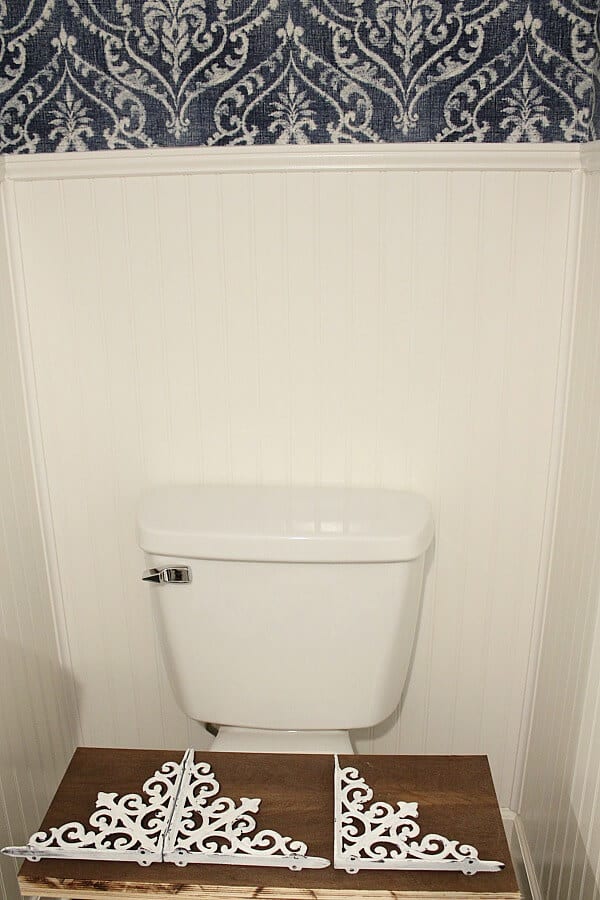
So I stole a moment to see what the stain would look like on the remnants and we thought those pieces would work great for the shelves.
Not only is it reusing the materials, but this just may get us under budget by repurposing the old materials for the new shelves!
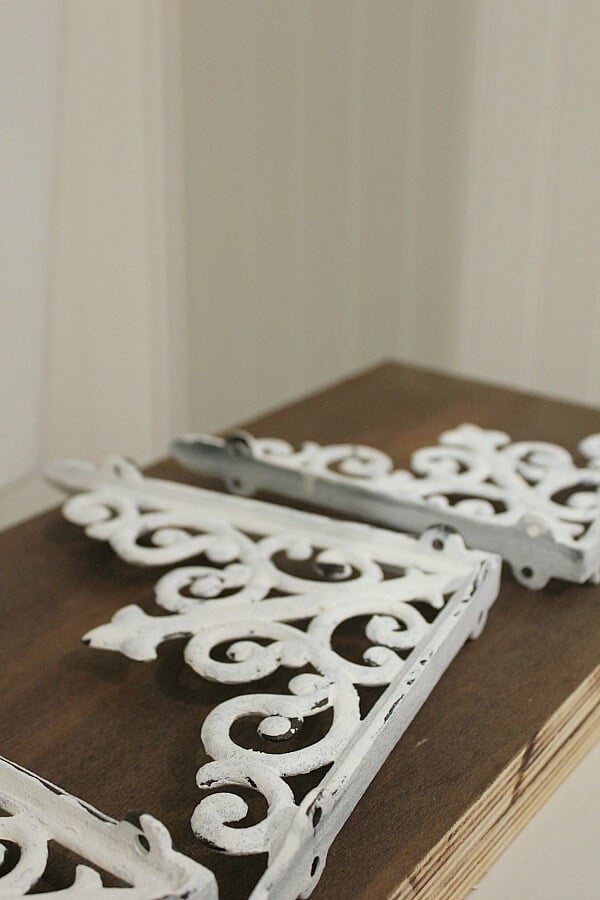
Doesn’t the white of the Painted Metal Shelf Brackets pop against that dark wood? I can’t wait to see how the countertop is going to look!
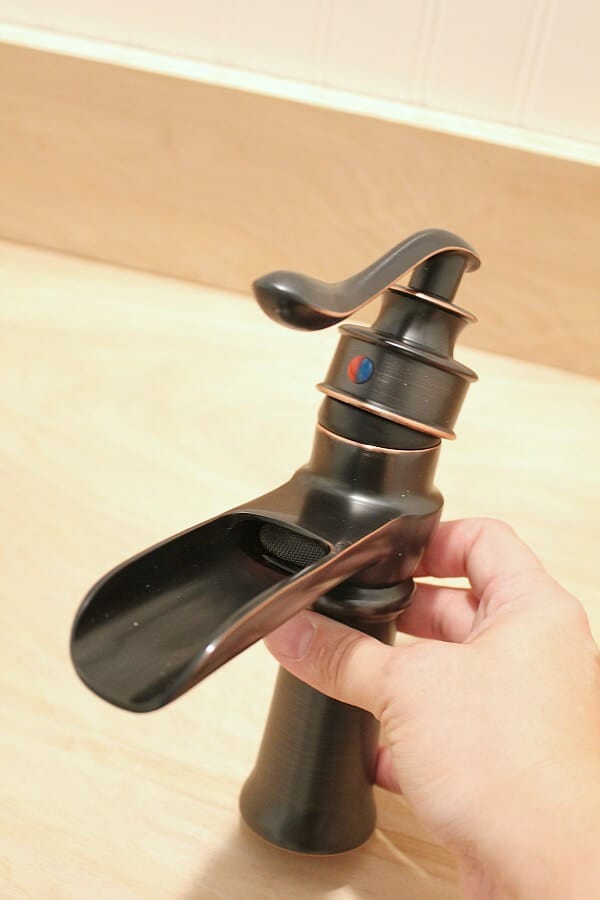
Of course, I had to take a sneaky peak of the faucet we ordered in the room. The old outdoor water pump look makes me excited to see it installed!
Although we didn’t get too much done this week, let’s see where we are on our to do list:
Materials we had on hand:
- ✓Replace Flooring using leftover from Kitchen and Laundry Room
- ✓Paint existing cabinet using paint on hand
- ✓Paint beadboard with white oil on hand
- ✓Replace light fixture with previously used one from another room
- ✓Make shelves from leftover countertop scraps
- Reuse Sink basin
- Hang Vintage Medicine Cabinet
Purchases to Make:
- ✓Replace Toilet – $100
- ✓Install BeadBoard and Trim – $50
- ✓Build Wood Countertop – $48 – needs staining and trim
- ✓DIY Fabric Wallpaper with starch – $82
- ✓Replace Faucet – $50 – needs installed
- Decor Purchases – $14
- Painted Metal Shelf brackets – $14
TOTAL SPENT SO FAR: $344
So that leaves me with just over $150 for decor purchases which won’t even be that much! This budget minded mama is doing a happy dance right now!

Now I’m going to steal a few moments to go check out how all the other bloggers are doing this week. There are some incredible makeovers that you need to see! Visit the links below to see the earlier weeks in this transformation.


Thank you so much for the heads up! Luckily, we had to return the faucet because it didn’t fit. You can see the one we chose in our Final Reveal!
I have to tell you that we had that same faucet in our bathroom in CA. Bad news if you have hard water! It was in a guest bath that wasn’t used all that much, and we even had a water softener. The thing never looked clean. So, if you have installed it yet and you have even a scent of hard water, return, return, return. 🙁
Thanks Tana – lets hope I can stay within that budget!
Jen – I love how you’re keeping a budget tally! You go girl!! Also, great ingenuity on the metal shelf brackets – they go perfectly with your wallpaper and style.