Master Bath Demolition – how our design plan is unfolding
How our design plan is unfolding as we take our bathroom down to the studs with this Master Bath Demolition.
Phew!
What a week!
And we have accomplished so much in week one of the One Room Challenge. Demolition is always the quickest, so that was a given for us, but what we didn’t know was that our design plan would slowly start to unfold.
As I mentioned in week 1, this is the first time we have entered a challenge without a game plan of what we would be doing for our Master Bathroom. We only knew three things – move the electrical from inside the shower, relocate the toilet, and make a walk-in shower. But after those three things, we were clueless.
I’m so excited to show you what ideas we have and see what you think. And if this spurs any ideas from you all, please, please, pretty please leave me a suggestion in the comment box below! Can you tell we’re a wee bit desperate?!
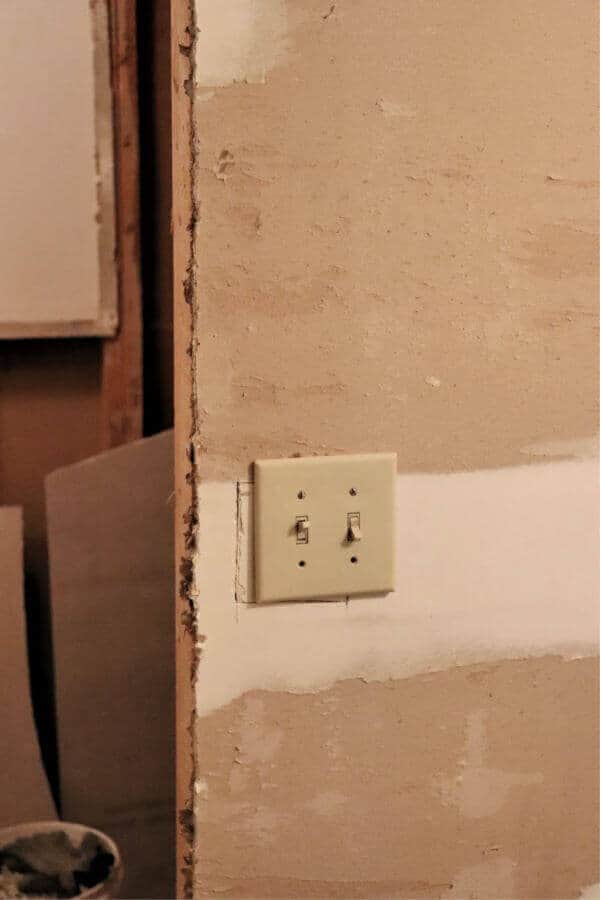
First things first – the electrical was moved from inside the shower stall (shaking head in disbelief) to the wall directly behind the junction box.
Hallelujah!
We removed the old vanity that was wayyyyyyy to short, especially for us tall people. The average height of a vanity is 34 inches high, and ours was just 30 inches. Those tiny four inches make a HUGE difference.
So that’s design plan number one! To save on costs, we are planning on DIYing a vanity base which is still in the works up in my brain somewhere.
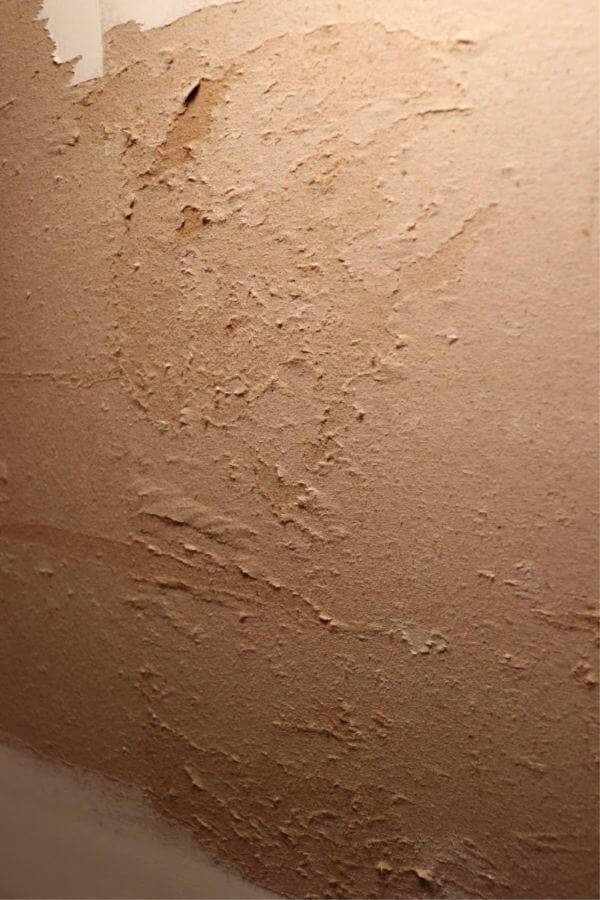
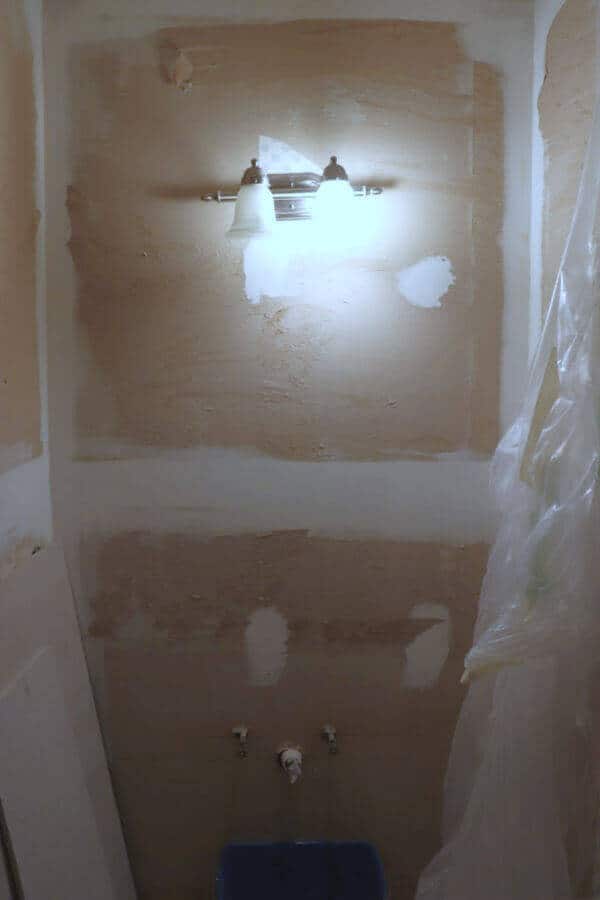
We discovered that the seashell wallpaper was original to the house – 30 years of the same pattern. And removing it, we learned that they wallpapered directly to the untreated drywall. No matter what I tried, the paper came off with the wallpaper.
So now we’re at design plan number two – wall treatment. I know that I have been an anti-shiplap kind of girl, but with as much damage to the drywall, we need to cover it from top to bottom. So I’m lifting the no shiplap ban. I’m going to come up with an affordable way to remedy this issue.
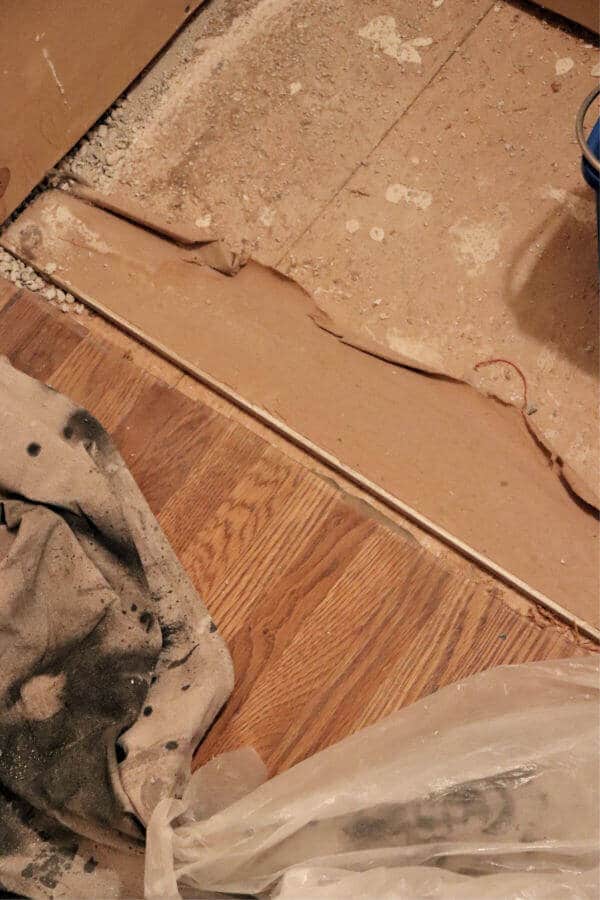
After much debate and number crunching, we decided to keep the hardwood floors in the first half of our bathroom. They in excellent shape and it just hurt my feelings thinking about ripping up that beautiful wood.
Plus – it will save us on flooring costs which makes this frugal momma happy!
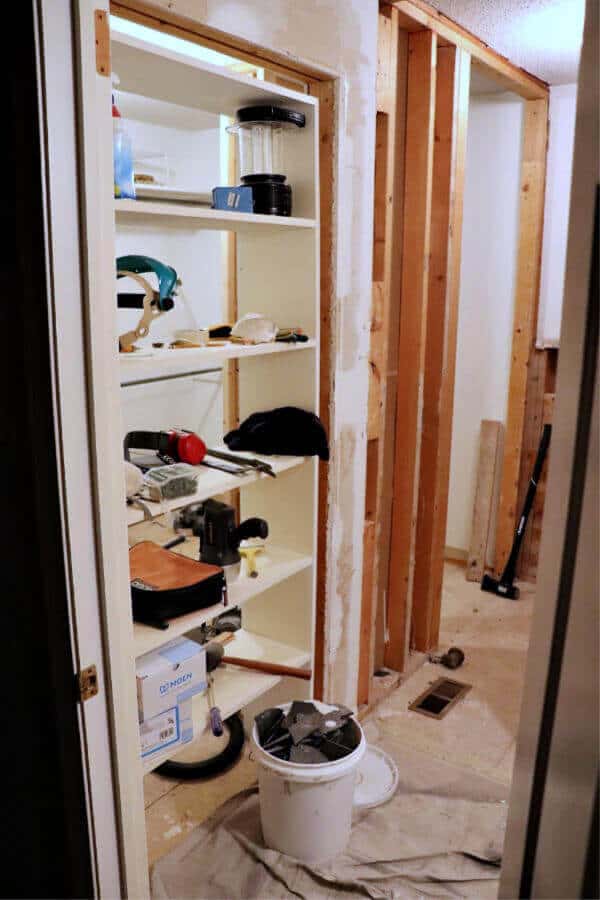
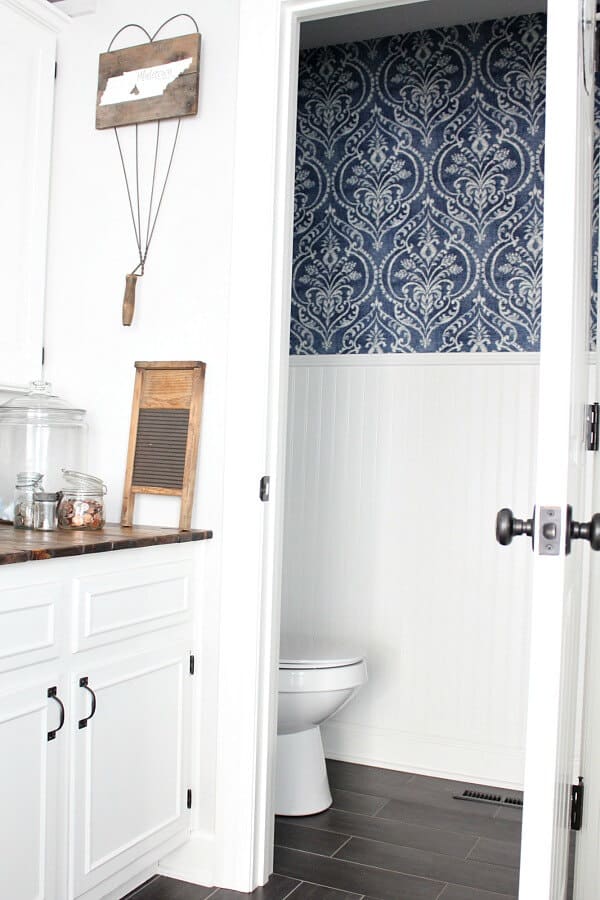
Part of the demo process was to take out the carpet from the adjoining closet so we could open the wall for the toilet move. We just so happened to move this shelving unit into the old doorway and boom – another idea was born!
Design idea number 3 is to fill the old doorway with a shelving unit to add storage. I really want to keep the one that’s built because it fits perfectly! But Trent doesn’t like the cheap, knotty wood, so we will most likely be building another one from scratch.
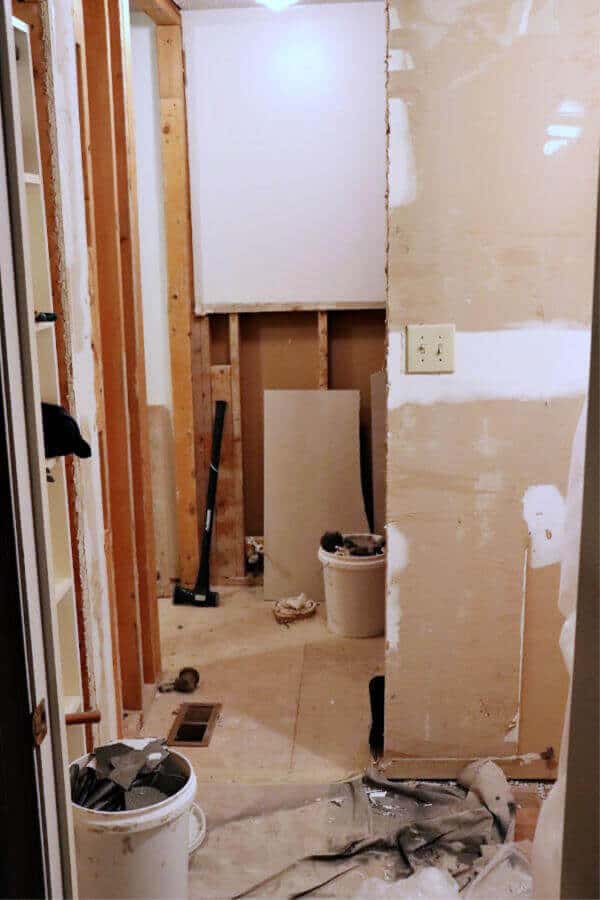
And do you see that huge hole in the wall?
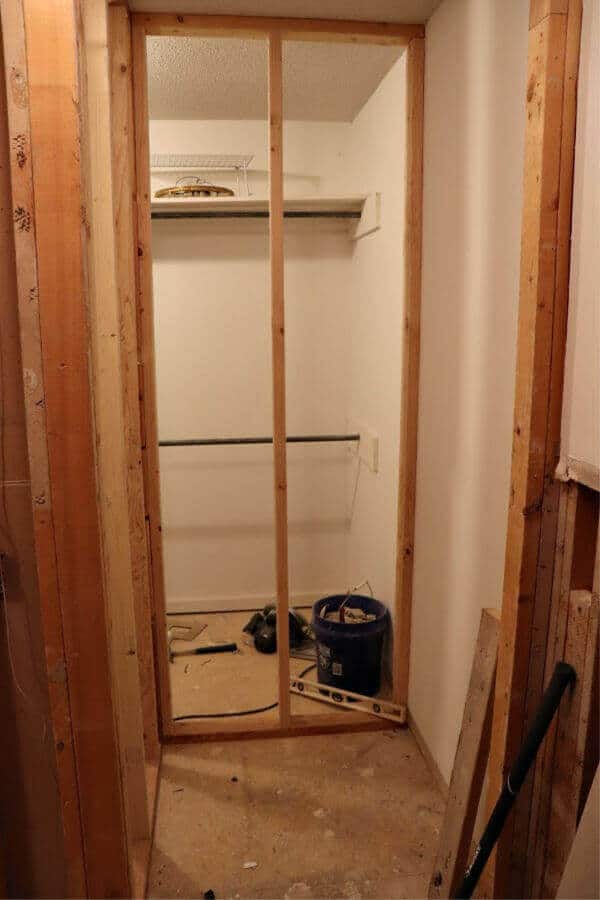
We busted it open and framed the spot for the toilet. There isn’t room for a door to the water closet, but many a bathroom are without a door to the commode, so that justified it for us.
We are already taking away from the master closet footprint, so this is a tiny little cubby for the toilet.
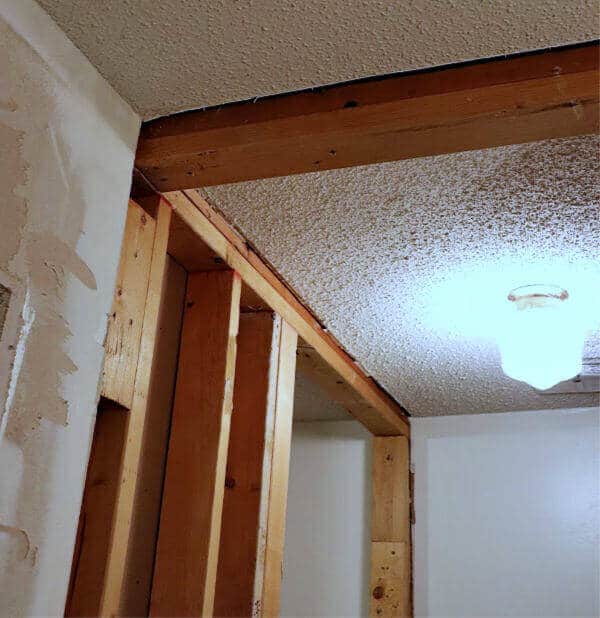
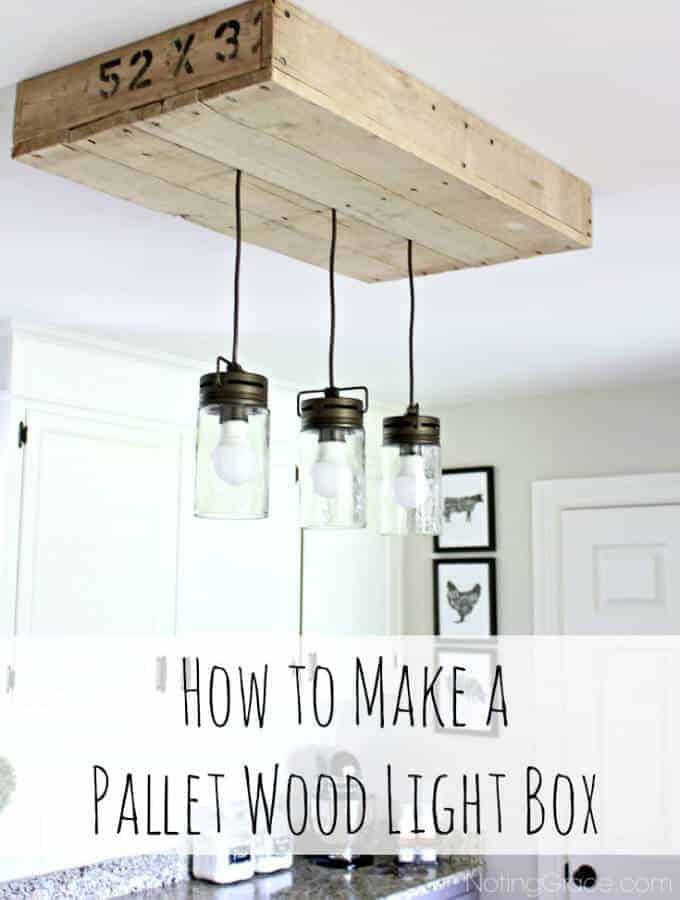
To create an open feel for this small bathroom, we removed the headers from the doors and took them straight up to the ceiling. I think we might find a way to wrap those two by fours with DIY wood beams. I found a tutorial on how to do it, so I hope that design idea works out!
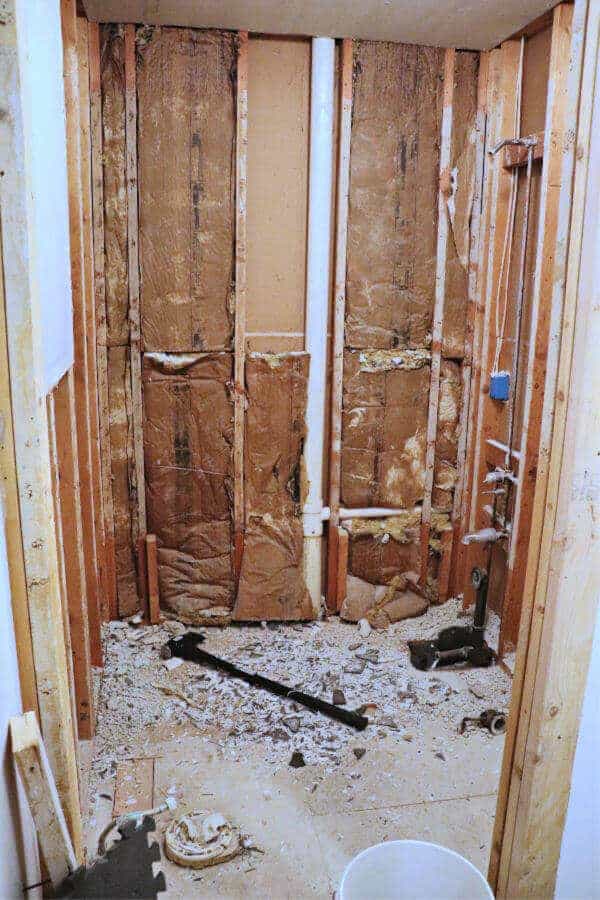
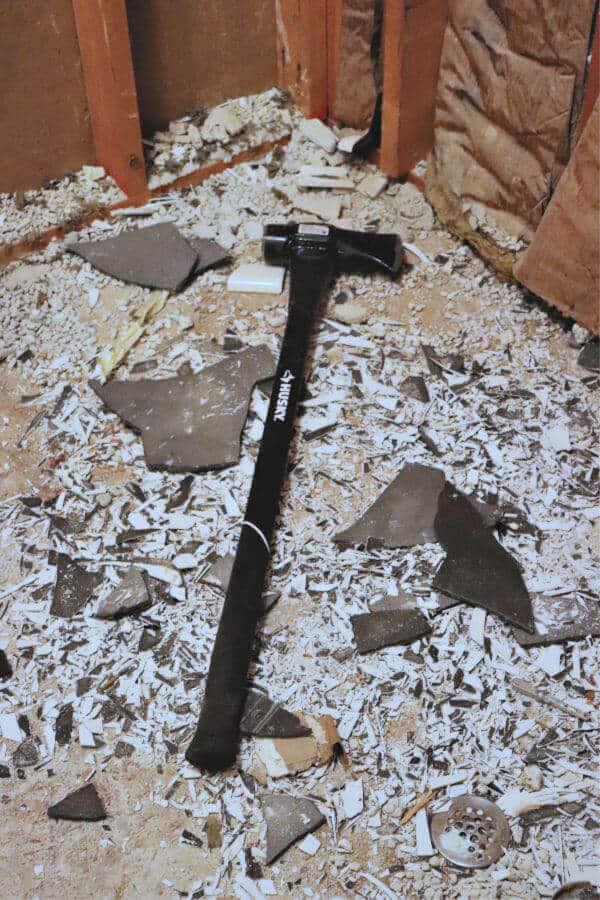
And finally – all the tile is gone along with that ginormous, heavy tub.
This was the only purchase we made this week.
That tub was way too heavy for just the two of us to move, so after watching a few youtube tutorials on how to remove the tub, the easiest way was to break it down into 4 pieces with a sledgehammer. Well worth the cost!
So after lots of tile shards, dust, and buckets upon buckets of debris to haul out, we feel like we’ve got somewhat of a plan in place.
Heading over to my favorite part of this series, seeing how everyone is doing on this challenge. You can check it out as well at the One Room Challenge website.

You can also check out the other rooms we’ve completed in previous challenges:
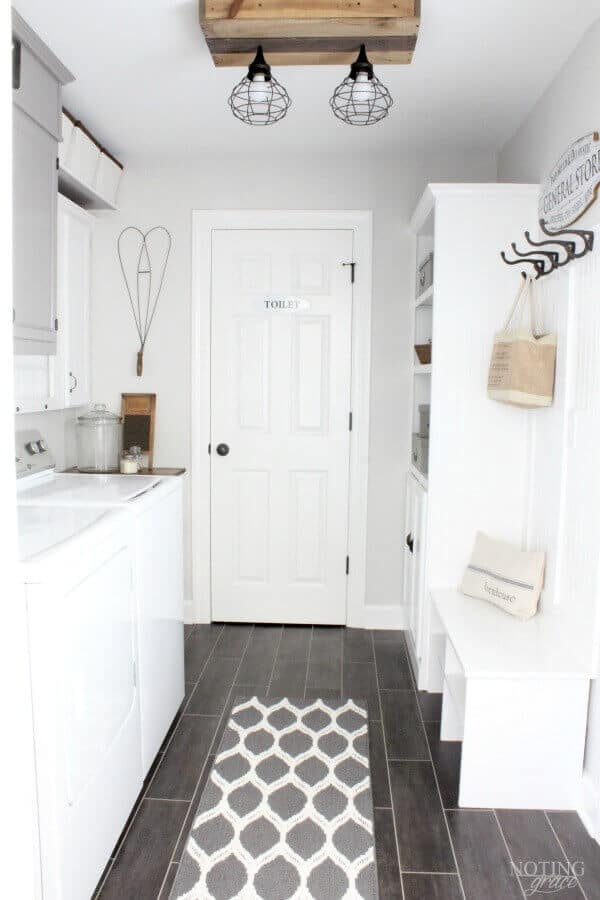
Vintage Inspired Mudroom Makeover
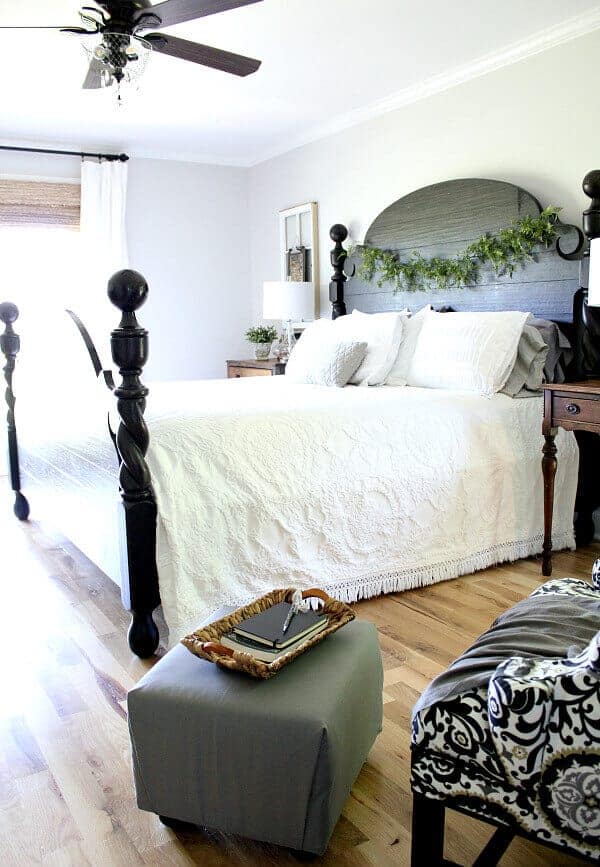
Master Bedroom and Closet Renovation

AAAAAAA-men! The popcorn is on every. single. ceiling in this home! UGH! Our plan is cover this bathroom with planking. It was too much to think about scraping it, but that is definitely the plan in the rest of the house! So glad someone hates popcorn as much as I do.
The only recommendation I can make at this point is: LOSE THE POPCORN CEILING! As a former professional house-cleaner, I cannot think of many things worse than trying to keep a textured ceiling clean in any kind of humidity-prone setting. The only worse place for a textured ceiling would be a kitchen (air-borne grease), embossed tin being the exception to that rule.
Wow! Great progress! No turning back now! I believe you can do it! I see that you are a experienced One Room Challenger! This is my first time and I am feeling the pressure of finishing before the reveal day!