How to Make Rustic DIY Candle Holders from Old Bedposts
Searching for the perfect way to repurpose and old bed? I took a footboard from a bed I wasn’t using and turned it into some gorgeous candlesticks. Here’s how to make rustic DIY Candle Holders from old bedposts.
When we updated an antique bed for our Guest Bedroom Makeover, I was converting a full size bed to a queen. So I ended up only using the headboard.
That left me with a footboard that I wasn’t using that sat in our garage for months.
Recently, when we cleaned out our garage, we needed to clear out some space. So I had Trent cut this footboard down, leaving only the posts.
If you’ve been shopping for tall wooden candlesticks, you may have been shocked at the price like me. The more detailed the carving, the higher the price. Even these simple ones from Pottery Barn are super expensive!

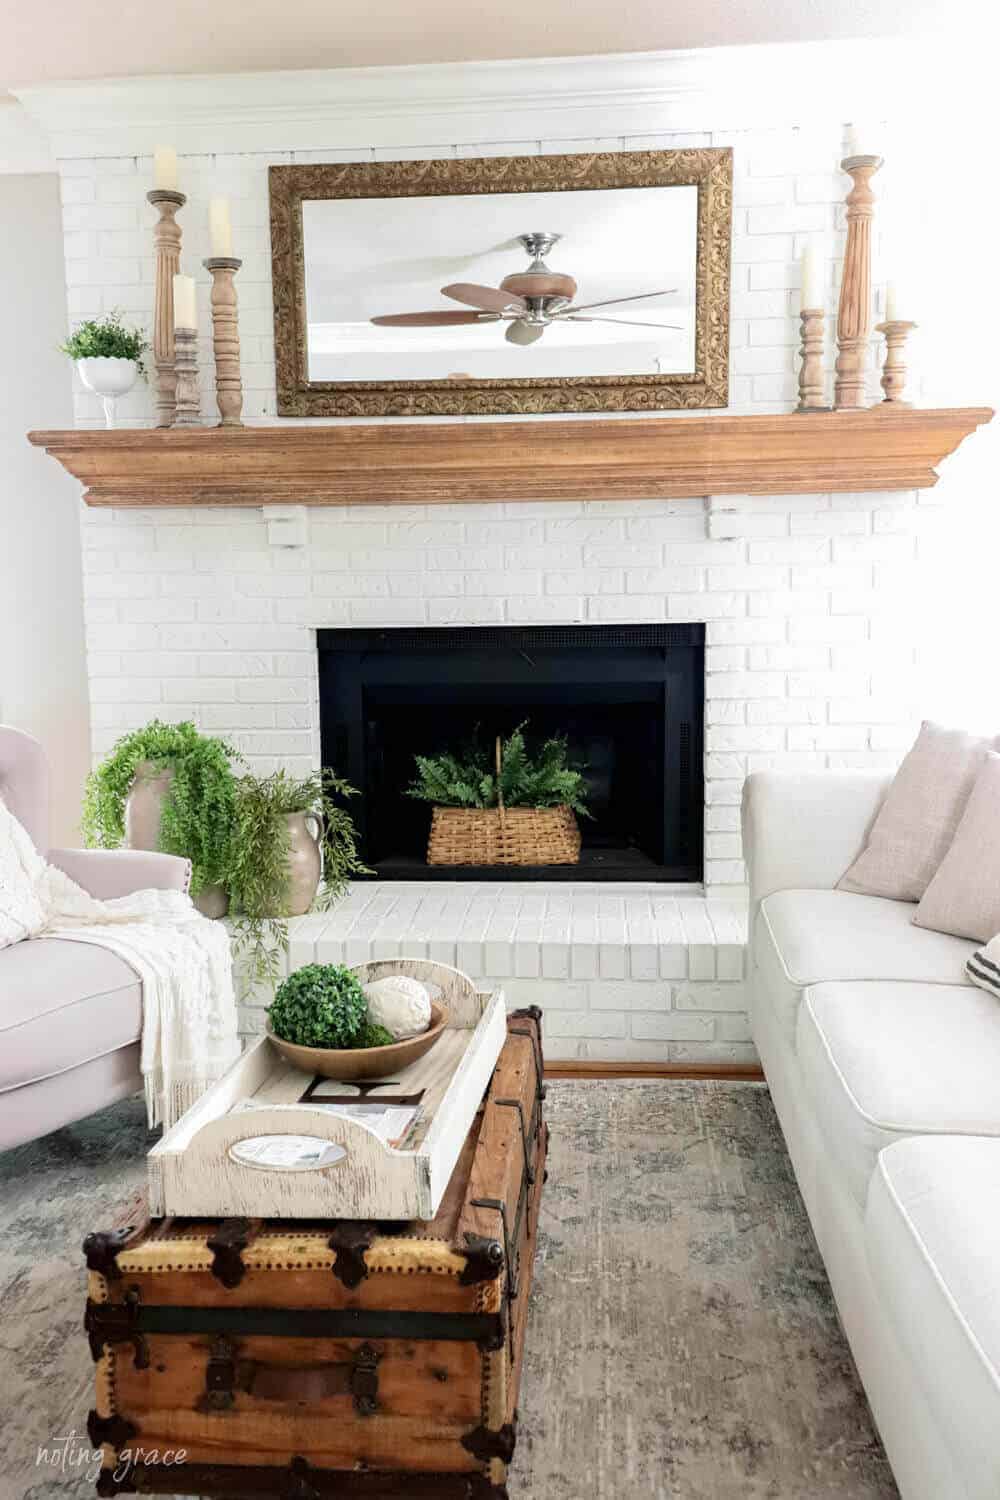
I thought it would be a great idea to give this footboard new life by making some wood candle holders for my fireplace.
Here’s the easy tutorial on how to make these for yourself. This will need some power tools, so I have listed out what I used below.
How to Make Rustic DIY
Candle Holders from Old Bedposts
Supplies You Need
(Some affiliate links are provided below. Full disclosure here.)
- Old Wooden Spindles or Bedposts
- Circular Saw or Miter Saw
- Wooden Plaques for Crafts – I used 4″ square ones
- Wood Glue
- Sandpaper or a sanding tool – I used my Dremel Multimax
- Pillar Candles
- Antiquing Glaze for the wood plaques.
- Paintbrush
- Paper Towels
I started by trimming down each piece so that I had many options at different lengths.
For the sides that were similar, I made the cuts at the same spot so that I ended up with a matching pair.
Since this bed was almost a hundred years old, I wasn’t sure what type of wood stain they used, so I made sure to protect myself with eye goggles and a breathing mask. This one is my favorite to use!
Once I had the posts cut, I used my Dremel Multimax to start sanding since my posts were detailed with carvings. The Dremel is great for smoothing away any rough edges.
Here’s how they looked after all they were completely sanded.
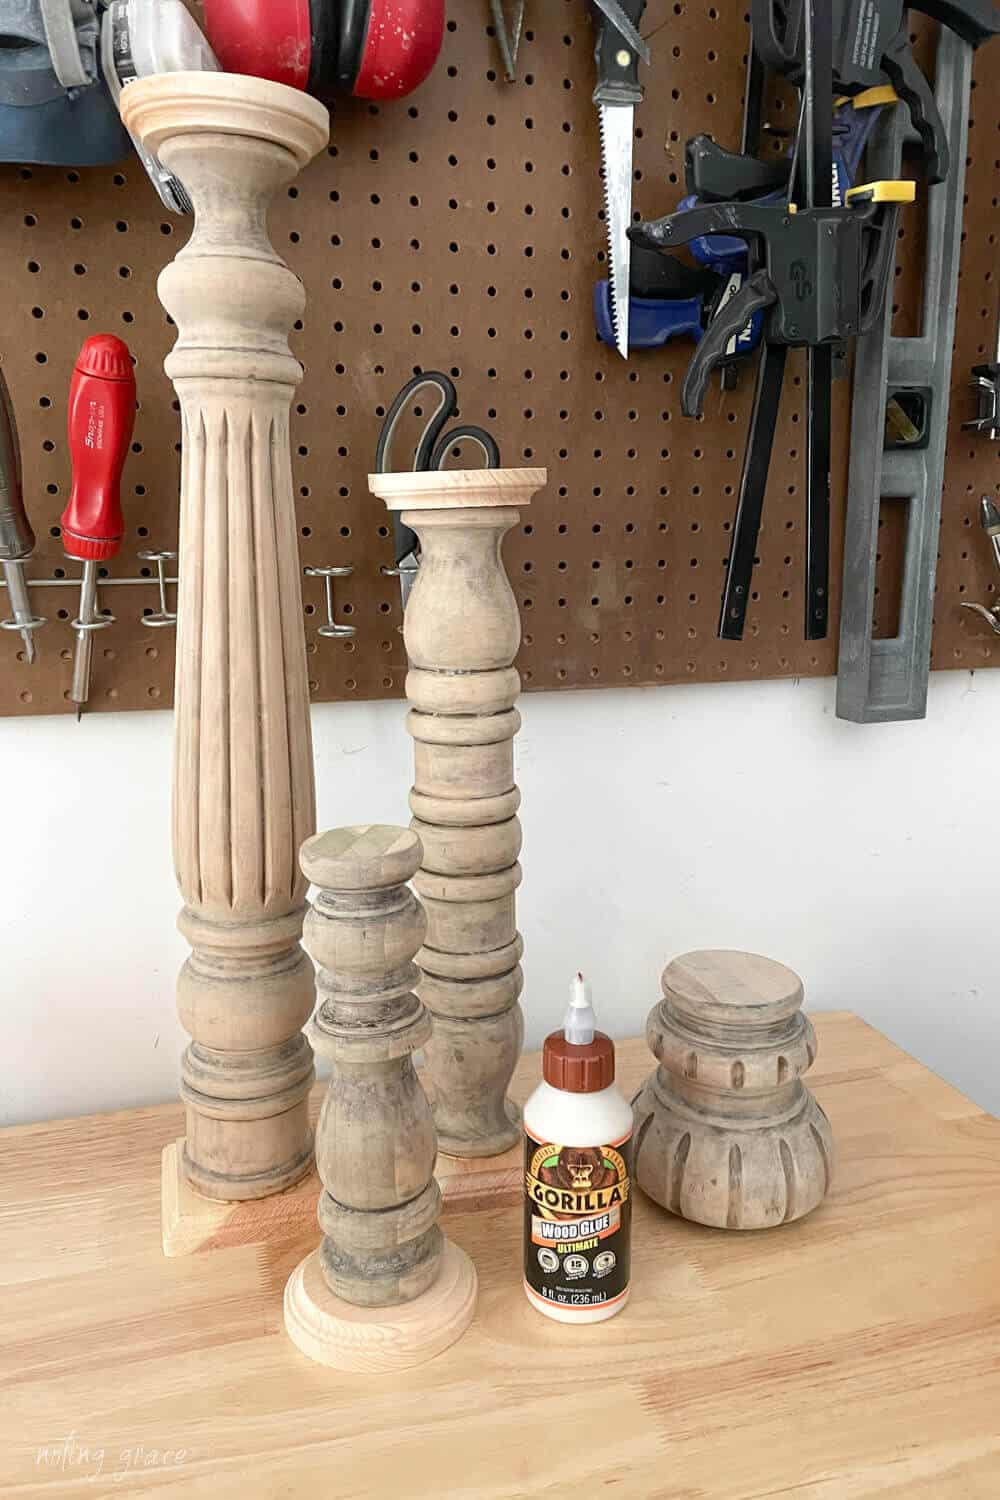
I got some strong wood glue and attached round and square bases to each spindle.
This Gorilla Wood Glue Ultimate is the best!
You can see that the new wood doesn’t match the old wood.
So, after they dried overnight, I took them inside to add some antique glaze to the bases.
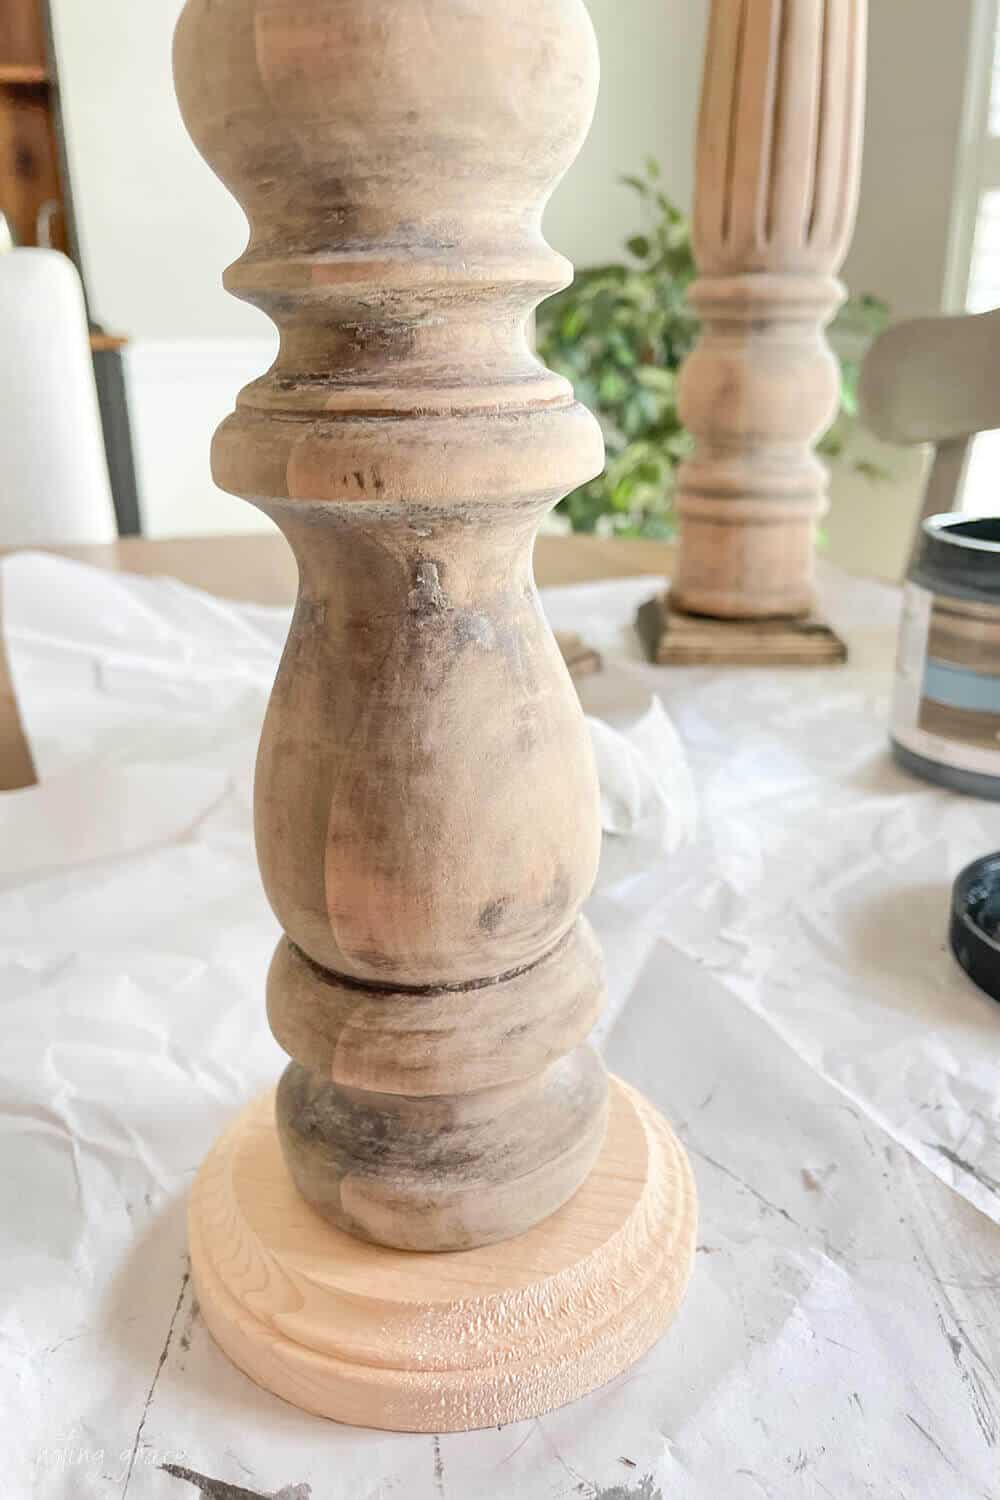
I have some old antiquing glaze, but you can find a similar kind here.
I added a small splash of water and focused only on the bases.
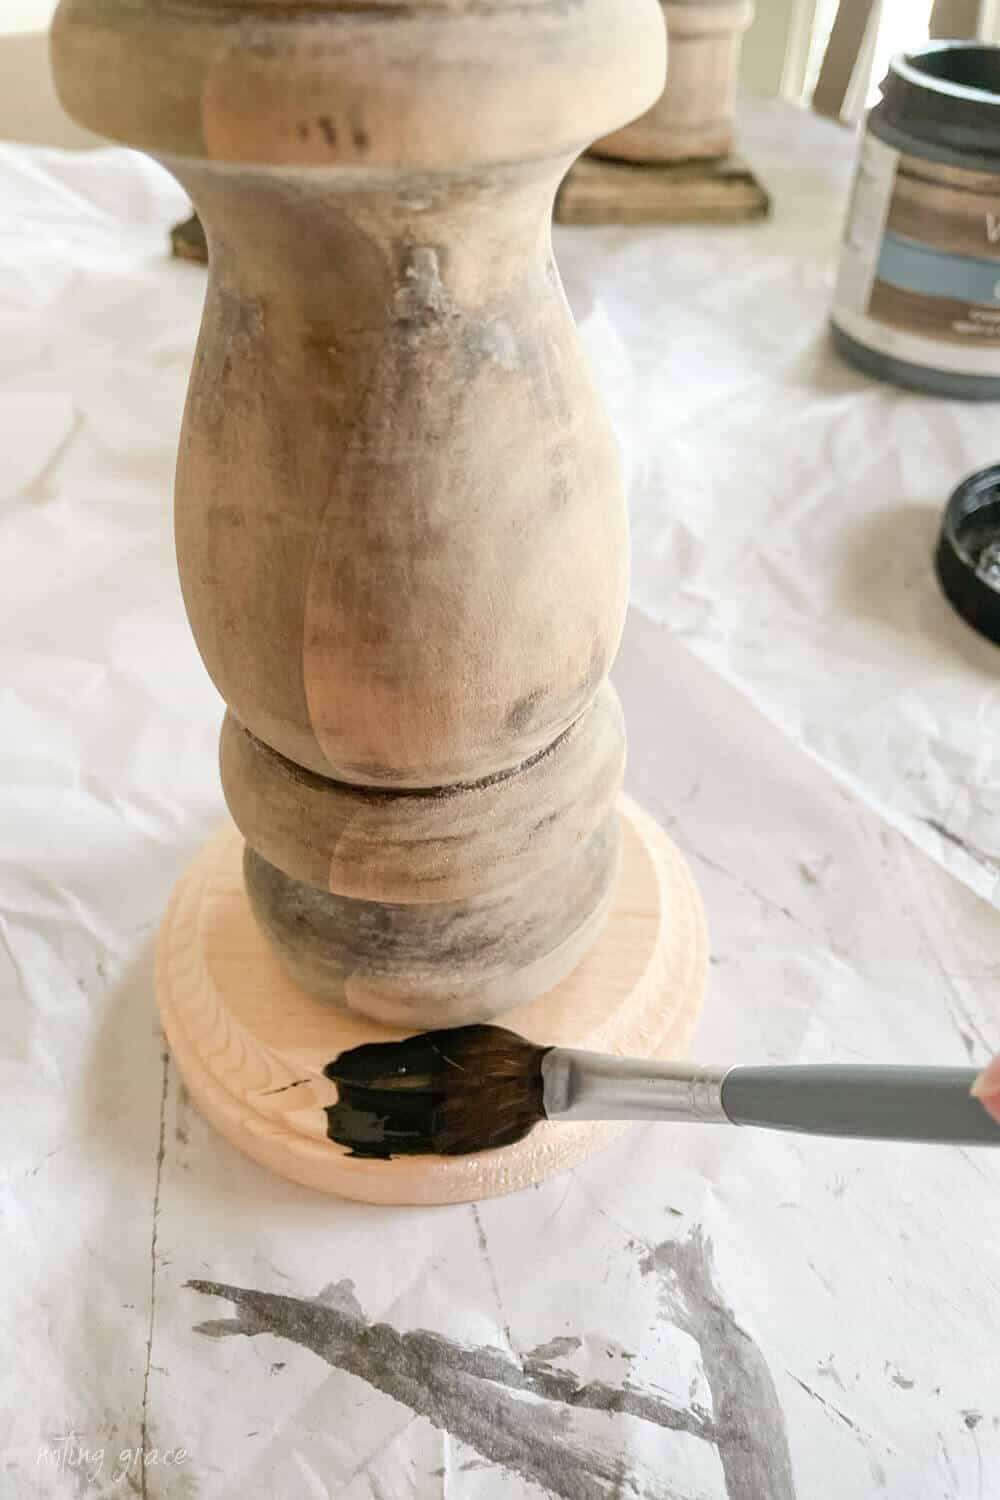
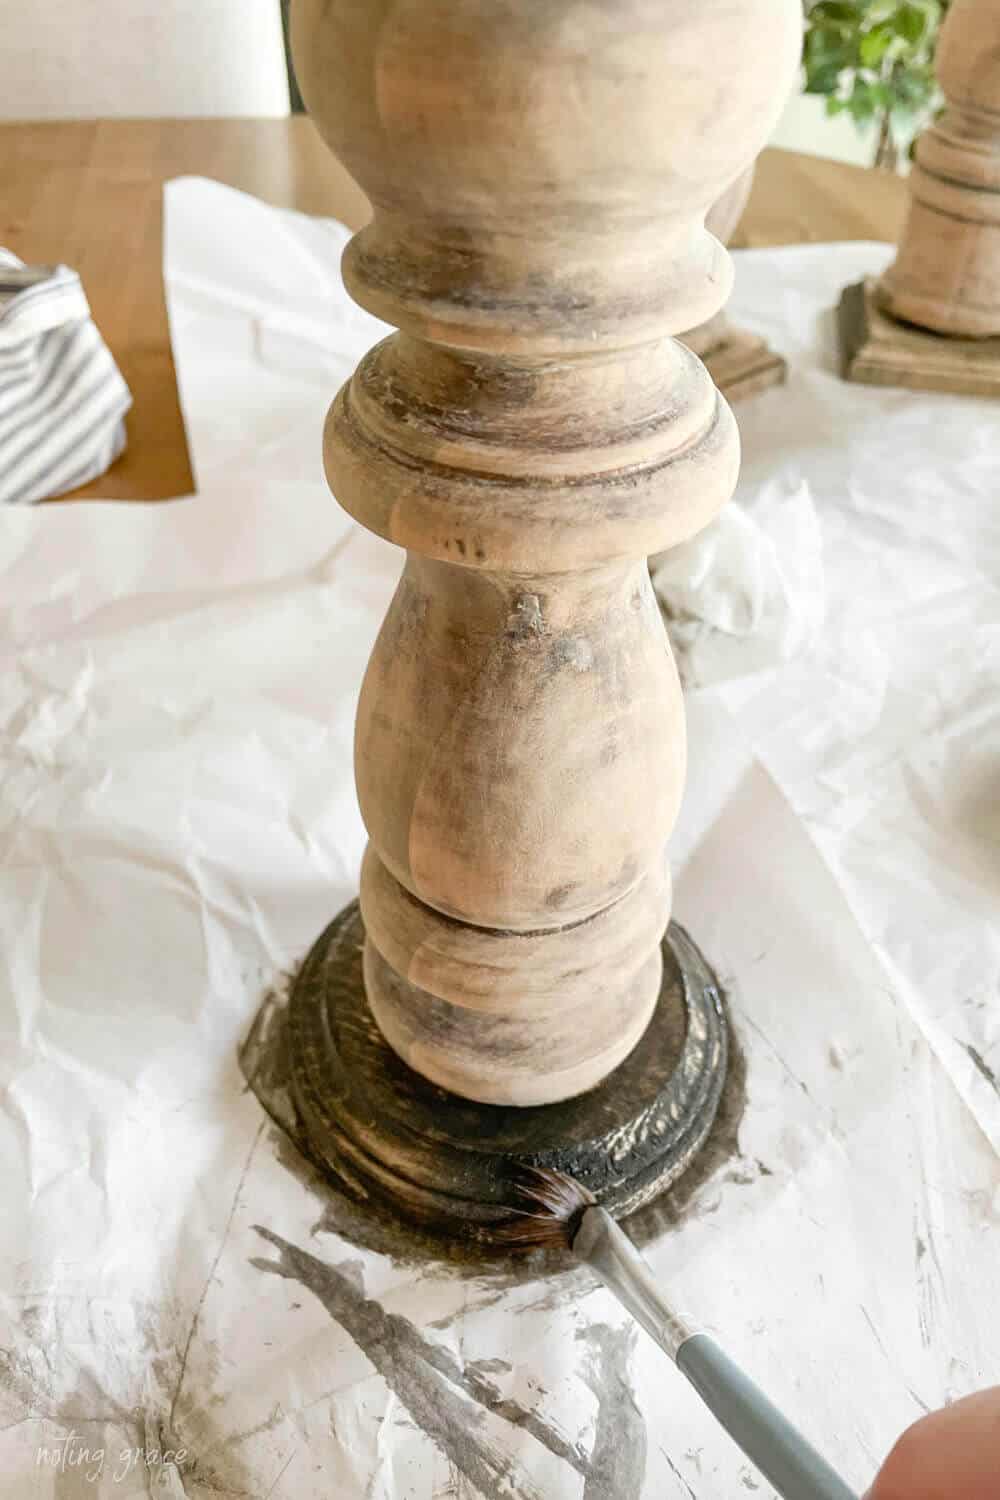
Once it’s fully covered, I took some paper towels and wiped any excess away.
Then I left them to dry.
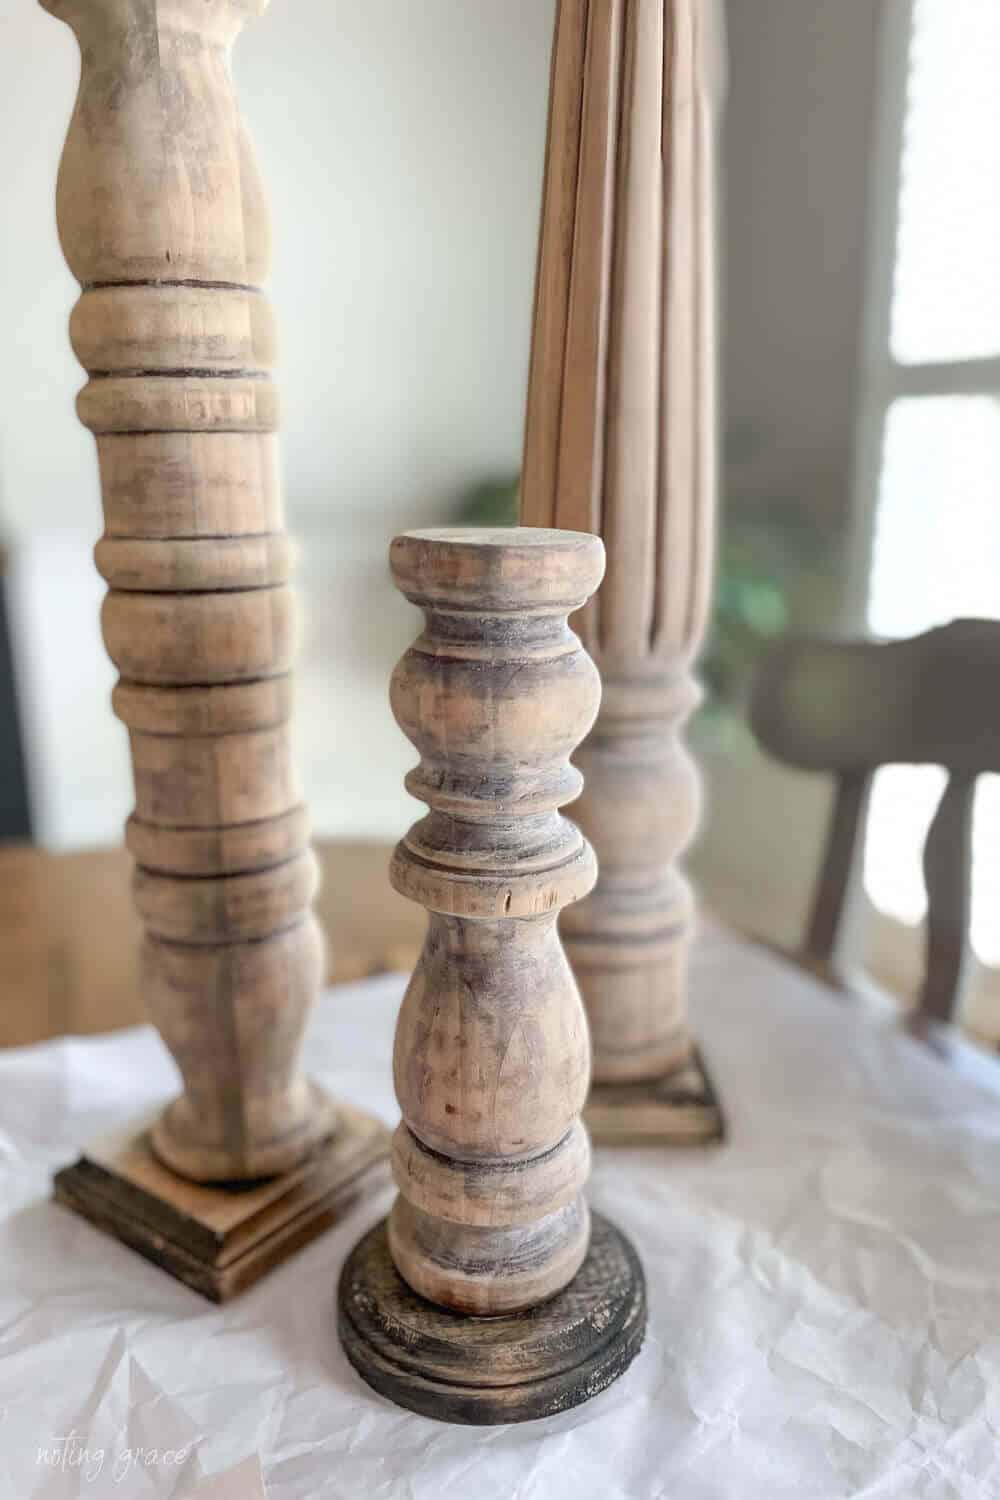
Some pieces of wood picked up the antiquing glaze more than others, but I think it matches the posts nicely.
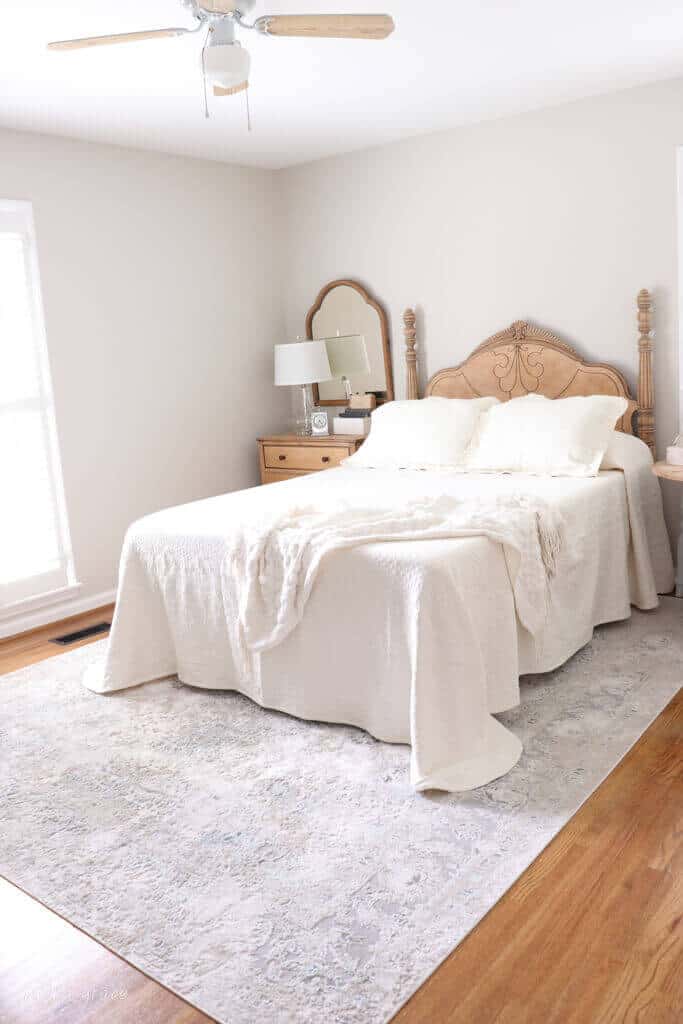
When I started these, I had the perfect place for them to be displayed.

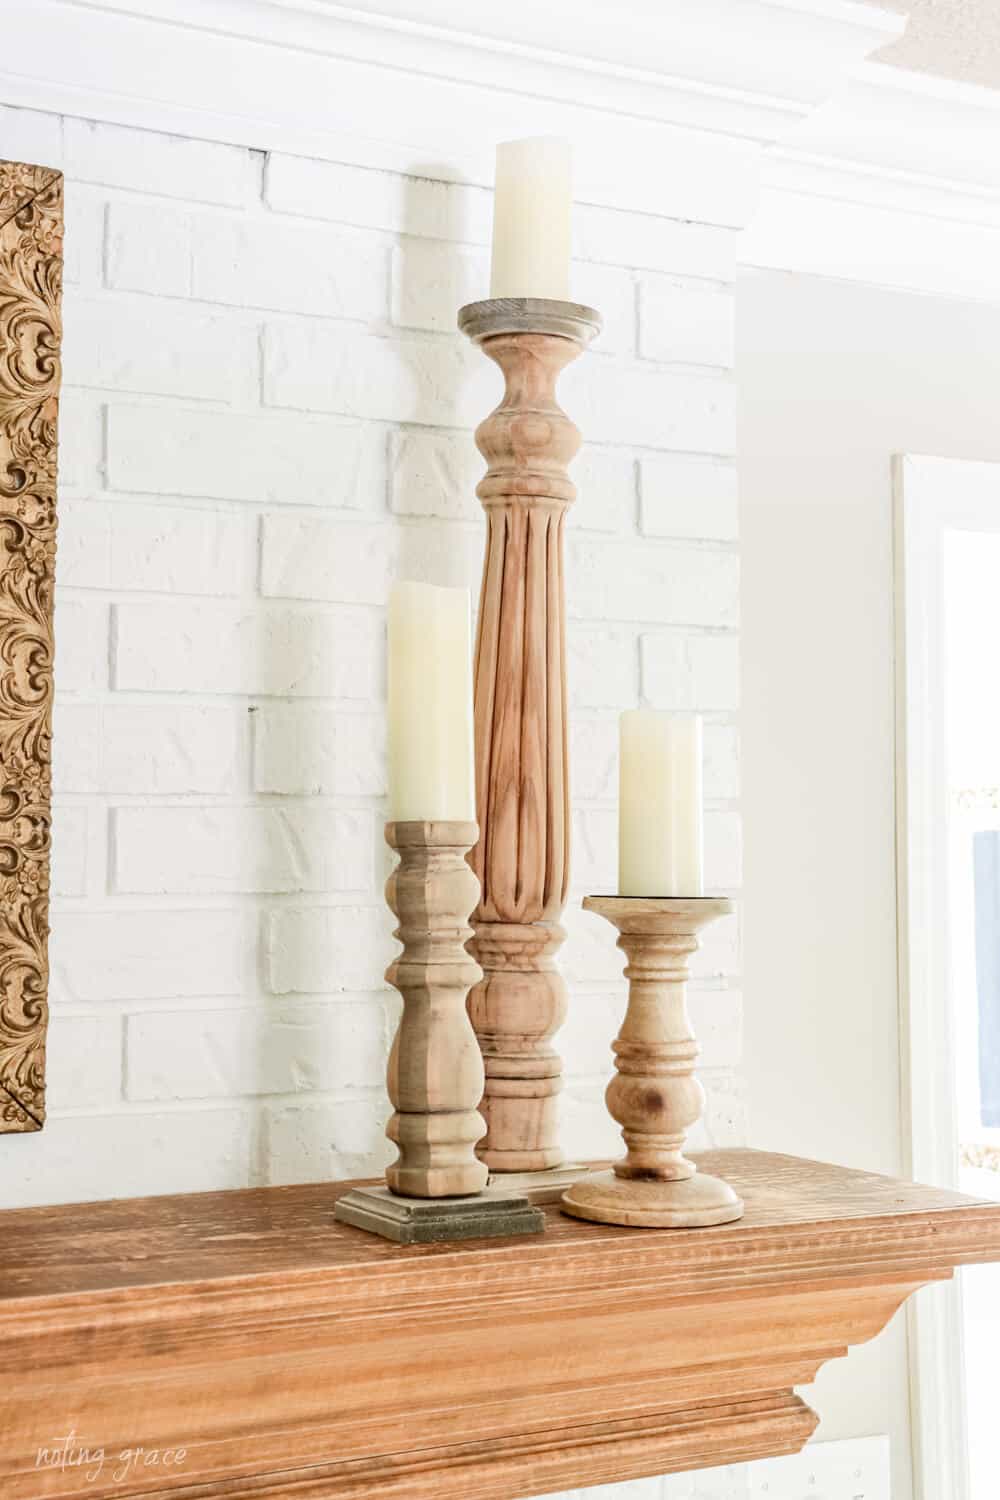
What I love most about these are the different shapes each of them has.
I added some battery operated candles that I found on Amazon.
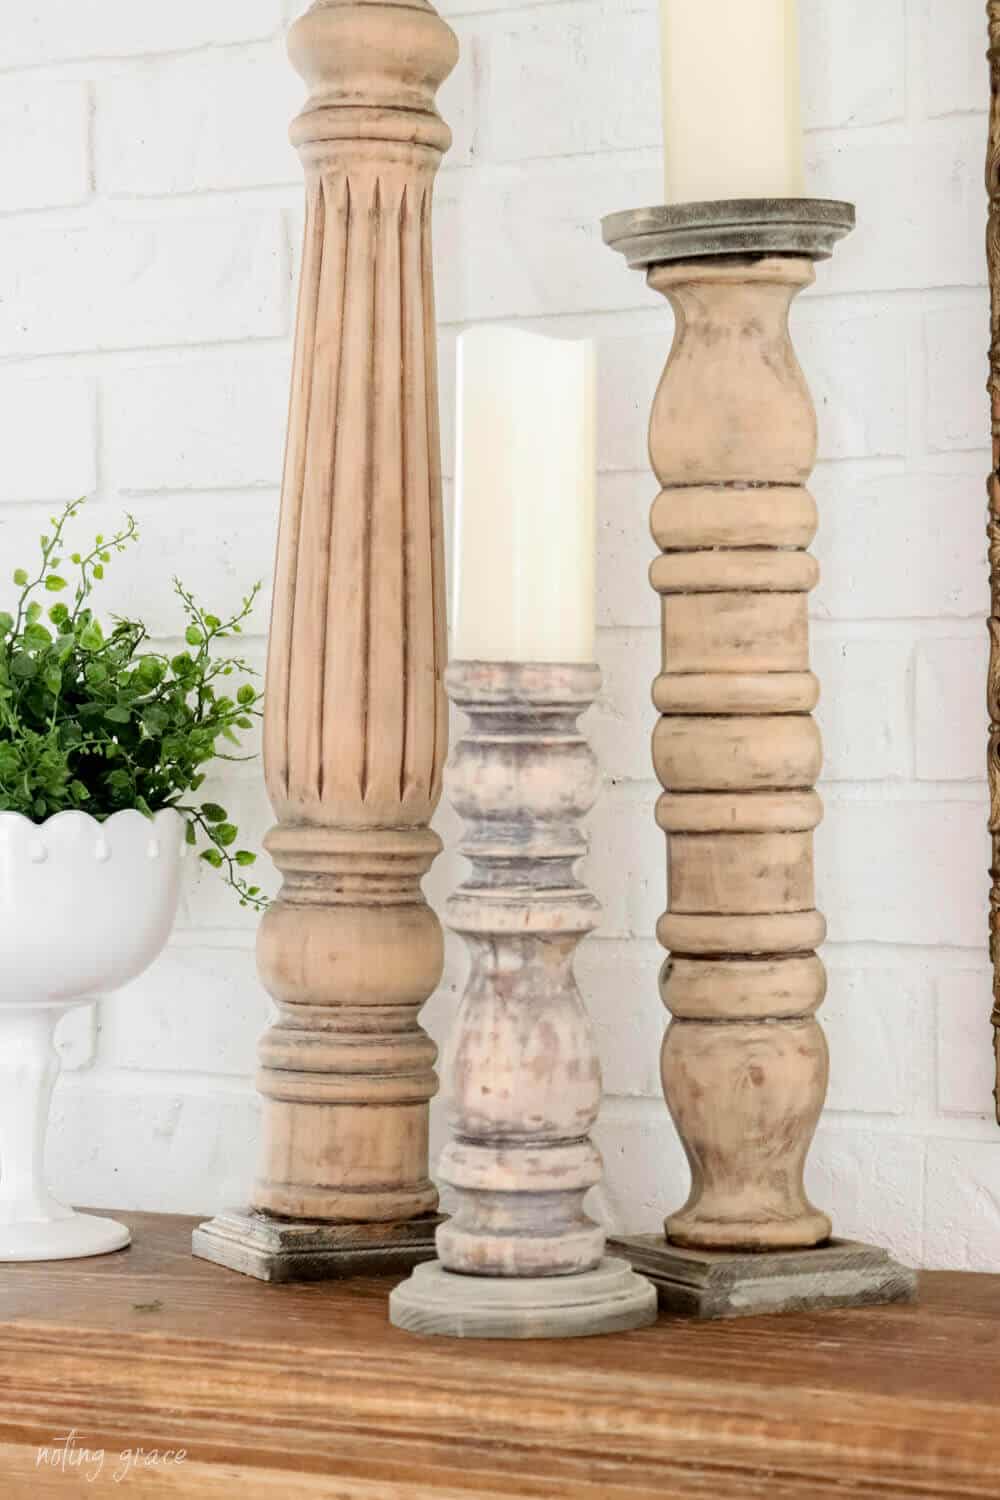
Rustic, simple but still beautiful.
And I love that I was able to repurpose these pieces.
I sanded another piece. One of the feet from the posts.
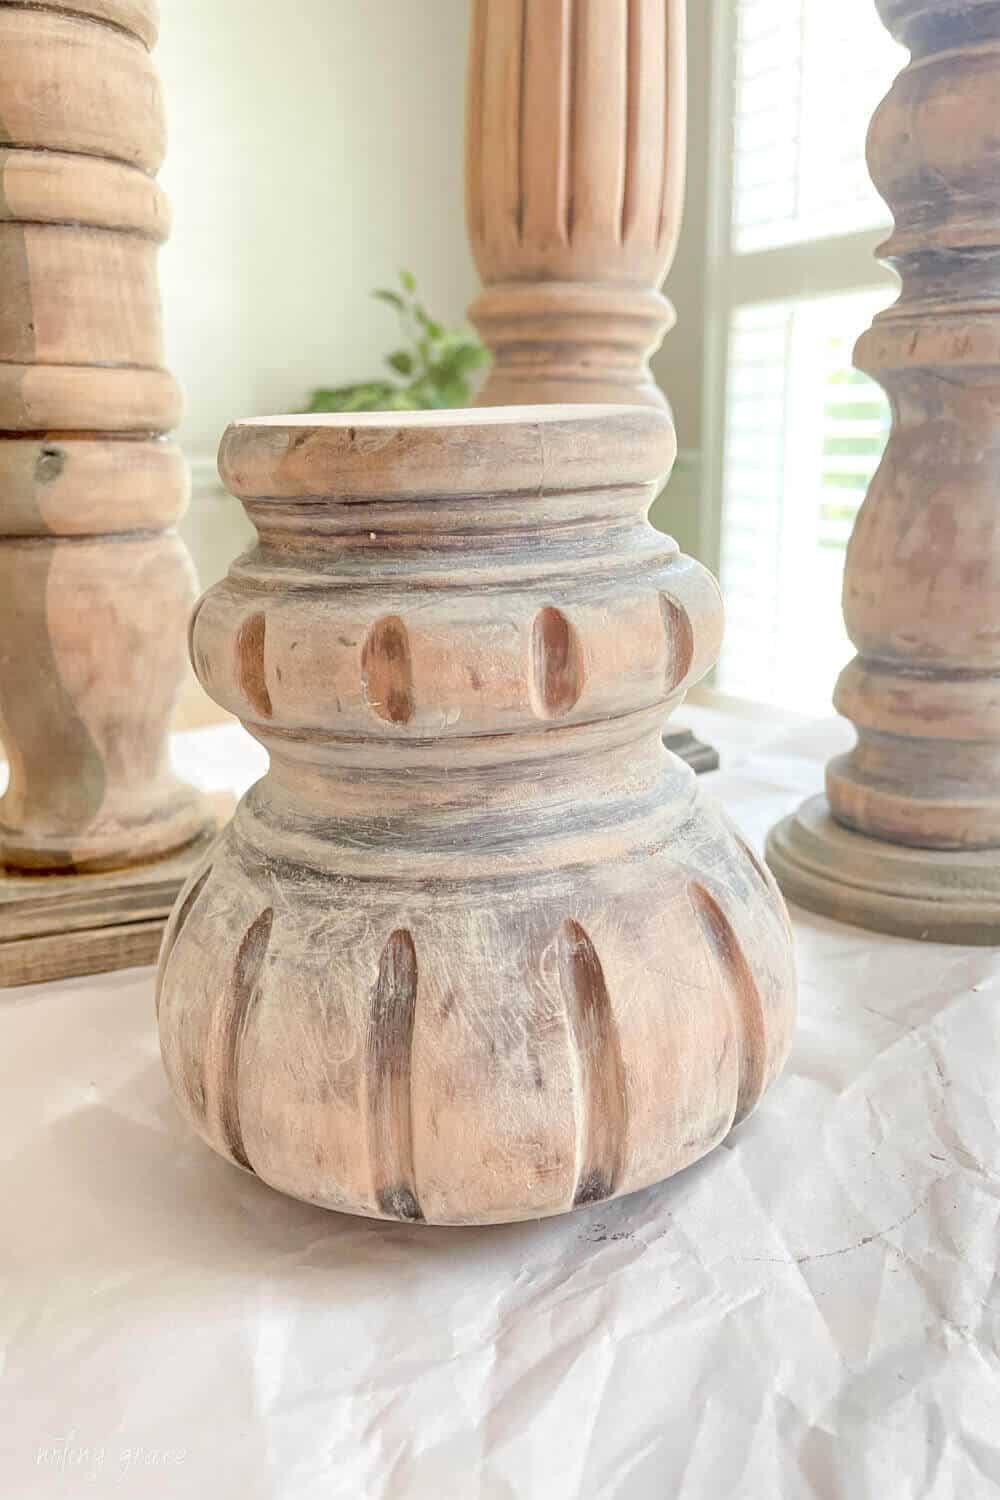
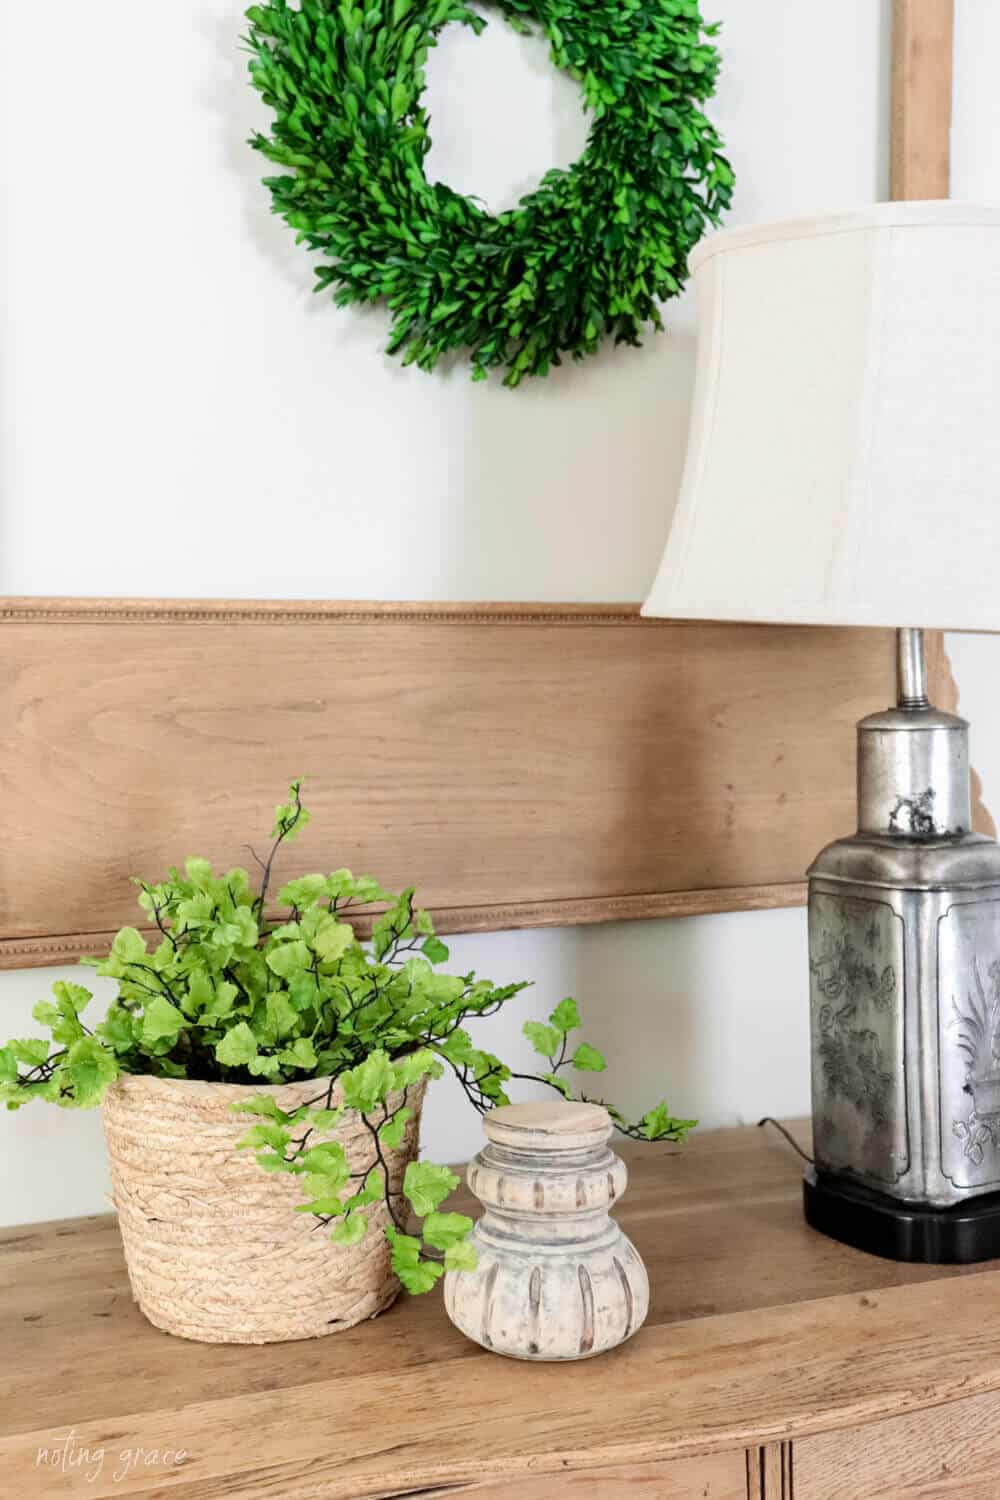
It’s a great architectural piece to a tabletop.
I displayed mine opposite my fireplace on my DIY Unfinished Natural Wood Dresser.
Why You’ll Love This
- It’s a great way to clear out scrap wood from your garage or shed.
- It’s good for the environment because you are repurposing items.
- And it’s so much fun to create a custom item for your home!
There are so many other great ways to repurpose old bedposts. Lamp Finials, curtain rods, you name it! But it you don’t have any bedposts, footboards, table legs or spindles around, you could always search thrift stores for some really cheap.
Or create a search on the marketplace for scrap wood. You never know what you’ll find for diy projects there!
I’m so happy with how these turned out and am contemplating our next project. But that’s the fun of doing DIYs, right?
What’s your next project? Did this inspire your decorating? I’d love to hear from you!


Ooh – I bet those will be pretty! Glad this inspired you!
Thanks Jo! So glad you took the time to comment!
Thanks so much Korilyn!
Love your idea for the candlesticks. Thanks for sharing.
Such beautiful mantel styling! I love the tone of wood with the pop of green! Thanks for the inspo!
These turned out great! So nice!
I recently bought four table legs from an estate sale and will use this post for some much needed guidance when I makeover them.