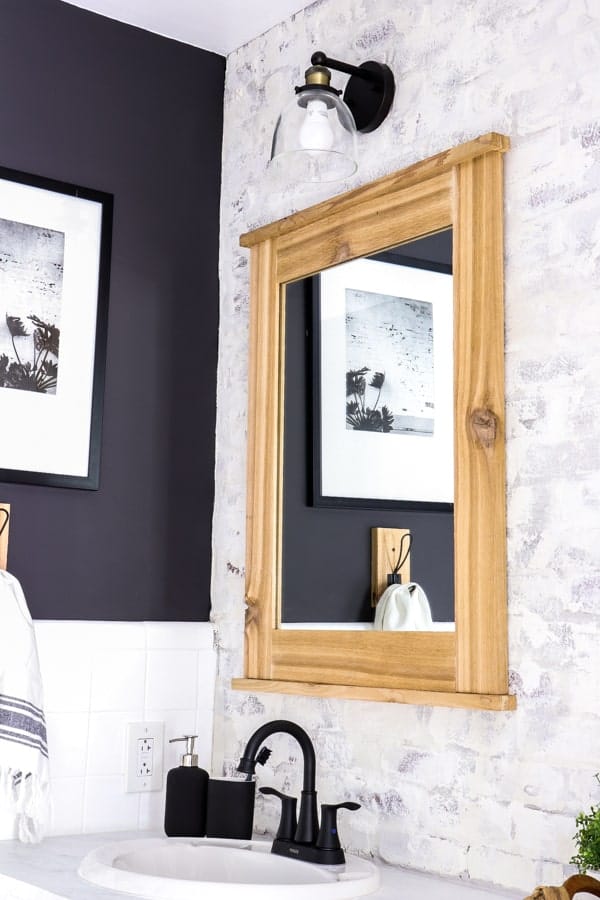
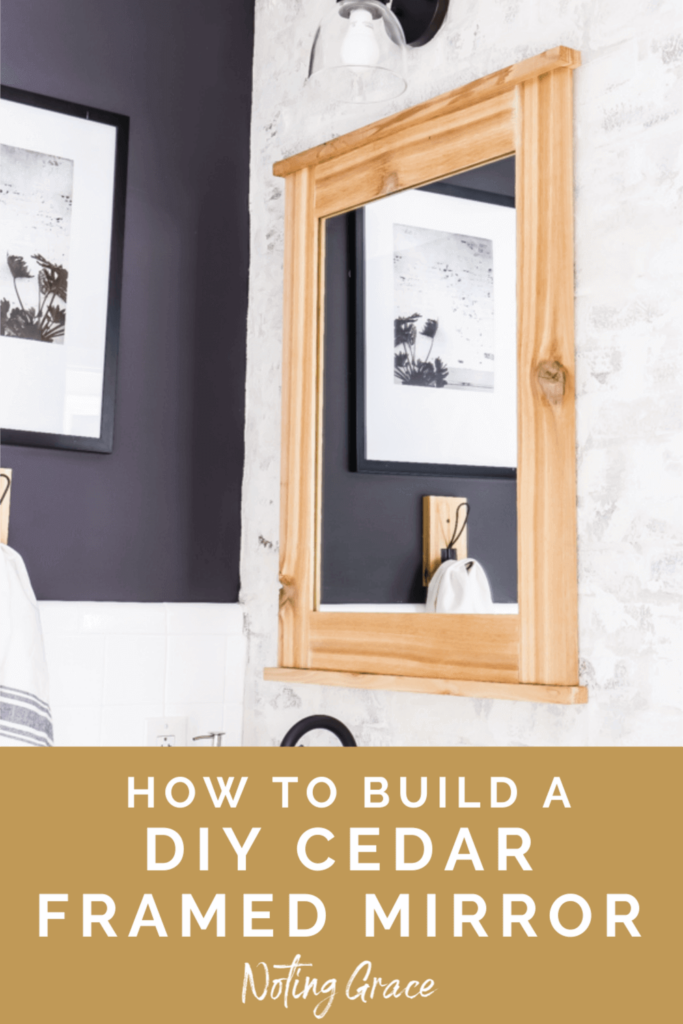
DIY Cedar Framed Mirror
When we made over our boys bathroom last fall, I wanted the perfect mirrors for this space. Here’s how we made a DIY Cedar Framed Mirror for each sink!
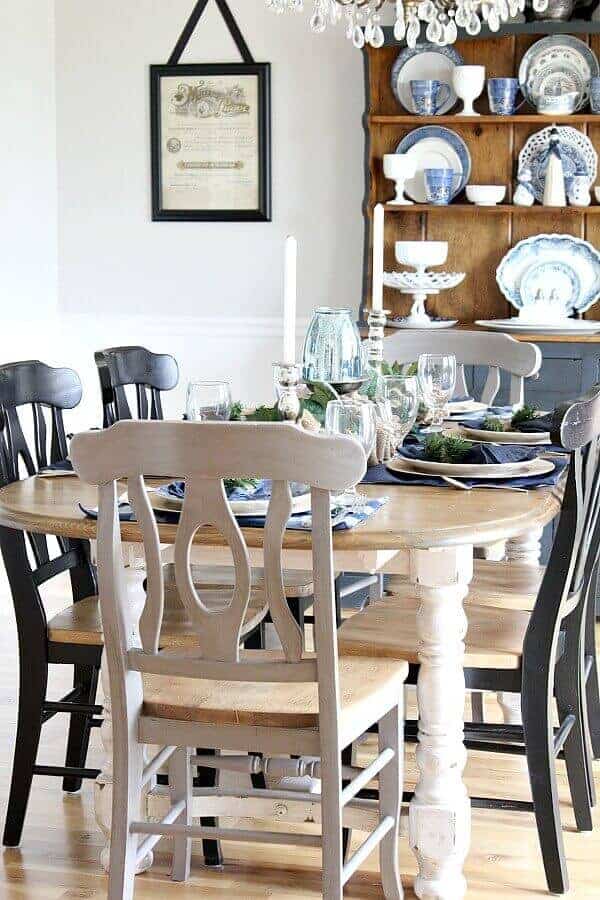
It’s been 5 months since we renovated this bathroom for our boys.
And I still love this bathroom makeover.
It was beautiful, economical, and our boys have really enjoyed it!
But one thing we get asked often either in emails or on social media is where we got those mirrors!
Well, we made them!
Before we installed this brick accent wall, there was a giant builder grade mirror that spanned the wall.
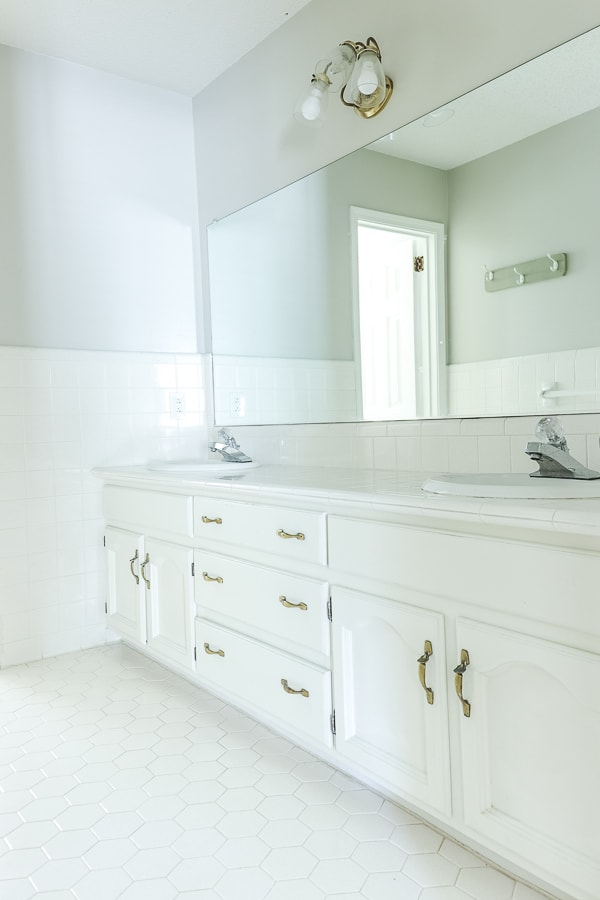
When we took it down, it was this 4 foot by 8 foot ginormous piece of glass.
Storing it was quite the challenge, lemme tell ya!
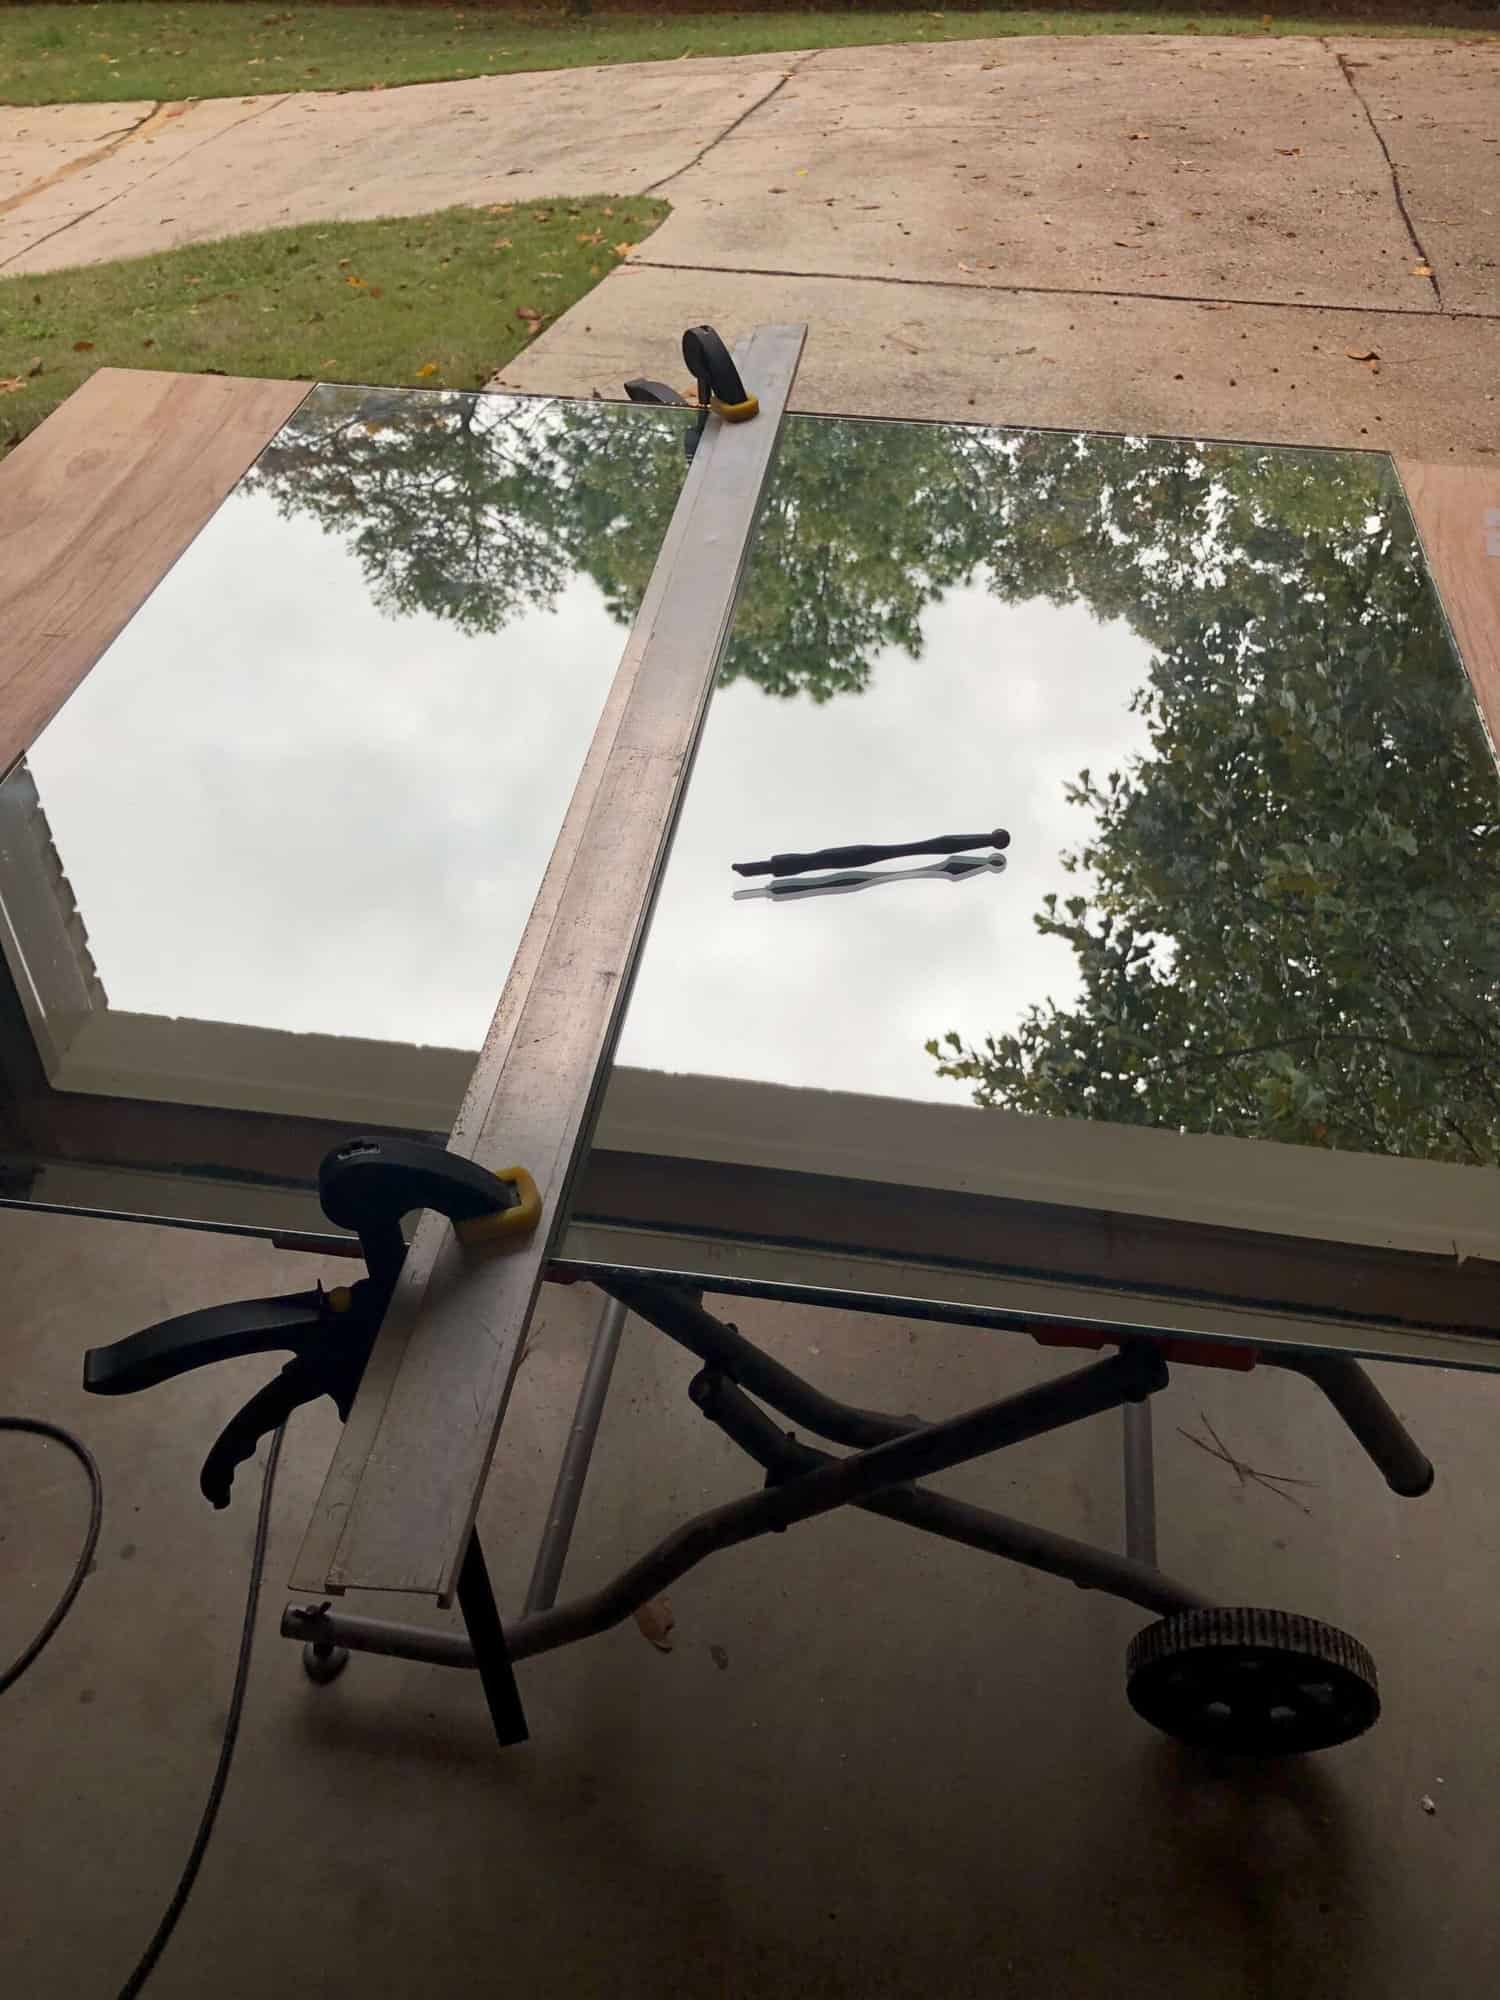
So, we decided to cut it using a glass cutter in order to save on space.
That’s when we had the idea to build our own mirrors for this room!
Here’s how we did it!
DIY Cedar Framed Mirror
When we made over our boys bathroom last fall, I wanted the perfect mirrors for this space. Here's how we made a DIY Cedar Framed Mirror for each sink!
Materials
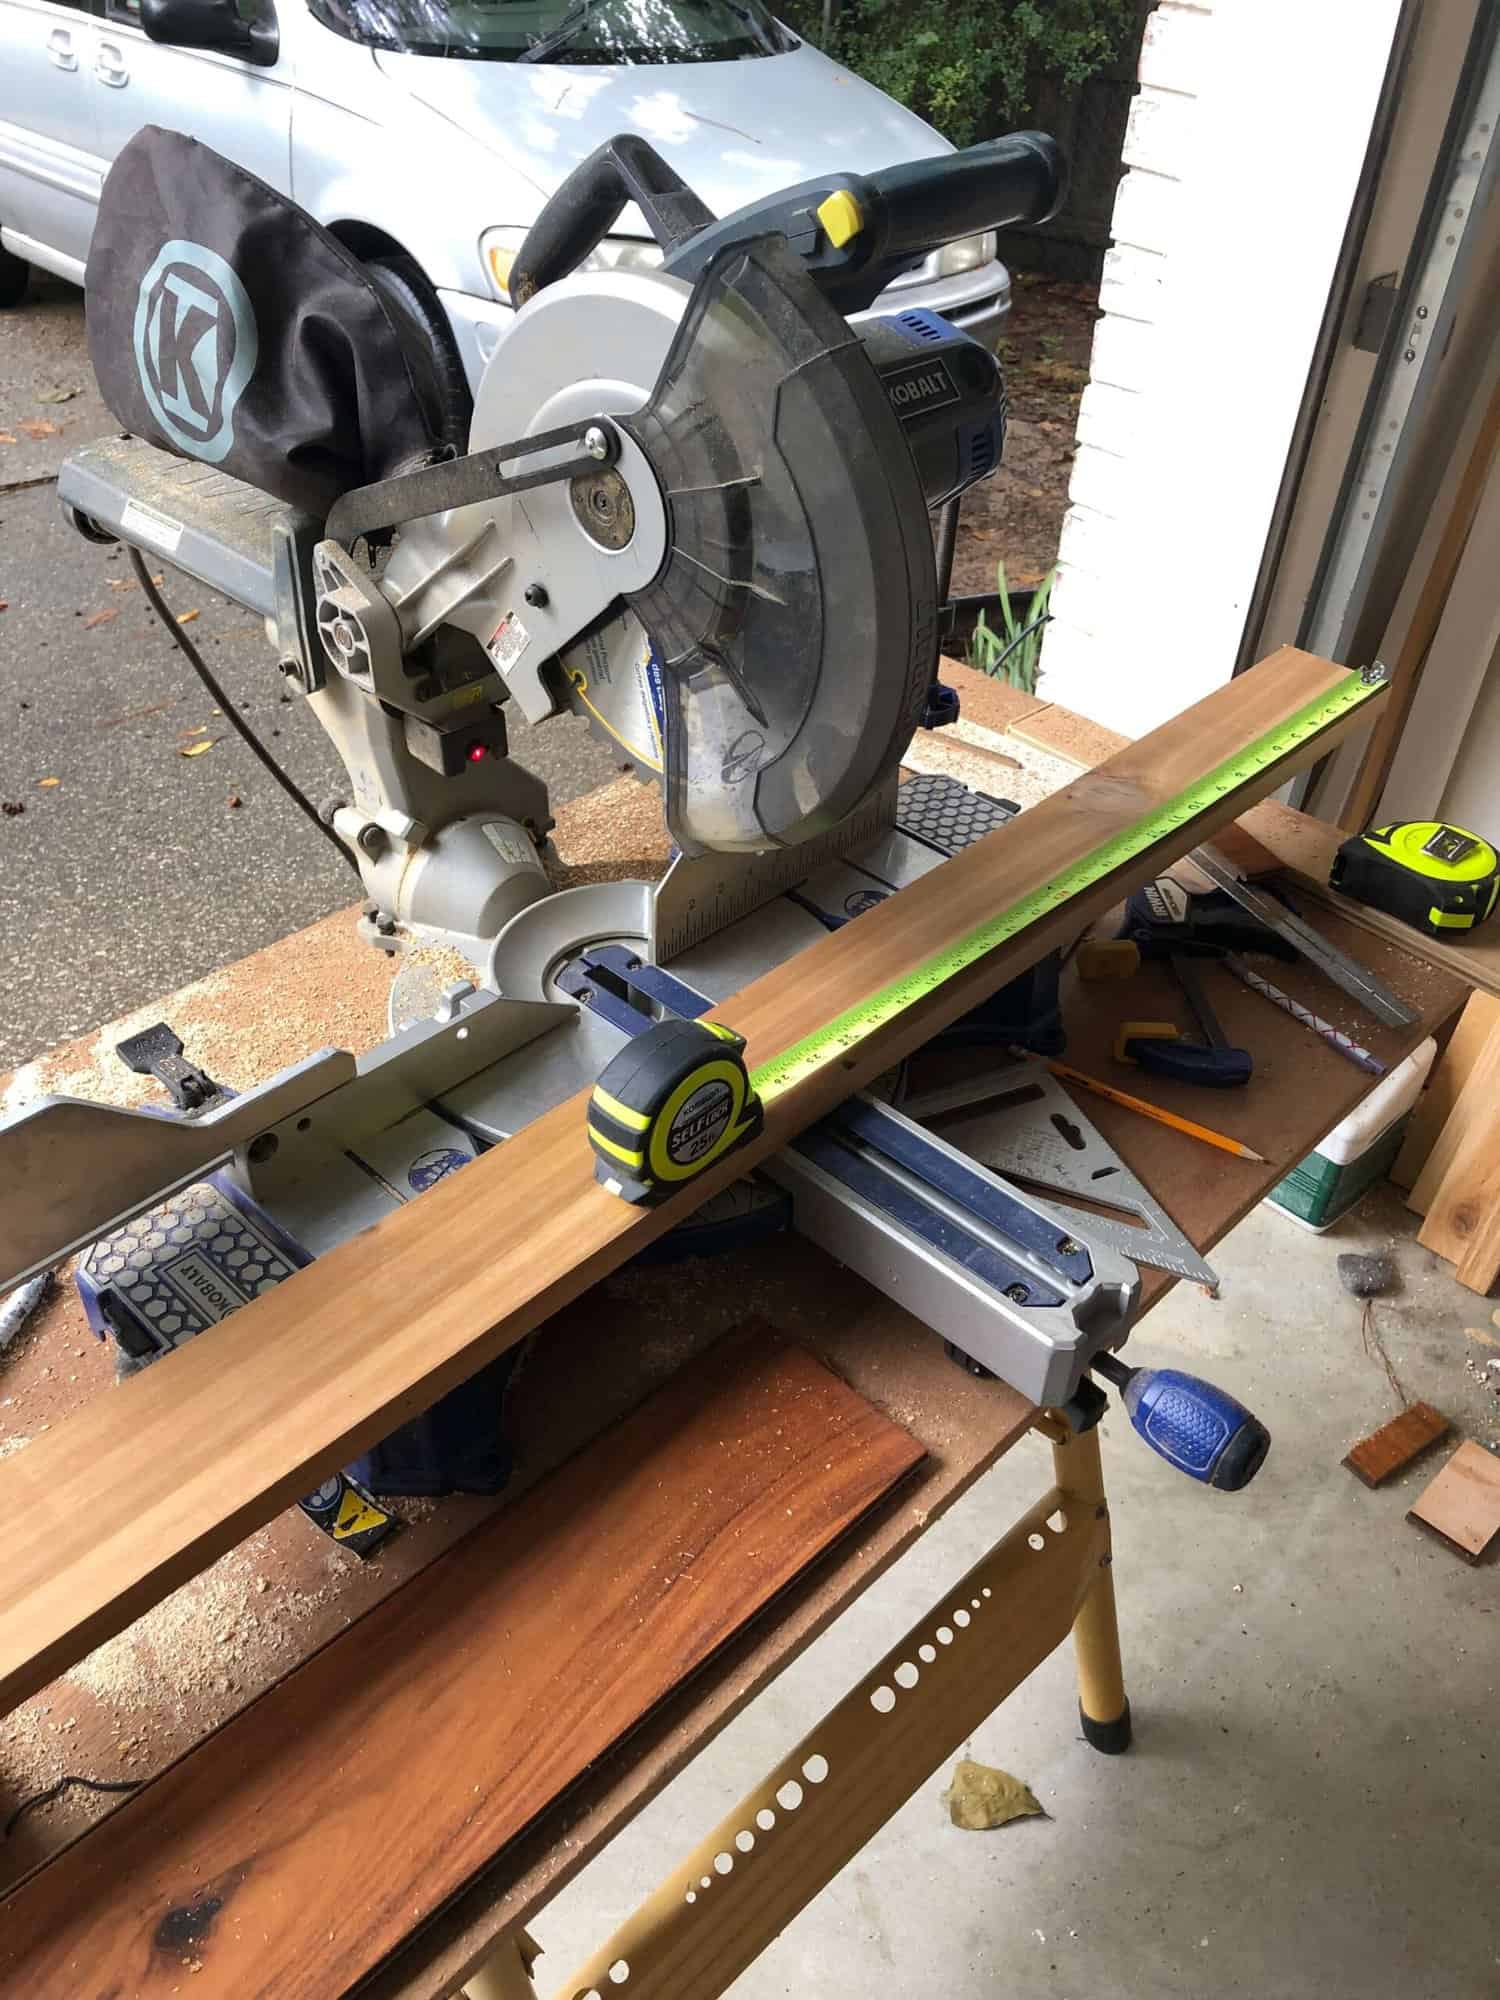
- 1 X 4 inch cedar wood to your length
- 1 X 2 inch cedar wood for trim
- Mirror glass
- Wood Glue
- D- Rings
Instructions

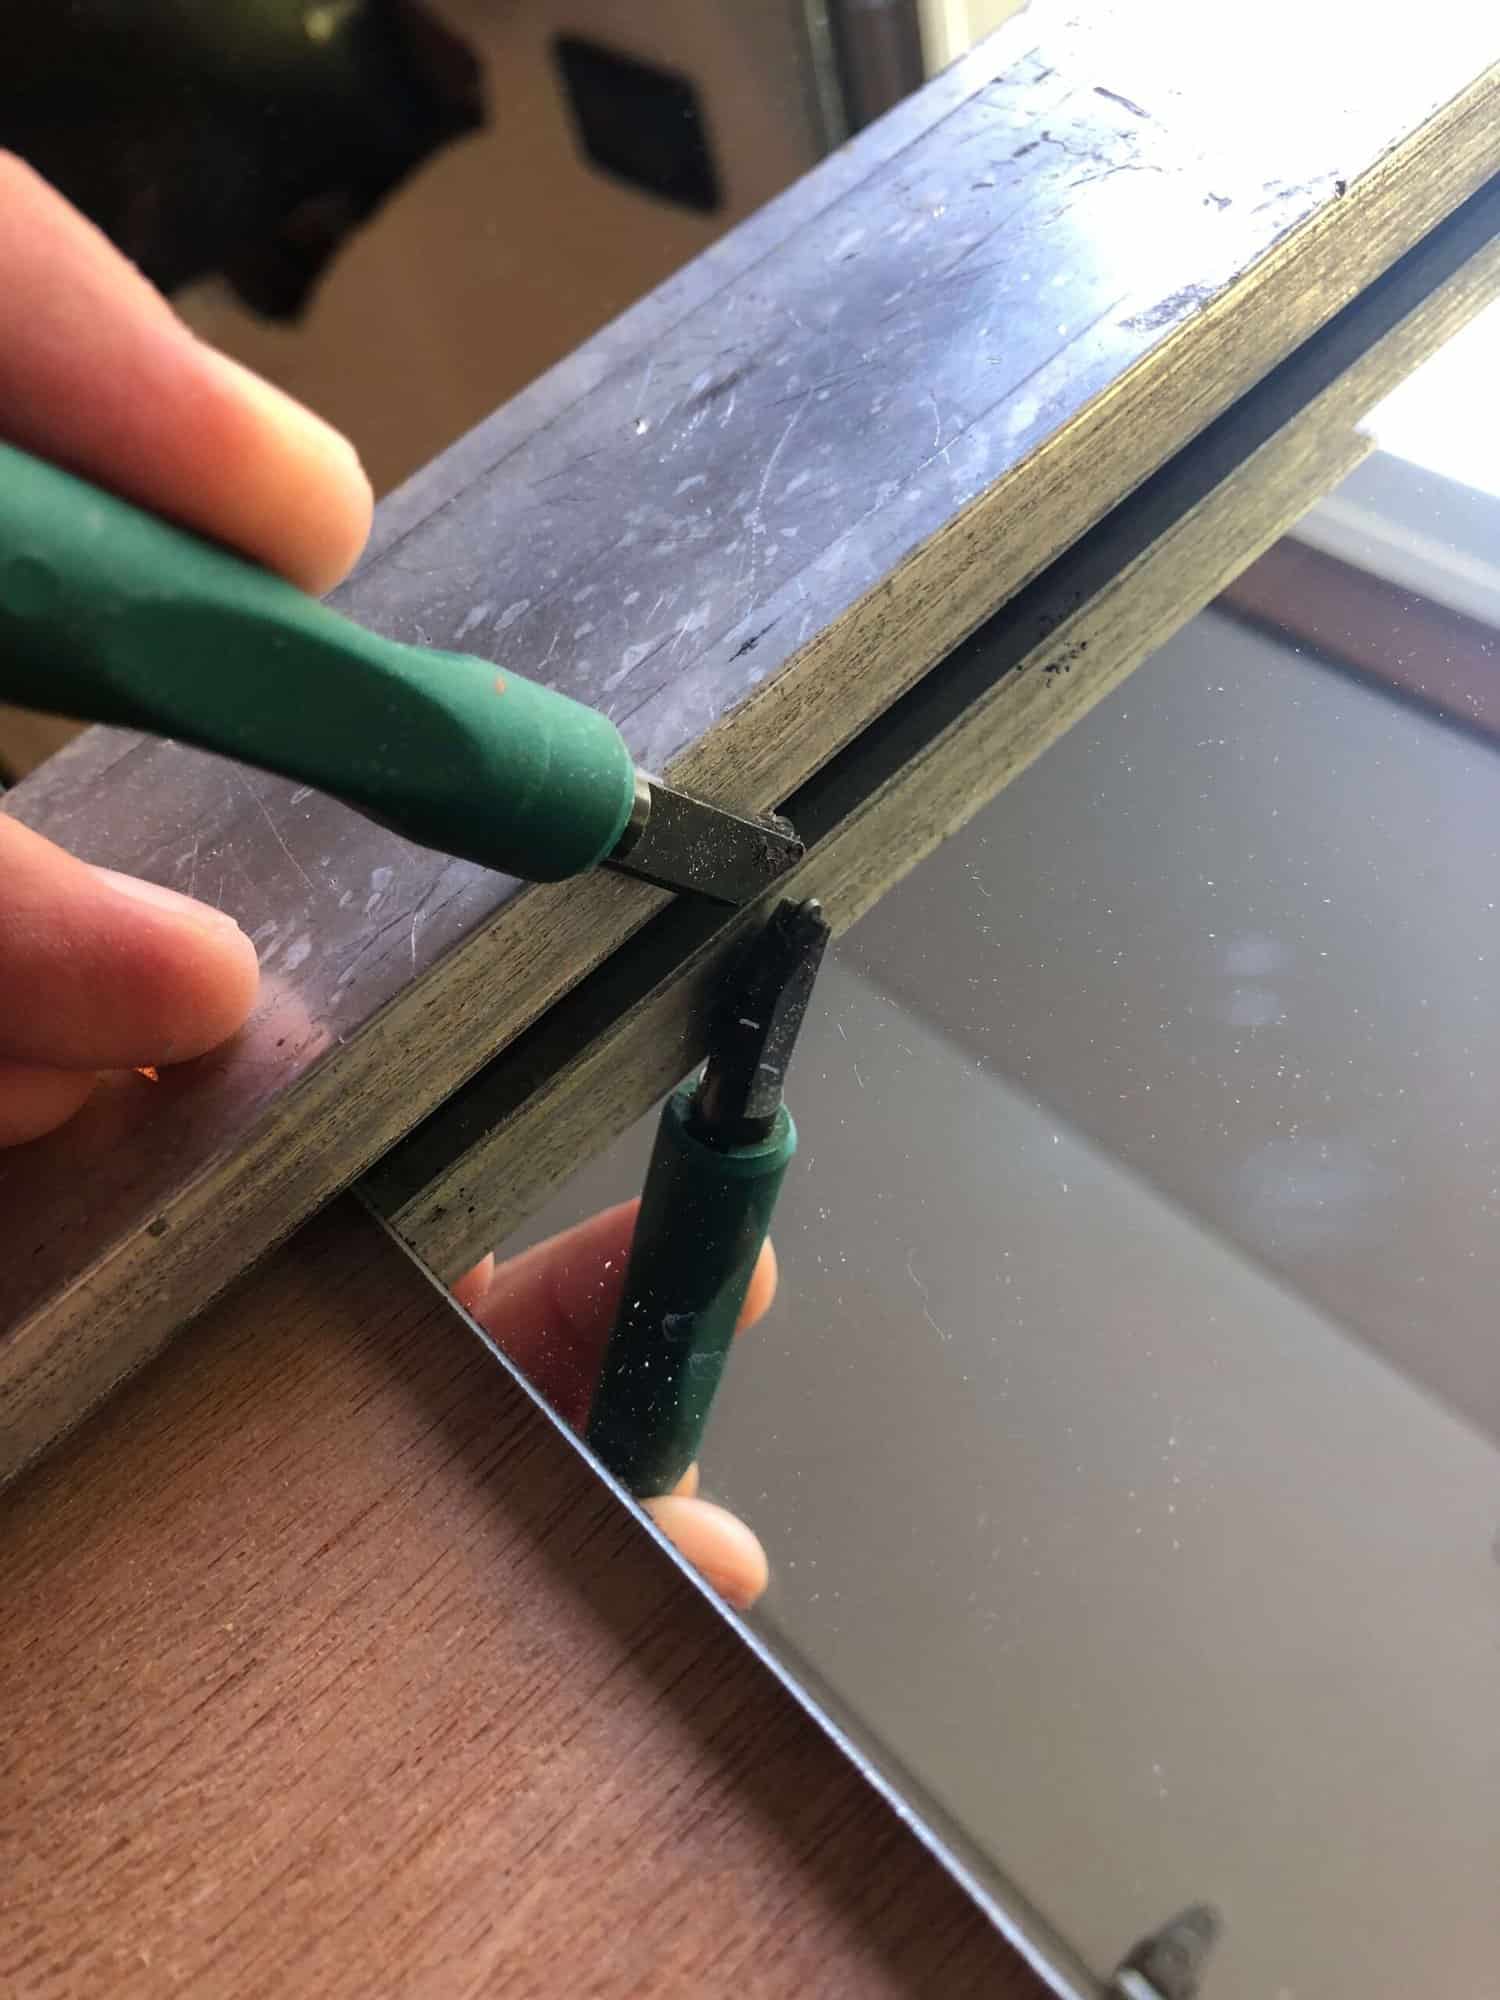
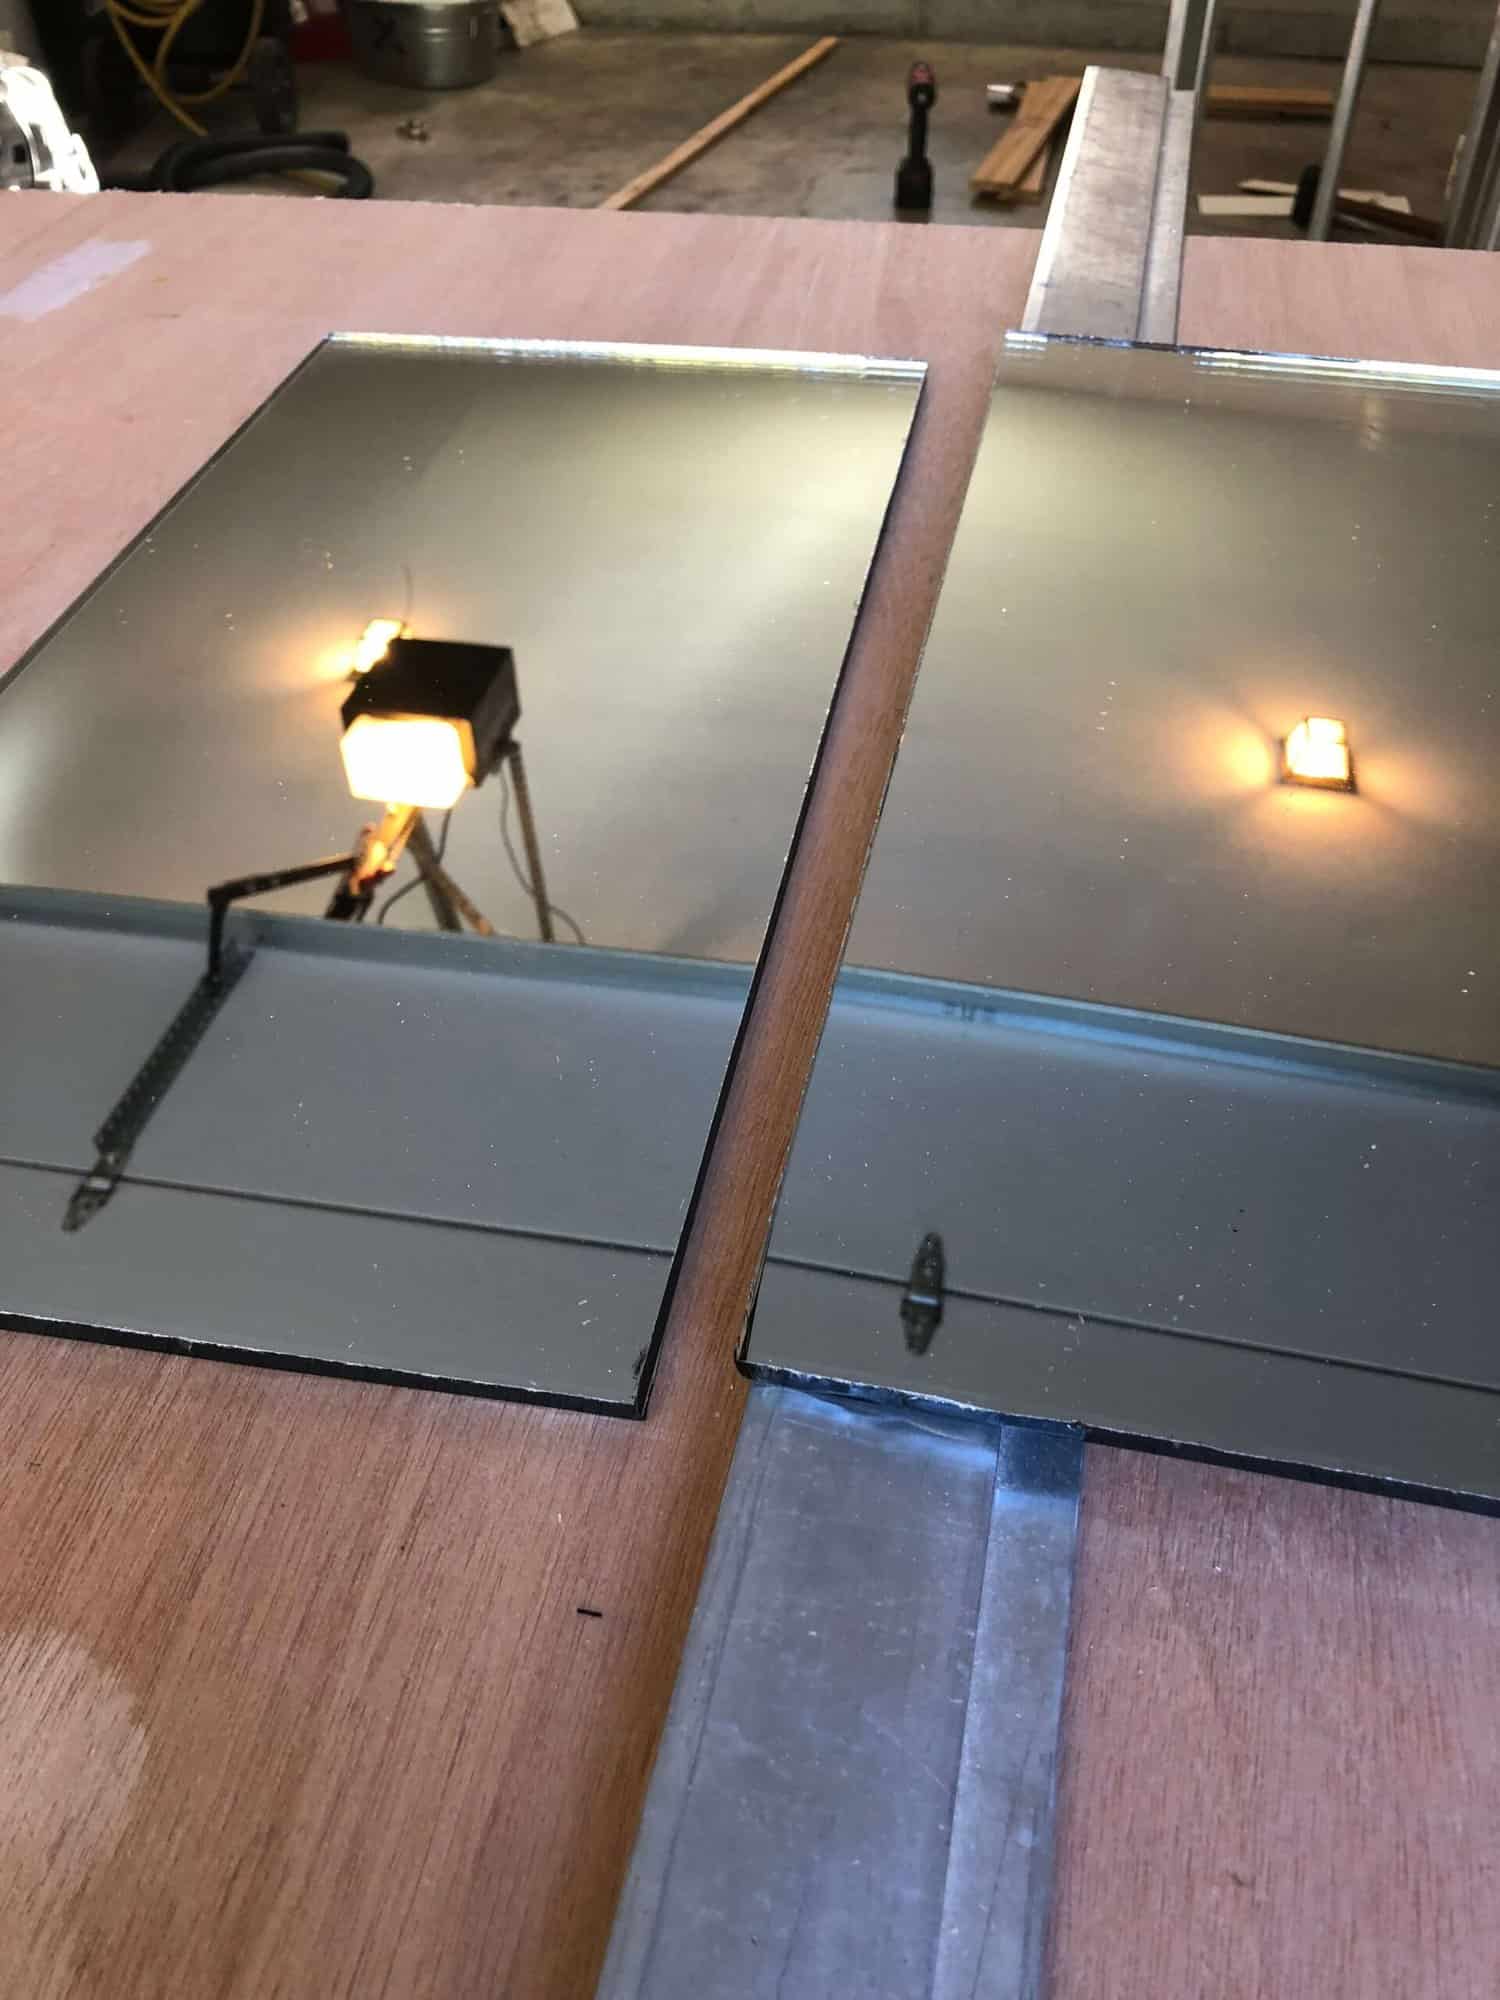
First you want to cut your mirror to size. We used a guide and clamped it to our mirror to help us keep a straight line.
Next, using our glass cutting tool, we scored along the edge. One thing to note is that once you start, you can't stop. Use firm pressure and cut from edge to edge.
You are left with a clean score line.
We set the mirror on the guide to create an edge for the mirror to break apart. Then hit it like you mean it! Using both hands, give her a good whack!
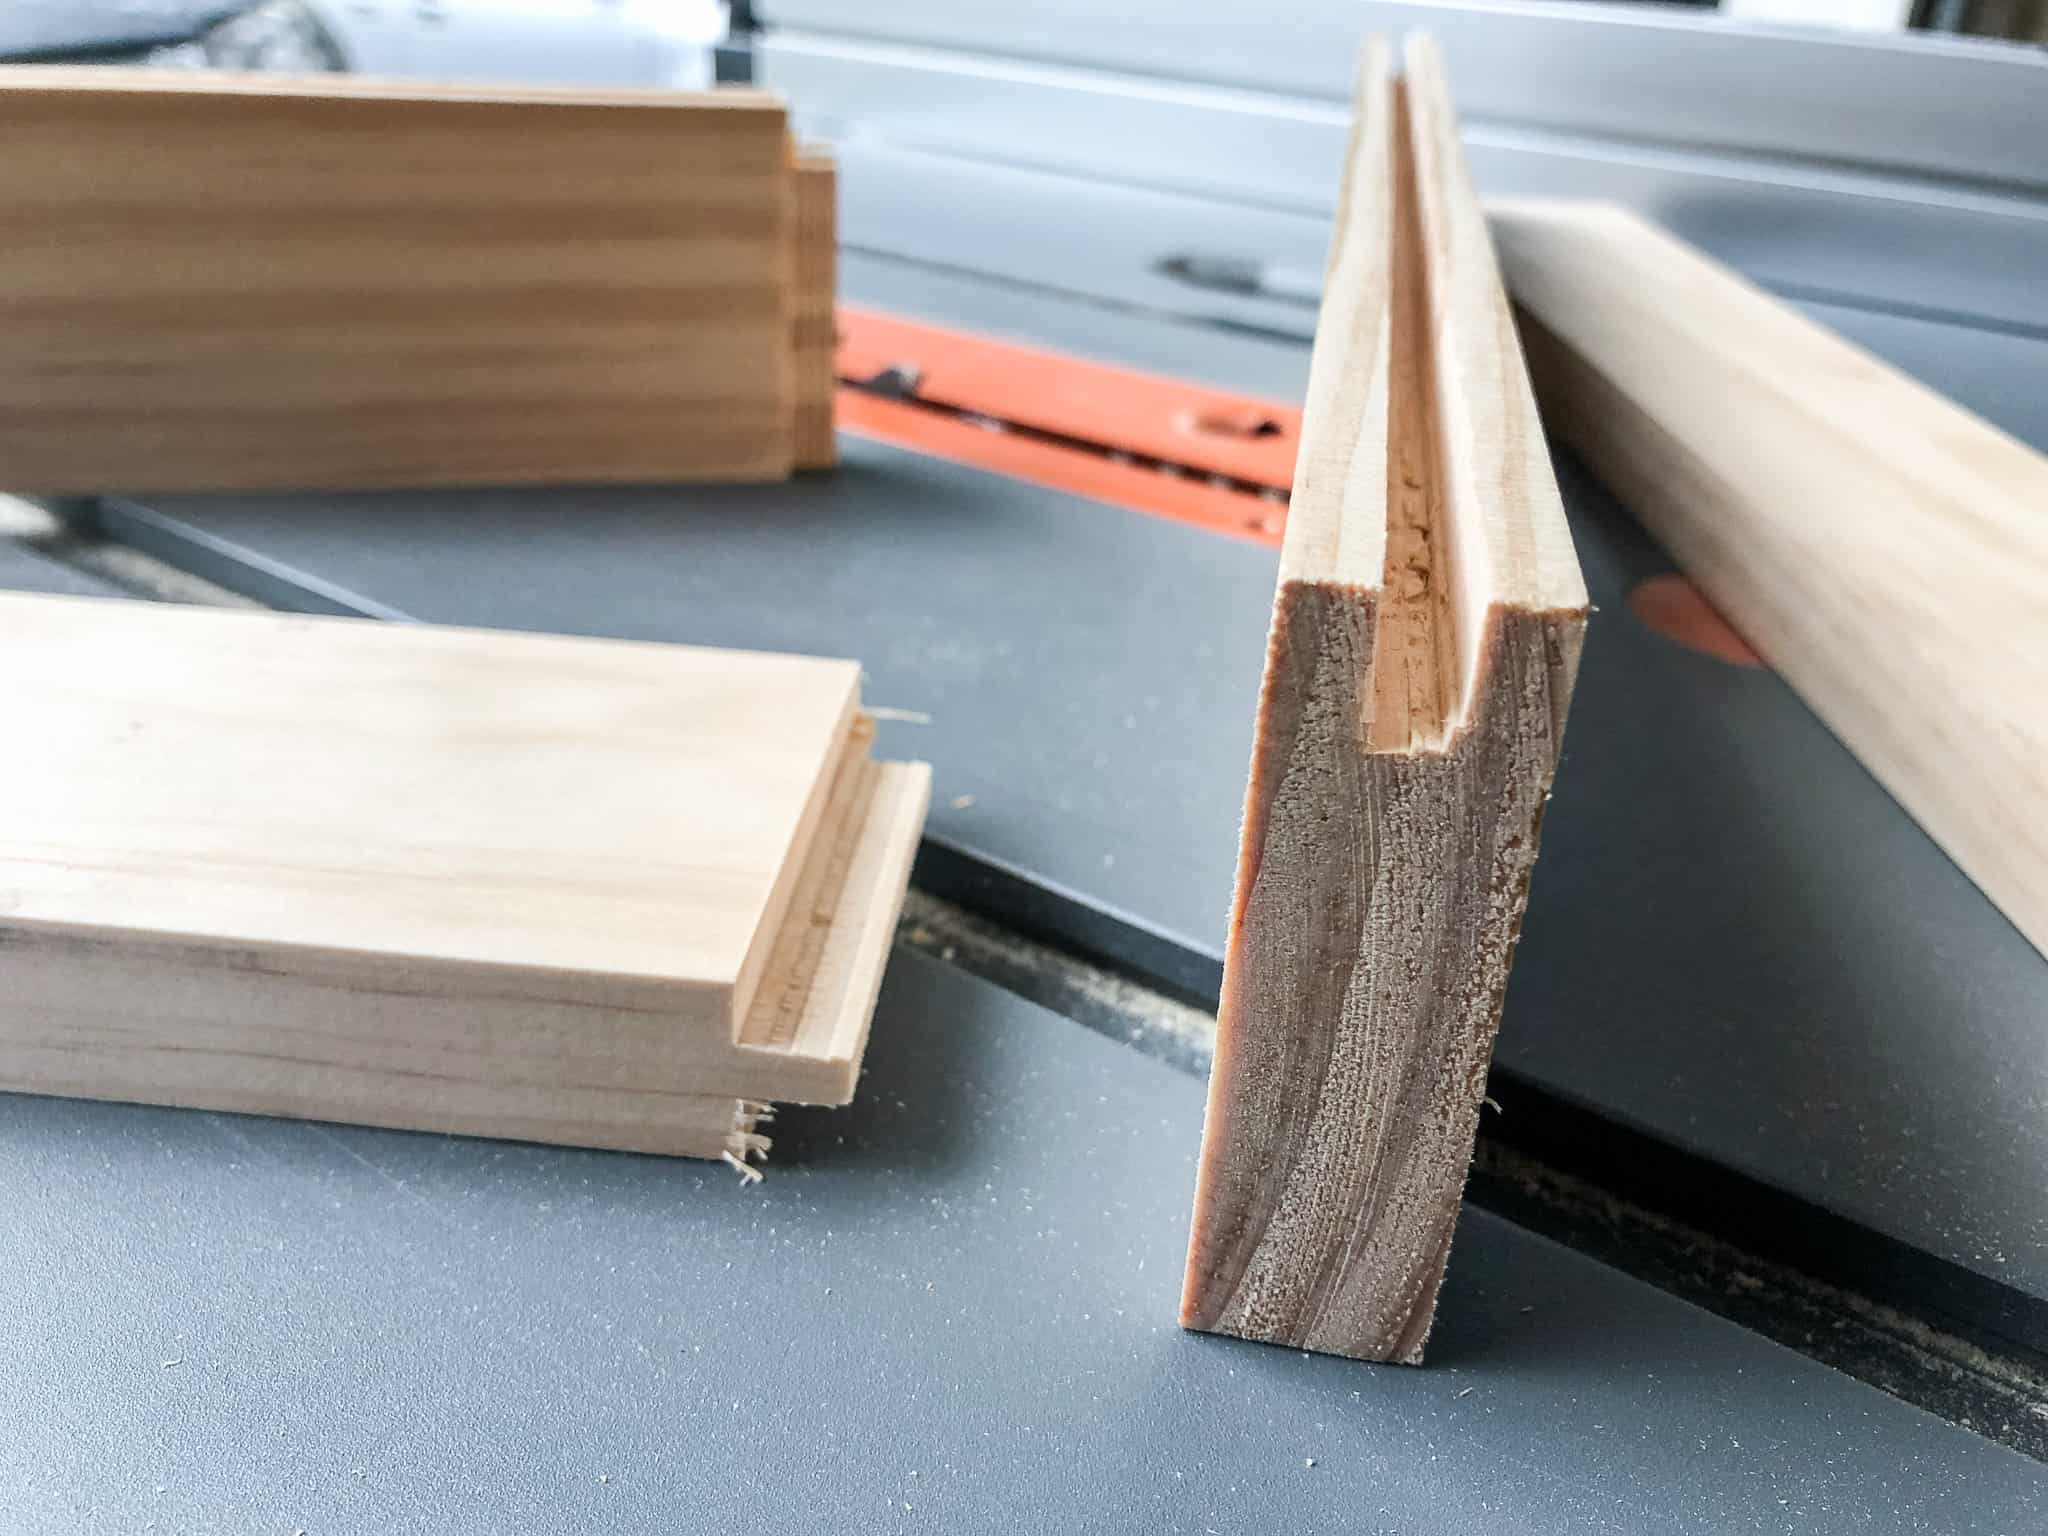
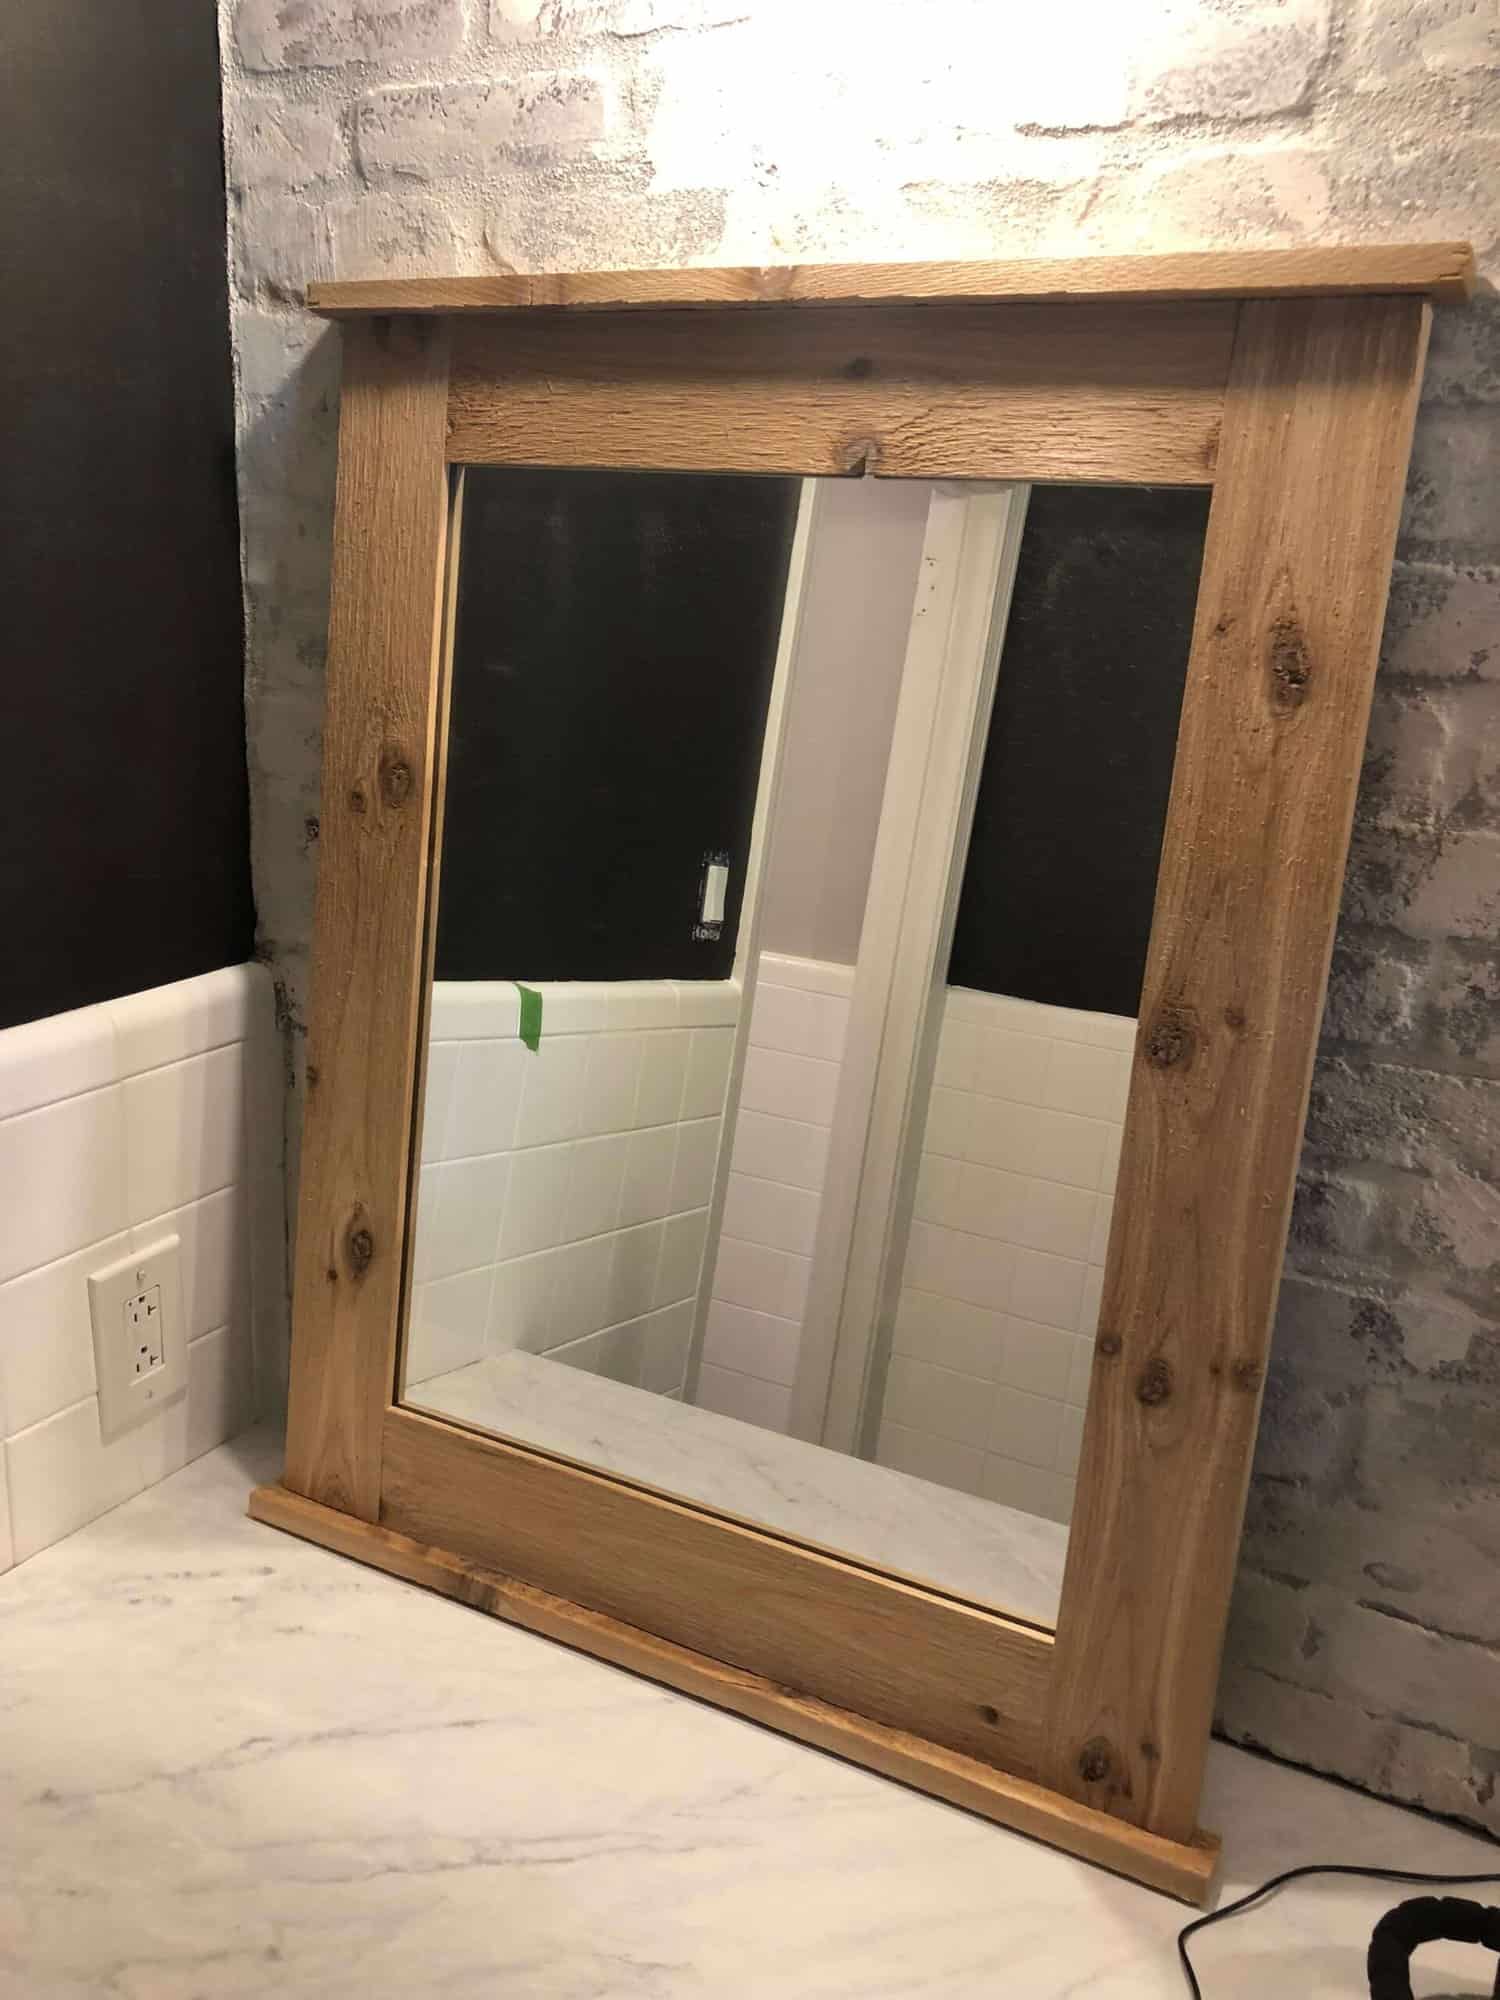
Now you are ready to build your frame.
We watched this YouTube video about 3 times and it walks you thru all the steps perfectly including all the measurements needed for your cuts.
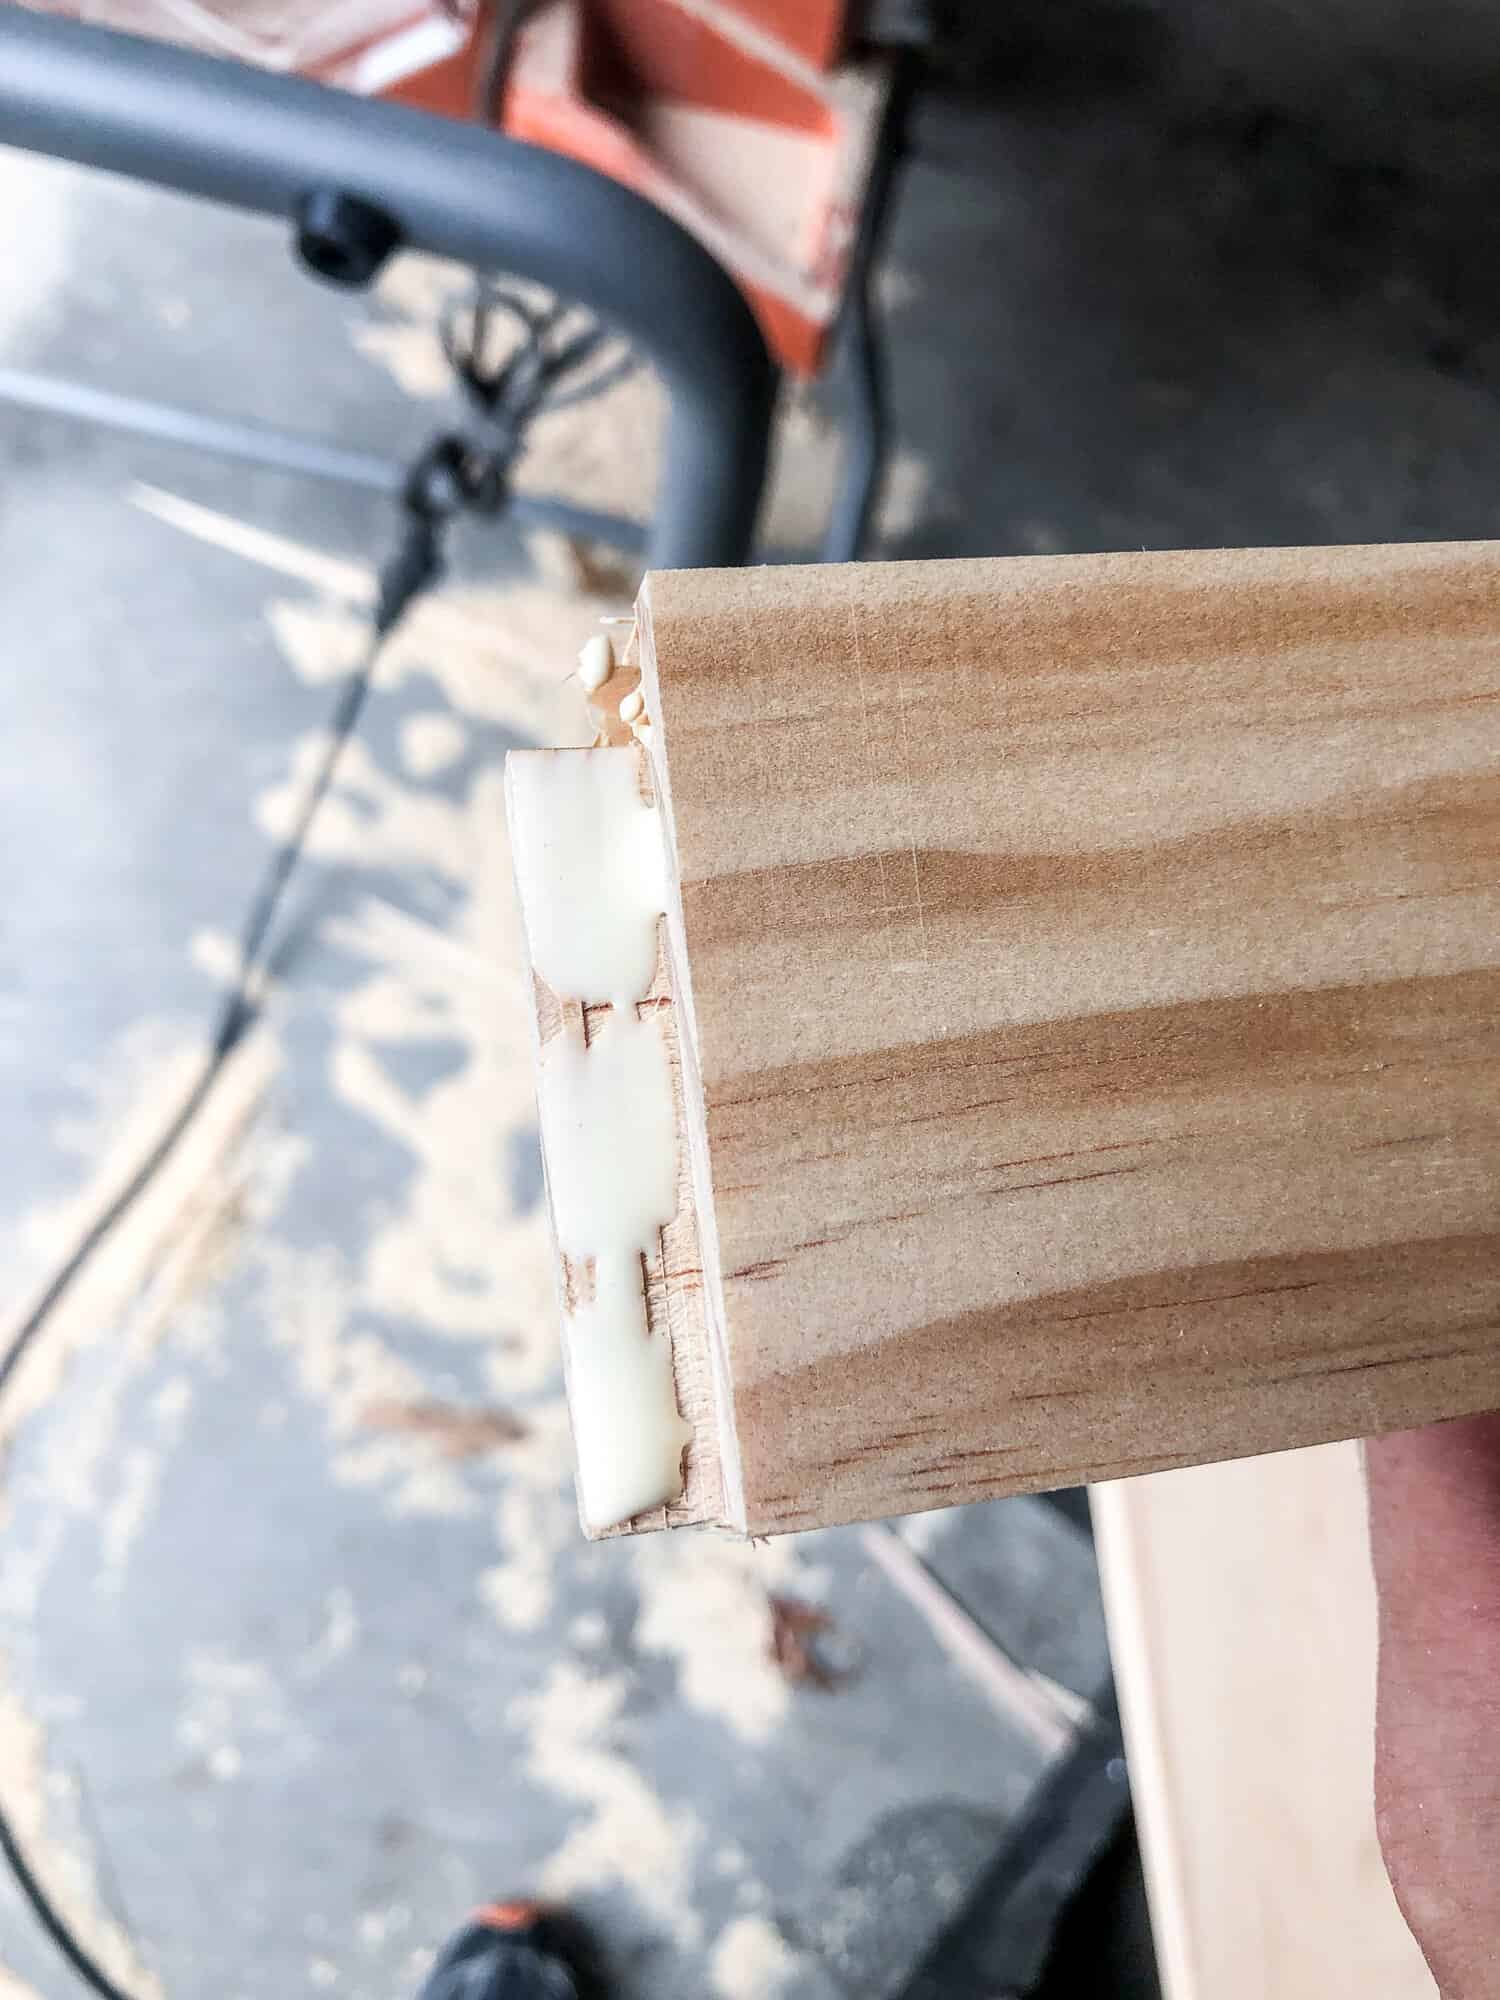
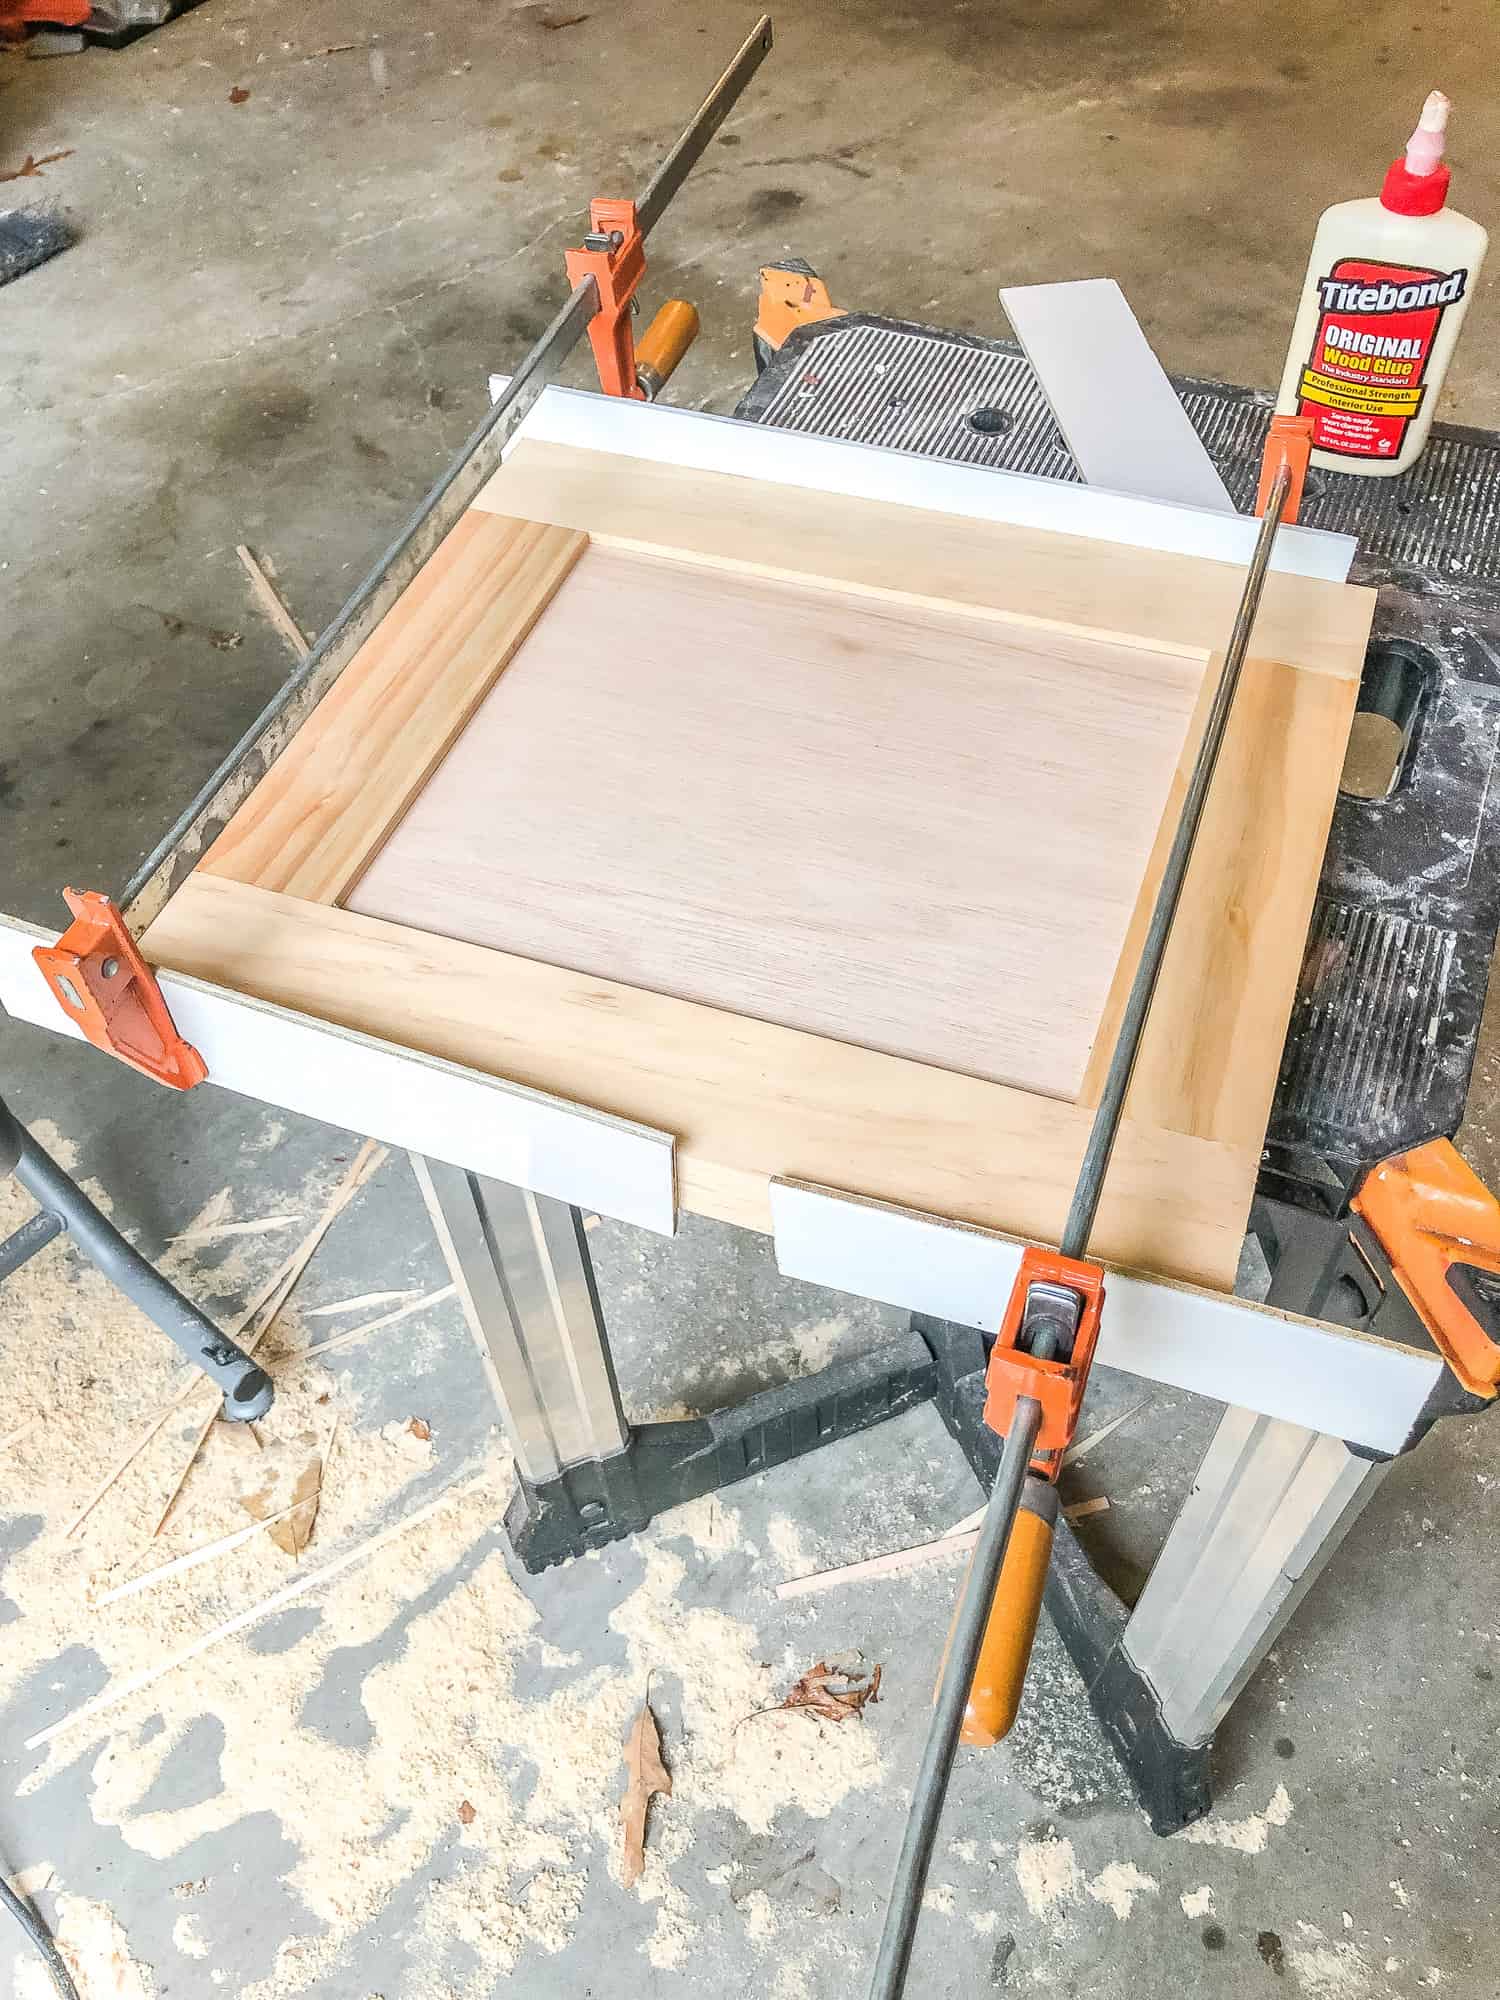
To build the cedar frames, we created a shaker frame creating mortise and tenon joints with your table saw following the directions in the tutorial.
We glued the two sides and bottom together and held it with clamps until it dried.
Then you slide in your mirror and glue the top piece in place, clamping until it dries.
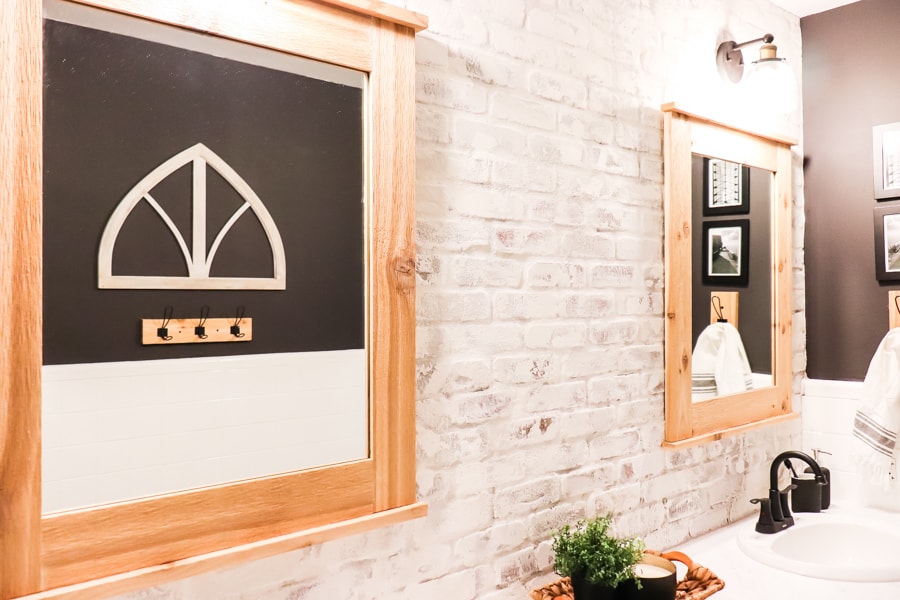
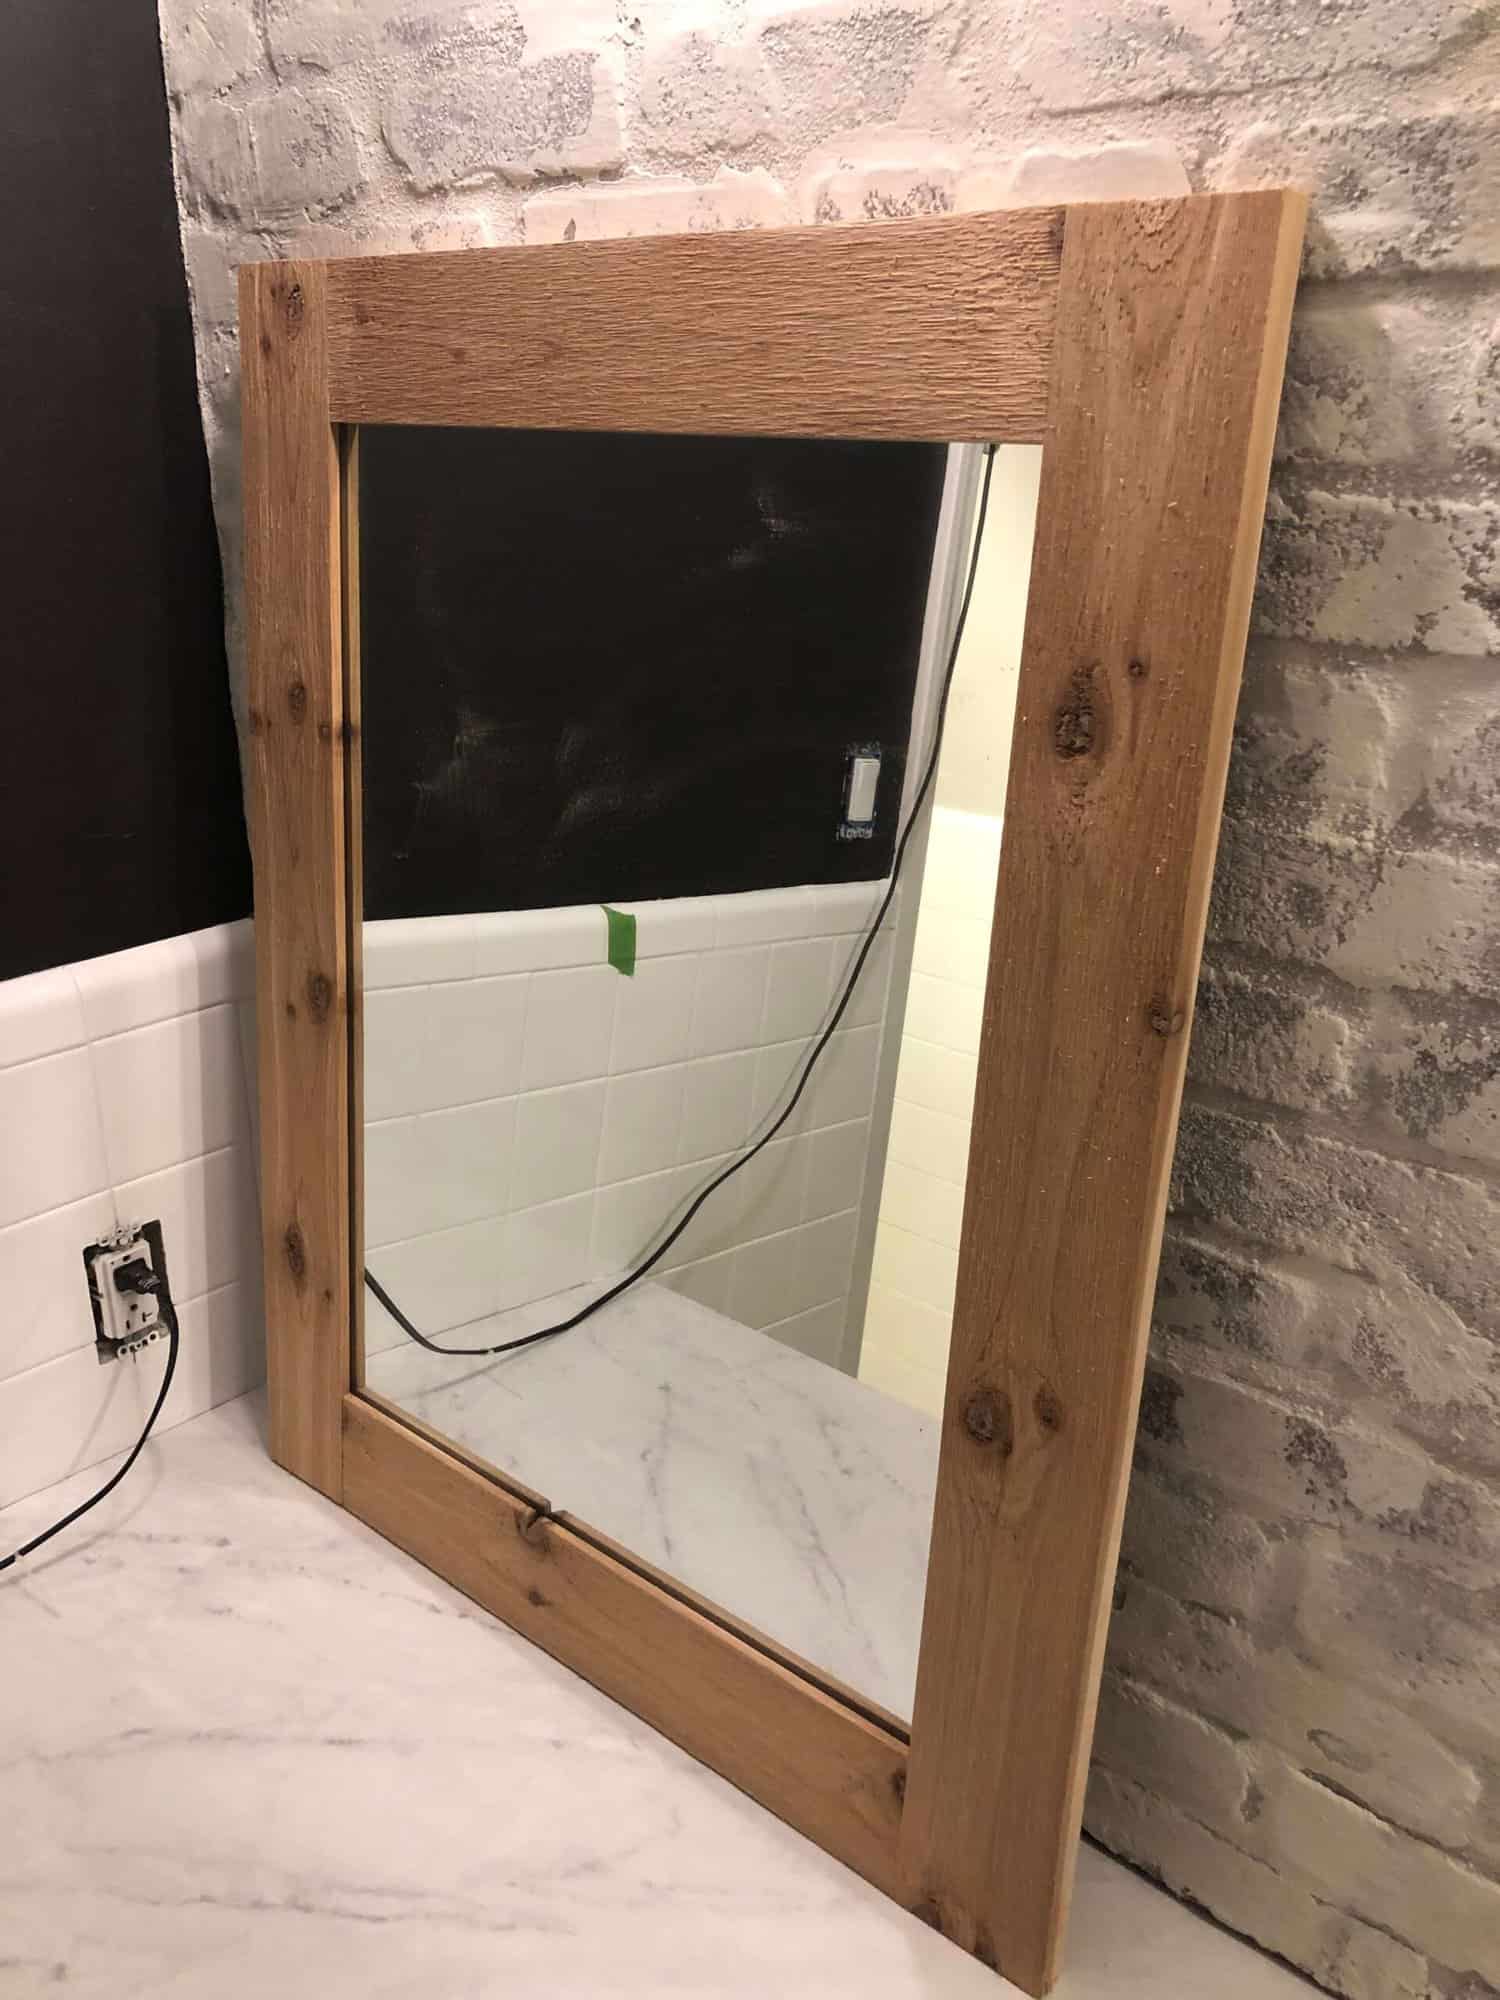
You have a framed mirror! But we wanted a bit more of a farmhouse look, so we added trim to the top and bottom.
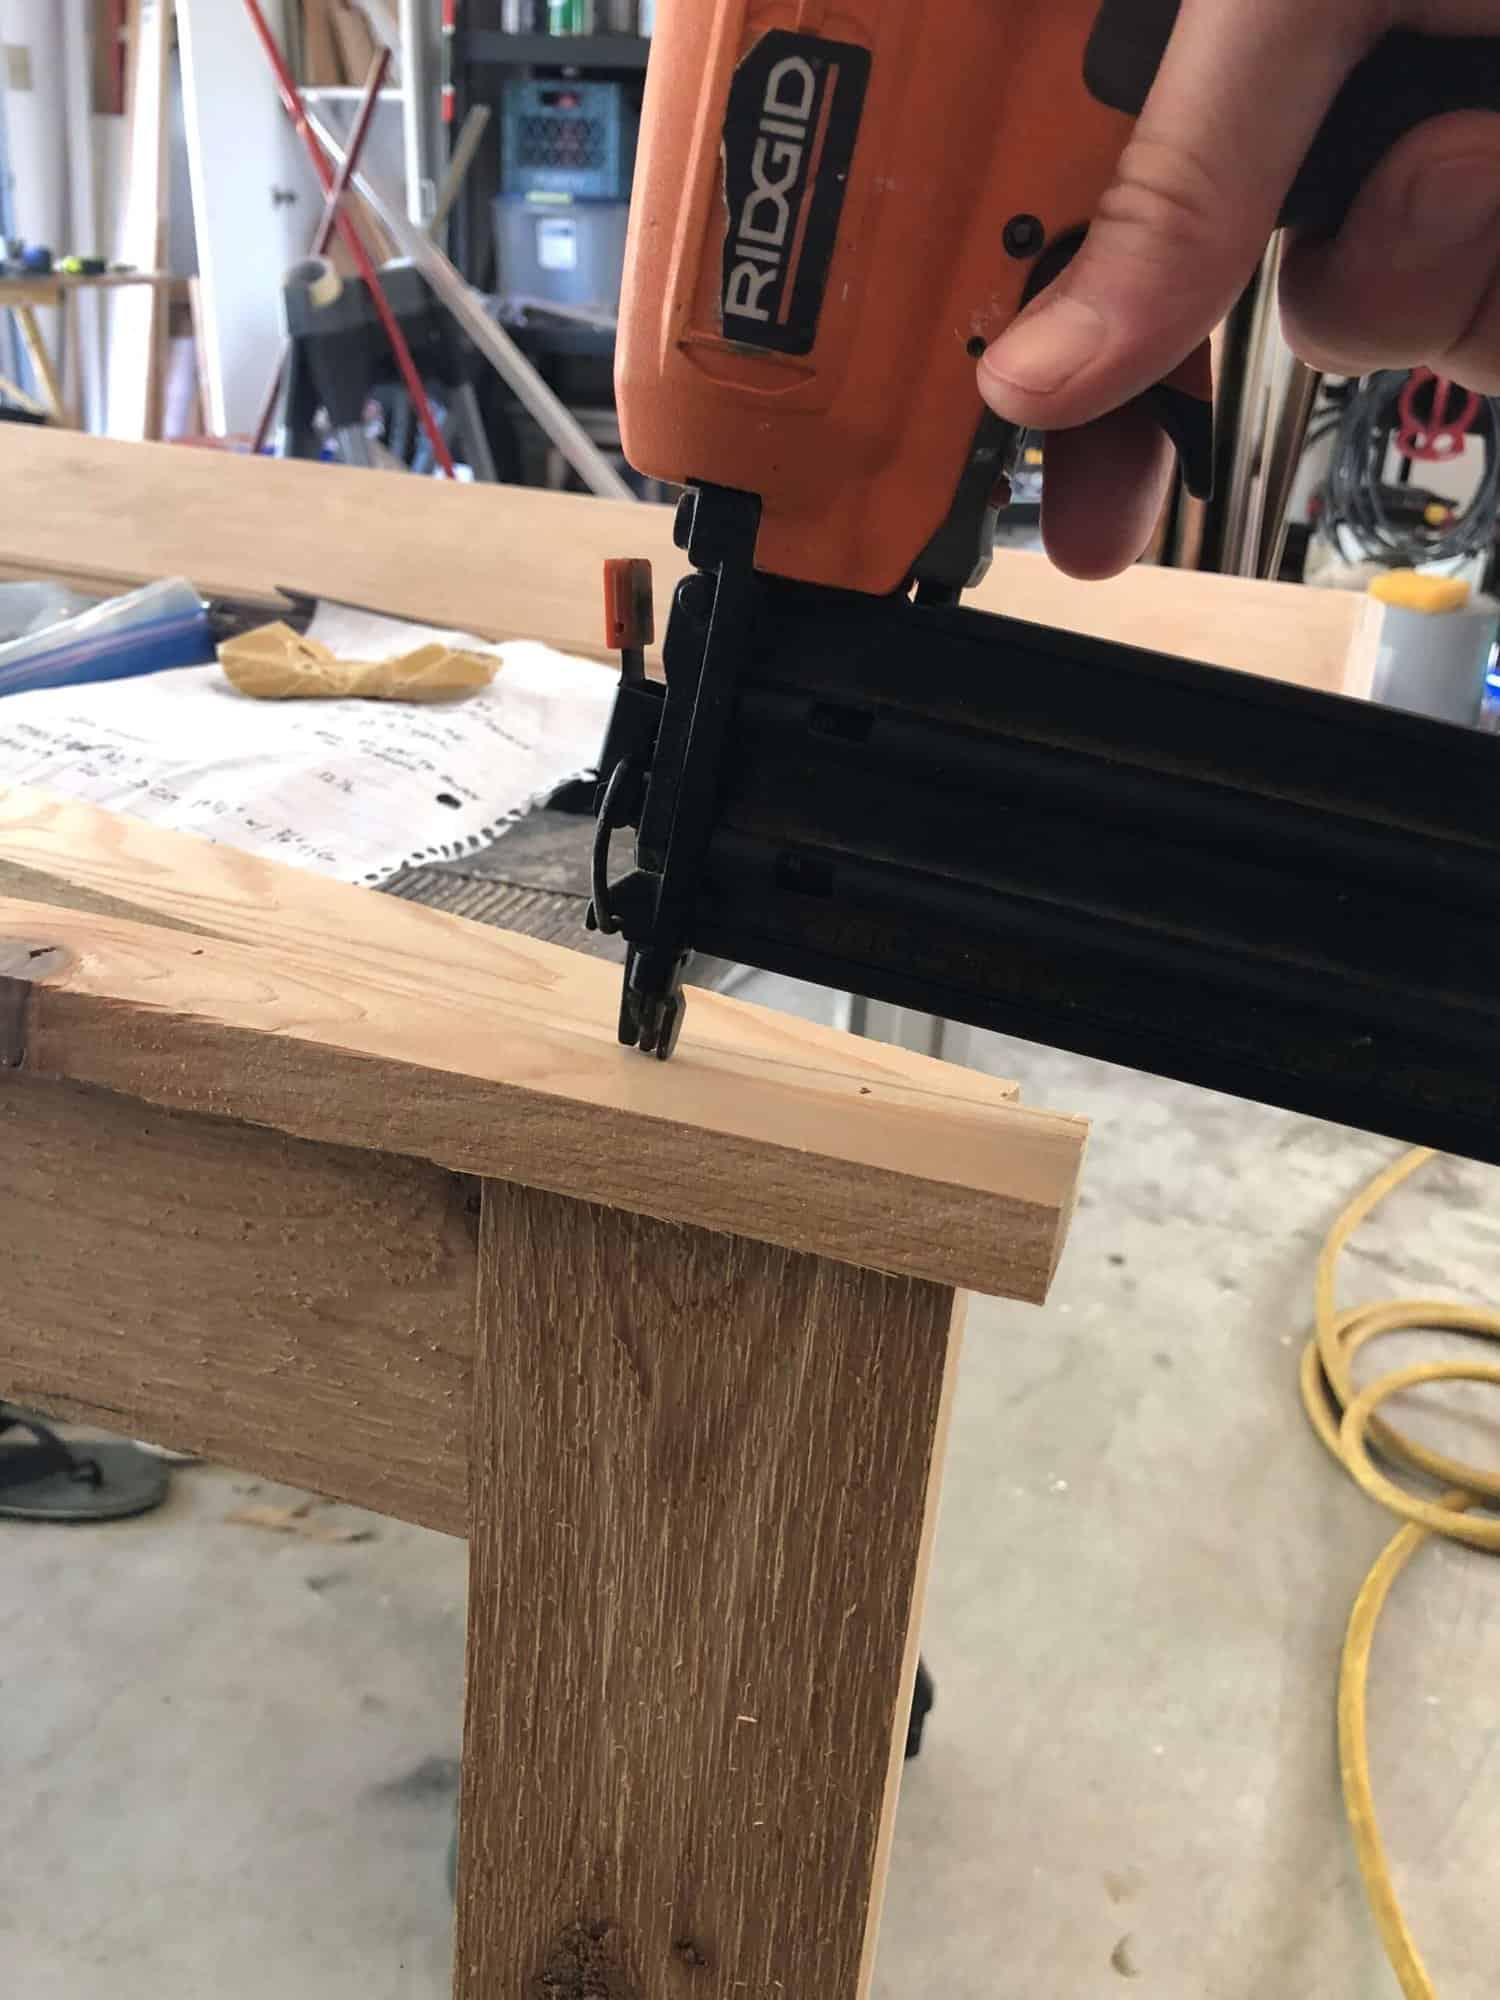
Cutting the 1 x 2 boards an inch larger than the width, we attached the trim to the top and bottom of the frame allowing a 1/2 inch overhang on each side using our pneumatic nail gun.
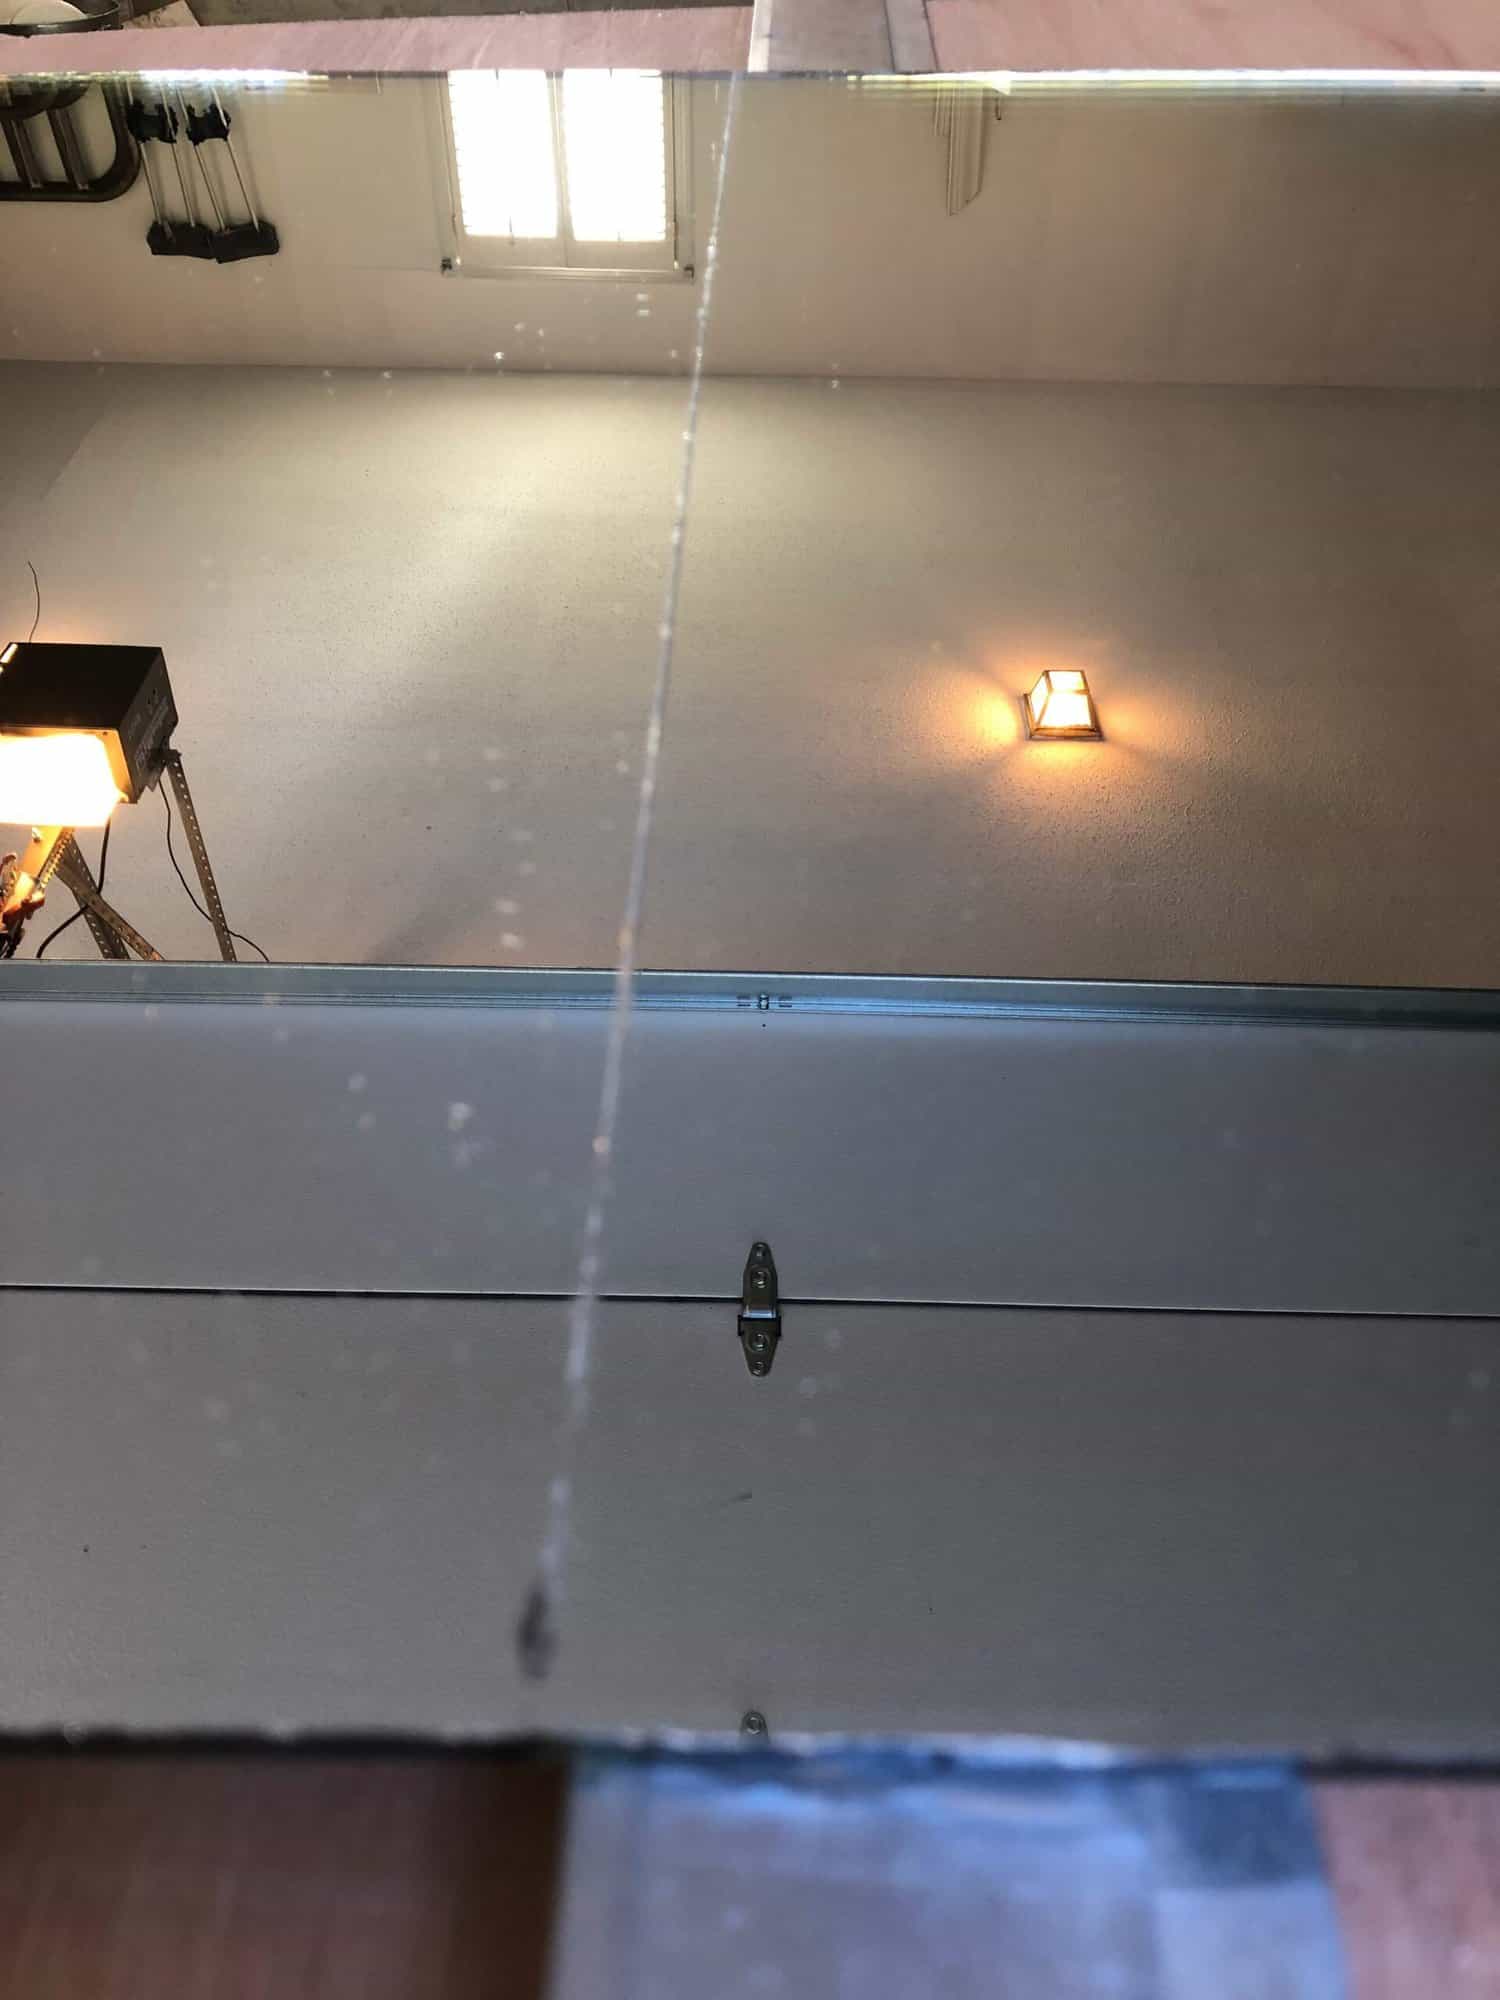
Using D ring picture hangers, we hung the mirror and just see how perfect it looks!
Notes
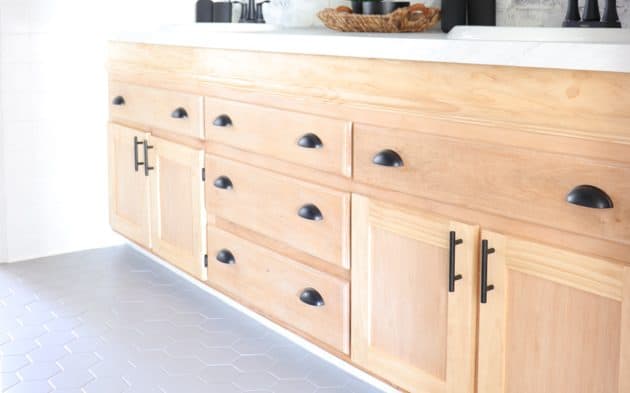
We used this same technique to make our cabinet doors for our raised bathroom counter. 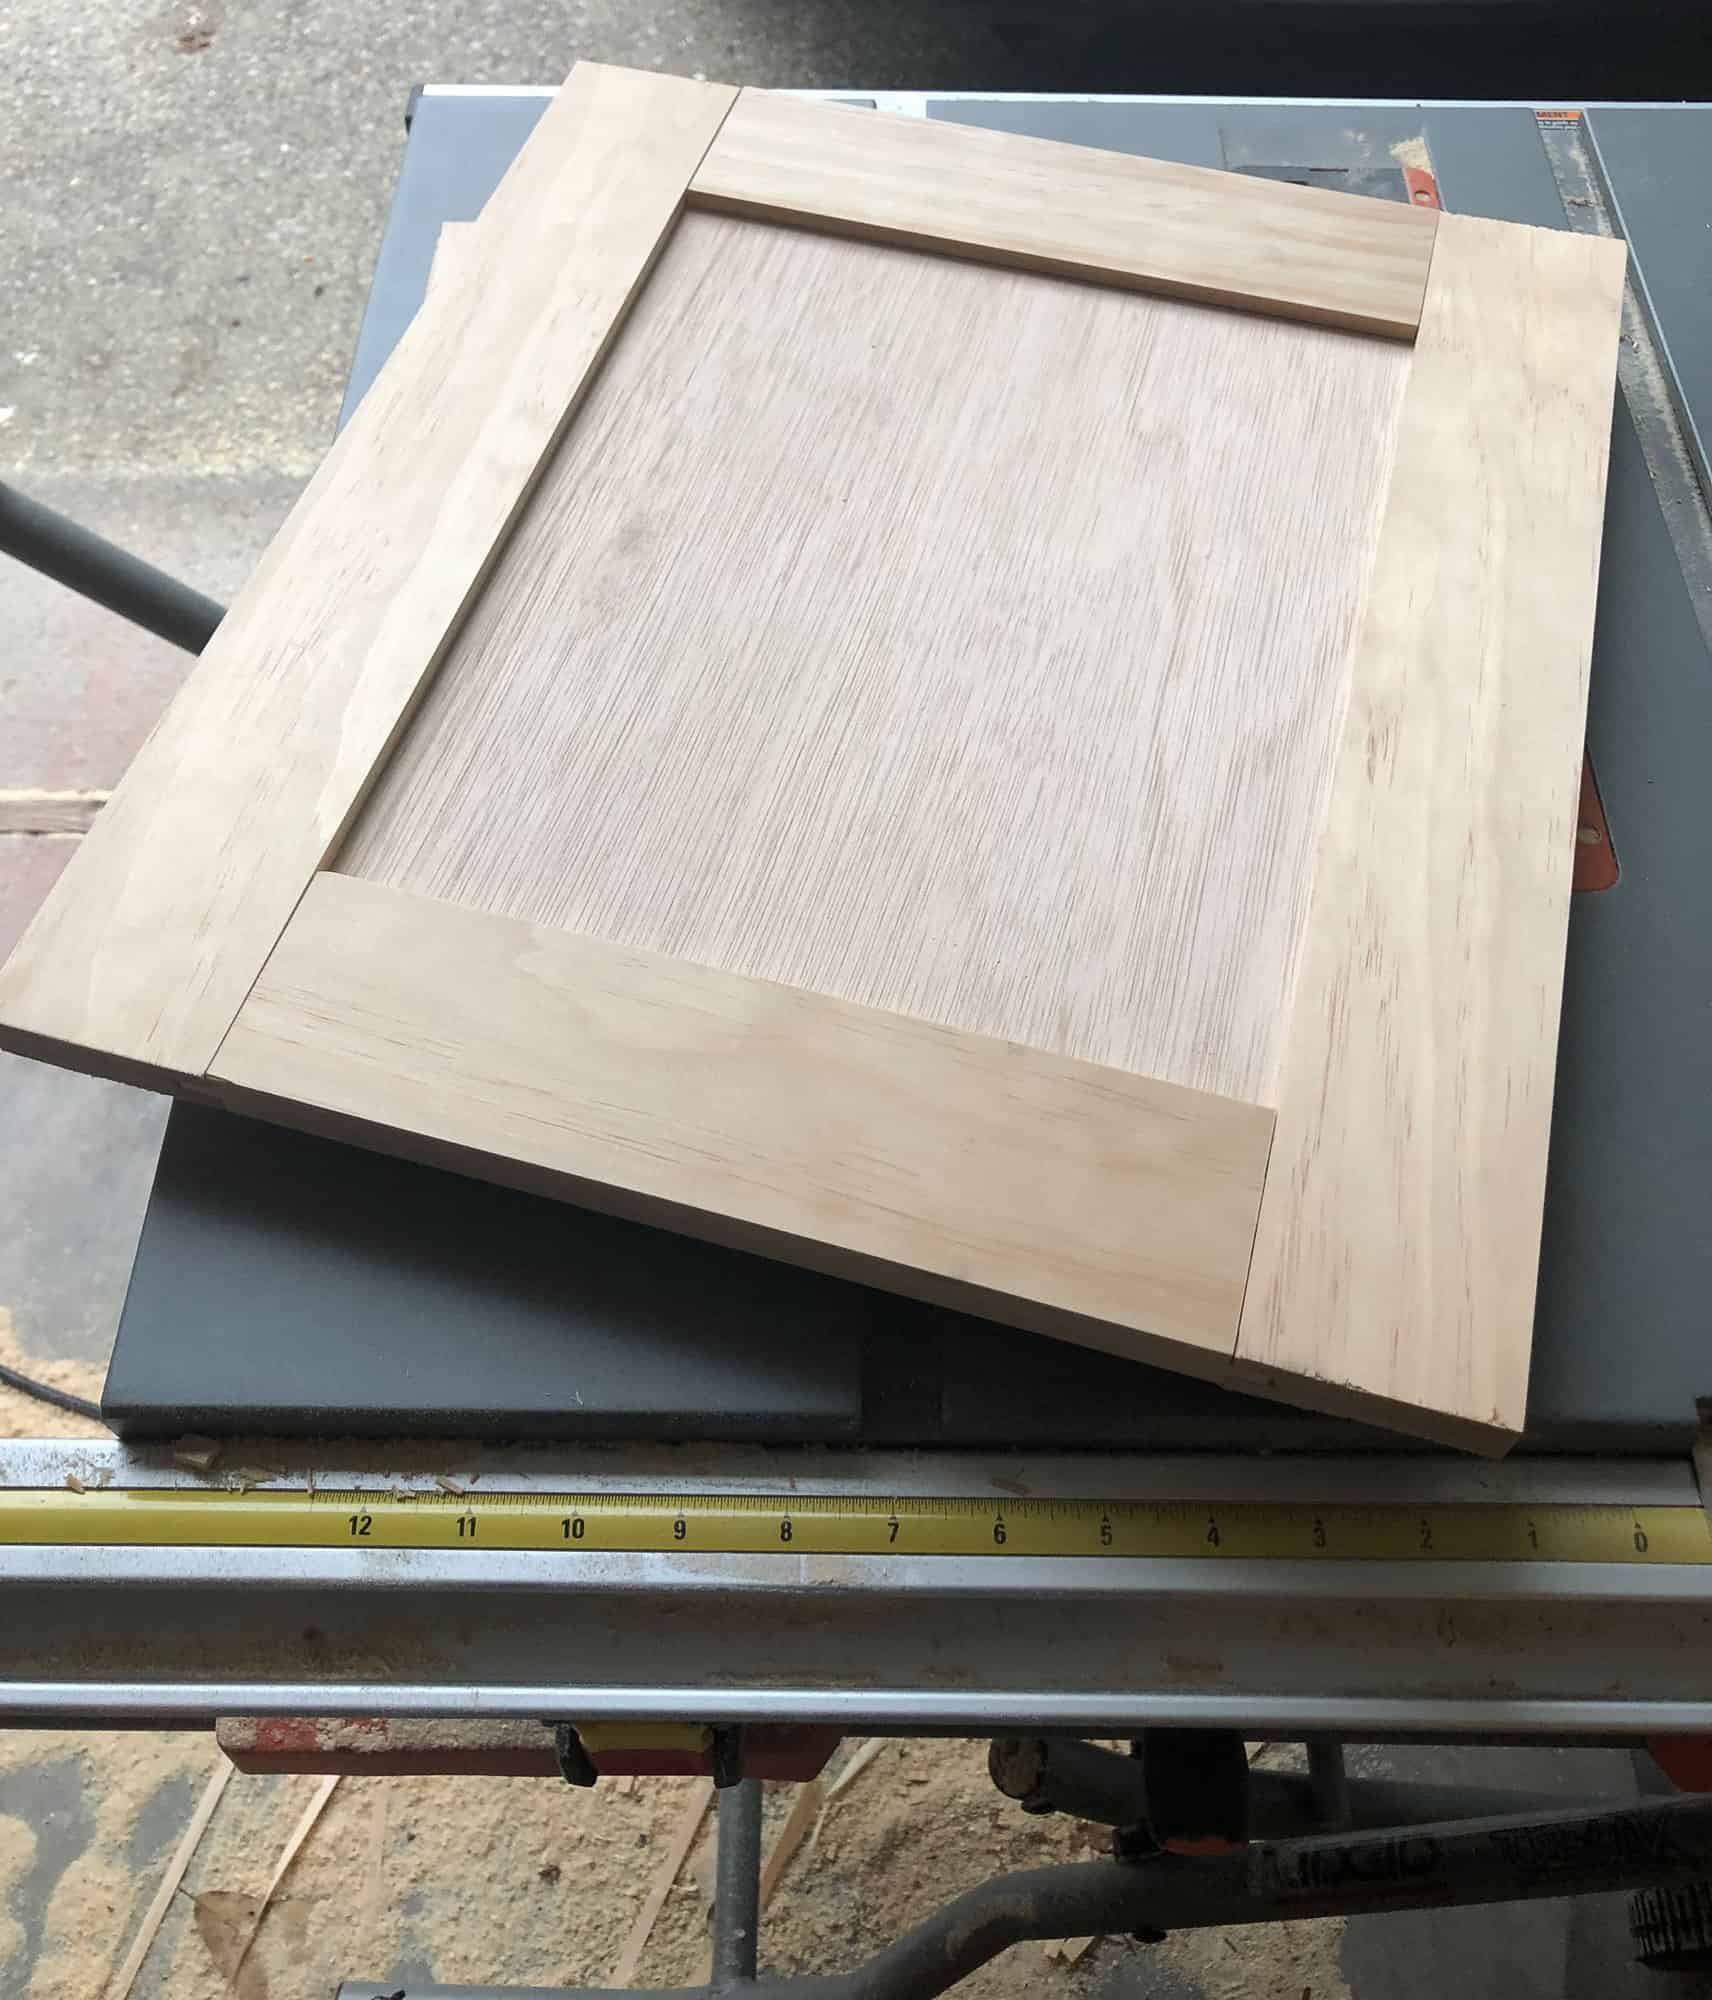
Instead of using glass, we inserted plywood sheets cut to size.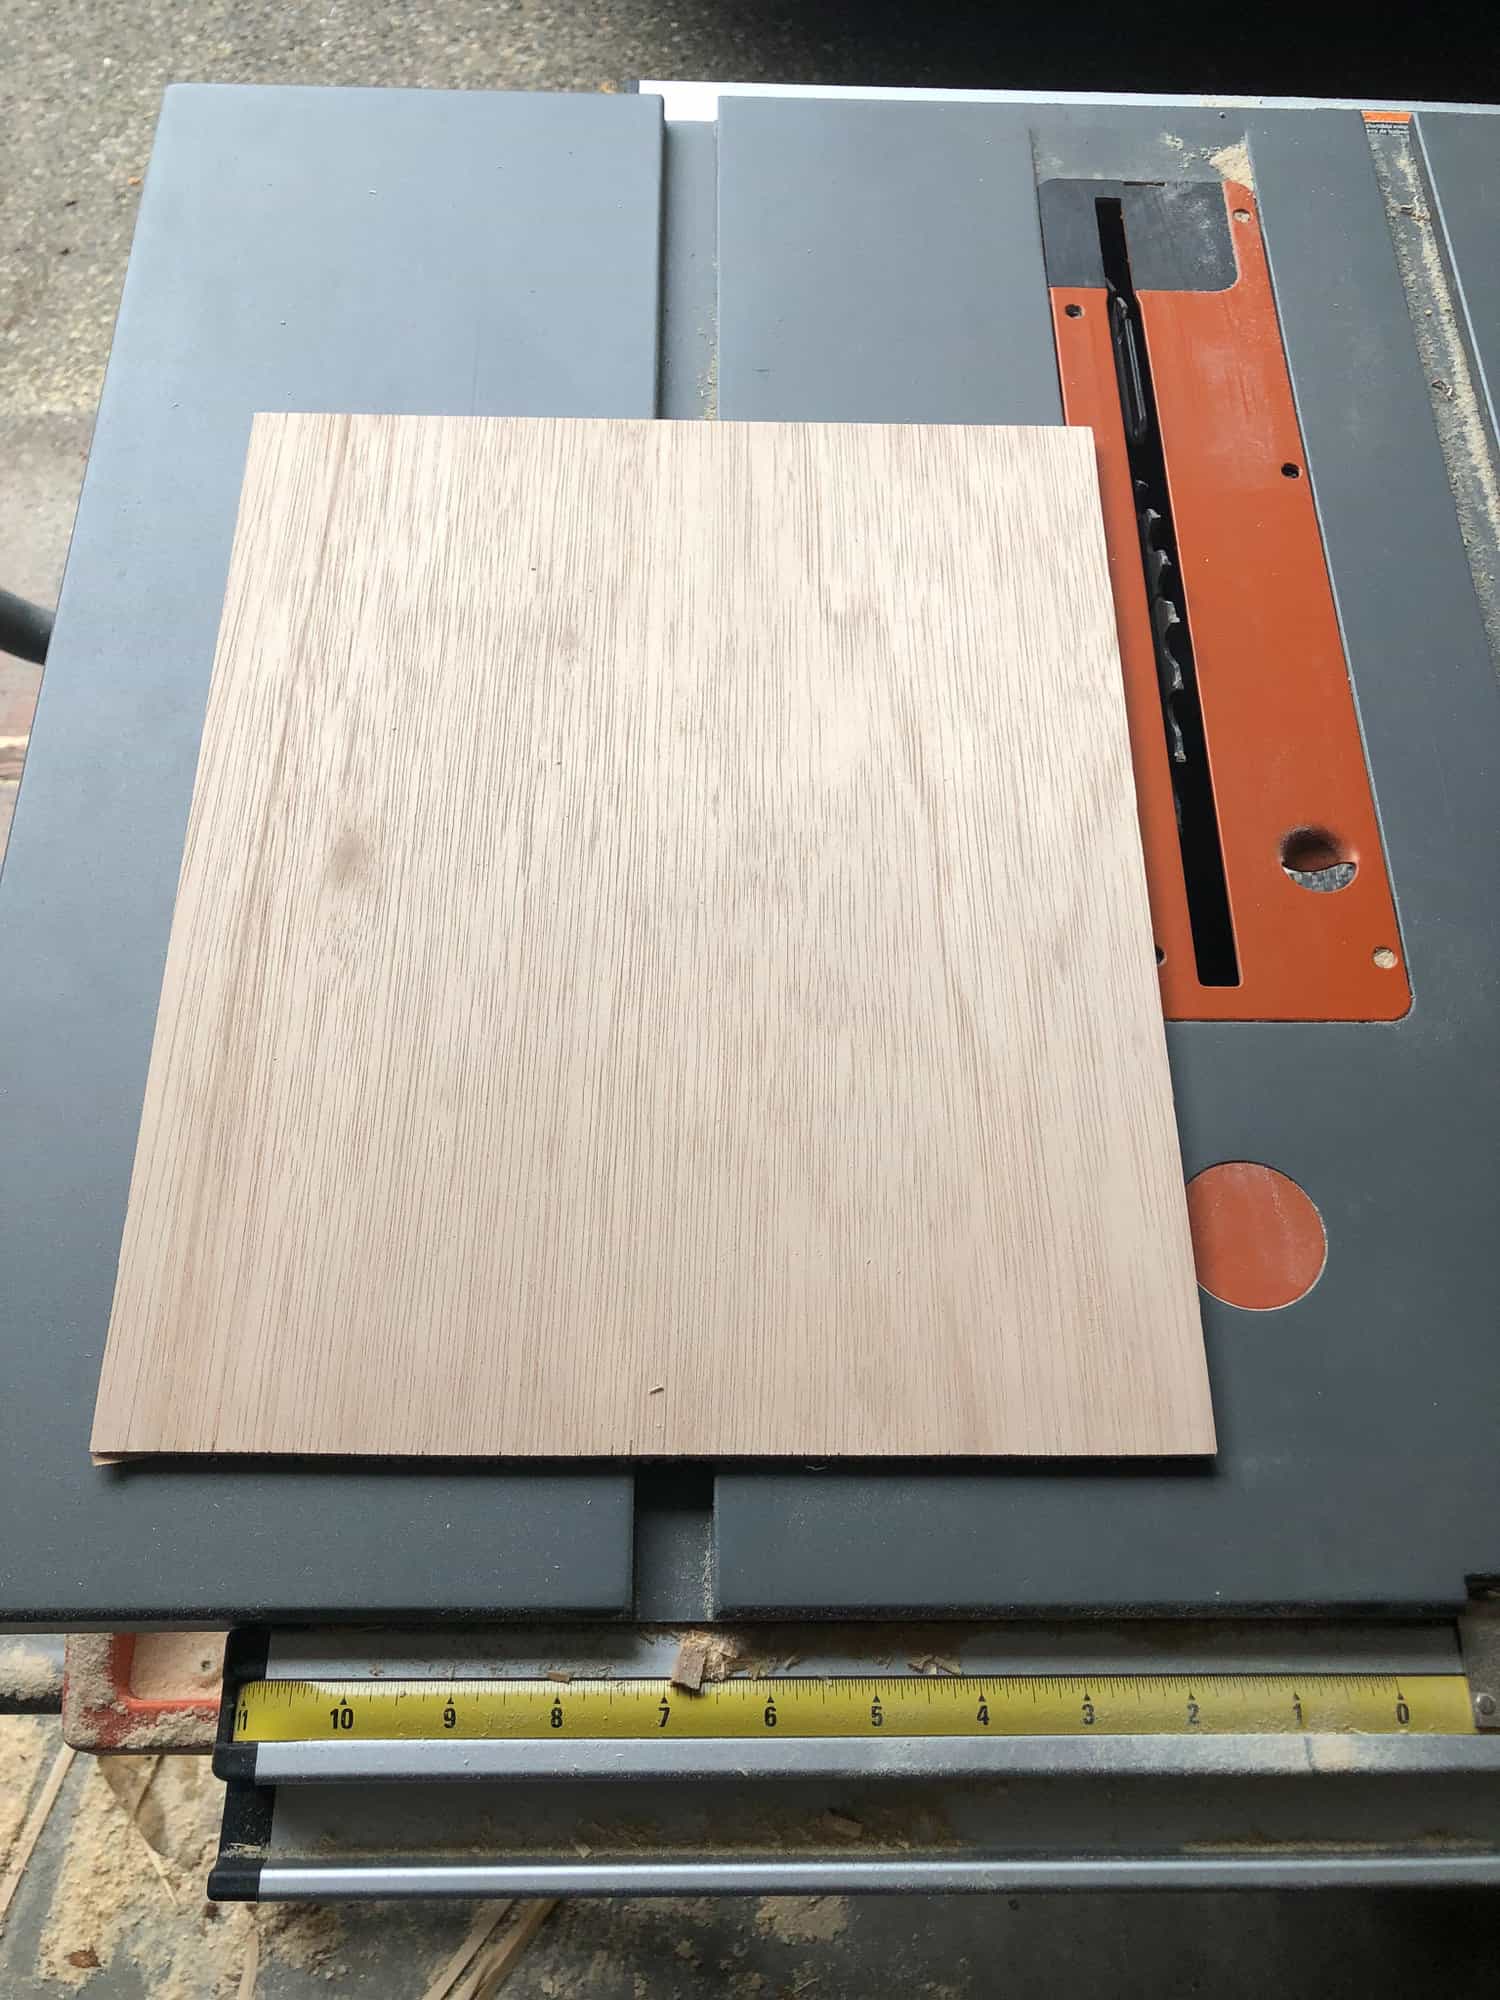
We ran glue in the cut channel , put the plywood in place and clamped the doors together.
It gave us the perfect look for our bathroom vanity cabinet!
So what do you think?
Can you build this DIY Cedar Framed Mirror?
If it wasn’t for that YouTube video tutorial, I don’t think we could have pulled it off.
In fact, this was our first build we made using our table saw.
What we learned is that some projects can be intimidating at first, but if you have the right tools and give it a try, you are better for it, even if it didn’t work out!
I would love to see what you come up with. If this inspired you, please send me a pic!
Pin This for Later!
To see the full Bathroom Reveal, check out this post!

Don’t miss the other posts
in this Bathroom Makeover!
THE BEFORE
RAISE THE ROOF: HOW WE MADE THE BATHROOM CEILING TALLER
DIY SHOWER DOOR UPDATE
HOW TO MAKE A BATHROOM VANITY TALLER
REGROUTING BATHROOM TILE
INSTALLING AND LIMEWASHING BRICK VENEER
DIY CEILING PLANKS FROM LAMINATE FLOORING
HOW WE CHANGED OUR BATHROOM TILE FOR $150
HOW TO MAKE CEDAR FRAMED MIRRORS
THE BIG REVEAL!


Hi Kathleen – thanks so much for your kind words! I am so glad to stopped by and that our bathroom makeover inspired you! When we removed the mirror, we went reallllllllly slow. First we removed the brackets holding it in place. But, yes it was glued. My husband and I worked as a team and slowly pulled the mirror away. We tried our best to not damage the wall, so we made sure to use a long, skinny crowbar to try to separate the wall and glue. It wasn’t 100% successful as some of the drywall did pull away, but for the most part, it came off pretty easily! One tip – be sure to wear work gloves because the corners of the mirror can be sharp! Hope that helps – feel free to message me if you have any additional questions!
Hi! I’m new to your blog and you have done beautiful makeovers with so much creativity. I was looking for successful stories about painting bathroom tile and I’m now excited to give it a go in an upstairs bath. What also caught my eye is how you reused your 8′ mirror which is exactly what we have in 2 bathrooms. My question is, how did you successfully remove the mirror without breakage? I’ve assumed that it is attached to the wall with glue and that I have to knock out the mirror and the drywall underneath… maybe not the case. I’d love to hear what you did!
Thanks for your posts – I will be doing much reading =)
Thanks Kristin! Hope your Easter was blessed!
Love these mirrors Jen! They turned out so great!! Perfect for the space! I love the whole bathroom!