How to Repurpose Exterior Iron Stair Railings
Once a month, a group of us get together for a fun thrifty flip transformation. I hope you’ll love them as much as I do! Today I’m sharing how to repurpose exterior iron stair railings for our front porch!
Have you ever tackled a project and thought something wasn’t quite finished? That there was something missing?
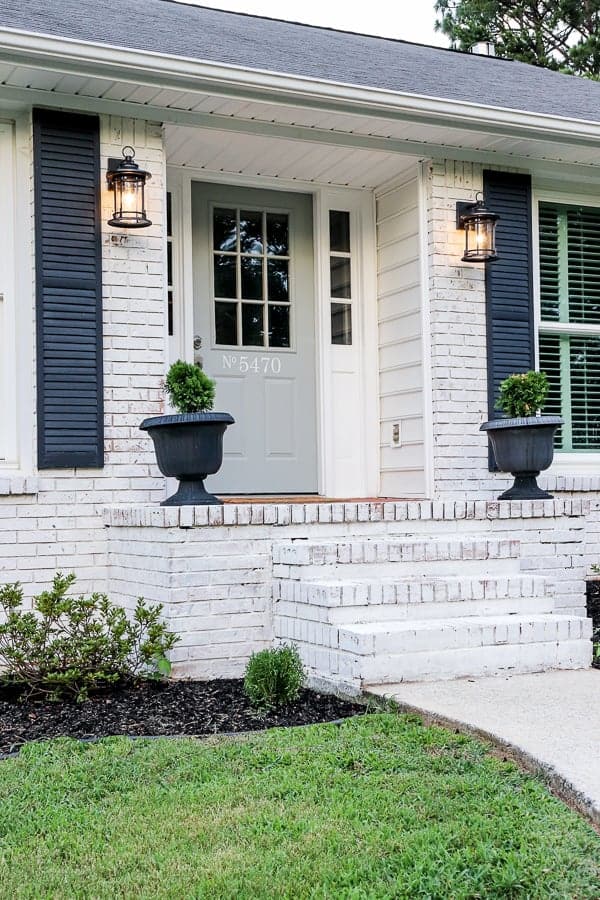
That was how we felt after we limewashed our Meadow Brook Home.
It was so much better than the before, but it wasn’t quite right.
For starters, the 80s red brick pavers needed repair.
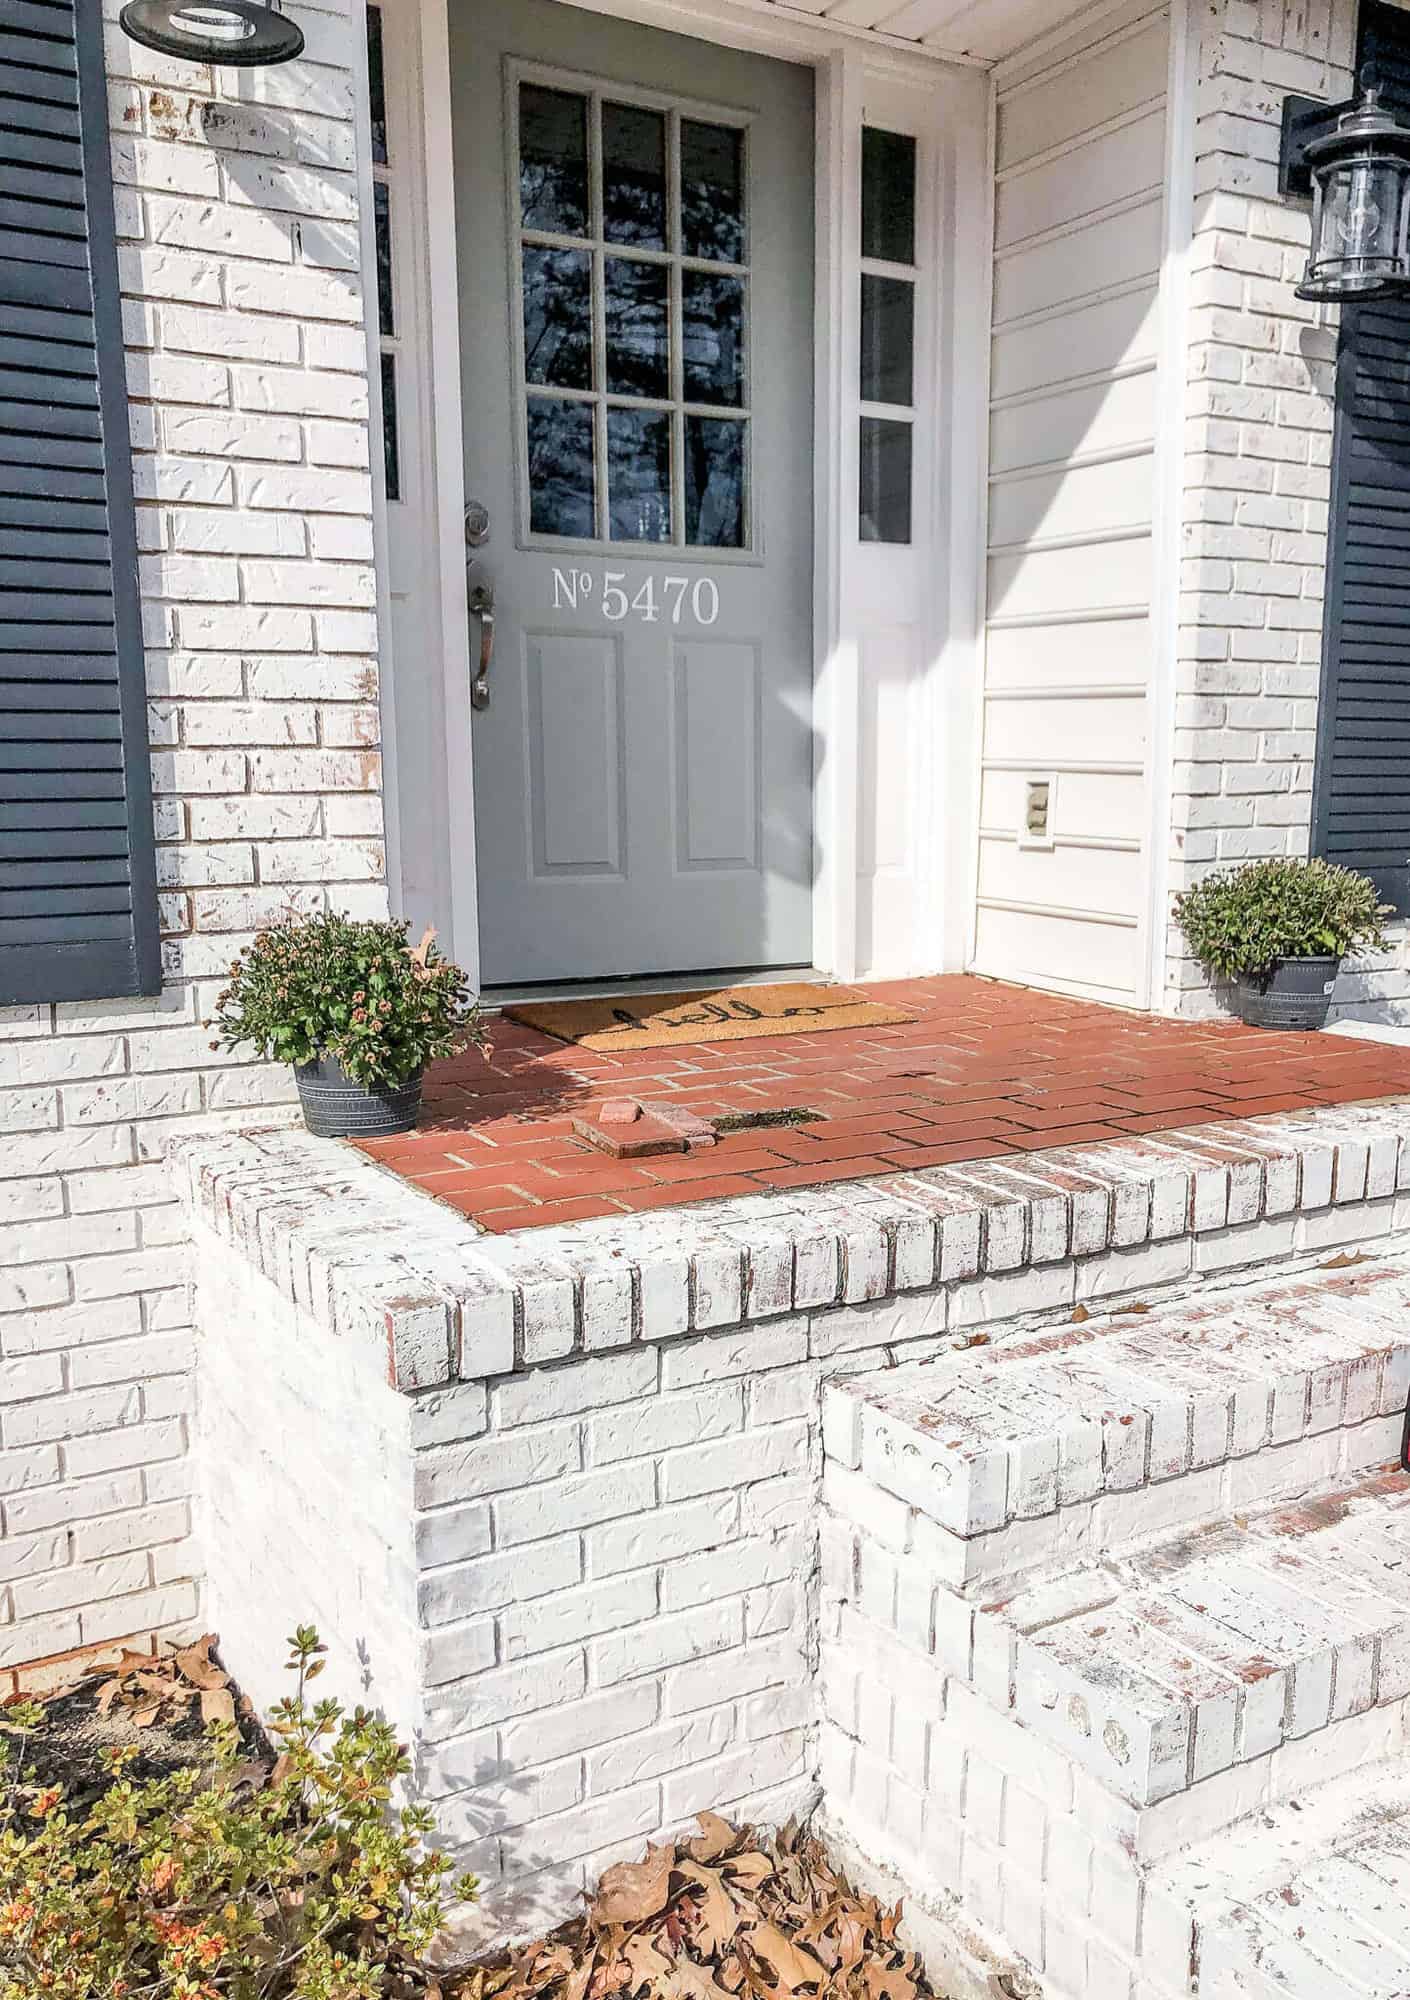
And then the front porch didn’t have any….oomph.
When one of our family members took down some old iron stair rails and asked us if we could do anything with them, we said sure!
But to be honest, we had no idea if they would work.
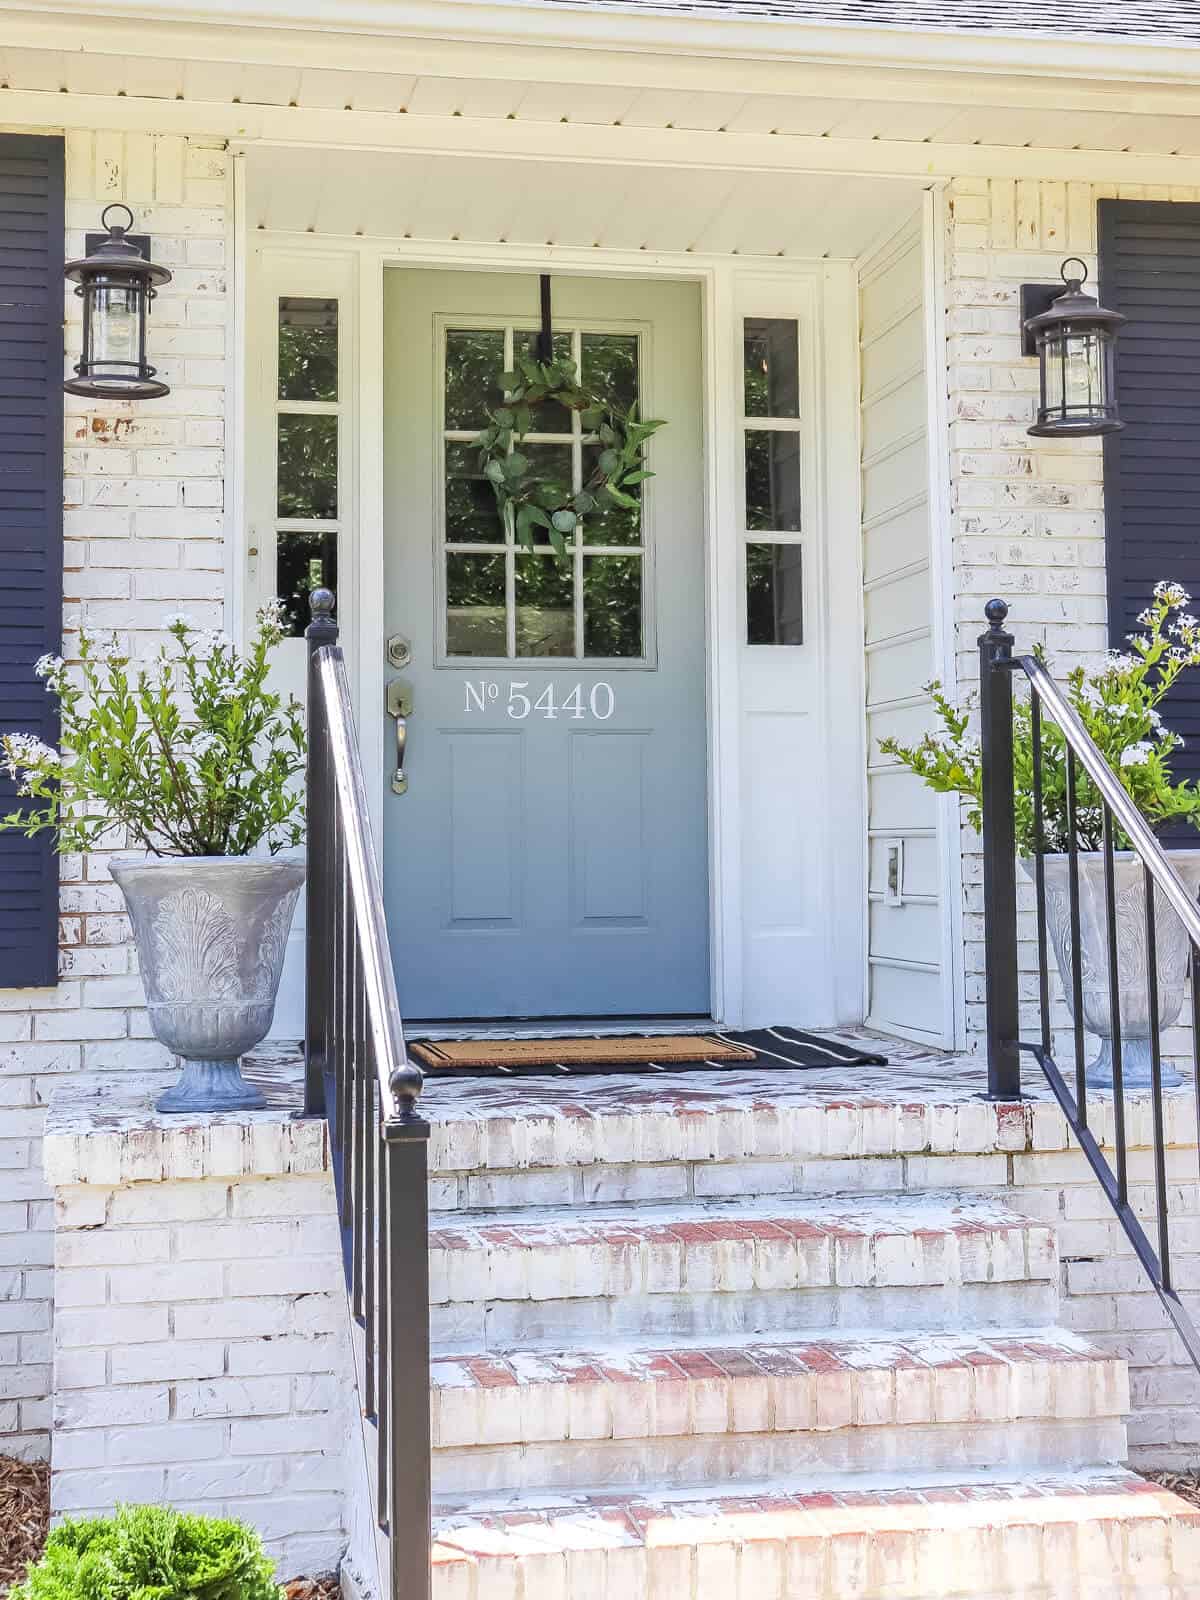
We had to do some finagling, but they are up! Here’s how we did it!
How to Repurpose
Exterior Iron Stair Railings
(Some affiliate links are provided below. Full disclosure here.)
Materials Used:
Iron Stair Railings
Level
Masonry Screws and Drill Bit
Concrete
Concrete Mixing Tub
Impact Driver
Scrap wood for frame
Trowel or dry wall knife for concrete
To begin, first we started with checking how level these were.
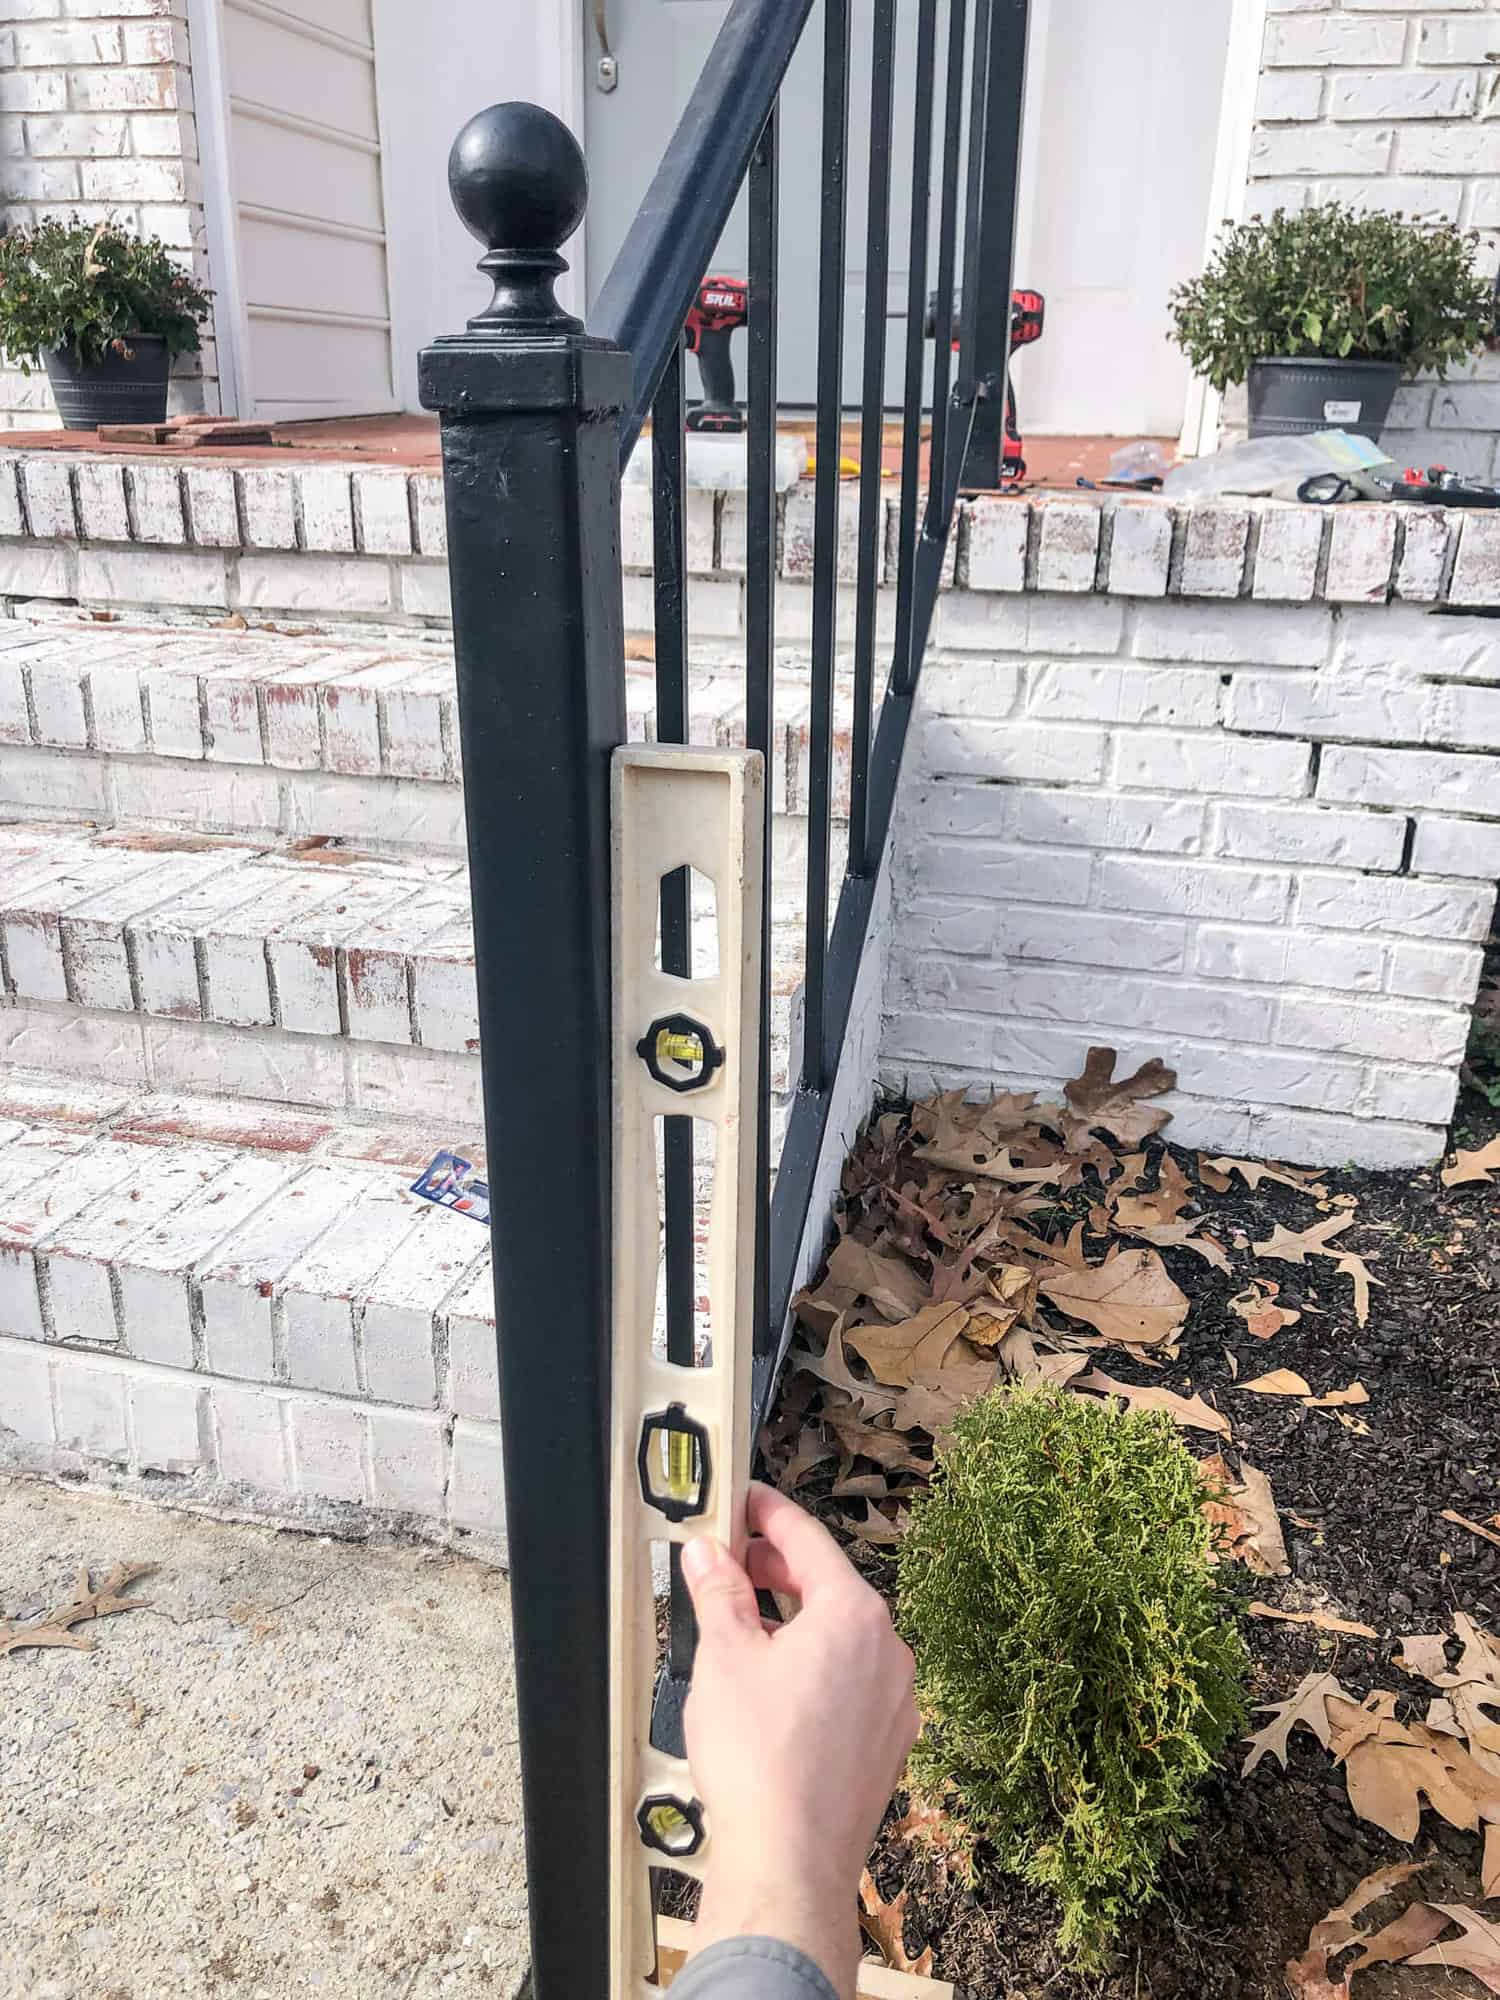
We immediately saw our problem.
The ground was too high for the rails to be level, so we had to dig down a few inches until we found just the right spot.
This is such an important step, so take your time.
But you may have to dig a little, test for level, dig a little more, and maybe add back some dirt, test for level again. Rinse. Repeat.
Just be patient and get this first step right.
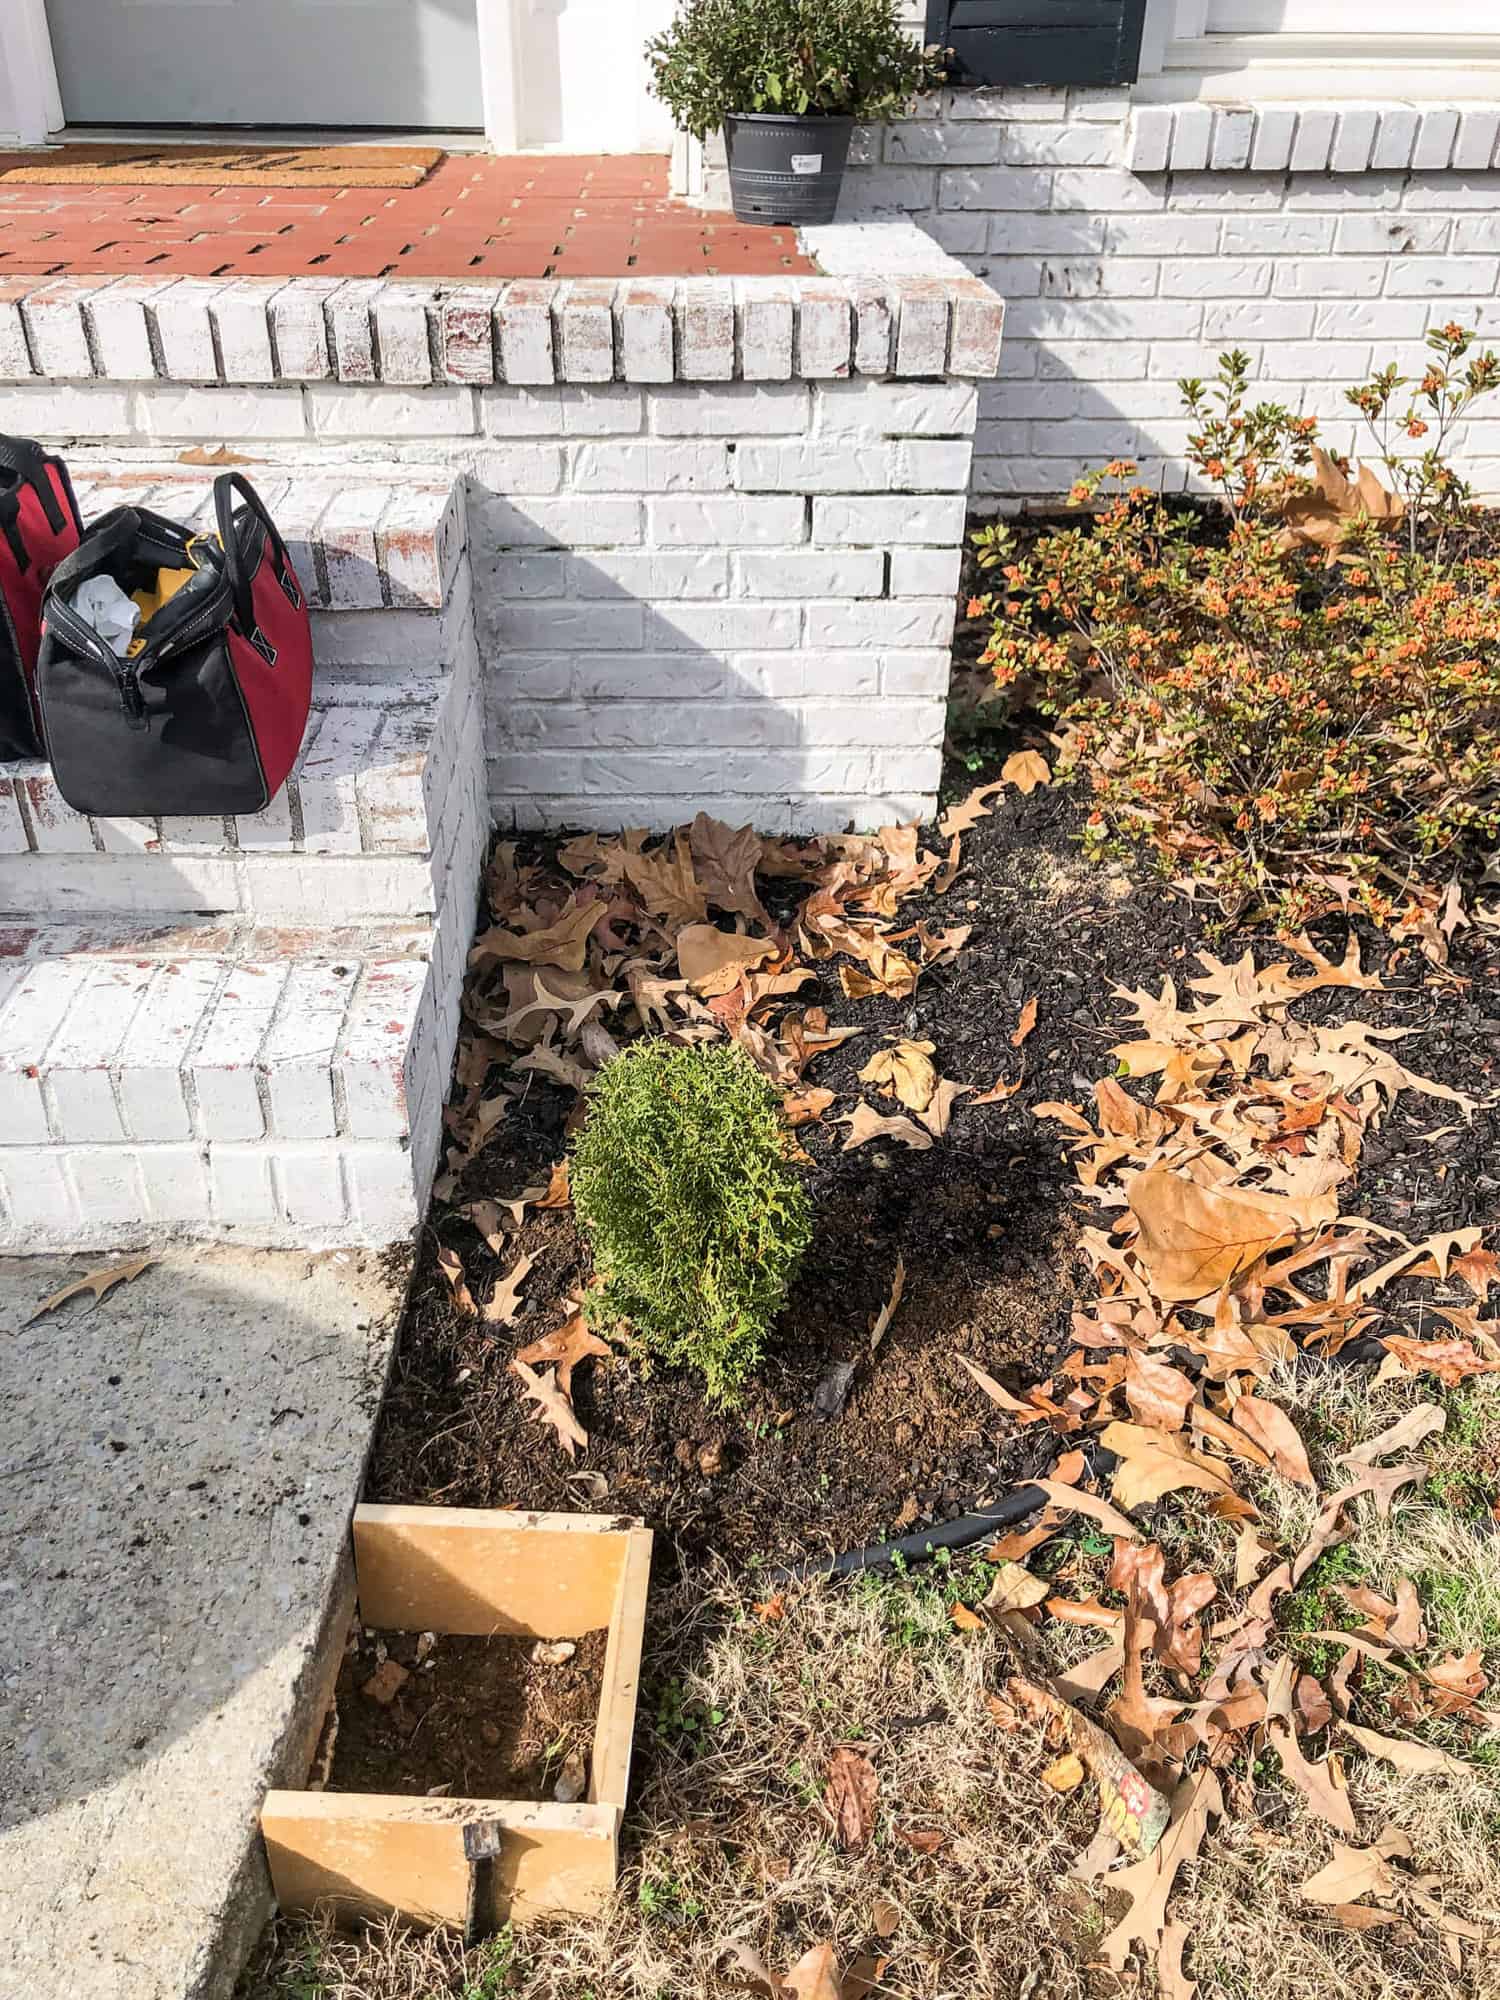
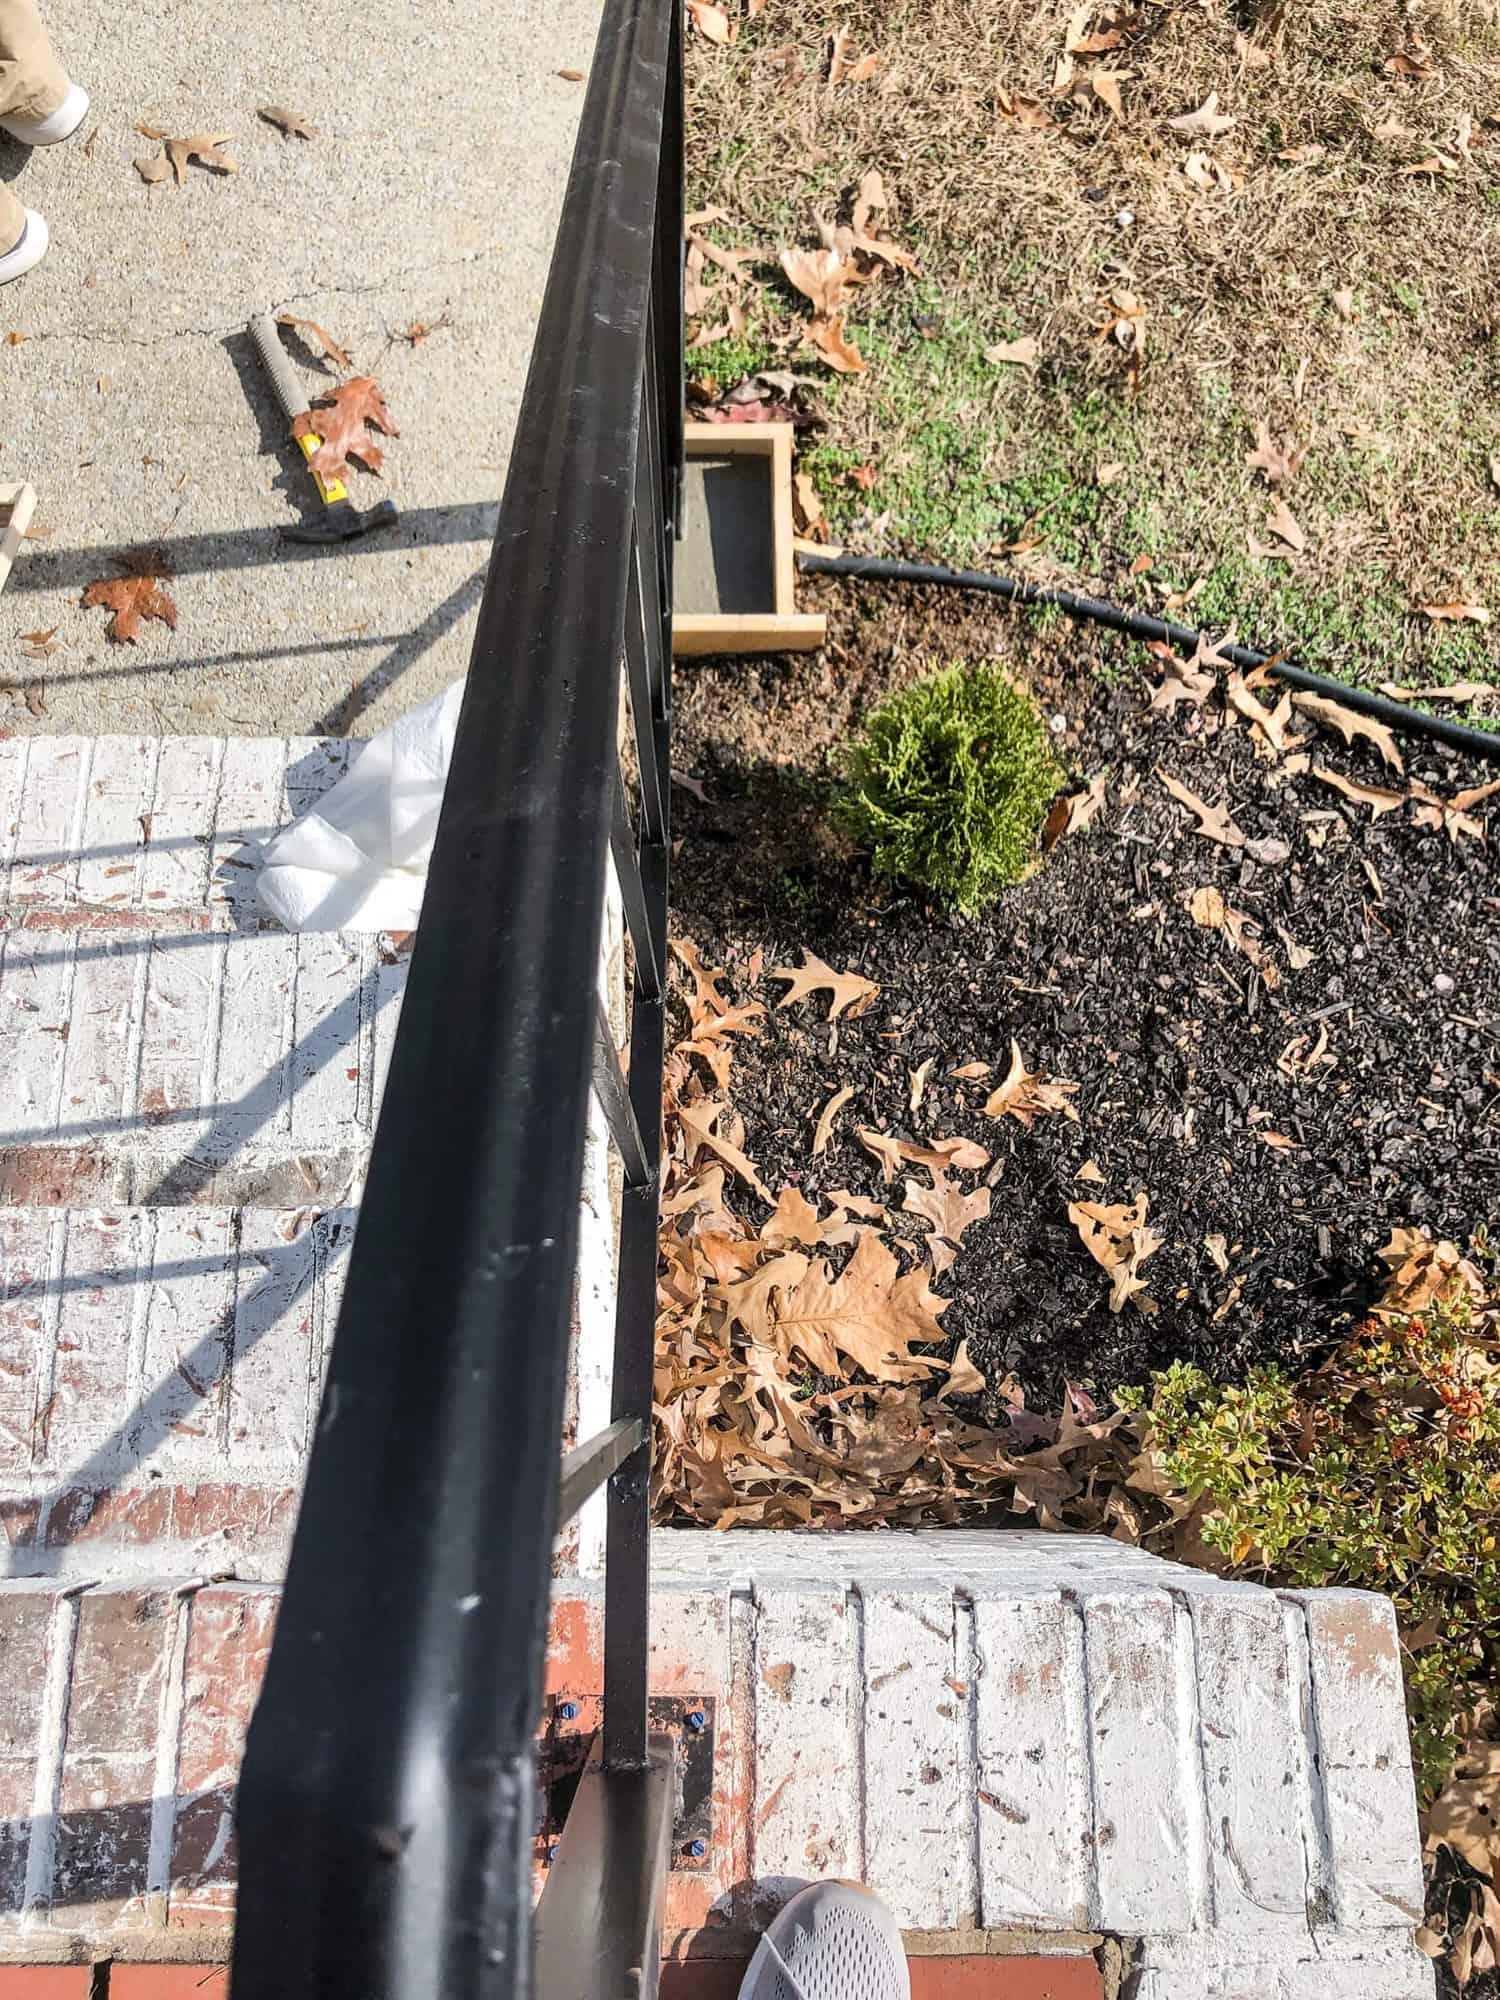
Once we were certain our rails were level, we built these wooden forms to pour the concrete.
We had scrap wood on hand – in fact our scraps were made of MDF from a previous project.
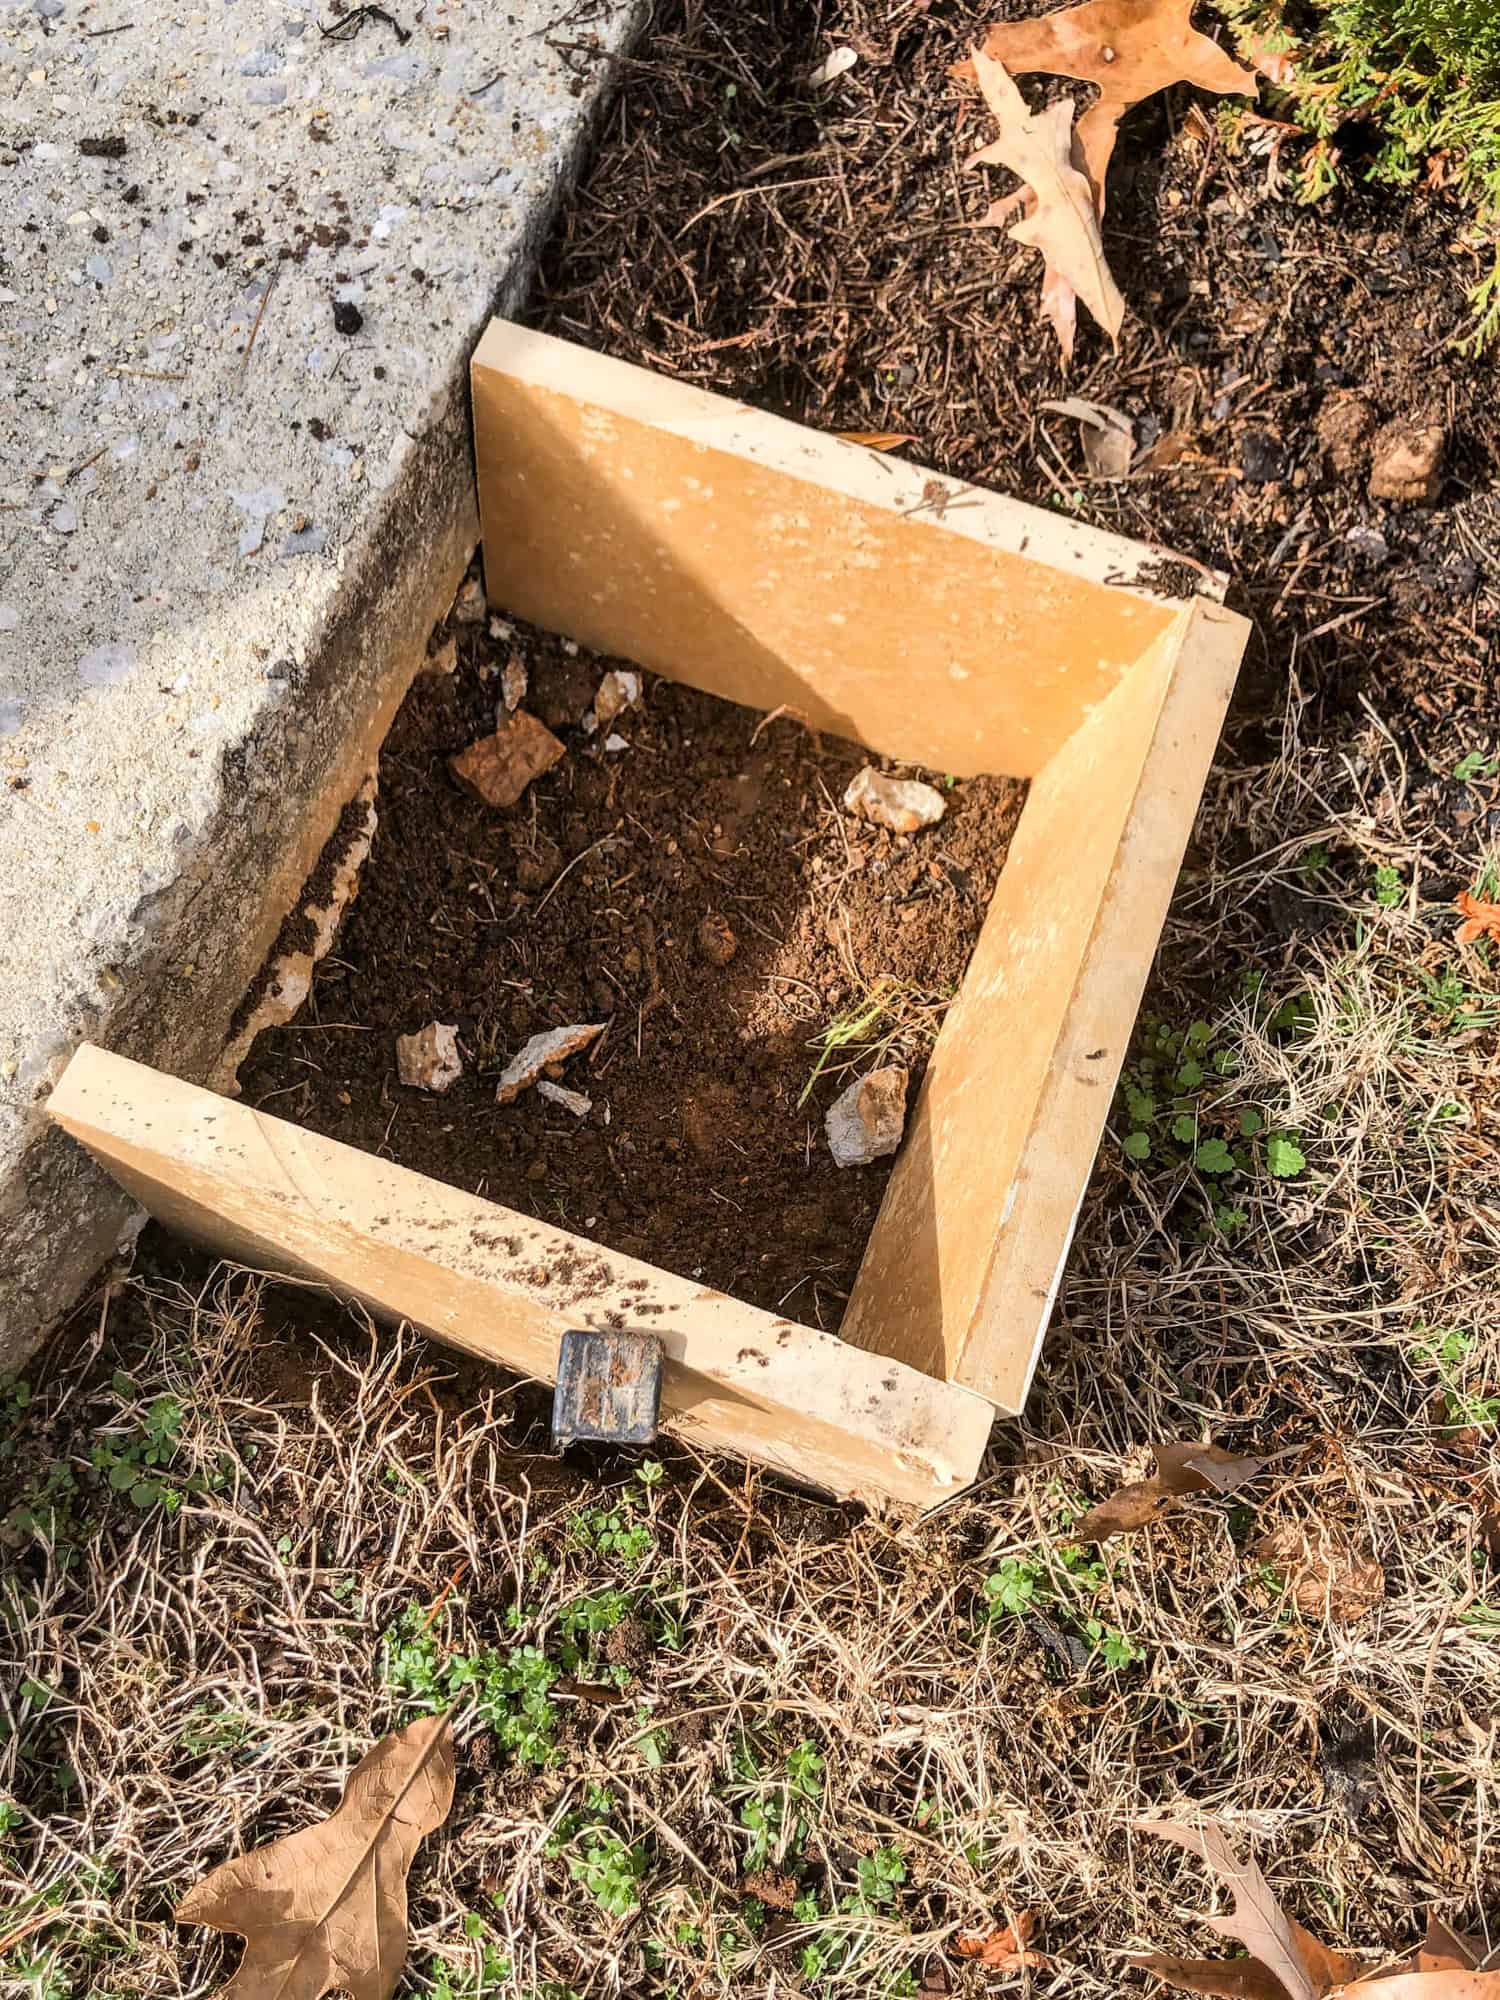
So as you can see that we had to dig down about 4 inches.
We didn’t nail the wood form frame together, since the dirt held it in place.
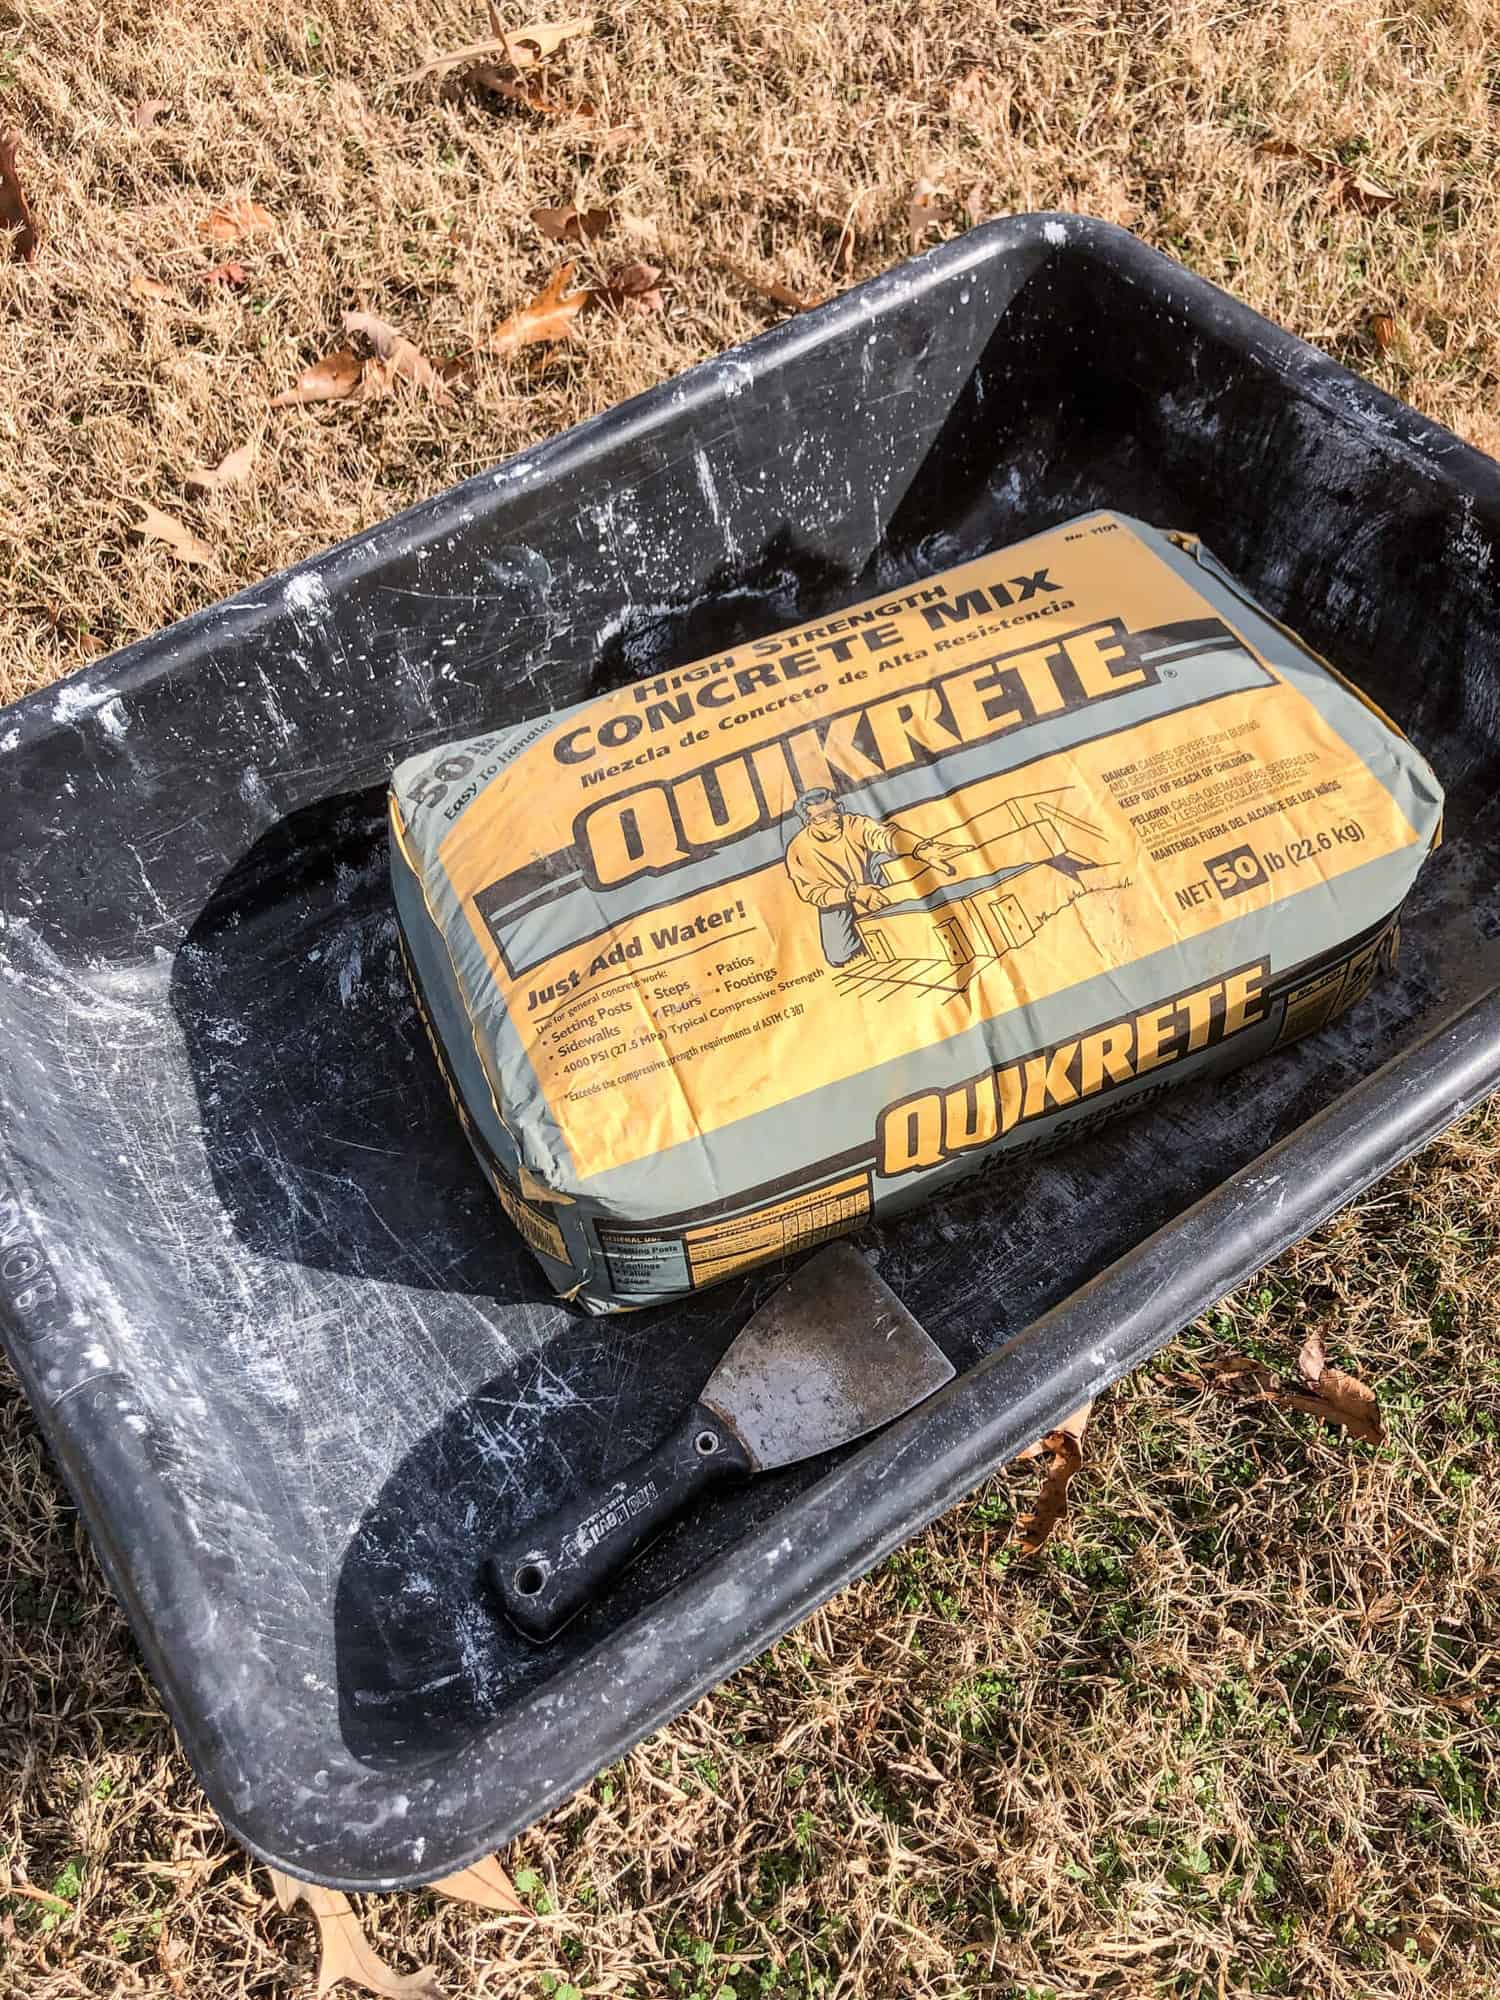
Now it’s concrete time!
Follow the directions on the bag for mixing. We used a mixing tub and a dry wall knife to mix it all together.
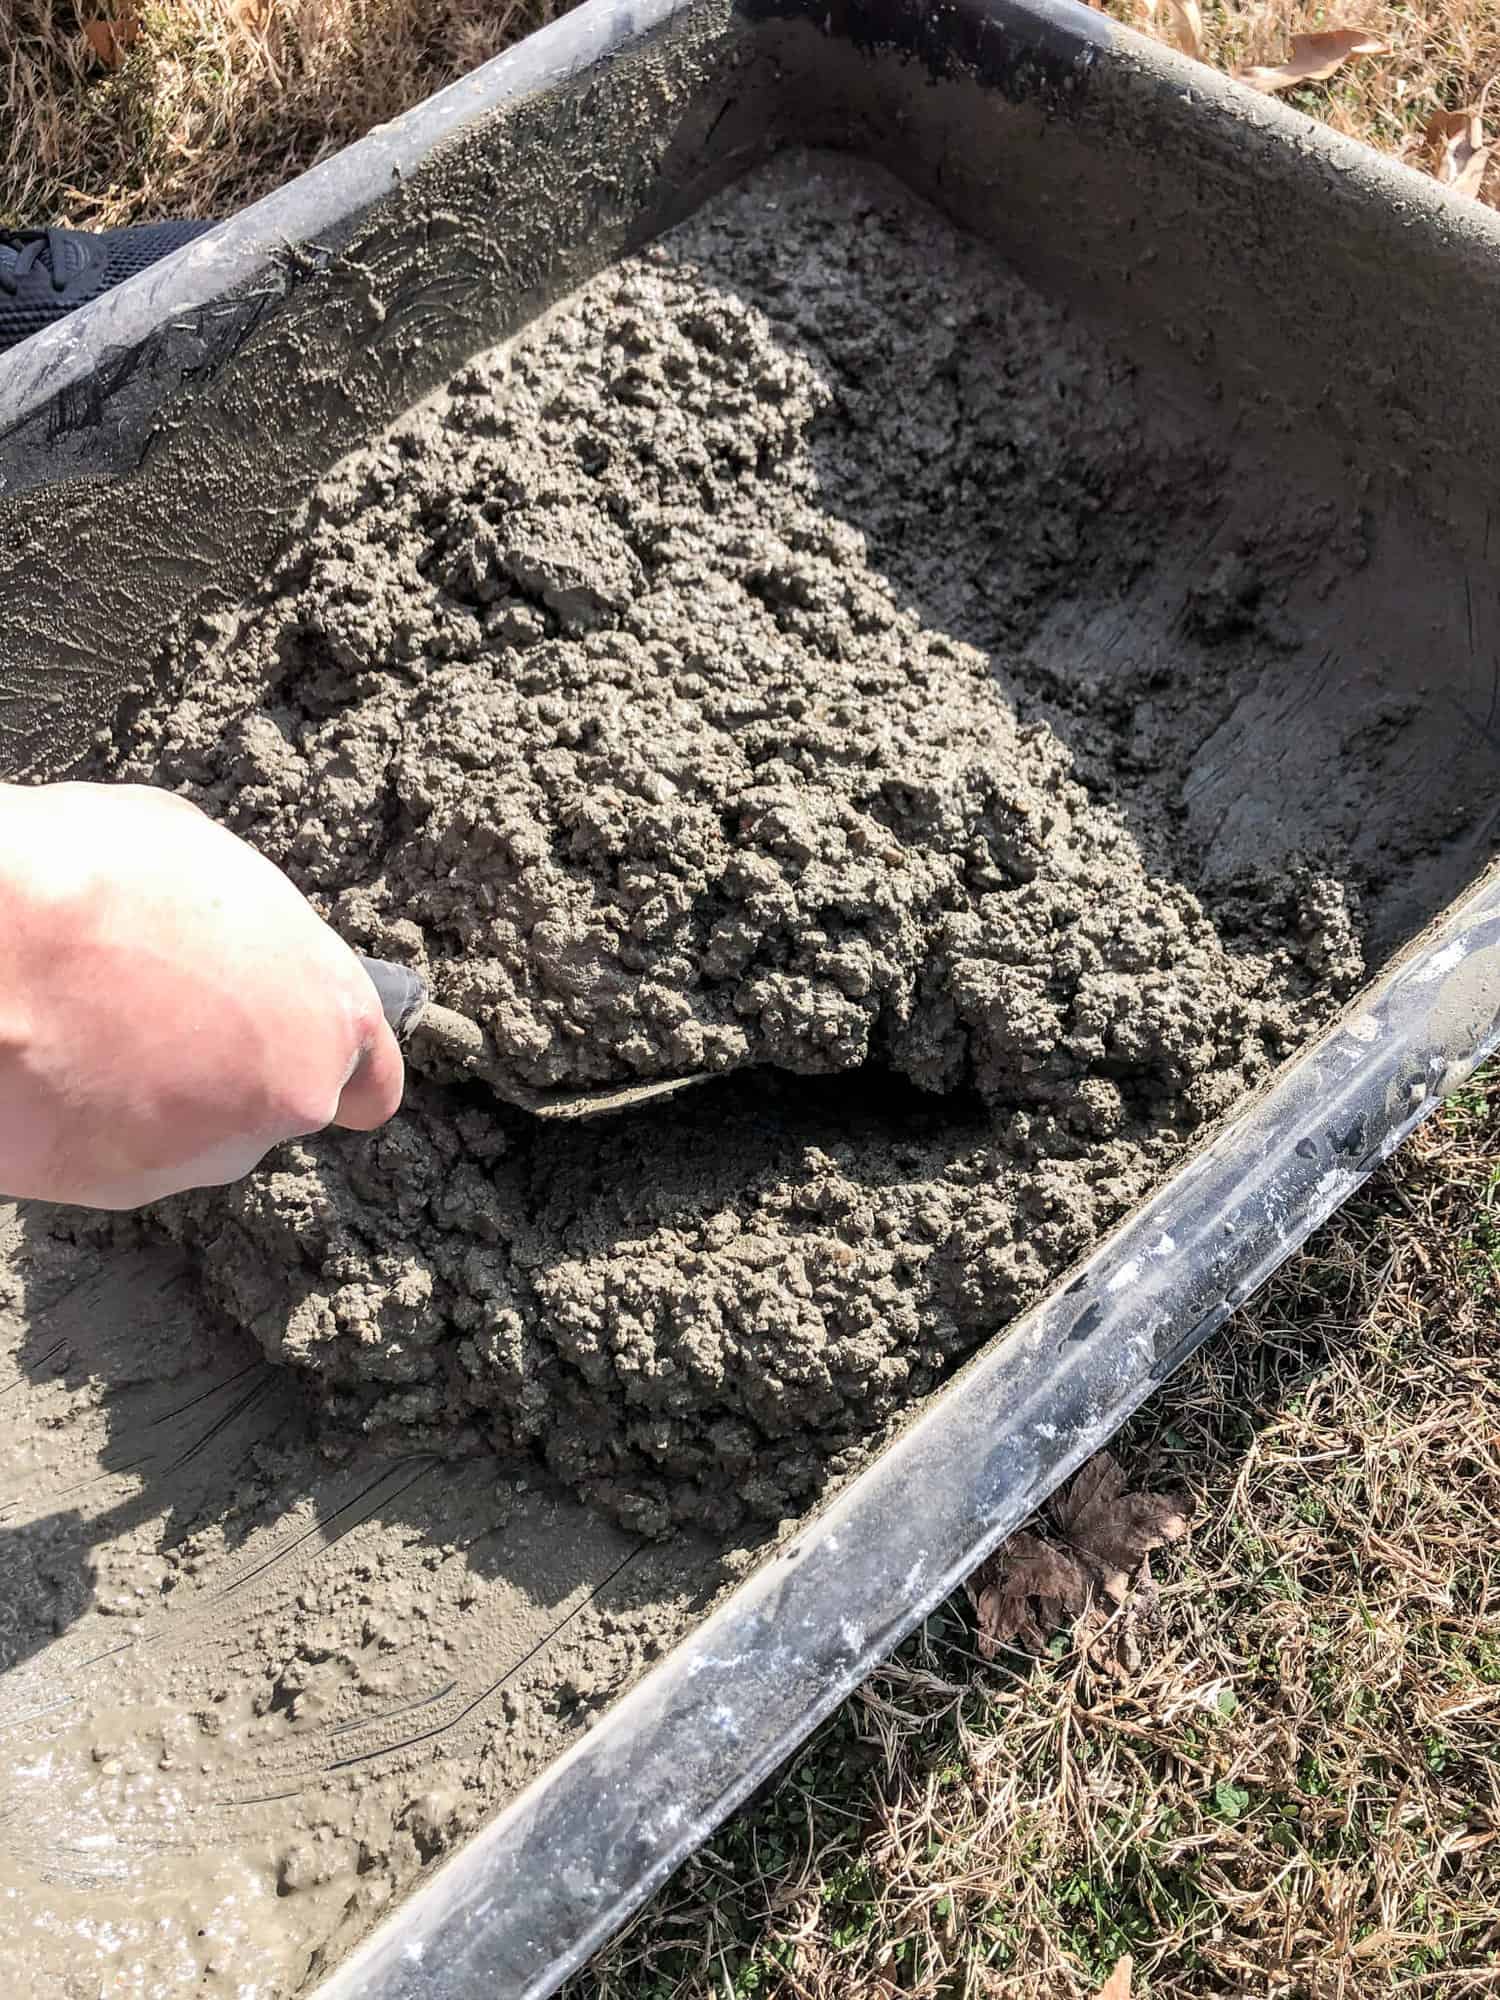
Once it’s fully incorporated, you are ready to pour your concrete.
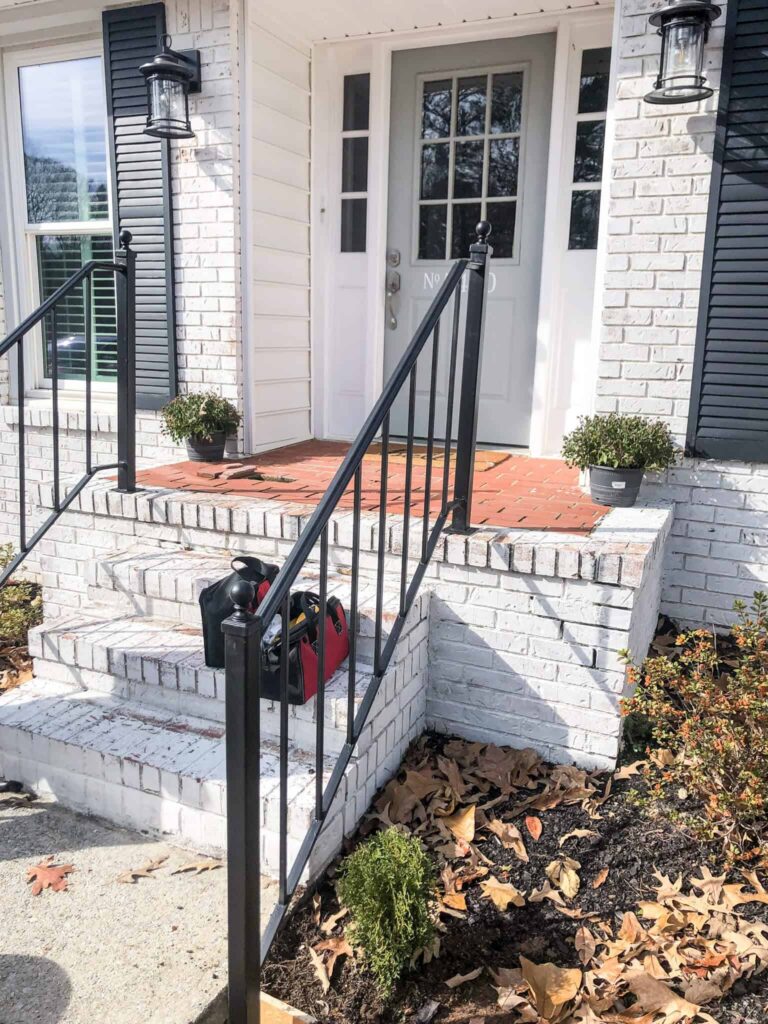
We set the rails in place and then screwed them into the porch bricks to help keep it steady.
Only work on one at a time, but once it was in place, we poured the concrete.
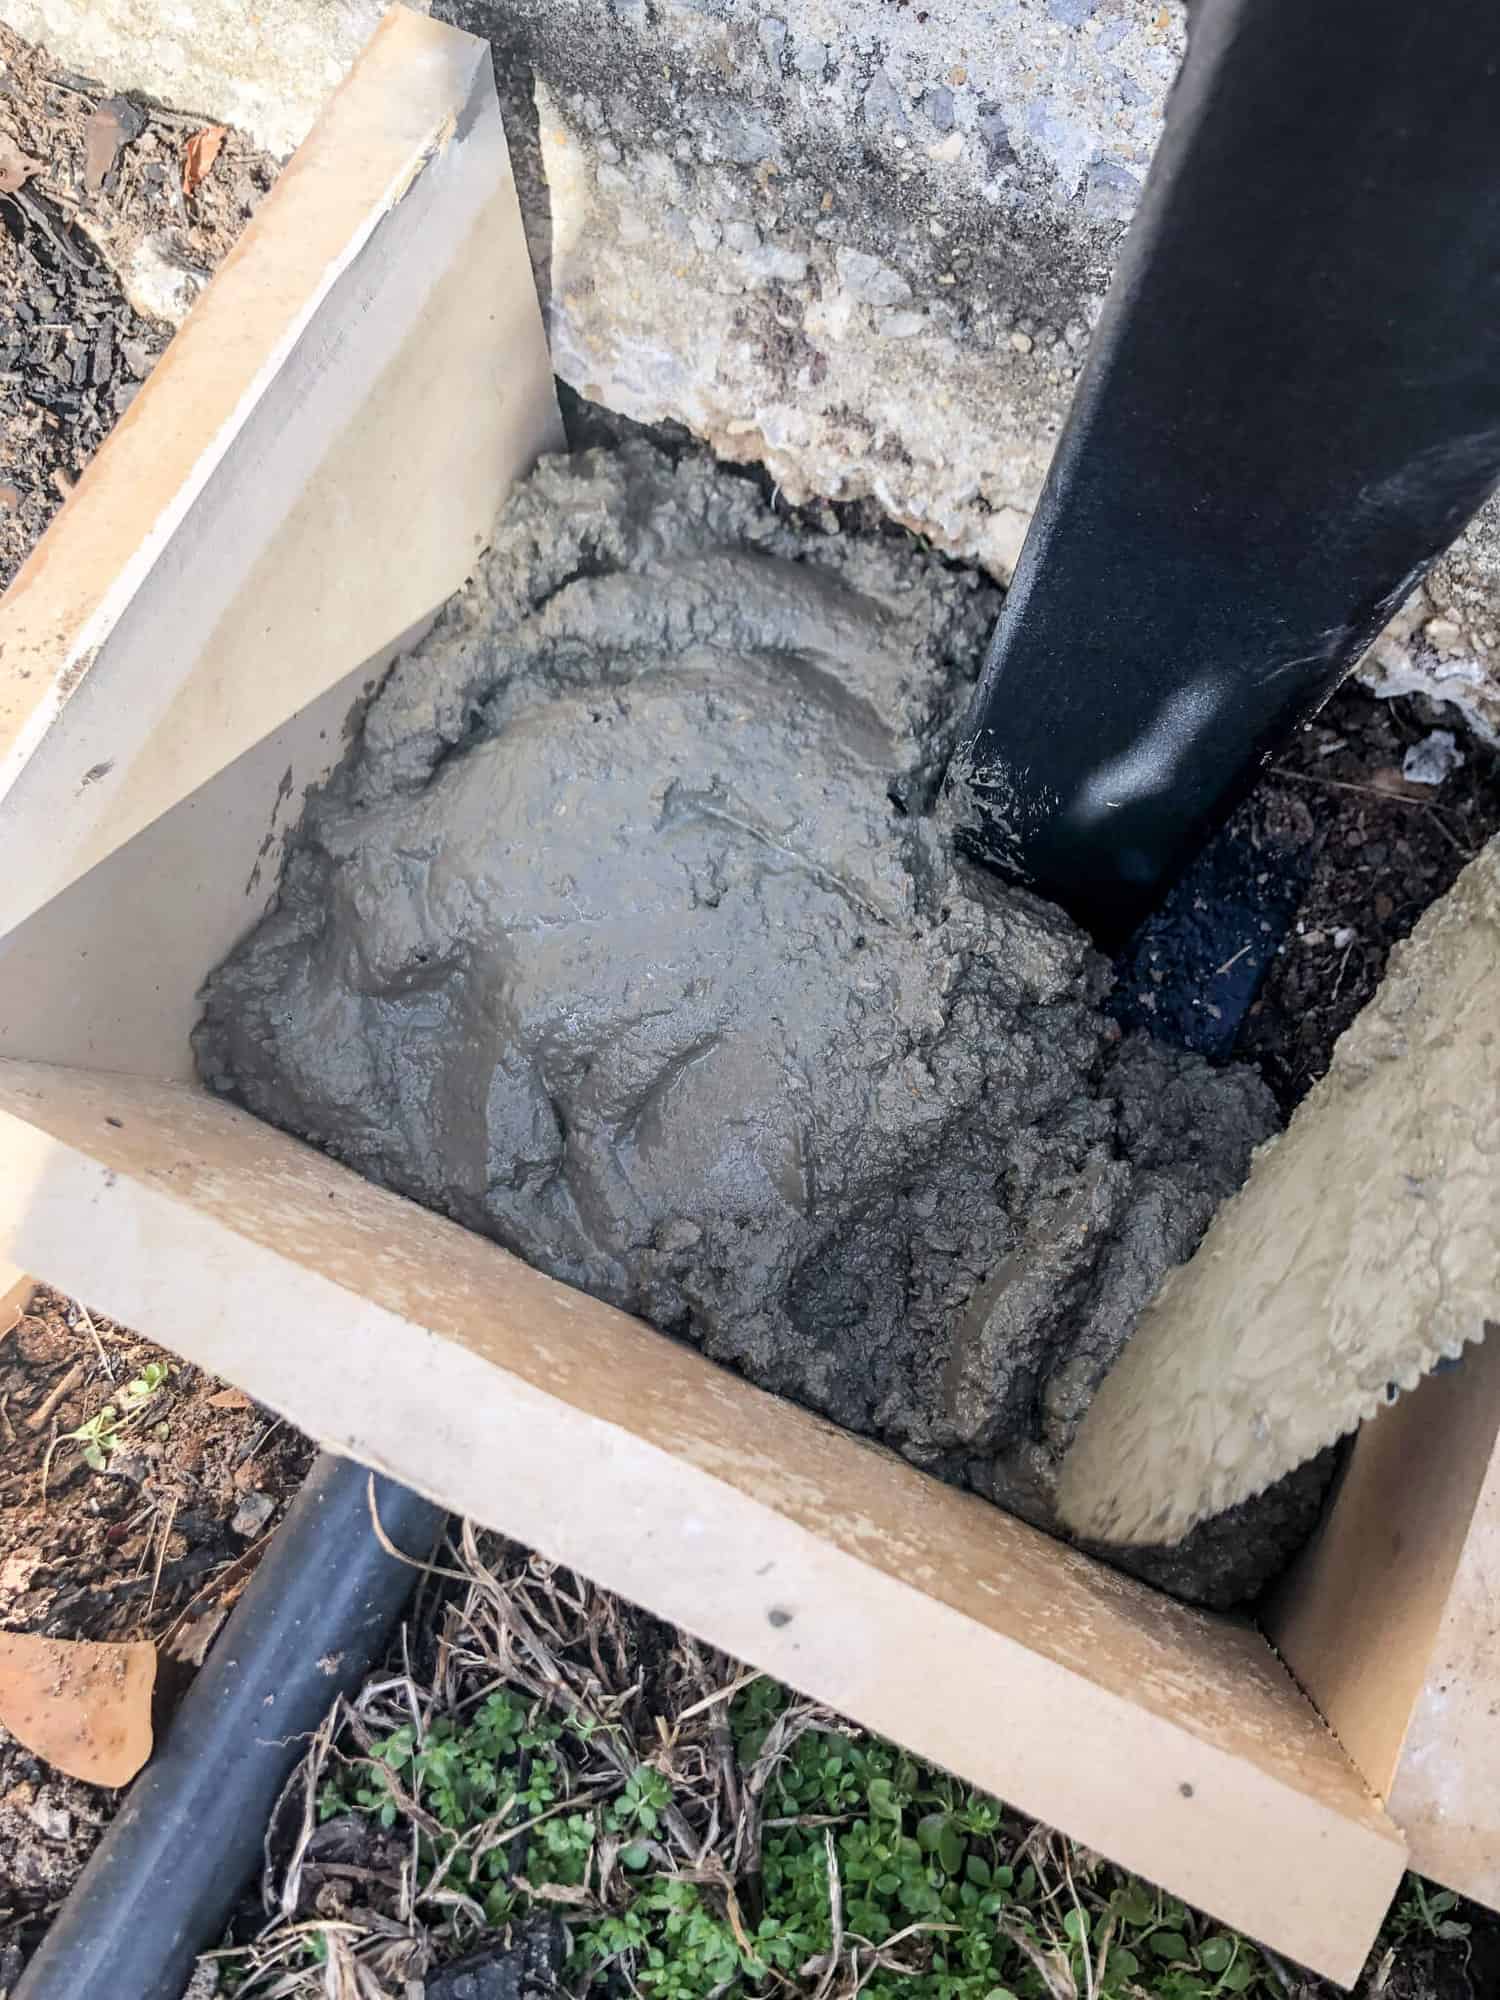
We wanted a secure footing, so we poured about 4 inches of concrete into each form.
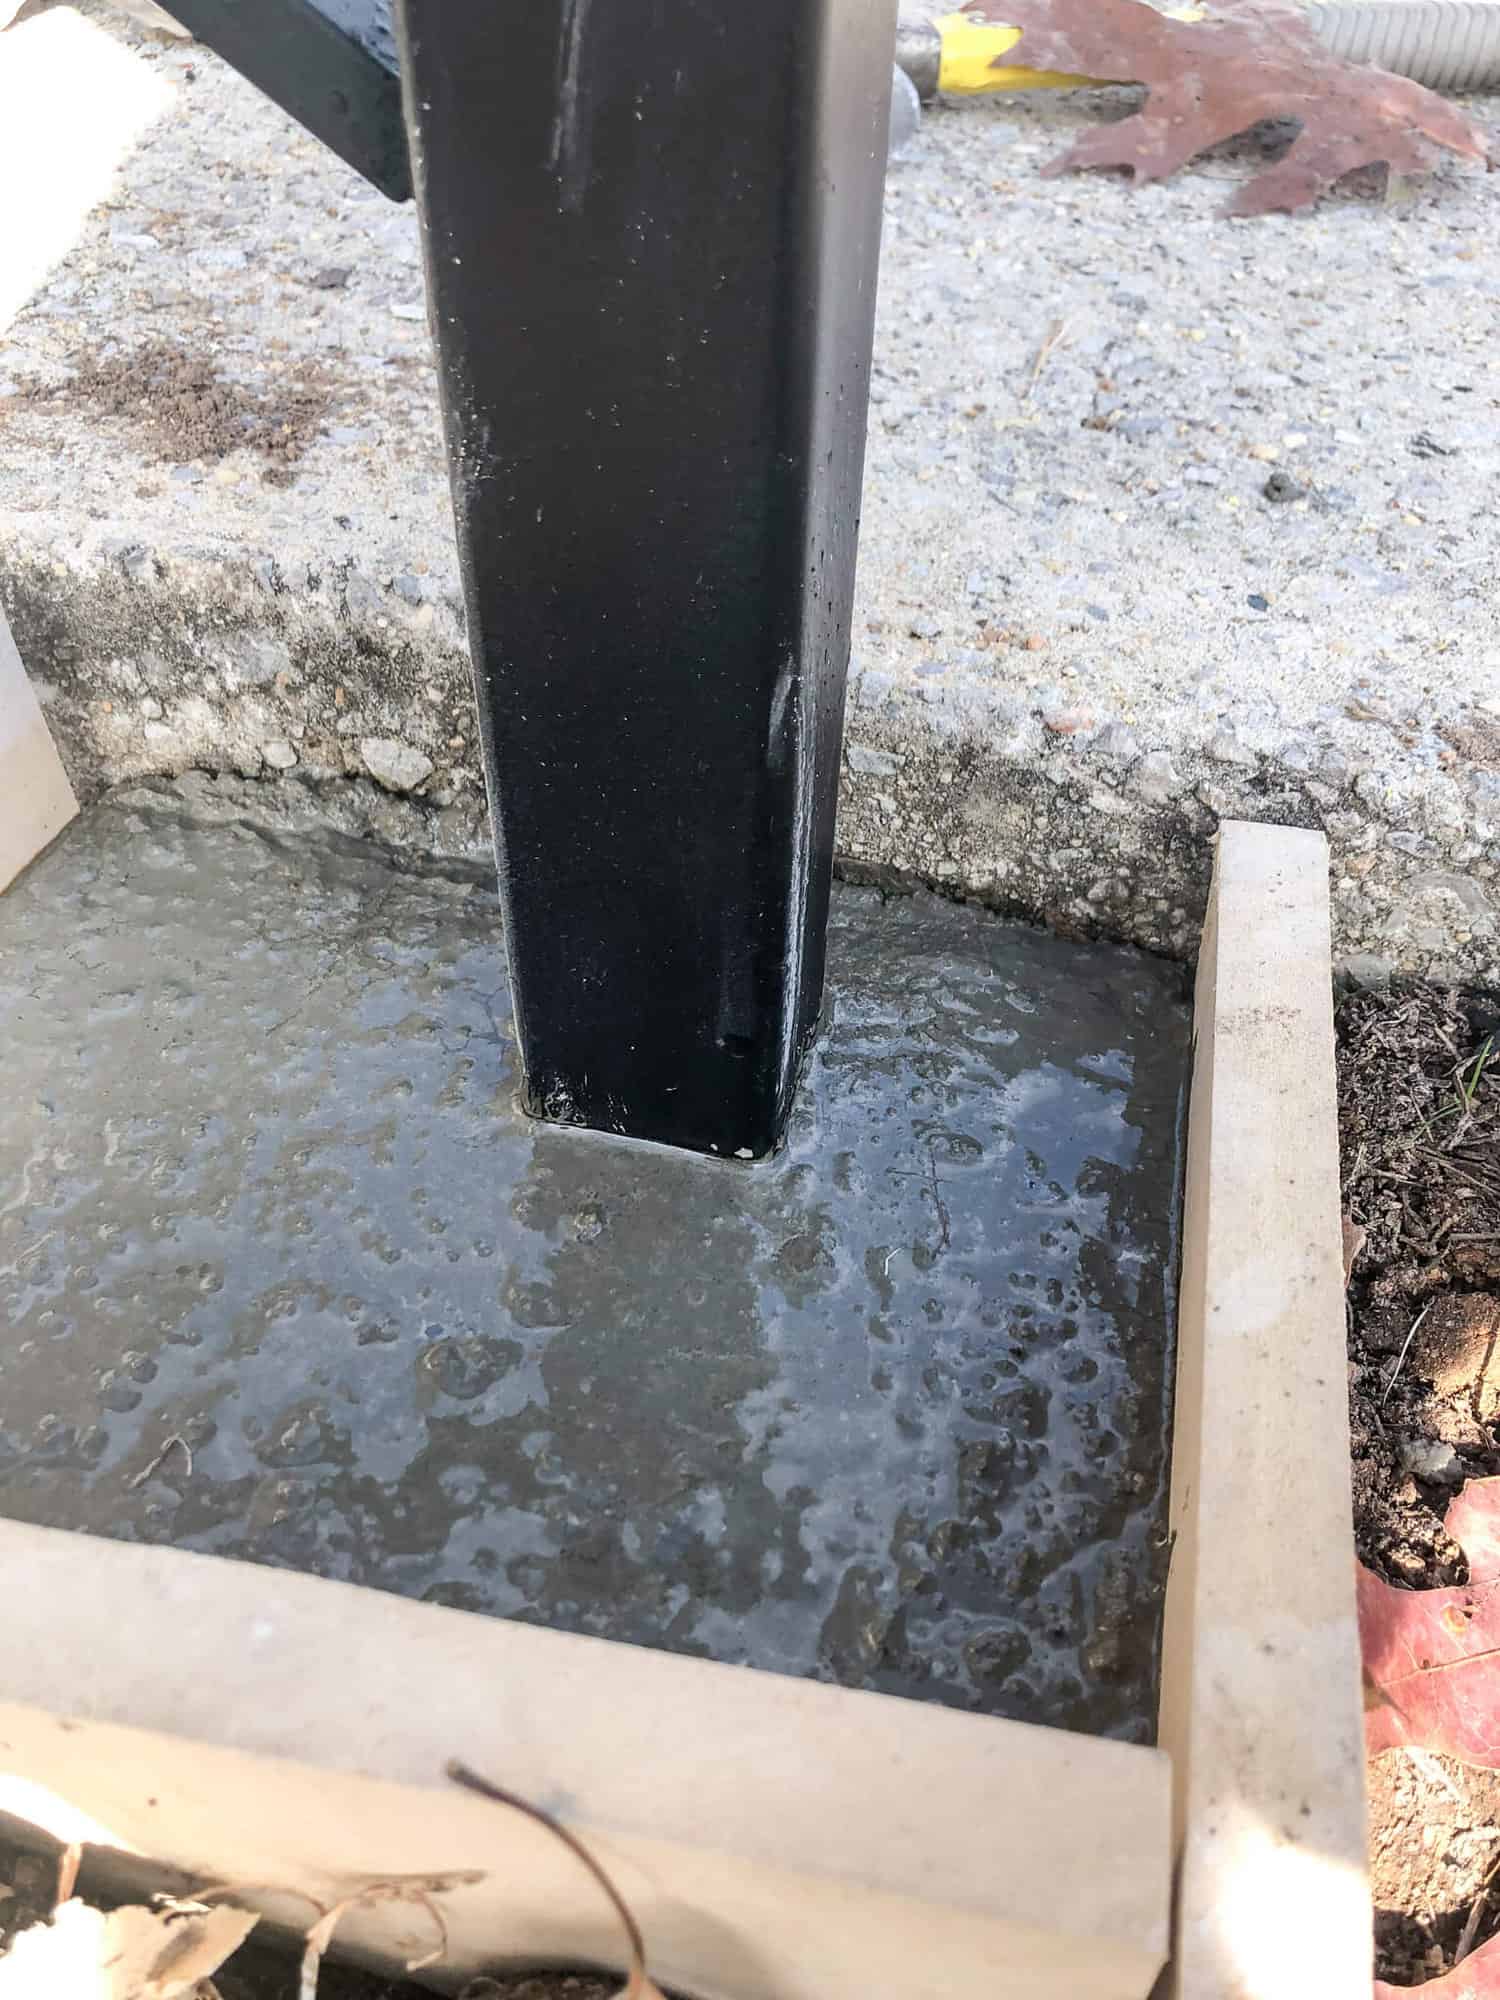
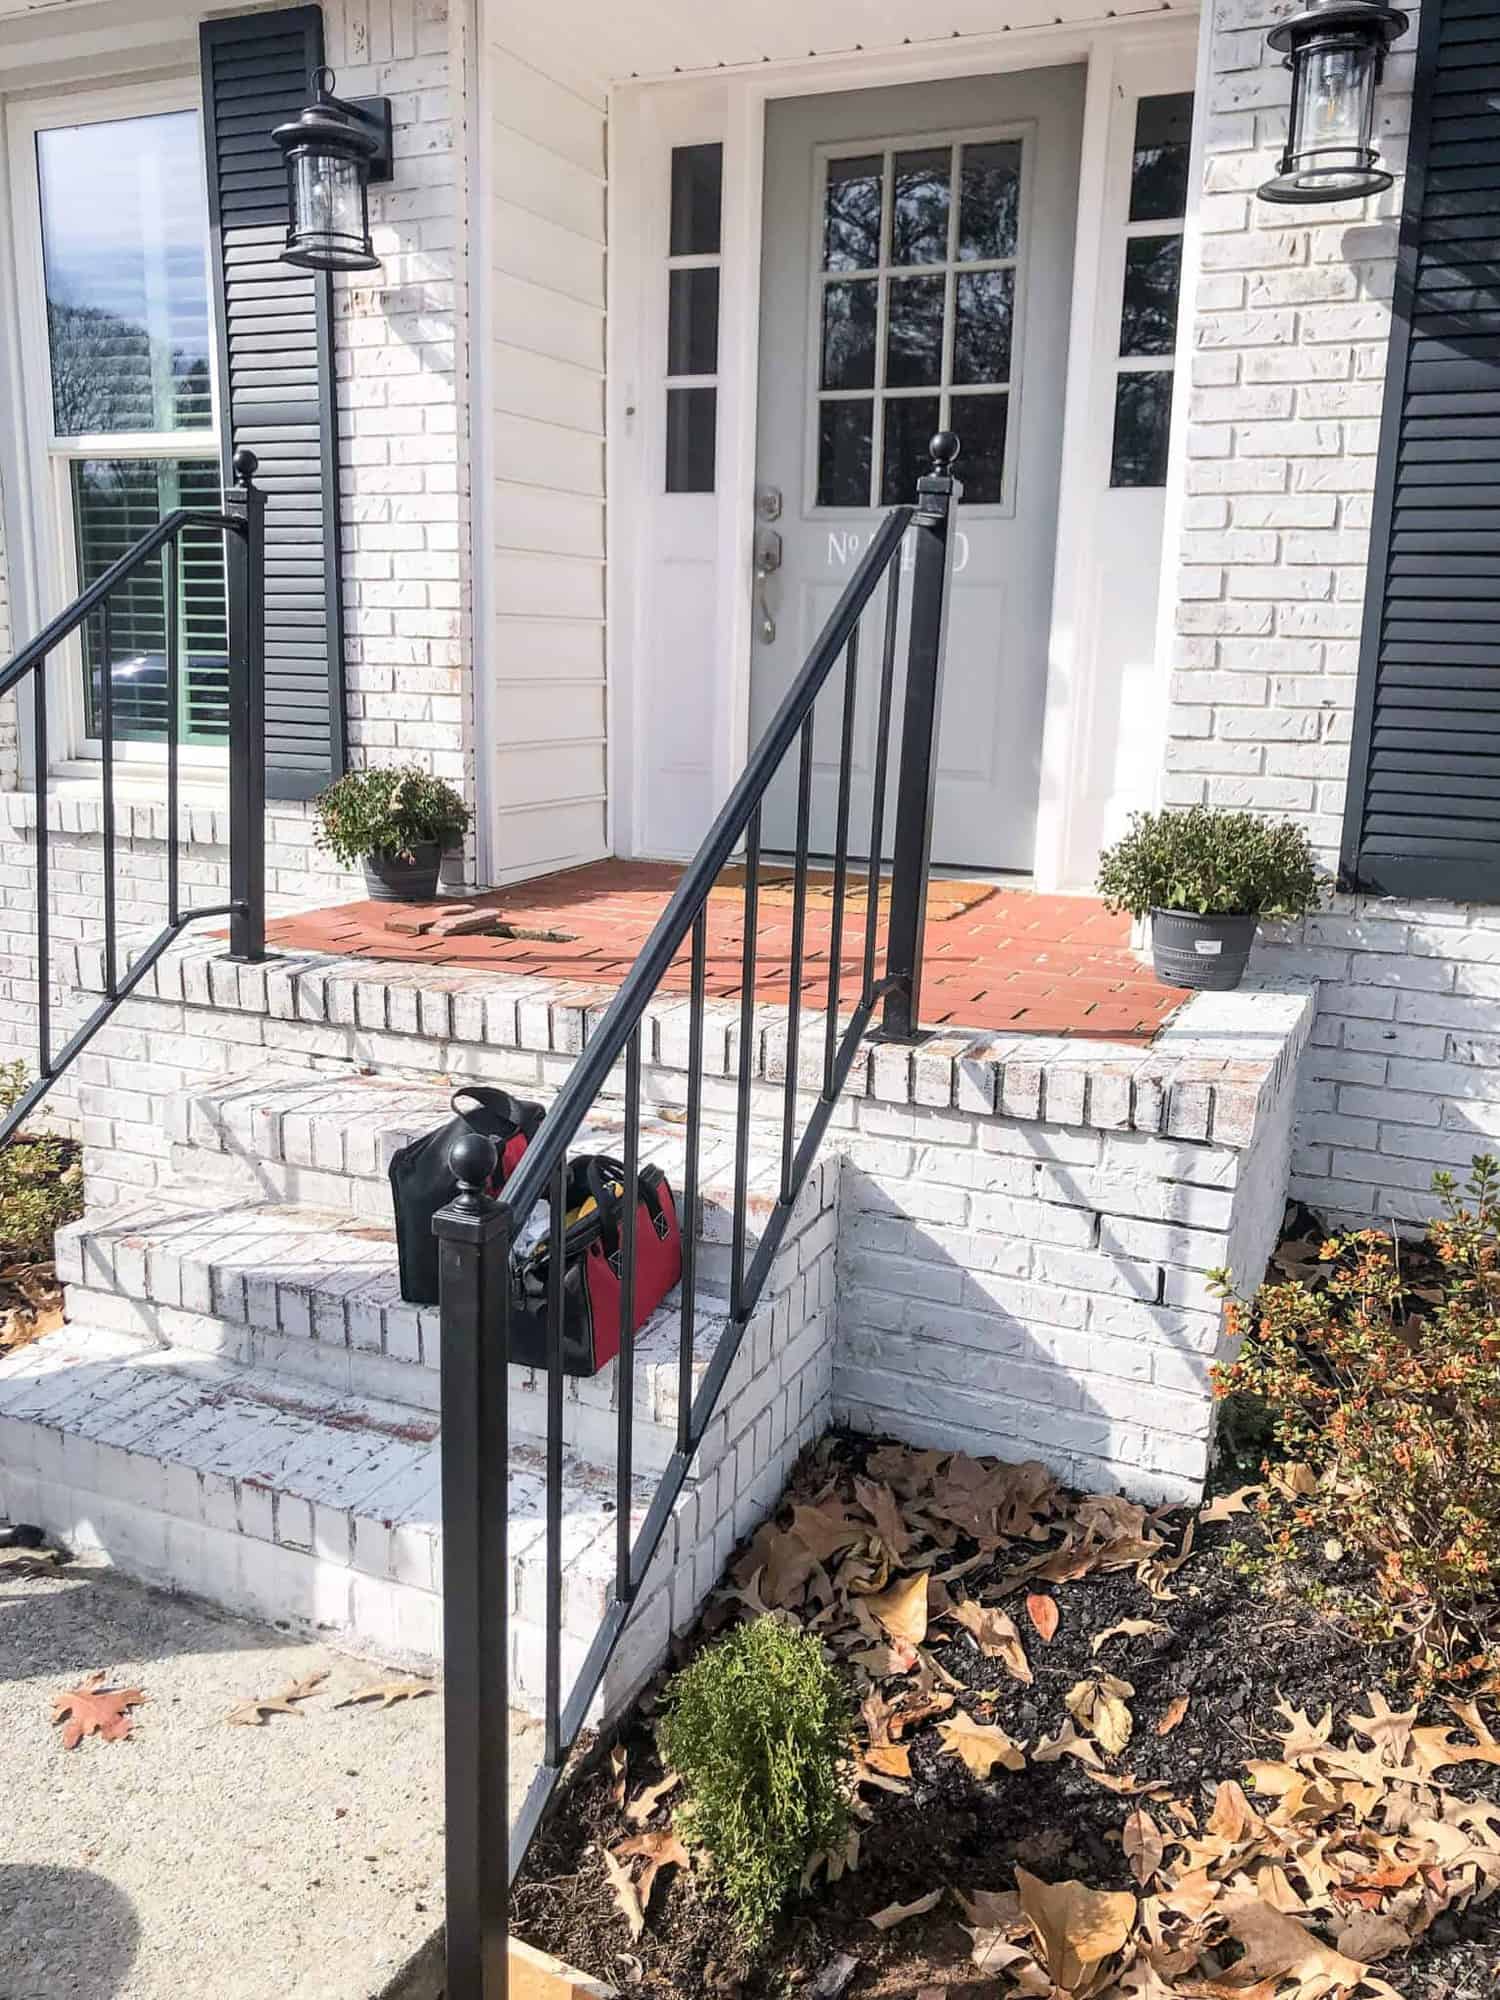
As you can see, it wasn’t centered or perfect, but it was level and lined up with the porch for a good sight line – and that’s what matters!
But Jen, what’s a sight line?
See how parallel the iron railing is to the steps?
That’s your sight line! Make sure it lines up.
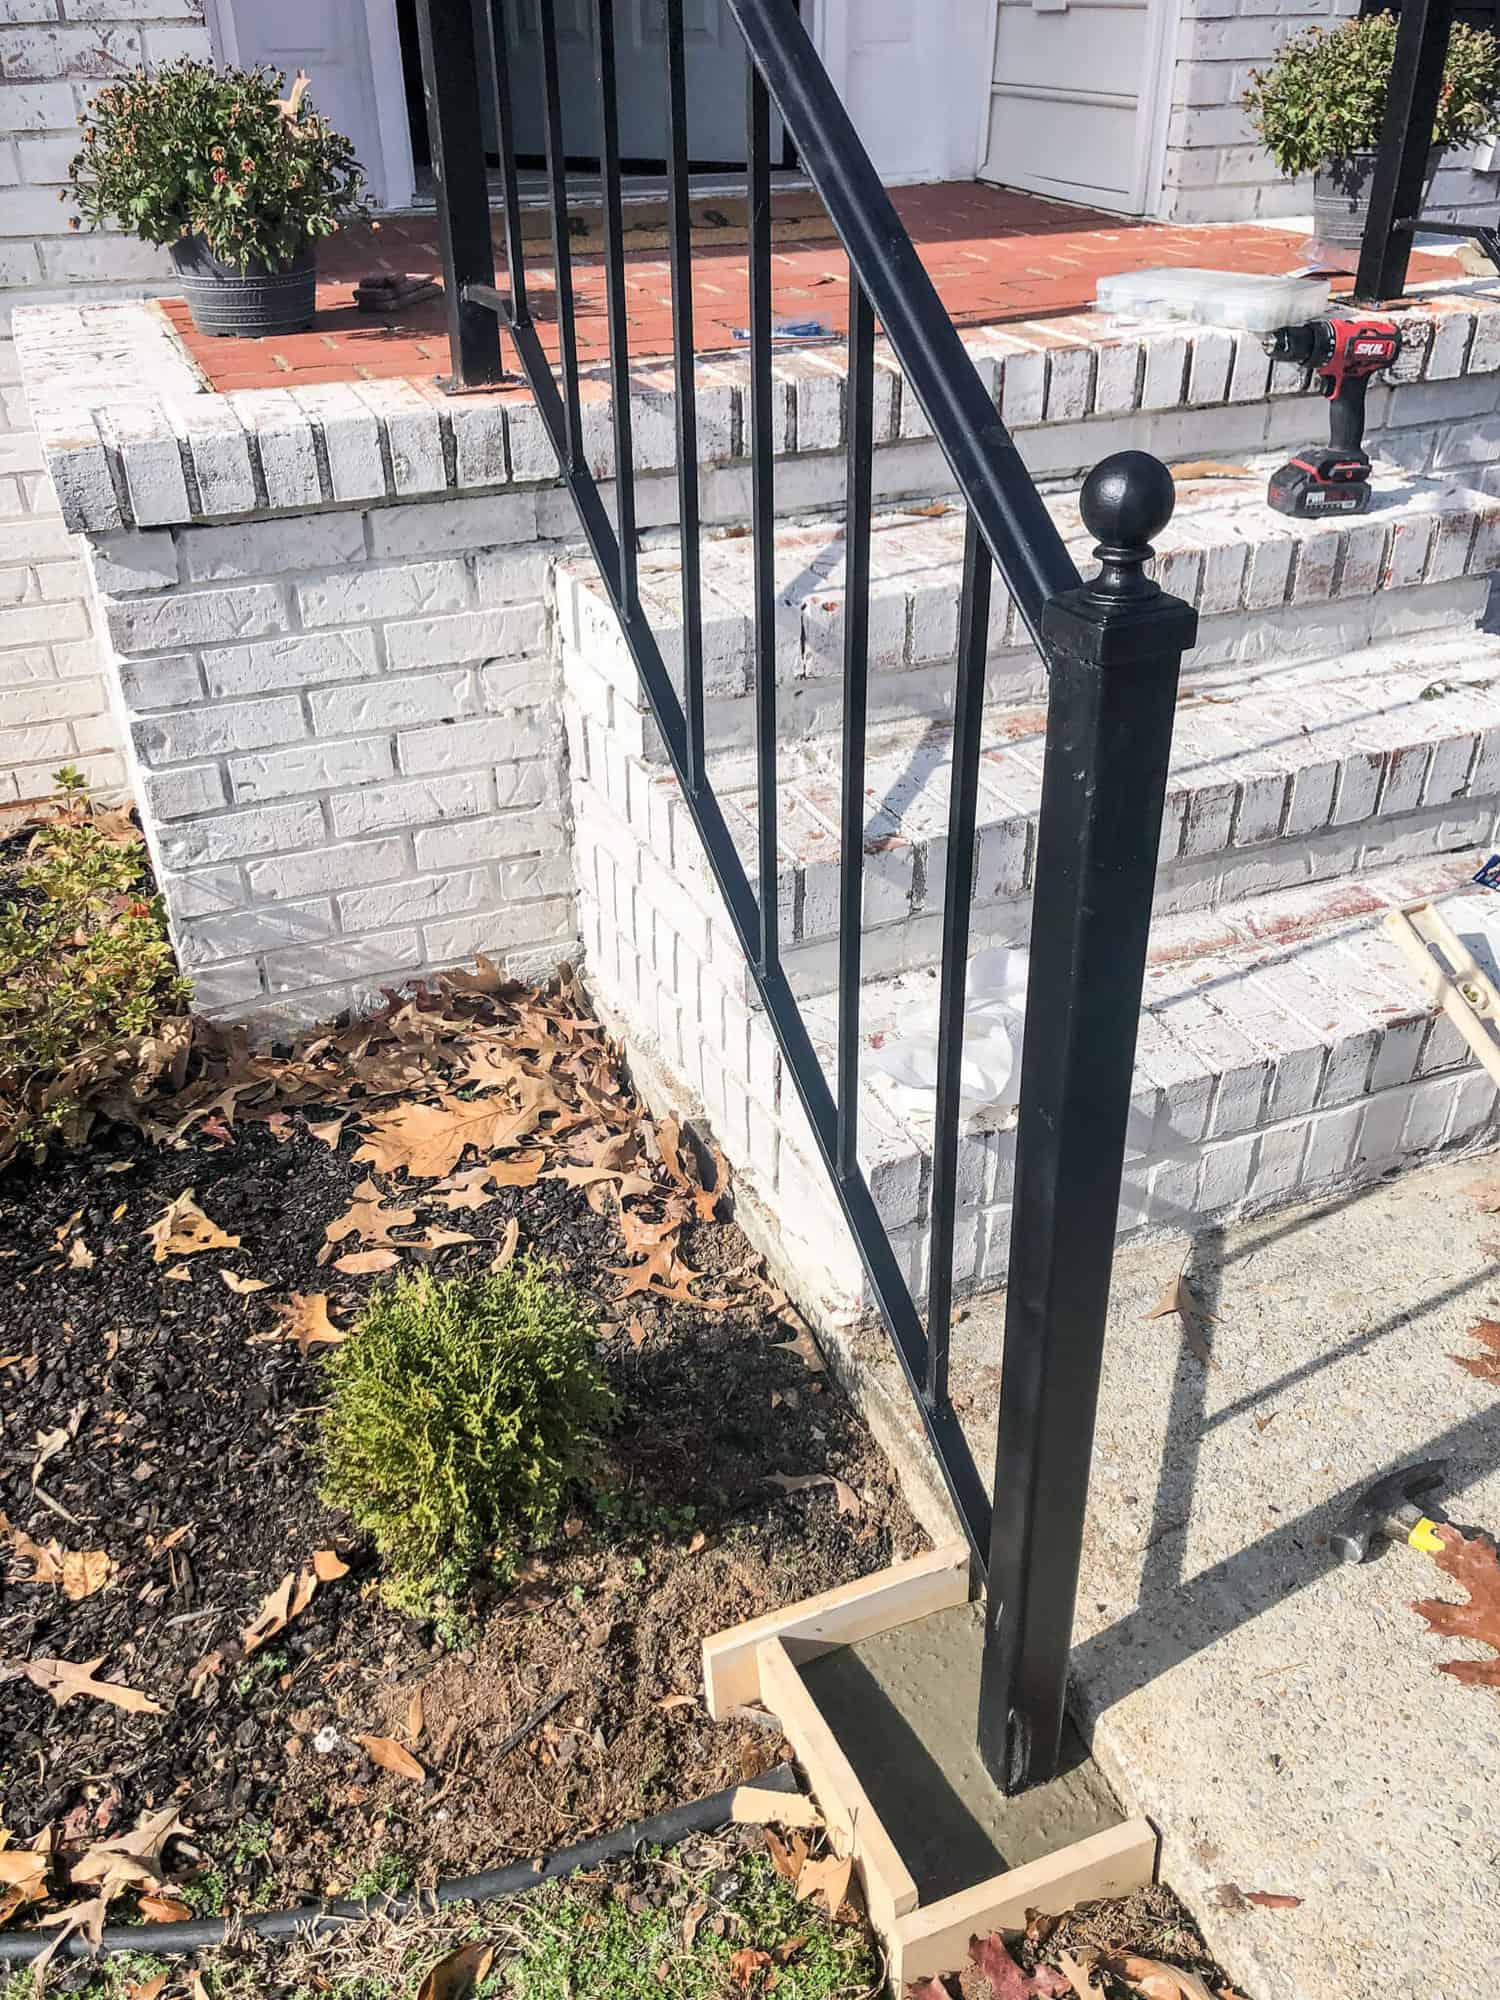
The concrete was dry in just a few hours and we had these beautiful rails.
However, we didn’t remove the wood forms until the next day.
You want to make sure the concrete is fully cured.
So while we almost passed on this project, I’m so glad we gave it a try!
Stay tuned for later this week, when we share our brick patio reveal. Be sure to sign up for my newsletter so you don’t miss the next post!
UPDATE! See our Brick Patio Reveal!
But now it’s time for some more inspiration!
A group of bloggers get together once a month to share a fun and easy DIY for you to try! Check out these fun posts!

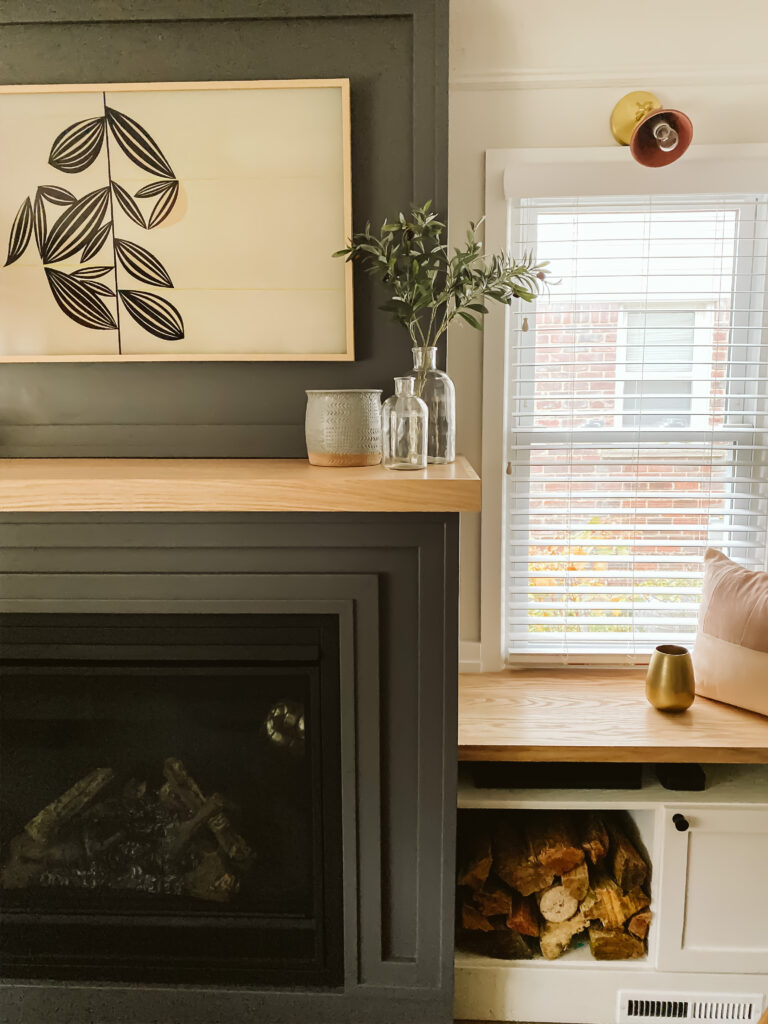
Clark and Aldine / How to Make a Sustainable Natural Firewood Stack
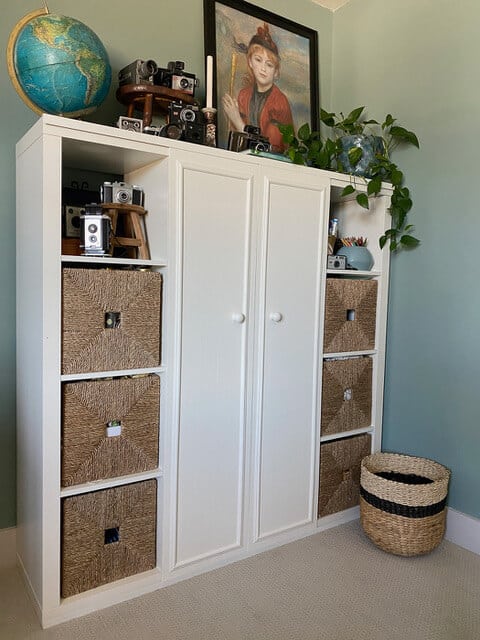
Deeply Southern Home / Ikea Kallax Hack – How to Add Sliding Doors to Any Bookshelf
Noting Grace / How to Repurpose Exterior Iron Stair Railings
White Arrows Home / Painted TV Trays Made New Again

shop our favorite home items
shop now
Join Our Community
Don’t miss the next DIY! Receive exclusive content, including behind the scenes photos, our favorite home decor DIYs and more!


What a creative and resourceful project! I love how you repurposed the old iron stair railings and gave your front porch a fresh, stylish look. The step-by-step process you shared is super helpful, especially the tips on leveling and pouring concrete. Can’t wait to see the final brick patio reveal! Keep up the amazing work!
Thank you Kristin! I hope all is well with you, my friend!
Your house is so beautiful and you just used the curb appeal even more! Such a great idea!
Thank you my friend! I am so glad you are a part of this with me!
Thank you so much Michelle! I’m so glad this inspired you! Have a great week!
Gosh, this is what I love about this series. Showing that repurposing works. You just have to be a little creative sometimes. Thank you for hosting us!
This is an amazing tutorial! The railings really add a lot of character to the home. They’re beautiful!