DIY Halloween Decorations: Spooky Boarded Up Windows
It’s a little unknown fact that our boys love to decorate for Halloween. So I thought it was time to share some DIY Halloween Decorations and how we make our own boarded up windows.
Year after year, we decorate our front yard for Halloween, but I haven’t ever shared those decorations with you here at Noting Grace.
Mostly because it has been gory and, well… boyish.
So this year, I decided it would be a perfect time to up my game and add my own touch to our outdoor decorations.
Which of course means some fun DIYs!
Halloween decorations can go beyond bloody handprint window clings, black cats, and spooky silhouettes.
You know I love old houses, and thought this would get us into the halloween spirit.
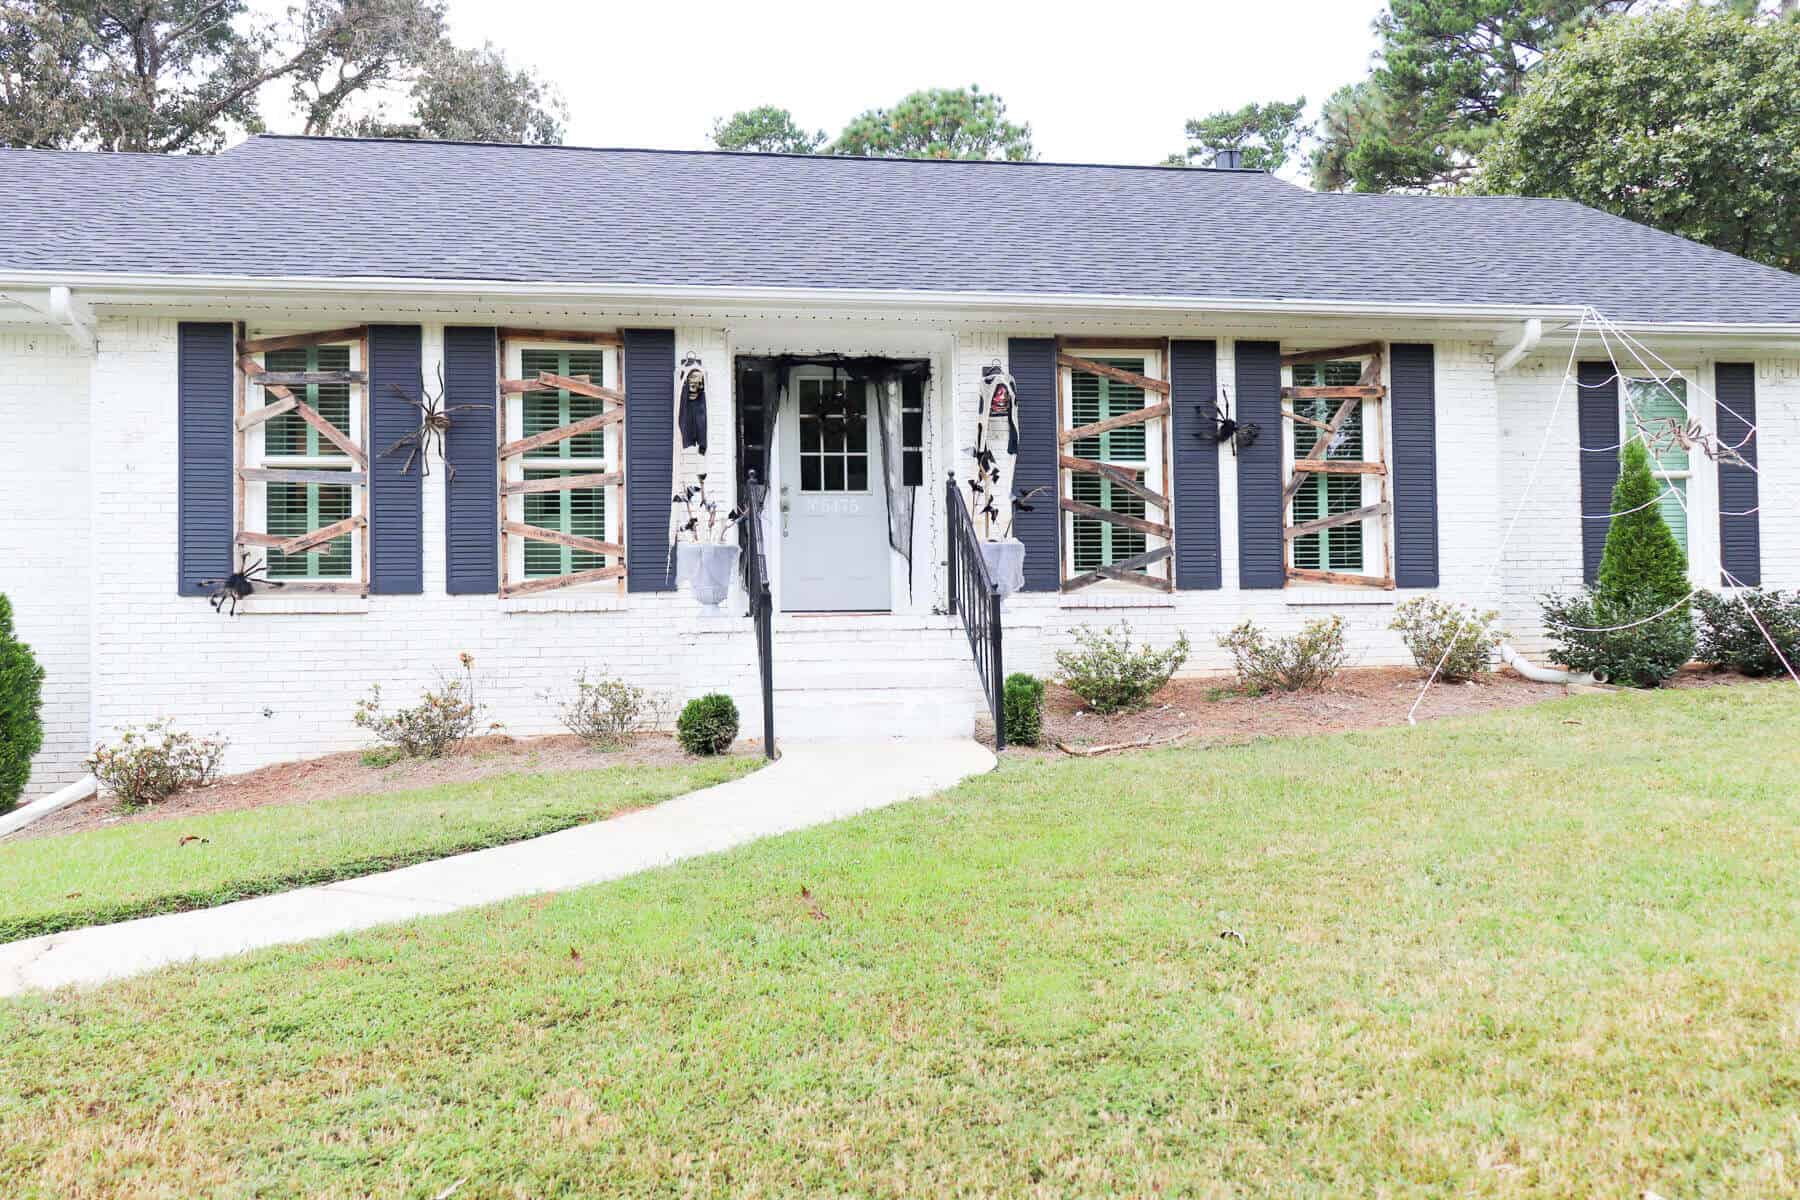
I wanted to make our house look condemned, so I found an easy way to make some faux boarded up windows.
Here’s how we did it.
DIY Boarded Up Windows
(Some affiliate links are provided below. Full disclosure here.)
Supplies needed for each window:
Two 1 x 2 Furring Strips
Three 1 x 4 Furring Strips
Tape Measure
Pneumatic Nail Gun and Compressor – I love this combo kit
Compact Circular Saw
Black Paint or Stain
Brown Paint or Stain
Paint Brush
I wanted to cover the front windows of our house, so we focused on the four windows next to our front door.
I searched the web for ideas and found a halloween forum with lots of options made from foam board, or pieces of cardboard, but I was worried they wouldn’t stand up to the weather.
Plus, we wanted the option to store these diy boarded up windows away and reuse them year after year.
Start by measuring the size of your windows. First, get the distance from the top of the window to the sill.
Then you cut the length 2 of the 1 x 2’s. This will act as the side braces custom made to the size of windows.

Next, measure the width of your window and place the 1 x 2 boards the distance of your measurement.
Cut your 1 x 4s that same measurement and add them haphazardly.
Then attach them using a nail gun. Now you can use a drill and wood screws, but it may take a bit of time to make each panel.
It doesn’t have to be exact, just snug enough to sit inside of your windows.

Check your measurements as you add each board. The side frames can shift so just keep an eye on that.
Continue with more boards as you work your way down.
Once you have your frame built, set it into each window to see if it fits.
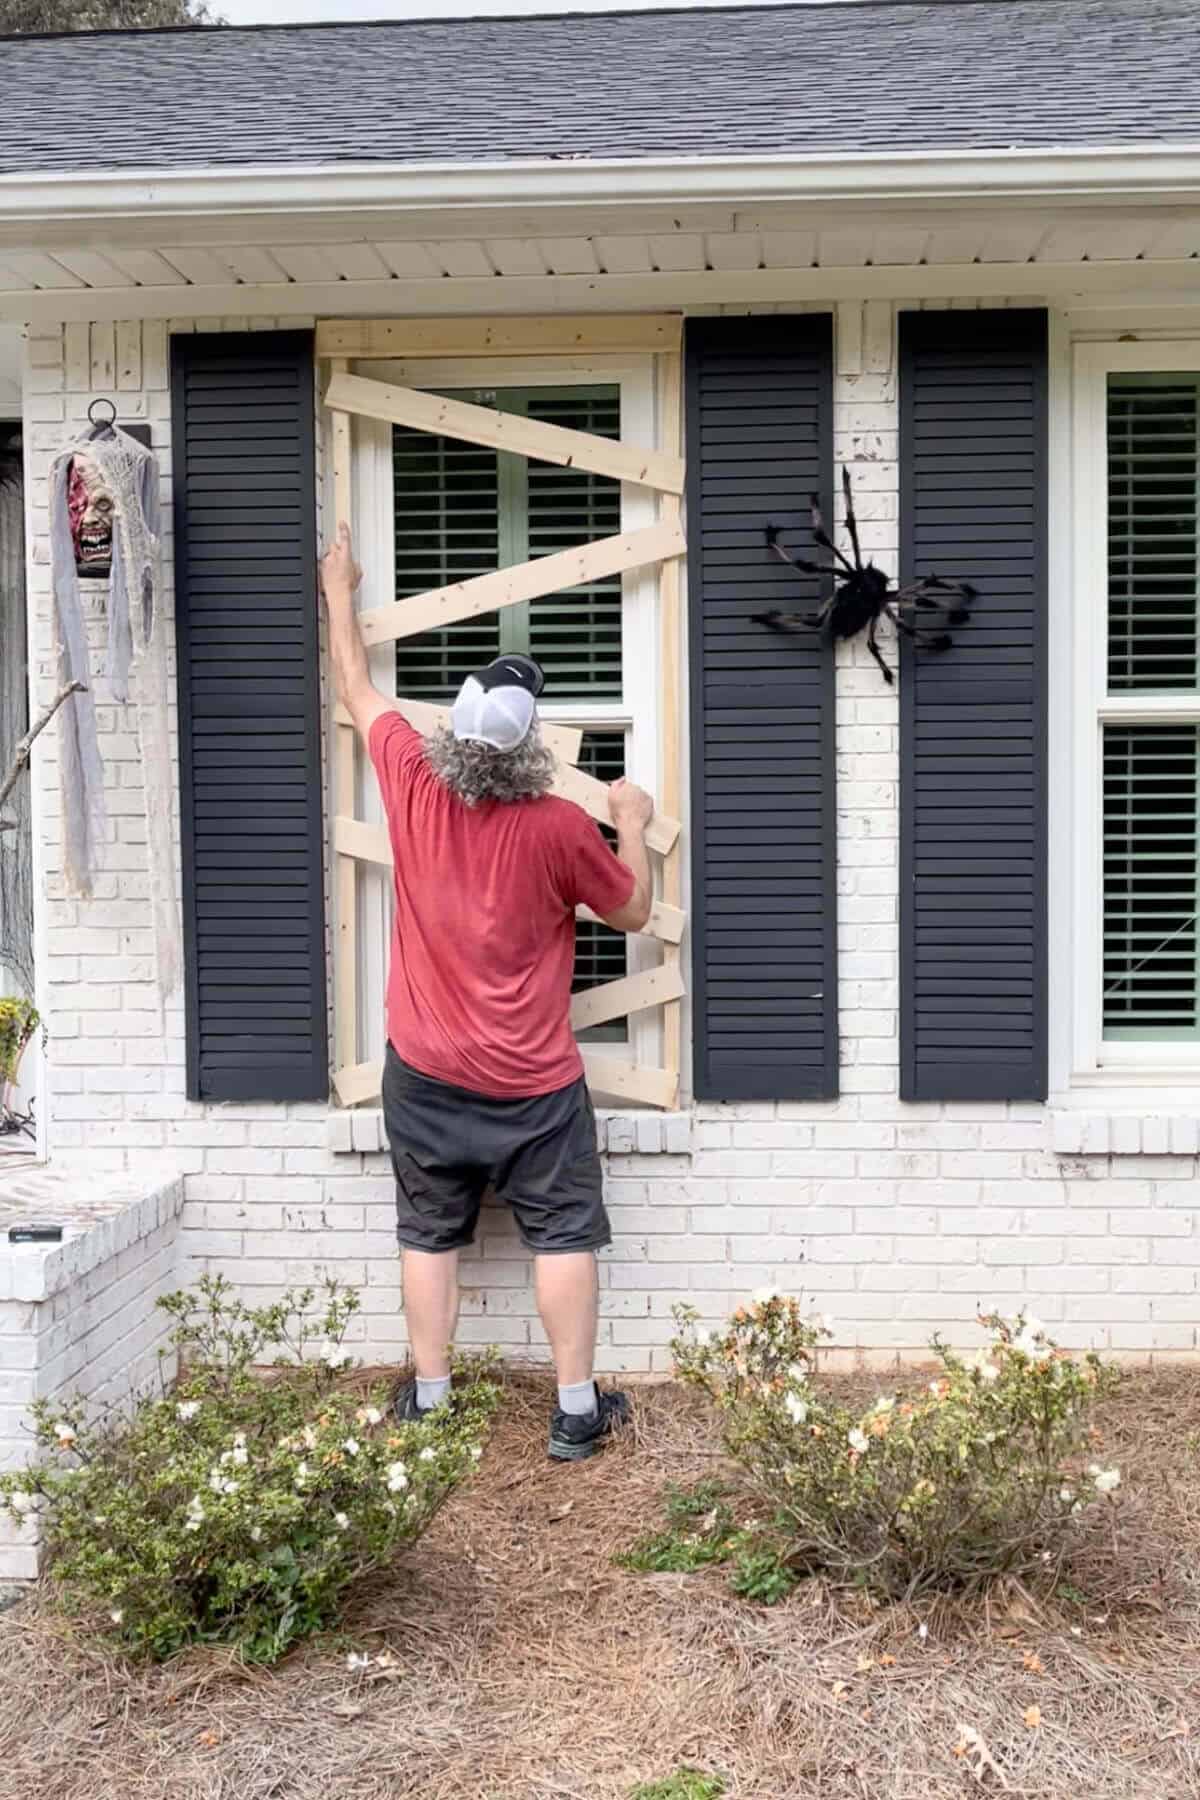
We simply set each frame into the window panel and didn’t attach them directly to the house.
Now came the fun part – time to paint and distress.
I searched our garage for paints and stains and found a few cans of wood stain that were almost dried up.
Using a paint brush, I just dipped my brush in different colors until I found an aged, weathered look.
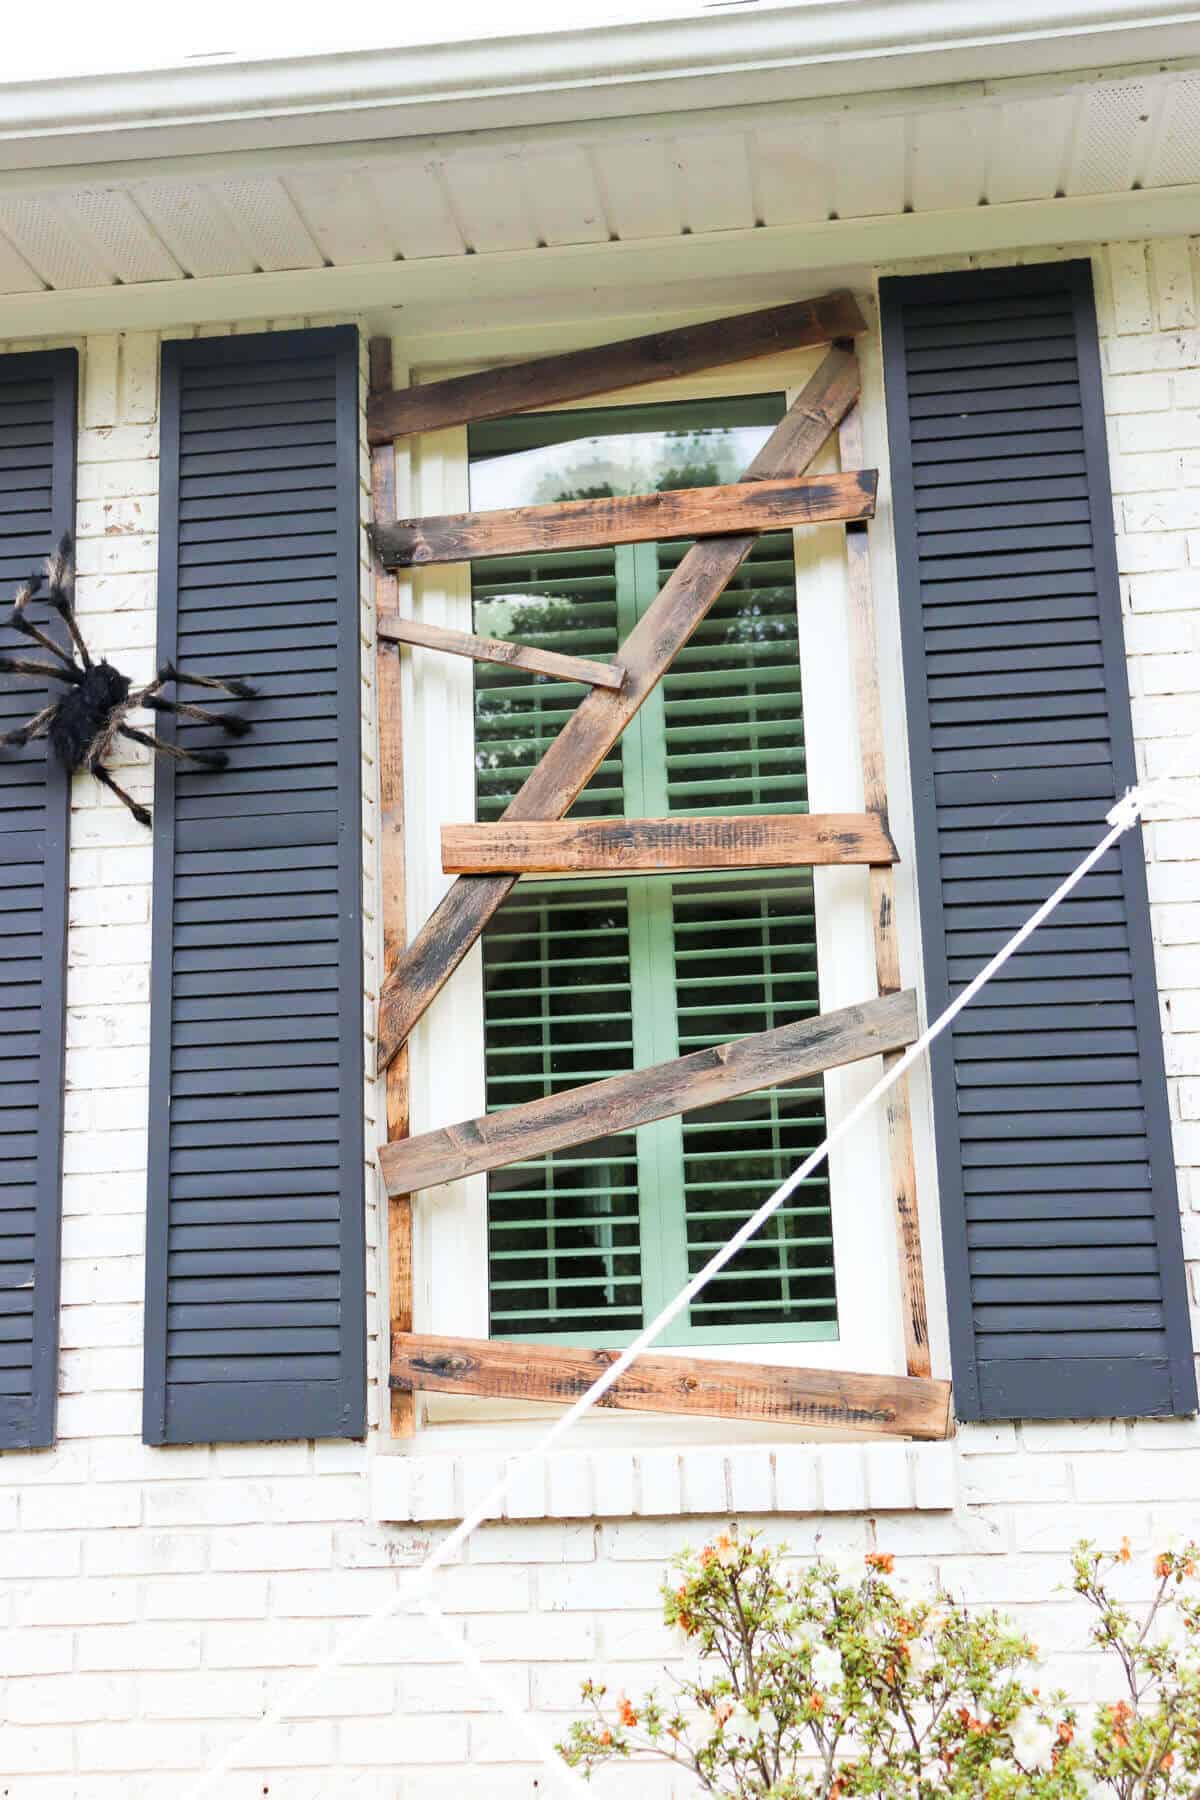
We made each window frame in just a few hours, and we would have made more, but we got rained out and also ran out of materials.
I thought this was a neat way to create halloween window decorations that we can use year after year.
These DIY Boarded Up Windows are a great way to add a dramatic effect to your exterior.
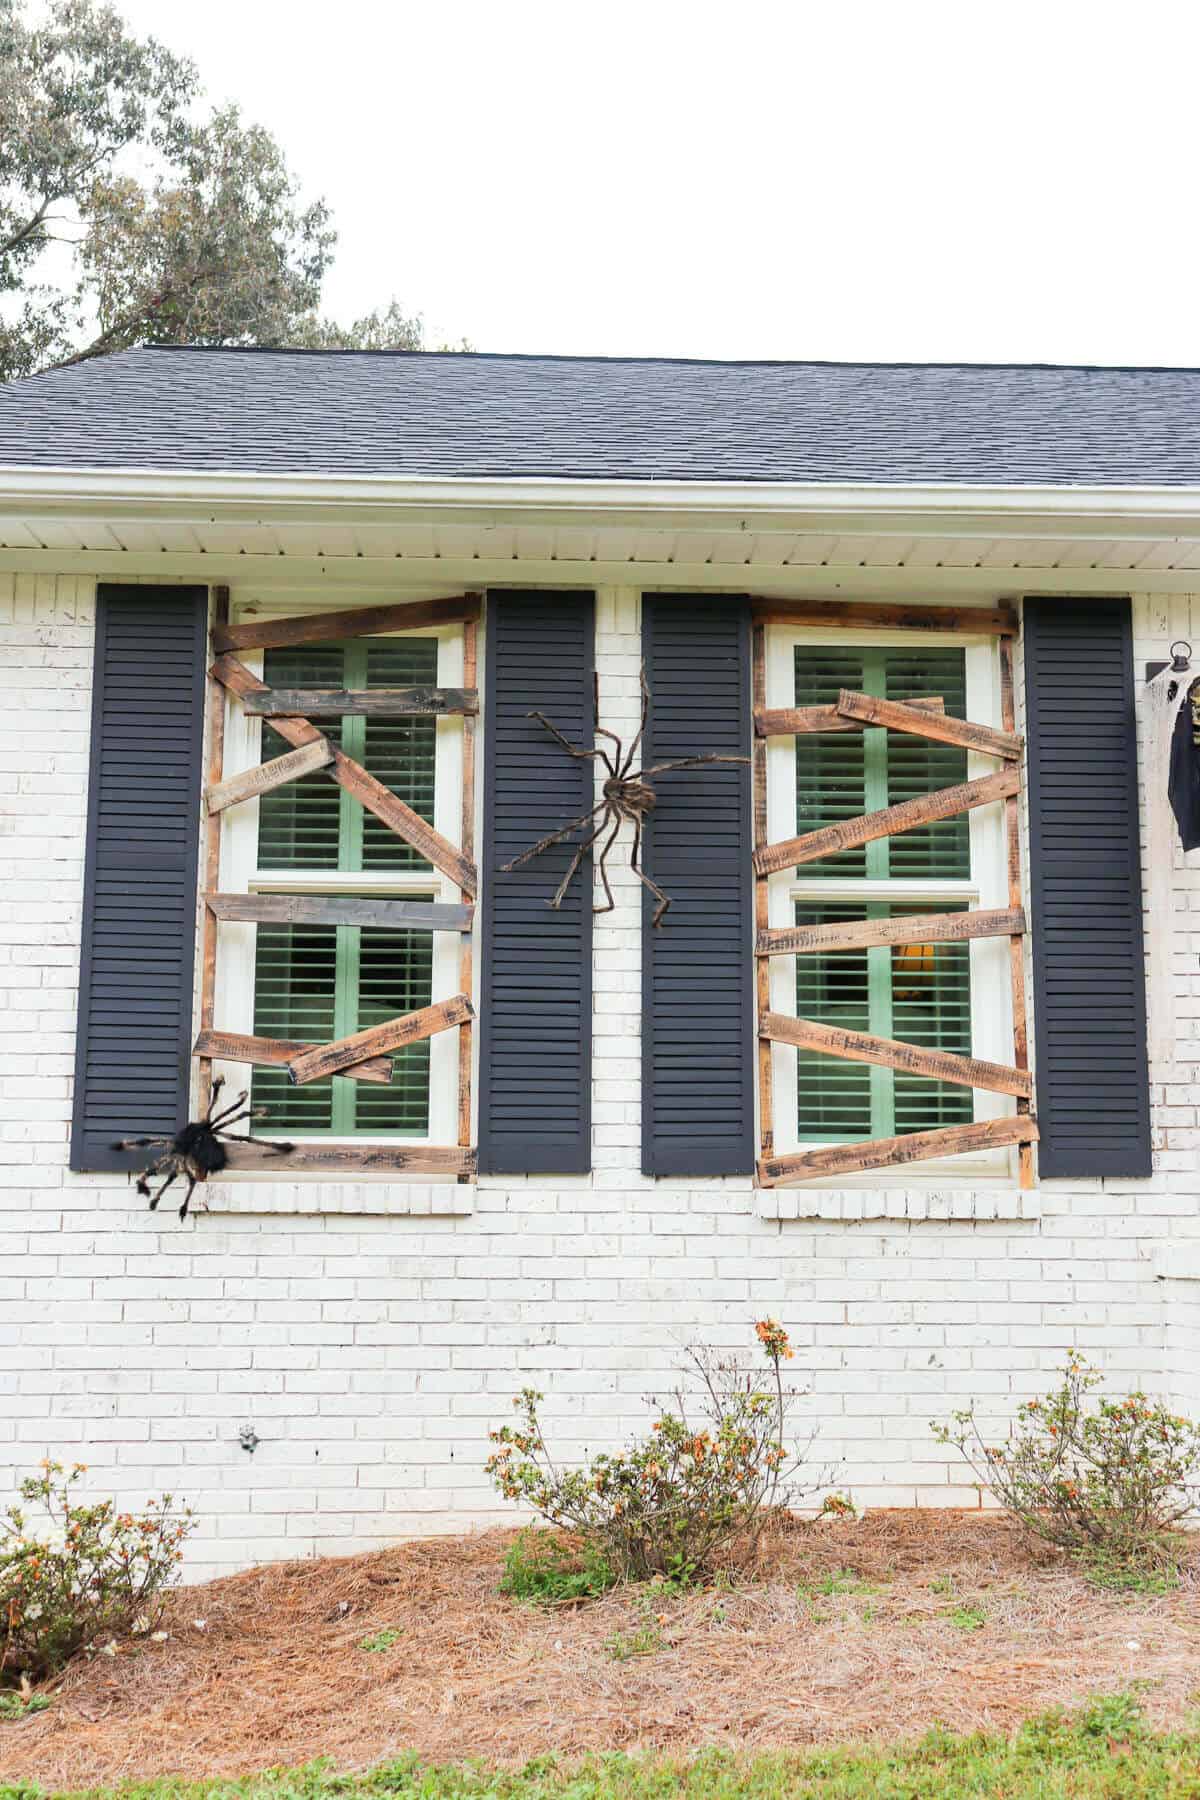

As you can see, we made each window look a little different.
We mixed the placement of each board and even added some 1 x 2s to the window frame.
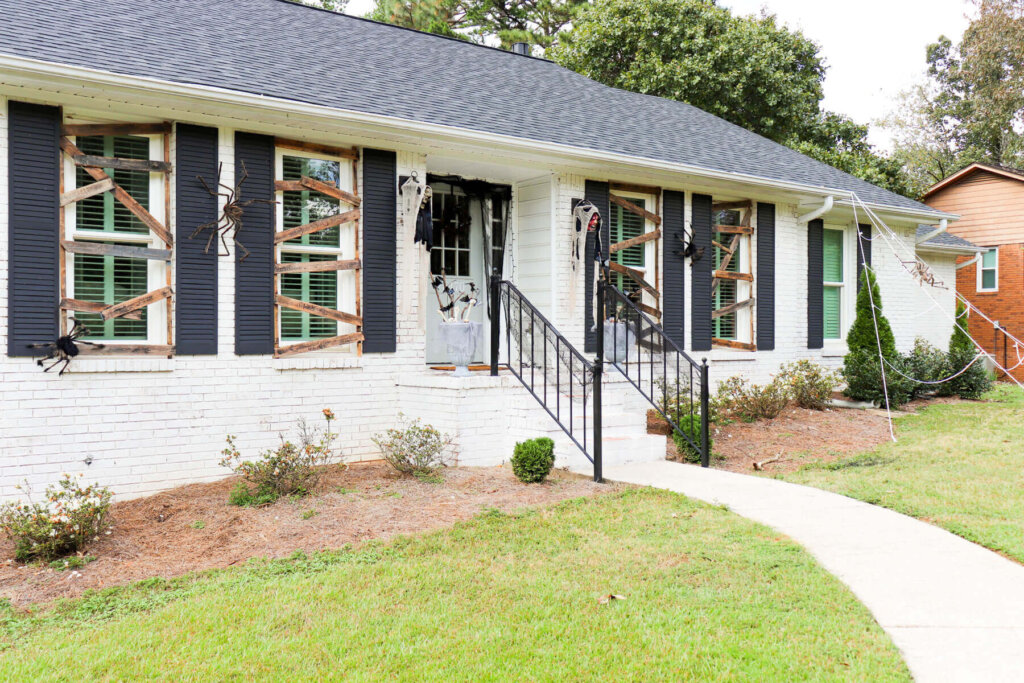
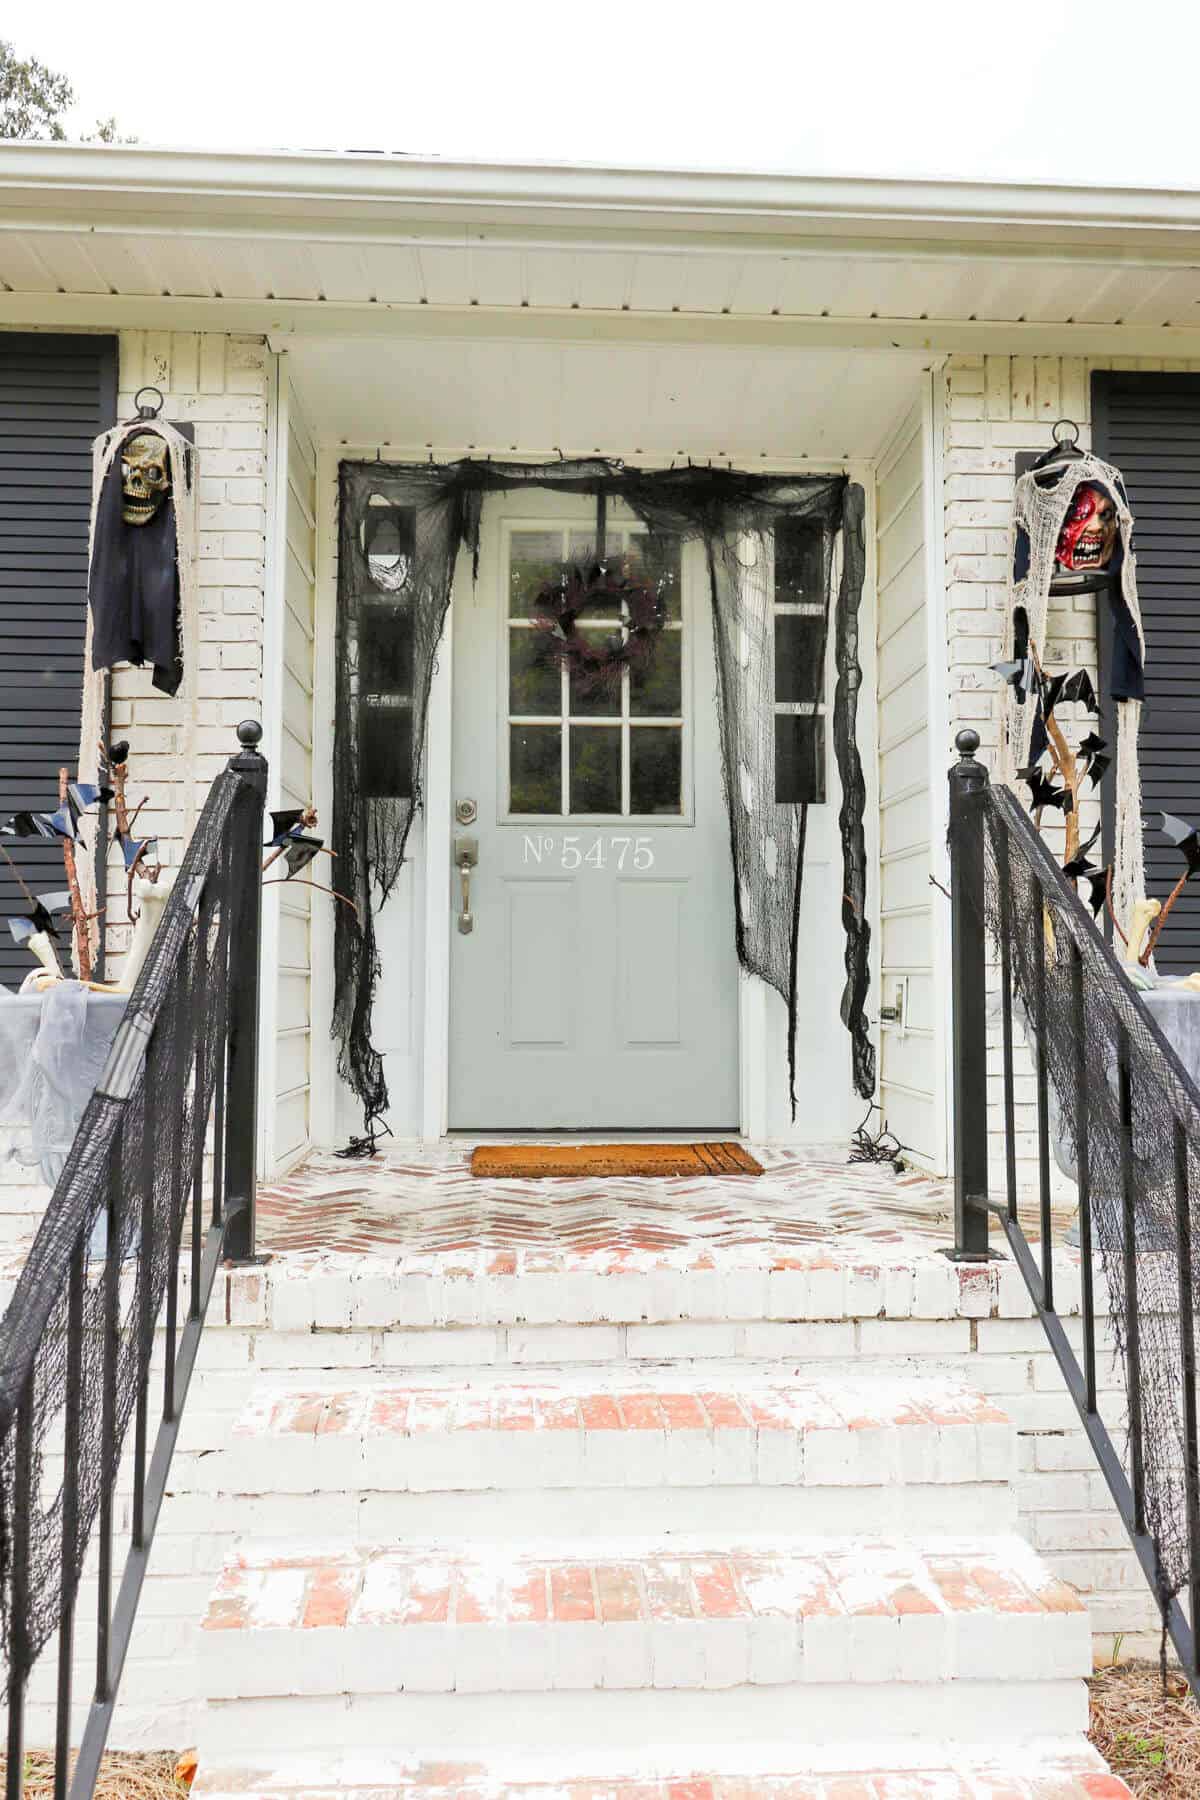
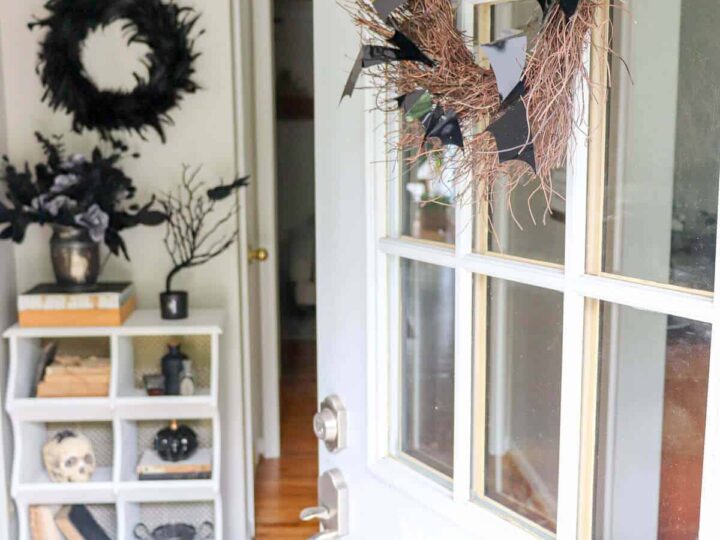
For our front porch, I had some great ideas for some outdoor halloween decorations.
I added some freaky fabric around our front door and placed some purple Christmas lights underneath the fabric to create a spooky look at night.
I was a bit stumped on what to do with my front porch planters.
So I looked through my supplies for an easy halloween craft.

It’s just a simple combination of sticks from my yard, faux bones and plastic skulls combined with faux bats and crows.
I hung the bats on the sticks to create this easy decoration for my front porch.
If you don’t have those items on hand, you can always get creative with black card stock to make paper bats.
There are so many easy and creative ideas for diy decorations.
Hang witch hat luminaries using fishing line and LED light sticks. Polka Dot Chair has a great tutorial you should check out!
Or make a cheesecloth ghost using Mod Podge.
Here are some other fun DIY Halloween Decorations that have been our favorites through the years.
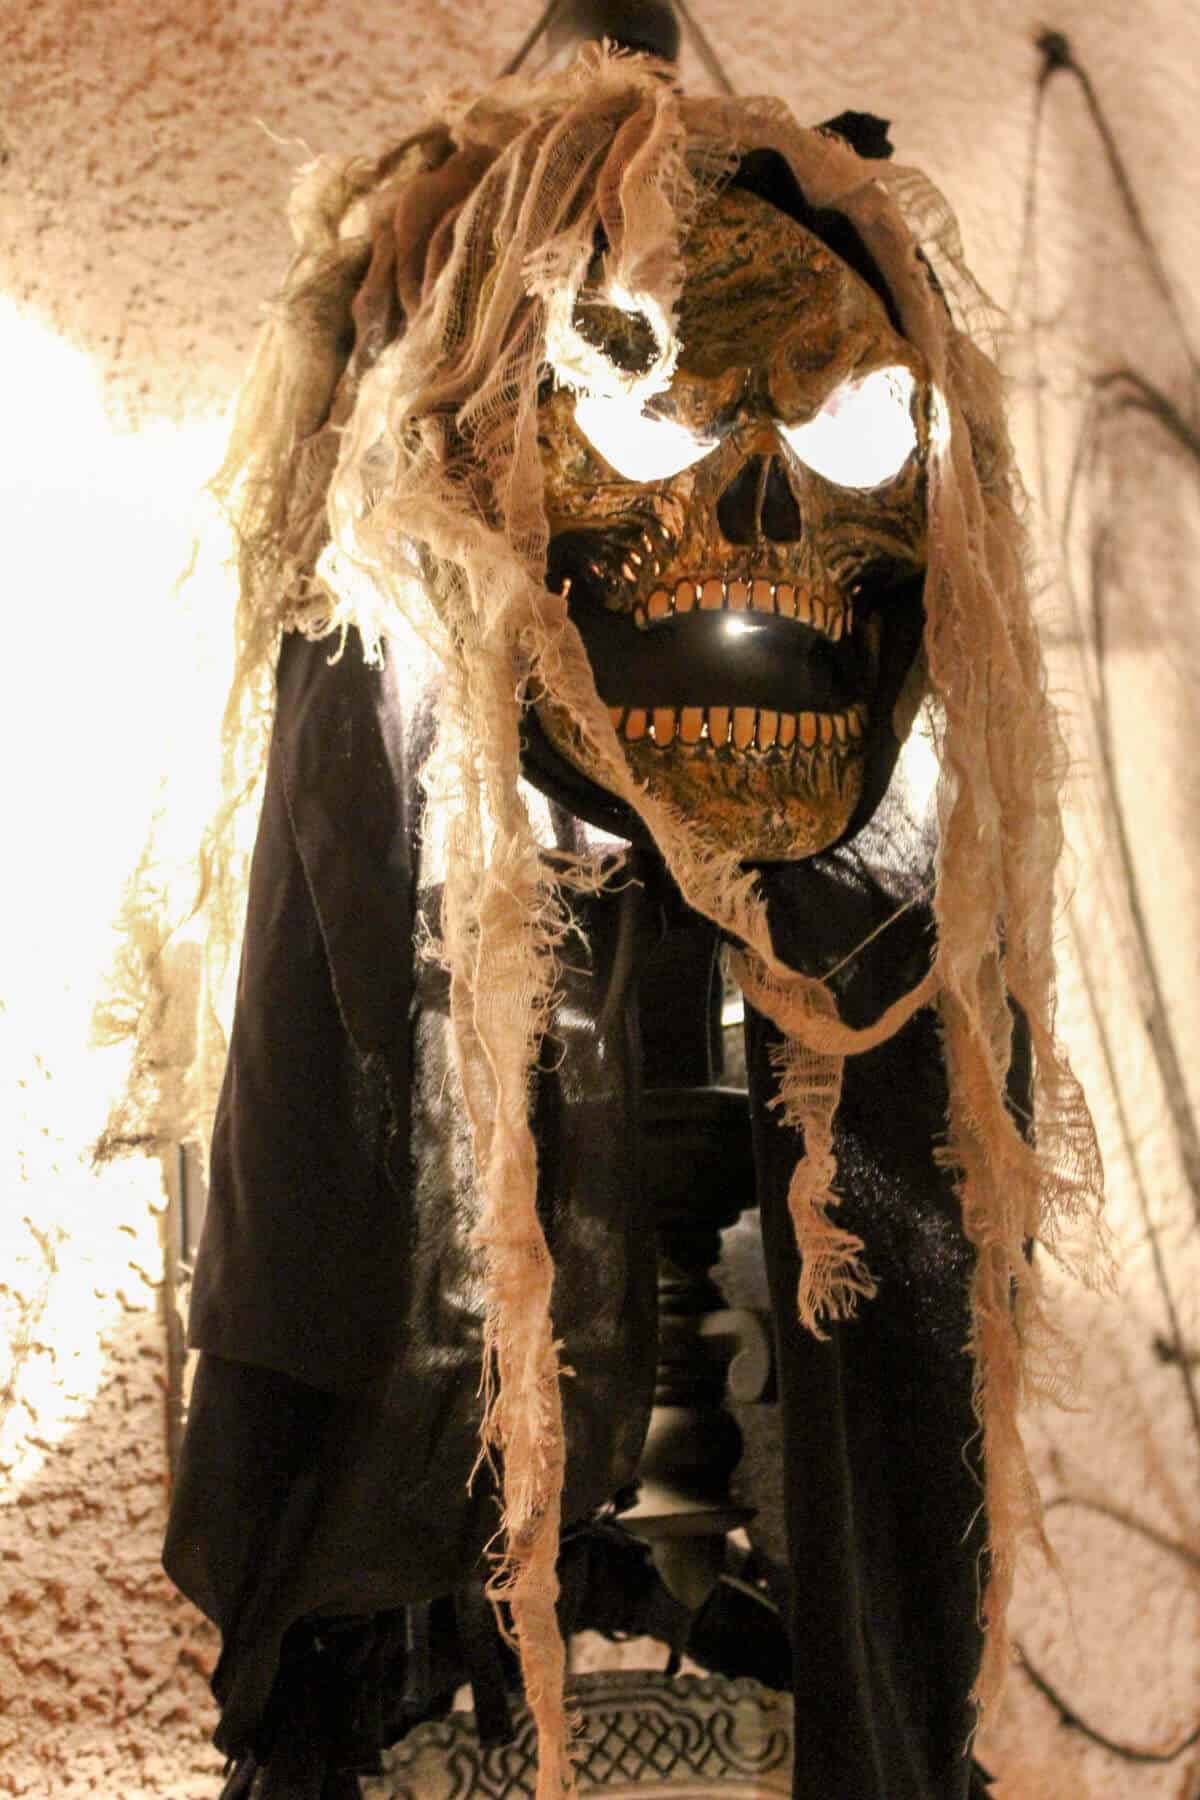
Face Mask Porch Lights
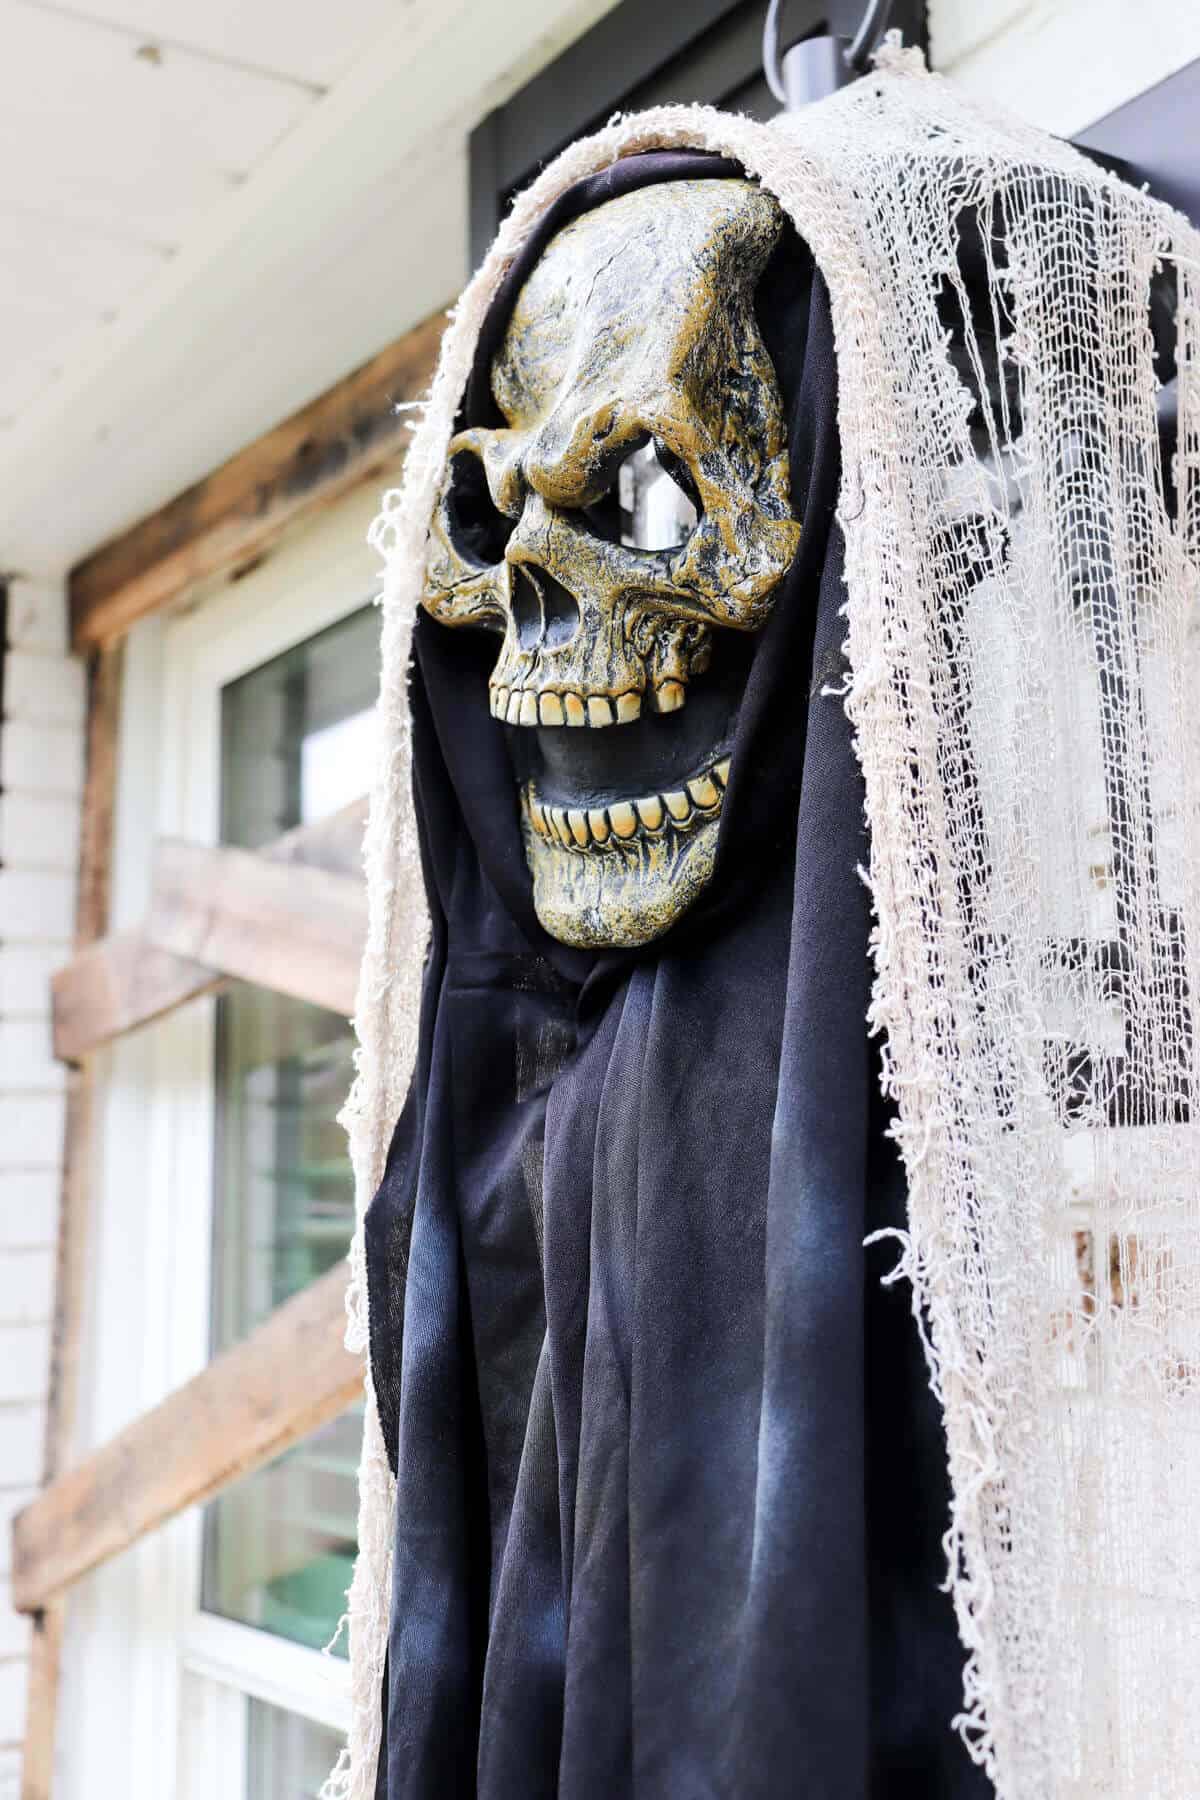
This simply diy halloween decoration always gets a fun reaction.
We have used this trick for many years and we always get comments from our trick or treaters.
Take an old halloween mask and hang it over your porch lights. At night, it creates a spooky glow with the eyes lit up.
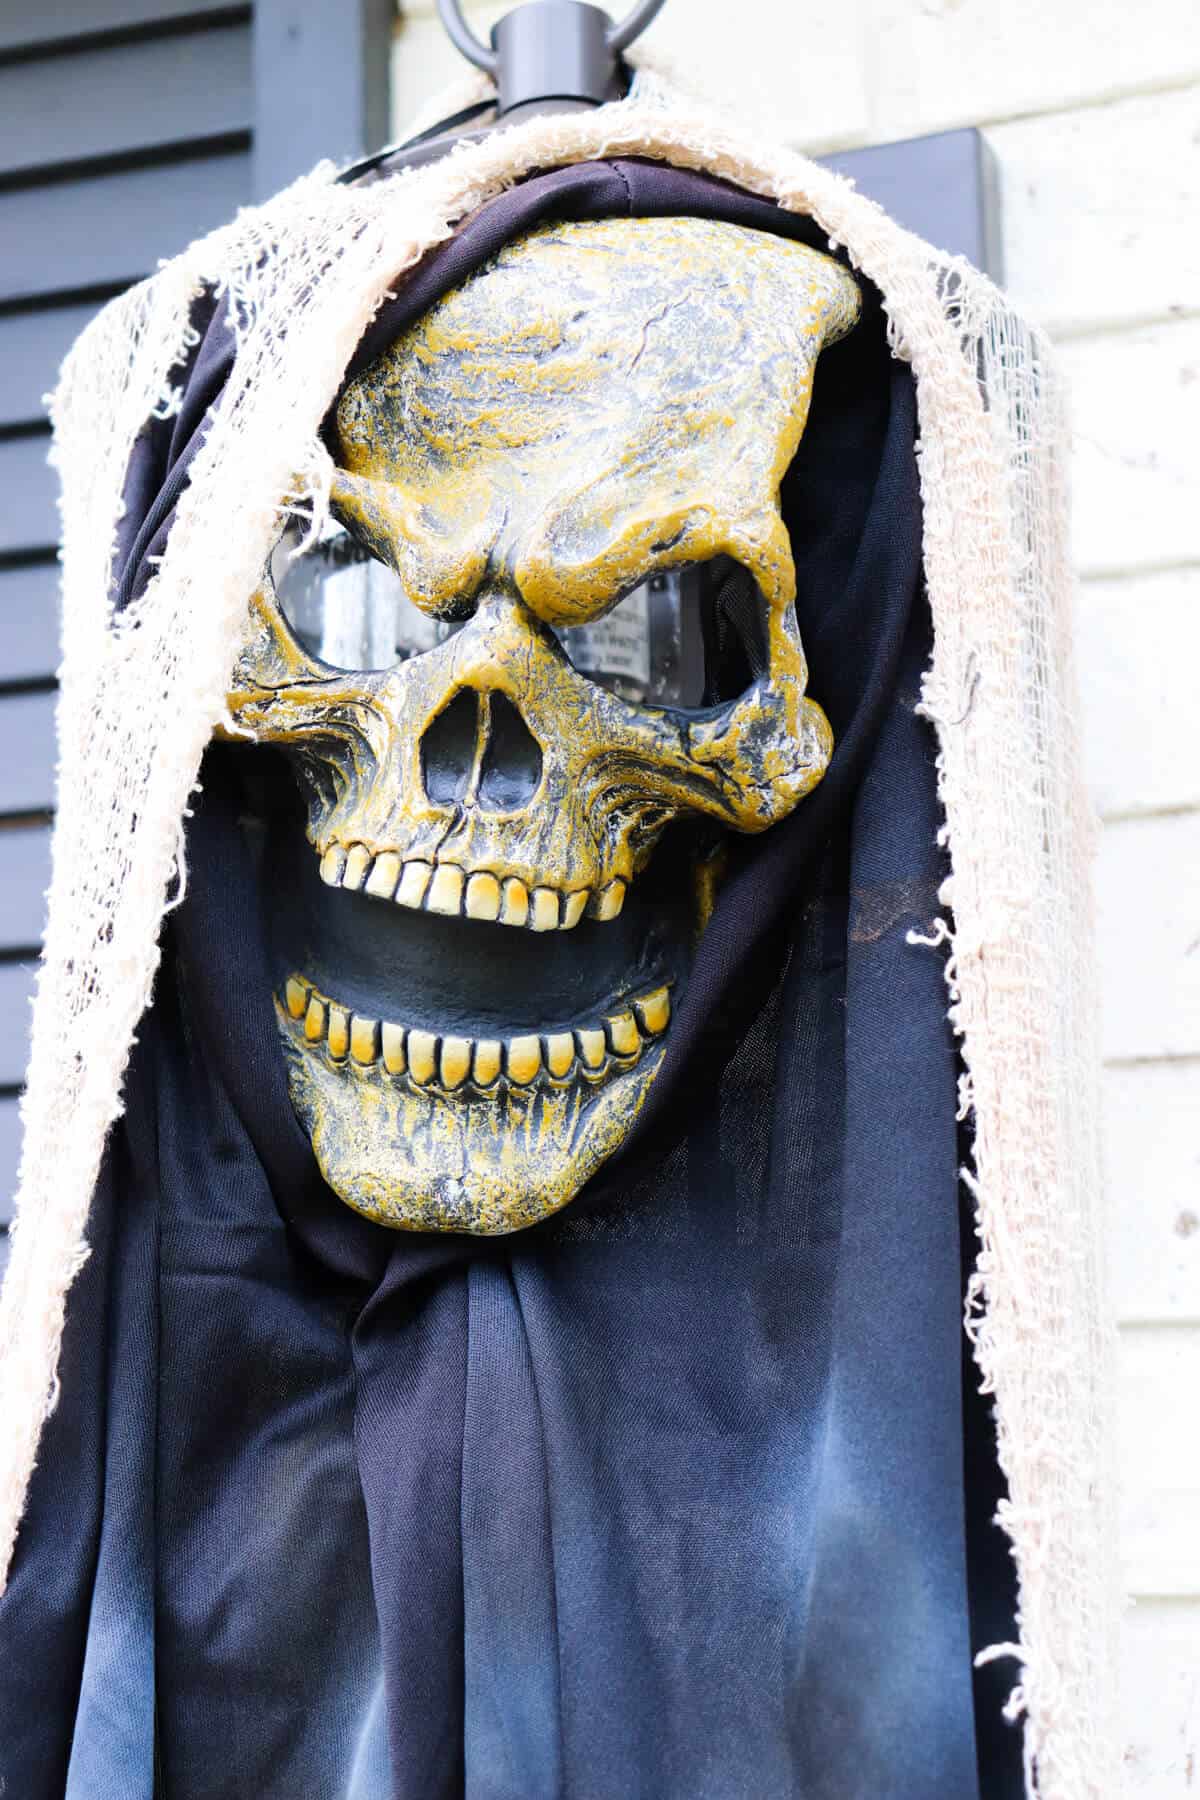
If you don’t have porch lights, you could always use black spray paint on mannequin heads, and use tea lights or glow sticks for the eyes.
Here’s a pic I took years ago when we lived in Vegas.
Spooky Scarecrow
Most years we also like to set up Herman.
That’s what we’ve named our DIY scarecrow.
We take old clothes and pool noodles have a great time stuffing a creepy scarecrow that just sits in a chair. Here are are few versions from years past.
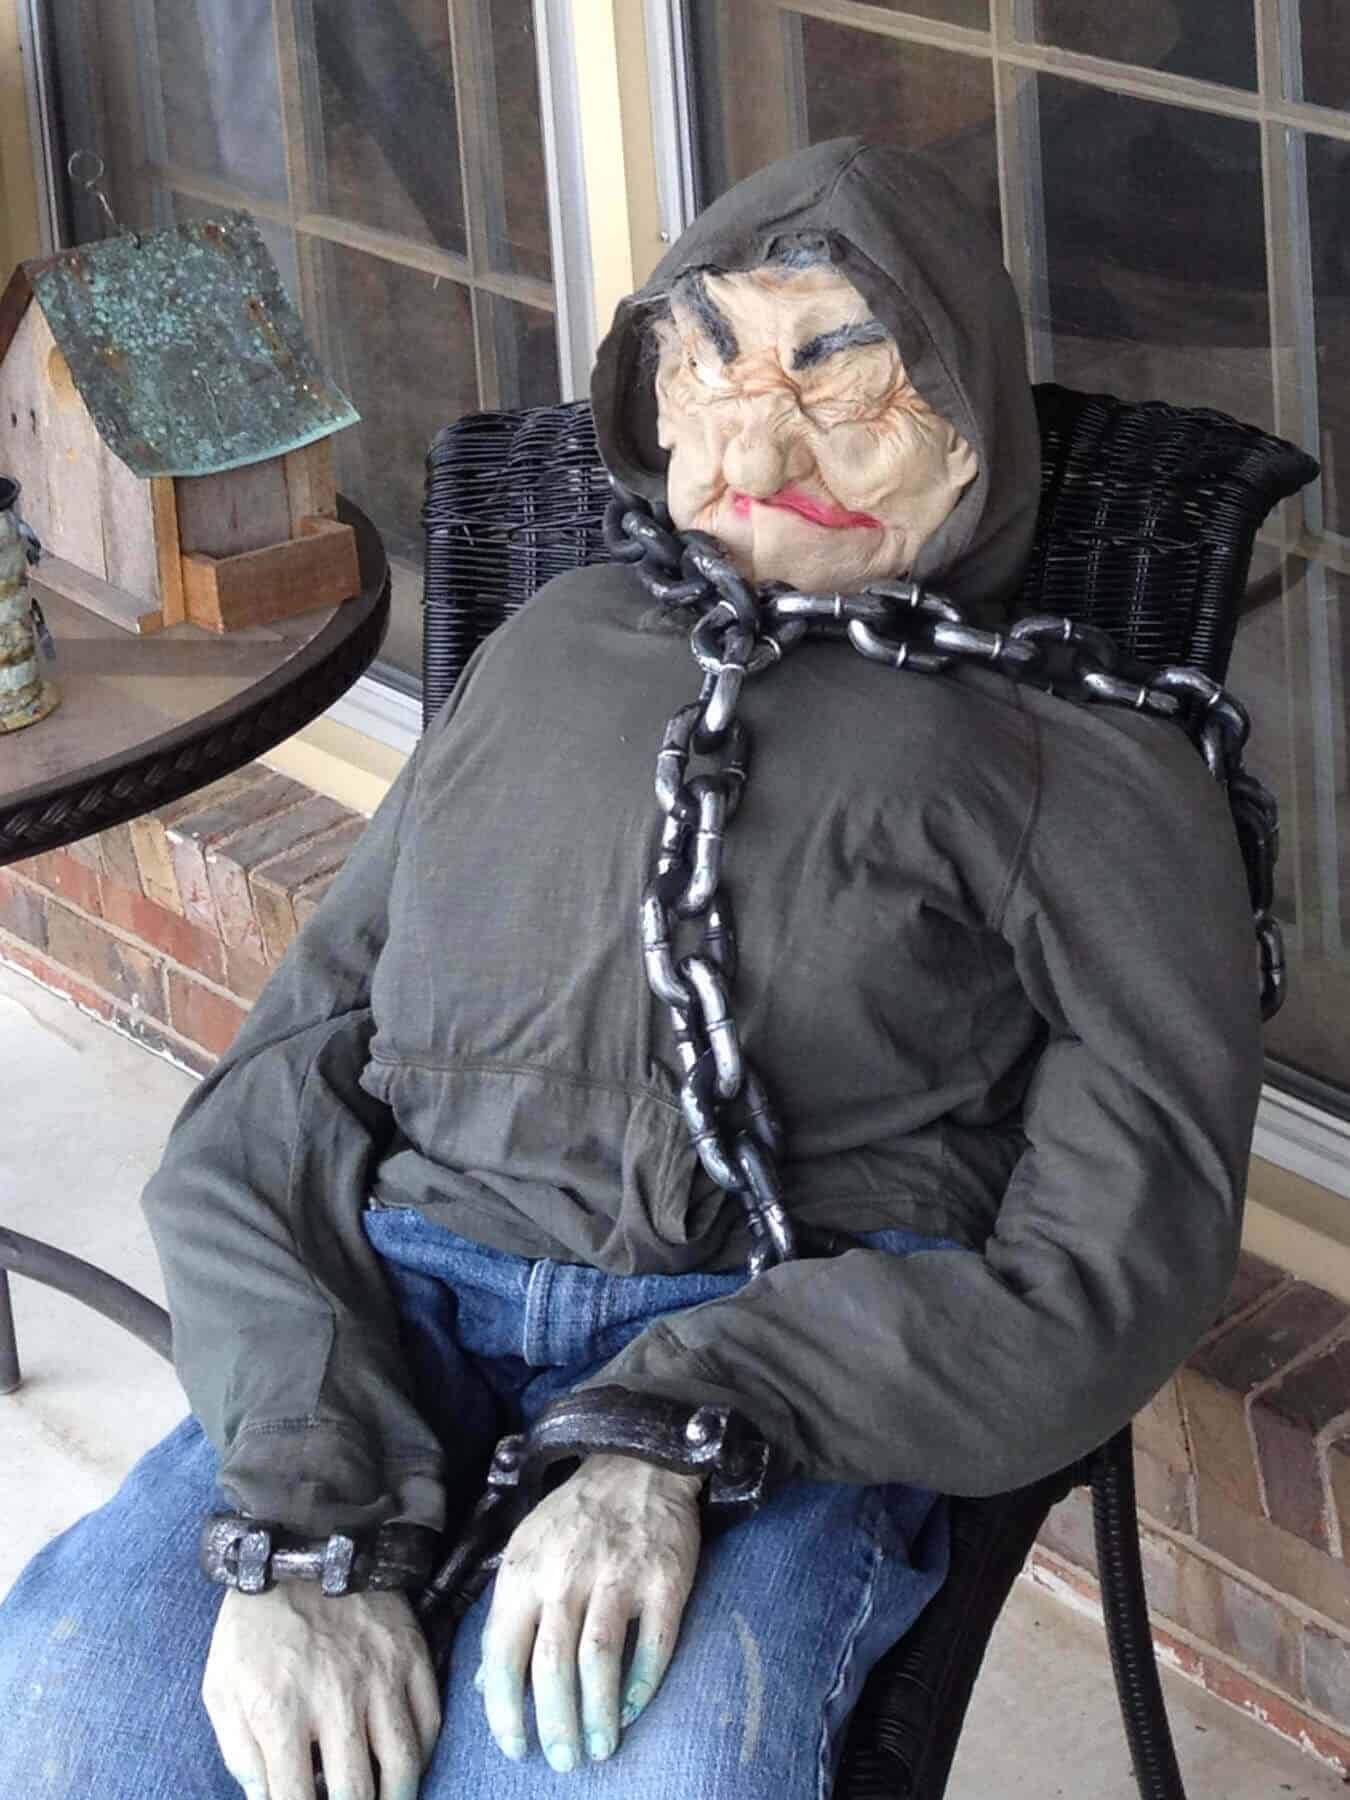
Sometimes we use masks for a head.
And he’s usually chained up with some fake chains we have.
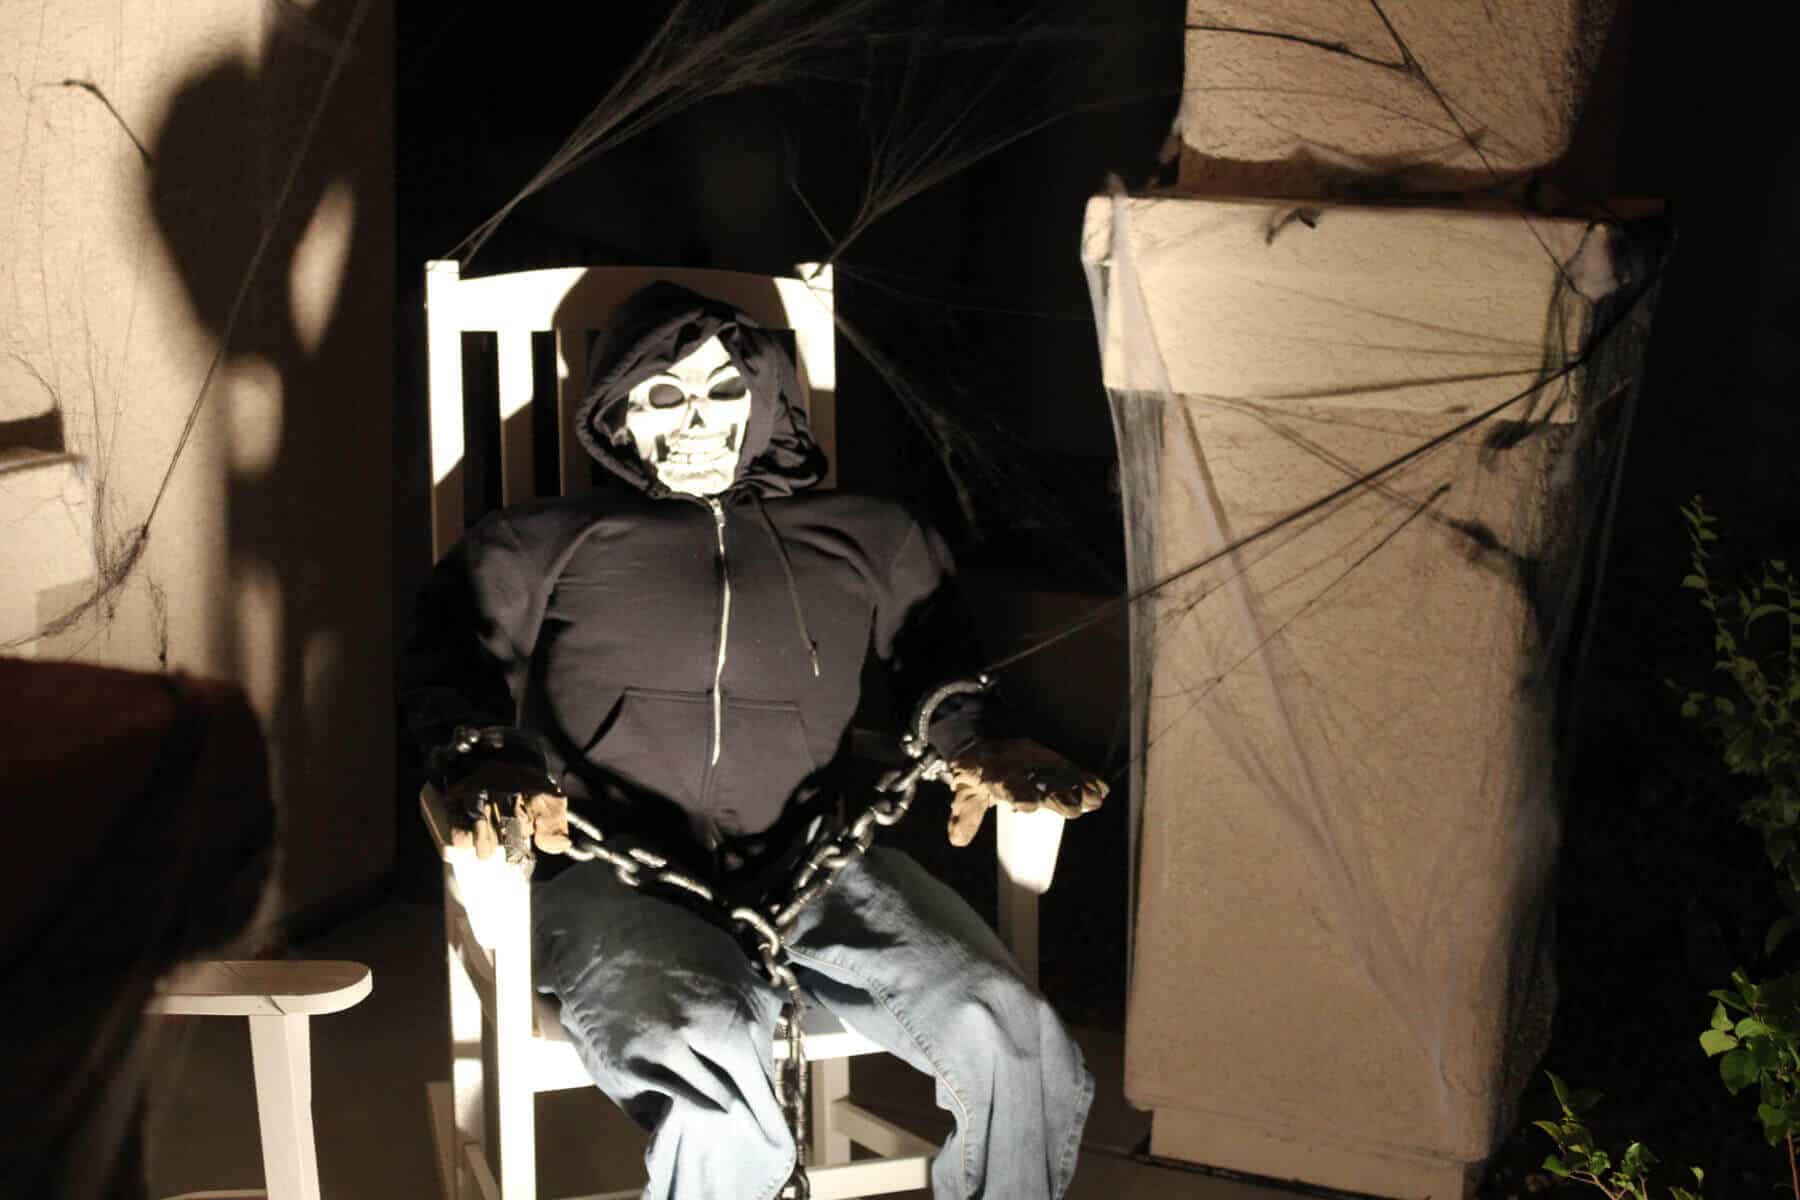
When he’s lit up at night – it’s super creepy.
The best thing about this creative project is that is’s virtually free and it doesn’t take much time to set it up.
Here’s one year where we had a shrunken head for a skull.

Creepy Halloween Costumes
And yeah – that’s my oldest.
He was the talk of the neighborhood this year – so many people stopped and took a picture with him.
This DIY Halloween costume was a last minute fix when we couldn’t find a costume for him. A headless butler serving a head on a tray!
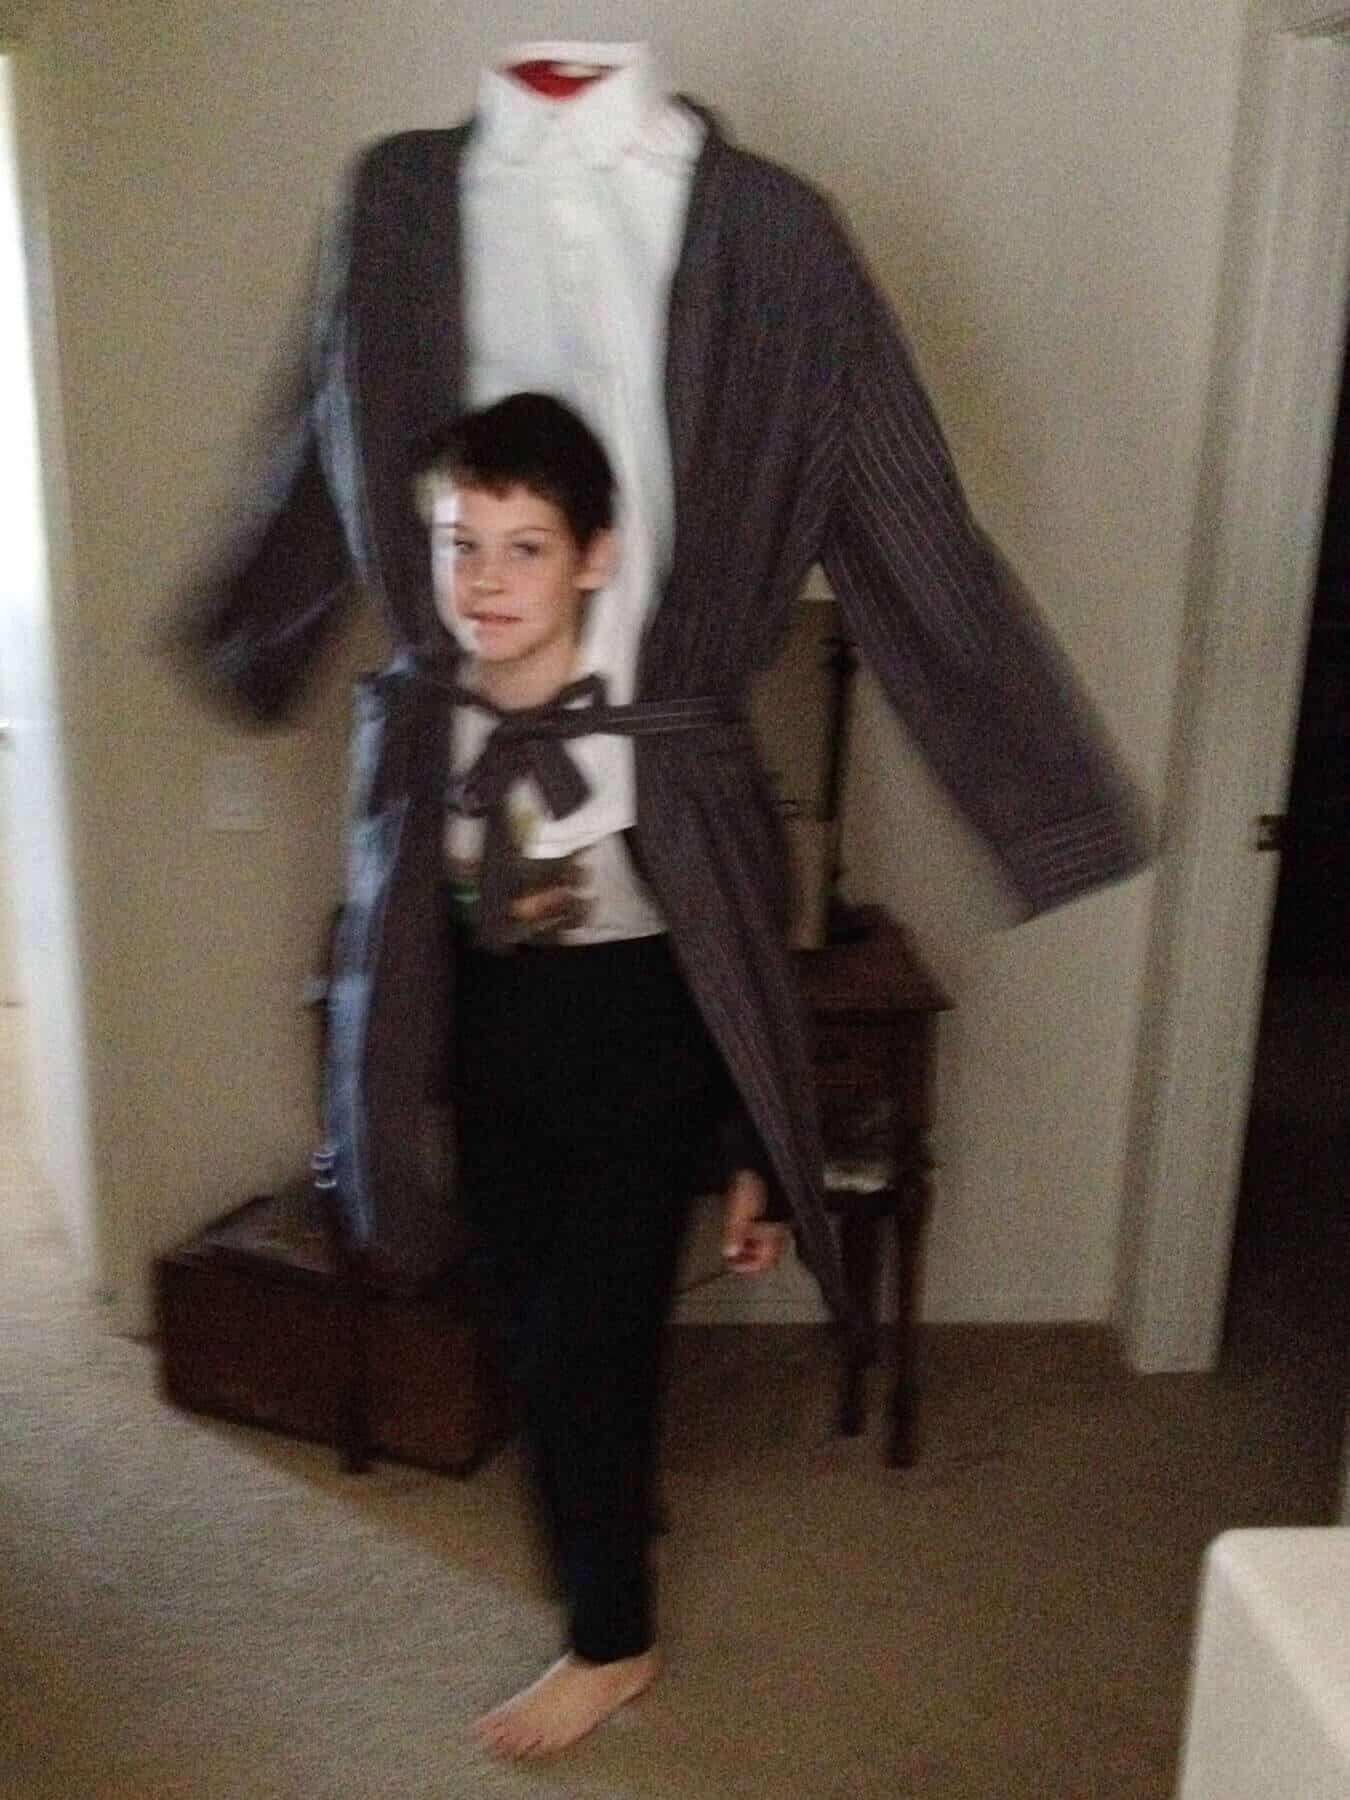
Sorry for the blurry – in action shot – but he was so excited, it was hard to get him to stay still.
We attached a rolling backpack that had an extendable handle. We fully extended the handle and made some DIY shoulders using cardboard.
Then we covered it up with a robe and had his head poke through.
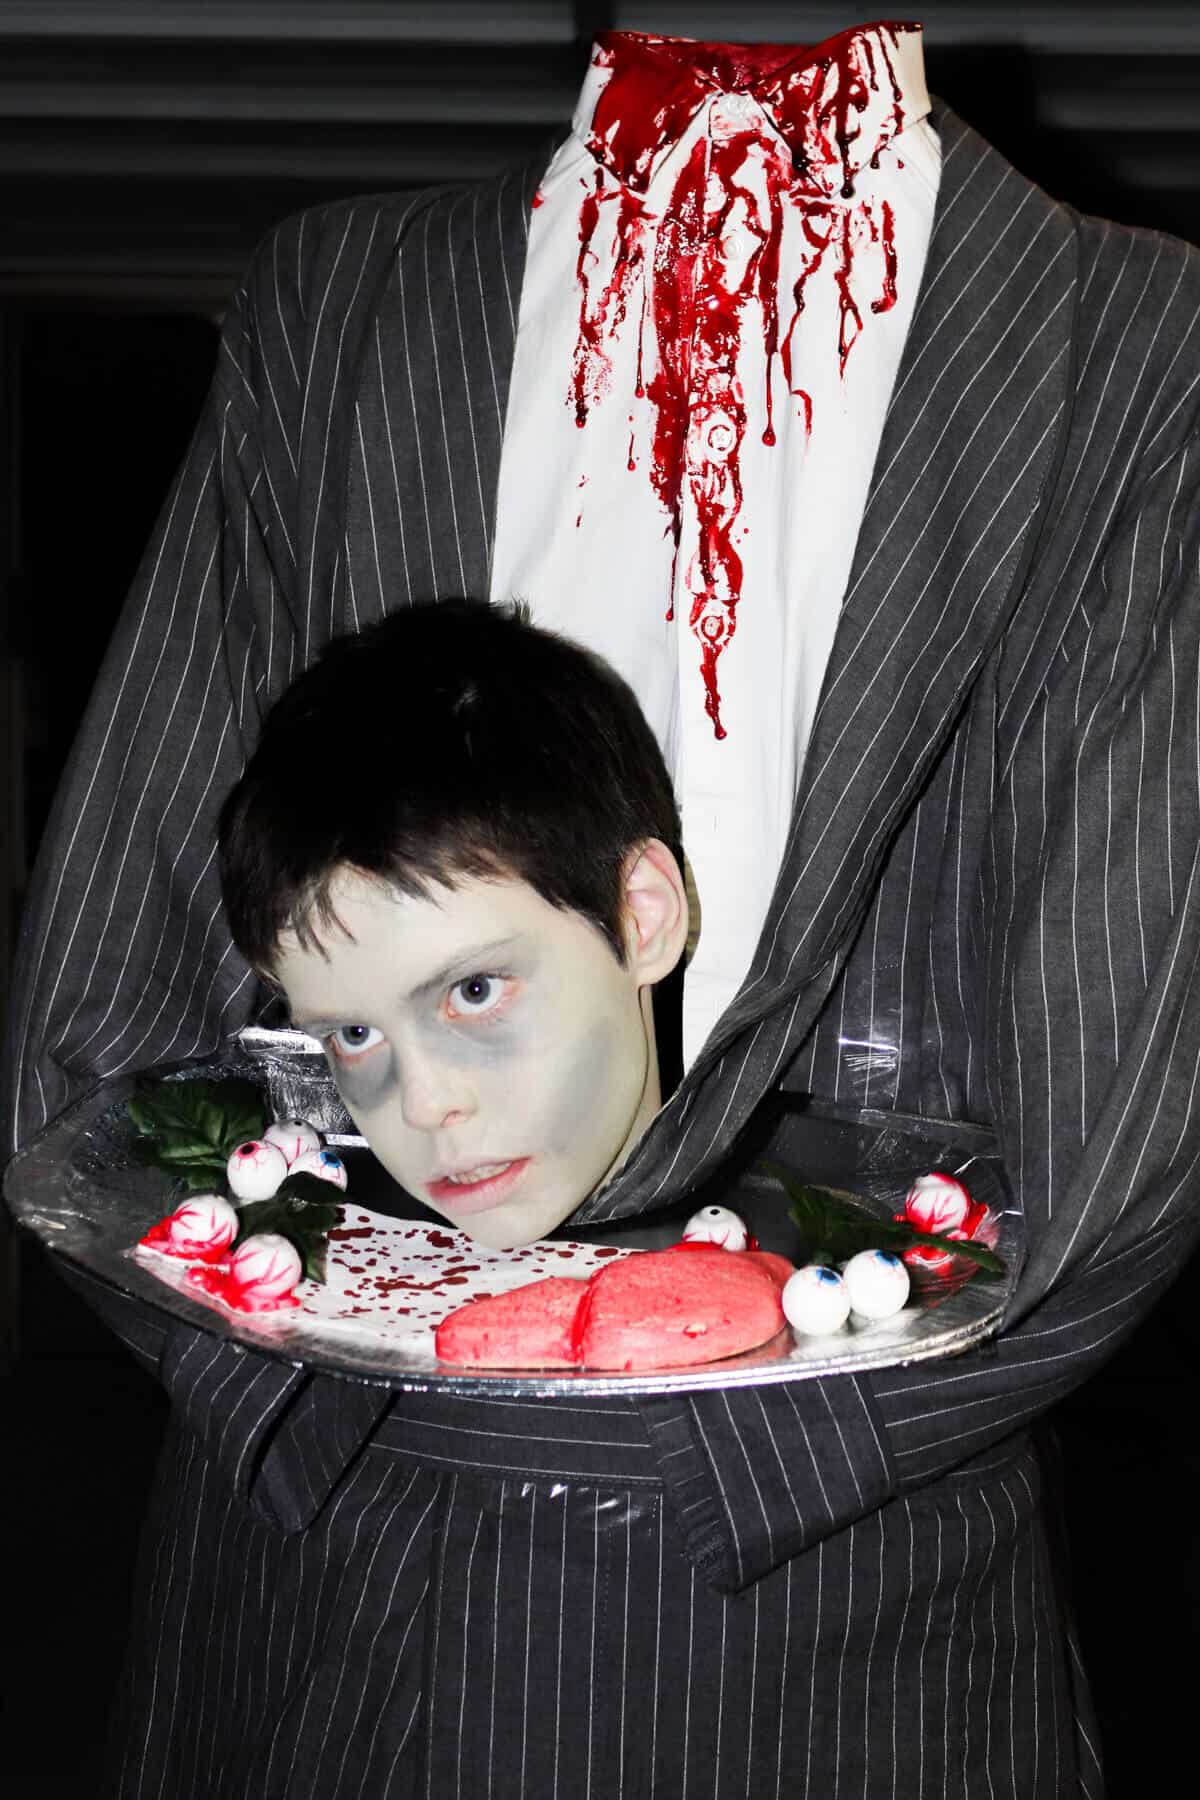
I used aluminum serving trays and cut out enough to where it looked like his head was sitting on the tray. Then we hot glued all the googly eyes and organs that my boys loved to collect each year.
It’s one of my favorite costumes we have ever made!
But let’s get back to DIY Halloween Decorations!
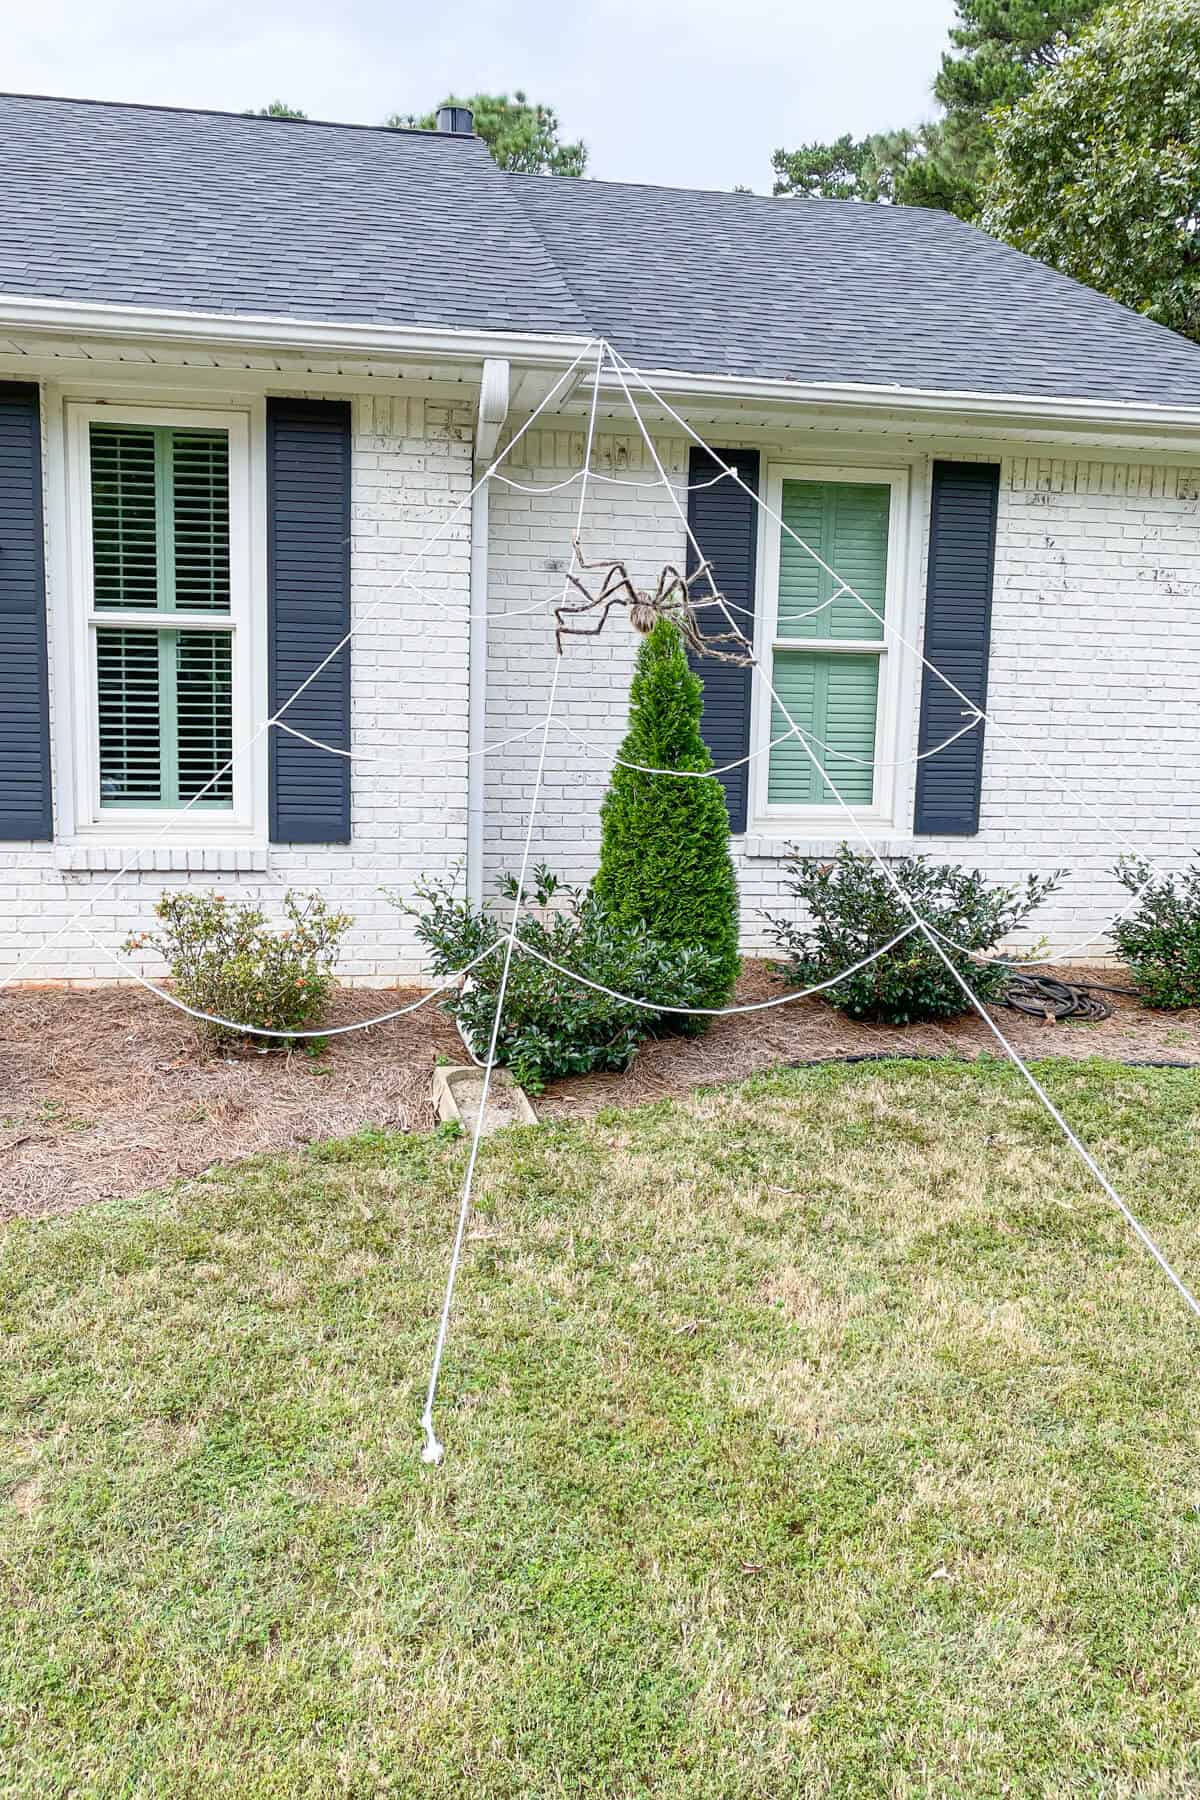
Giant Spider Web
Now you can easily purchase these at most party supply stores each halloween season, but they can be a bit pricey.
So we took a 100 foot clothesline, some fence stakes and some giant spiders.
It’s super simple to do! If you can tie your shoes, then you can make this spider web.
First we took a measurement from the top of where we planned to attach it to the ground. Then we cut 4 sections of rope.
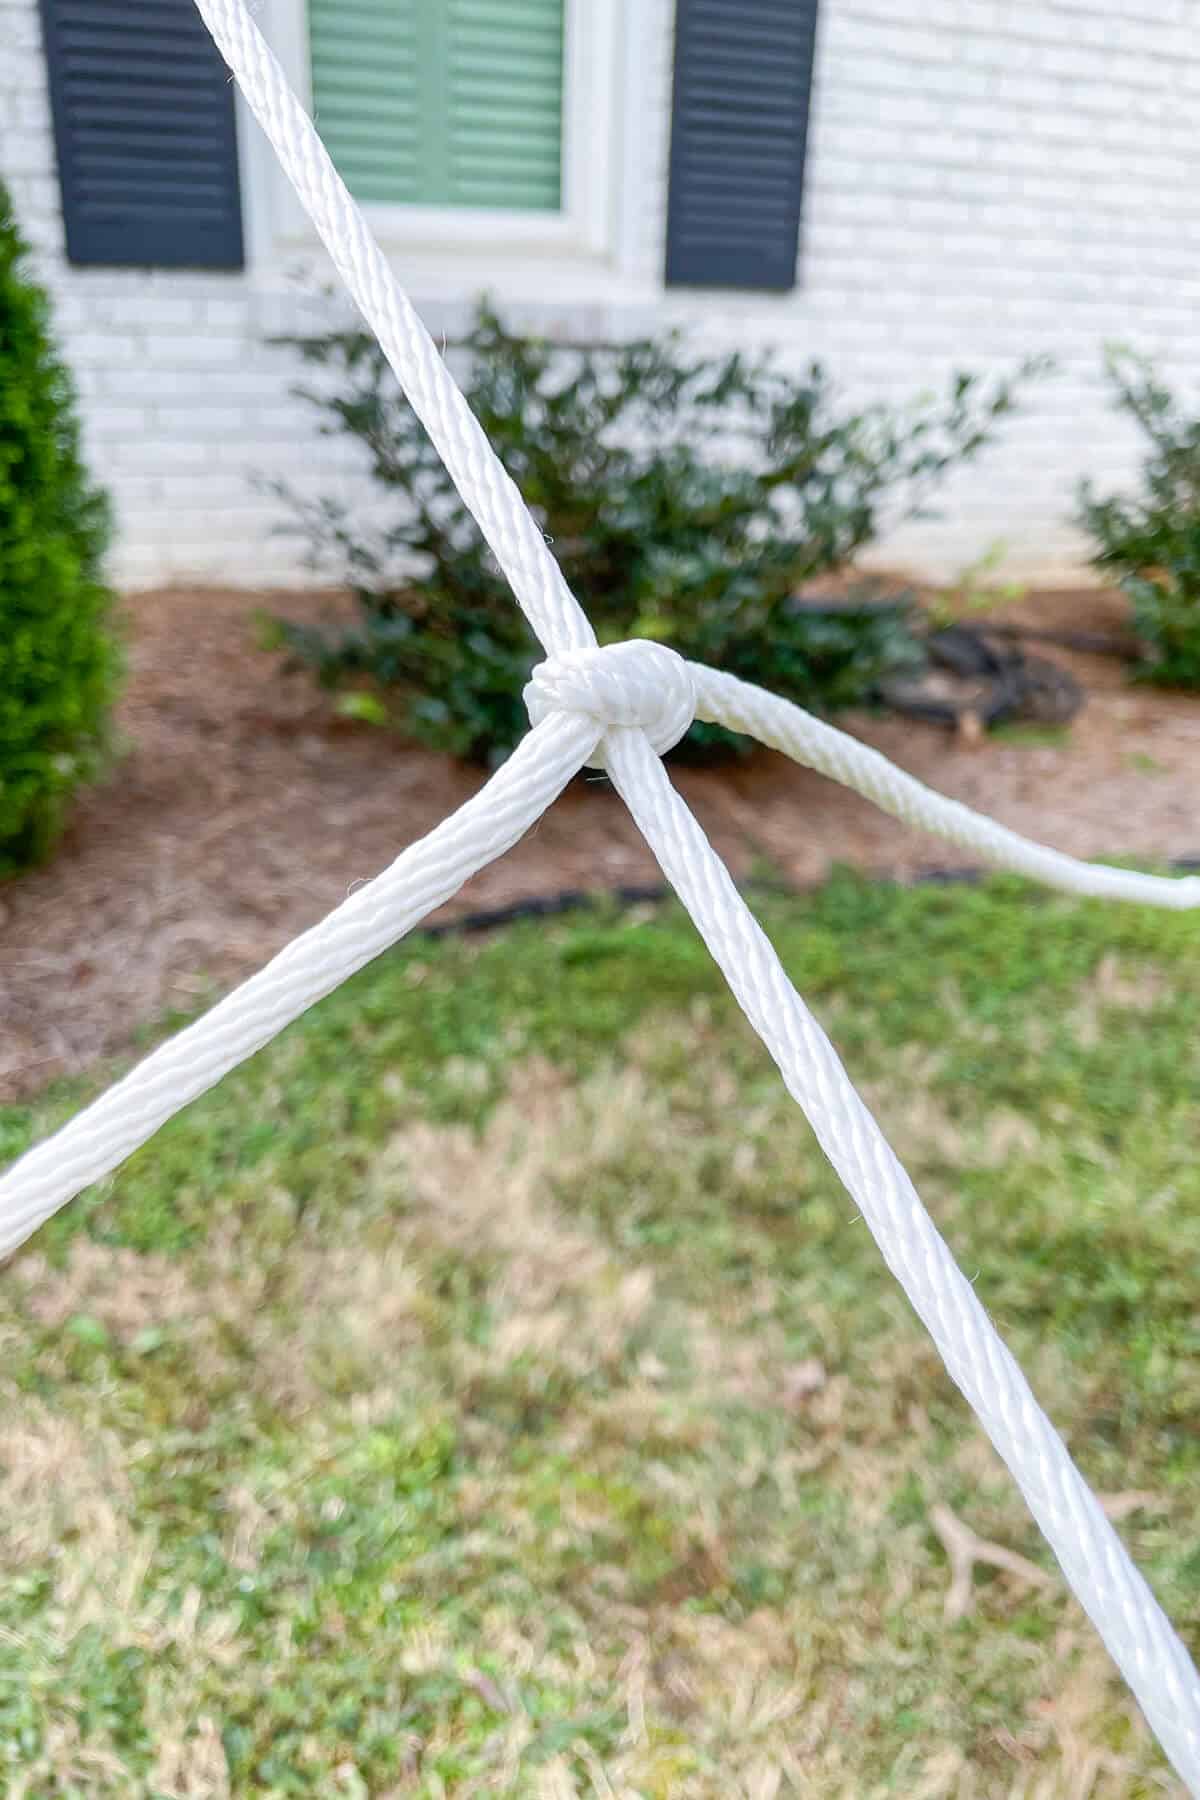
We tied all four strings together and attached them to one of the corners of our house.
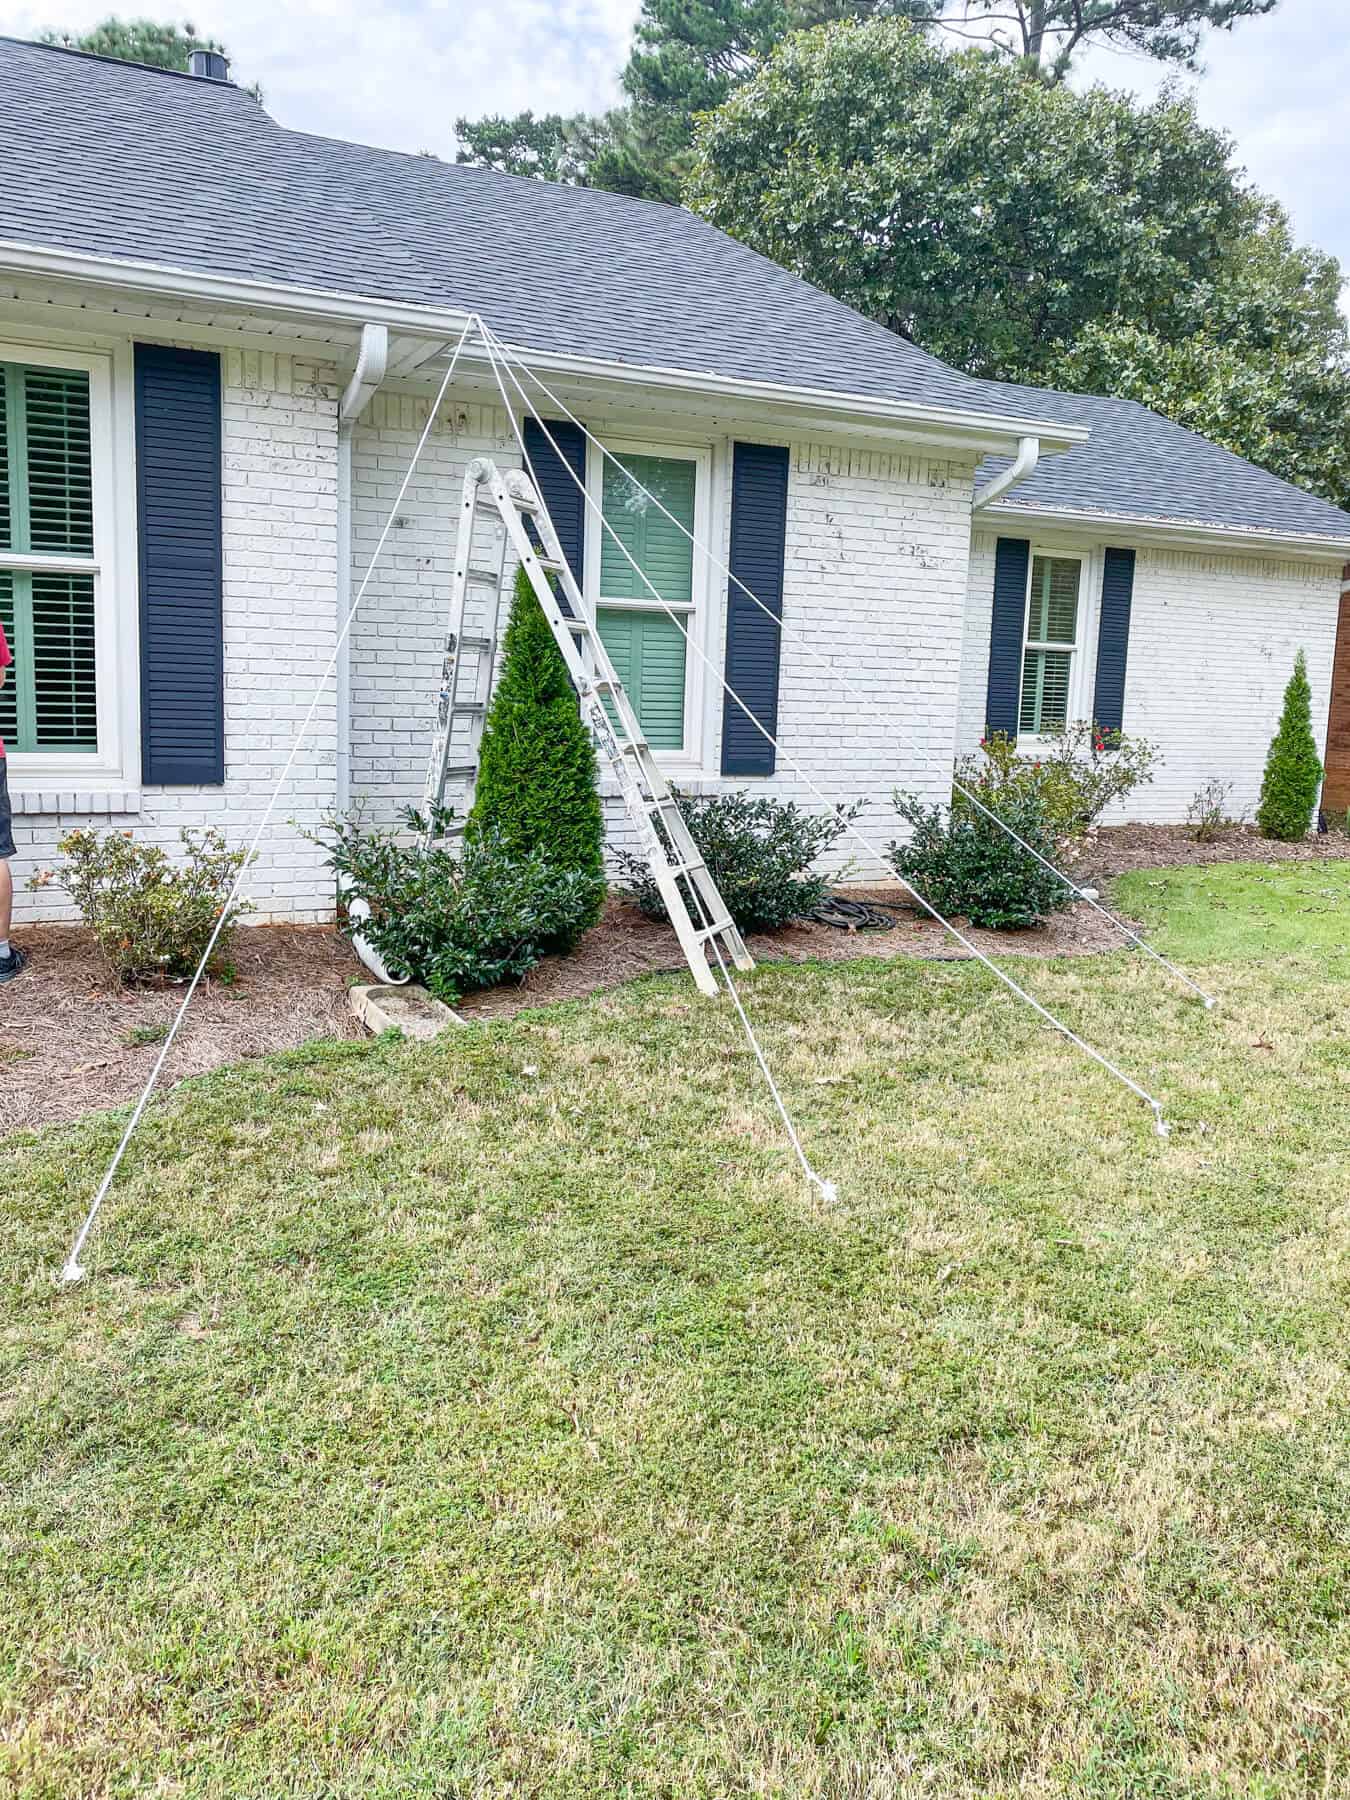
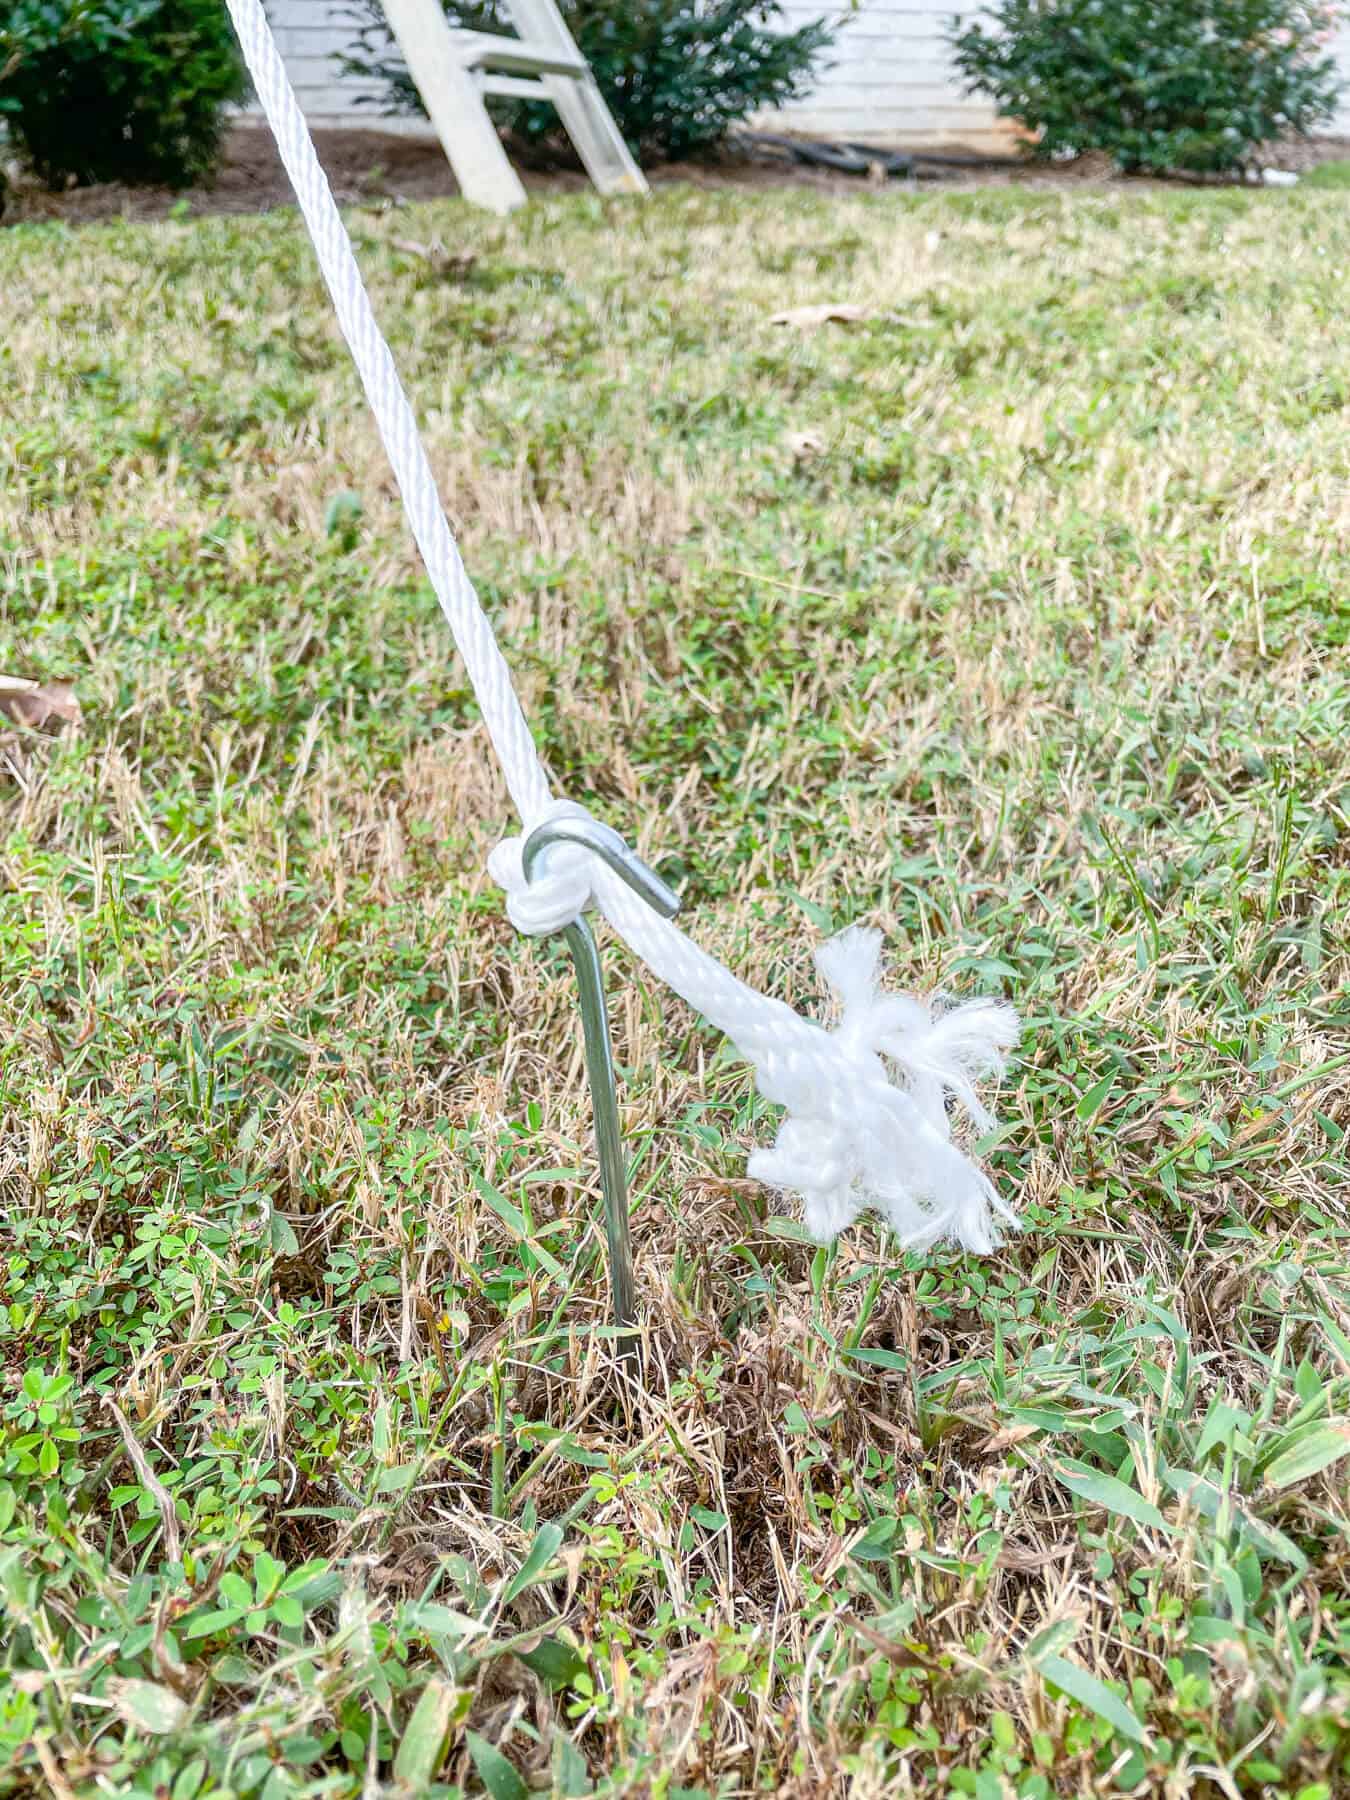
Next, we took each string and tied it around a tent stake and stuck it in the ground.
I’m sure there’s a special knot you can tie, but I just used a simple double knot.
Now that you have your spider web anchor lines, it’s time to add the interior ropes.
I started about 18 inches down from the top and tied one end of the rope to one side.
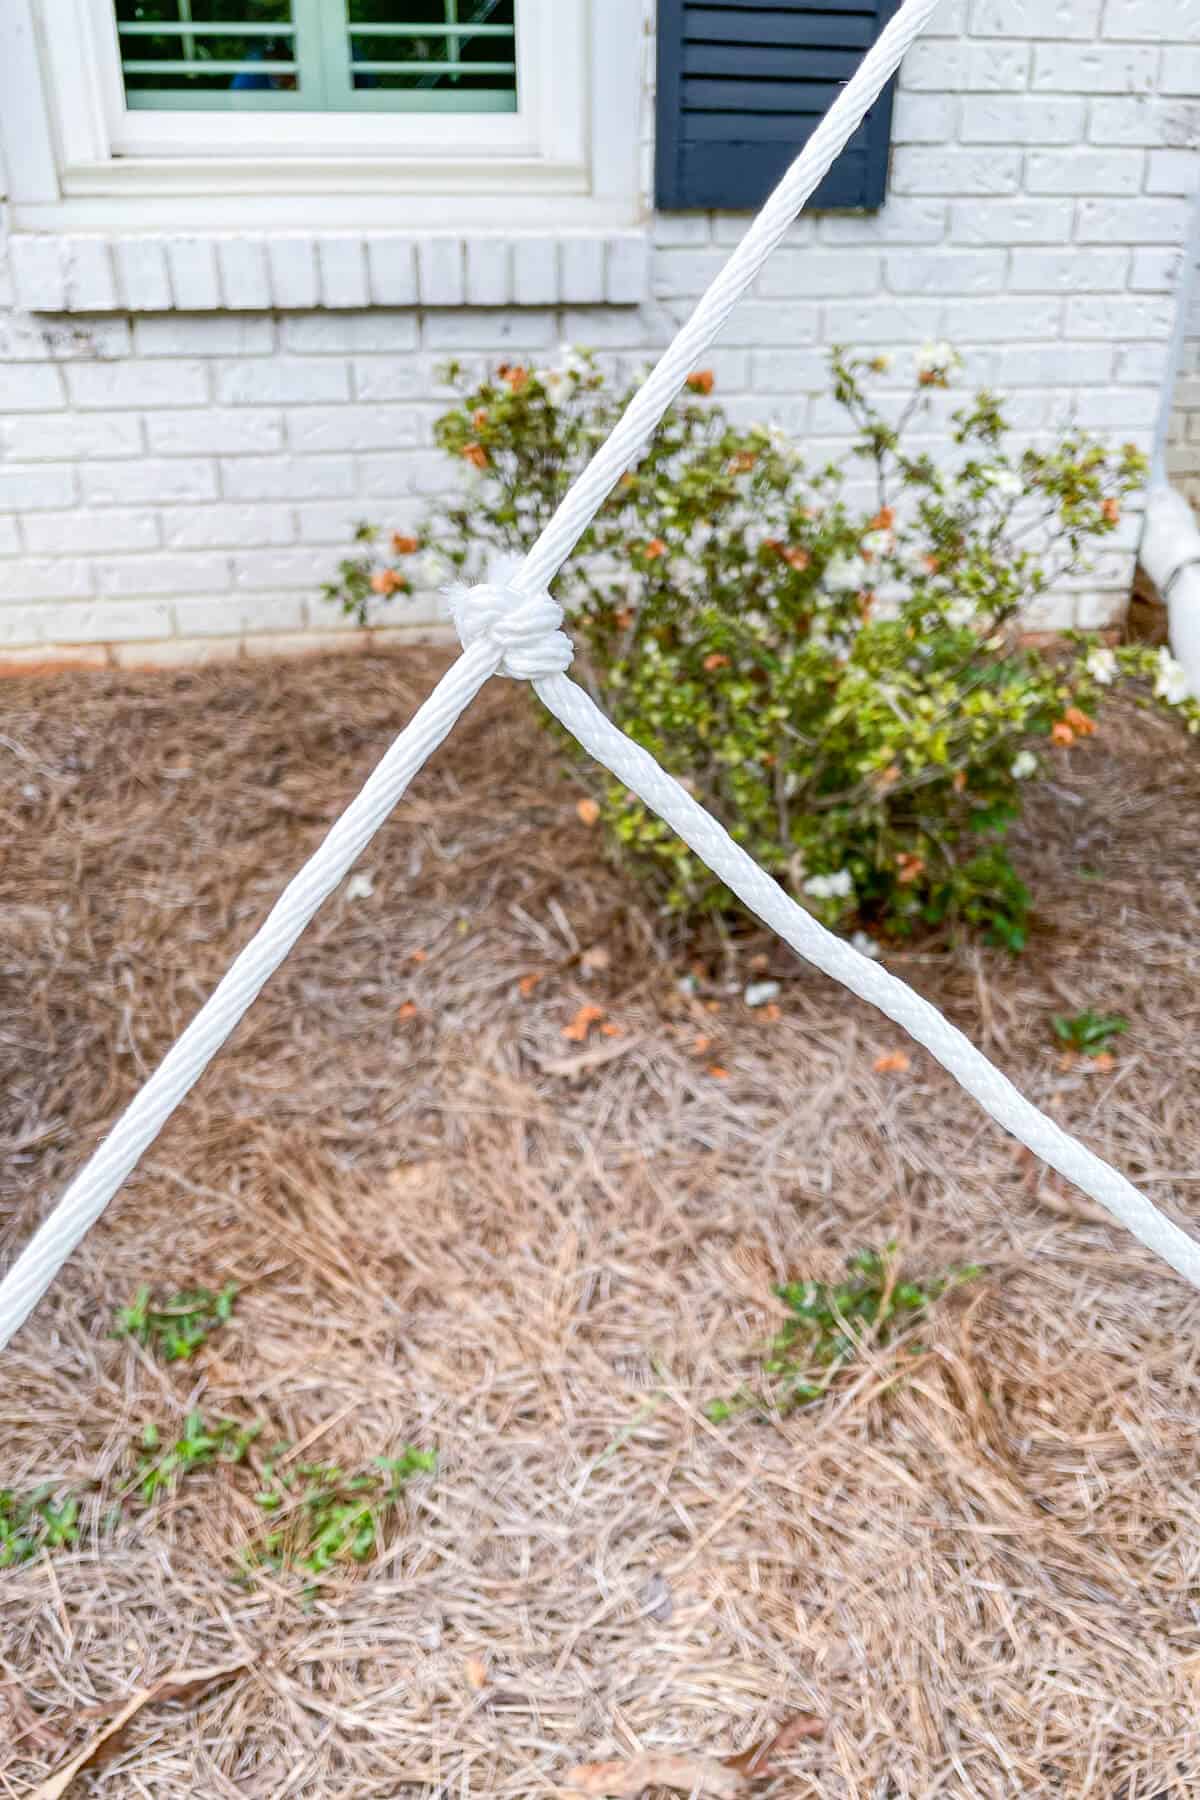
And for each inside rope, I used another knot to keep it in place.
It was a little tricky trying to weave a huge bundle of rope, so next time I will cut each section instead of keeping the entire rope intact.
Repeat the process until you have something that resembles a spider web.
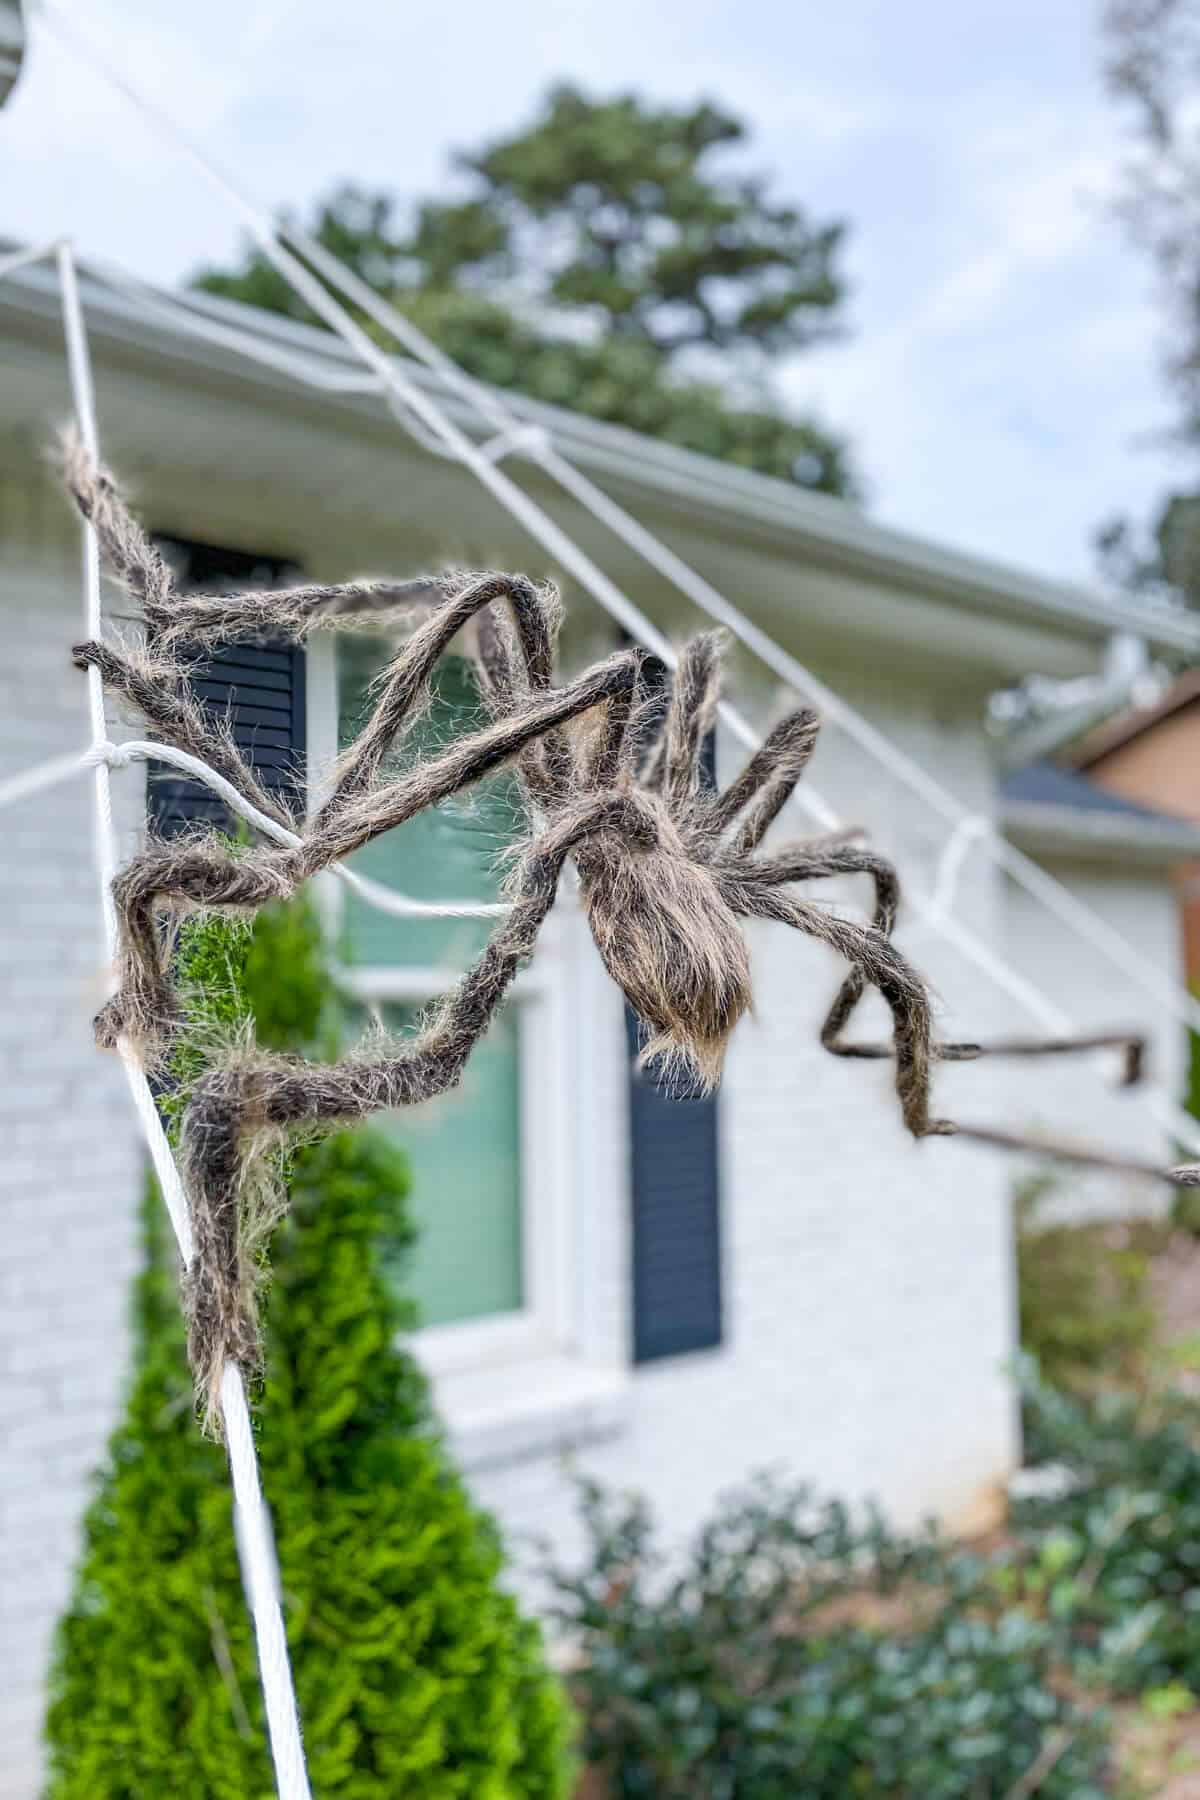
I added four rows and then finished it off with giant spider.
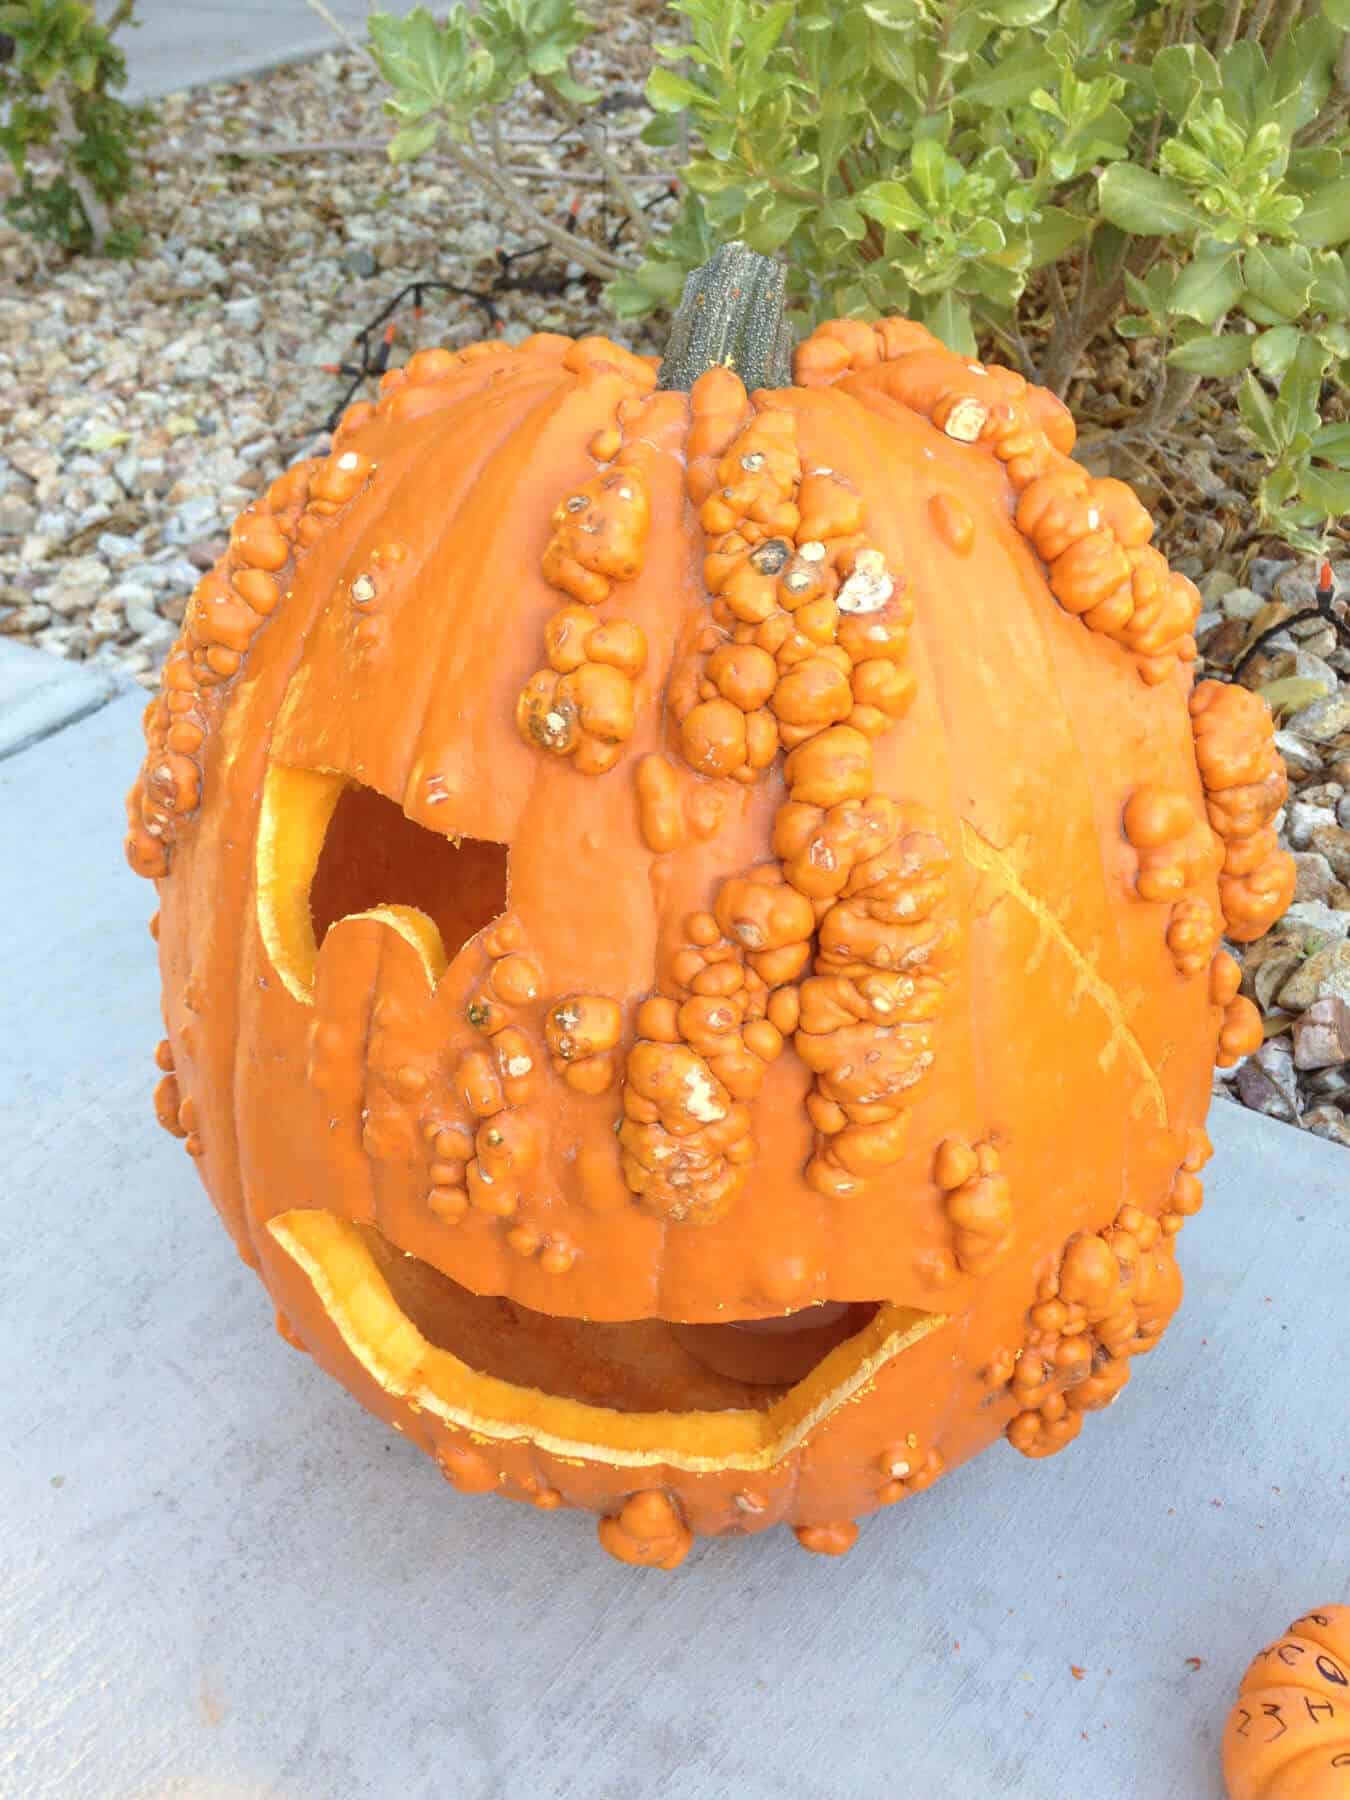
Creative Pumpkin Carving
Every year, Trent looks forward to pumpkin carving. And he has come up with some fun ways to make some cute halloween decorations.
Here are some of my favorites from years past.

There are so many diy ideas out there for you to explore.
I hope these DIY Halloween Decorations and how we make our own boarded up windows helped you find a creative way to decorate your haunted house this season!
Shop this post


That’s a great question, Linda! I’ve seen it called spooky fabric, freaky fabric, etc. But if you do a search for Halloween fabric – that would be a good bet!
Hope that helps! Thanks for reaching out!
Im trying to find that white netting looking stuff you put on the porch light skulls. Where do I get it and what do you call it for searching? thanks
Jen I love your fun idea for Halloween! The house looks amazing! Thanks for letting me hang with you ladies this week! xo