DIY Grapevine Bat Wreath
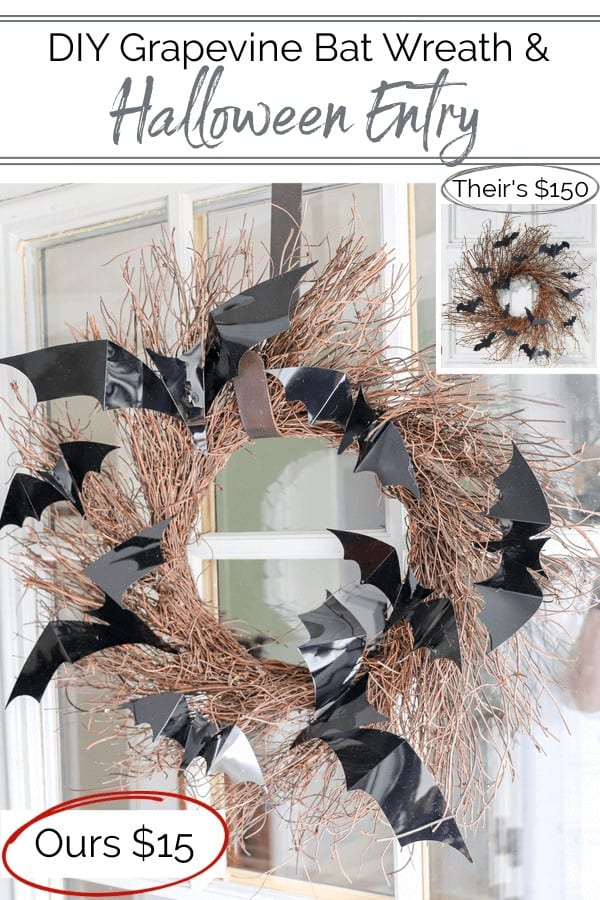
I love taking items I find while searching the internet and making a much cheaper option. This DIY Grapevine Bat Wreath and Halloween Entry is just in time for Halloween!
Last week, I shared our spooky home exterior all prepped and ready for trick or treaters.
We have decorated our house for Halloween year after year, but this is the first time I’ve shared our halloween decorations on Noting Grace.
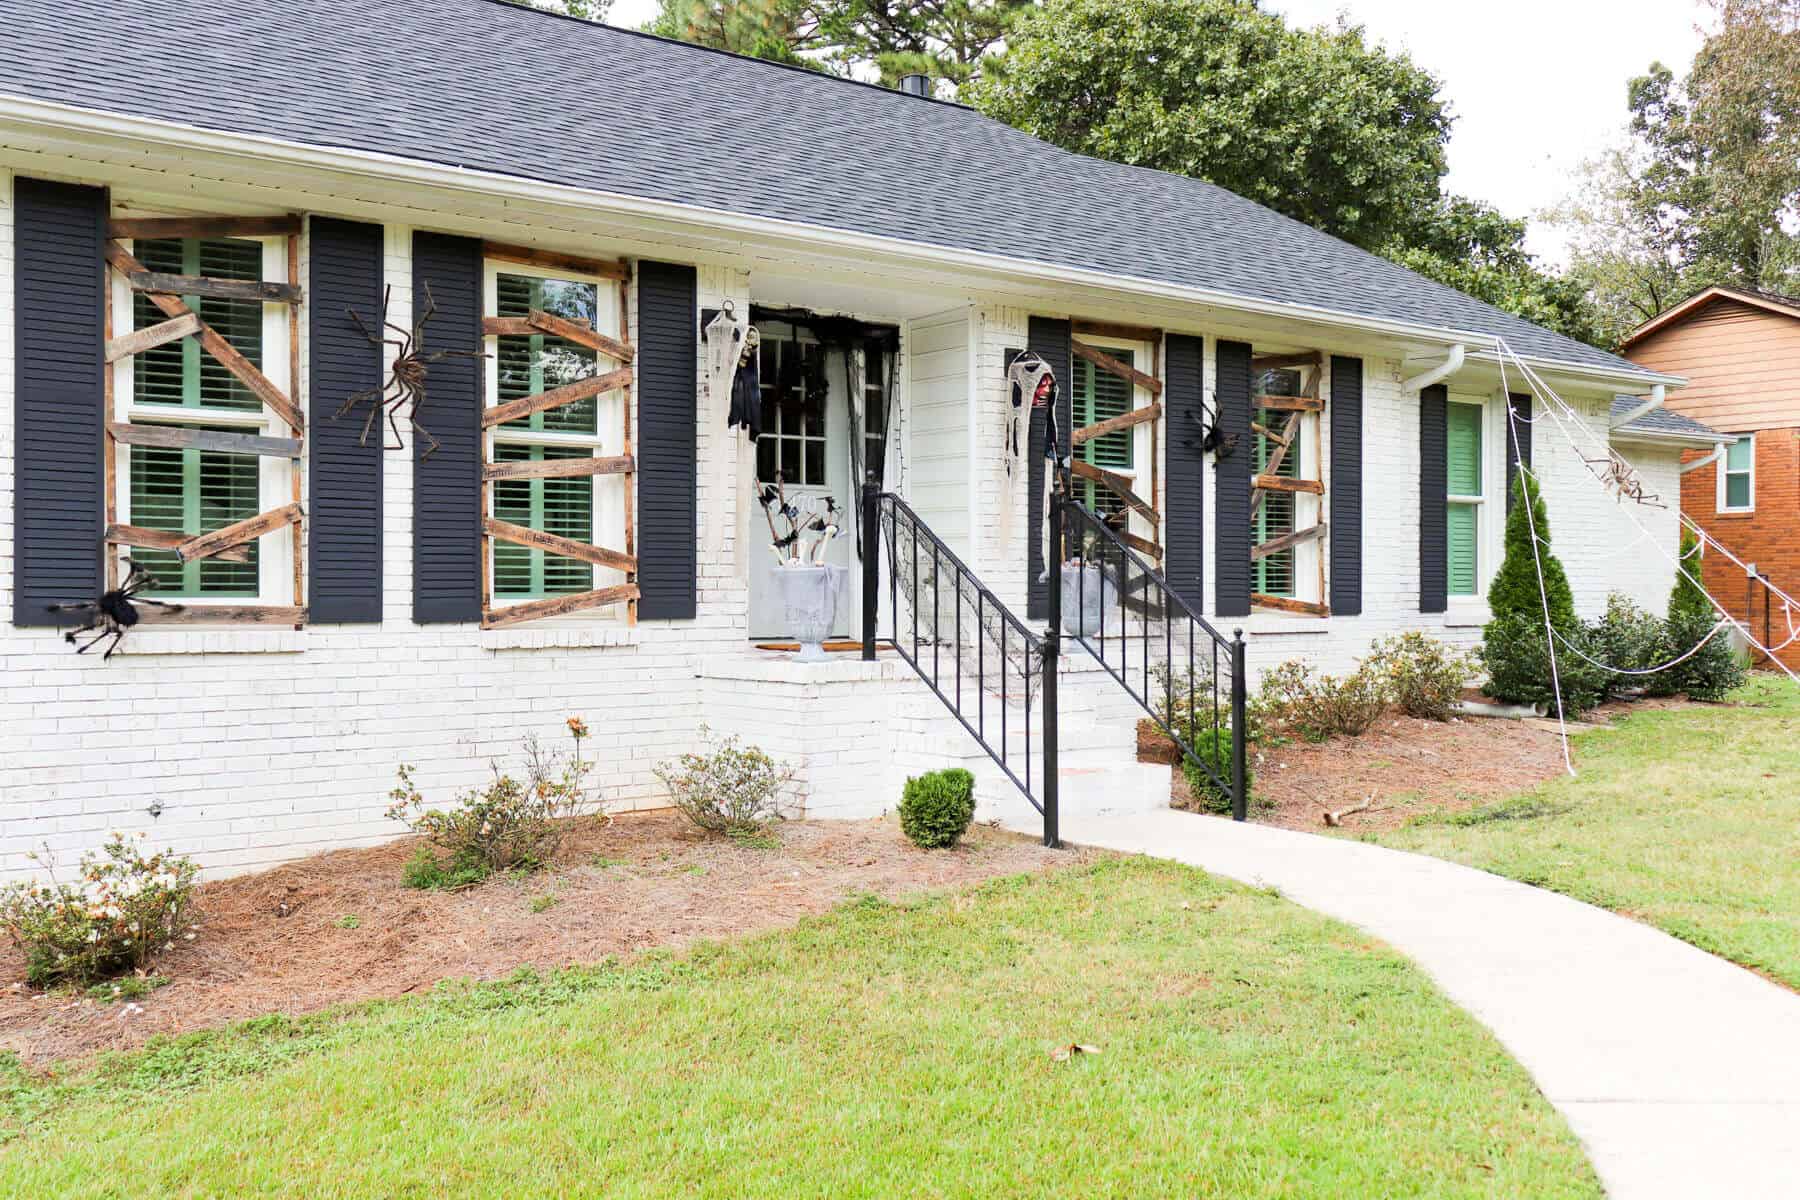
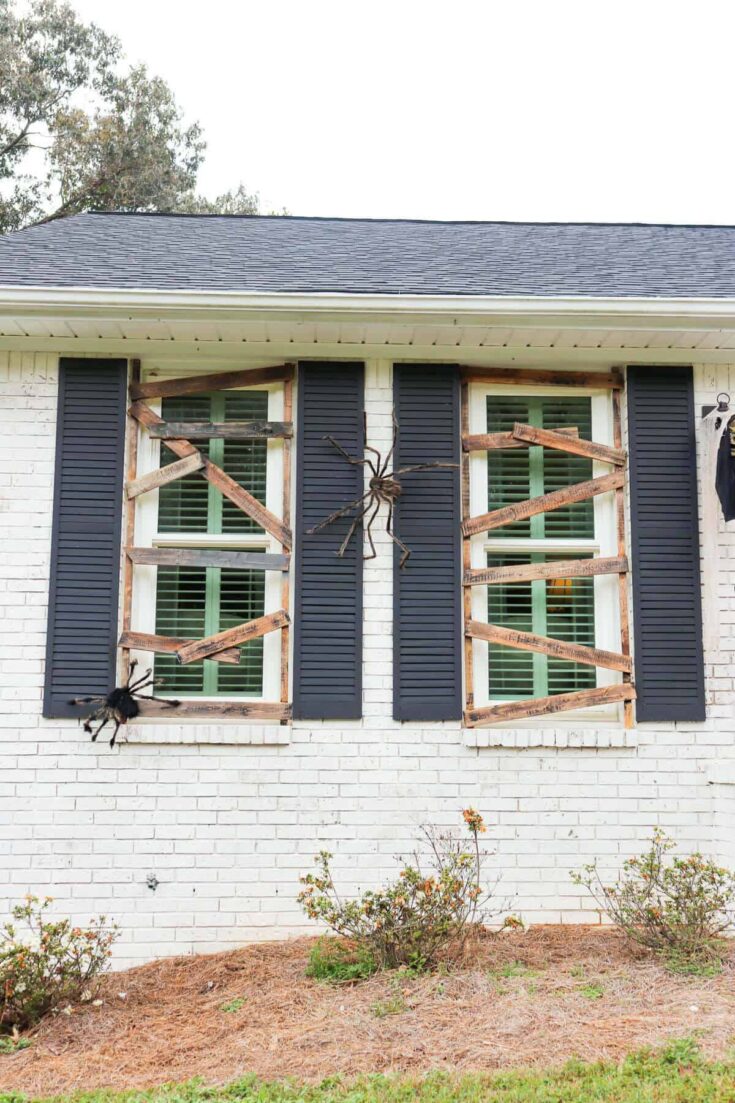
Along with the DIY Boarded Up Windows and Spider Web, I also made a new diy halloween wreath for our front door.
Here’s a link for the full tutorial on how to make the boarded up windows for yourself!
This fun Halloween wreath from Grandin Road gave me some great inspiration.
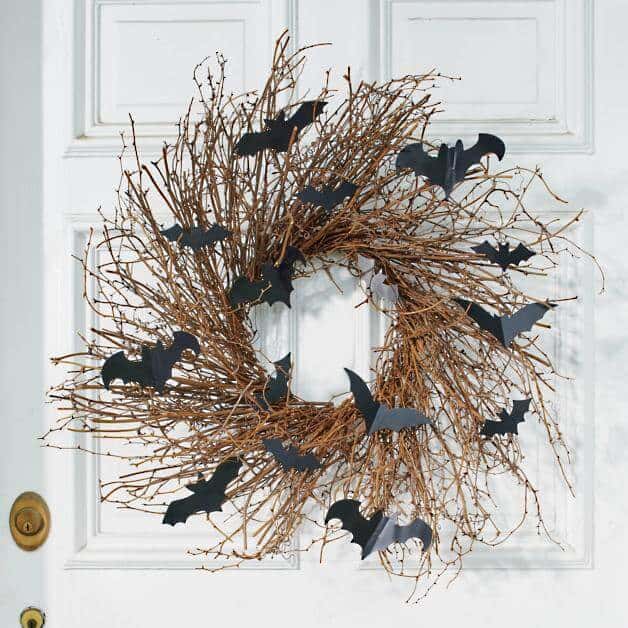
Then I looked at the price! $150 bucks.
Not bad for a beautiful wreath like this. But when we were already spending money making our DIY Boarded Up Windows, I had to find a better way to get the wreath I wanted.
Here’s how I made a DIY version for myself.
DIY Grapevine Bat Wreath
(Some affiliate links are provided below. Full disclosure here.)
Supplies Needed:
Grapevine Wreath
Plastic Bats
Hot Glue Gun
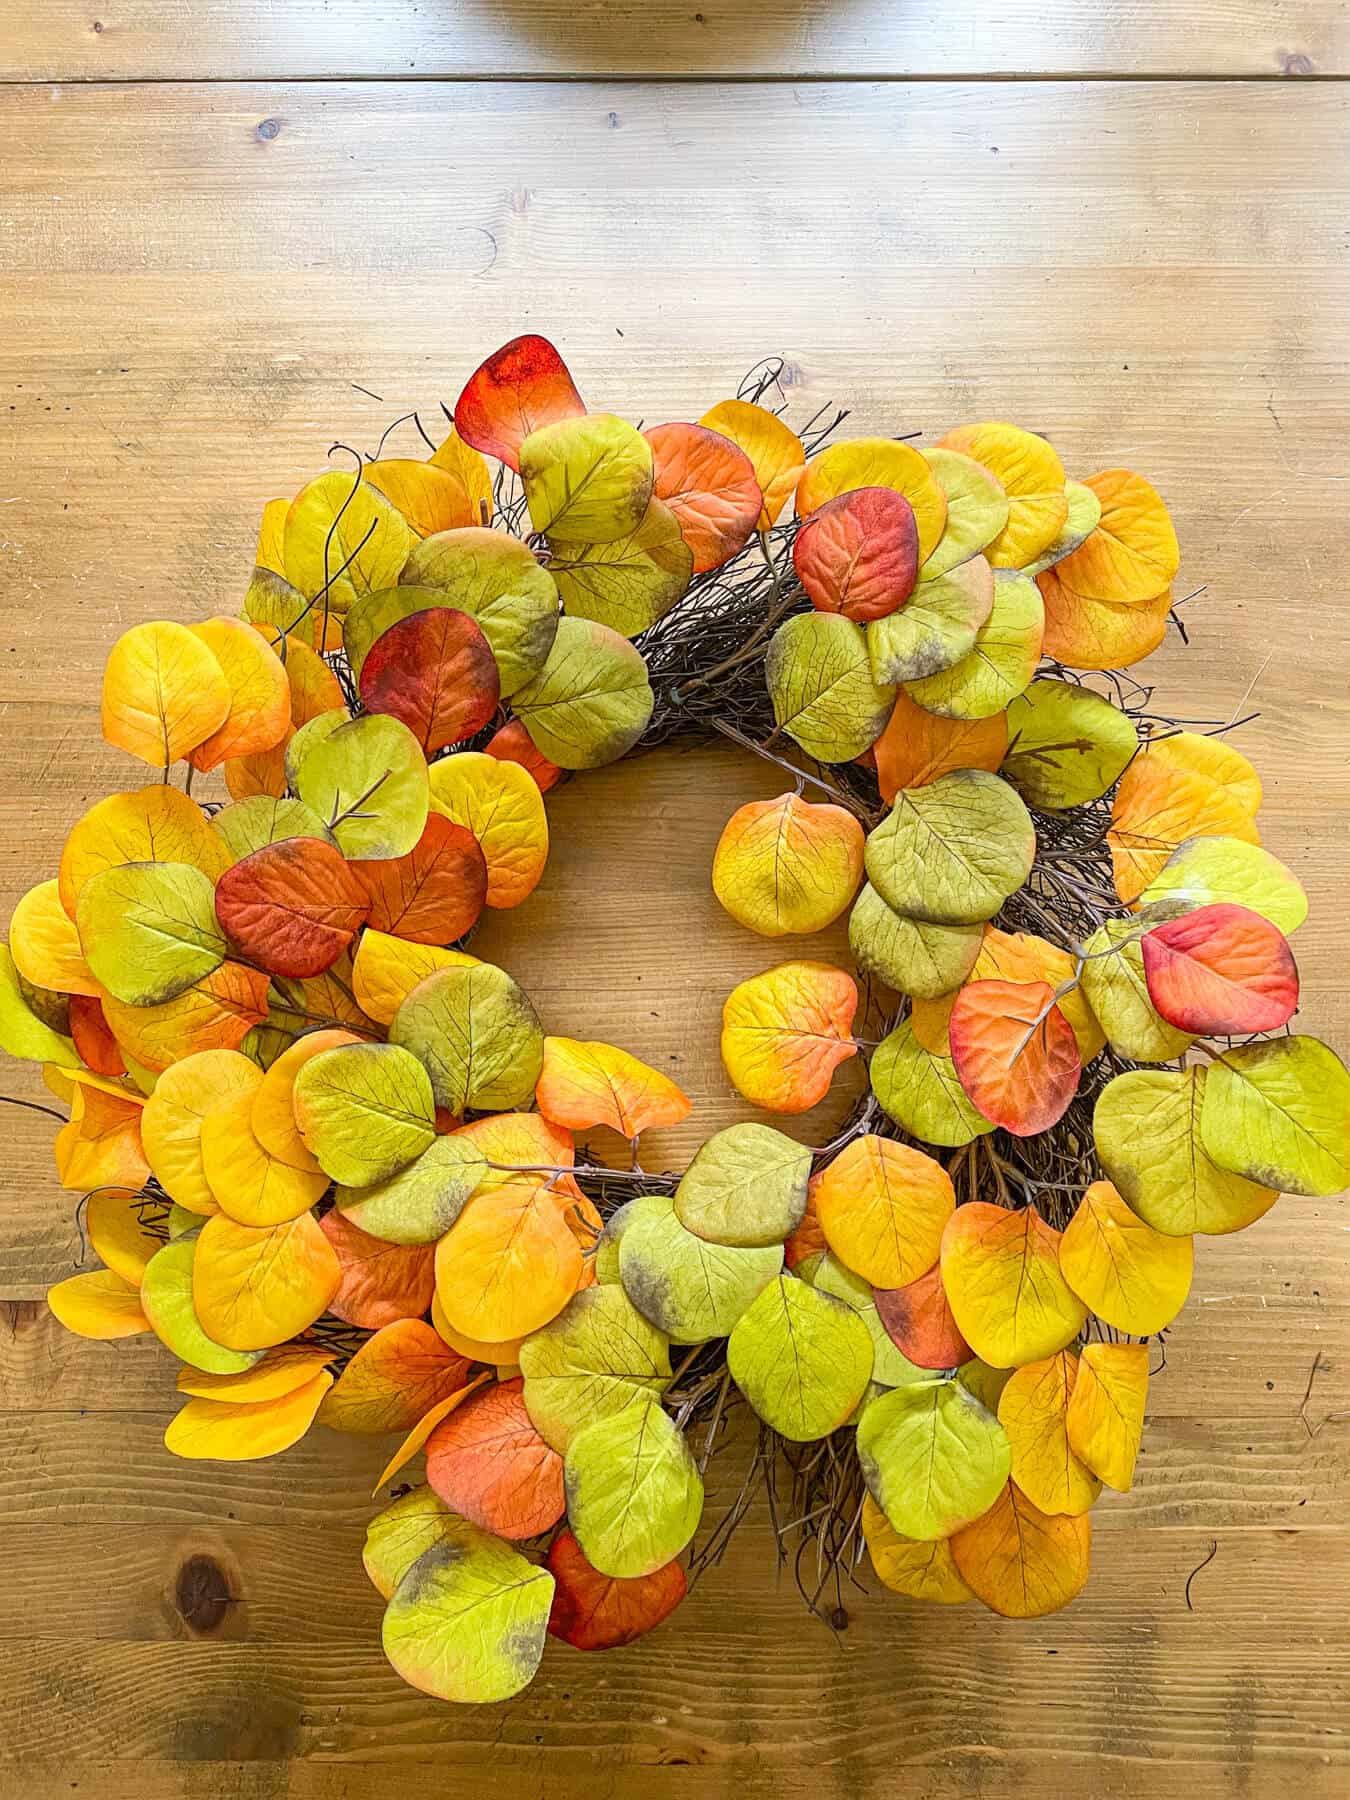
When I was at Walmart the other day, I found this fun fall wreath for under $10. At first, I wasn’t sure if it would work, but when I looked at the back of the wreath, I could see the same circular grapevine wreath as the inspirational piece.
It had the same shape as the inspo wreath, and I loved the price.
The first thing I began was to remove the greenery until I was left with just the grapevine wreath form.
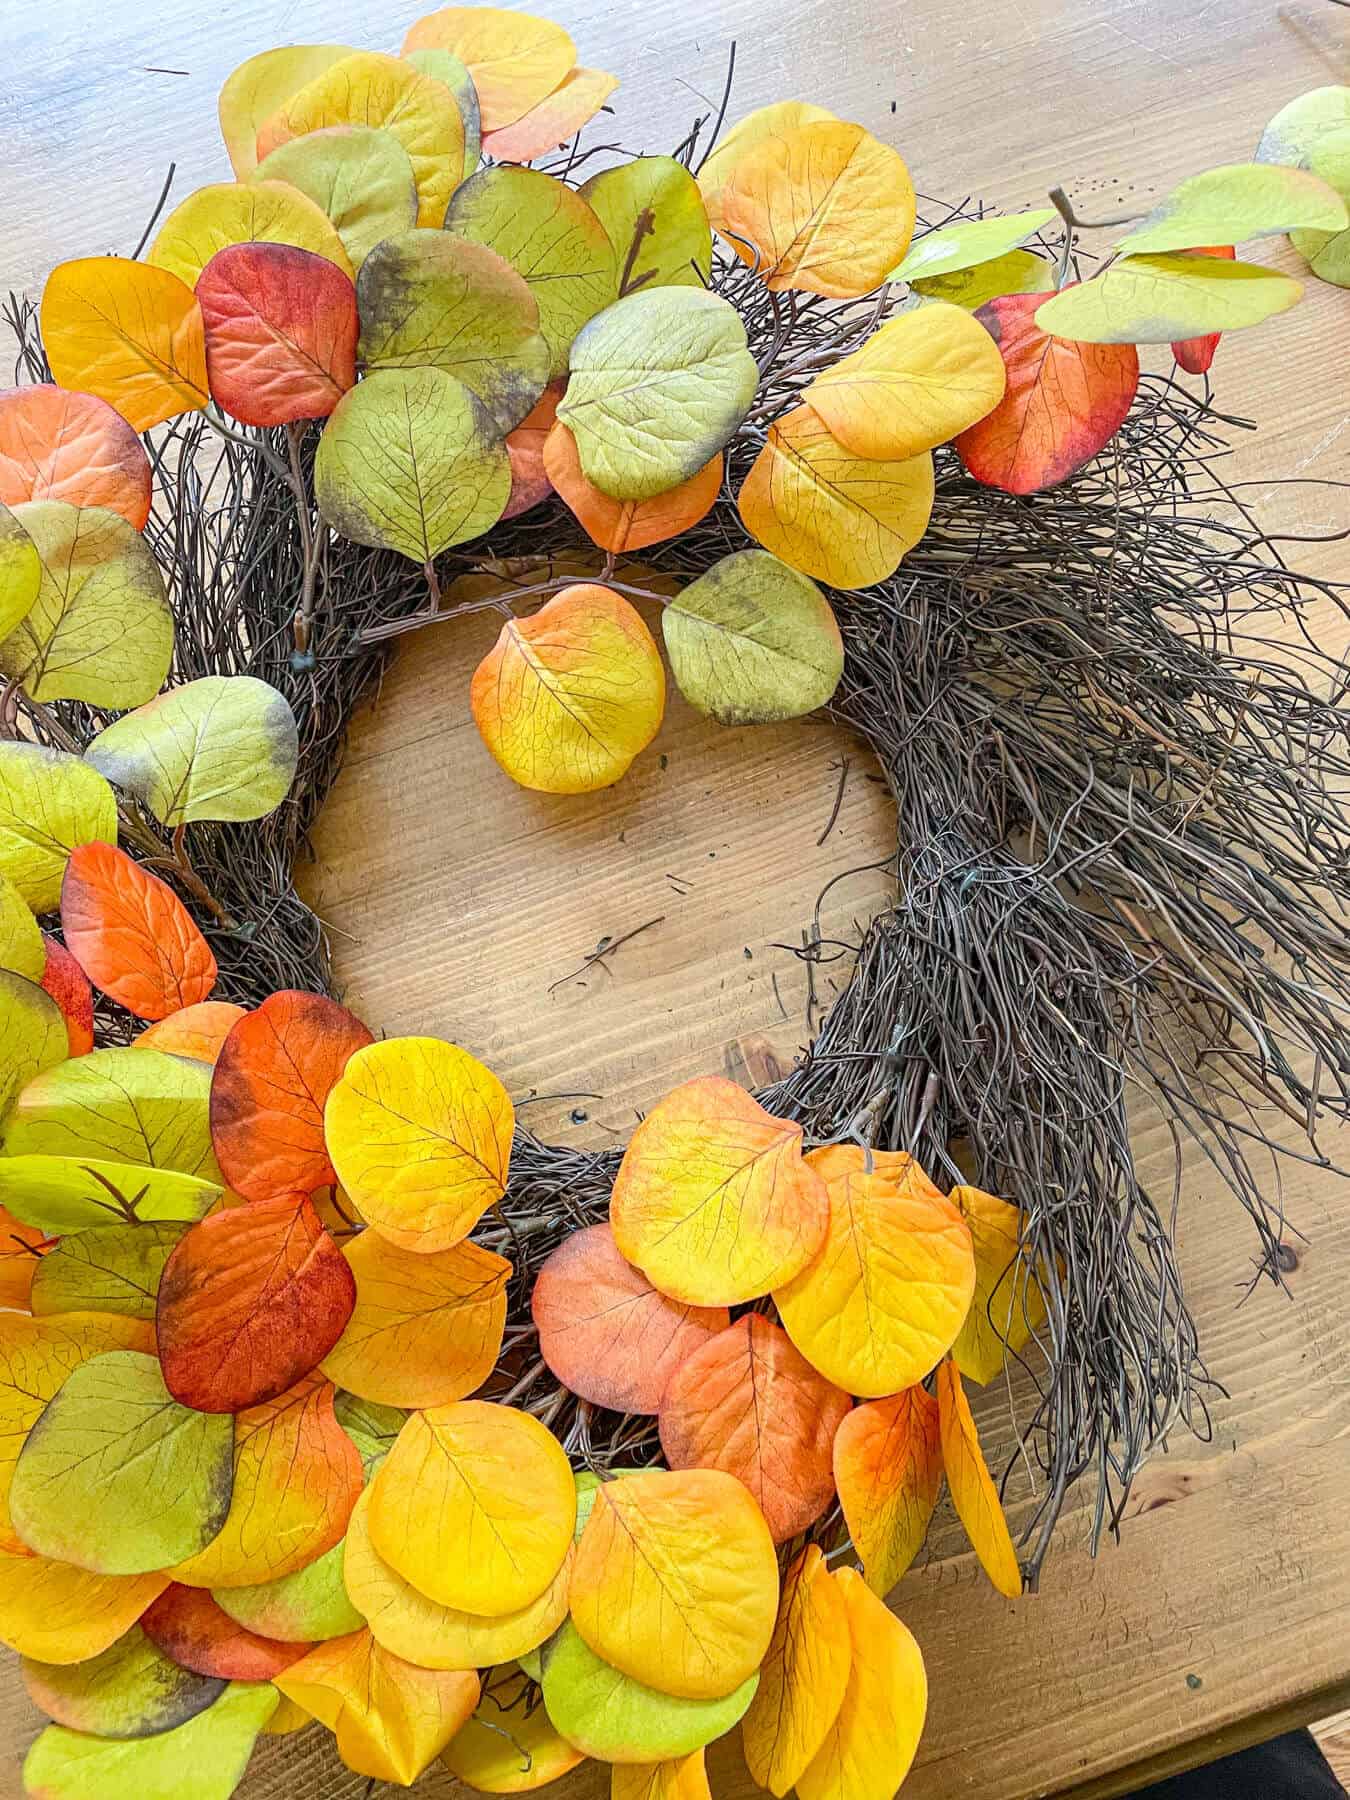
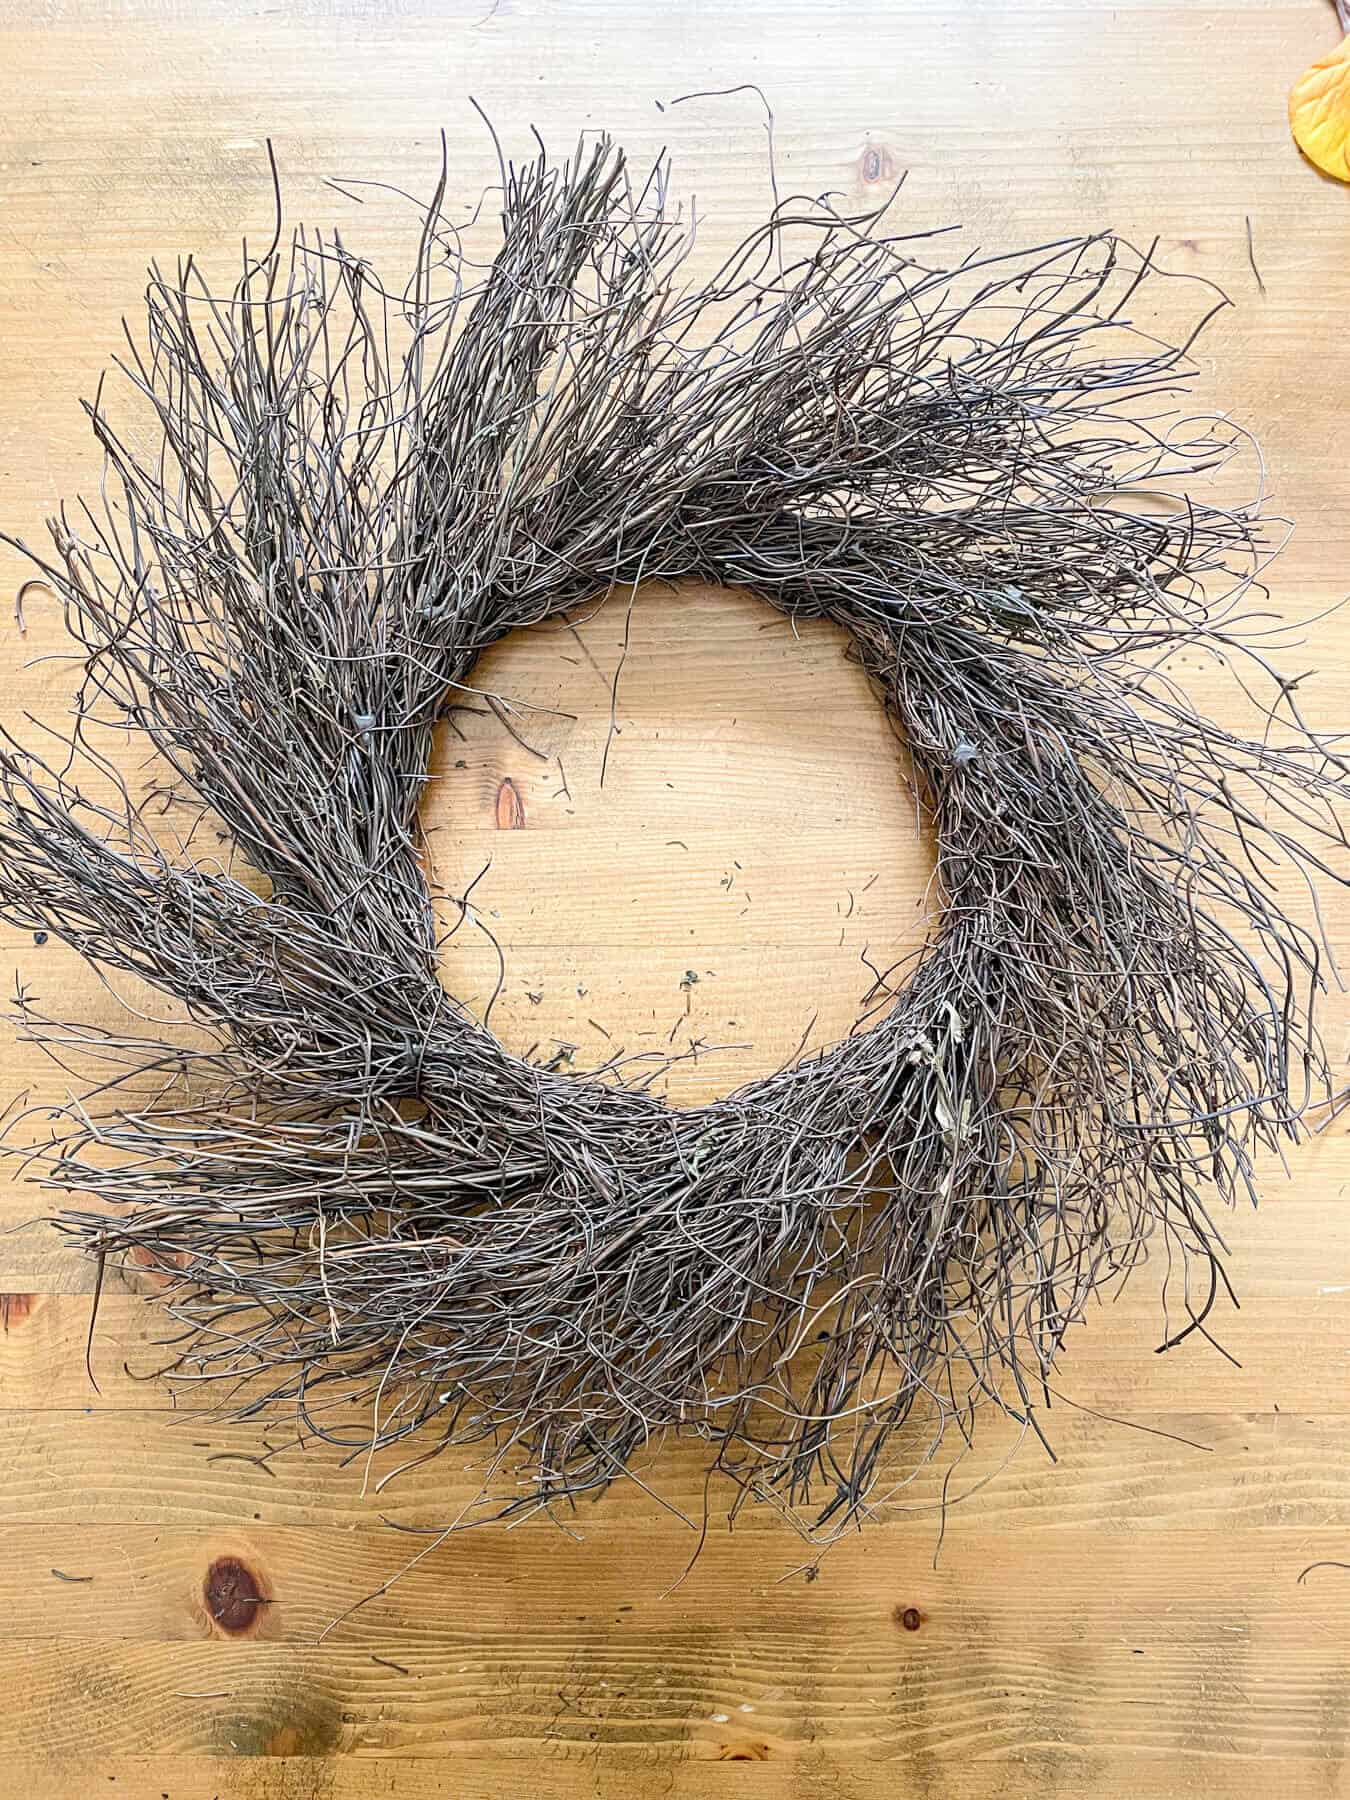
You can also purchase a 10 inch grapevine base wreath from Hobby Lobby or Dollar Tree. I also love to look for old wreaths at thrift stores. It’s an easy way to add craft supplies at an affordable price.
Then I found some plastic bats from Home Depot for about $5.
They come in a big pack with different sizes.
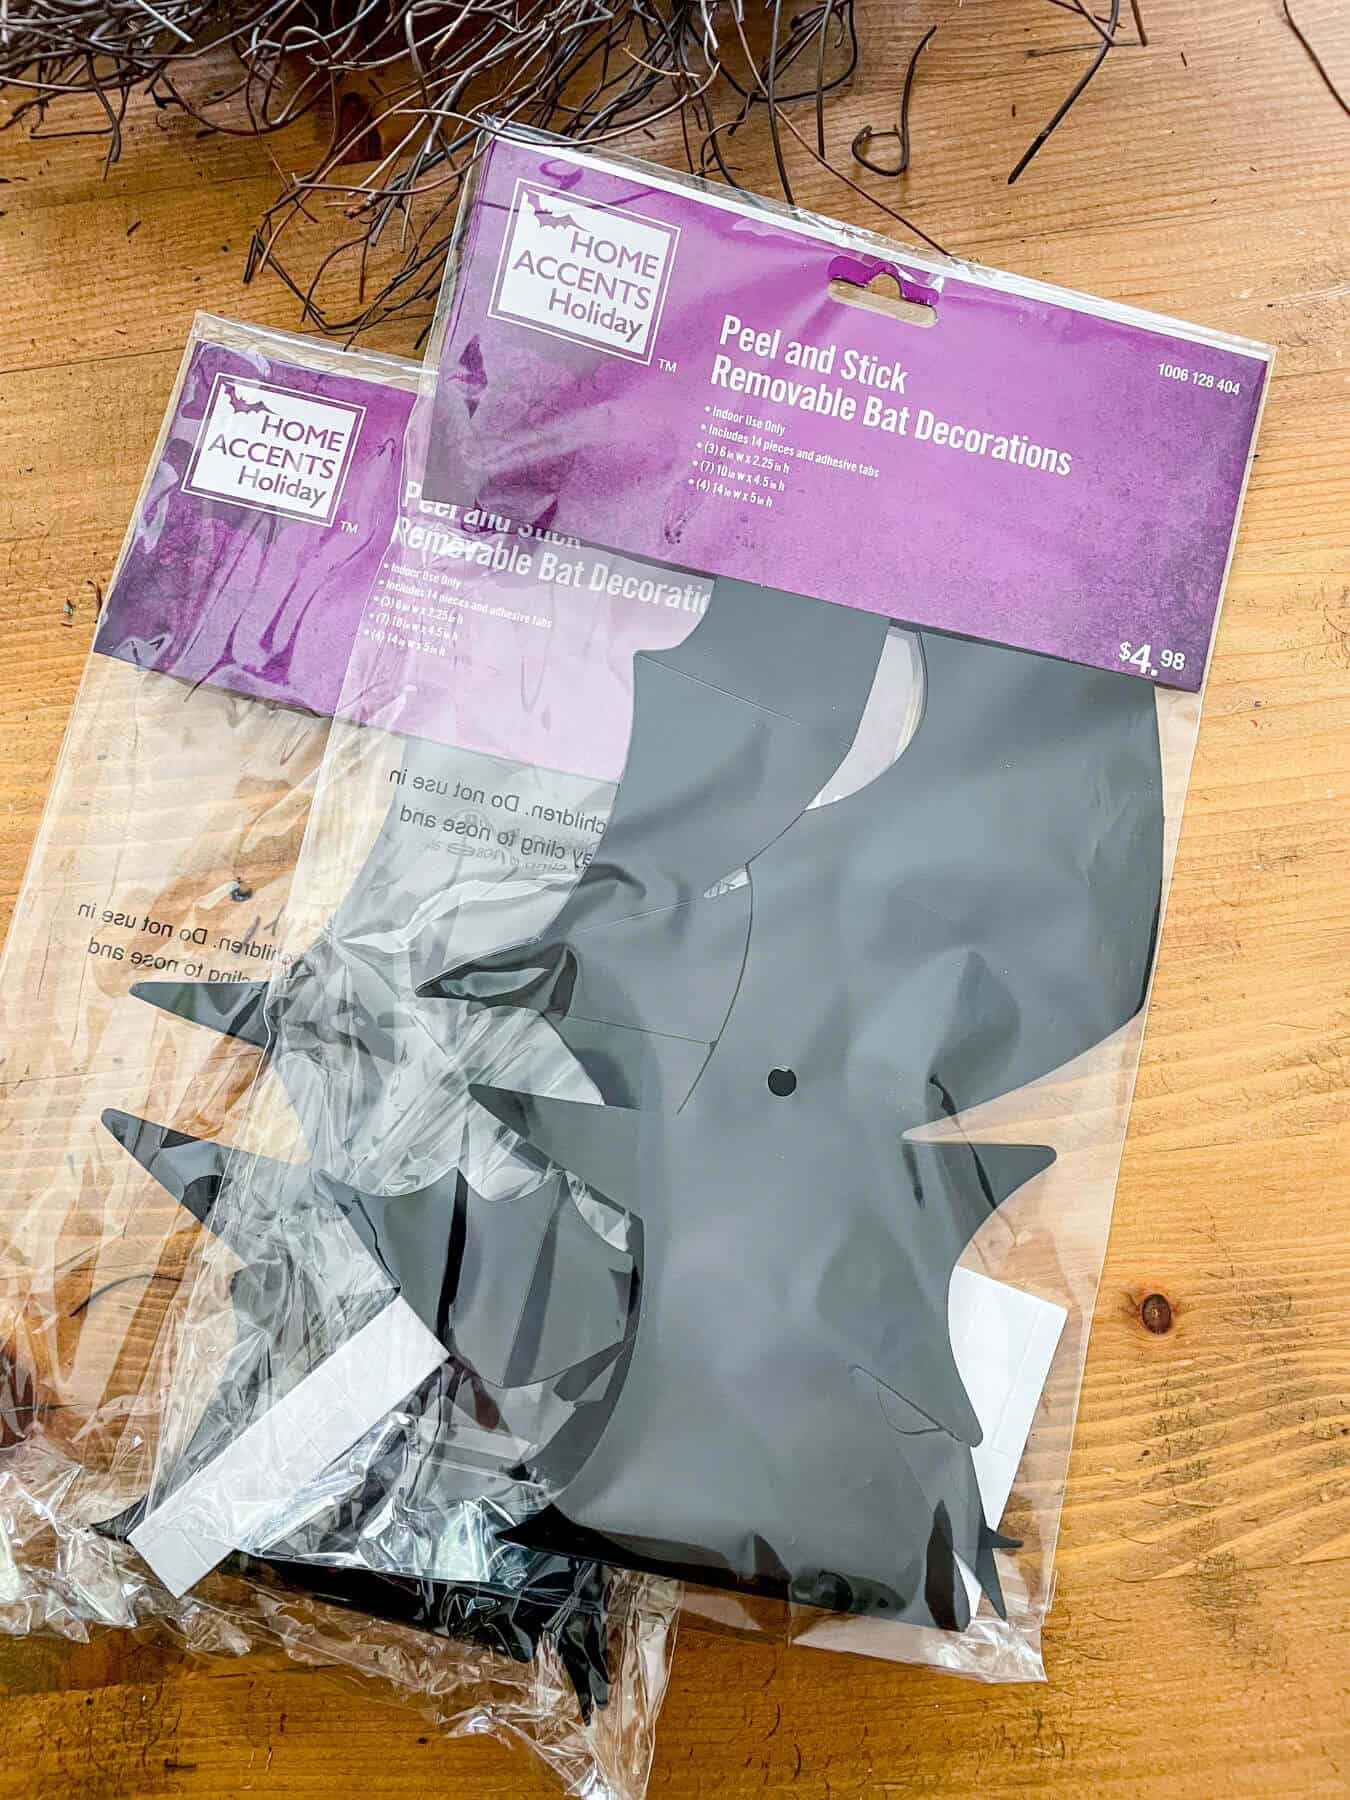
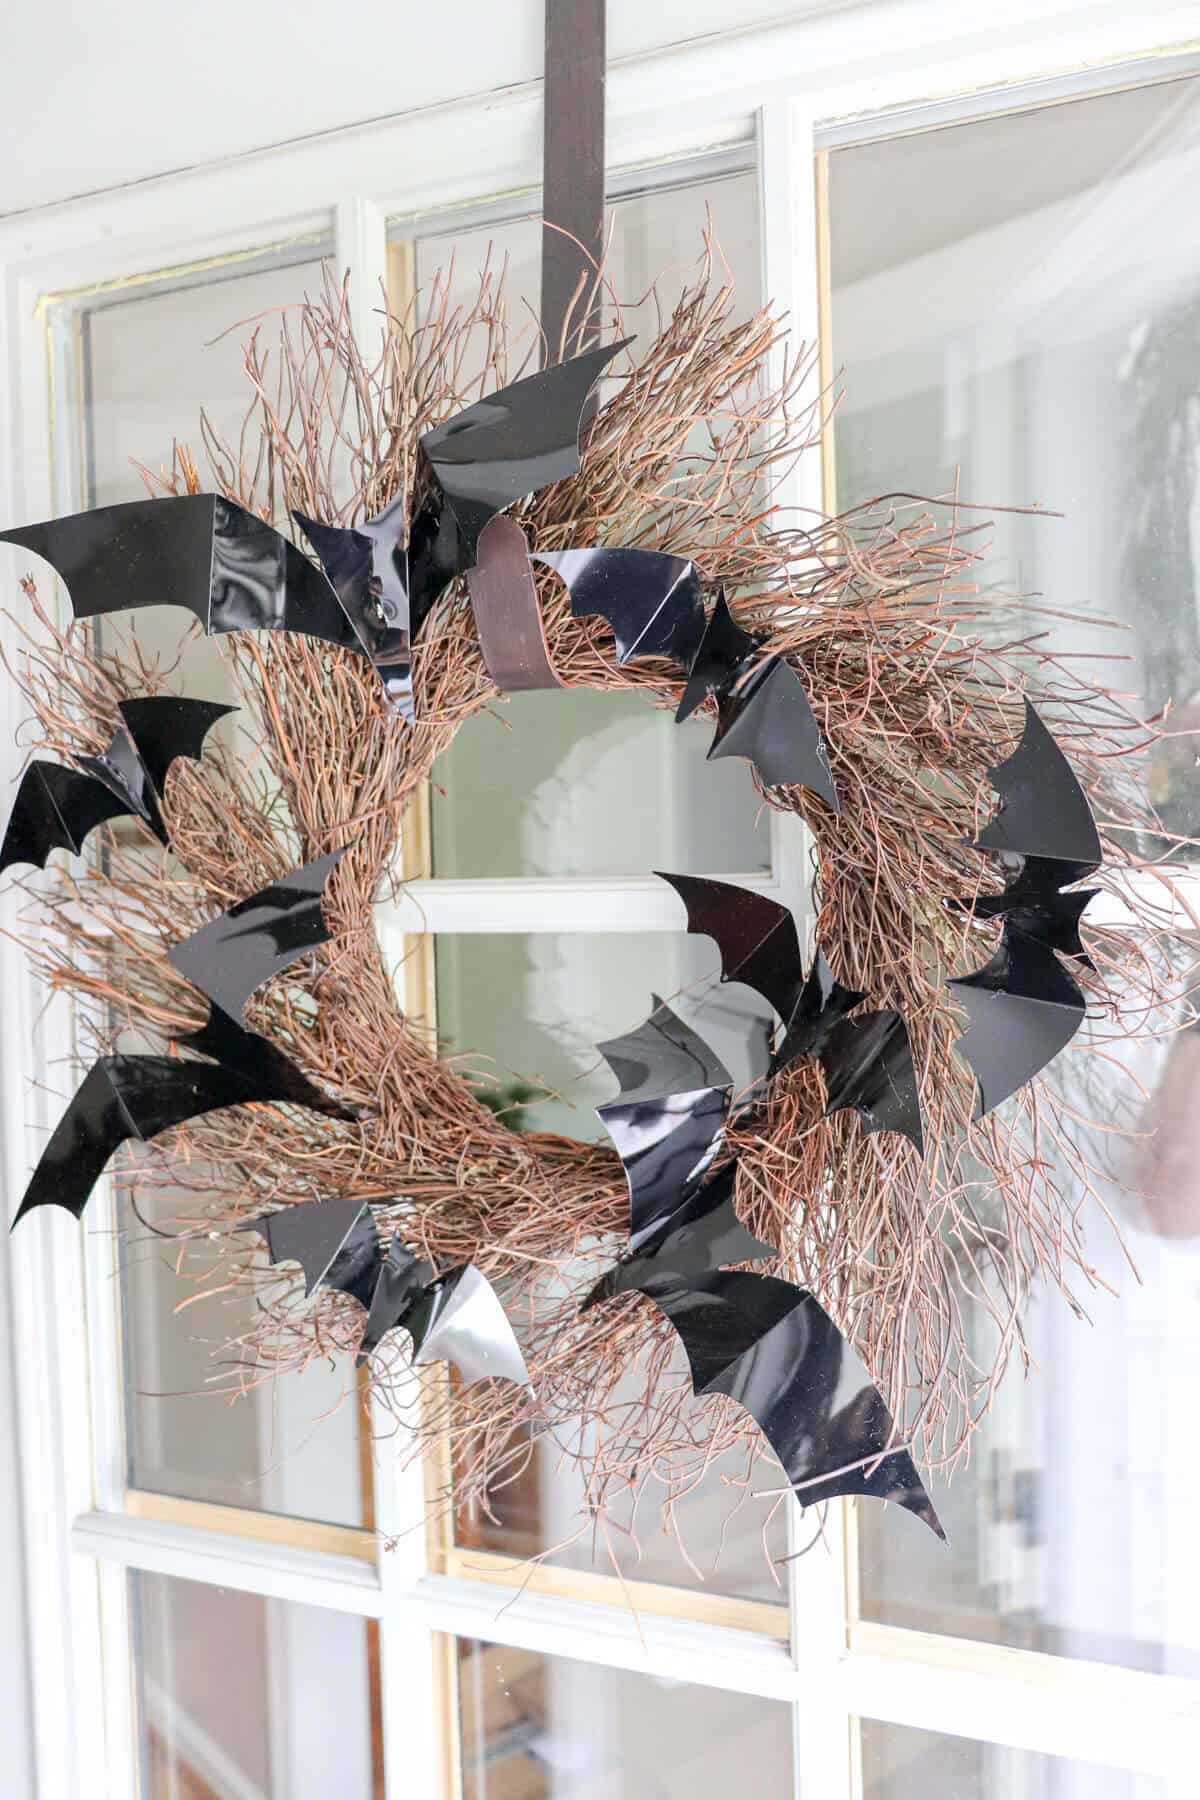
You take the bats and fold along the pre-creased lines to make fun, floppy bats.
Then you simply hot glue the bats to the wreath.
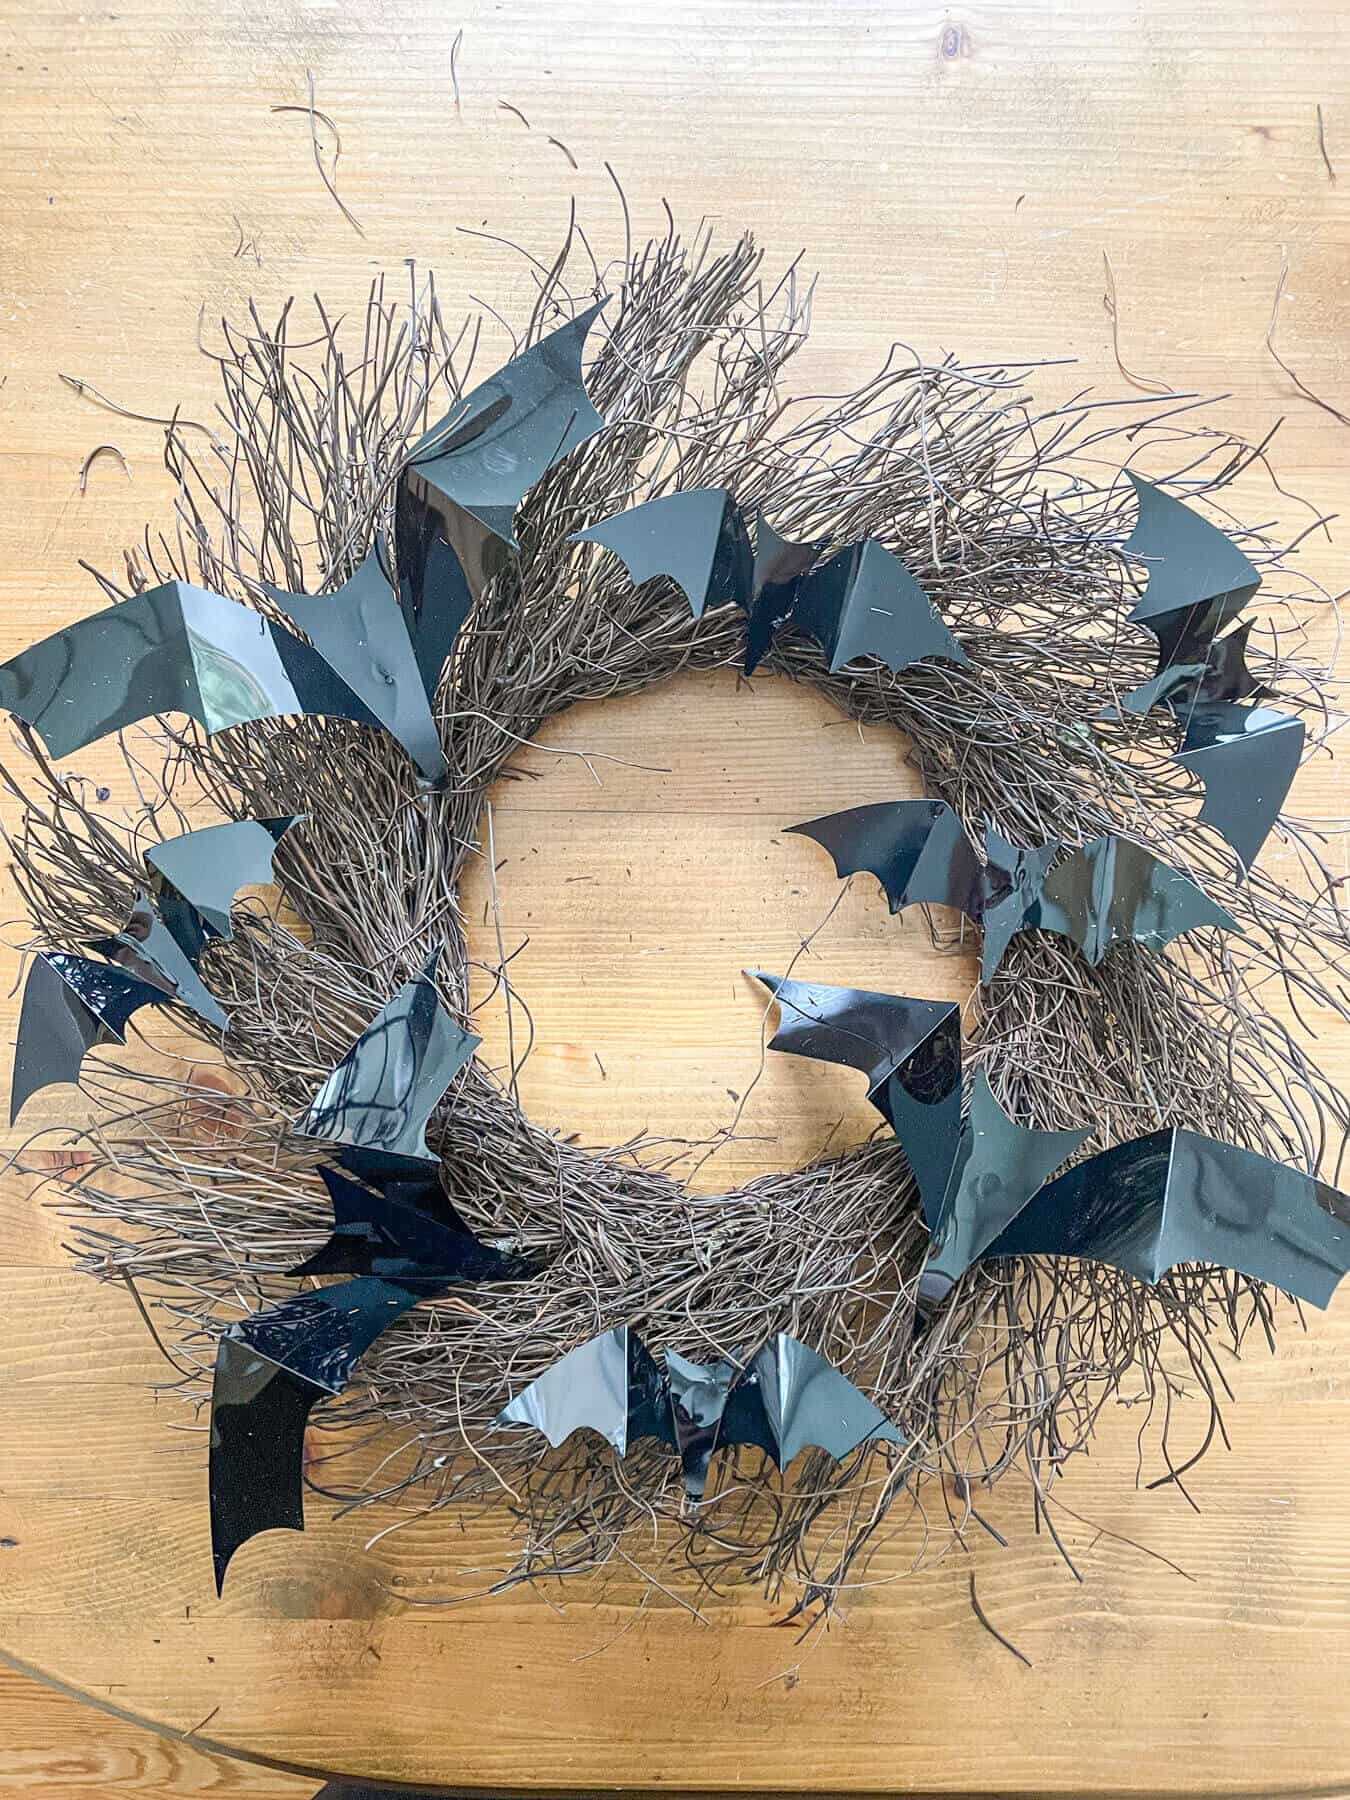
Apply a good amount of hot glue to the wreath and place the bats on top. Be careful because the plastic will transfer the heat.
Make sure to vary the placement of the bats on the wreath base.
I placed them in different directions and added them at the bottom of the wreath as well as the sides.
The bats came in a variety of sizes, so I varied size as well as the placement.
If I had a perfect choice, I would have searched for smaller 3 inch grapevine bats, which I may still do! 😉
Super quick – super easy and super fun!
I couldn’t wait to add this door decoration.

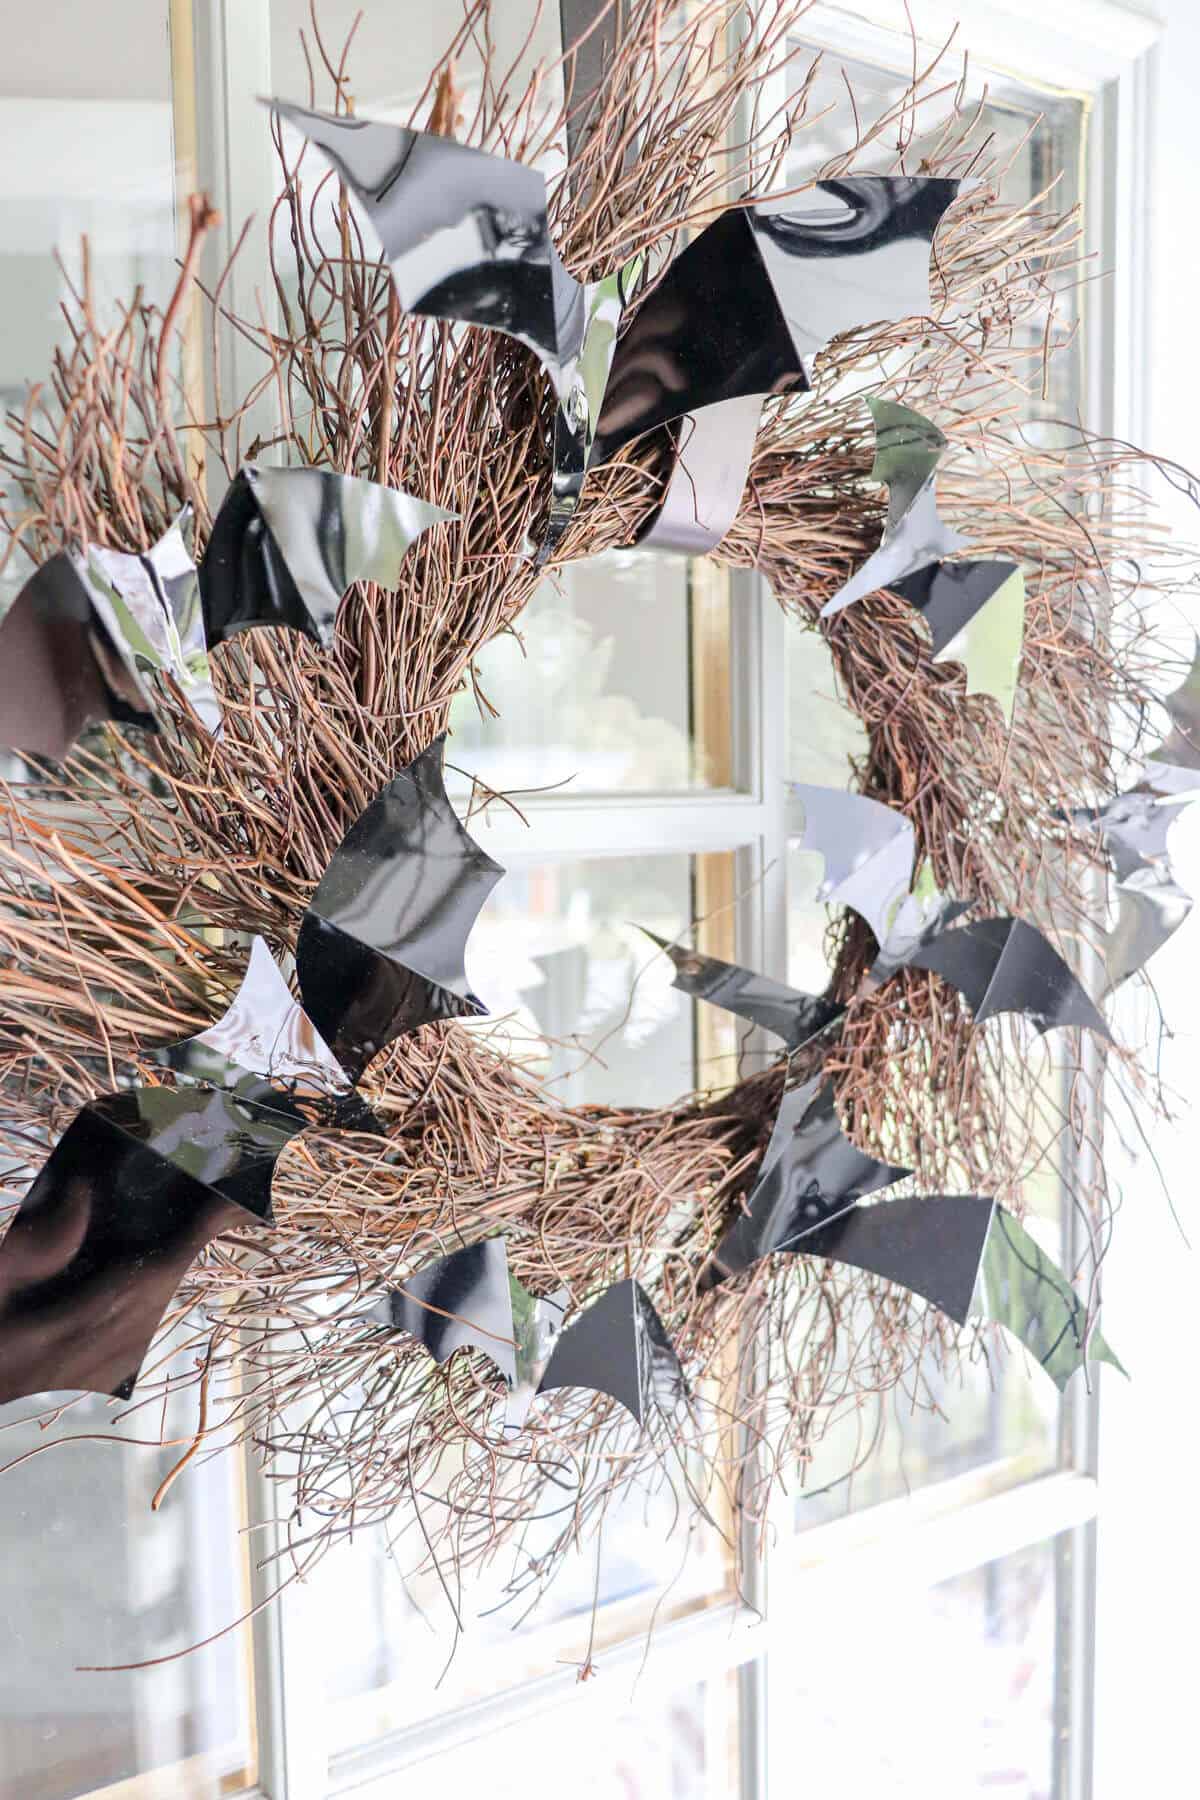
I just love the look.
But I love the price even more! 😉
And if bats aren’t your thing, you could always create your own Halloween wreath.
You could add fairy lights and a handful of plastic bugs and use black spray paint to create your own. Head to the dollar store or local craft store and see what you can find to create your own original designs.

My DIY Grapevine Bat Wreath is the perfect addition to my Halloween-y entry.
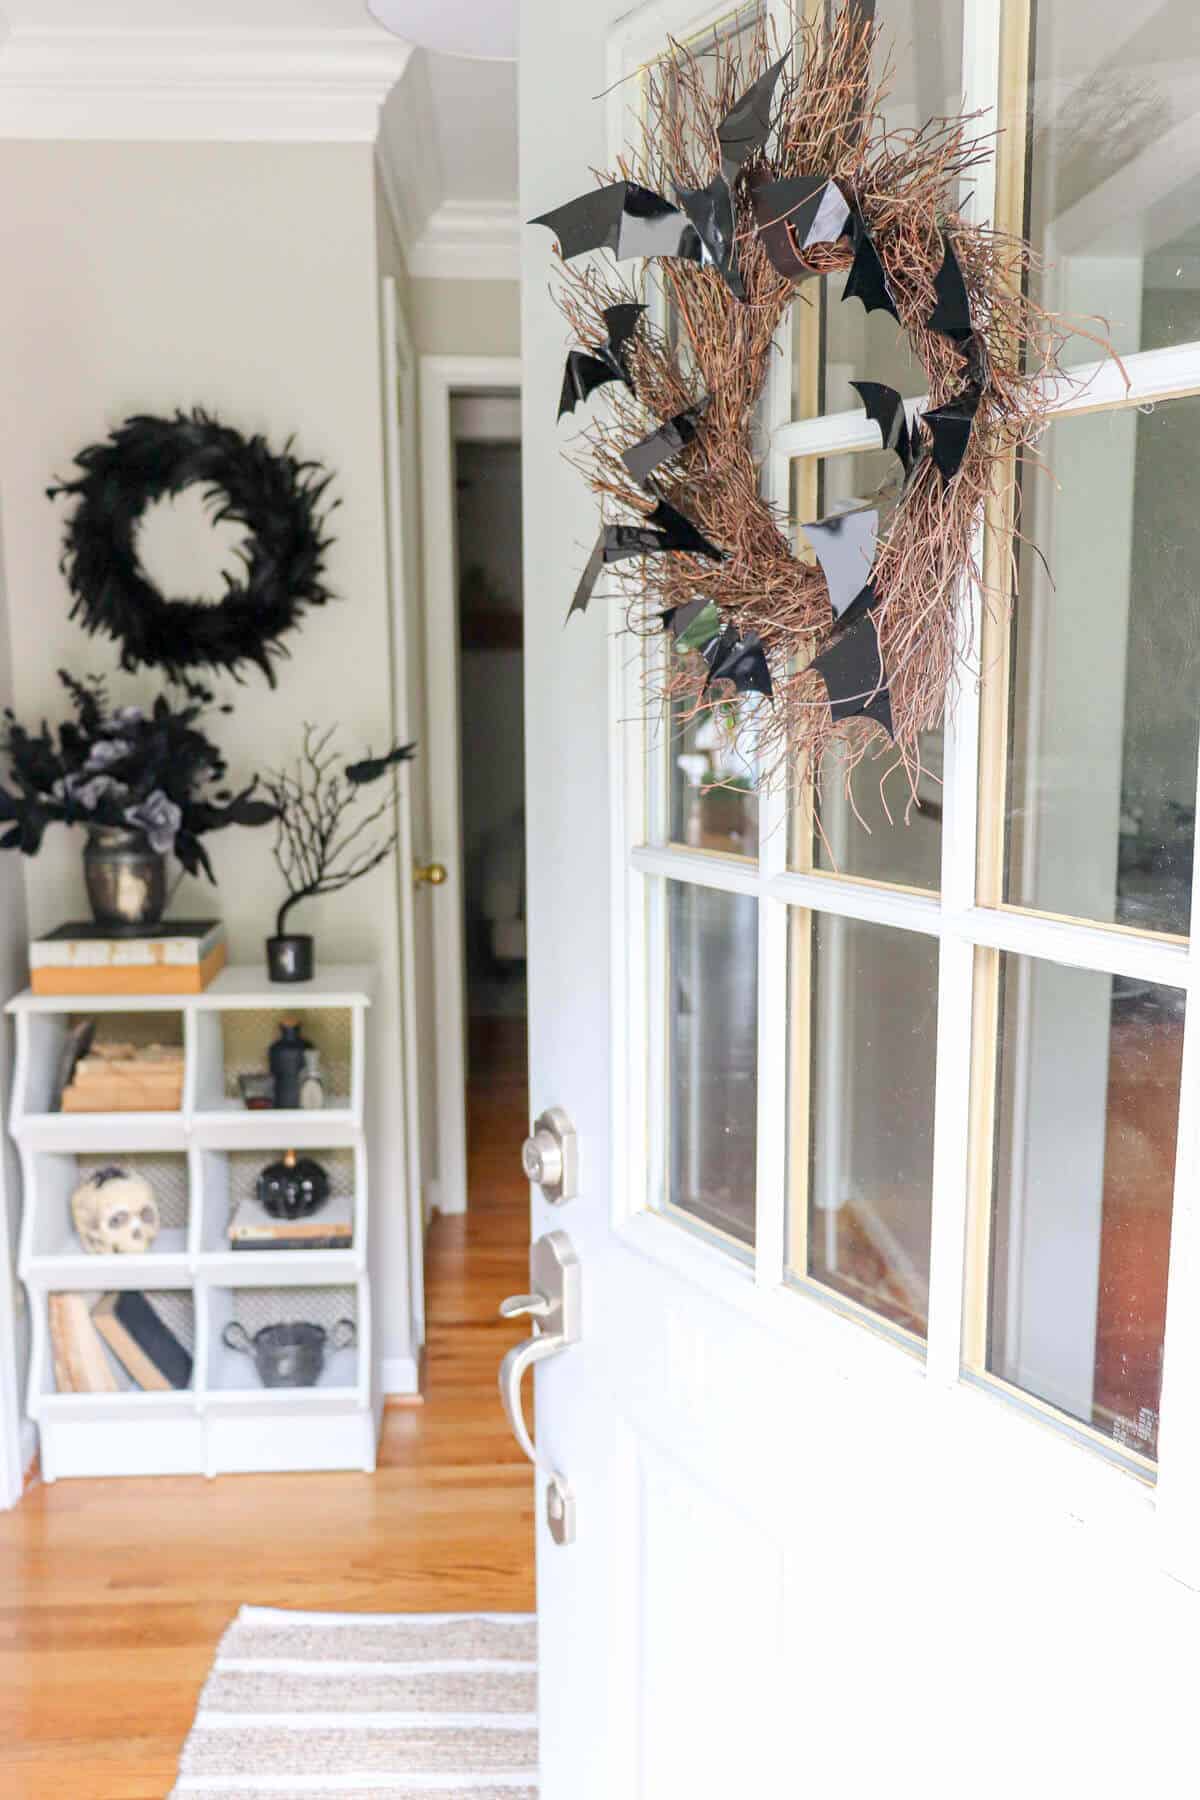
Speaking of, here is how I styled my entryway to get ready for the little trick or treaters.
Halloween Entryway
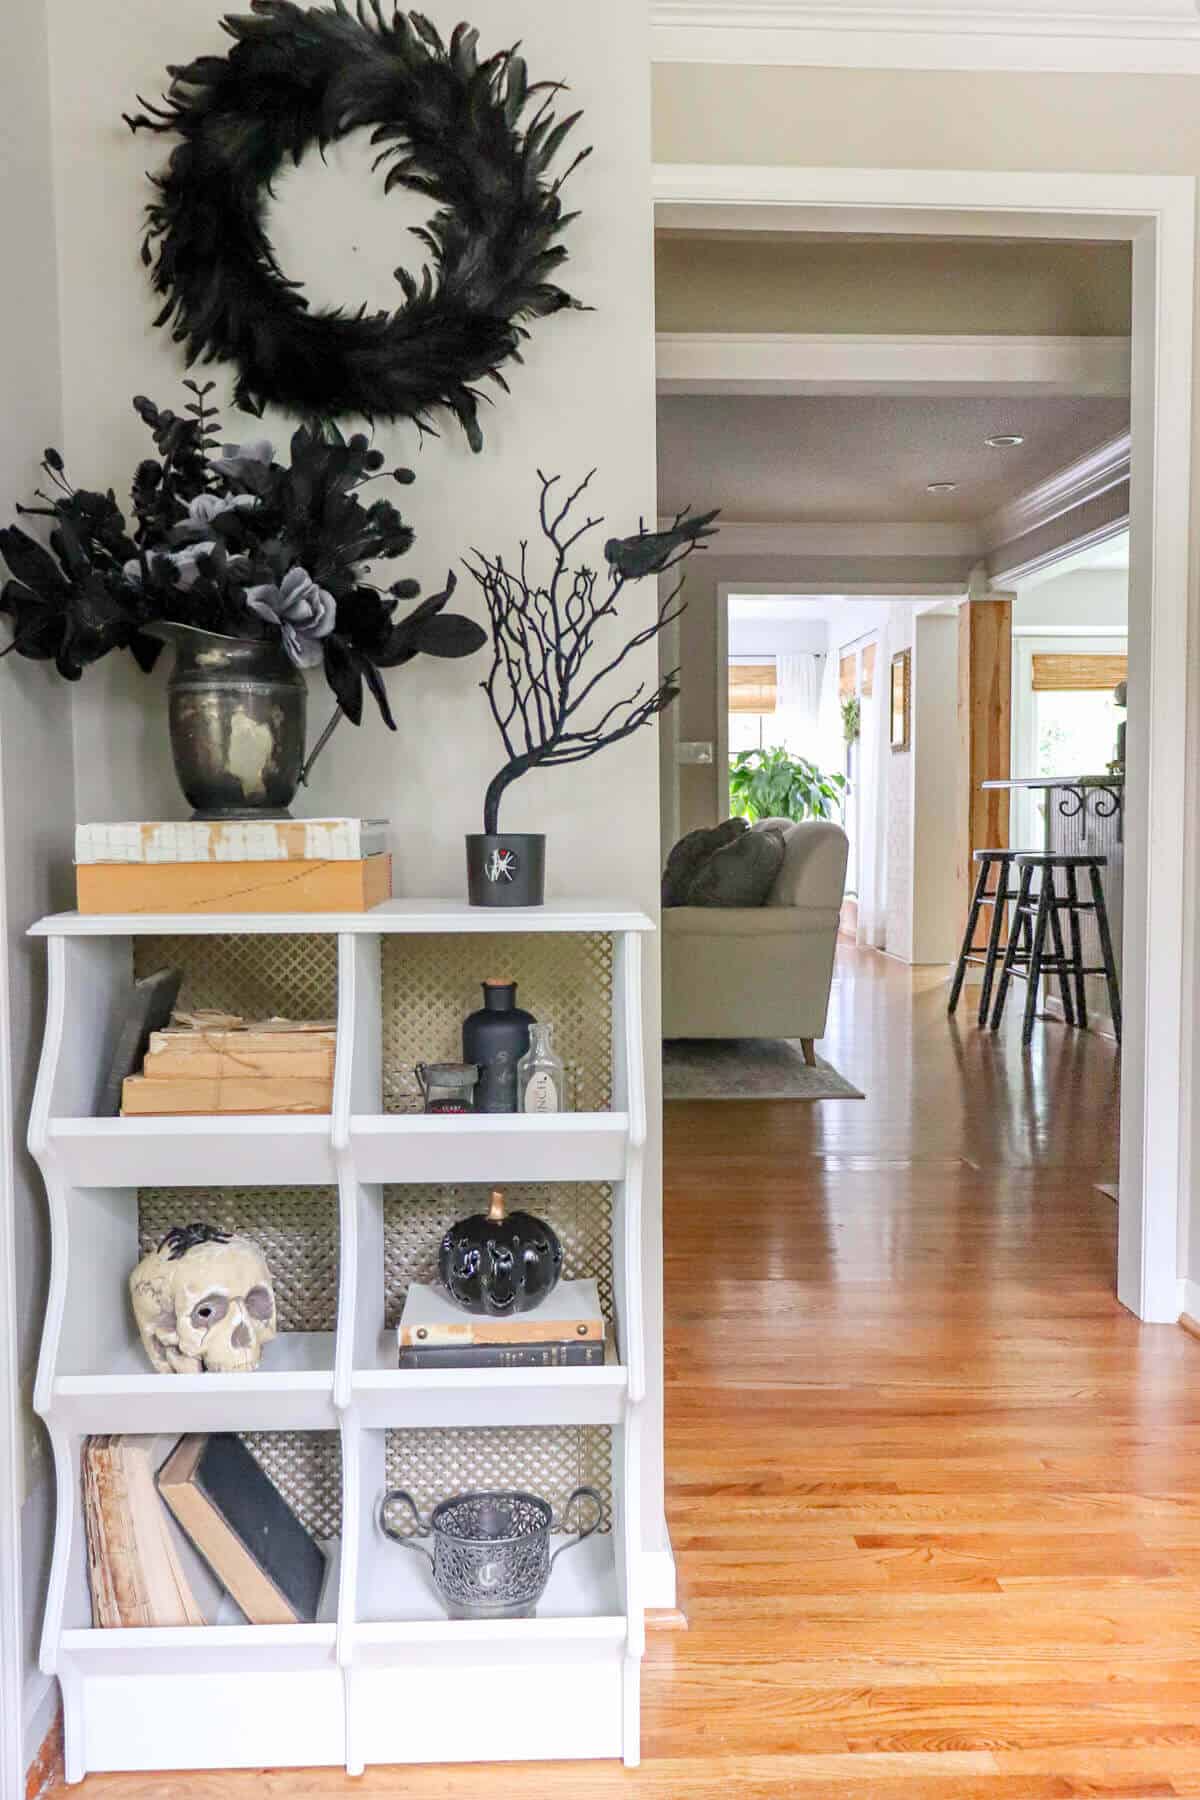
As I mentioned, we love to dress up and have Halloween decor all around our house!
So why not make it a pretty, but creepy welcome when the trick or treaters arrive!
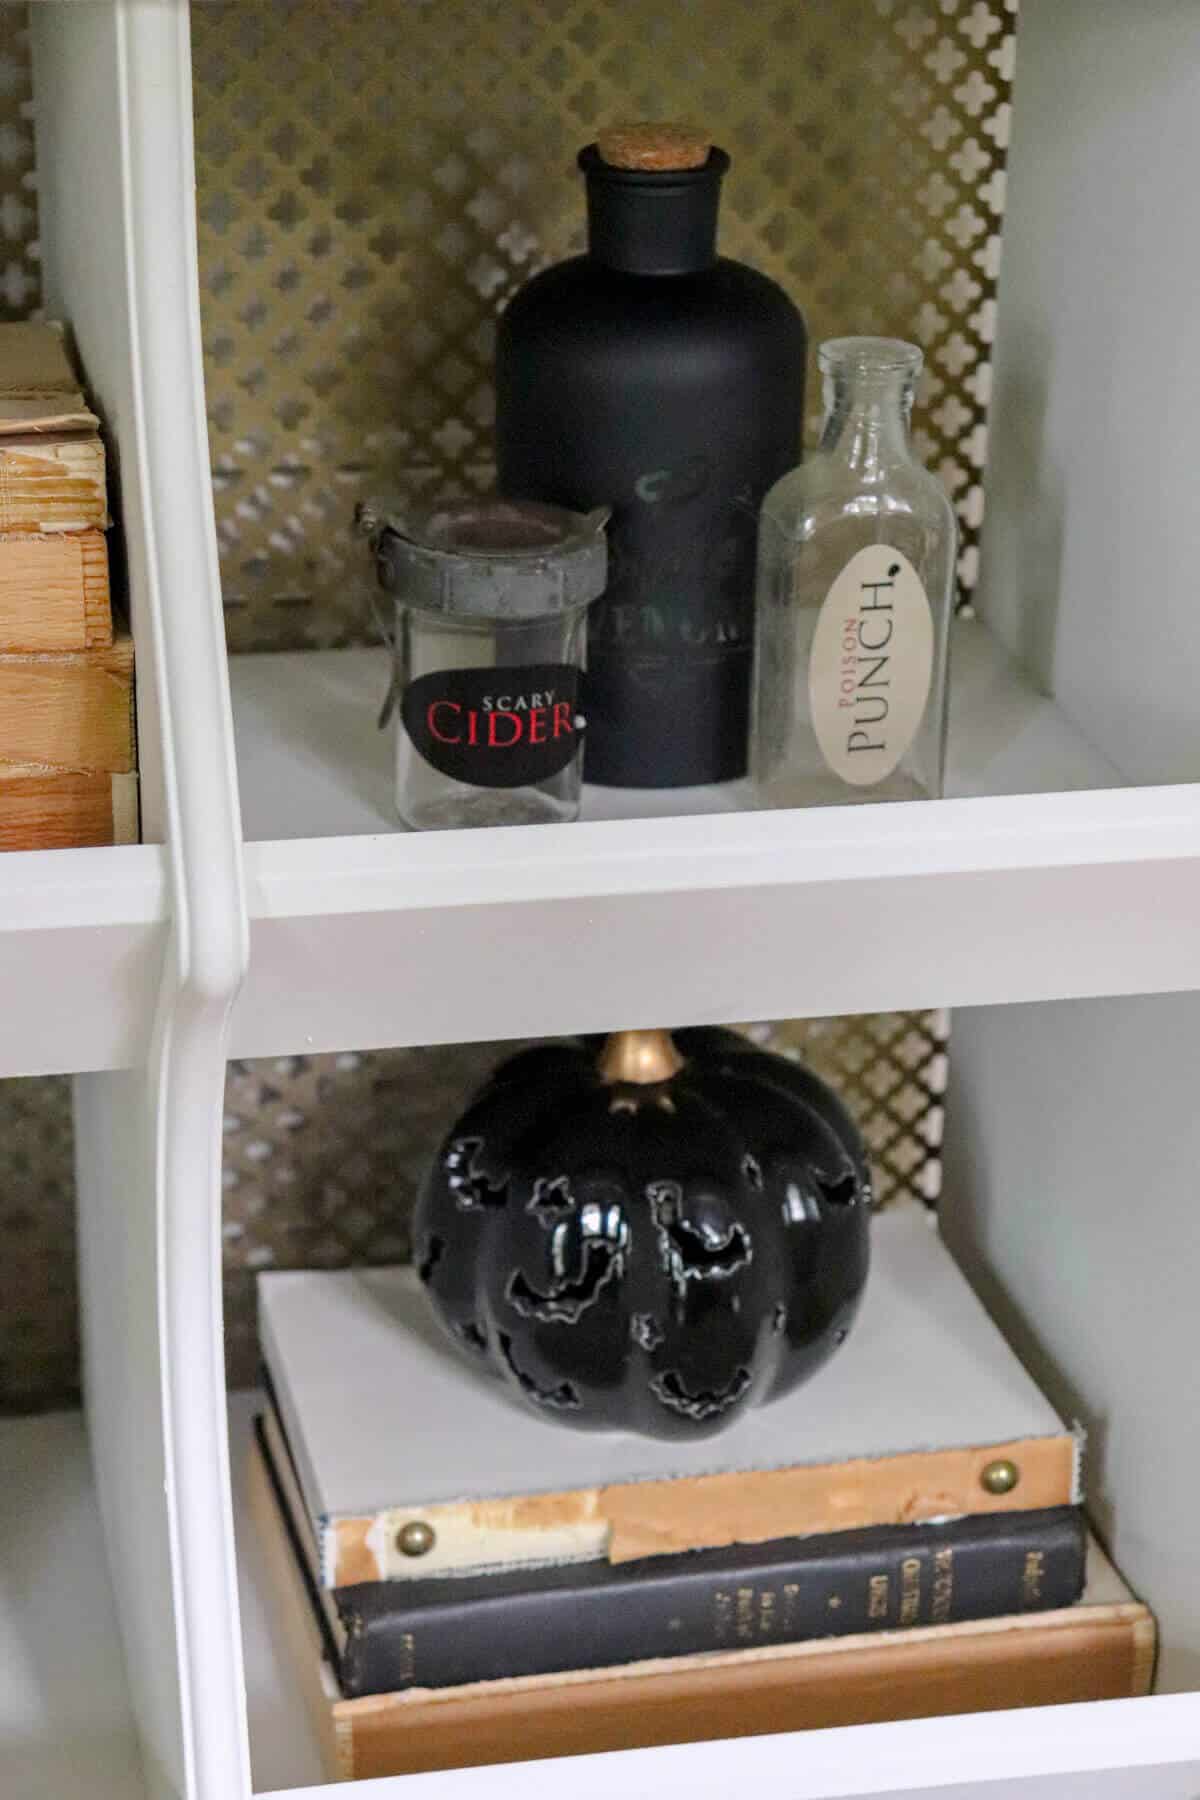
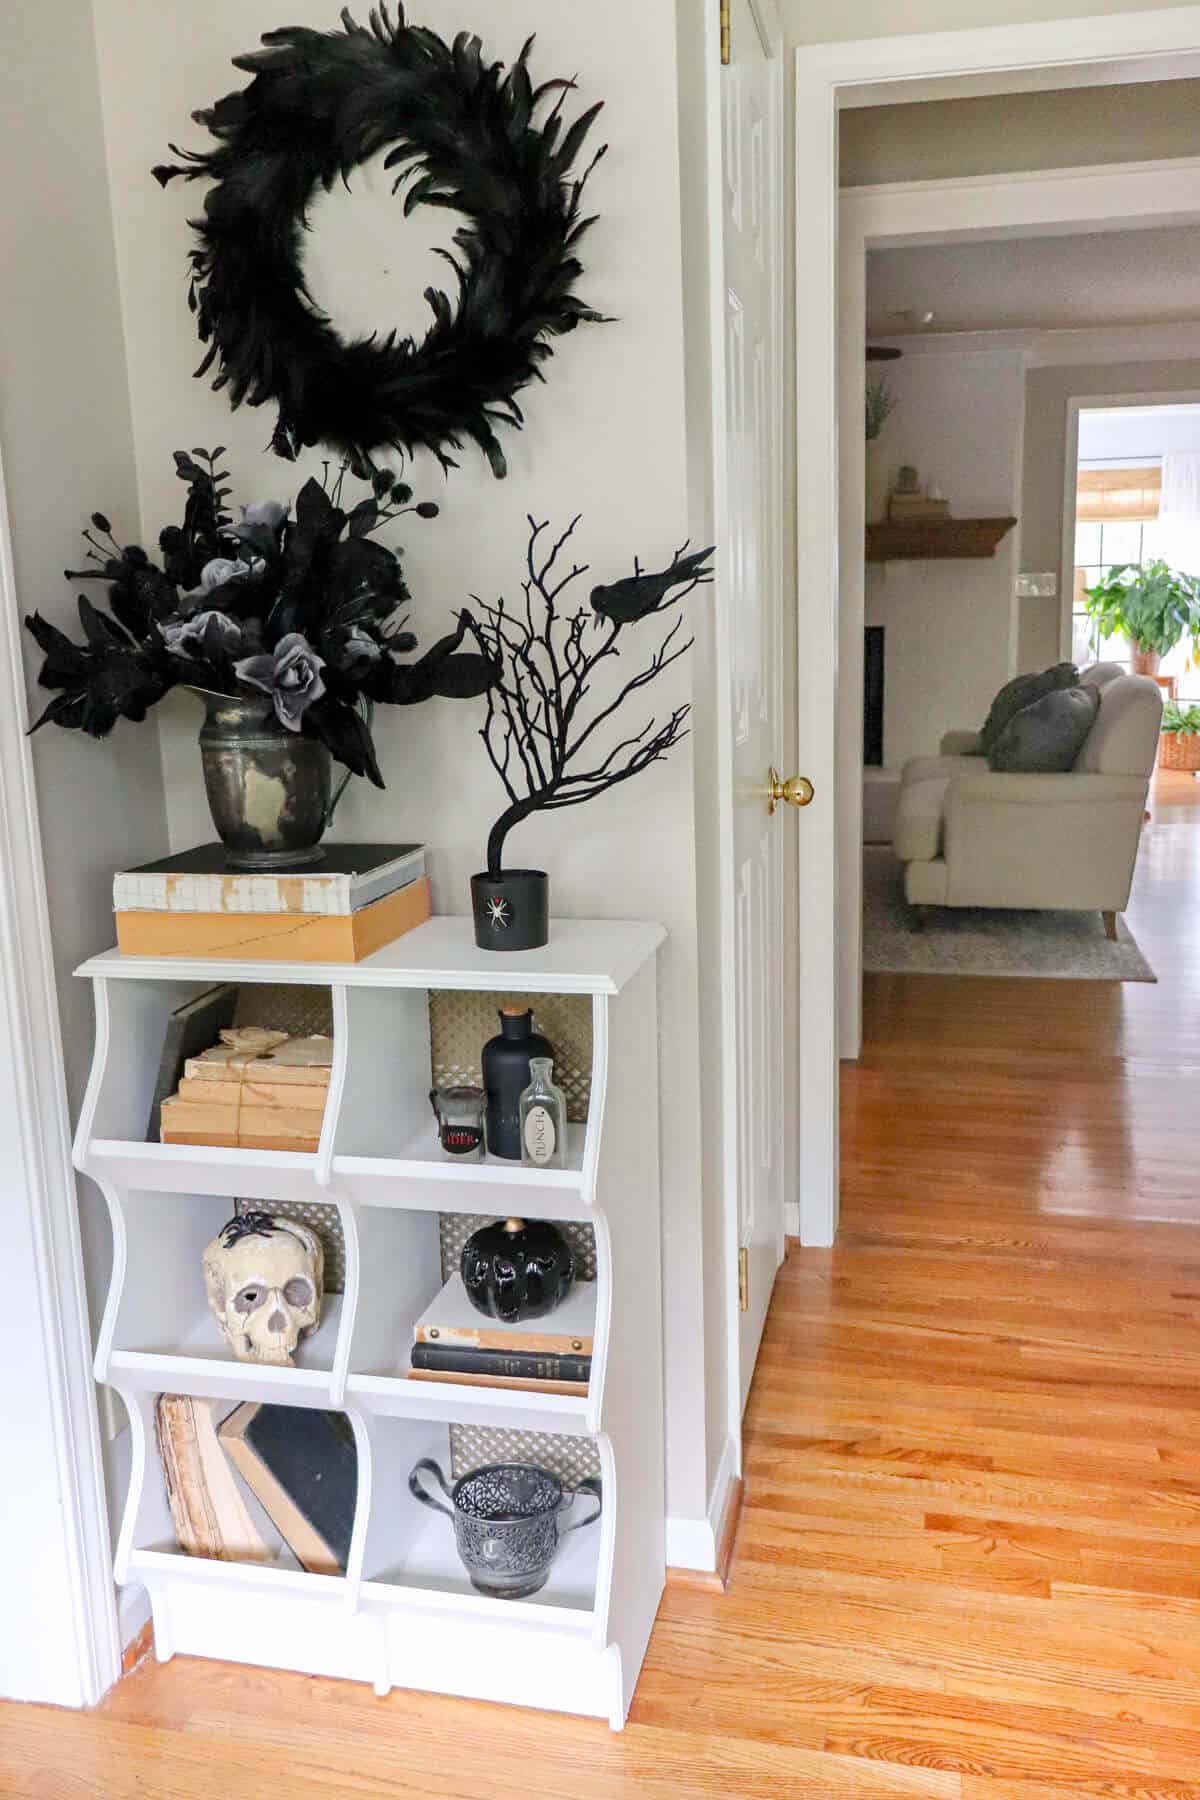
I found some fun potion bottle stickers at a garage sale and added them to some of my vintage bottles. If you have a cricut machine, you could maybe create some of your own.
Or you can purchase similar ones online here.
And then I mixed and matched black and neutral books here and there.
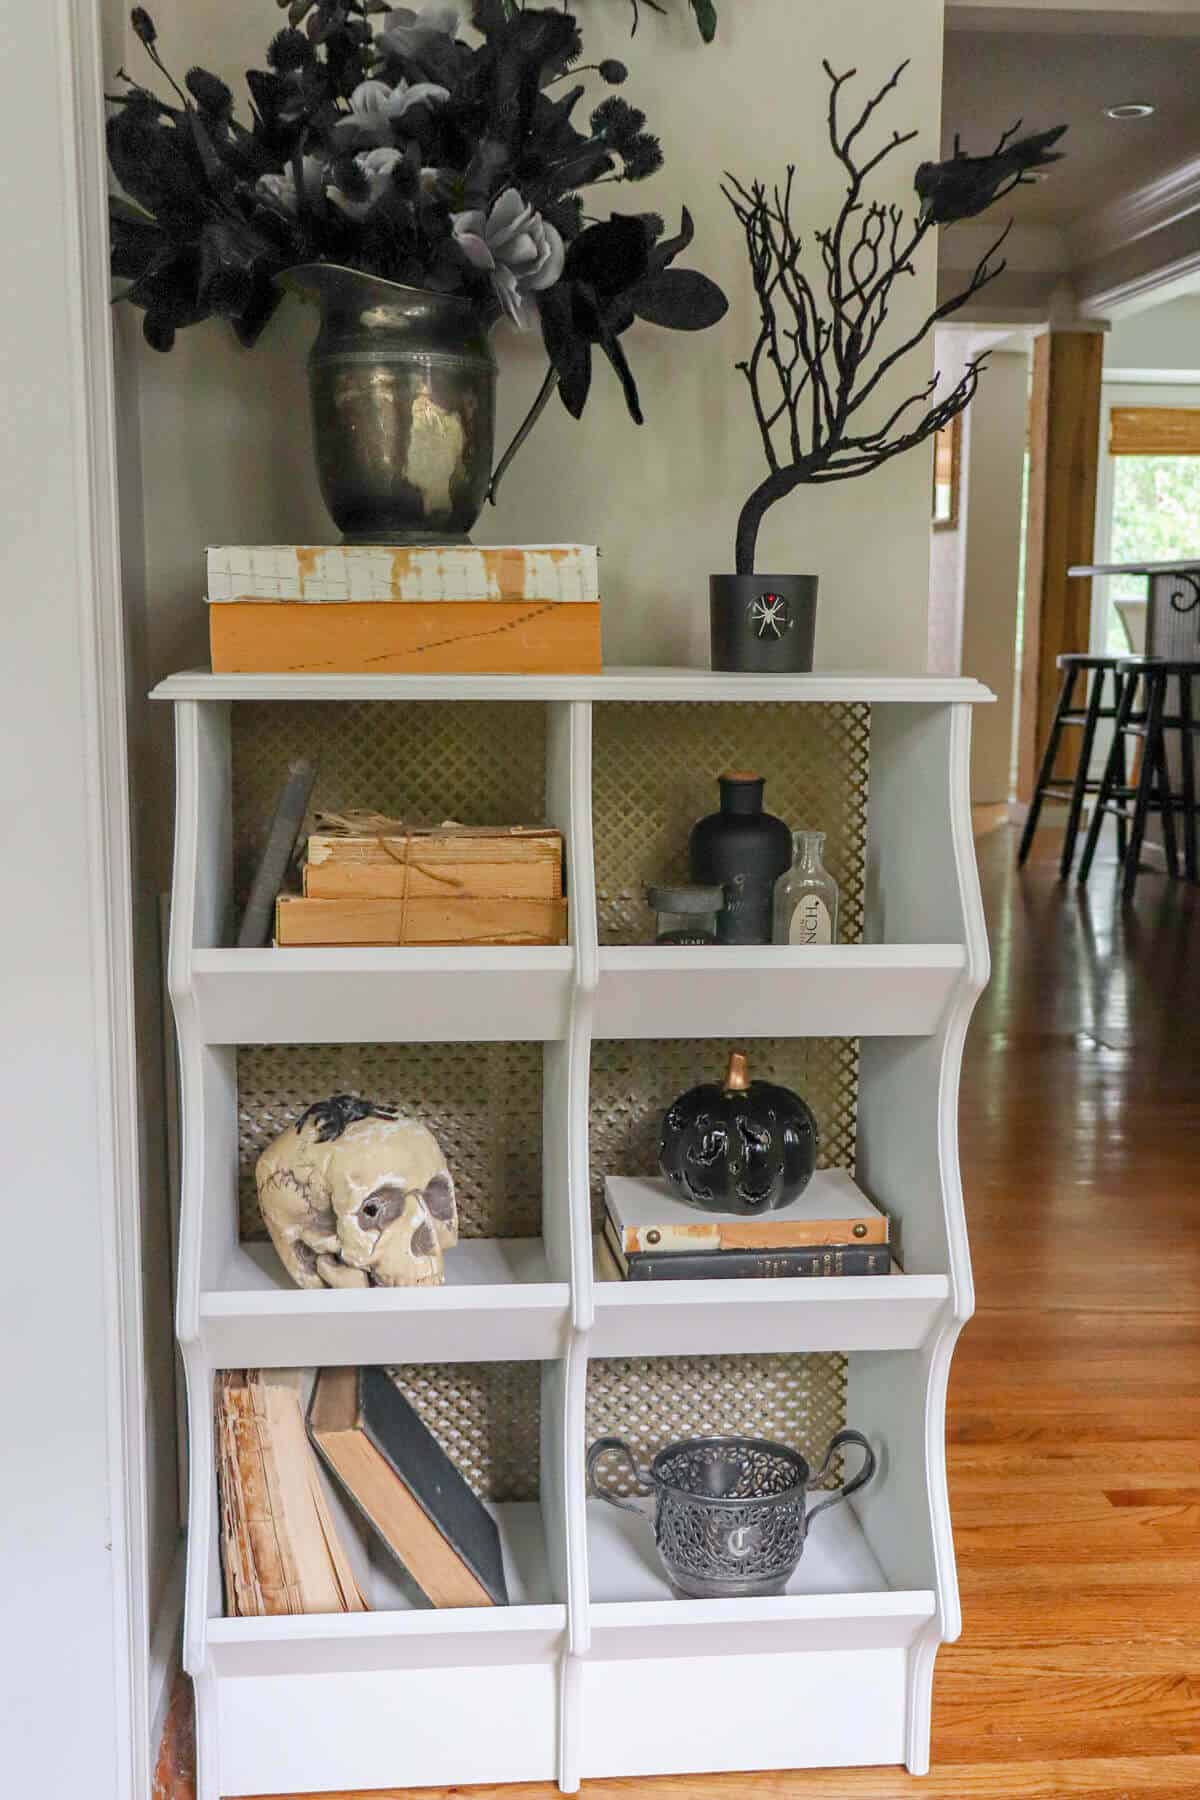
On top of my DIY entry cabinet, I place this fun floral arrangement.
Check out this post to see how I made this cabinet to hide our ugly return air vent.
In the entryway, I added this black feather wreath that I found for 50% off.
I thought it brought whimsy to this small space than a traditional picture hanging there.
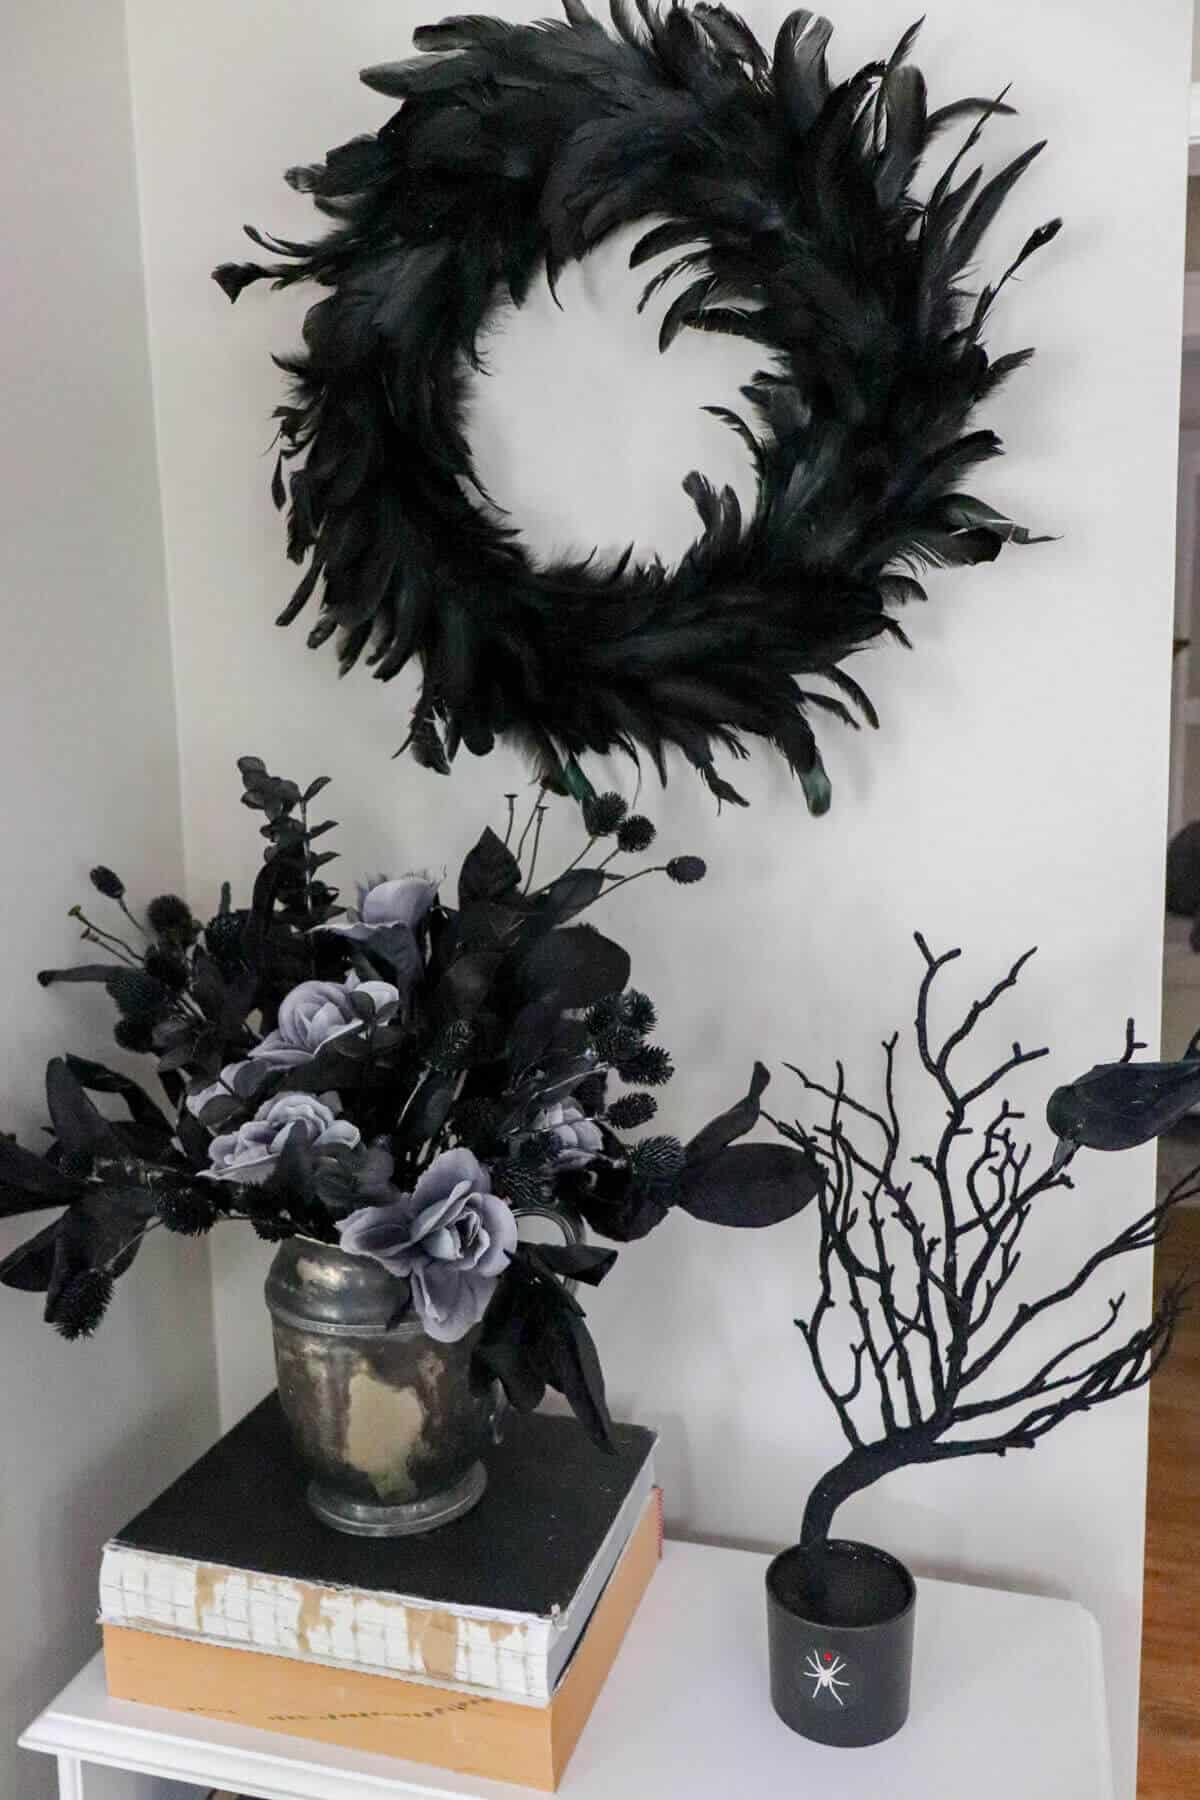

The black and gray florals look super cute in my tarnished silver pitcher.
One tip I always like to share in floral arranging is to cut apart each bundle of greenery with wire cutters. That makes styling and positioning each flower super easy.
I found this fuzzy tree at the dollar spot at Target thought it was super cute. I loved the black glitter as the soil base!
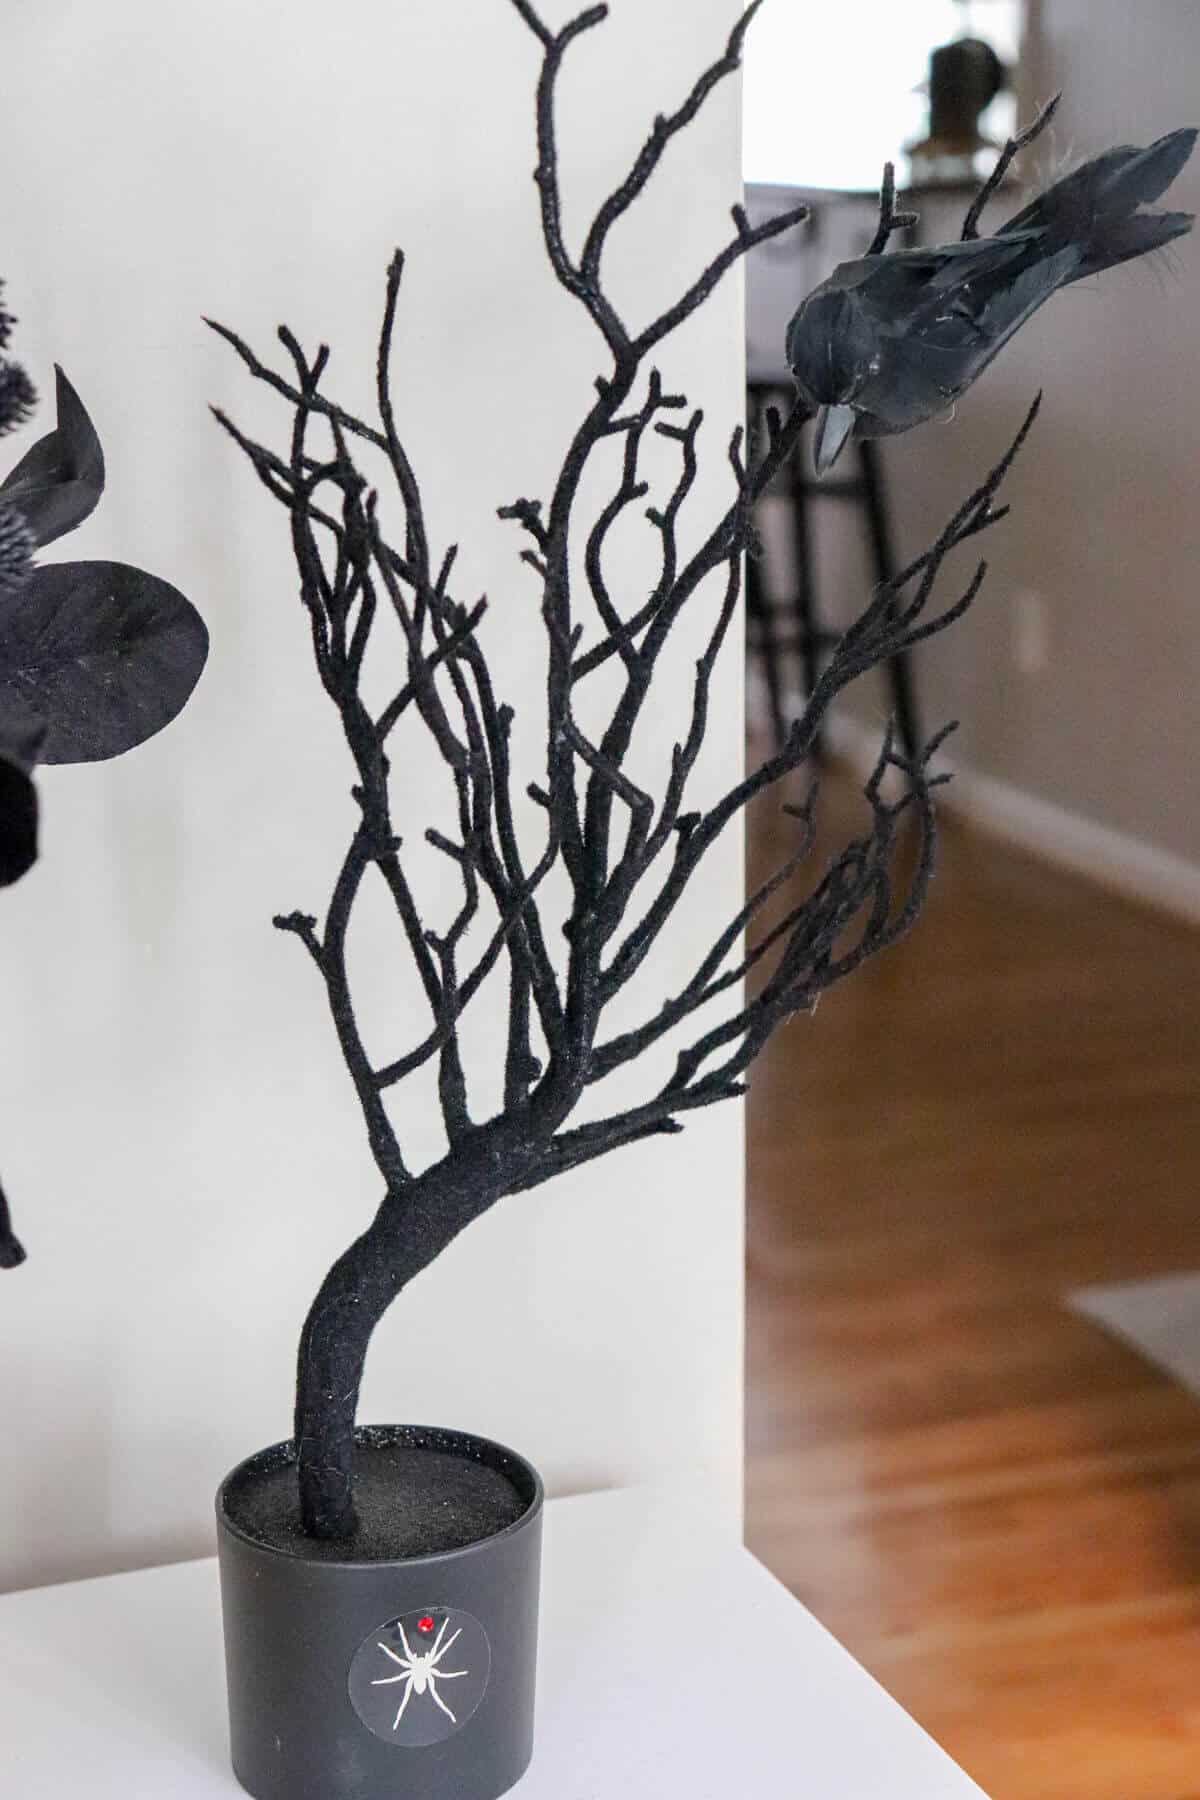
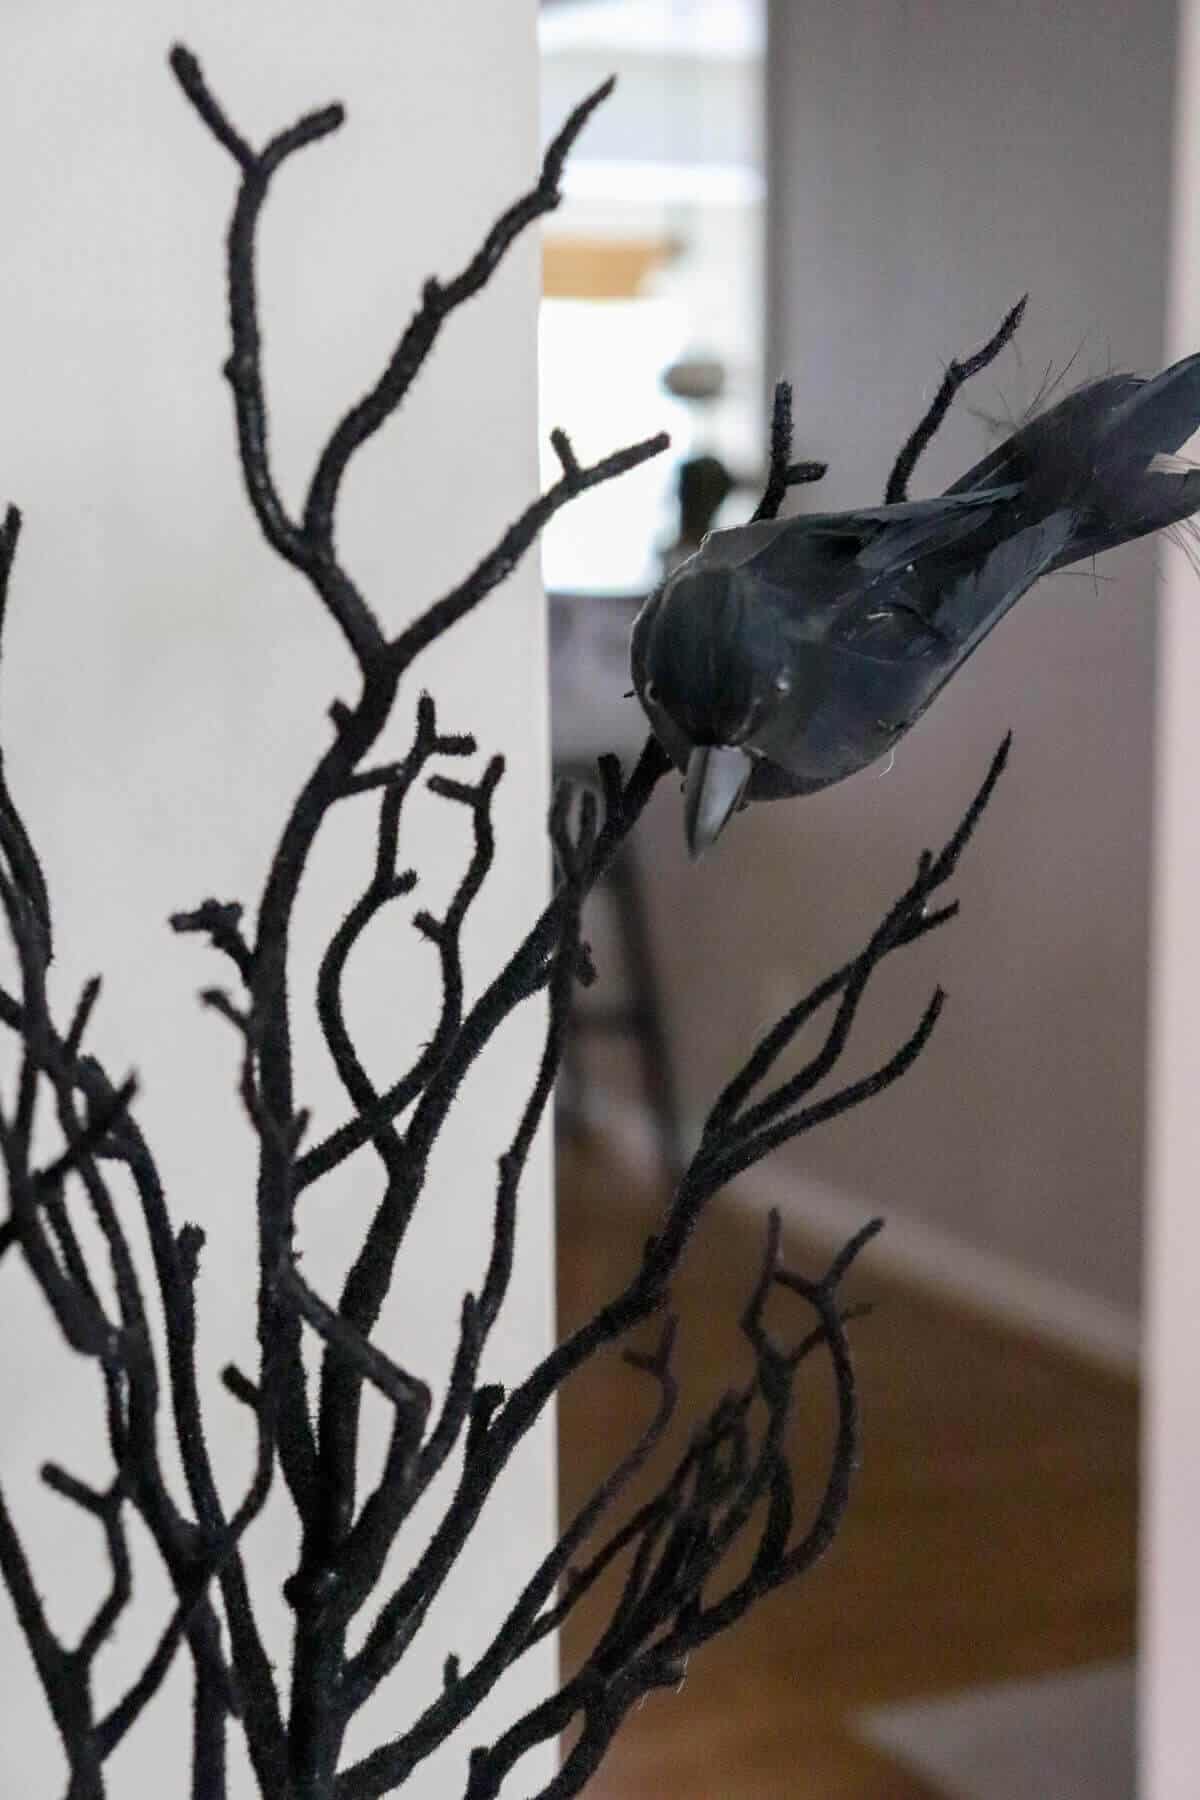
I added one of the fake crows that I added to our Halloween exterior and have it perched on a branch.
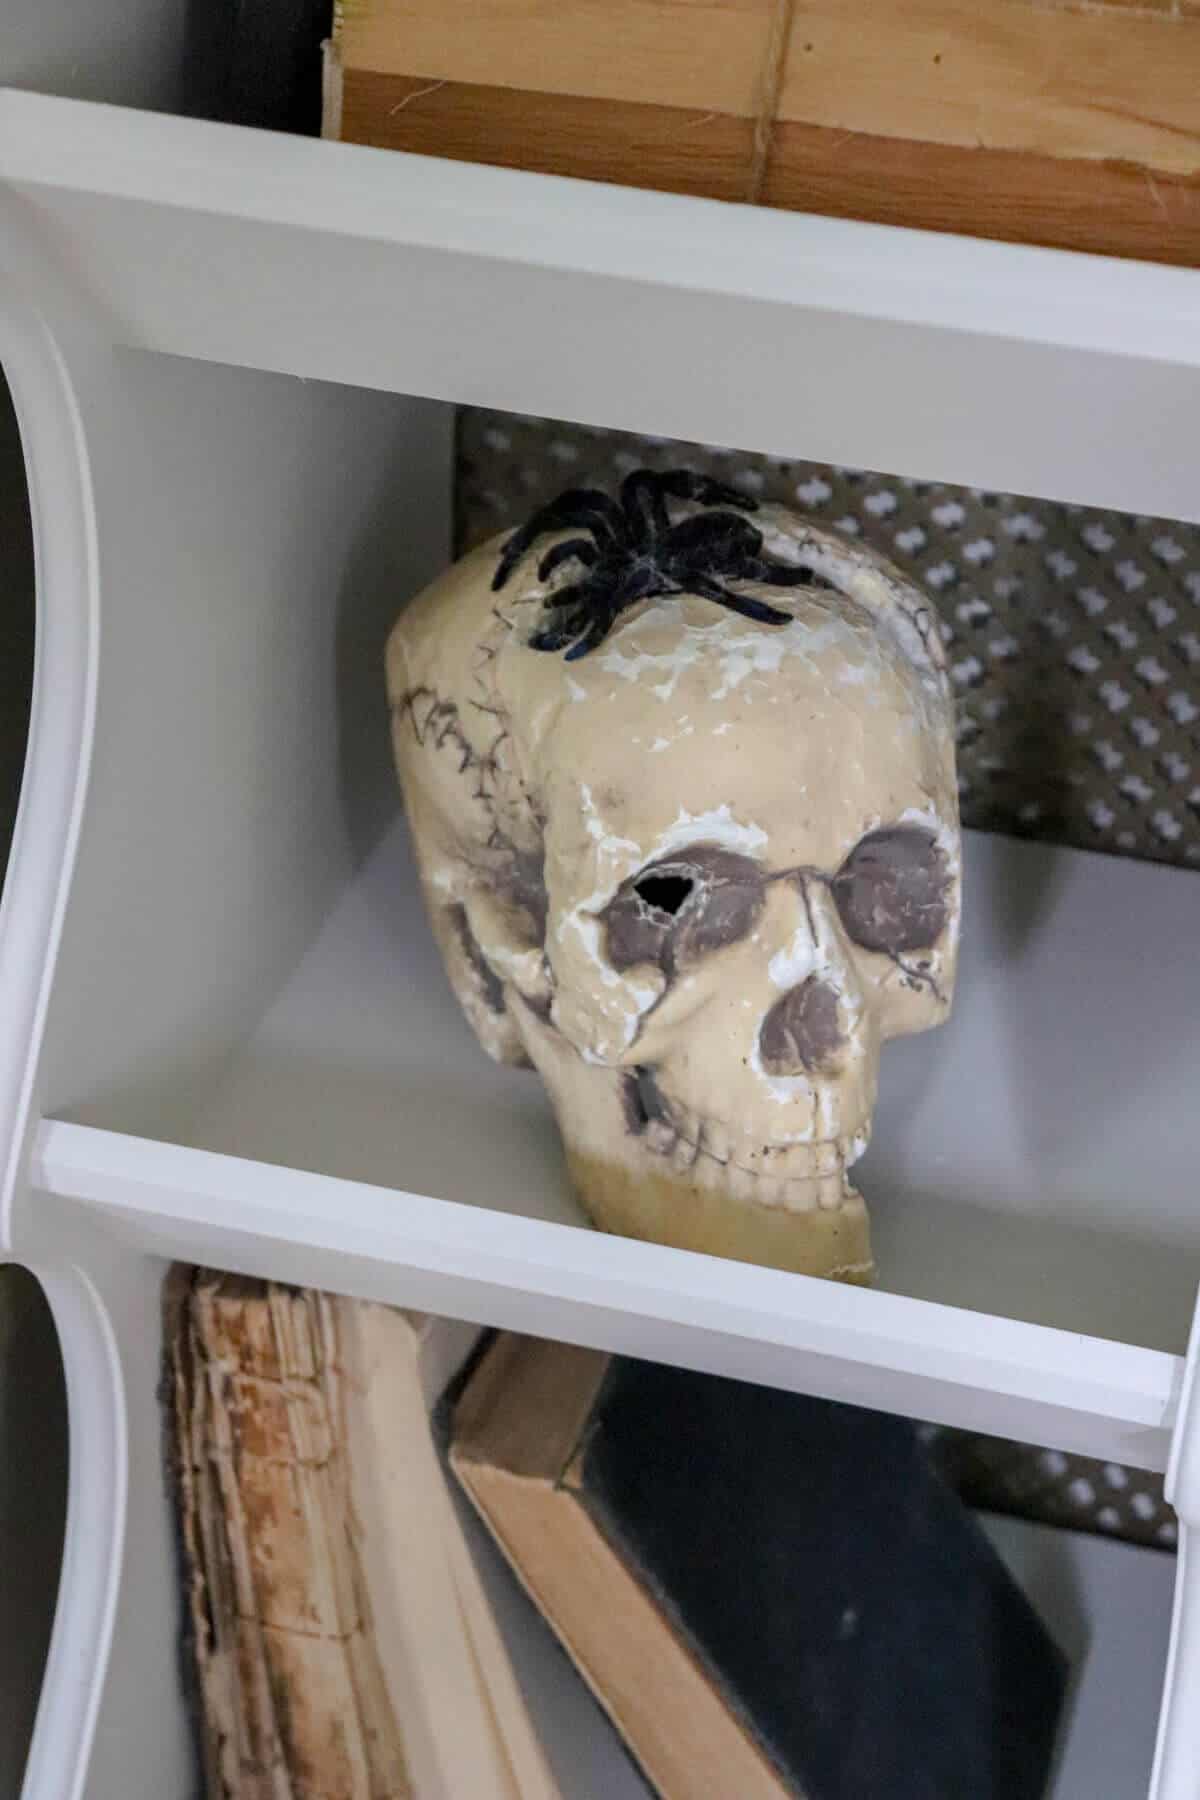
The rest of the decorations are books from my home decor as well as what I could find in my craft room and old Halloween decor.
I always think the best way to decorate is to begin with what you have on hand!
You, too, can create this spooky halloween wreath for yourself.
It’s perfect for this time of year.
And it’s super simple to do!
Other Options to consider:
- Cover a foam wreath with freaky fabric and glue the bats to the freaky fabric.
- Create a black painted bat wreath using a woven wooden wreath spray painted black.
- Mix black cats with the bats
- Add twinkle lights and glitter spray paint for a sparkly twist.
More Fall and Halloween Posts to Explore
I hope this inspired you to give this DIY a try!
Remember to try using what you have on hand to create something unique for you!
Pin This for Later!
