How We Regrouted Our Bathtub Walls Without Removing All the Old Grout (And Saved Thousands)
Five weeks into our bathroom remodel, I hit a wall.
Not a metaphorical “career crisis” wall.
An actual grout-covered wall.
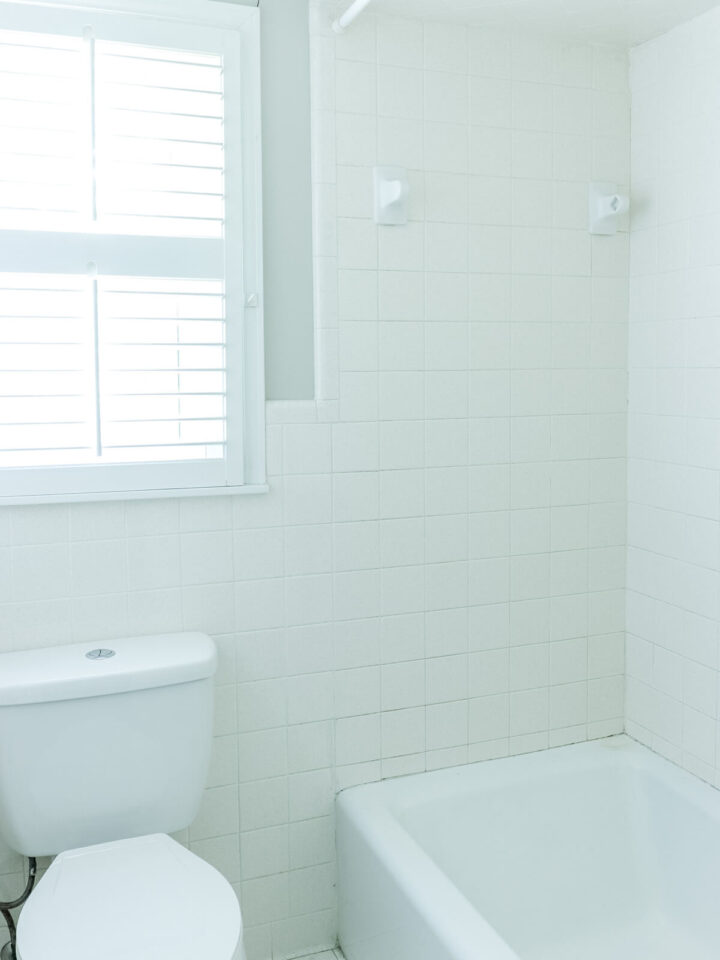
Our tub surround tile wasn’t falling off. It wasn’t cracked. Structurally, it was solid.
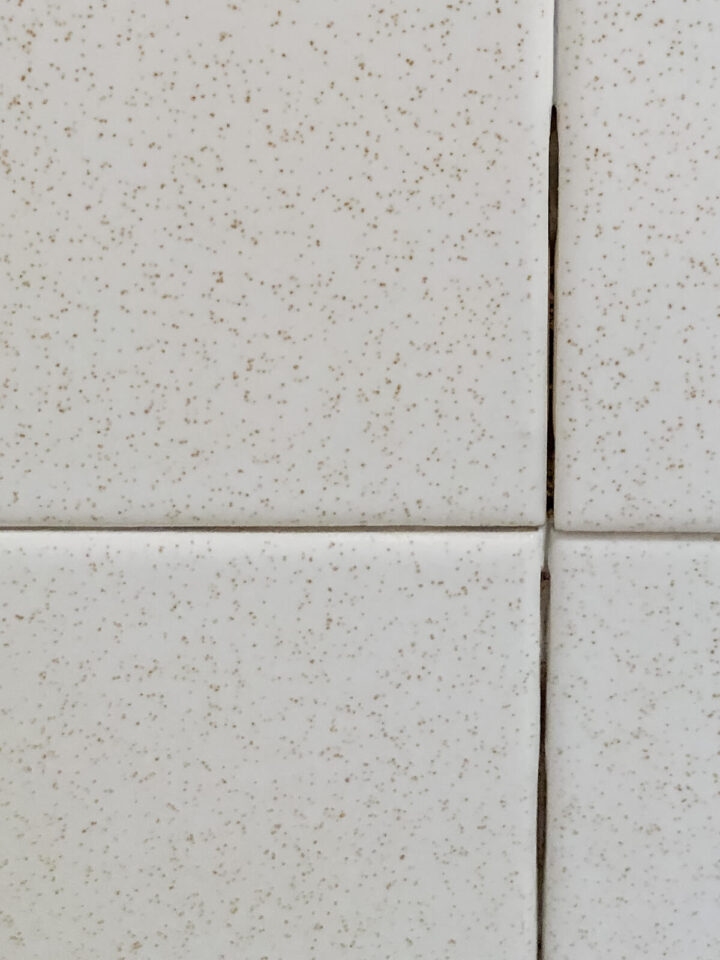
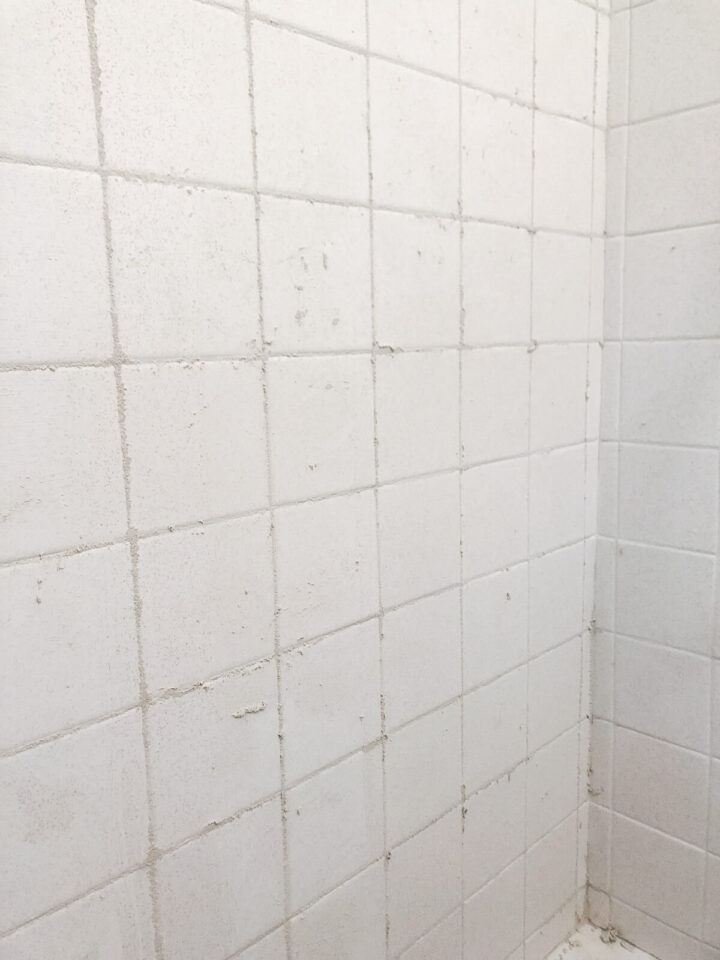
But the grout?
- Missing in spots
- Cracked along edges
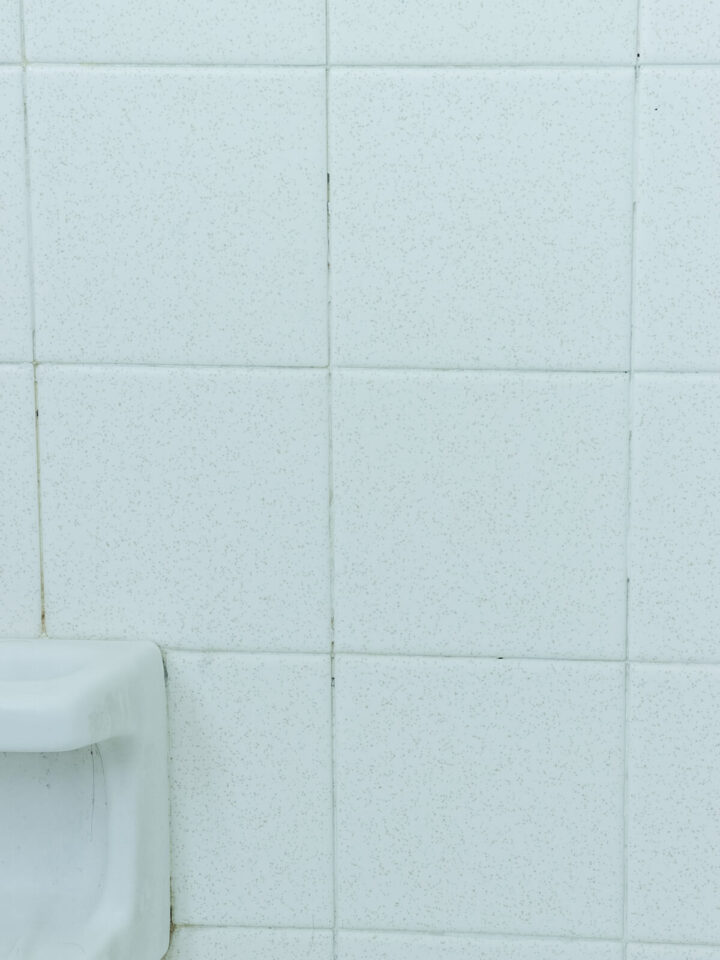
- Dark with mildew
- Flaking out like it had given up on life
It was giving “early 1990s builder basic” energy. Beige. Tired. Slightly tragic.
And if you’re staring a something similar right now, I know that feeling.
It’s frustrating, looks worse than it probably is, and it makes you think, “Great… now we have to redo the whole shower.”
I thought that too, and every time I looked at it, I could see dollar signs flying out the window.
In 2026, replacing a tiled tub surround can cost $2,000–$5,000+. Even hiring someone just to regrout can run $500–$1,200.
If you’re trying to save money, those numbers feel heavy.
We weren’t doing that.
So instead, we figured out how to repair the grout properly — without tearing out perfectly good tile — and saved thousands.
And if you’re here because you’re trying to avoid an expensive remodel, I’m with you.
Here’s exactly what we did, what it cost, what surprised me, and what I would do differently next time.
This post contains some affiliate links for your convenience. Click here to read my full disclosure.
Why We Didn’t Retile
When we started this remodel, I assumed the tile had to go.
And at first glance, I was ready to demo everything.
But when we actually inspected it:
✔ Tiles were solid
✔ No hollow spots
✔ No movement
✔ No water damage behind walls
The tile wasn’t the villain – the grout was the only real failure point.
That was my first big realization: Most “bad tile jobs” aren’t bad tile—they’re bad grout maintenance.
Once we understood that, tearing everything out felt wasteful.
But repairing it? That felt… responsible.
What This Actually Cost Us
Here’s what we spent:
- Fresh Grout – $18
- Rubber Grout Float – $12
- Sponge & Supplies (Tape and Rags) ~$10
- Carbide Blade attachment – $22
Supplies we already owned: - Small Bucket
- Goggles
- Face Mask
- Utility Knife
- Shop Vacuum
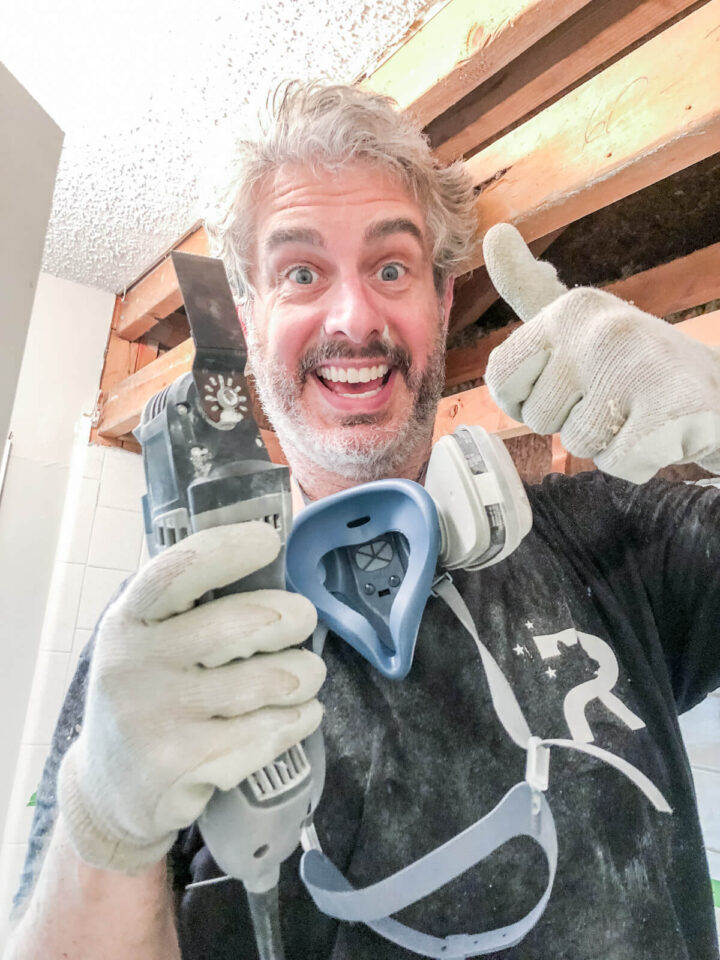
- An oscillating tool – like the Dremel Multi-Max
If we had hired it out? Easily $800+ in our area.
That’s a huge return for a few hours of labor.
Can you just put new grout over top of old grout?
I wish the answer were yes.
It’s not.
The short answer is not really which could be bad news if you were wanting a quick fix.
I tested a tiny area early on (don’t recommend it), and the new grout simply didn’t grab. It sat on top like frosting on glass.
Grout needs depth to lock in. Grout is formulated to bond between the tile joints. If you add it to the top of the old grout, it won’t adhere properly to the existing grout or tile edges. That means you’re quick fix wouldn’t last long and you’ll have to redo your work properly.
But here’s the good news: You don’t have to remove all of it.
You only need to remove:
- Loose sections
- Crumbling areas
- Any grout pulling away from tile
- Spots where mildew has penetrated
That was the breakthrough.
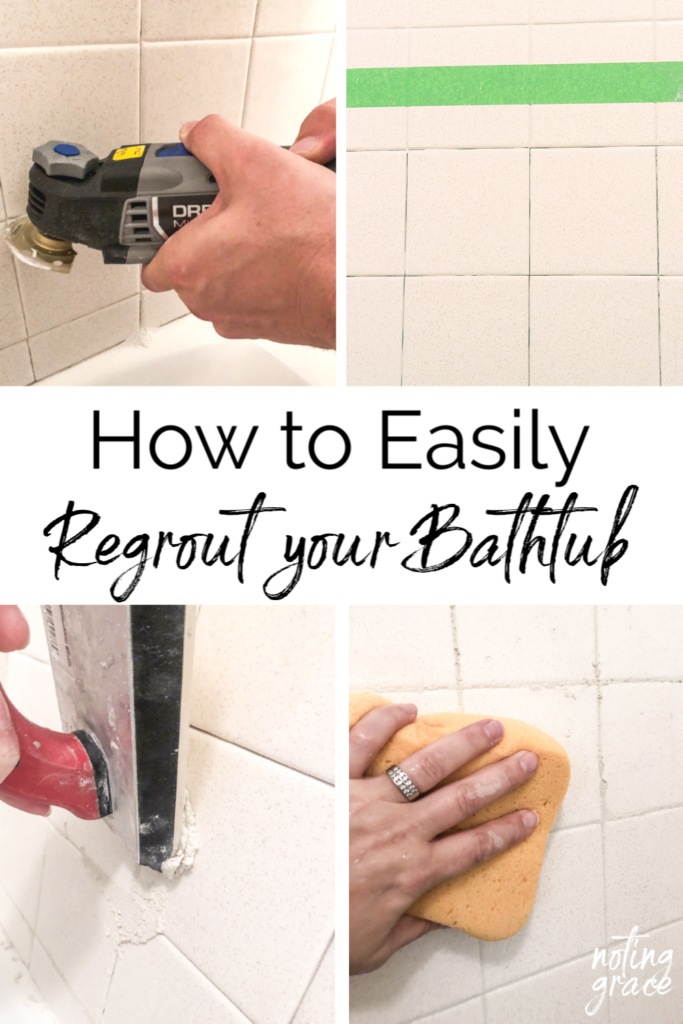
Step by Step: What We Actually Did
STEP ONE: Prep (Where I Almost Made a Mistake)
At first, I thought I’d just jump in and start grinding.
Don’t do that.
Dust goes everywhere.
We:
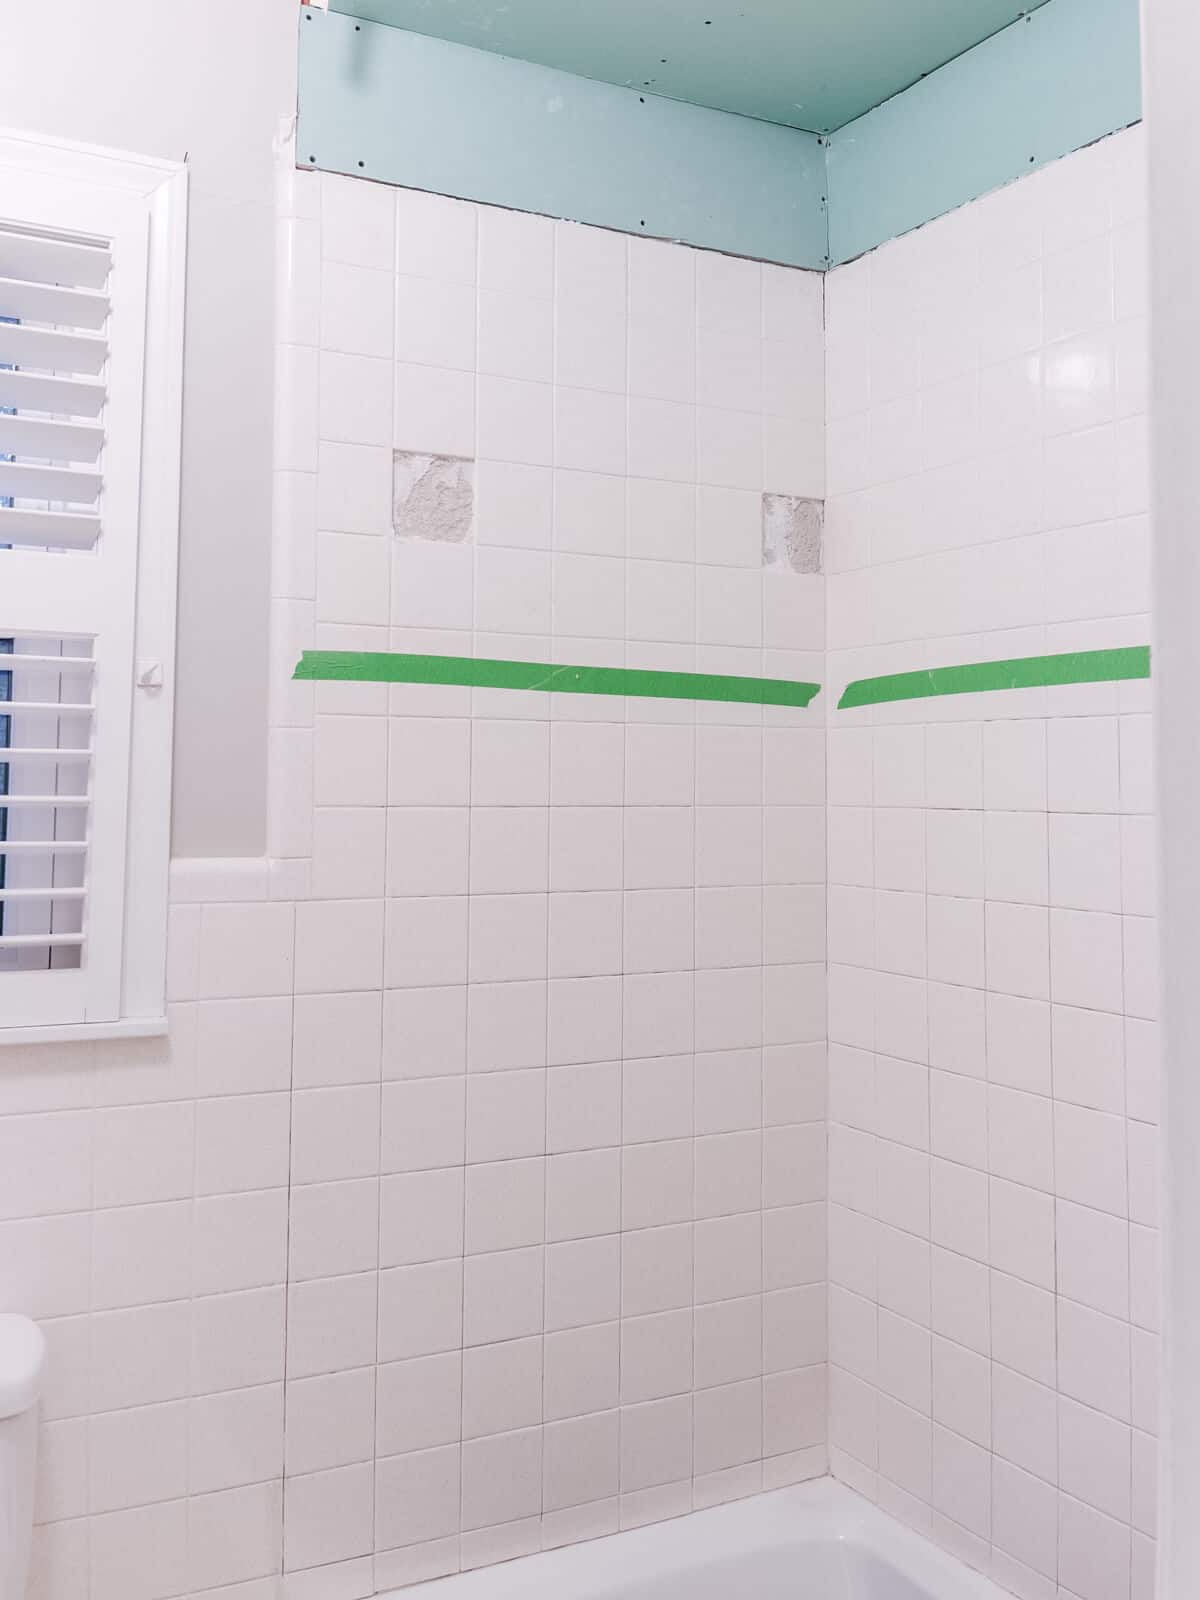
- Taped off the good grout lines
- Covered the tub
- Wore goggles and a mask
- Vacuumed first
In hindsight, I should have sealed off the bathroom door better — fine grout dust traveled farther than I expected.
Lesson learned.
STEP TWO: Removing the Damaged Grout (The Game Changer)
I was nervous using a power tool on tile. But once I started, I realized something:
The tool does the work — if you let it.
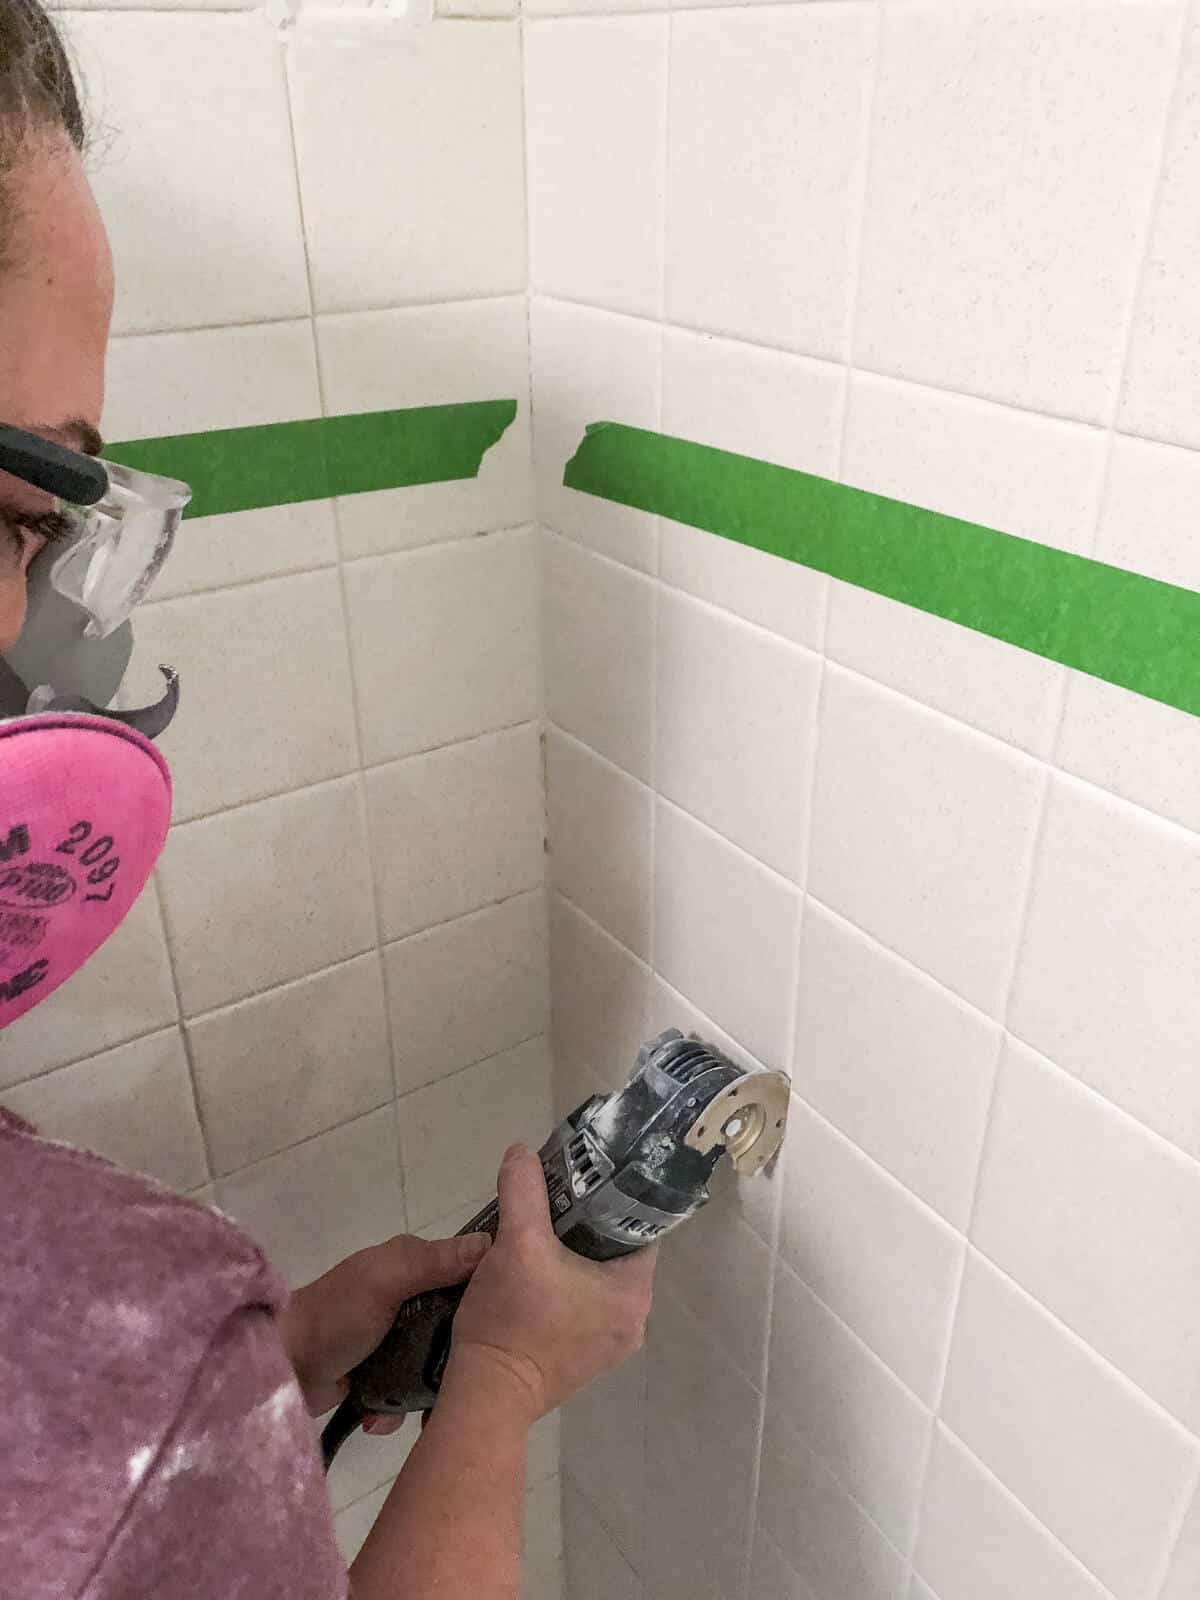
We started right away by attaching the Carbide Grout Blade to our Dremel Multi-Max. The blade has sharp carbide grit on the edge that turns the damaged dirty grout into dust!
What worked best for me:
- Medium speed (too high felt jumpy)
- Light pressure
- Short passes instead of long drags
The biggest surprise?
How quickly it removed the damaged grout. What would have taken hours manually took maybe 45 minutes.
We only removed about 1/8″ deep — enough for new grout to bond.
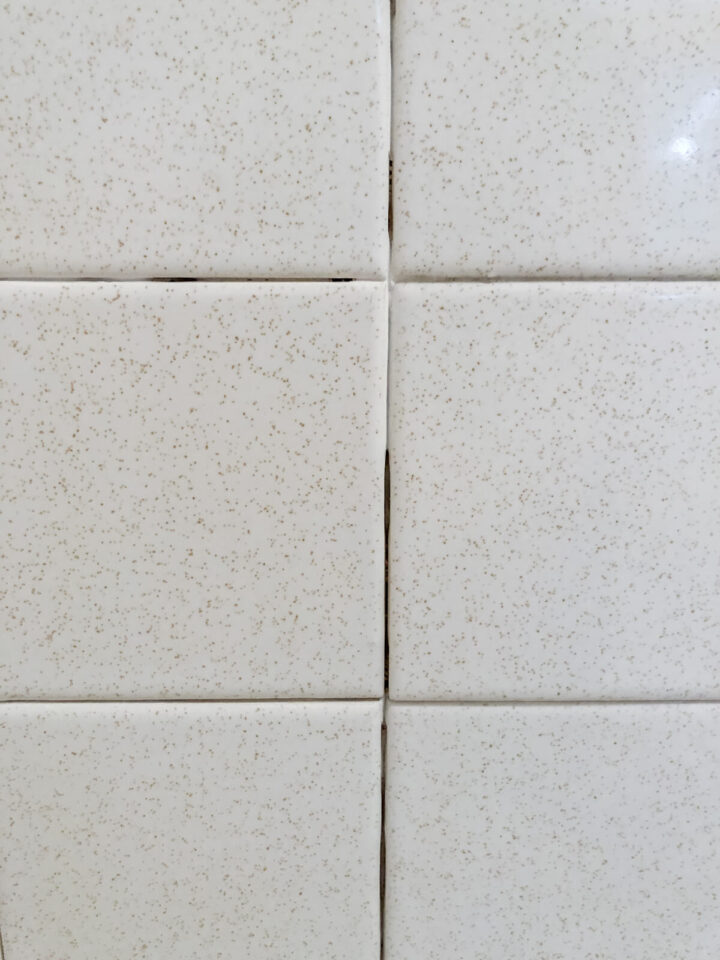
We found that as we removed grout, small chunks remained in the cracks.
One tool that helped clean that out was a utility knife.
Simply run the knife down the grooves and it cleans out the broken up grout pieces you just worked on.
The next thing we wanted to tackle were the ceramic fixtures.
Again, this handy dandy tool came to the rescue.
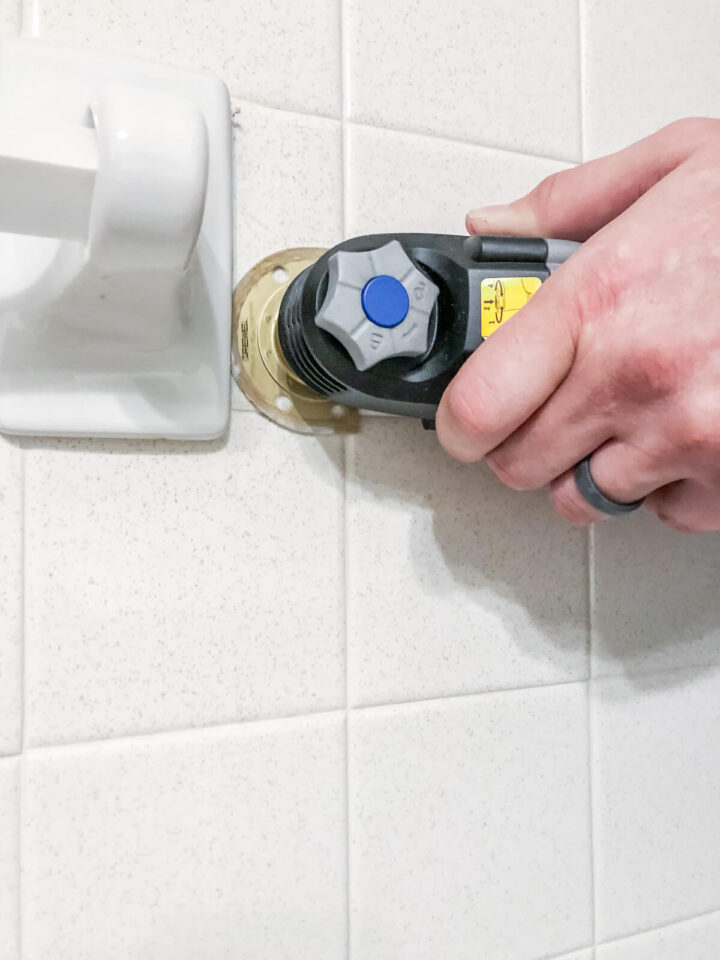
The Dremel Multi-Max blade was able to reach into the tight spots were the fixtures and grout met.
TIP: Be care not to grind the tile while you are removing the pieces.
We removed 2 towel racks and one ceramic toilet paper holder.
We just finished raising the roof of the shower. So we used some of that tile we saved and filled in those missing spots.
Once we removed all the grout and replaced the missing tiles, it was time to regrout!
STEP THREE: Mixing the Grout
We had some grout leftover from our Master Bathroom Remodel, so I mixed a small batch together. Since we are painting our tile, the grout color wasn’t an issue for us.
TIP: One thing to pay attention to is the type of grout as well as the color of the grout. Try to match as closely as possible.

If you are mixing the grout yourself, the key is to add clean water to the dry powder a little at a time.
The first batch I mixed?
Too thin.
It looked right — but it slumped immediately.
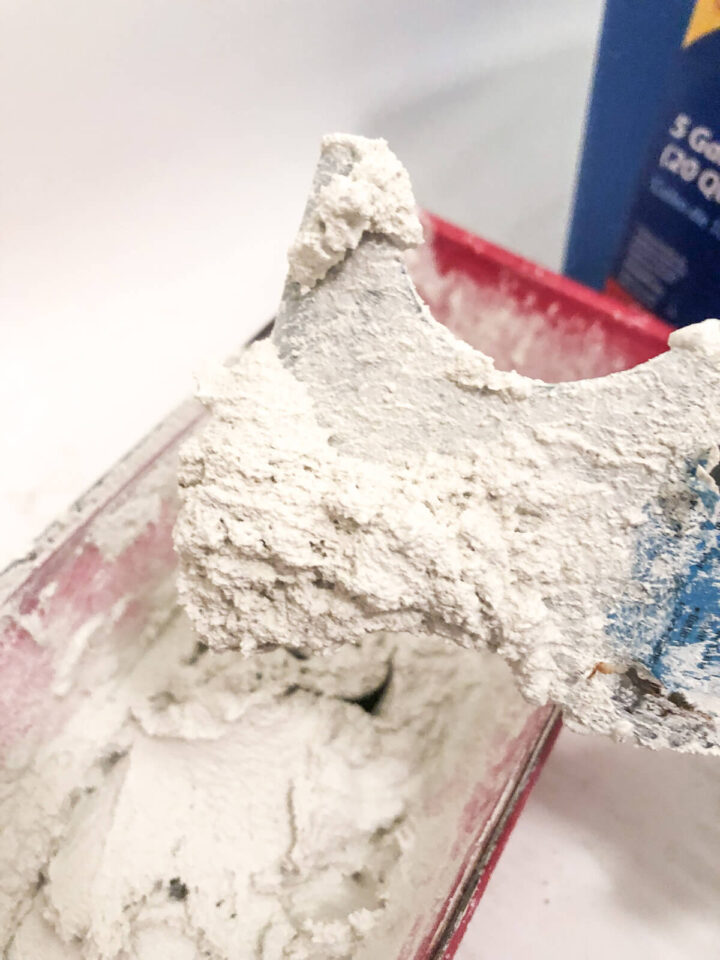
The consistency that worked best was:
- Like a thick milkshake or soft-serve ice cream.
- Thick enough to hold shape on the float.
- Loose enough to press into joints easily.
Start small. You can always mix more.
Too much water means you’ll be adding more grout powder which means you’ve mixed too much grout. It’s better to start small and mix thoroughly.
You want it thick enough to stay on the blade, but thin enough to start running off in a few seconds.
TIP: There is premixed grout available for purchase if mixing it yourself seems daunting!
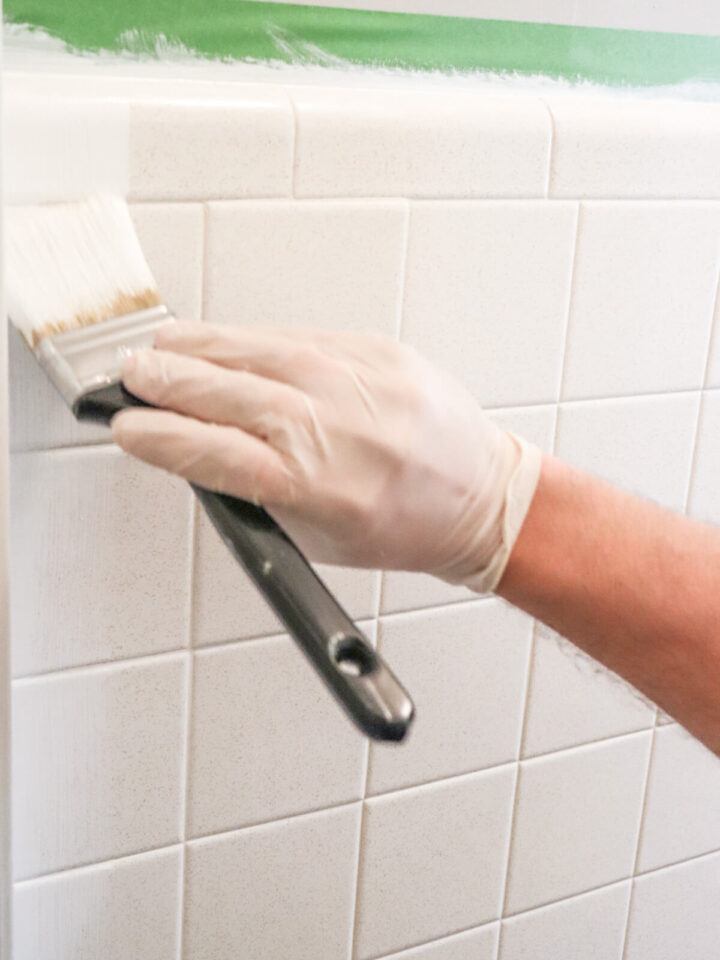
STEP FOUR: Applying the Grout
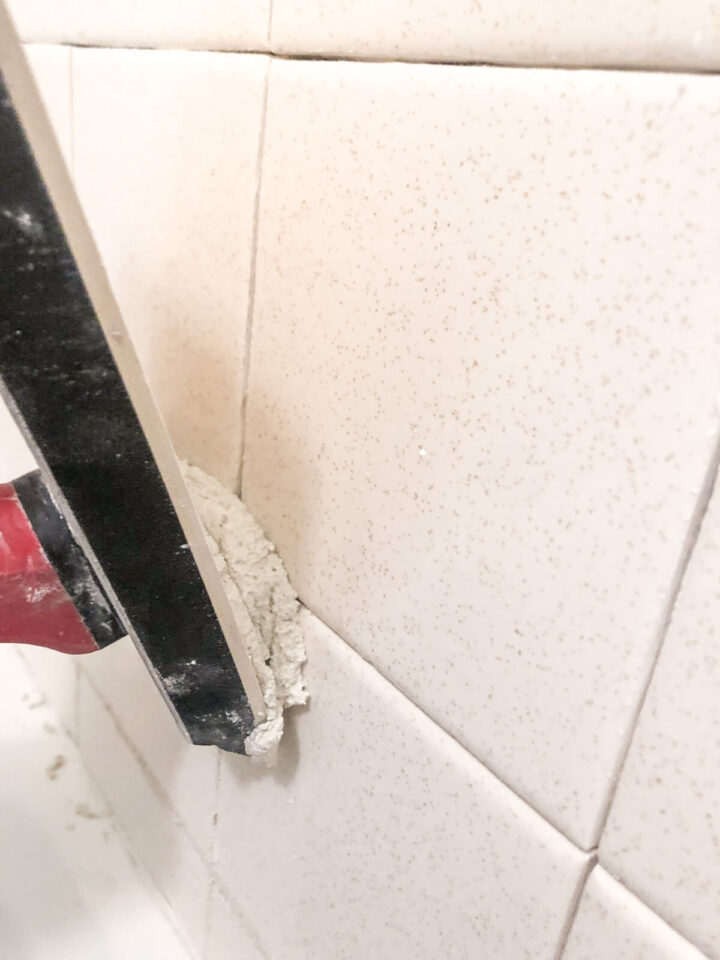
Next, load it onto your rubber grout float.
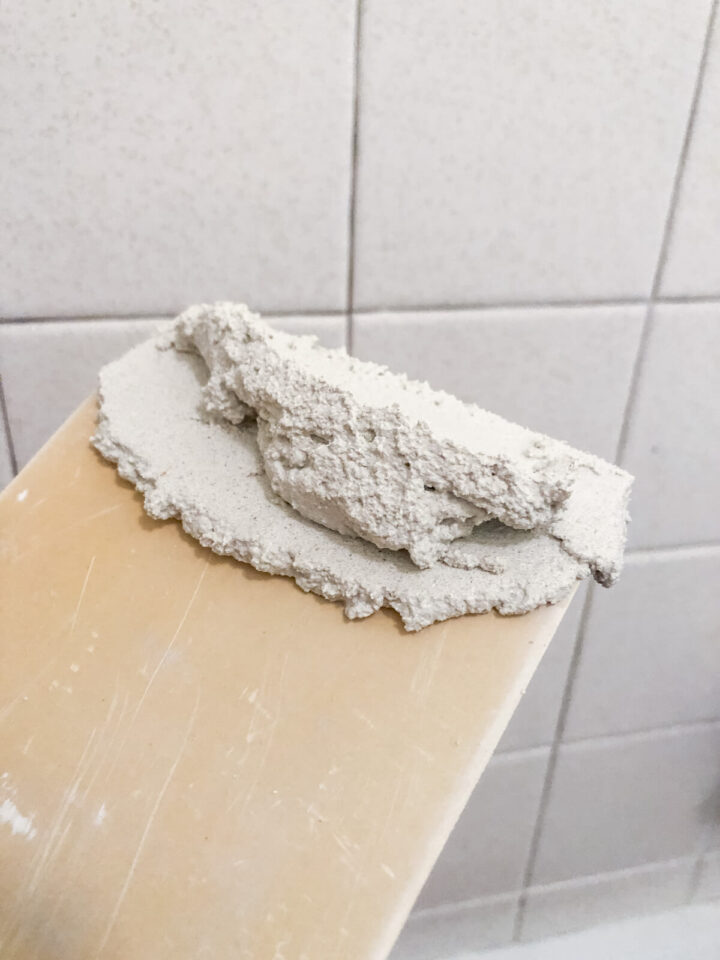
We opted for a rubber based float like this one. I find it easier to work against the tile surface.
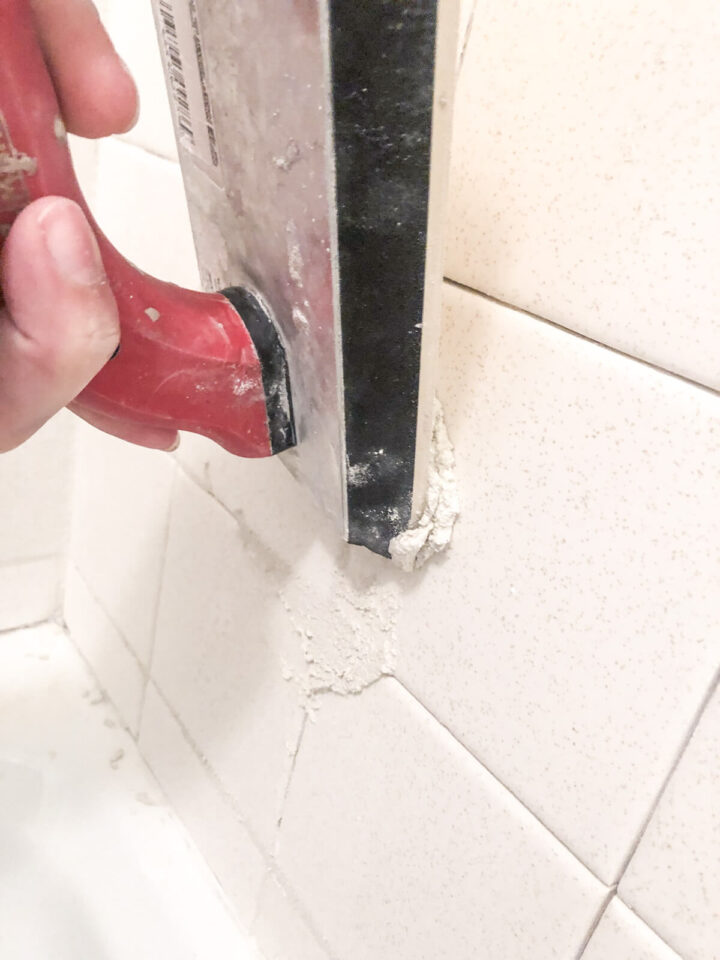
Then you simply push the grout against the surface of the tiles at a 45-degree angle.
This is where patience matters.
If you rush:
- You leave voids.
- You pull grout back out.
- You create uneven lines.
Work along following the lines of the tile spacing. You may have to alter your direction to ensure good coverage.
It does get messy and a few clumps will fall. But having a drop cloth in place to collect those clumps of grout as well as a damp cloth helps.
Another important thing to do is to remove any grout that may have fallen where the tub and tile meet.
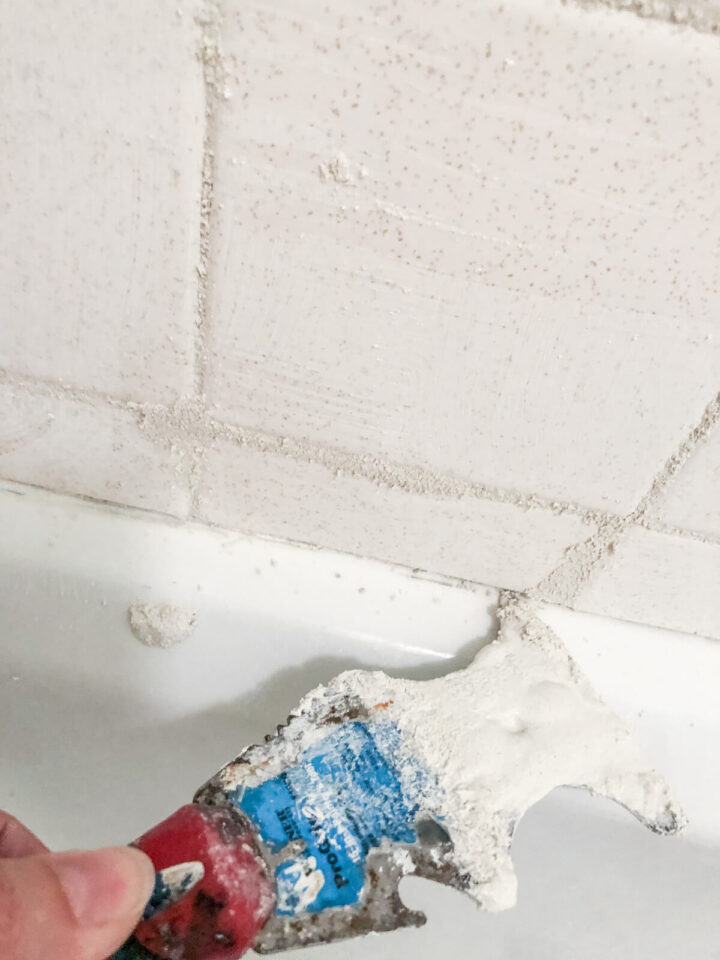
This area is intended for caulk to create water resistance blocking any water that may seep in.
So after you have all your grout in place, it’s time to wipe away any excess.
Using a bucket filled with warm water and a damp sponge, lightly wipe away the excess grout until it’s smooth.
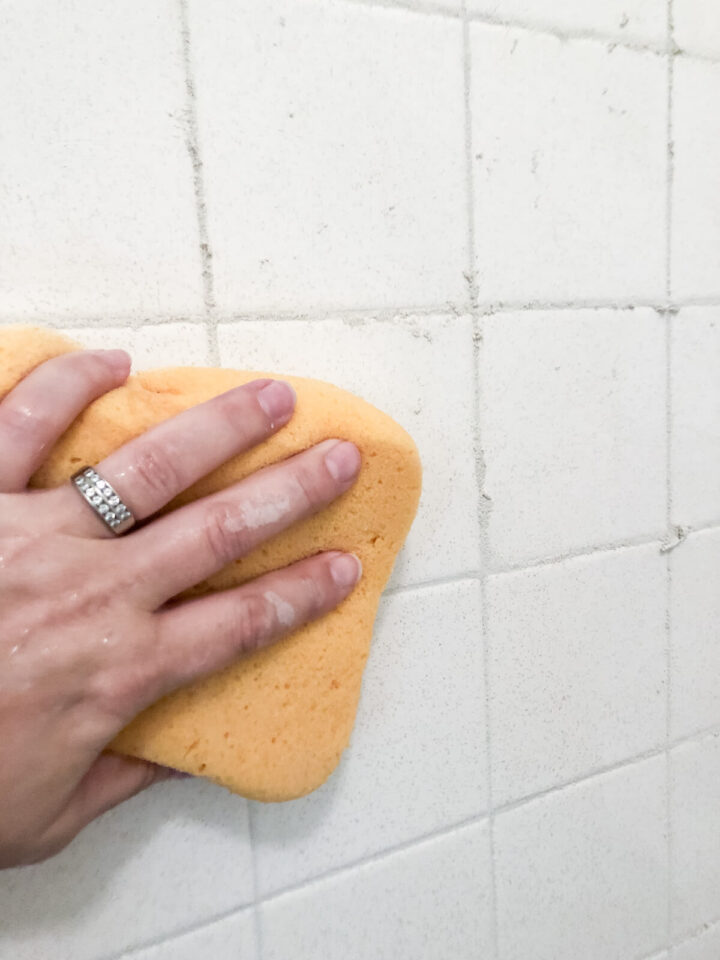
But you may have to make a few passes with fresh water to ensure that all the grout haze is removed from the tile.
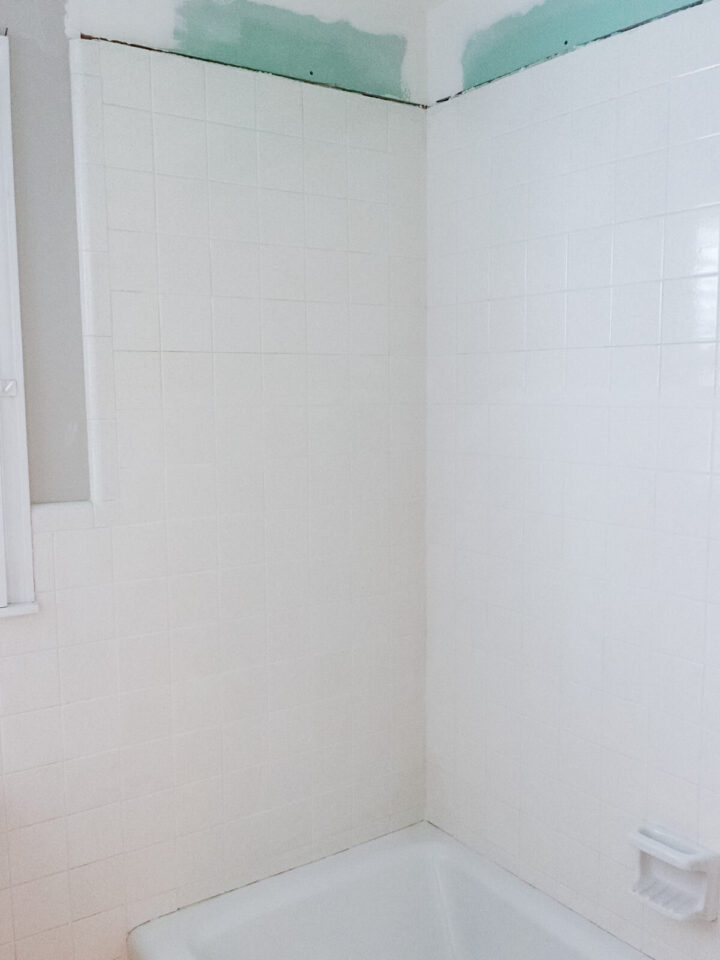
And here’s what it looks like once it’s dry!
STEP FIVE: Sealing the Grout
After the grout has fully cured, the next day you can add a grout sealant to prevent future mildew from growing.
In 2026, sealers are much better than they used to be—some offer 3-5 years of protection.
Sealing is what prevents mildew from coming back.
Since we are painting our tile, now we are ready to wet sand the tile and finally paint it a bright white. This post has all the details of that part of our project.
See the Final Reveal of the Painted Tile Here!
So, with the help of a handy tool, we were able to get this knocked out very quickly!
So, as you can see, it’s a great tool with lots of attachments to help you tackle many projects!
How It’s Holding Up
This wasn’t a “week later” transformation post. We’ve lived with it for years now.
There has been no cracking, no flaking, no water issues and no mildew return.
And the bathroom looks completely different—without replacing a single tile.
Mistakes I’d Avoid Next Time
- Not sealing off dust better
- Mixing too much grout at once
- Letting the sponge get too wet
- Trying to rush grout haze removal
- Underestimating cleanup time
Every DIY teaches us something and this one definitely did!
When You Should NOT Regrout
From experience and research, don’t do this if:
- The tile moves when pressed
- The wall feels soft
- You see black mold inside gaps
- The grout is deteriorated everywhere.
At that point, the problem is bigger and you should like contact a professional.
FAQs about Regrouting
Why This is One of the Best Budget Bathroom Fixes in 2026
With material and labor costs rising, homeowners are looking for:
- Repair instead of replace
- High ROI updates
- Low-risk DIY projects
Regrouting checks every box.
It’s not glamorous, but it works.
Final Thoughts
I’m glad we didn’t panic and rip everything out.
This project reminded me that sometimes the problem isn’t as big as it looks.
If your tile is solid, don’t assume you need a full remodel. You might just need new grout.
And in today’s economy – that kind of solution matters.
If you have any questions, be sure to leave me a comment below and I’d be honored to help out in any way possible.
Click Here To See How the Bathroom Looks Now!
Pin this for later
Related Bathroom Projects
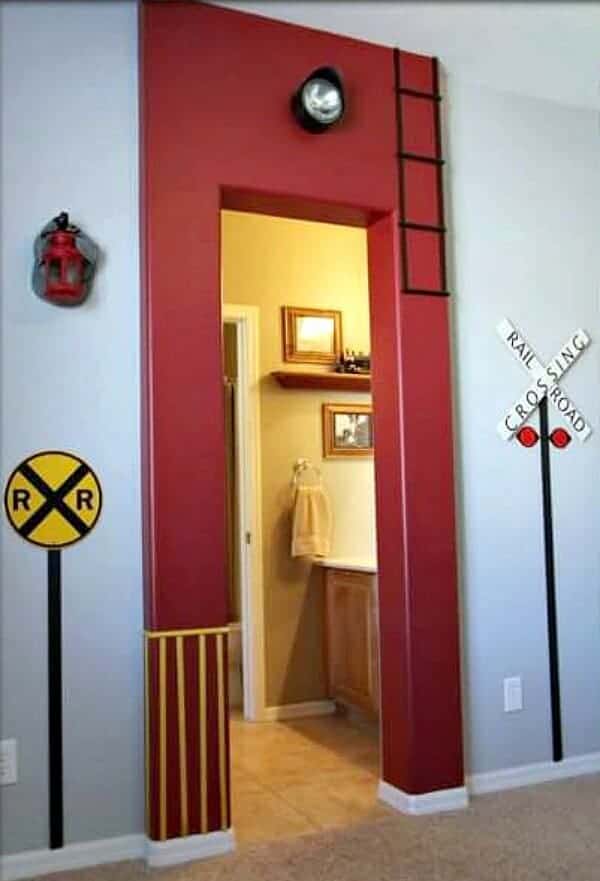
THE BEFORE
RAISE THE ROOF: HOW WE MADE THE BATHROOM CEILING TALLER
DIY SHOWER DOOR UPDATE
HOW TO MAKE A BATHROOM VANITY TALLER
INSTALLING AND LIMEWASHING BRICK VENEER
DIY CEILING PLANKS FROM LAMINATE FLOORING
HOW WE CHANGED OUR BATHROOM TILE FOR $150
HOW TO MAKE CEDAR FRAMED MIRRORS
THE BIG REVEAL!
Updated 2/21/26


I needed how to regrout/recaulk a bathtub. Do you have anything on this type of project? I don’t see any links to it. Please advise.
Thanks
Suzanne
Great question Teresa – and I’m so glad this post has inspired you!
There is a special kind of sandpaper used for wet sanding. It’s a much finer grit than regular sandpaper used for wood and it’s intended for glossy surfaces.
And the process is exactly as it sounds – you wet the surface and then sand. I had a bucket of water nearby that I would often dip into to keep the surface damp.
Hope that helps and send pics of your finished bathroom – I would love to see it!
Jen
Wow, I’m so glad I ran across your budget friendly post! Gave me such great information and I really think we can do this . I’ve definitely got to get that amazing tool you used for multiple things especially how to remove and re grout some areas . Our master bathroom isn’t really big the tile I’m so done with the brown’s and cream’s we’ve been saving $$$ doing our painting, it’s work Yesss but worth especially with some of the outrageous prices for anything. Just had a recent quote just to replace tile for the shower and around the big bathtub was over $5,000 I couldn’t believe it. So thanks for taking the time out to share your so helpful info. Oh what is wet sanding? Please holler back if you get a chance 🤗thanks again 🙏🏾🙏🏾🙏🏾
Great question! I just posted the tutorial on how to paint your tile. It’s super easy and super affordable – which I love!
Painted Tile Tutorial
Dremel is the Bomb!! We’ve loved their tools for years, but this Multi-Max is the next level!
I love this blog since I am currently remodeling my guest bath too! After you wet sand the bath tiles, what kind of paint did you use on tiles? Or is that still coming up on your blog? Thanks for keeping me inspired!!!
It looks great and super easy!
Having the right tools makes all the difference. I tackled this job in our old house. I felt overwhelmed but once I got the right tools it was much easier. Have to love Dremel.
Cindy