How to Make Old Shower Doors New Again
Wanting to keep our bathroom makeover on a tight budget, I found these used shower doors online for just $60. Here’s how to make old shower doors new again.
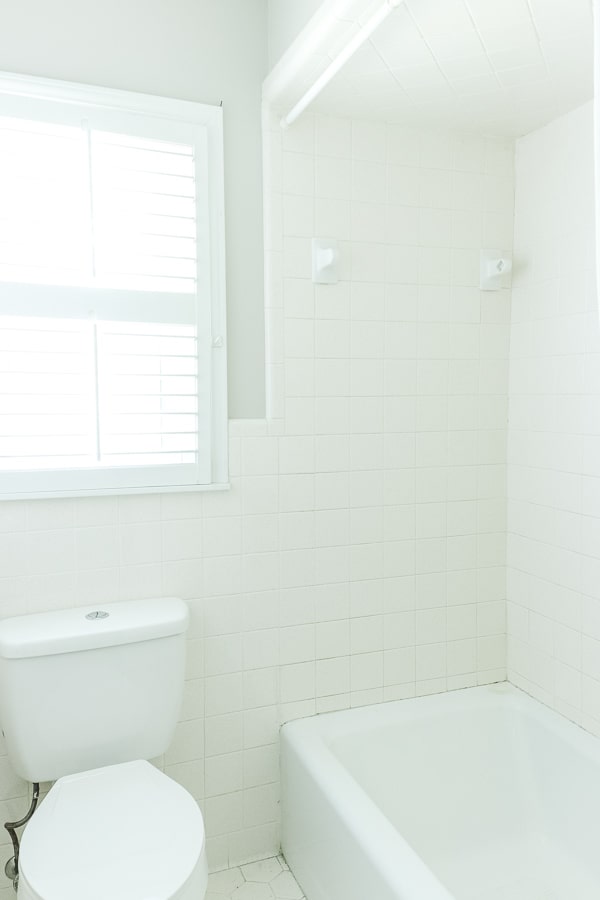
Ever have those “Just In Case” moments?
I did with this post.
I waited a few months to share this tutorial, just in case it didn’t last. But it did so here we are!
Last fall, we took on the task of renovating our boys’ bathroom.
They were excited to have an updated space, but made sure to give us their one and only request.
Shower doors!
They were tired of battling the shower curtain in this small space.
But, our budget was super tight. In addition to a tight budget, a quick look at new shower doors showed me that they are not cheap!
So what was I to do?
I took to looking on the marketplace and found some used shower doors for $60!

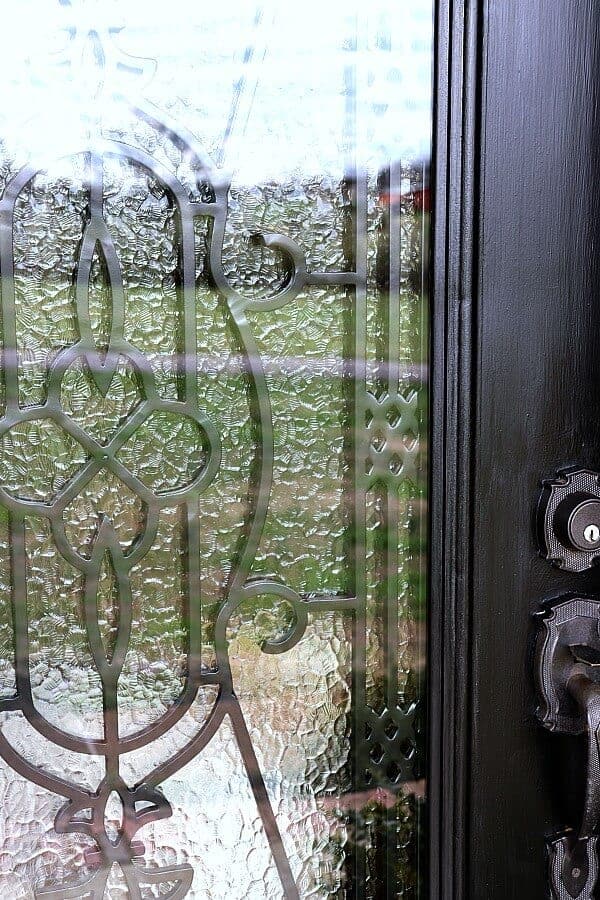
The before pic was damaged somehow so I can’t share it, but here’s a close up of the handles.
As you can see, it was shiny chrome.
Not the look I was going for! So we decided to make them new again by spray painting the doors. Here’s how we did it.
How to Make Shower Doors New Again
(Some affiliate links are provided below. Full disclosure here.)
Materials Used:
Used Shower Doors
Sanding Pads
Masking Tape
Rust-Oleum 2x Ultra Cover Primer
Rust-Oleum Matte Black Spray Paint
Additional Parts that may need replacing like rollers
Silicone
The secret to updating used shower doors is to prep and prime.
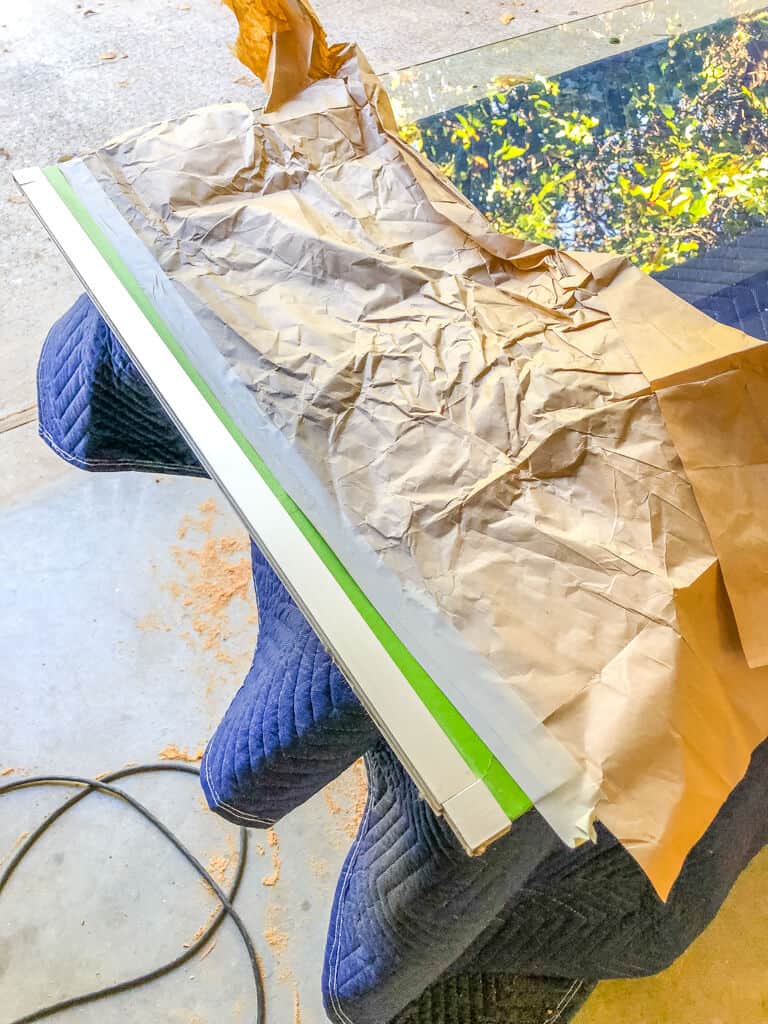
Using masking tape and paper, we taped off all the glass on the doors.
Before spraying, you want to scuff the metal a bit.
But it’s not a huge sanding process. You just want to scuff it enough to give the metal teeth for the spray paint to adhere to.
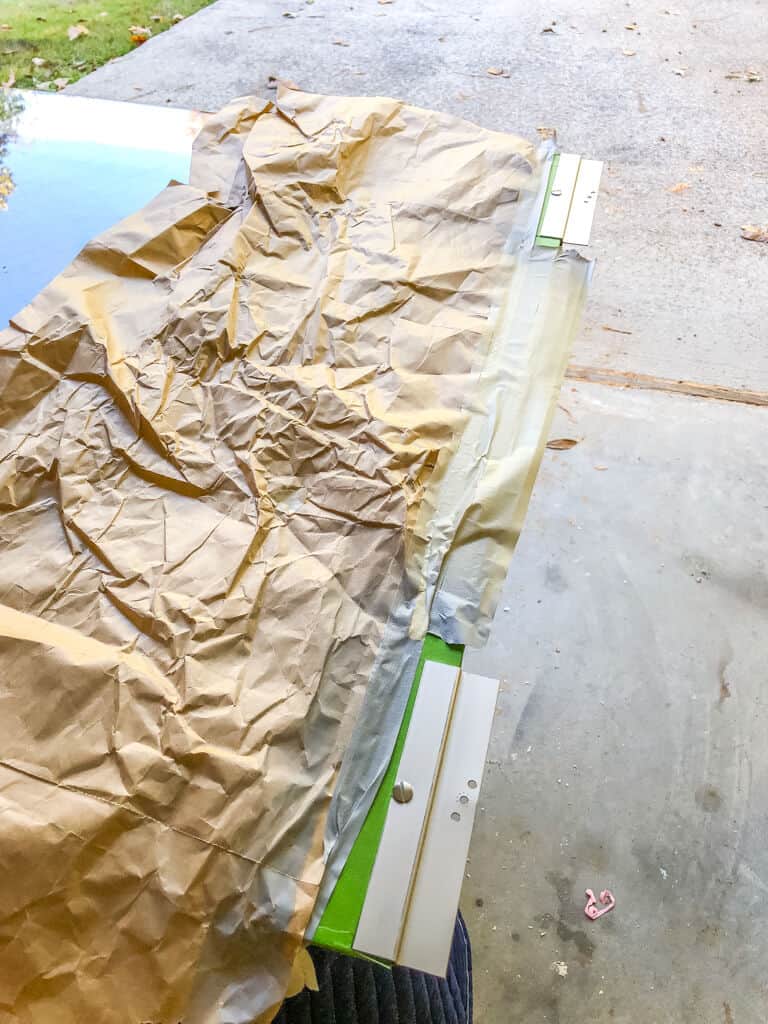
We didn’t even remove the screw heads.
Since everything was going to stay as is, we just left them in place and sprayed over them.
To begin with, you spray the primer on first and allow it to fully cure.
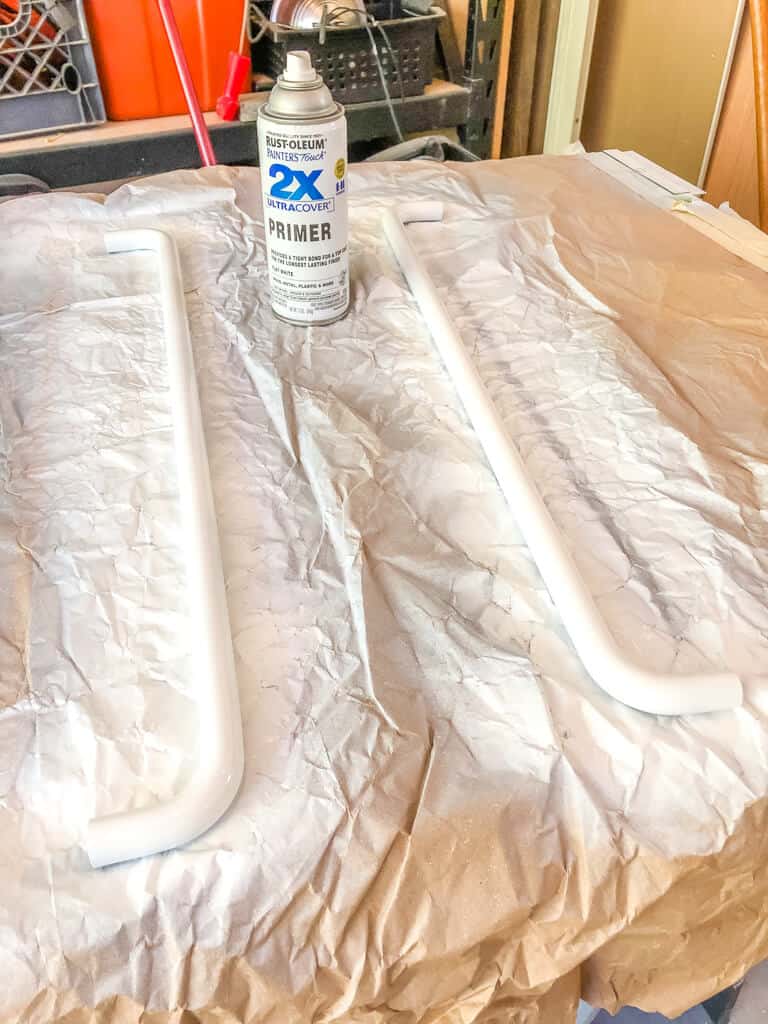
Now for the handles, we did do a bit more scuffing since these are pieces that will get used a lot.
Trent sprayed two light coats of primer on these only.
Everything else just got one coat of primer.
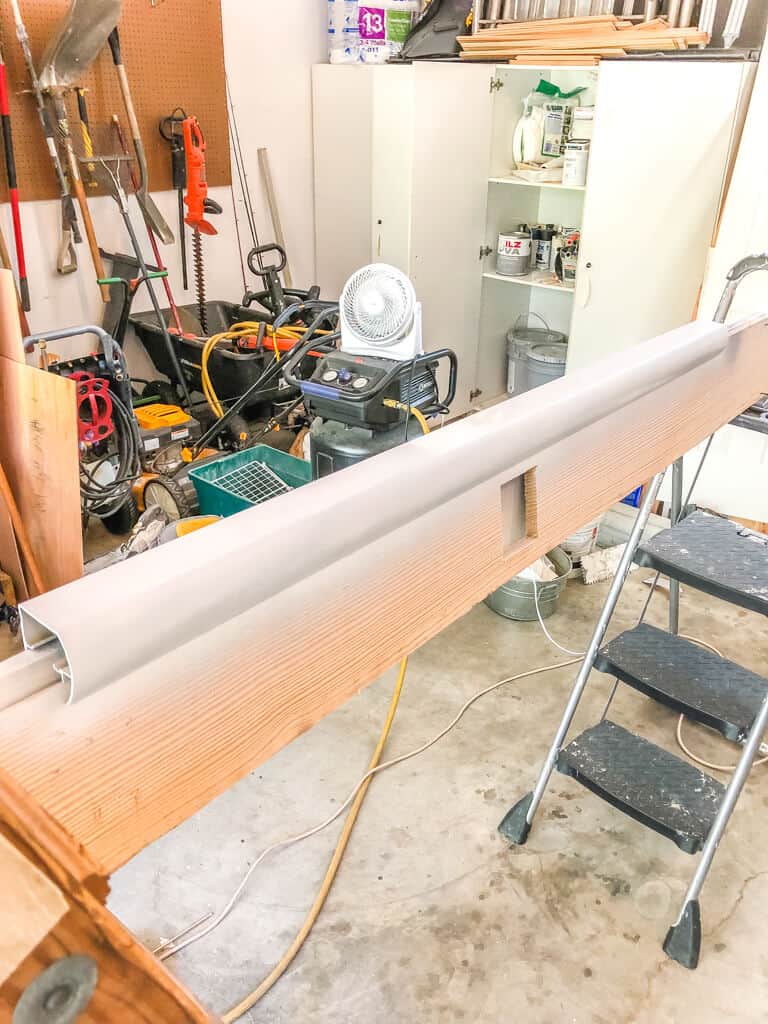
I thought this was such a great idea!
Trent set up a board between two ladders to set the parts on.
That way you don’t have to turn the pieces too many times!
Genius!
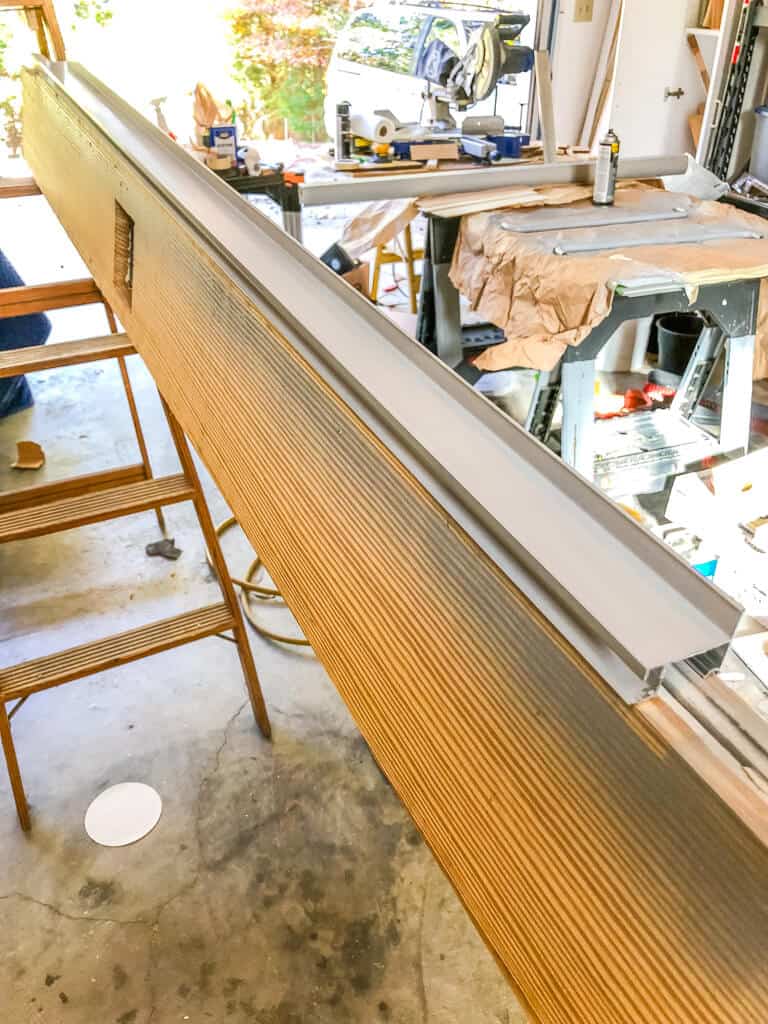
Spray primer on all the pieces, then allow to dry overnight.
You want that first coat to fully cure before adding the spray paint.
Then all you have to do is repeat the process with your black spray paint.
So that the paint won’t scratch, you want to spray two light coats over all the metal pieces.
I won’t bore you with the same pics of the pieces in black.
Here’s how it looks in place!
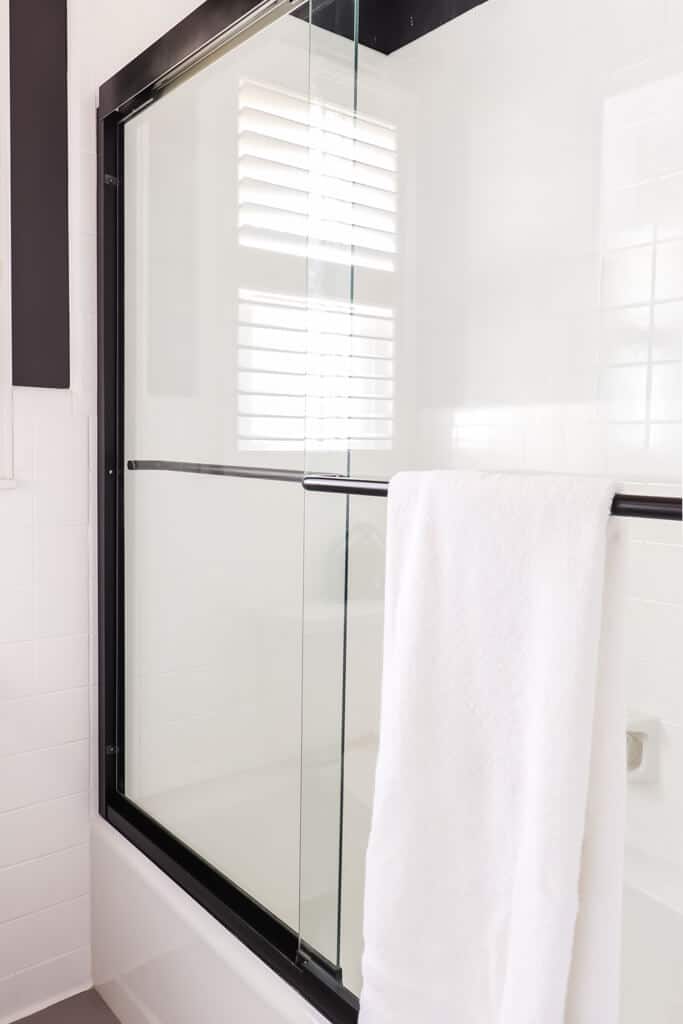
Isn’t that pretty!
But it didn’t come together in one day. This is a game of patience, allowing those coats to dry!
I think we stretched this makeover out over almost 3 days.
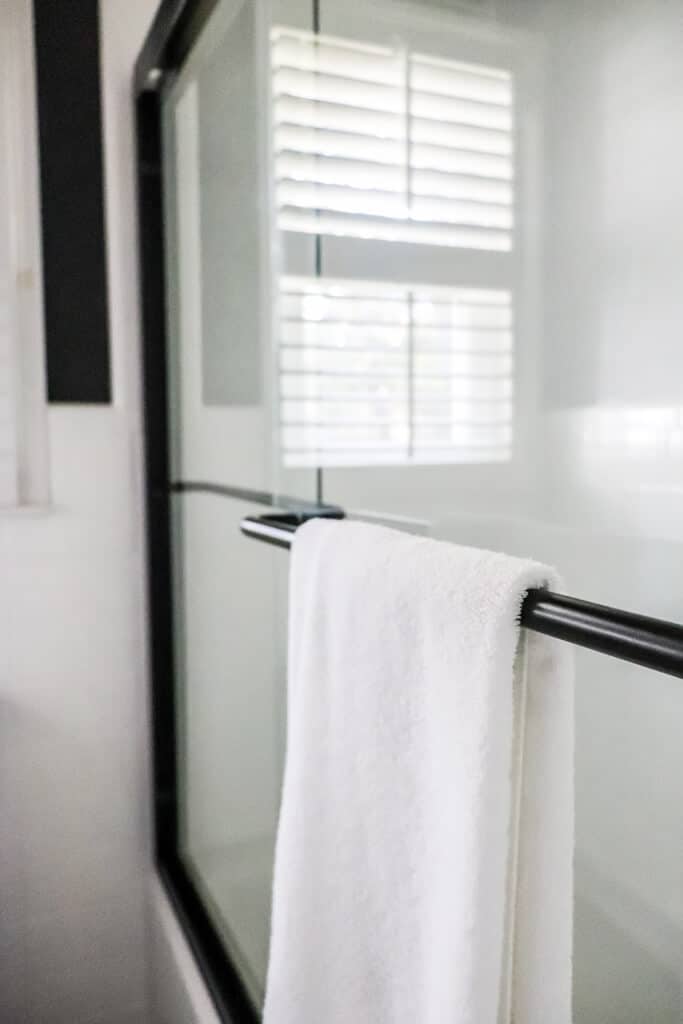
Now, since these were used doors, there were a few parts that we made sure to update, like the rollers.
Because you typically cut the metal pieces to fit the shower, we did have to purchase a new bottom track as well. Our shower was about 1 1/2 inches wider than the previous owners.
But here’s the thing! Replacement Parts are so affordable!
In fact, you can contact the manufacturer directly, give them the model number (usually found inside one of the pieces) and they can pull up all the parts!
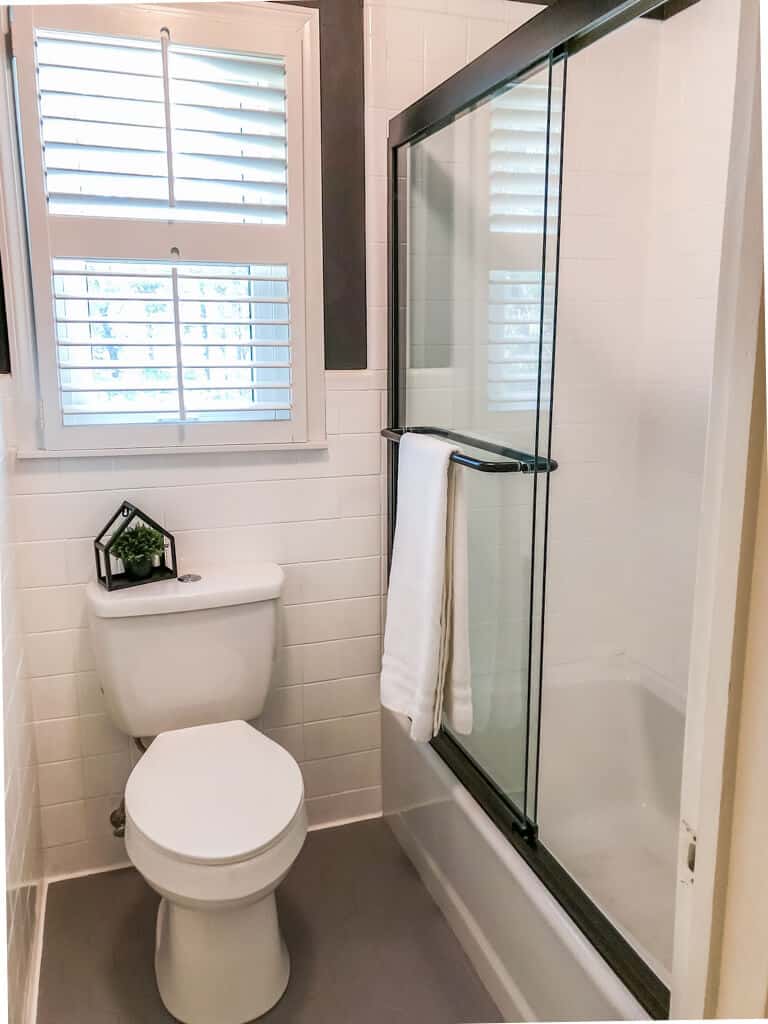
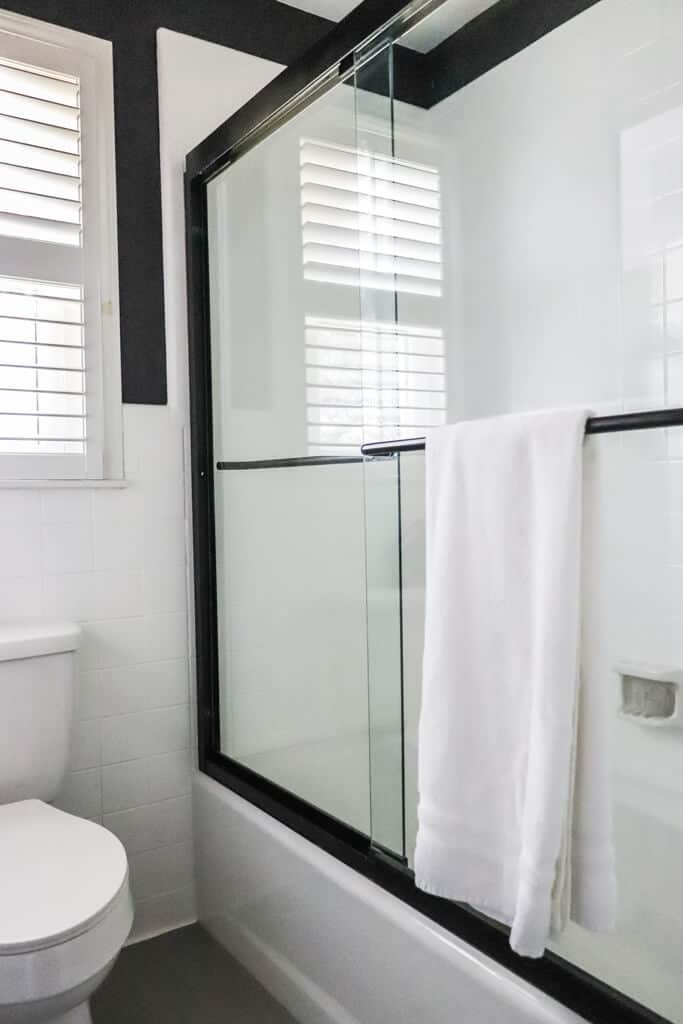
It’s been about 6 months since we’ve installed these in our boys bathroom and they have held up surprisingly well!
So if your budget is tight and you want to repurpose instead of buying new – this may be your best best!
I hope this tutorial on how to make old shower doors new again inspires you!
But now onto some more goodies!
I’m joining a group of DIYers sharing their tutorials this month. Lemme tell ya -there are some awesome tutorials down below. So be sure to check them out!
New Again
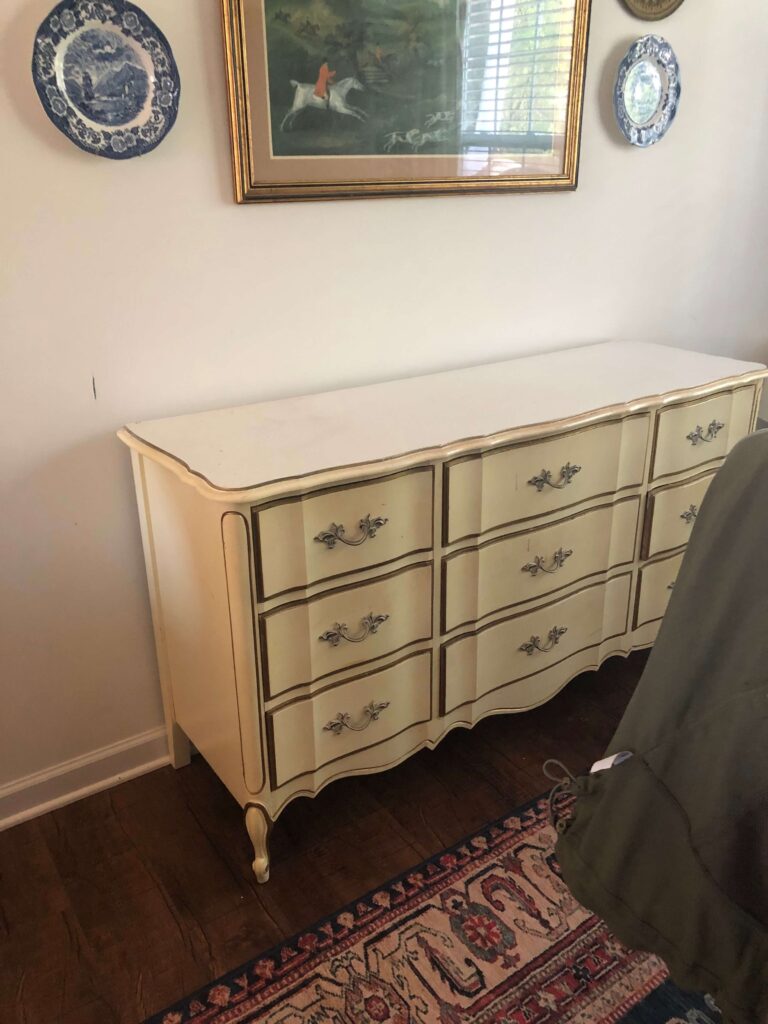
A Blue Nest / French Provincial Dresser Makeover
Noting Grace / How to Make Old Shower Doors New Again
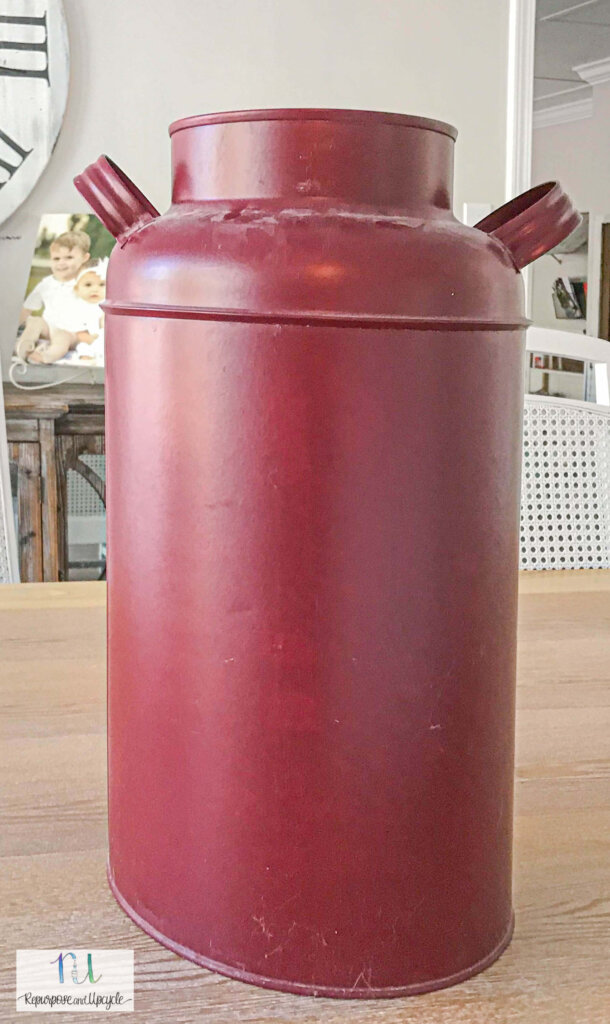
Repurpose and Upcycle / Vintage Milk Can Makeover with a Copper Finish
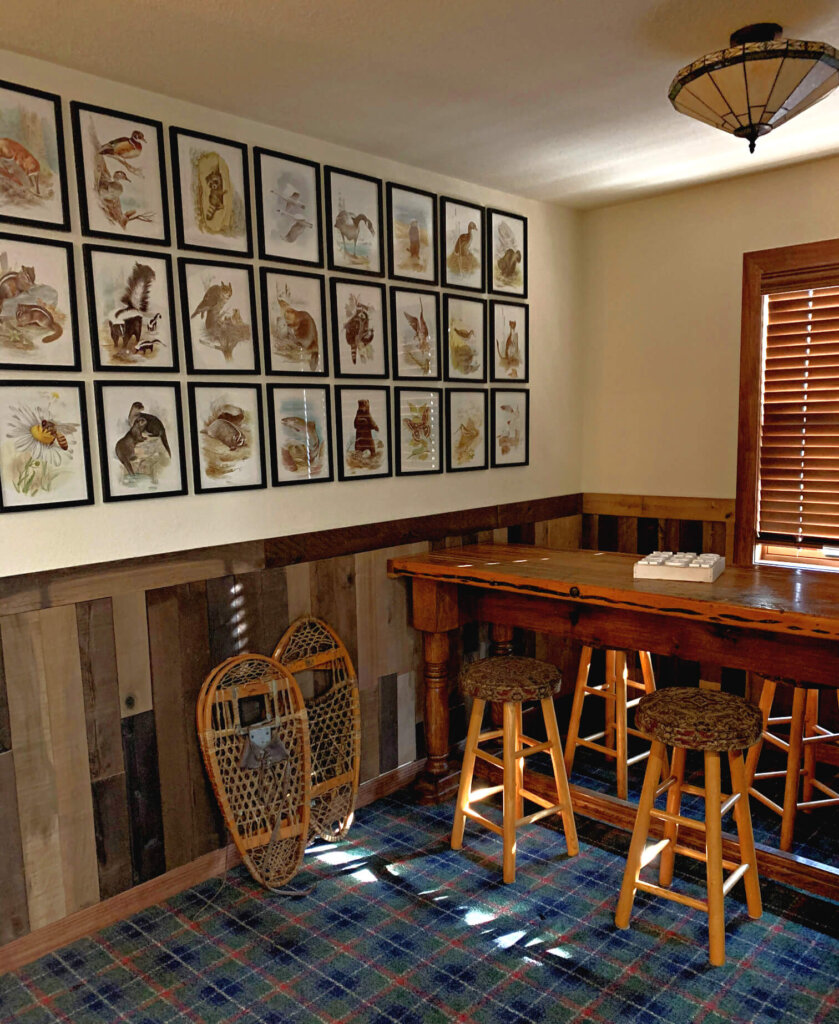
White Arrows Home / Create a Gallery Wall from a Thrift Store Book
Pin This for Later!
Click here to see the full bathroom reveal!
And don’t miss the other posts
in this Bathroom Makeover!
THE BEFORE
RAISE THE ROOF: HOW WE MADE THE BATHROOM CEILING TALLER
DIY SHOWER DOOR UPDATE
HOW TO MAKE A BATHROOM VANITY TALLER
REGROUTING BATHROOM TILE
INSTALLING AND LIMEWASHING BRICK VENEER
DIY CEILING PLANKS FROM LAMINATE FLOORING
HOW WE CHANGED OUR BATHROOM TILE FOR $150
HOW TO MAKE CEDAR FRAMED MIRRORS
THE BIG REVEAL!





So glad you are a part of this!
Jen, I am always in awe of your home renovations! This is so pretty! Thanks for hosting this fun hop too that gives so much inspiration!
Thanks Jordan! You always say the kindest things!
You have the best DIYs, Jen! These look so awesome!
Thanks Lindsey! It was such a cost saver and we love the updated look!
Wow what a difference! Looks amazing now.