How to Add an Apron Front Sink to Existing Granite Counters
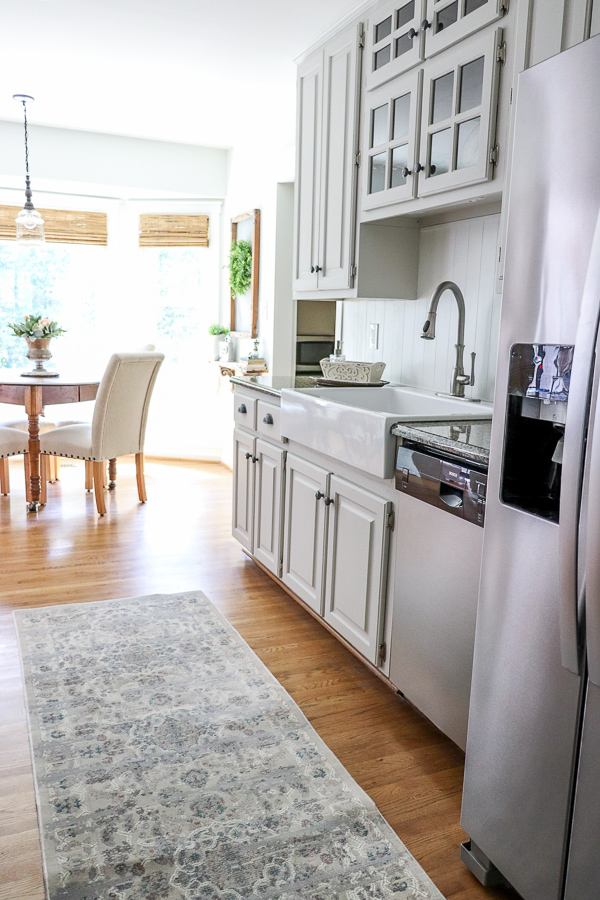
Today, I’m so excited to show you how to add an apron front sink to existing granite counters. We just revealed the renovation of our Timeless Farmhouse Kitchen, but the star of the show – a beautiful new sink – was late to the party.
Thank you to Sinkology for helping me create my dream kitchen!
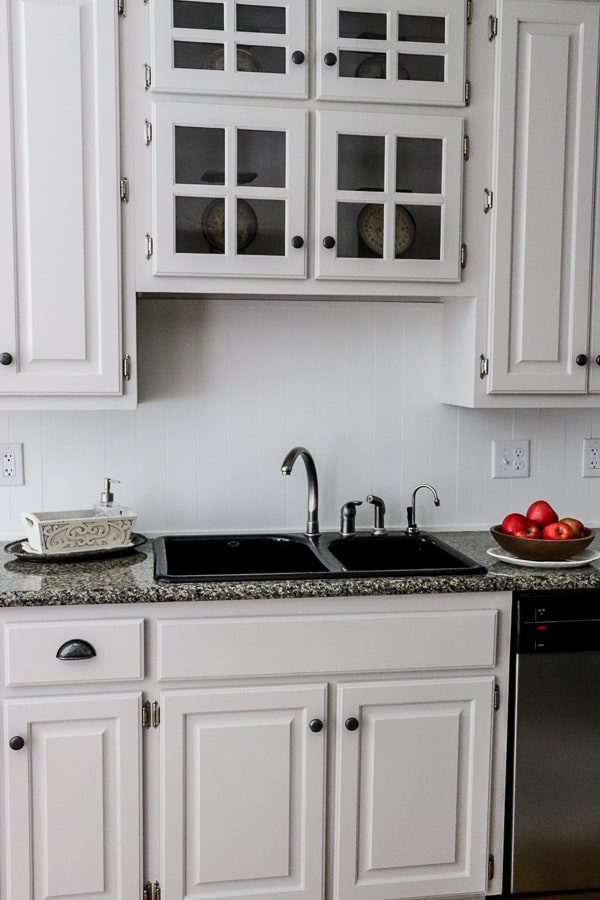
The one thing I hated about my kitchen was the sink. It was black enameled cast iron and had lost it’s glaze and was starting to rust.
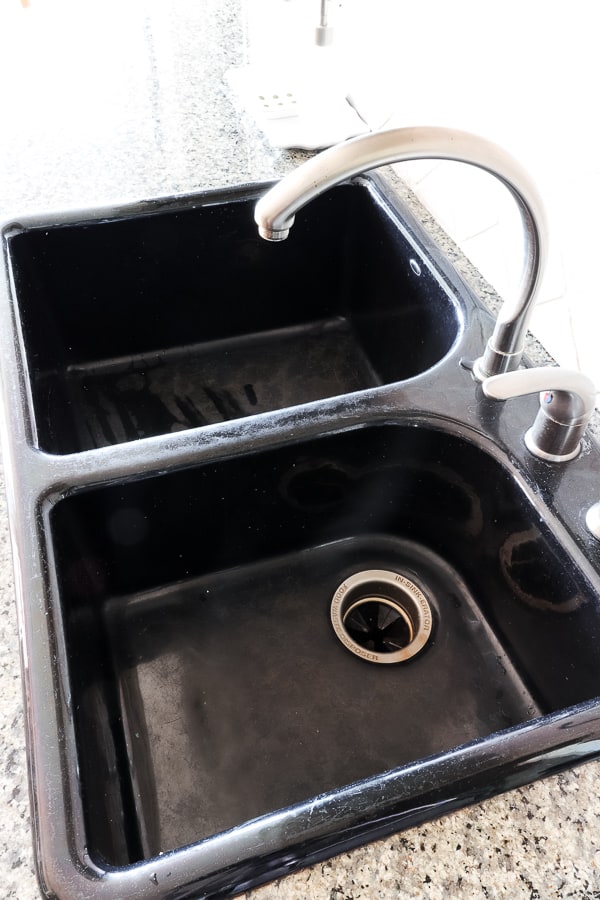
Believe it or not, that sink is actually clean.
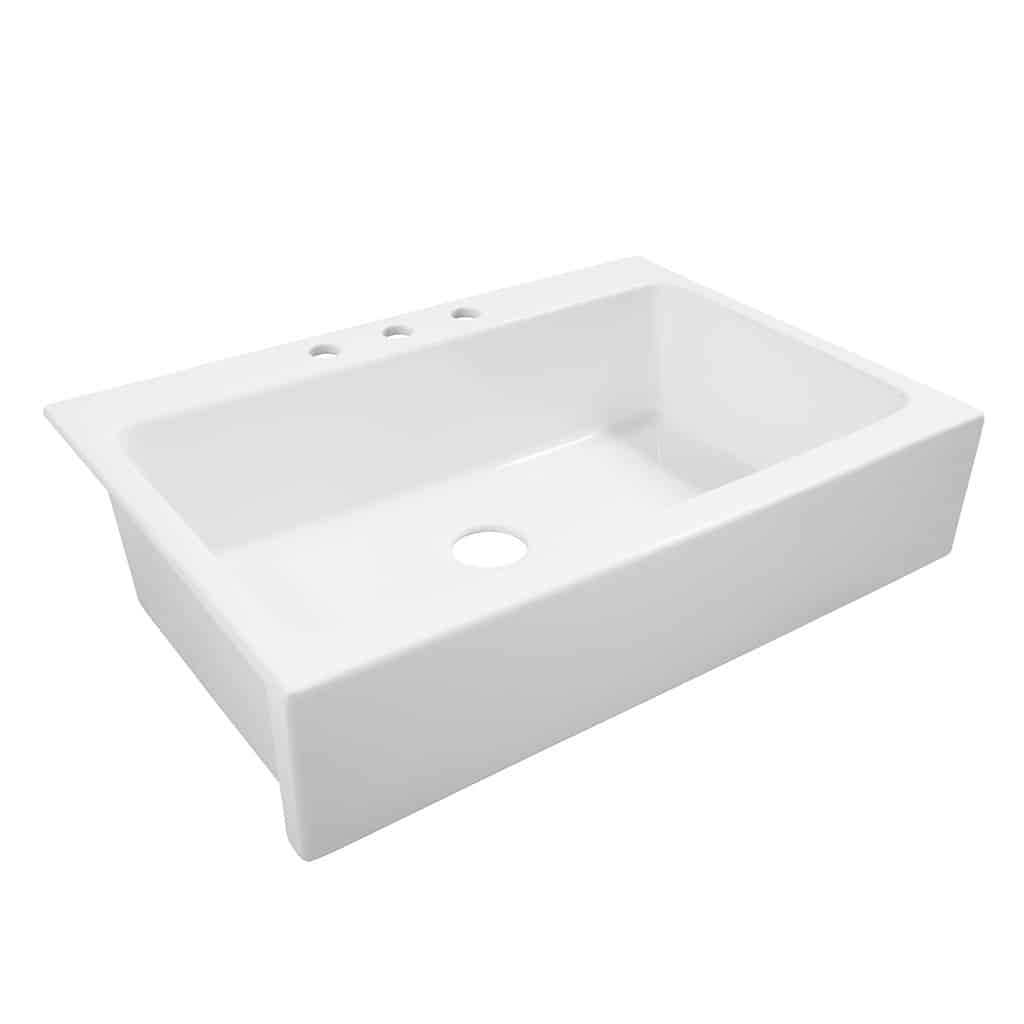
When I found this sink from Sinkology, my entire design for my kitchen renovation came to life.
So how can you put in an apron front sink if you aren’t replacing your granite counters?
You have to cut out the granite!
YIKES! But Yay – because we can do this – and so can you. Let me show you how!
How to Add an Apron Front Sink
to Existing Granite Counters
Supplies Needed:

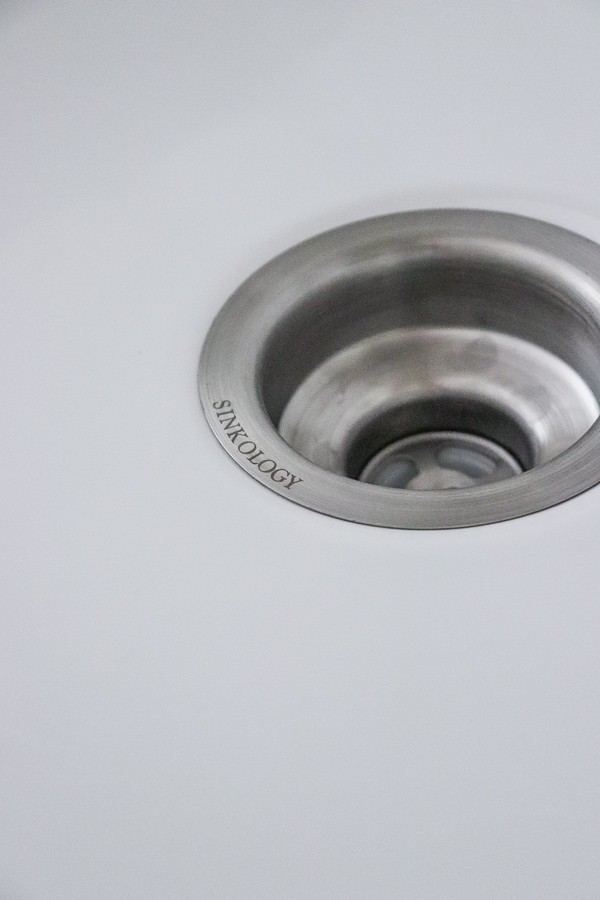
- Sinkology Josephine Drop In Fireclay Sink (we purchased the all in one kit)
- 4 inch Handheld Wet Tile Saw
- Drop Cloths
- Shop Vac
- Spray Bottle
- Eye and Ear Protection
- Breathing Mask
- Silicone
- Tape Measure
- Painters Tape
- Razor Blade
- Reciprocating Saw
STEP ONE: Remove the old sink.
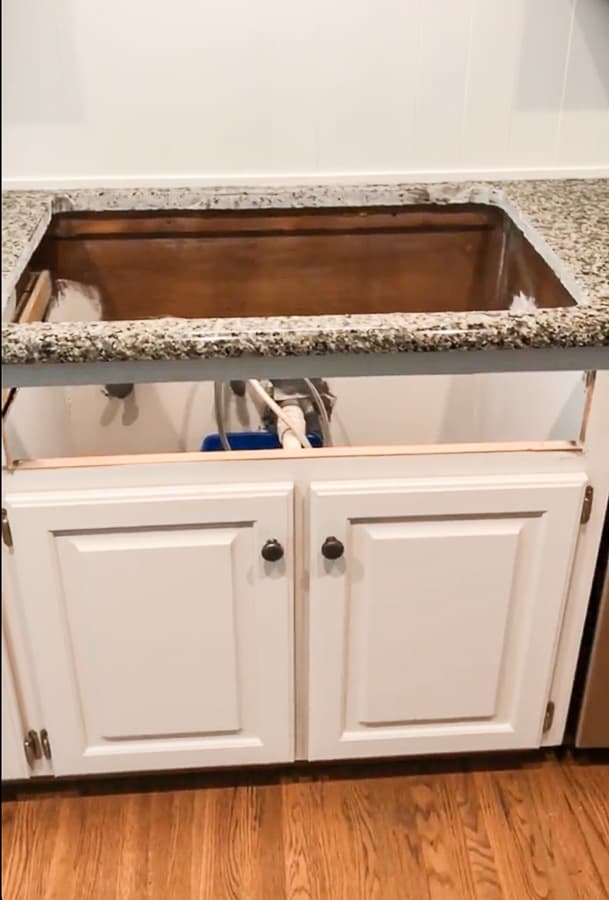
Using a razor blade, cut through the old silicone around the edge of the basin and unhook the plumbing.
Don’t forget to turn off the water!
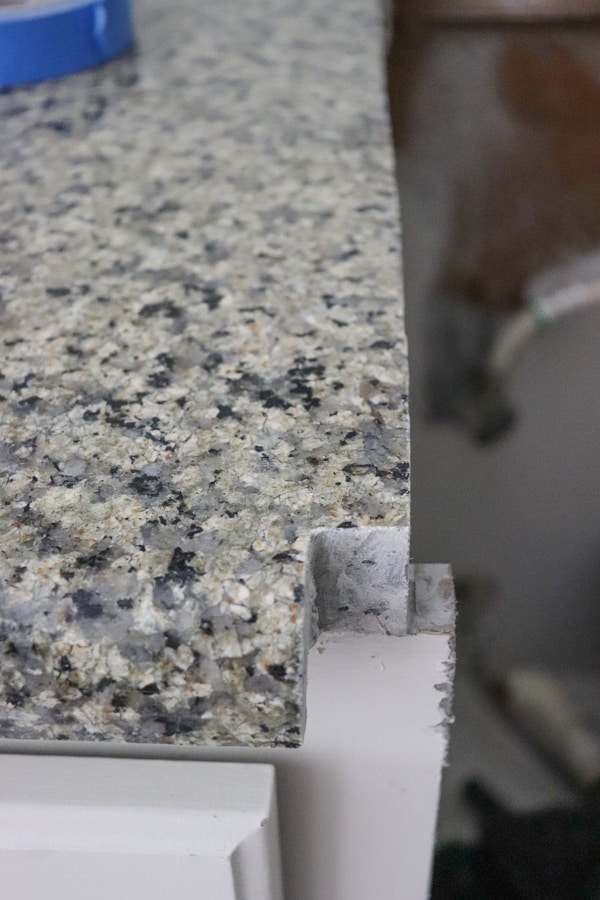
As you can see we have one strip of granite across the front that needs to be trimmed.
STEP TWO: Cut the Granite.
The most important element of this step is the planning.
Measure and measure again. We traced the outline of the sink on a piece of cardboard to ensure the right fit.
For our counters, the cut out mostly fit – but we did need to trim some of the previous granite that was too short.
Now here’s how we did this – and let me start by saying that we did not take pics because this does create quite the mess.
So let me paint a detailed picture for you.
Suit up with protective gear: Ear protection, eye protection, and dust masks are essential.
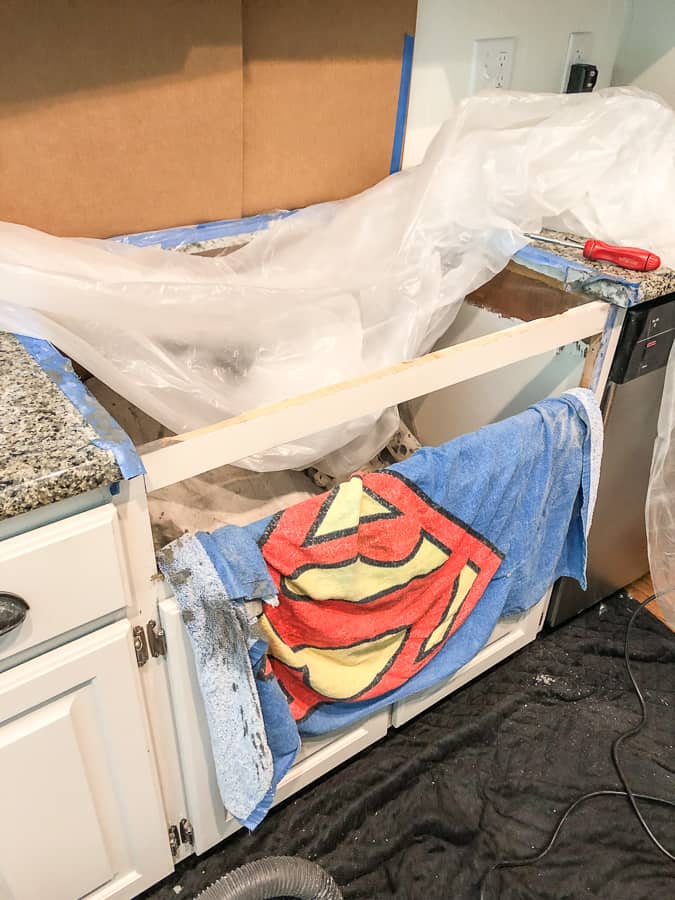
Since this is a messy job in a recently finished kitchen, we came up with a creative solution.
We taped some plastic drop cloth to the counters and then tented ourselves.
Yup, you read that right.
We put the plastic drop cloth over our heads, while wearing goggles, ear muffs, dust masks – Trent holding the tile saw and me manning the shop vac and squirt bottle.
It was a sight, but you know what? It worked!
The shop vac and squirt bottle cut down on the amount of dust that went everywhere and the plastic tent kept what we missed to one small area.
We’ve seen online posts where people use an angle grinder to cut granite, but you run the risk of a miscut with one small twist of the wrist.
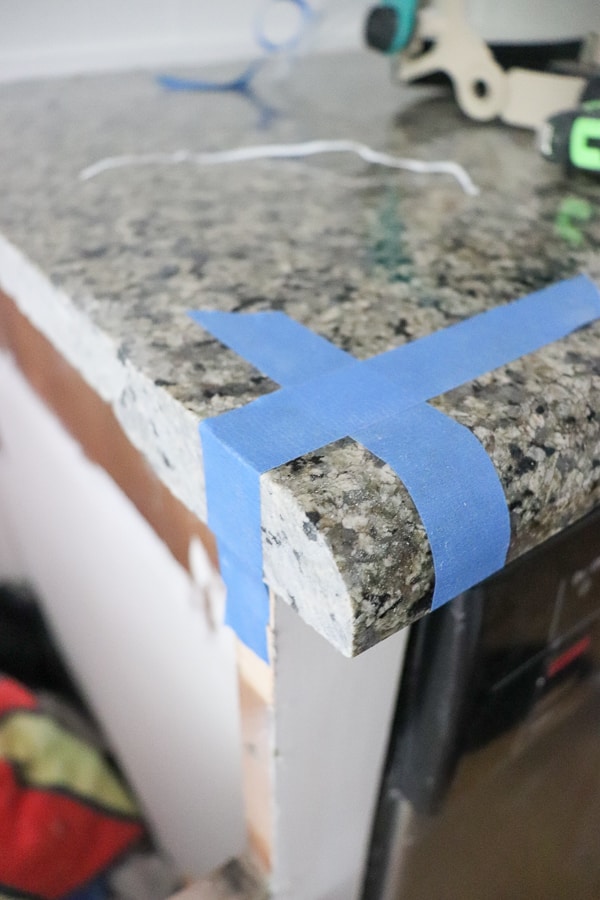
The tile saw has a guide that helps keep your cuts straight.
Handy Tip: The painters tape helps give a sight-guide to move the saw along a straight line.
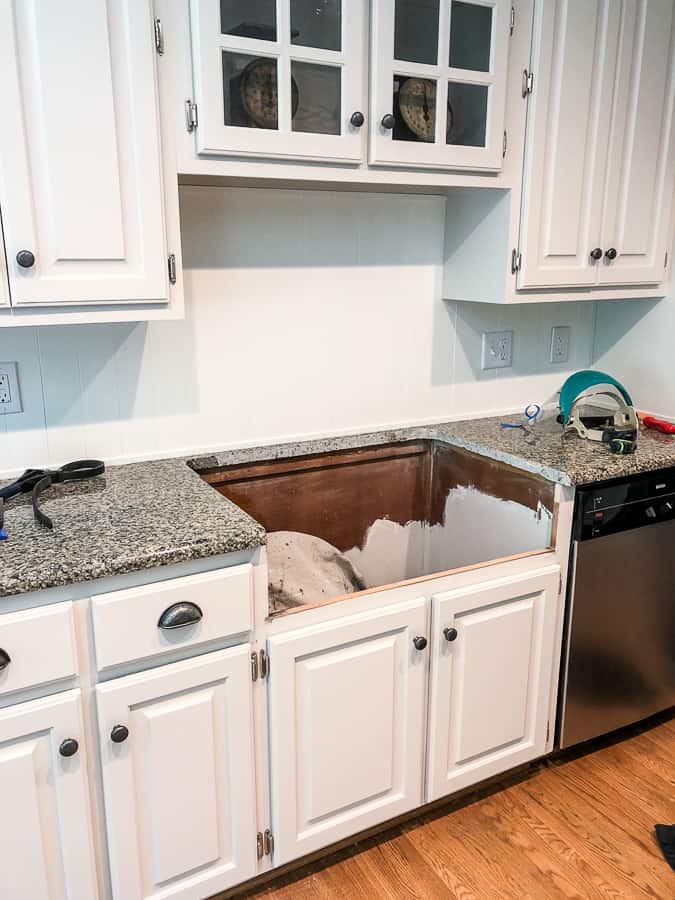
STEP THREE: Cut out the top of the cabinet.
Check your measurements again before cutting. We were lucky in having a drawer front that was easily removed.
All we needed to cut out was the top brace of the cabinet front. We used a reciprocating saw, but a hand saw would also work.
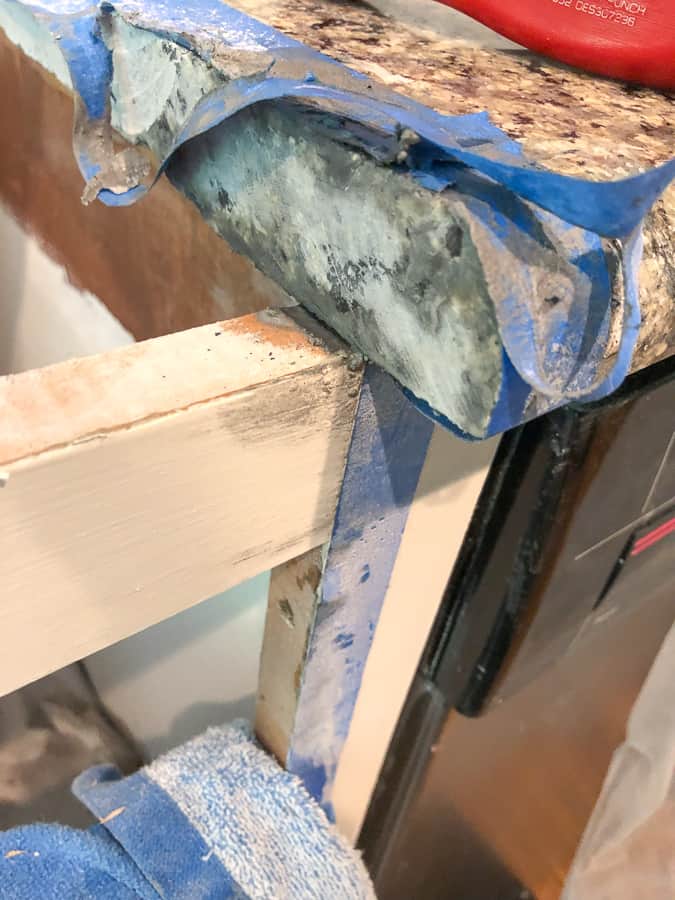
STEP FOUR: Notch out the granite for the apron front sink.
We taped off our cut lines and suited back up.
The entire process to this point took just about an hour including measuring, cuts and clean up.
Dry fit your sink to make sure it fits. We did this often and made adjustments as needed.
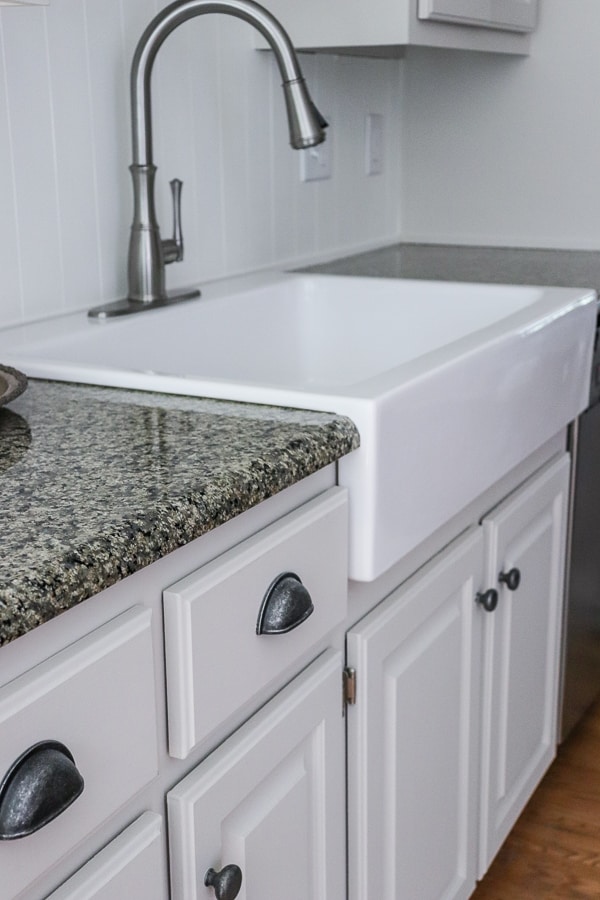
STEP FIVE: Install the sink.
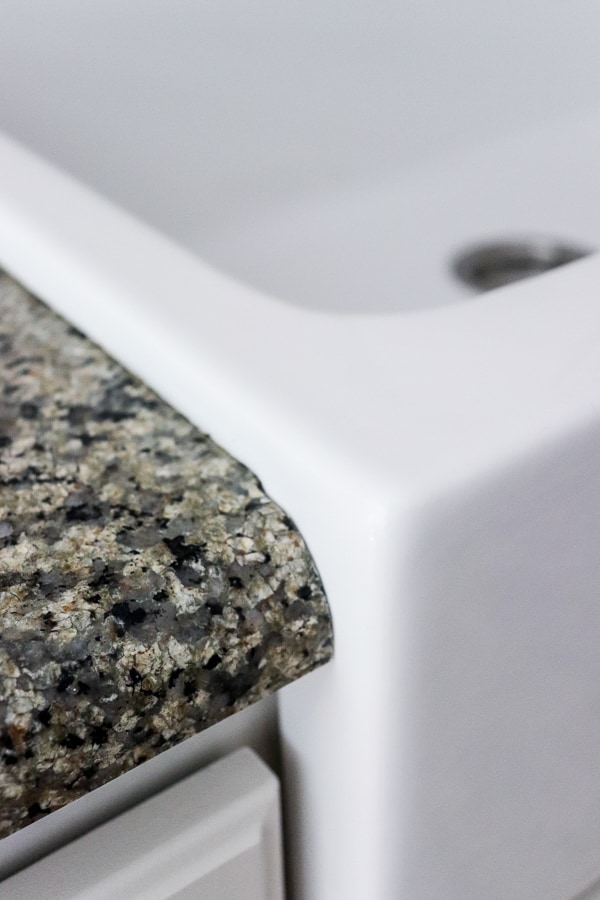
Apply a liberal amount of silicone, carefully drop in the sink, and let it sit before installing your plumbing.
We left ours to cure overnight.
STEP SIX: Install your Faucet.
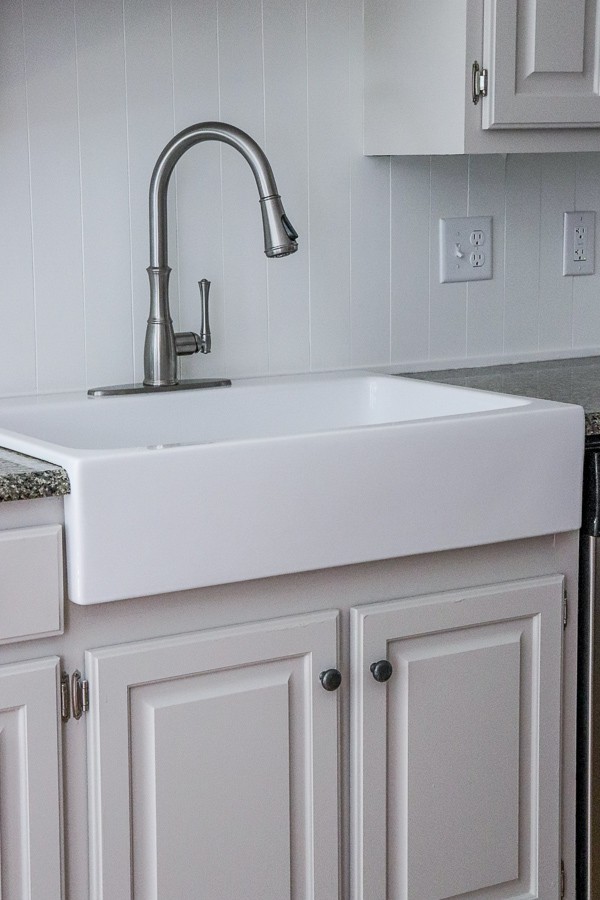
What I love about Sinkology is that they offer this as an All in One kit, which includes the sink, faucet, drain strainer, non-scratch scrubber and care kit.

This one came with the Pfister Wheaton Sprayer Kitchen Faucet in Stainless Steel, but you can also purchase the faucet separately at Home Depot.
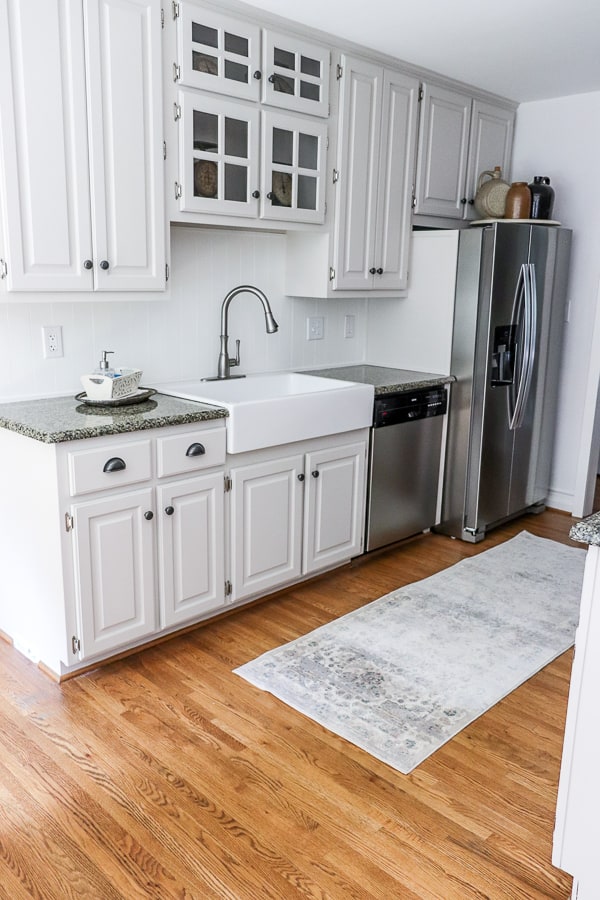
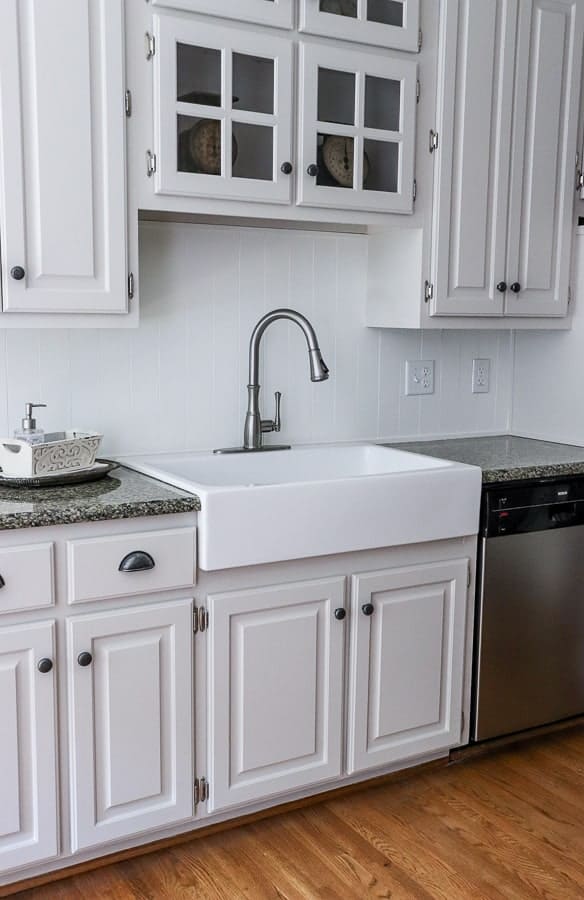
I think the faucet looks beautiful and my kitchen looks so much brighter now with this sink!
I hope this helped you learn how to add an apron front sink to existing granite counters.
Of course it’s daunting, that’s for sure.
But on this side of it – we’d do it again. Simply take your time and prepare well and you can have a stunning result like this one.
To see the details of the Timeless Farmhouse Kitchen Reveal, as well as the items we used to make over this kitchen for less than $1500, head over to the final reveal.


Hey Maria! Thanks so much for reaching out. You are correct, we did not place a support underneath, but one thing we did do was follow the install directions explicitly. Since our install didn’t specify a support, we felt we were okay. One thing to consider, your installers are dealing with your specific cabinet. Ours was made of 3/4 inch MDF, but if yours is made of thinner pressboard, then this is something you should do. Maybe ask them to explain further the reasoning and look through the installation guide to see if your sink requires a support.
I hope that helps and am so glad you took the time to ask! Good luck with your project – you will LOVE your new sink! 😉
Hi. I LOVE THIS POST. I purchased the sink and we will hire someone to cut our granite counter tops, but they strongly suggested installing support underneath the sink. Have you had any trouble with your sink. I noticed you did not install anything under. Your help is greatly appreciated
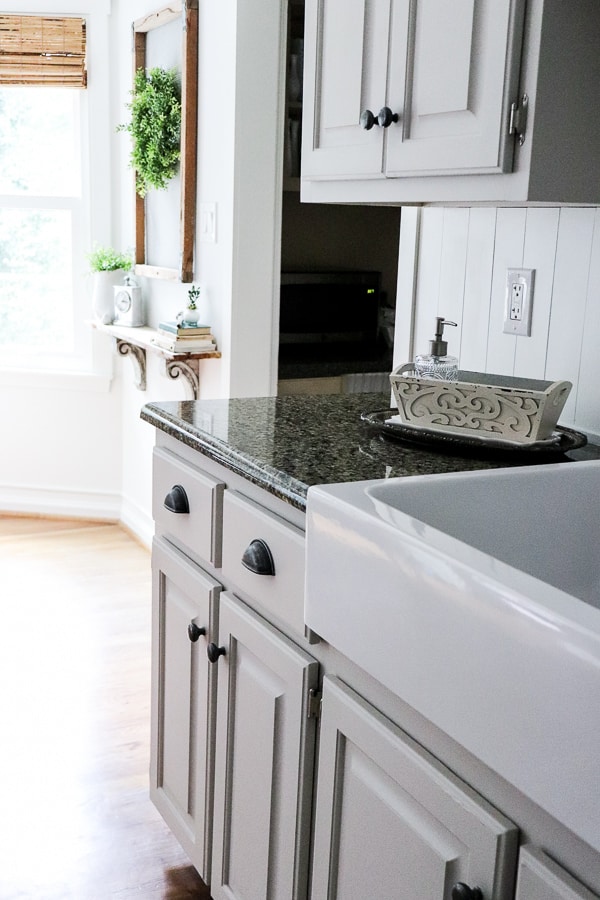
Hey Mandy! Those are some great questions! Our counters are between 25-26 inches deep and the space between the sink and the wall is about 1 inch. Hope that helps you out and that this sink will fit your counters. I am still in love with mine! Let me know if you have any more questions – I’m happy to help!