How to DIY a Glass Farmhouse Front Door
Thanks to Zabitat for partnering with me to create a front door that I love!
Do you hate your entryway? Do you wish you had a beautiful, farmhouse front door but don’t have the money in your budget for a new one? Here’s how to DIY a glass farmhouse front door for less than $150!
When we moved from our Tennessee Home, I was sad to leave some of our favorite DIYs, like our gorgeous front door.

It was this stunning Jacinto glass insert from Zabitat.
I mentioned in our first post how scary it was to cut a hole in your front door, but after we were finished installing the glass, we were surprised with how easy it was!
And I loved how it brightened our entryway!
So when we moved to our Alabama home, I couldn’t get over how boring the plain front door was.
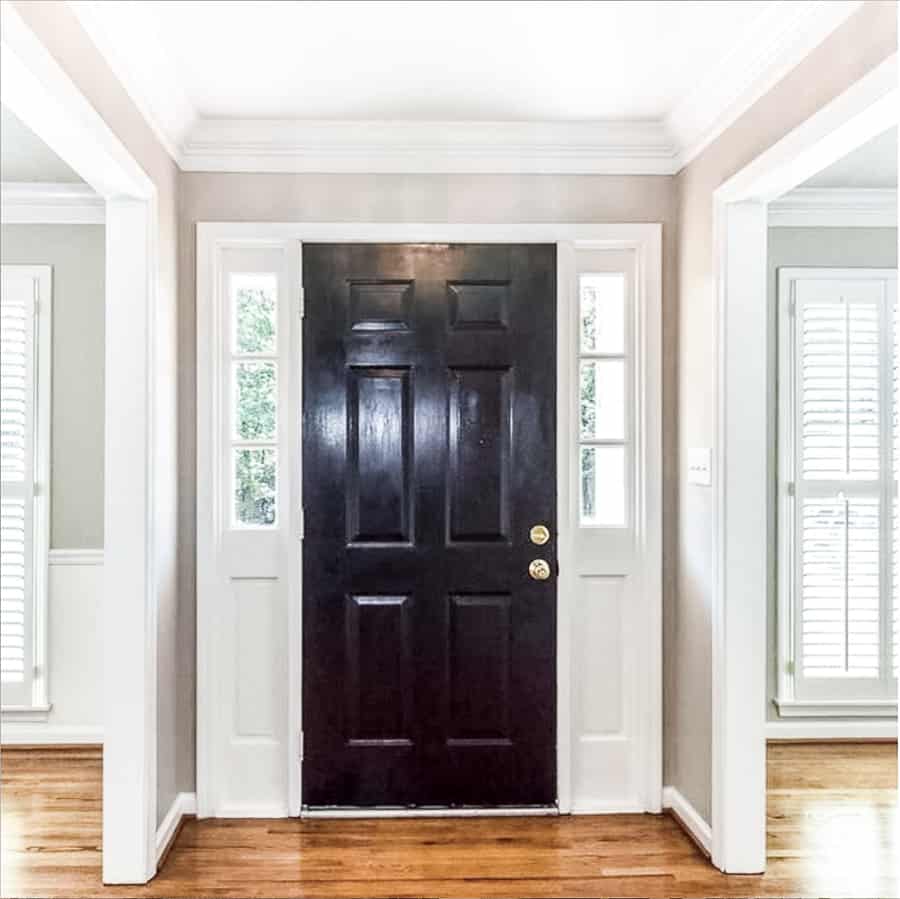

I loved my glass side lights, but I wanted something affordable and simple to create a Farmhouse look.
Remembering what an impact our last door made, and how simple it was to do, I knew I had to create a front door I love for this home.
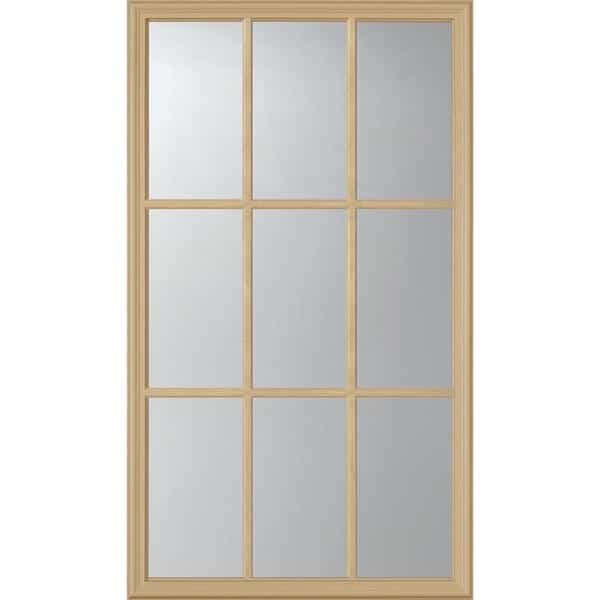
I went to Zabitat and found this glass door insert for less than $200!
It’s such an easy project, and I can’t wait to share how to DIY a glass farmhouse front door in one afternoon!
Let’s start with the supplies!
How to DIY a Glass
Farmhouse Front Door
Glass Insert for your door – this measurement guide is a must!
Tape Measure
Painter’s Tape
Drill
Jigsaw
Shop Vac or broom
Screwdriver
First, remove the door from it’s hinges and place on your workspace.
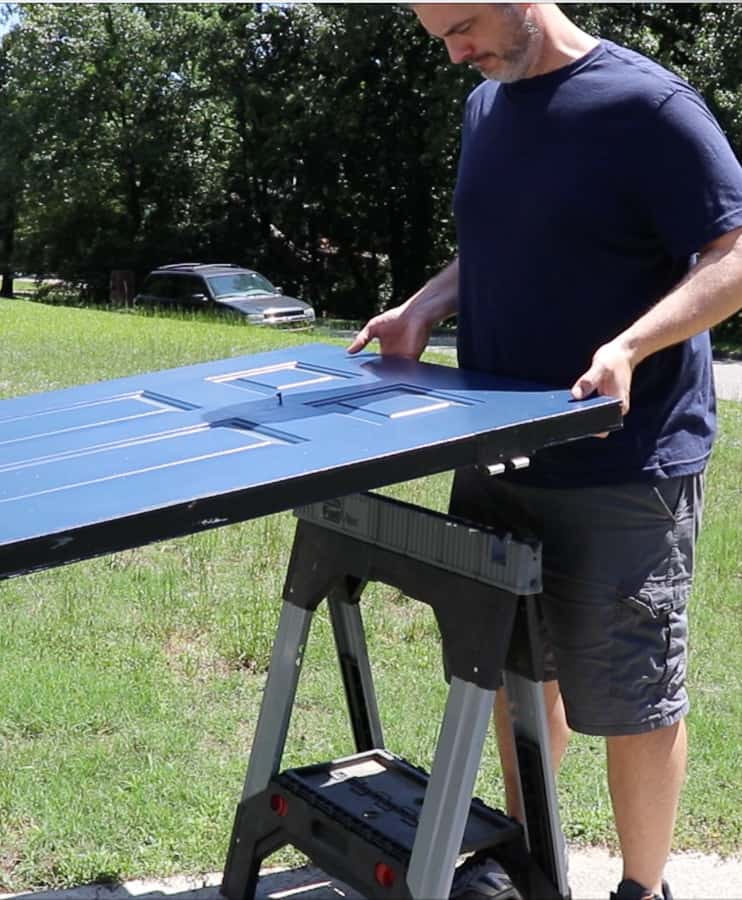
We opted to work outside on sawhorses.
Next, you measure and tape off your cut lines.
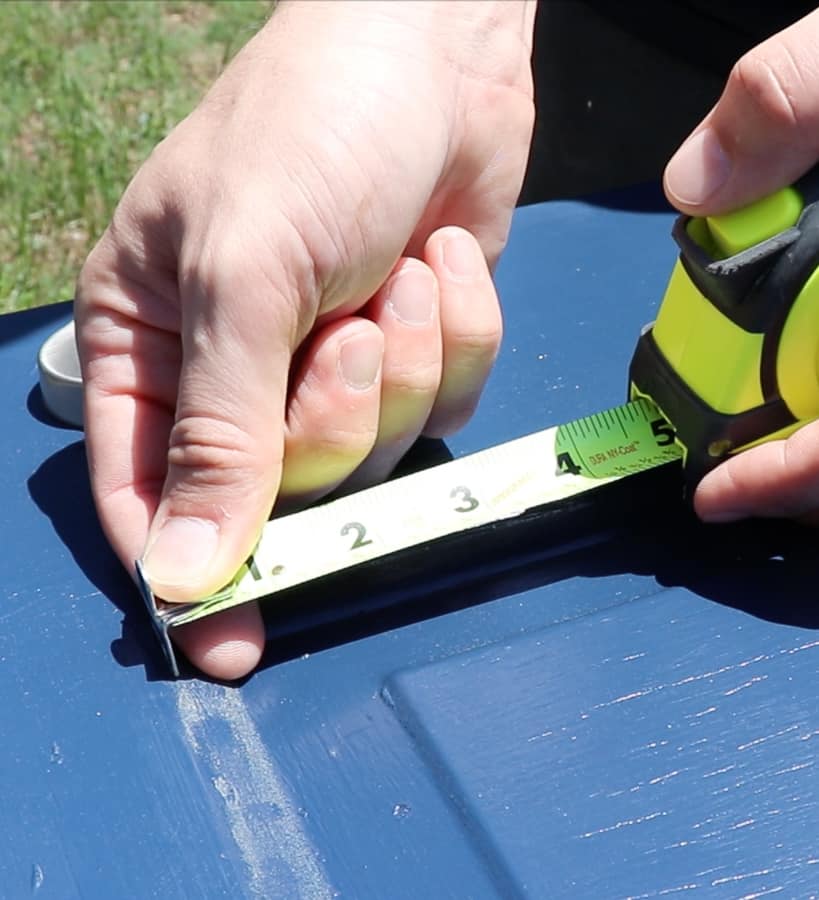
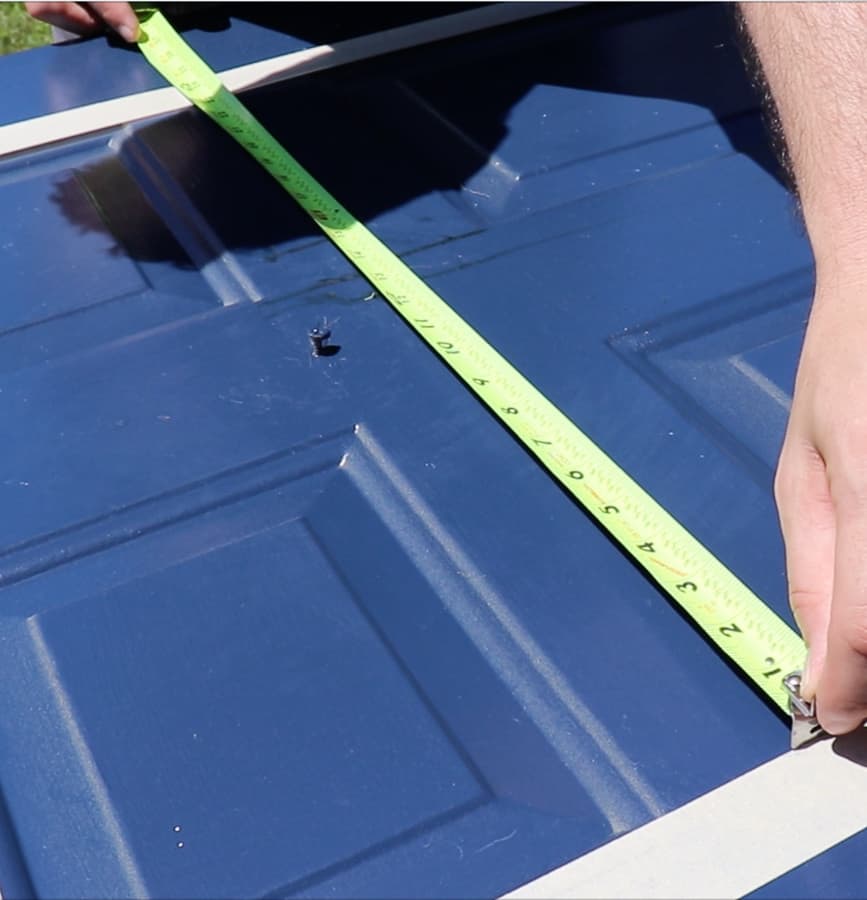
Be sure to check and double check your measurements for accuracy.
Now it’s time to drill a pilot hole.
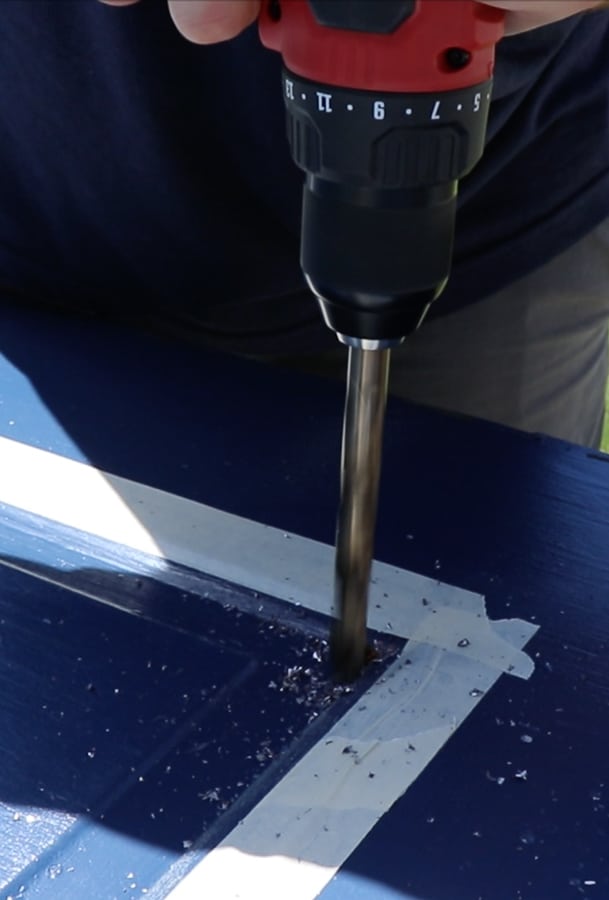
We used a drill bit the size of our jigsaw blade and drilled holes in each corner.
This makes it easier to insert the jigsaw to make your cuts.

Using a jigsaw, slowly cut along the tape line.
Our door is an exterior metal door with a foam core, so we used a metal blade.
Luckily it cut through both sides, but you may need to flip the door over and repeat the process on the other side, depending on your blade or door.
Now you have a hole in your door!

How crazy is that?!
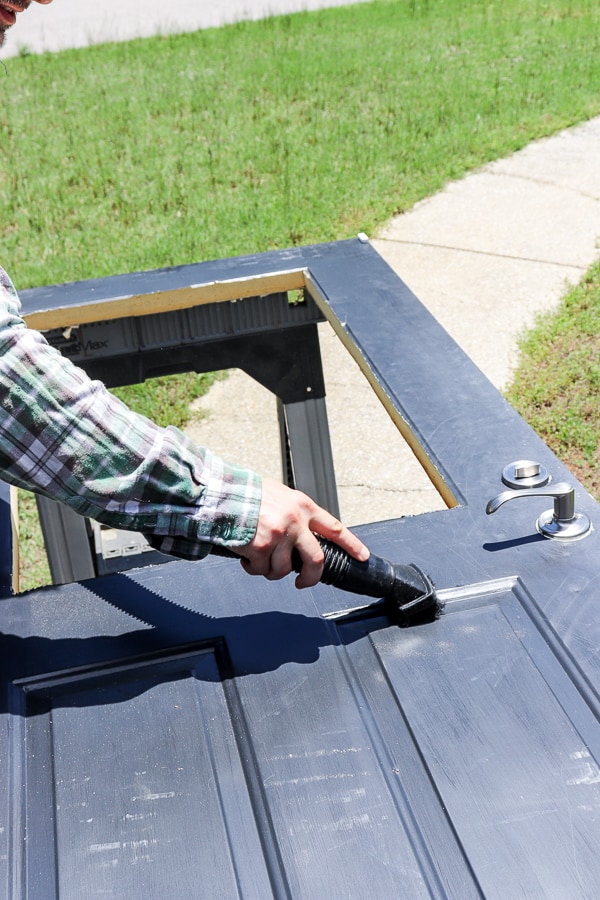
Make sure to clean off any shavings from your cuts. We used a shop vac, but a broom would do.
Unscrew your glass grill frame and carefully set the glass on your sawhorses.
Place the door over the glass and put the grill frame back on top.
Make sure the side that screws the frame together is on the inside of your door!
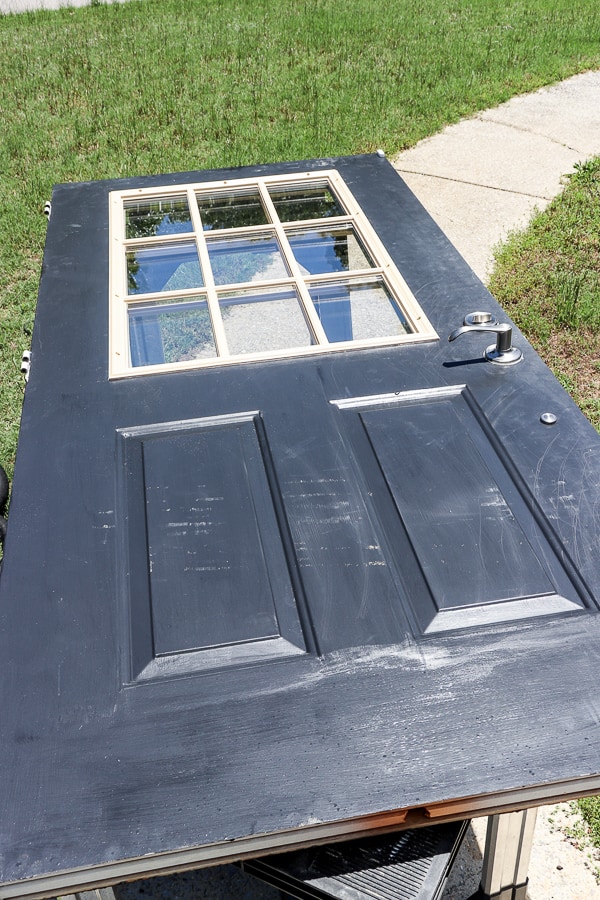
Now you can screw the grill in place, sandwiching the glass between the frame.

But now it’s time to rehang the door and paint!

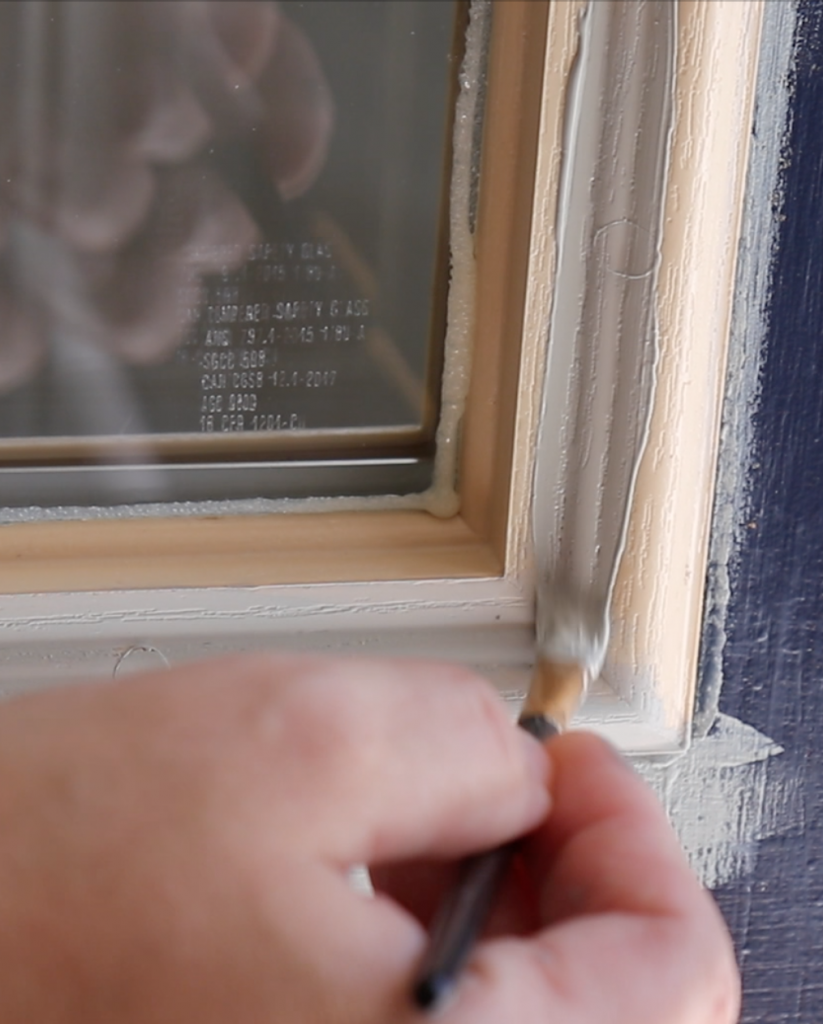
We used Romabio’s Misty Eyed color from their Young House Love collection. I think it’s a perfect bluey-gray for this door.
The back of the door got a fresh coat of Tricorn Black.
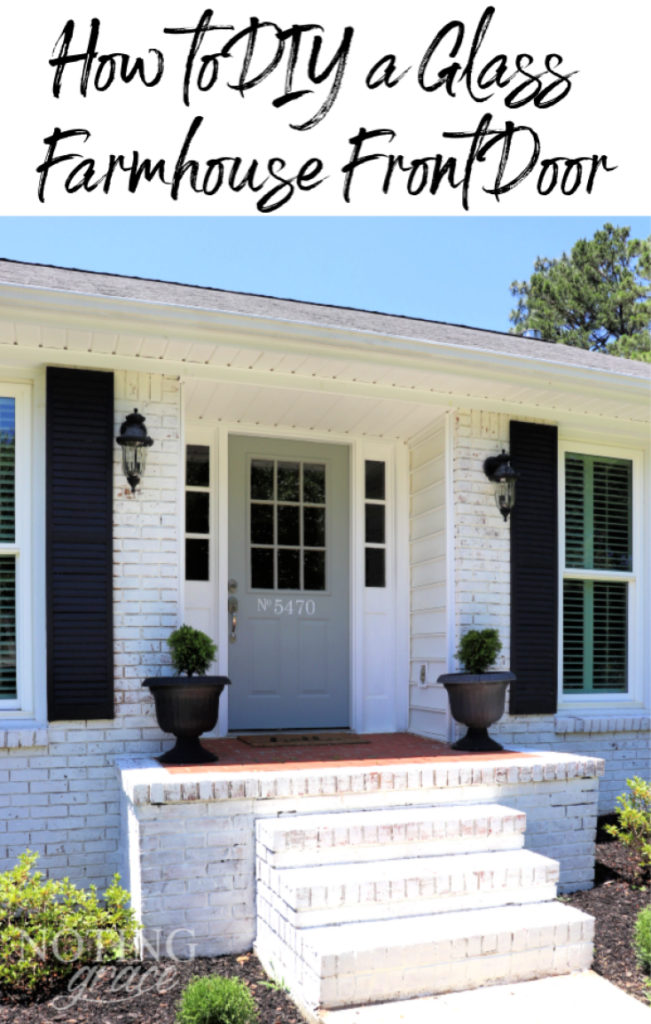
And just look at it now!
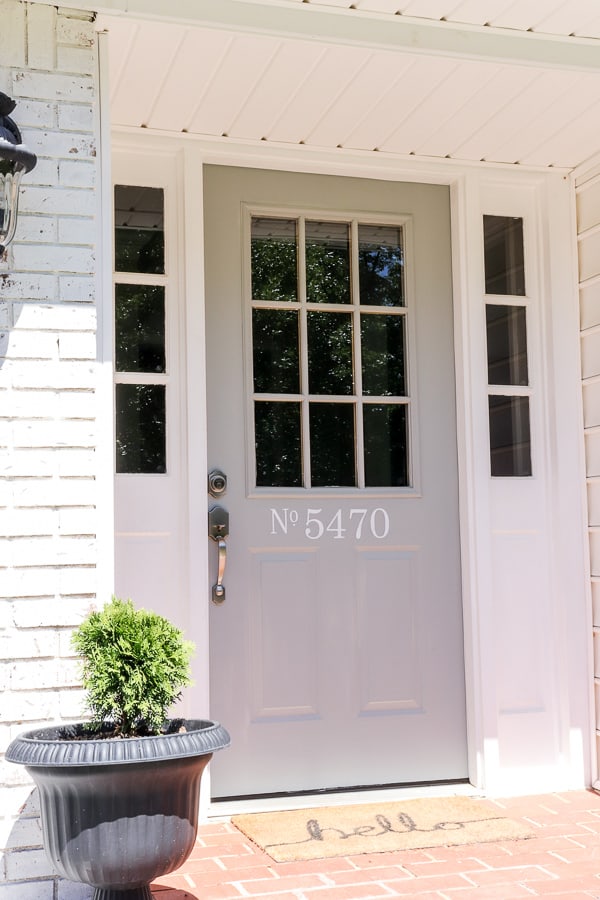

It went from dark and drab to light and bright! All in one afternoon!
Here’s a before and after of our exterior.
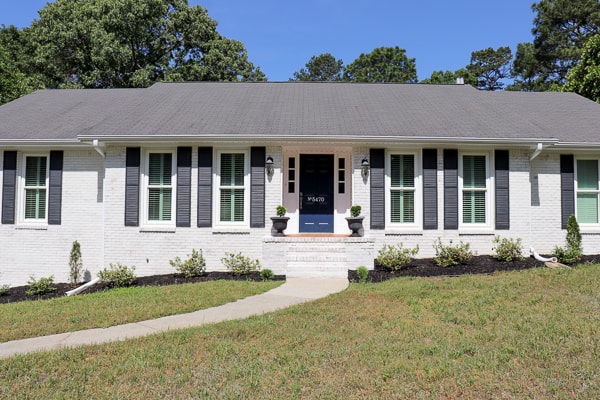
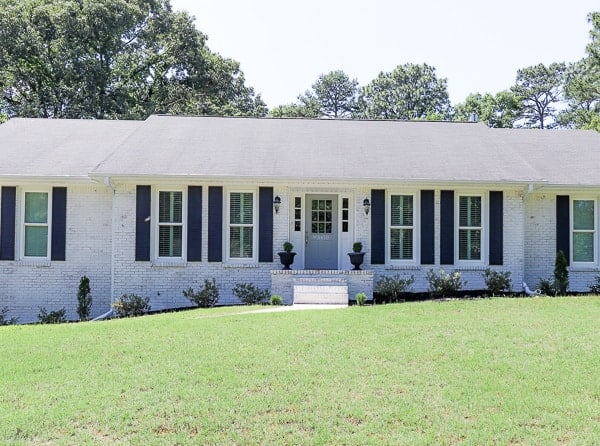
Oh, I love it so much! I think it matches our exterior limewashing we just completed.
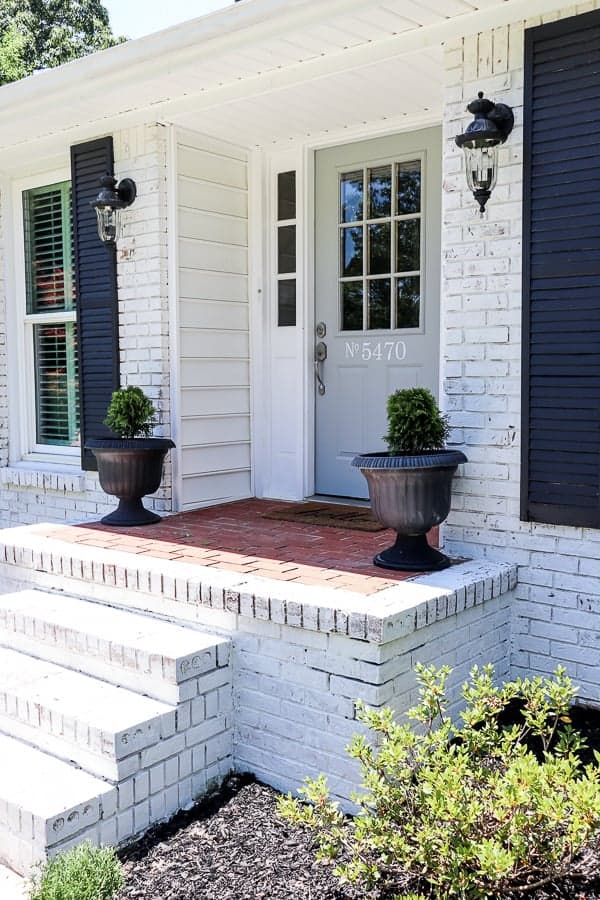
So I hope by showing you how to DIY a glass farmhouse front door you are encouraged to try this yourself!
You can choose an ornate insert, like our last door, or a more economical option like this one!
Both have stunning results!
Pin This for Later!



Thank you Amanda! That means so much!
It lets so much more light in! I love the color you chose too <3 it looks great!
Thank you, thank you, thank you. I have wanted to replace the glass in my front door for years. Now to find someone who will agree to make the change.
Thank you Kelly! It’s such an easy DIY, but with stunning results!
Jen this is such an incredible door makeover! Good work and I love the new paint color too!