Guest Bedroom Reveal for Less than $200
So excited to share this makeover with you all! Here’s how we did this Guest Bedroom Reveal for Less than $200!
It all started with a room swap.
My oldest wanted to move down to the basement – his first step toward leaving the nest. I totally didn’t cry…much.
Which then spawned my youngest to want his room.
That left this room free to create a guest room space!
Here’s how we did it!
Guest Bedroom Reveal
for Less than $200
(Some affiliate links are provided below. Full disclosure here.)
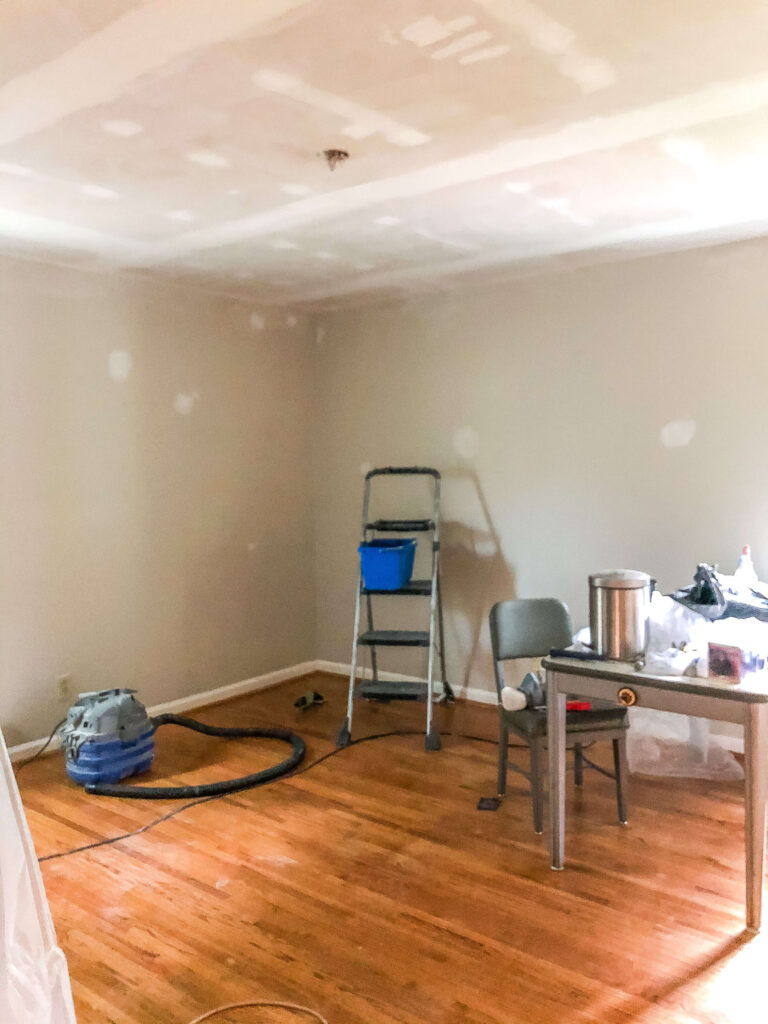
Scraping the Ceilings: FREE
We started by tackling this dreaded task. If you have popcorn ceilings to scrape, then check out this video on how to get it done easily!
Just some elbow grease and left over ceiling paint we had on hand was all that was needed to complete this task.
It took us about 3 days from start to finish.
Painting the Walls: FREE
The wall color is from Romabio Paints Interior/Exterior line in a Matte Finish. It’s the same color I used for my kitchen cabinets and had some on hand that we tested out.
Since I am a Romabio Paints ambassador, I hope to add this color to my collection with them. To read more about their mineral paints, check out this post.
What I love about their paints is that they have no VOCs, are easy to clean and continue to absorb the carbon dioxide in the air. Plus – it has a gorgeous sheen!
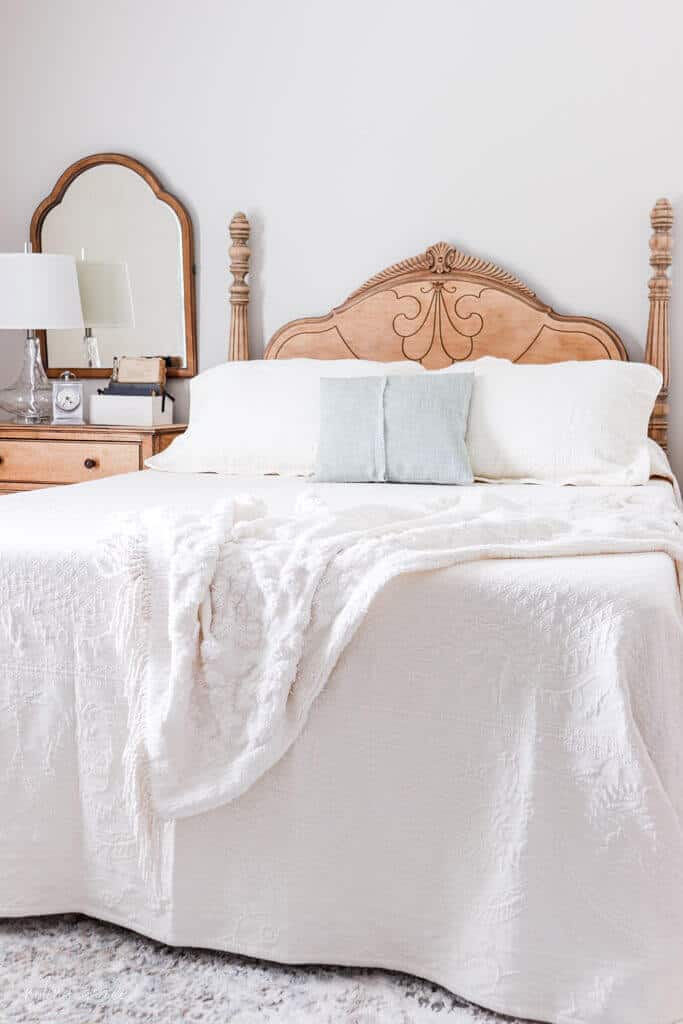
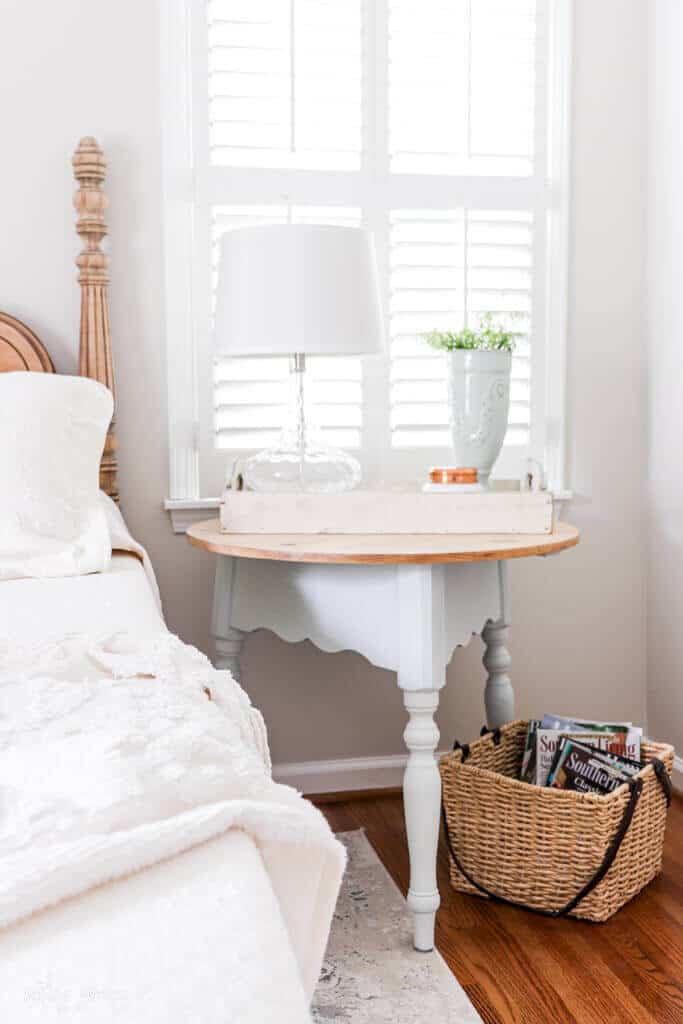
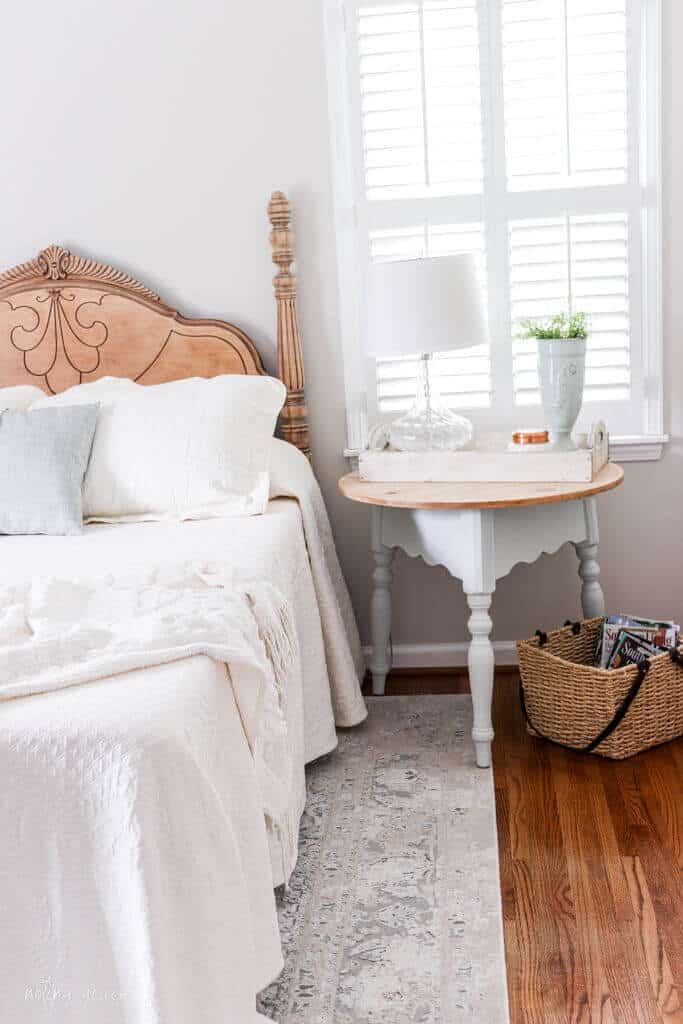
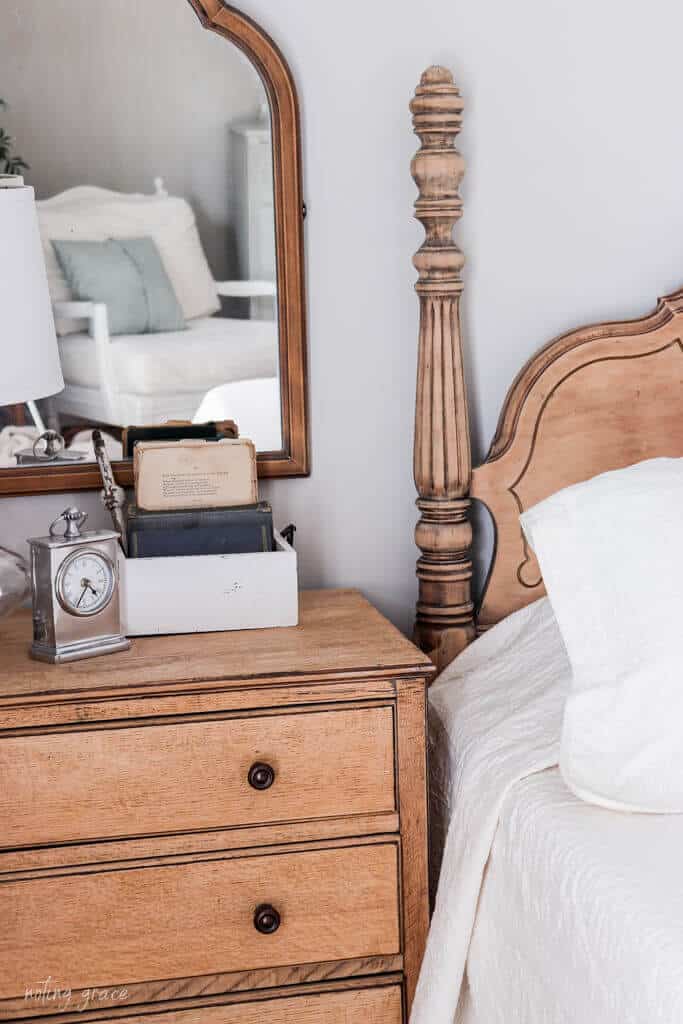
Antique Headboard: $60
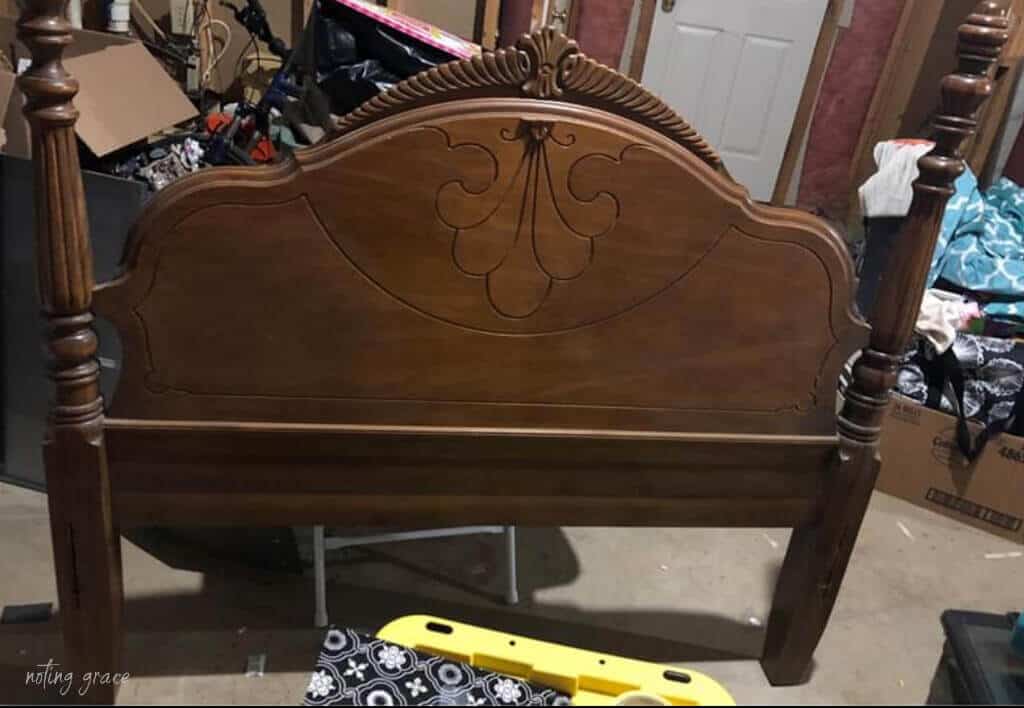
I found this bed on the Facebook marketplace for just $60 and grabbed it right away.
I loved the lines and details of the headboard.
It originally came with a footboard, but I felt it was too heavy for this room, so I didn’t use it and hope to repurpose it some other day!
I didn’t care for the finish – it was an orange-y shellac and not the right feel for this room.
So I sanded it down and love how it looks!
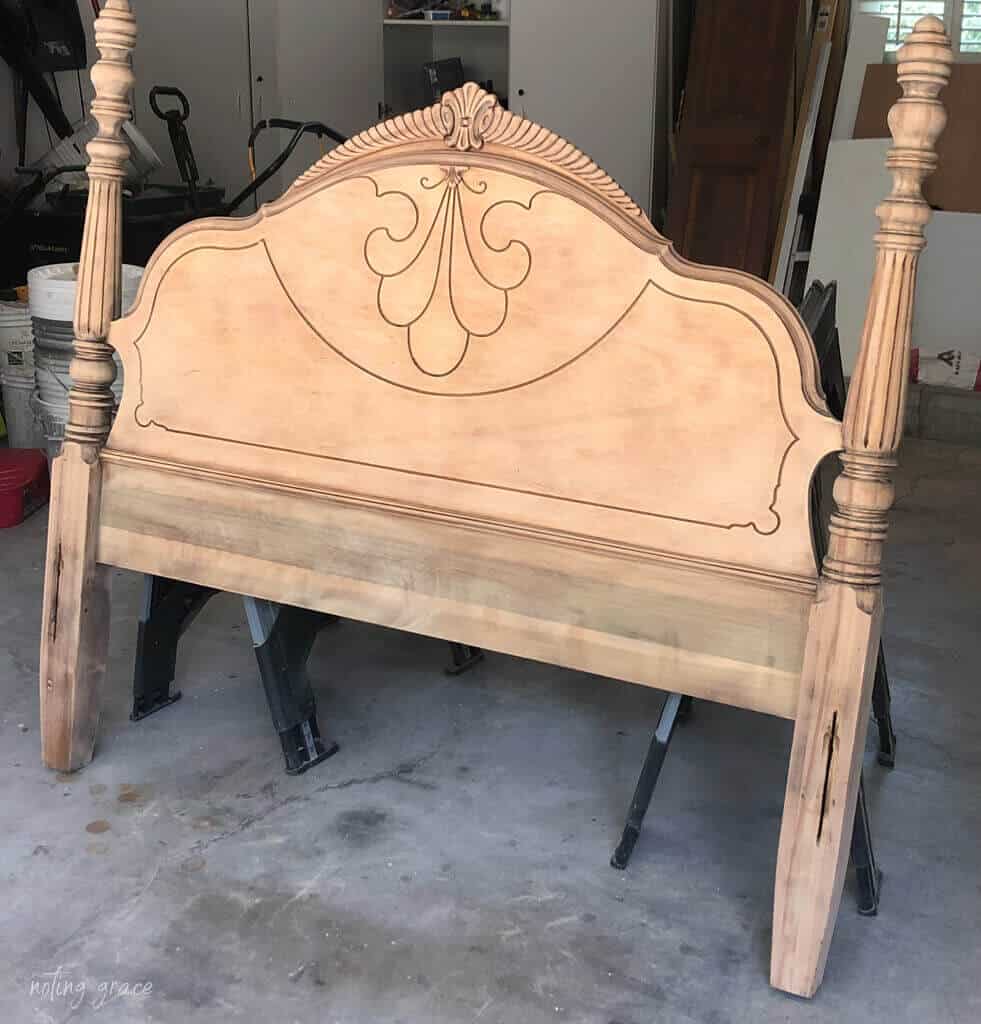
I didn’t add any poly to it or wax.
I just left it raw wood and it’s stunning!

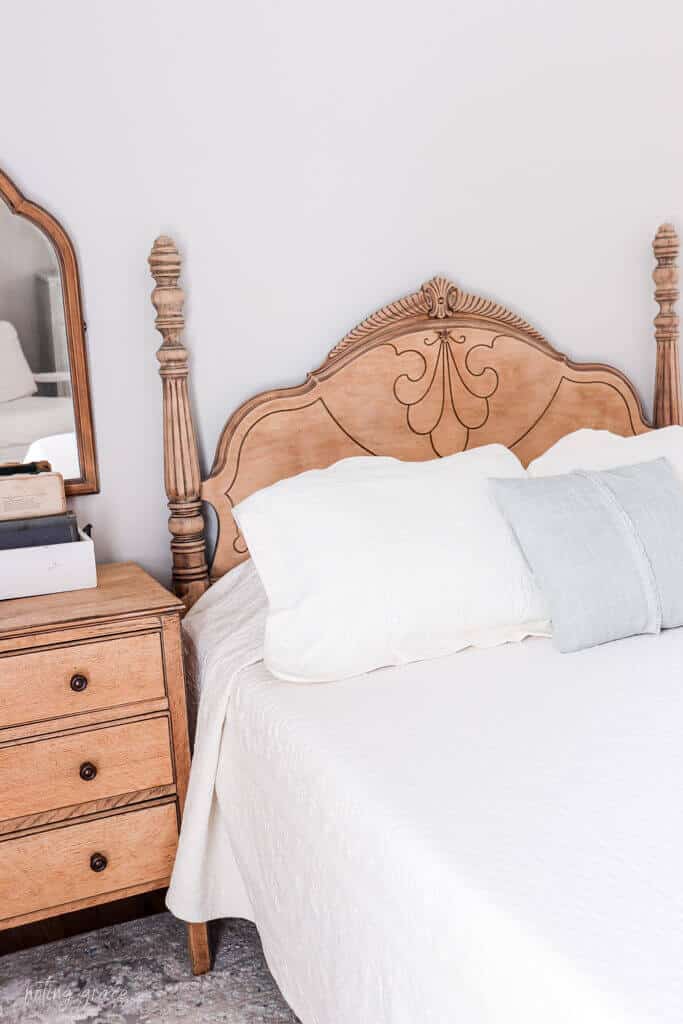
The bed frame was too low, so we added some bun feet to the headboard.
It was an easy trick – old headboards used to have wheels and this one didn’t come with them.
But the holes were still there!
So the holes for those wheels made screwing in the bun feet a cinch!
We used a free standing queen frame and screwed it to the headboard. This is the frame I love and used it on many beds in our home!
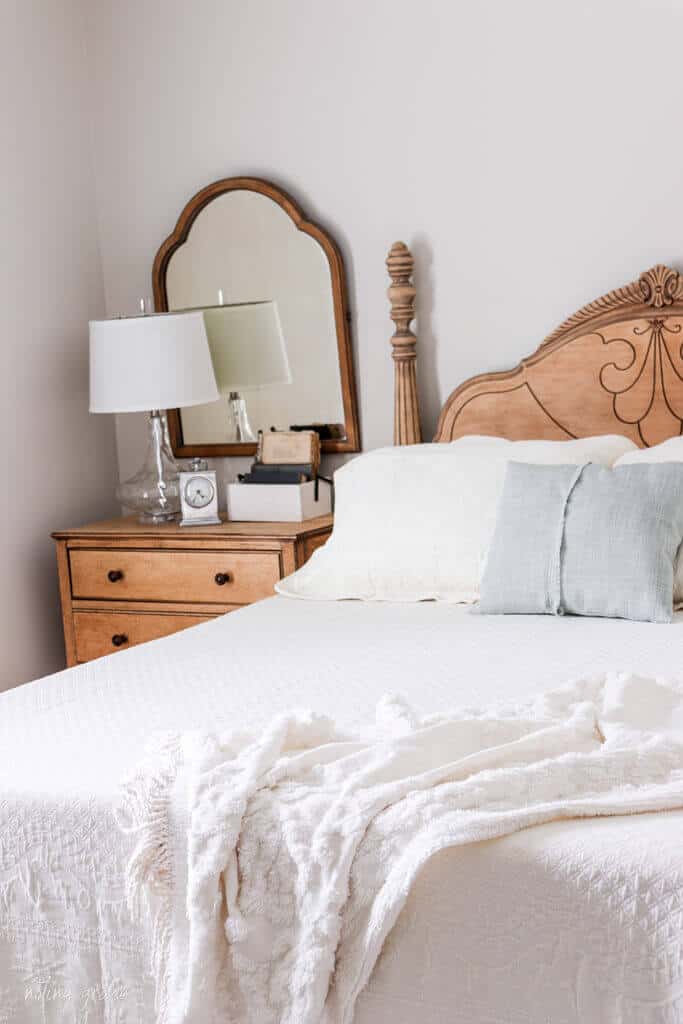
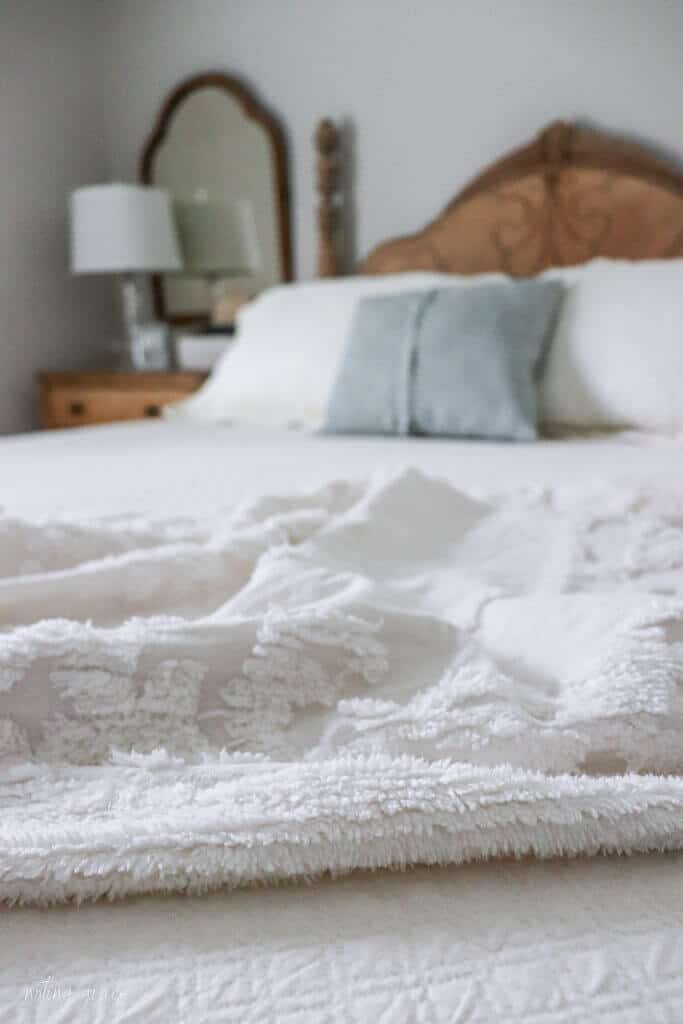
Bedding: Bedspread FREE / Shams $60

My Mom had an extra queen size quilt from the Historic Charleston collection in Ivory.
When I told her I was creating a guest room – mostly for her – she mailed this quilt to me and it was a perfect fit!
The only thing I had to order were the pillow shams to match.
Area Rug: FREE
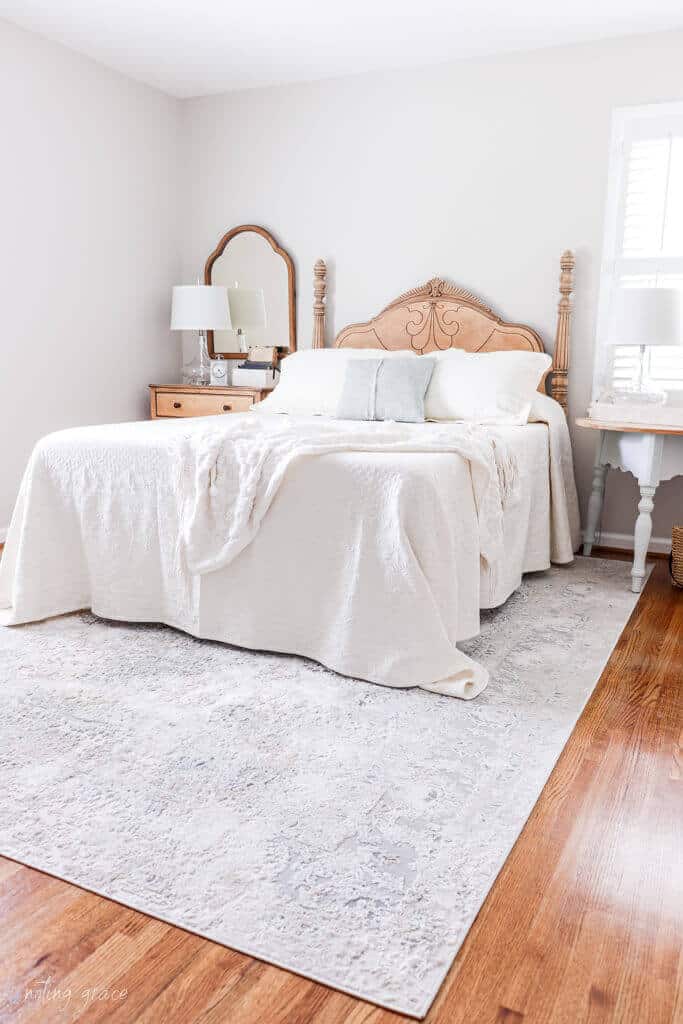
I searched for the perfect area rug for months and kept coming back to the same one.
It was the one I already was using in our Master Bedroom. So we took that rug and used it in this room and it’s perfect!
That did mean we had to purchase a new rug for that room and I will share that with you soon.
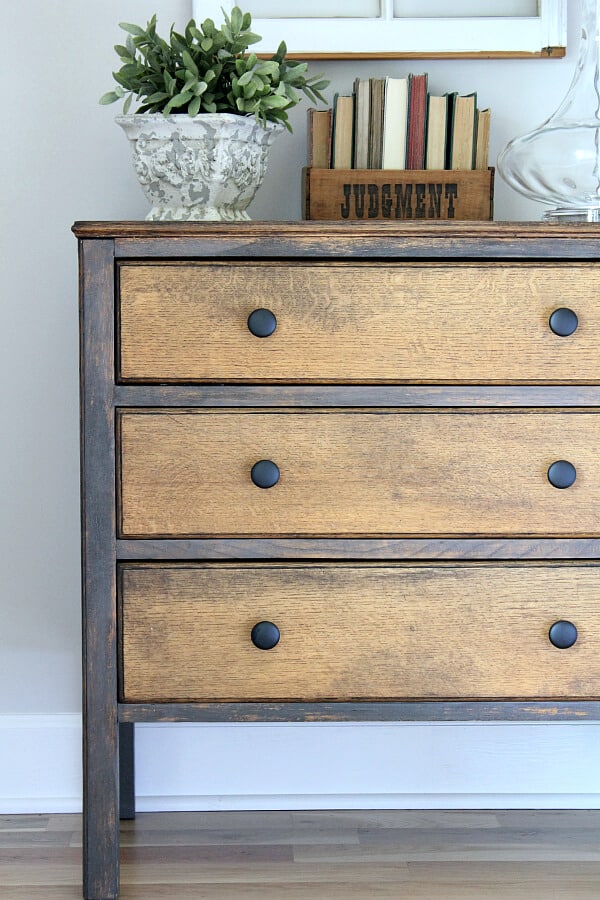
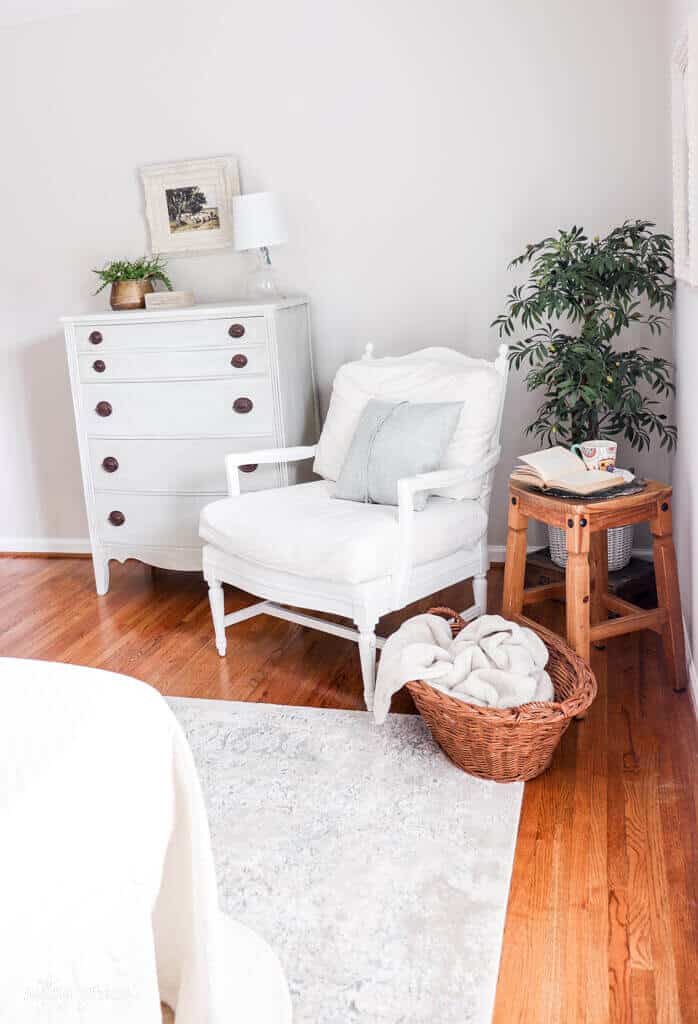
Furniture: FREE

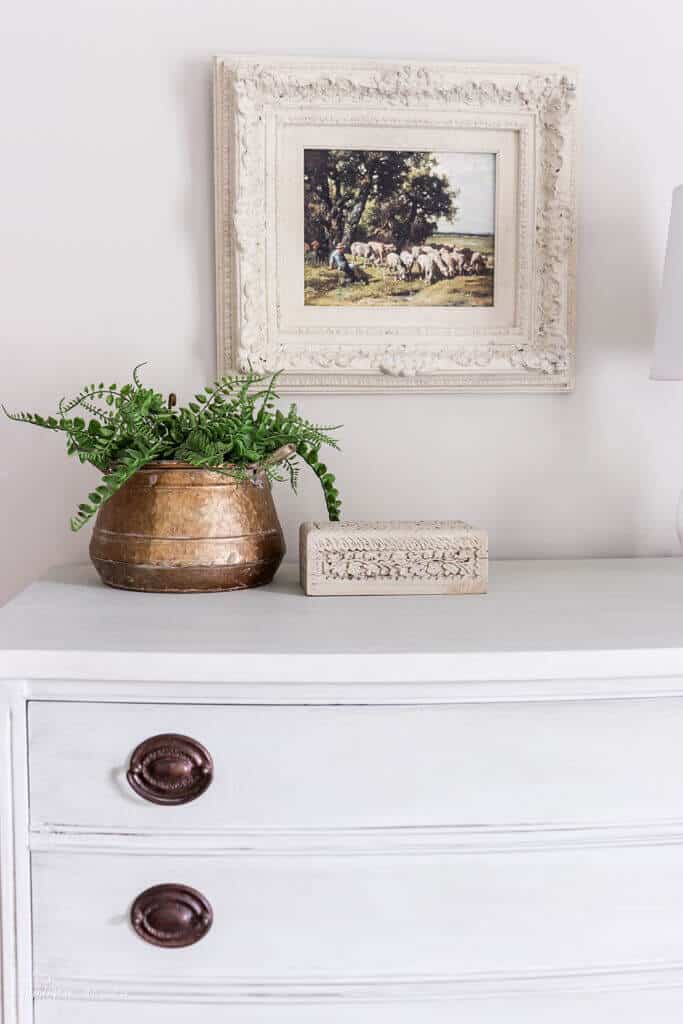
Last week, I shared this dresser makeover using DIY Chalk Paint.
The entire makeover was just $15, but the dresser was a freebie!
The side table you may recognize from our bedroom in our Almost Farmhouse.
We used it for a side table in that room.
I took it out and sanded it down to it’s natural wood and love how it matched the headboard perfectly!
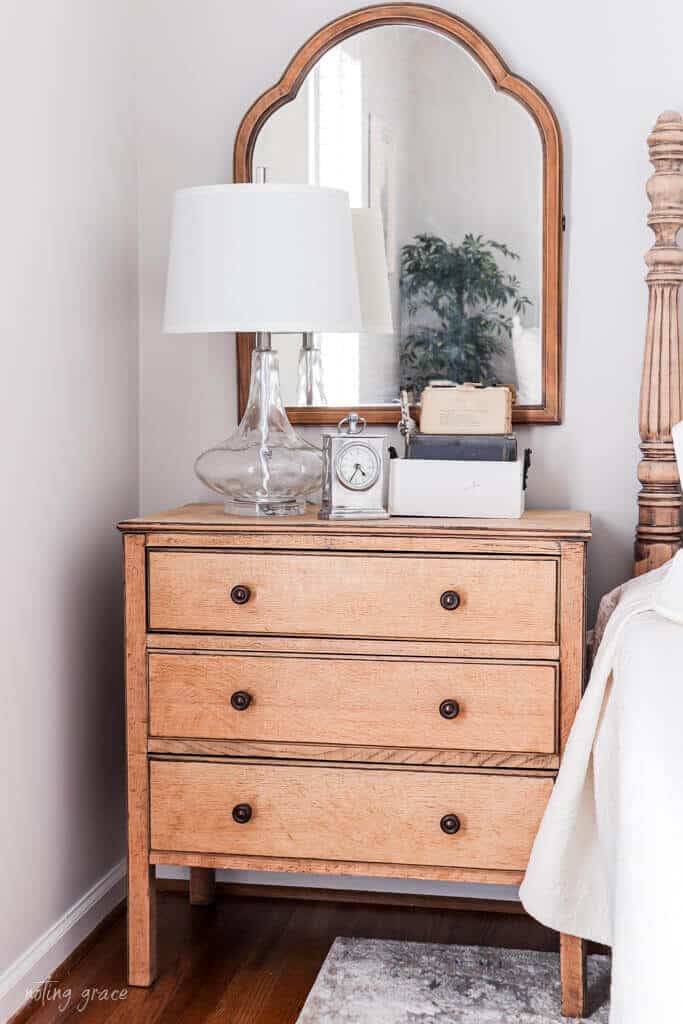

I paired it with a mirror I found last year while junkin’.
The other side table got a fresh paint job and was being stored in our basement.
The chair in the room used to sit in our sunroom, but had since been moved to our basement.
It was a perfect piece to create a cozy reading corner complete with a blanket and side table.
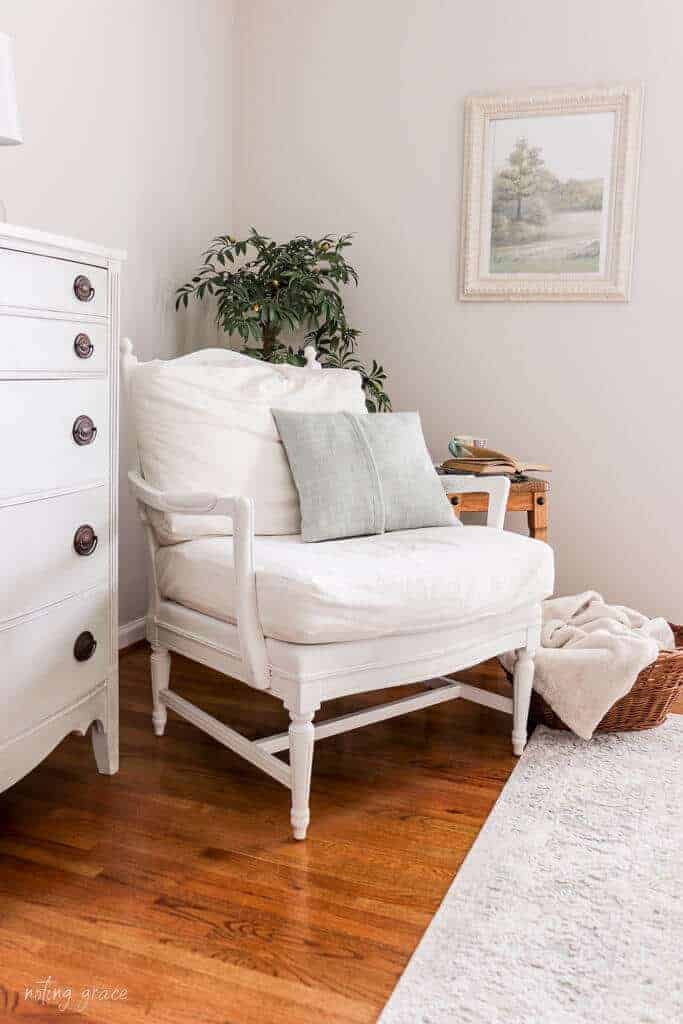
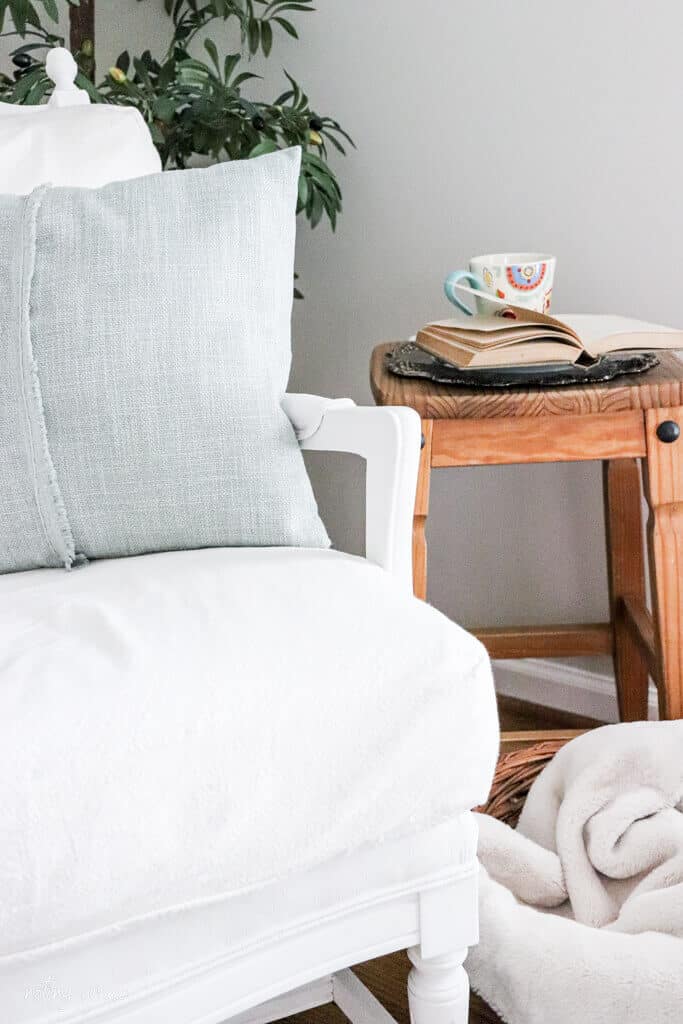
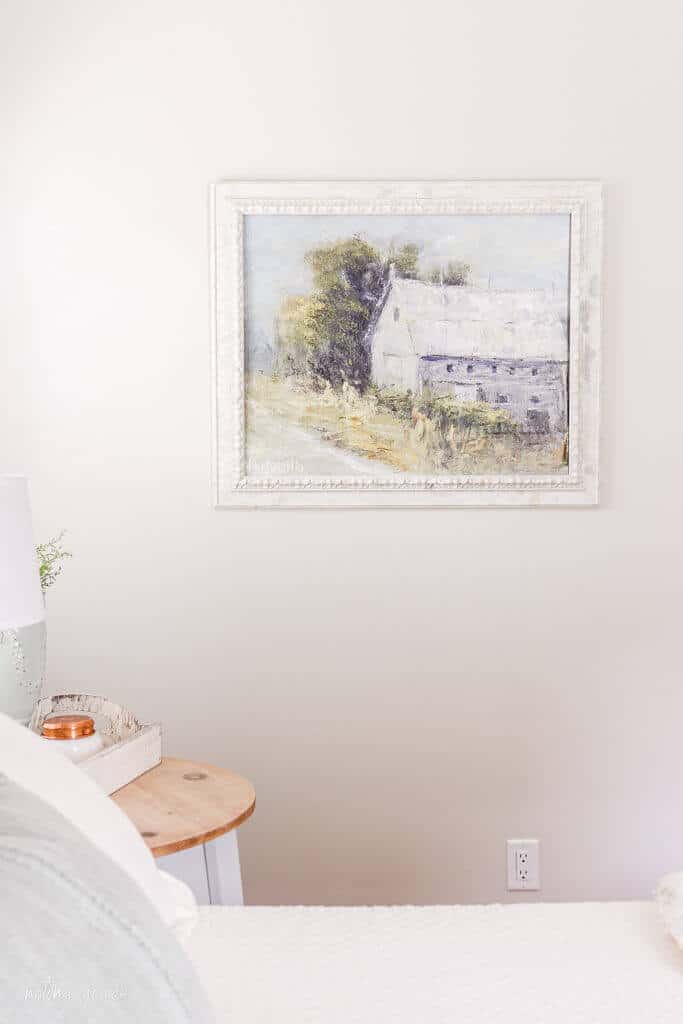
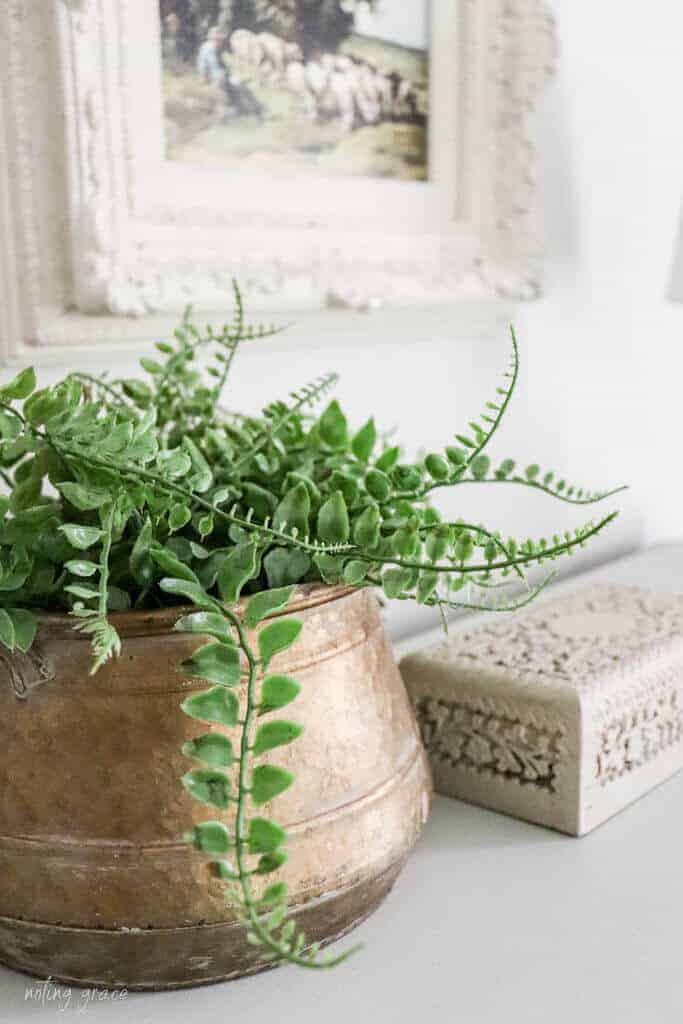
Decor Purchases: $60
Fabric for the throw pillows and some artwork finished out the room.
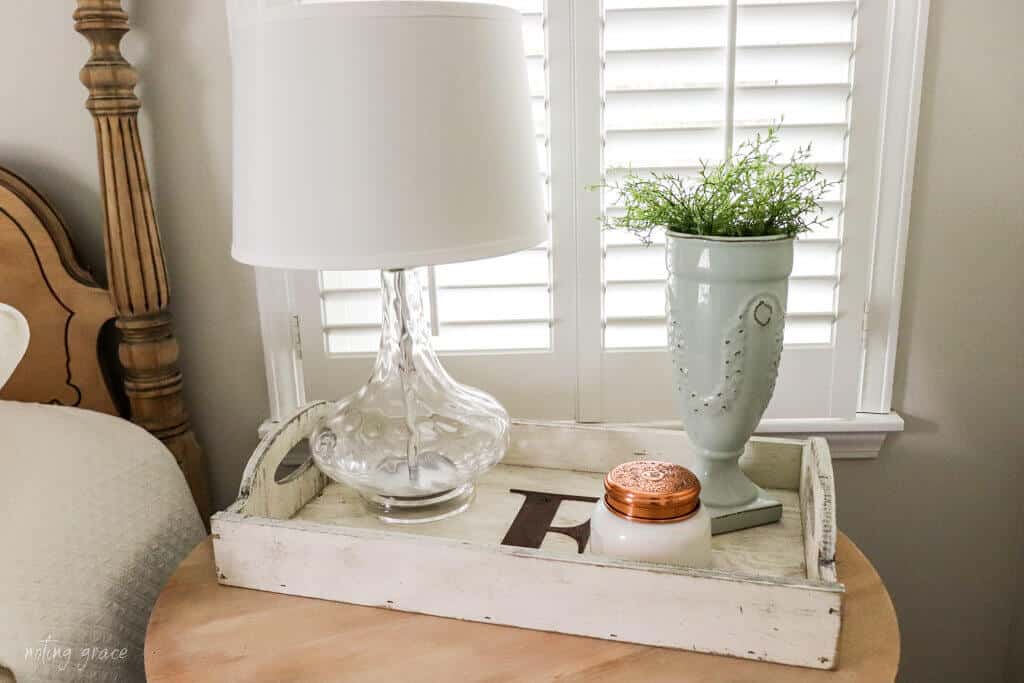
All decor was collected from my home and placed in this room.
I wanted to create a cozy but simple space for company when they visit.
We updated the ceiling fan using peel and stick wallpaper in a wood tone.


All in all, a super simple and affordable way to create a space for loved ones.
I wanted a space for my mom to come and feel at home.
And hopefully stay for months at a time!
What do you think? Is it comfy and cozy?
Pin This for Later!

Thanks so much Dori! Have fun with your sander – it’s my new BFF!
Thank you so much Kristin! It’s fun to see my boys grow and submit their own designs for their rooms, but I do miss those days when they were little!
Thanks so much Dana – glad this inspired you!
Thanks Kim – we sure have a lot of popcorn to scrape in this 80s house!