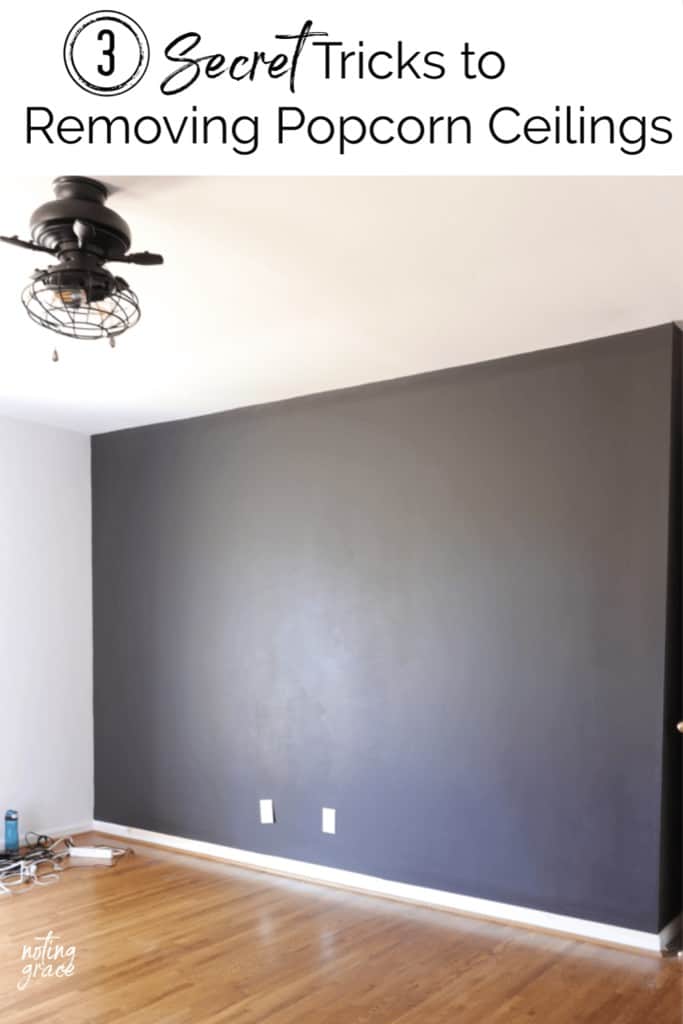
DIY Popcorn Ceiling Removal Without the Mess
Have you moved into a fixer like us and are haunted by your ugly popcorn ceilings every night when you stare at them from your bed? Here are 3 secret tricks to removing popcorn ceilings in one day and end up with a gorgeous, smooth ceiling.
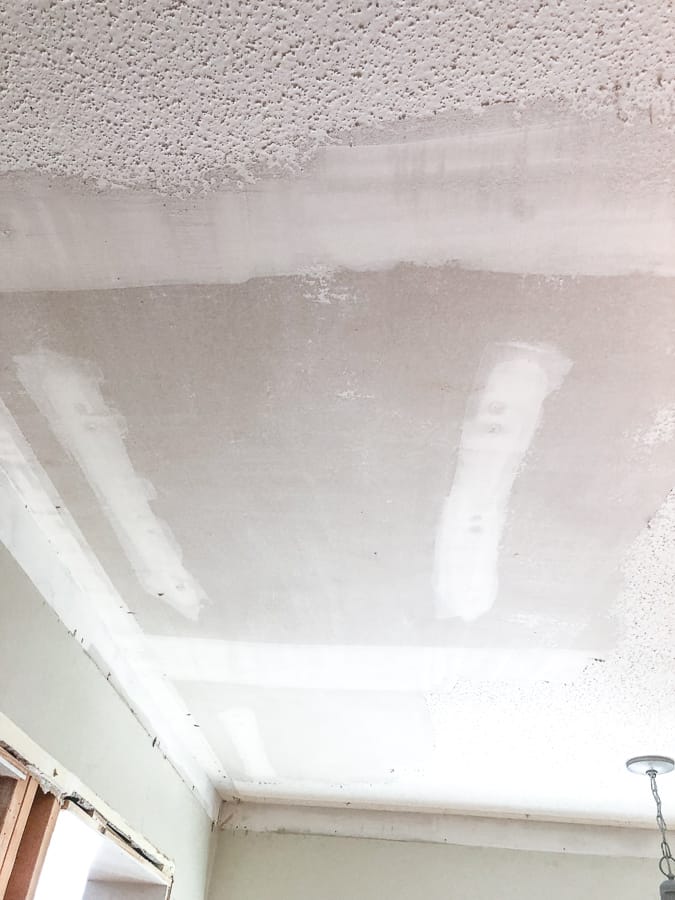
In our early 1980s fixer upper – every single ceiling has the dated popcorn texture.
Not only is it an eyesore, but to me – it makes the room feel smaller and dingier.
But one thing you need to know about me is that I HATE dealing with ceilings. I hate fixing them, updating them, painting them – all the above and more!
So I needed to come up with a way to fix the ceilings that would be quick, easy, and virtually mess free.
Here’s our 3 Secret tricks!
3 Secret Tricks to Removing
Popcorn Ceilings in One Day
(Some affiliate links are provided below. Full disclosure here.)
Tools Needed:
Goggles
Dust Mask
Step Ladder
Shop Vac equipped with new vacuum bag and attachment hose
Heavy Duty Painter’s Tape
DryWall Spackle or Putty Knife
Spray Water Bottle or Garden Sprayer
Drop Cloths or plastic sheeting for covering for floors
DryWall Repair Joint Compound
Large Sponge
Bucket
Ceiling Paint
Thick-Nap Roller Covers
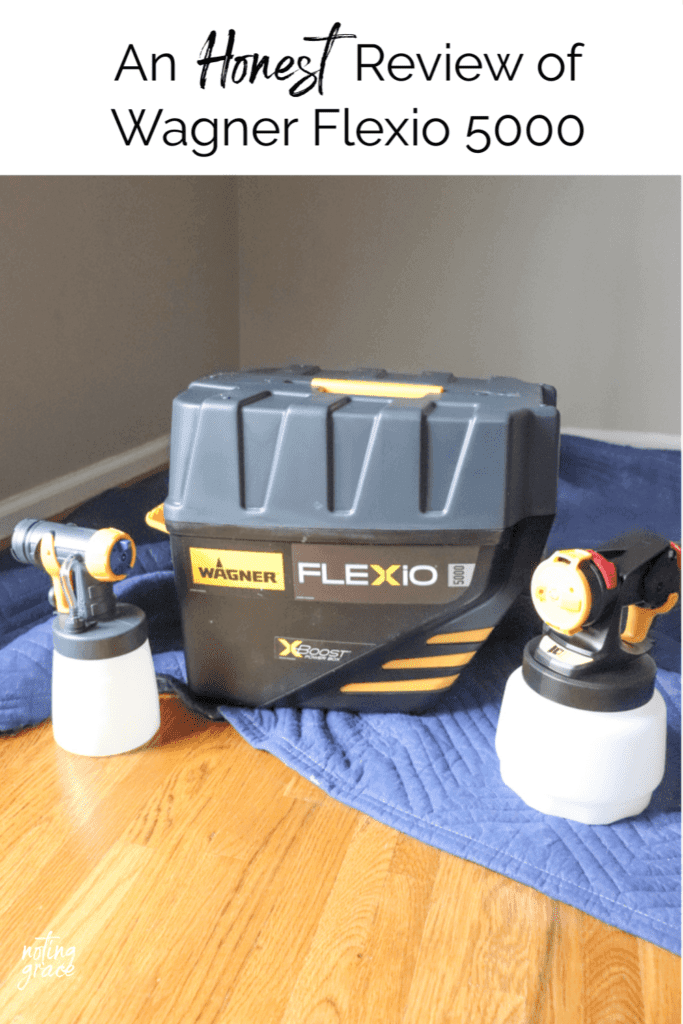
Optional – paint sprayer – we love the FLEXIO 5000 Paint Sprayer
Safety First!
If you have an older home that was built prior to the 80s, you run the risk of dealing with asbestos or lead paint.
Before you begin tackling this project, it’s important to remember that some popcorn ceilings may contain asbestos fibers. The risk of scraping the textured ceiling with asbestos present could possibly lead to lung cancer or lung disease.
The good news is that you can prevent it! Get yourself an asbestos testing kit – some run less than $10 at home improvement stores.
It’s well worth the peace of mind knowing you aren’t stirring up anything dangerous for you or your family.
We got a test kit and thankfully were asbestos free.
Also, make sure to wear goggles and a breathing mask. Since you are working on your ceiling, gravity is inevitable. You will have some popcorn fall and possibly drop on you.
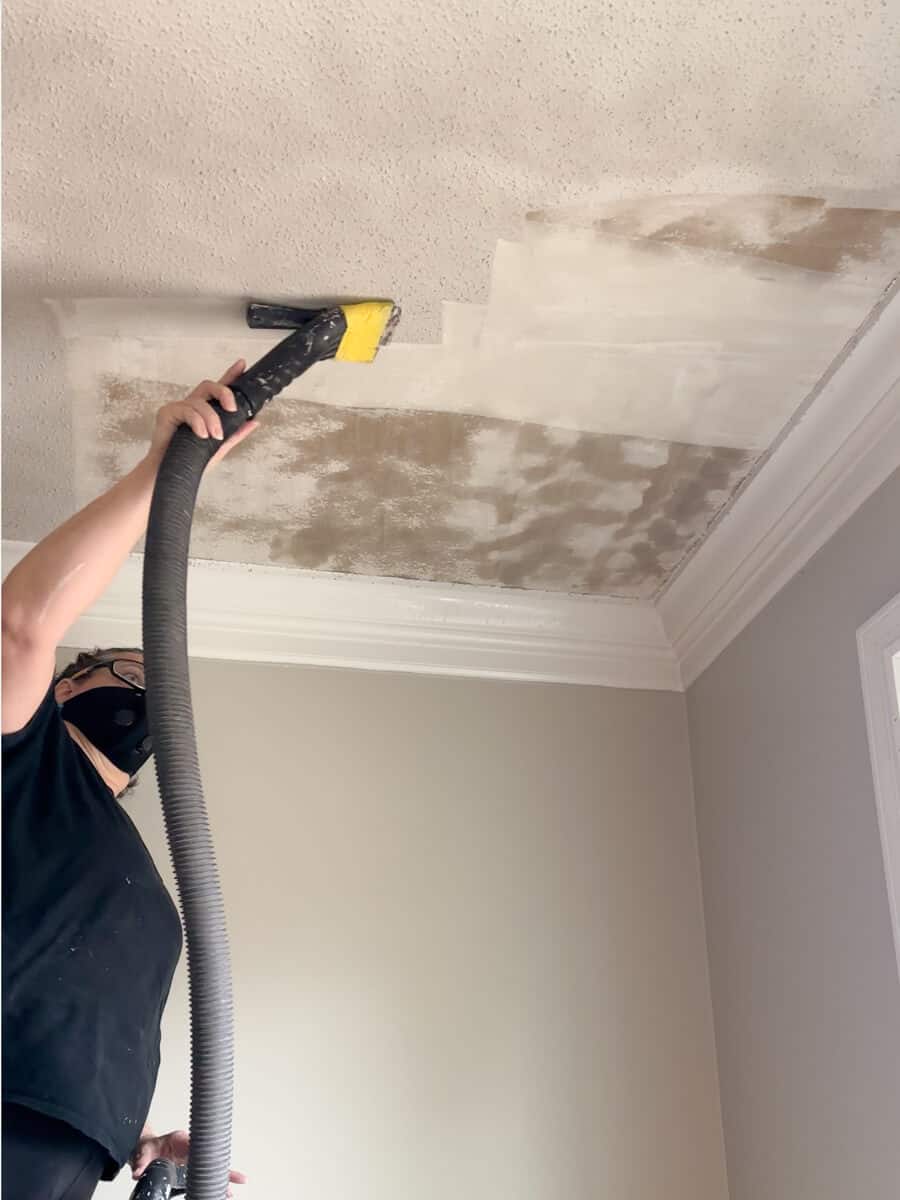
Our DIY Tool Hack Secret to Mess Free Removal
The first secret trick to removing popcorn ceilings is having the right tool for the job. Meet my modified shop vac scraper.
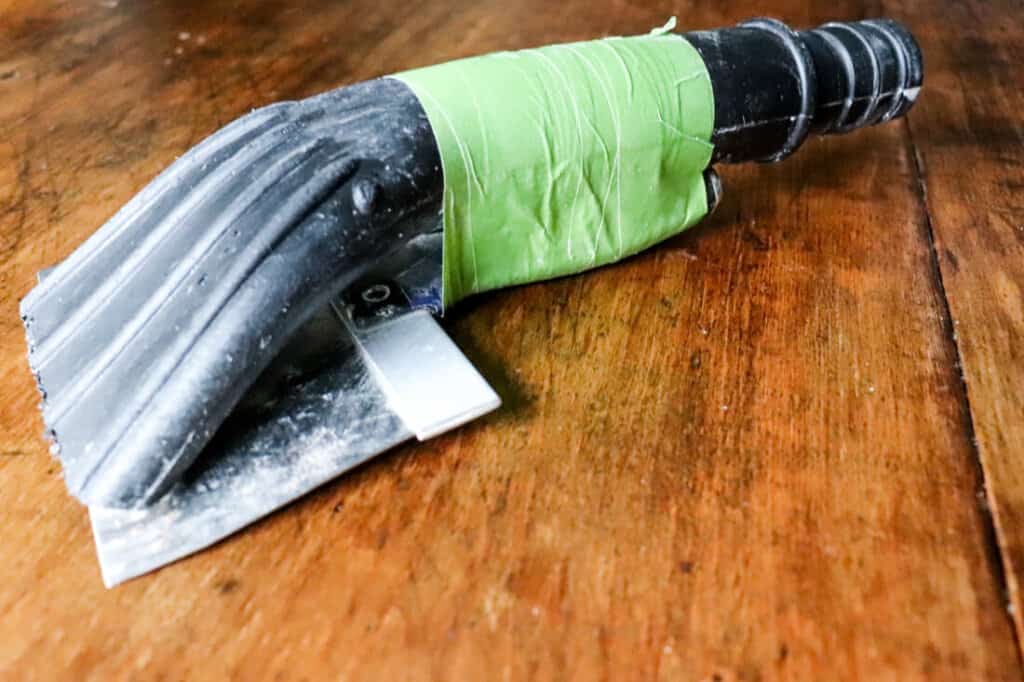
I took this simple drywall knife and taped it to my shop vac attachment.
When you go to scrape your ceiling, all the popcorn is sucked away into the shop vac, leaving you with hardly any mess!
*TIP: Make sure your spackle knife isn’t larger than your vac attachment. You may end up scraping off more than your vacuum can catch.

Once you have your room prepped and your tools ready – you can get started!
The second secret trick to removing popcorn ceilings is my 3 step process we used to keep the momentum going and make this a fast DIY.
Here is our 3 step process that we did on repeat until the popcorn was gone!
Step One: Spray and Sit
Once you have your tool ready, the first step to get rid of the dreaded popcorn ceiling texture is make sure you have a wet texture, but not drenched.
Remember that the drywall has a paper backing. If it gets too wet, you may end up with stains or peeling paper.
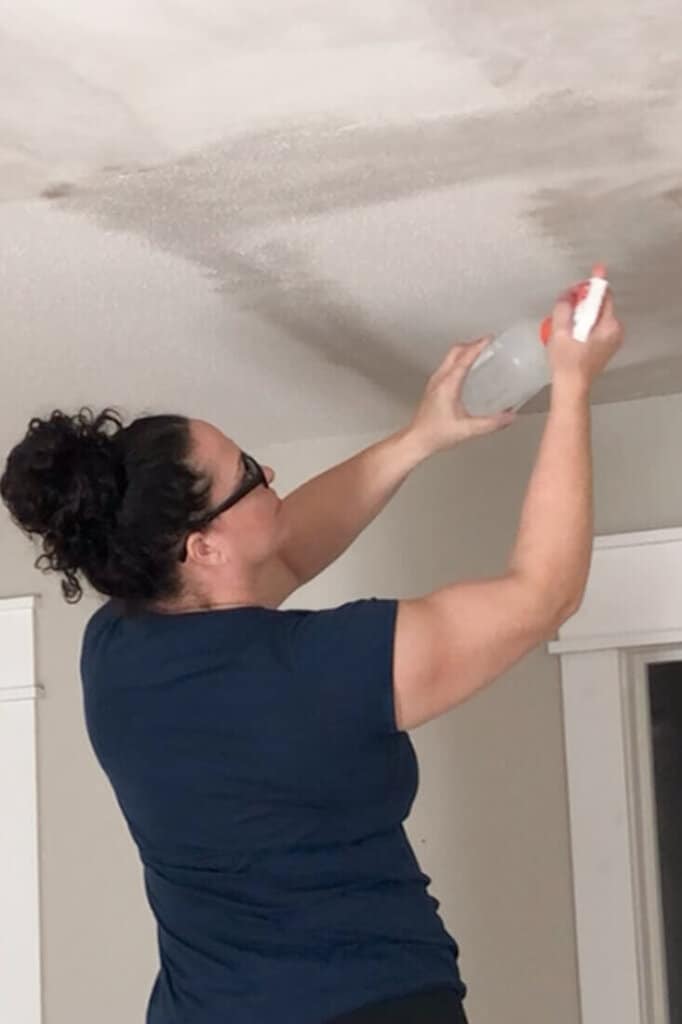
Using your spray bottle or garden sprayer filled with warm water, lightly spray an area and let the water soak the popcorn for a moment.
By wetting the popcorn, it reduces the powdery mess and also makes the scraping process easier.

We used a spray bottle. But you can use a pump type sprayer if you have one, or a spray bottle like I used. Make sure your spray bottle still works if tilted on its side.
One tip from this article recommends adding a little bit of fabric softener to the warm water. We’ve not tried it, but they say it makes the removal easier.
If this is your first section to scrape – *Skip STEP TWO and move straight to STEP THREE. You won’t have anything to sponge sand just yet. 😉
Step Two: Scrape and Suck
By using the shop vac to catch most of the popcorn, it makes this process virtually mess free.

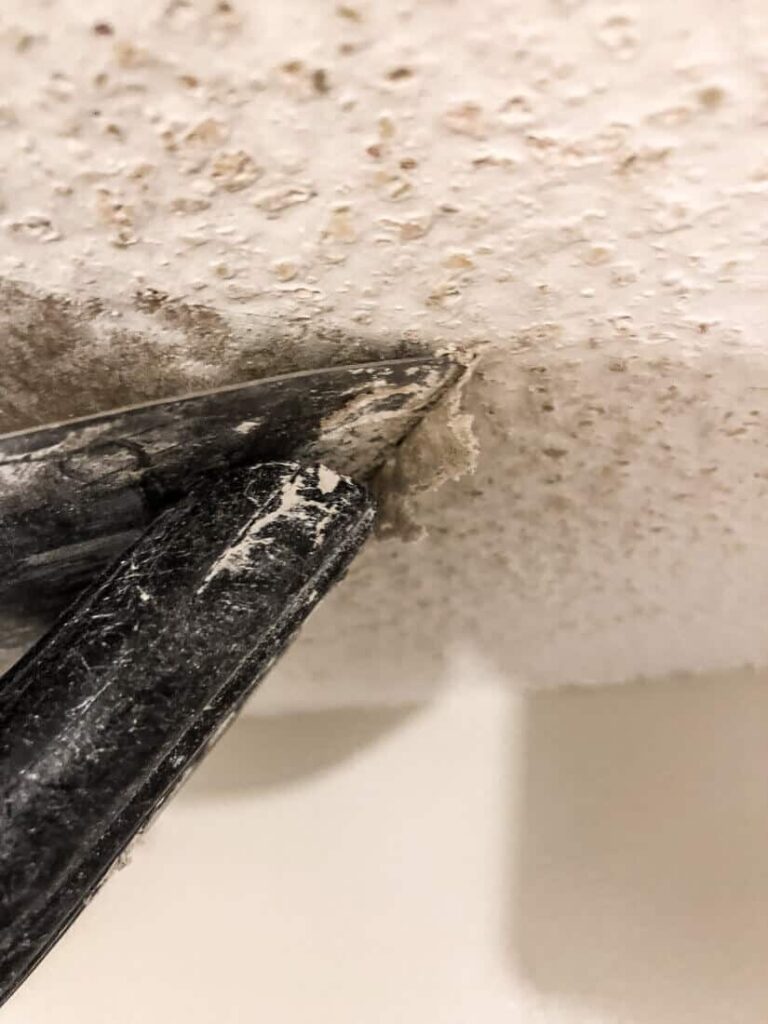
Turn on your shop vac and lightly scrape the ceiling removing the popcorn using your modified vacuum attachment.
TIP: Use a soft touch. Scraping too hard could result in gouges in your ceiling which you will have to repair.
Remember that the ceiling has that paper layer that can easily tear. Take your time and go slow. You don’t want to double your work with repairs.
Some popcorn will fall, but the small amount should be caught on plastic drop cloths.
After scraping the ceiling, I usually vacuum up any popcorn that may have dropped in the process.
Step Three: Sponge Sand
While the popcorn is softening with the warm water, this is a great time to take a large sponge, lightly dampened, and sponge sand, wiping over the areas you just scraped.
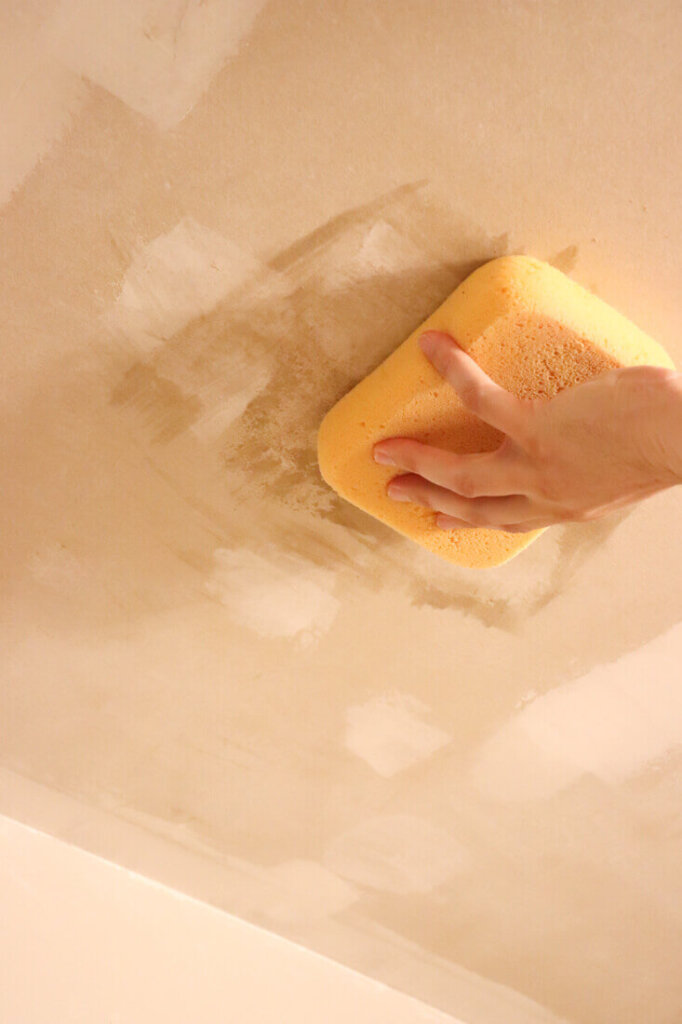
Damp sponge sanding helps smooth the ceiling and give you a visual of what areas you may need to scrape again, or need to repair.
It’s an easy way to see if there is any texture material left behind that may need to be scraped again.
Simply repeat this Spray, Sponge, Scrape routine until your entire ceiling is popcorn free.

Now you are ready to move on to fixing any nicks and mars in your ceiling to create that smooth finish.
Ceiling Repair
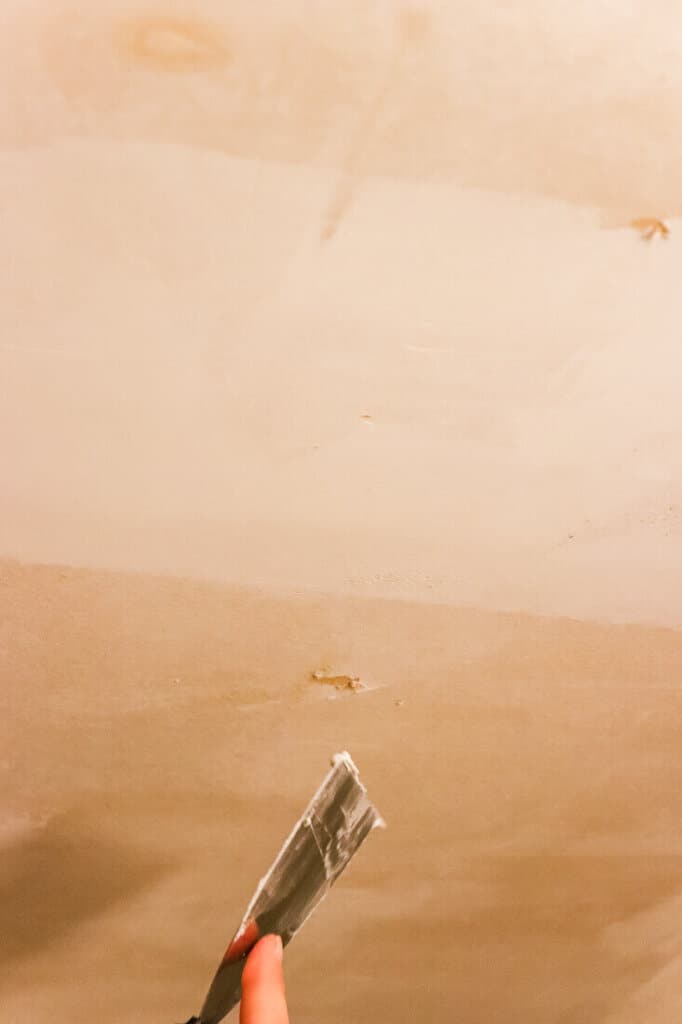
Not every ceiling is perfect and after any removal of popcorn ceiling, you may uncover some fixes that need to be addressed.
Using a dry wall spackling knife, wipe compound over any blemishes you see after you remove the popcorn.
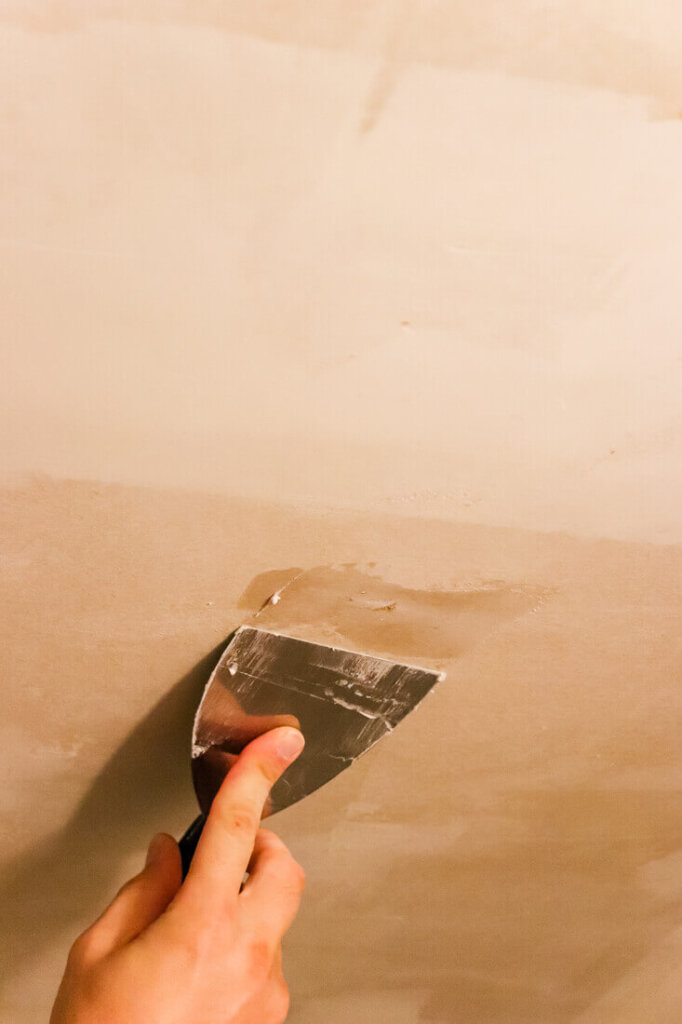
By just adding a tiny splash of water to the premixed compound and mixing thoroughly, it helps make the application easier.
You may need to repair the joint tape where the wall and ceiling meet. In our home, those were not made perfect and hidden with popcorn material.
Have a 2 person crew, which is the best way to save time.
While one is scraping the popcorn, the other can come behind repairing any blemishes.
Once the compound is fully dry, now you are ready to paint.
Which brings me to my third secret trick to removing popcorn ceilings!
Painting the Ceiling
Did I mention that I hate painting ceilings?
With this whole popcorn removal process this is a task I dread the most.
Until Now!
This is the third secret trick to removing popcorn ceilings.
Meet my new best friend.
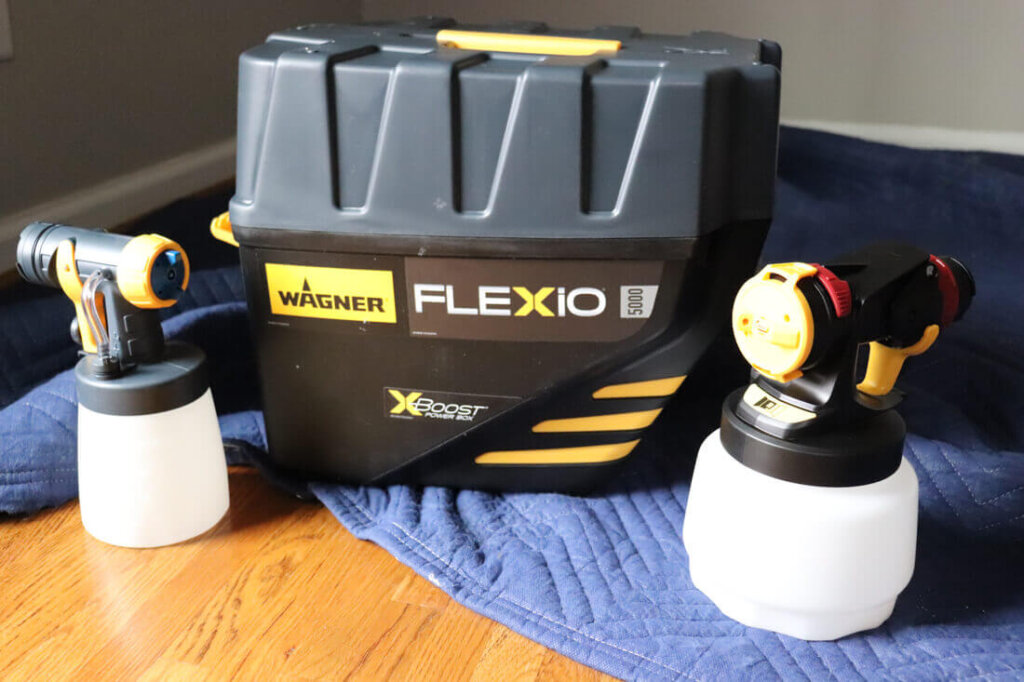
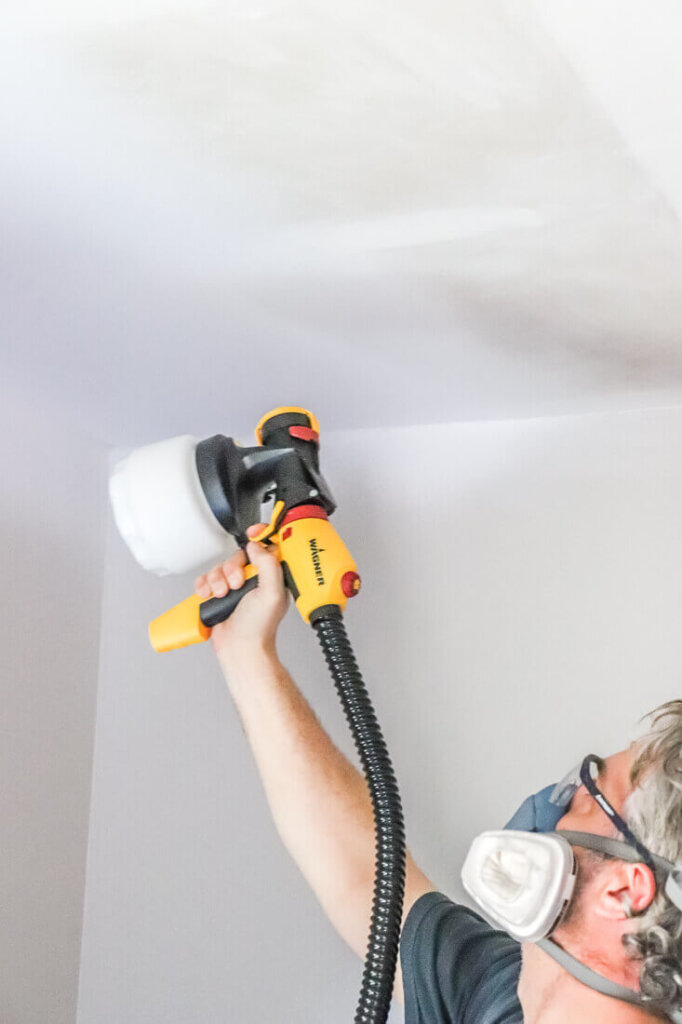
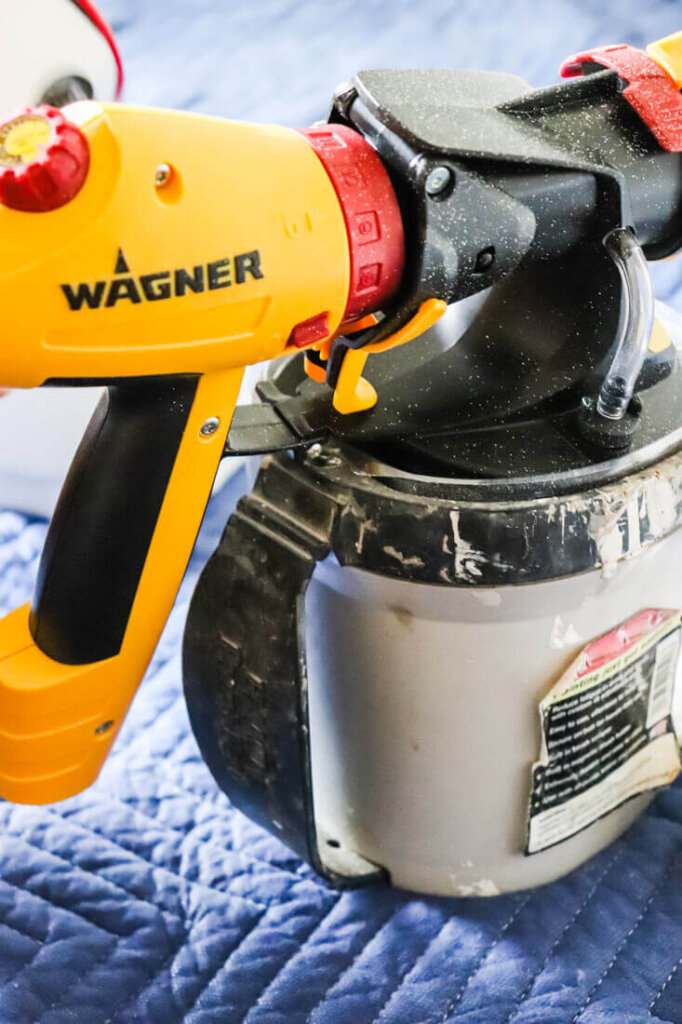
This is the Flexio 5000 Sprayer made by Wagner Spraytech.
I lovingly refer to him as Flex. And if I could buy Flex a cup of coffee and chat about how much he’s changed my life, I would!
Having this tool as a secret weapon became a game changer for me.
The sprayer comes with 2 different nozzles. The larger, iSpray nozzle is ideal for broad surfaces like walls and ceilings and the Detail Finish nozzle is ideal for fine finishing on cabinets and furniture.
You can even use stains in the smaller Detail Finish nozzle!
Because the Flexio 5000 houses the motor in a case that sits on the floor, it works perfectly for longer spraying projects, like our ceiling.
Since this is the 6th ceiling I have scraped in our fixer, having a sprayer made the entire process quick and easy.
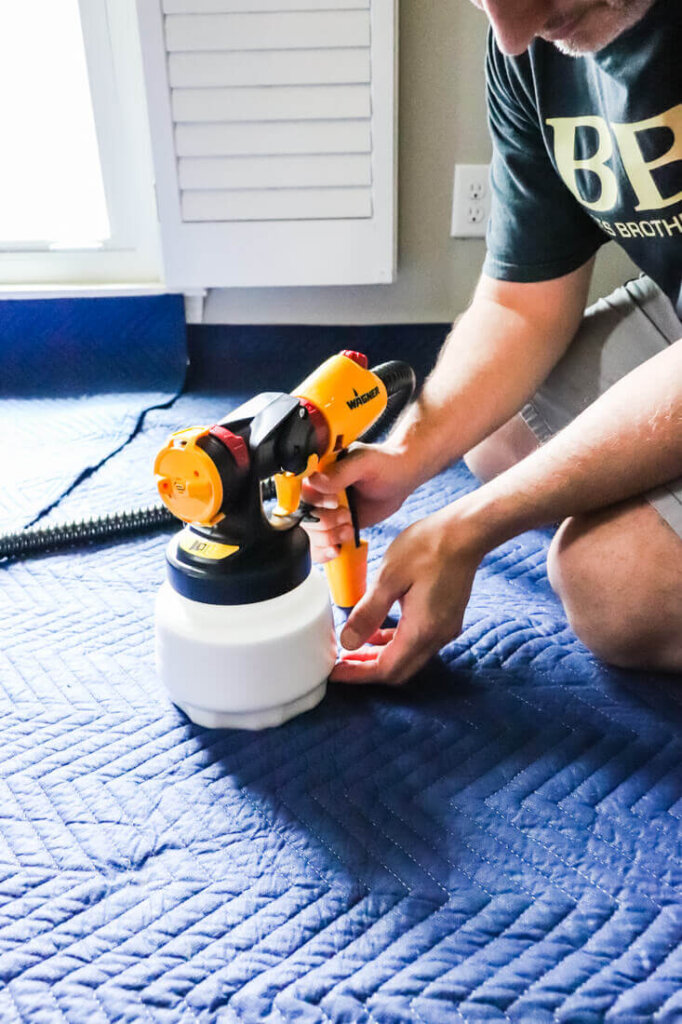
For first timers we took a moment learning the tool, which was only about 10 minutes of careful instruction reading, set up and testing.
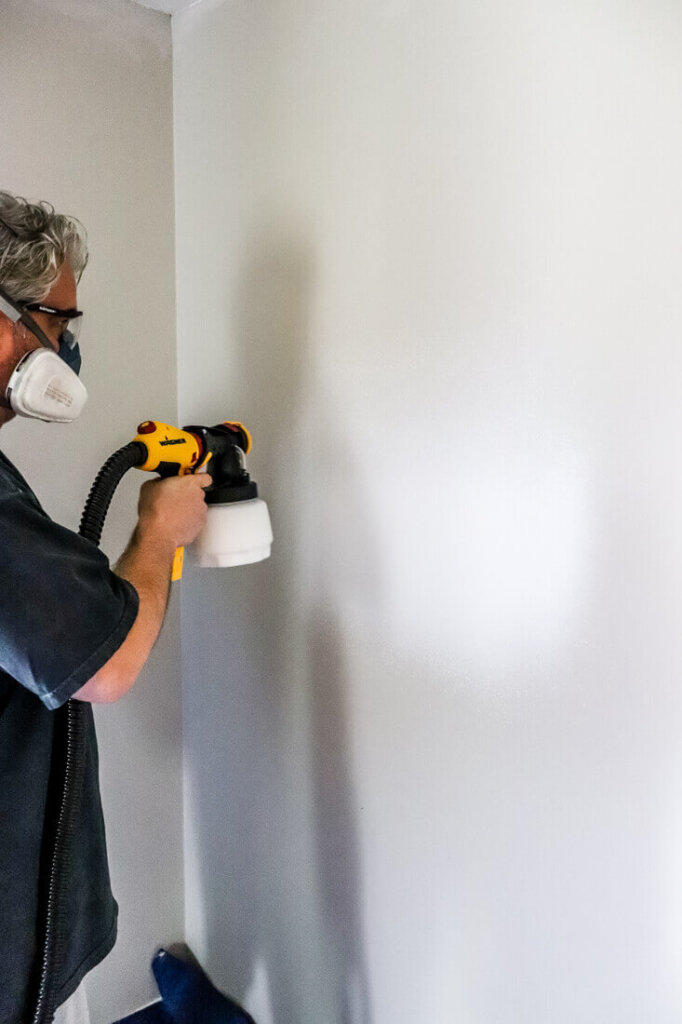
We tested the sprayer in a small area on the wall first to make sure we had the controls set to our liking.
Aside from that prep, we had the entire ceiling sprayed in about 10 minutes!
No joke!
It’s amazing to me that this makes the room look taller without those cottage cheese ceilings.
If you don’t have a sprayer, you can paint it the old fashioned way.
TIP: To get the best looking smooth surface, load a thick-nap roller with a lot of paint and apply using long strokes.
What we learned from the spraying process
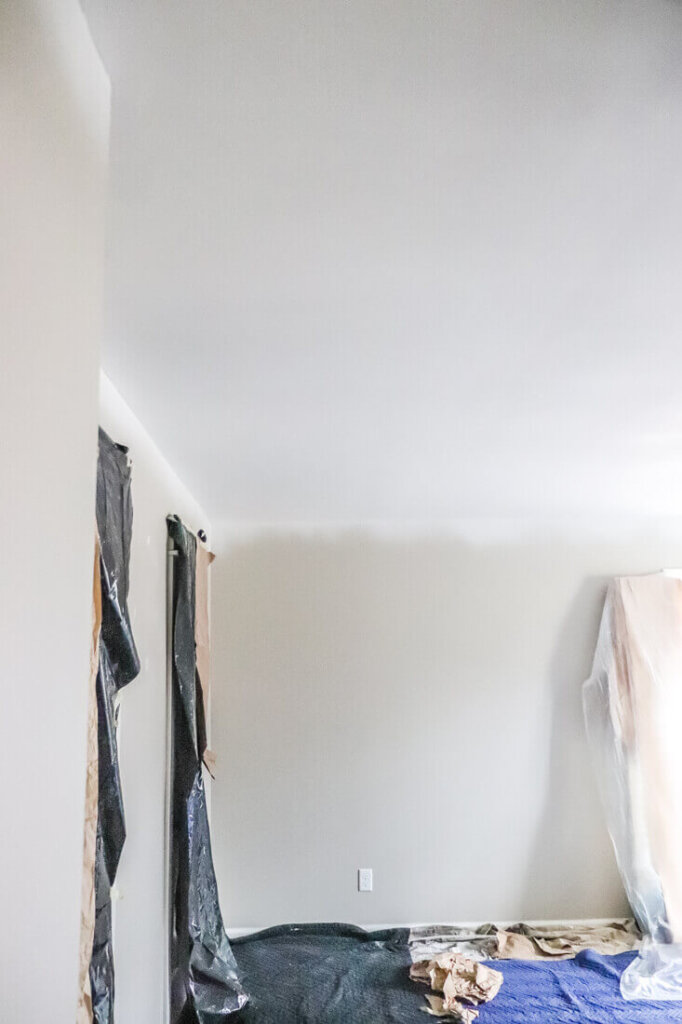
Fully cover your floors and any furniture in your room.
Especially if you decide to spray. Overspray will happen since you are painting a ceiling.
We were expecting a lot more! But we taped off the doors and windows just in case!
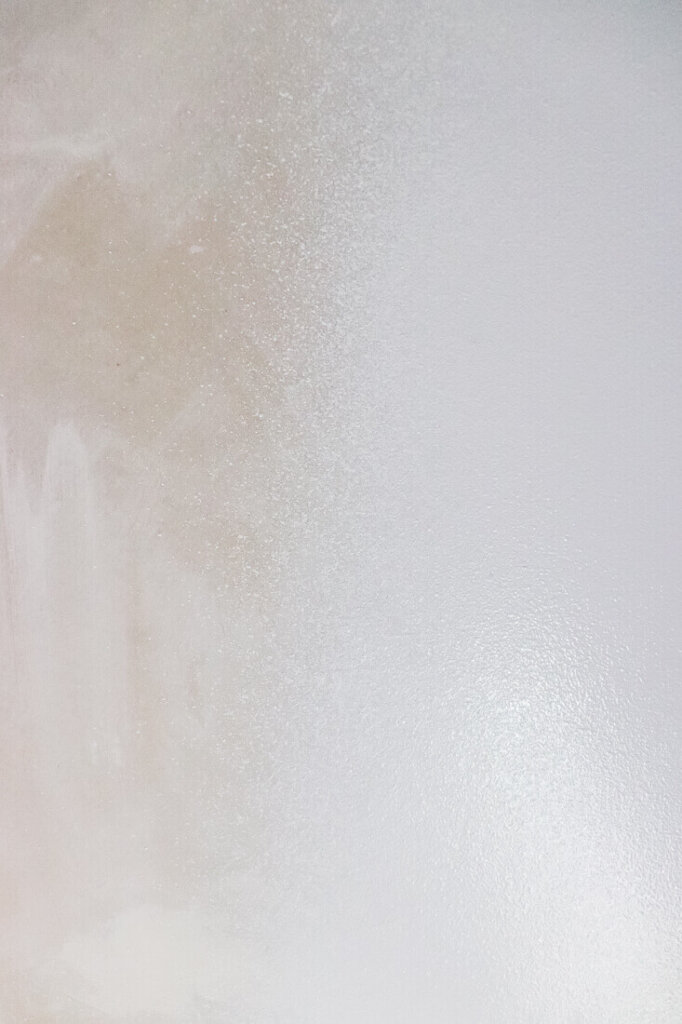
Here’s a look at the amount of overspray that was just about 5 inches from the sprayer.

As you can see – it’s not much!
But it still is smart to take precautions.
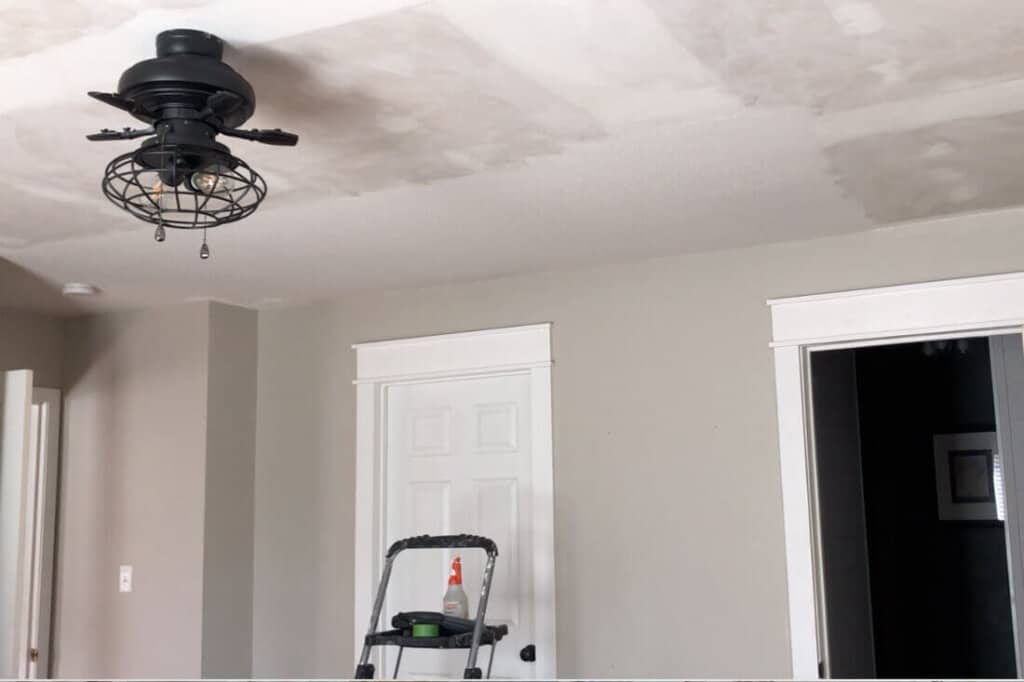
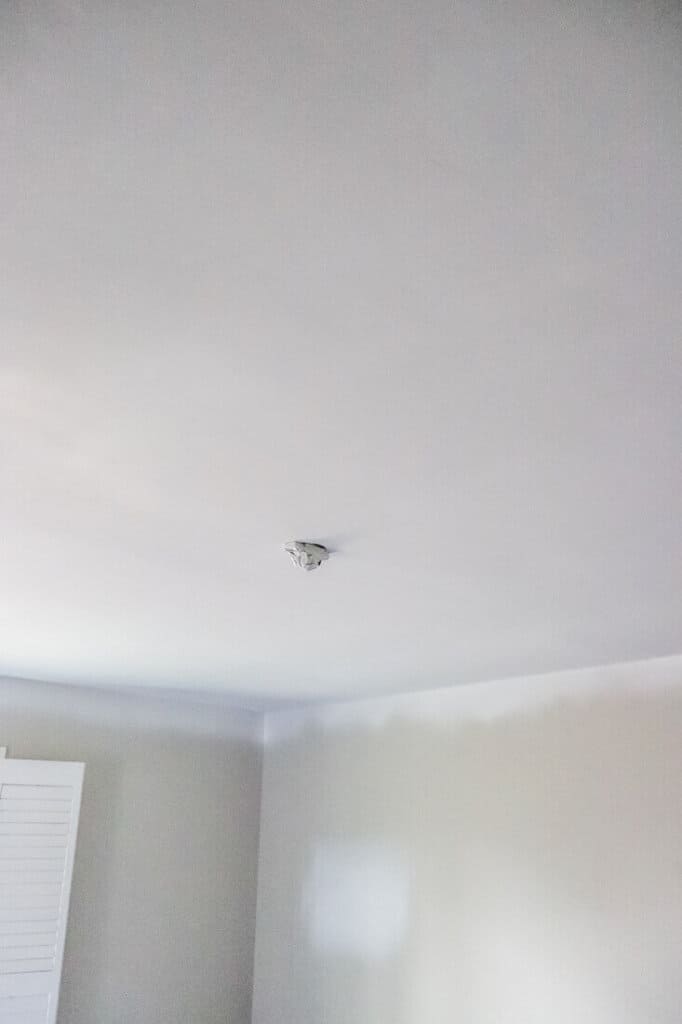
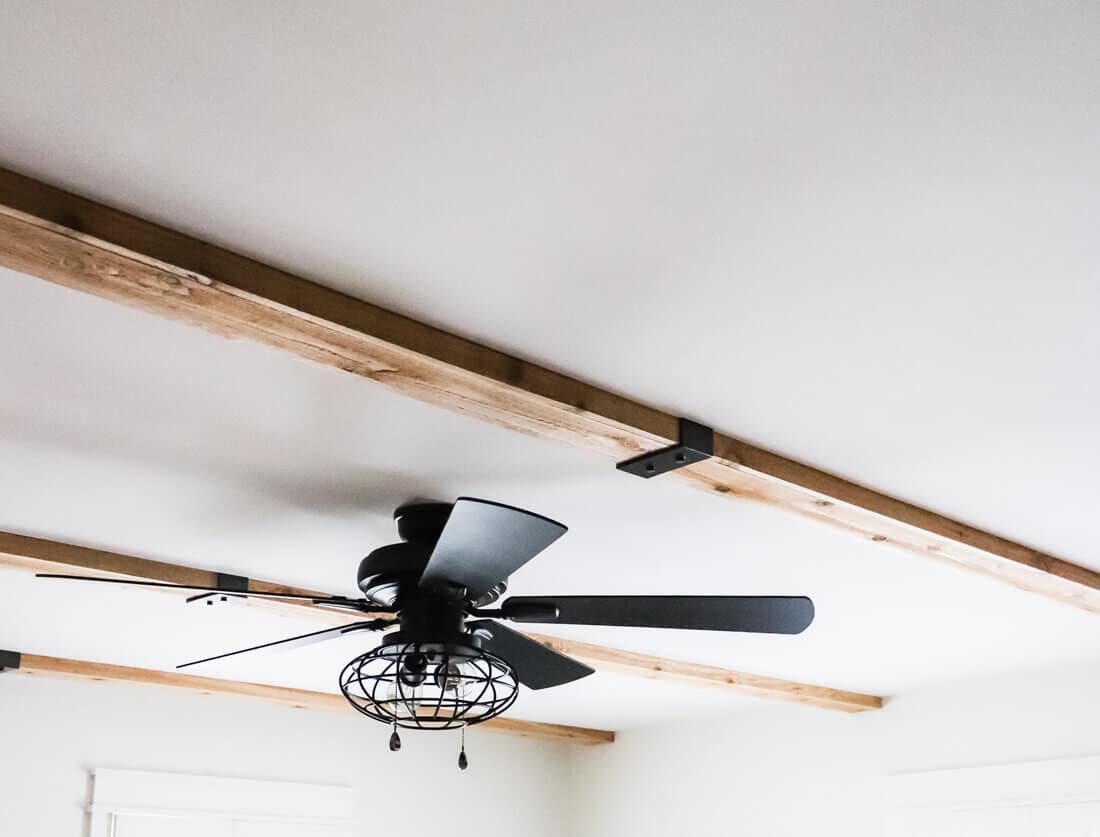
Tape off ceiling fans and light fixtures before spraying.
We turned off the electricity at the breaker box and removed our ceiling fan to make the spraying easier.
Move slow and overlap your spray pattern.
Trent’s father used to own a body shop, and he spent hours watching his Dad spray cars.
So he used the same overlapping technique he learned from his Dad and it certainly helps with the coverage.
Here’s a photo halfway thru the process.
You can see how well the sprayer covers.
Using that same technique helped us finish our ceiling in one coat.
Invest in the Paint + Primer.
It sprays on super smooth and reduces the need for a second coat.
Definitely worth the few bucks more to get the best coverage.
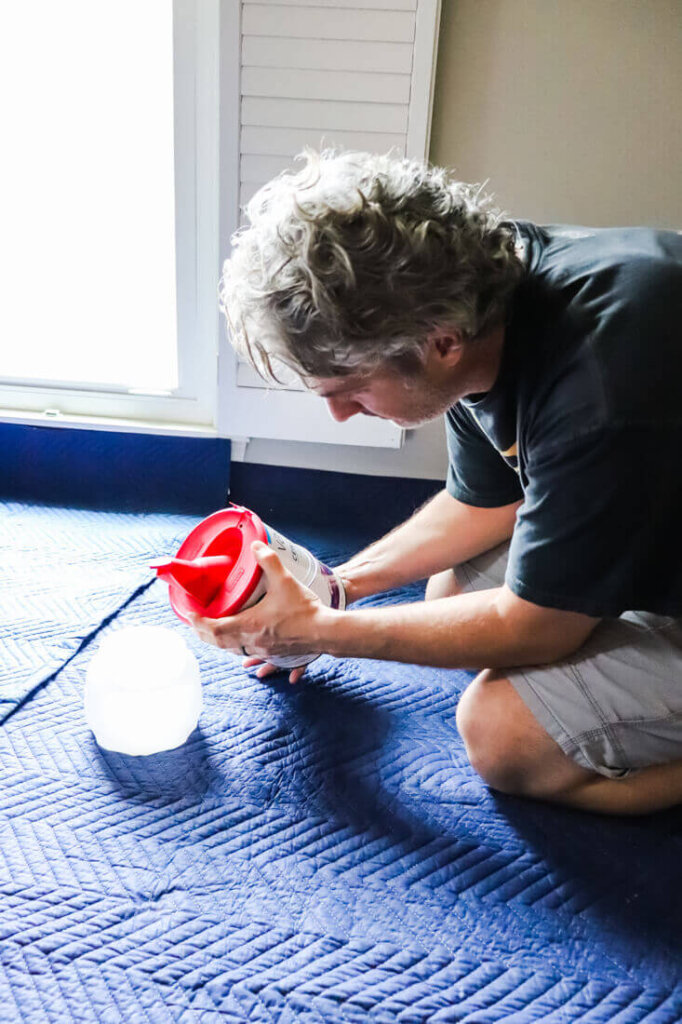
Have a pail handy when you need to refill your sprayer.
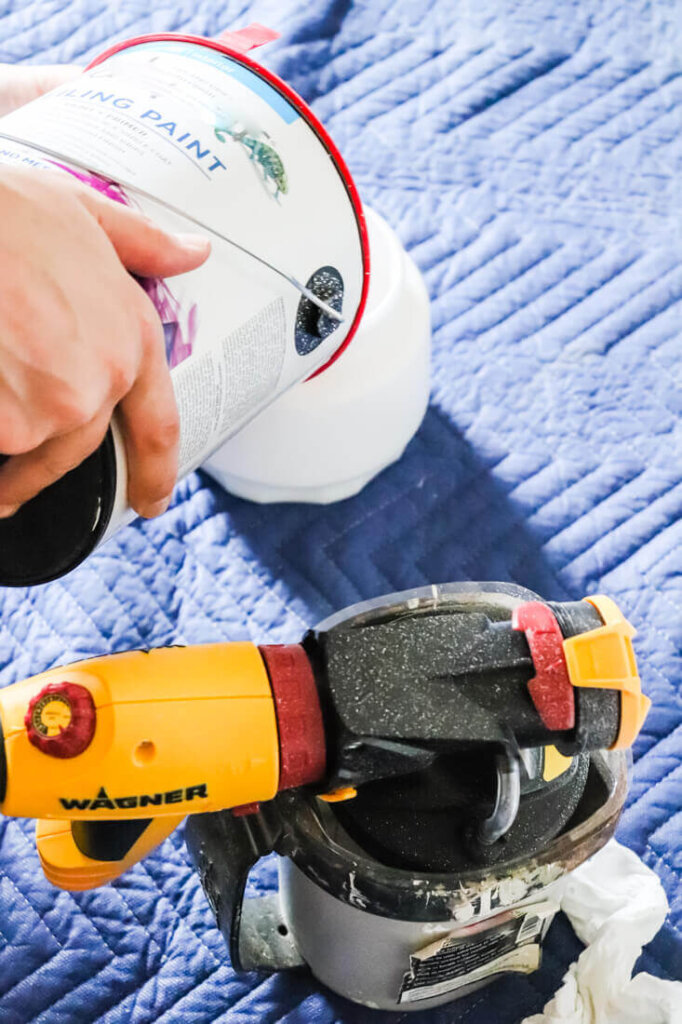
For our ceiling, we refilled the sprayer twice, so having a pail at the ready was a great idea.
This paint can pouring lid attachment was super helpful for this project.
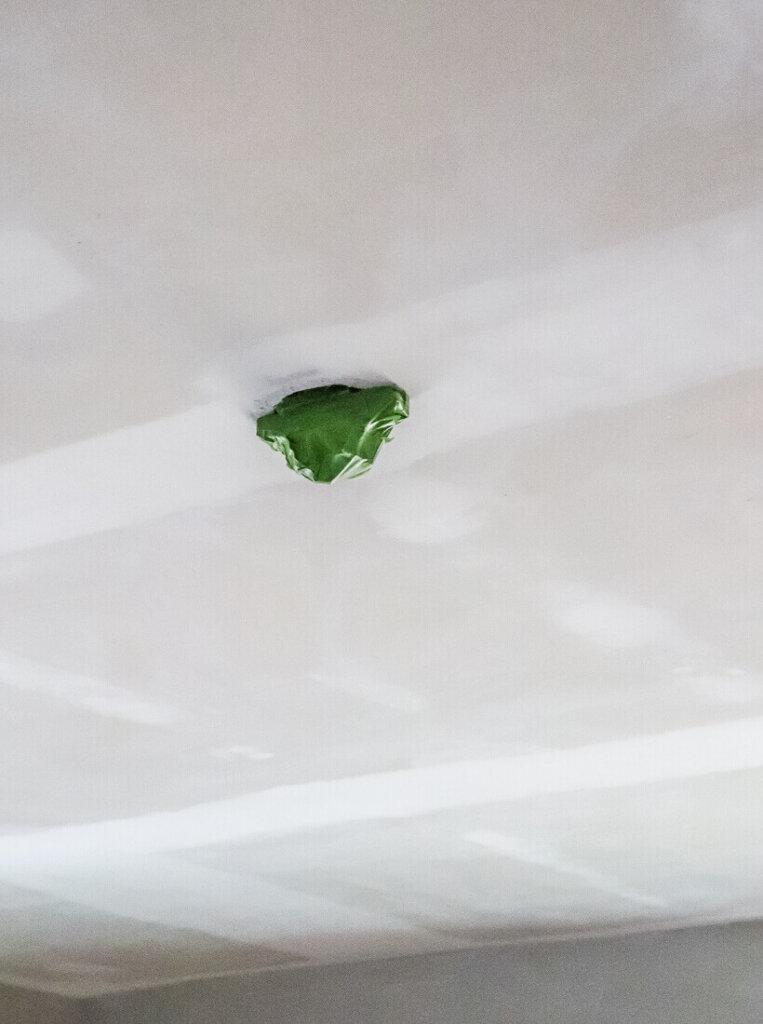
Prime any Water Damaged Spots you find.
If you uncover any water damage after scraping the ceiling, take the time to put a stain-blocking primer over those spots.

We found a previous leak in a corner of our room that needed fixing before spraying.

So, I hope these tips and tricks helped ease any hesitations you may have with scraping your ceilings. If any questions pop in your head, feel free to leave me a comment below!
I’m happy to help!
And now we are ready to install the faux cedar ceiling beams! Head over to that post to see how easy they are to install.


I’m so glad you found our website and it makes me smile that you took the time to comment! Best of luck to you with your ceiling. We currently only have 3 more rooms to go and we’ll finally be done. It takes some time, but it’s well worth it!
Happy scraping!
Jen
Thank you for the in-depth tutorial on popcorn removal. It’s a dreaded task but you certainly took some of my fear away. Love your ingenuity!
I’ve enjoyed your blog this morning, I was directed to it from Diane and her great blog. Keep up the great work!