Simple Teen Boys’ Room Reveals
When our oldest son wanted to move his room to the basement, we created simple spaces for both of our sons. Here is our simple Teen Boys’ room reveals. Thanks to Affordable Blinds for sponsoring the blinds for the boys rooms.

The room swap is finally finished!
My kids are growing up and wanting their independence which includes stepping away from Mom’s plans and creating a ‘blogger-free’ room design.
It all started with my oldest son, who is nearly seventeen, wanting to move to a bedroom in the basement – which then made my youngest son want his brother’s old room.
And that’s how this whole room swap began.
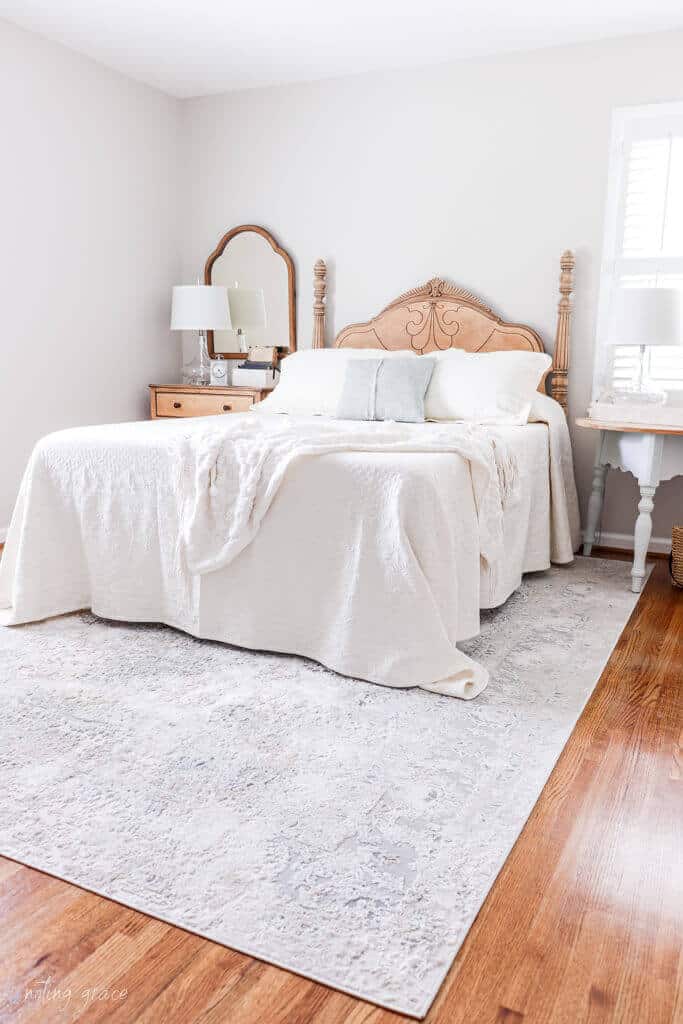
But that created a space for me to make a beautiful guest bedroom for my Mom to come and stay for extended periods of time.
So the switcharoo started underway in July and we are just now wrapping up the rooms.
In the past, we created fun themed rooms for each boy, but sadly, those days are gone and now it’s all about the function than the fun.
So let’s get to reveals, shall we?
Simple Teen Boys’ Room Reveals
(Some affiliate links are provided below. Full disclosure here.)
The Oldest Son
Let’s start with the our oldest son since he was the catalyst that started it all.
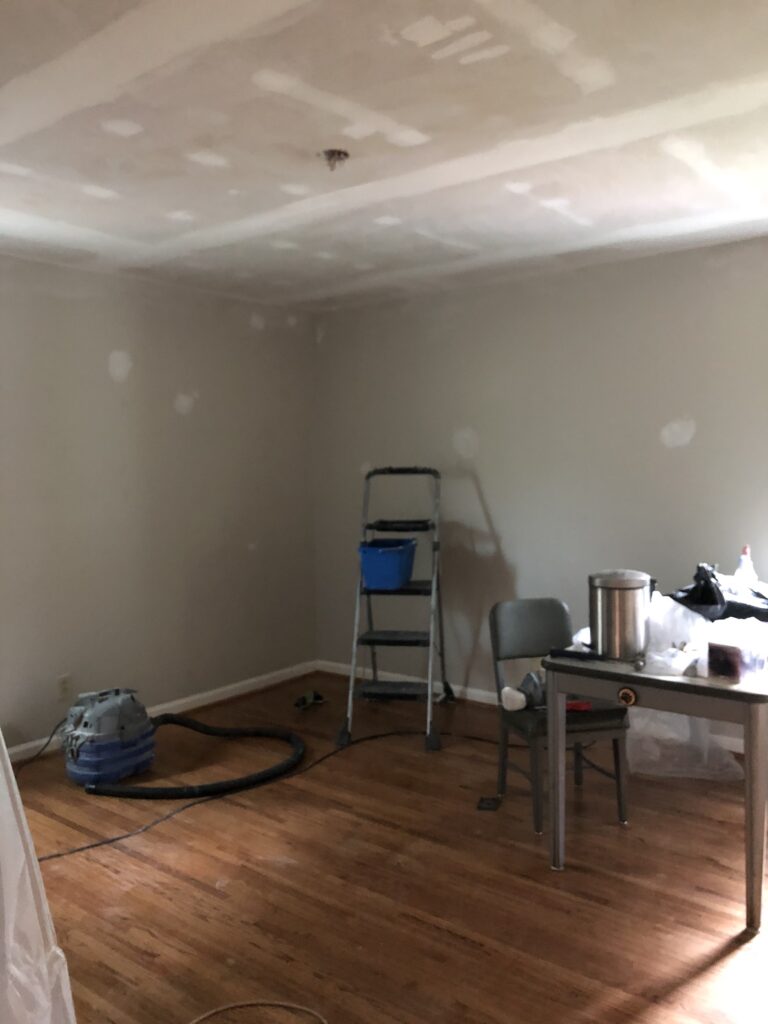
When we purchased our house, the basement was fully finished. Lemme tell ya, they used every square inch perfectly! That included two bedrooms in the basement.
One is used as our workout room and the other – pictured above – used to be the boys game room, complete with sofa and legos and mountains of videos games.
My oldest son spent most of his time in this room anyway, so it seemed logical to make this his room.
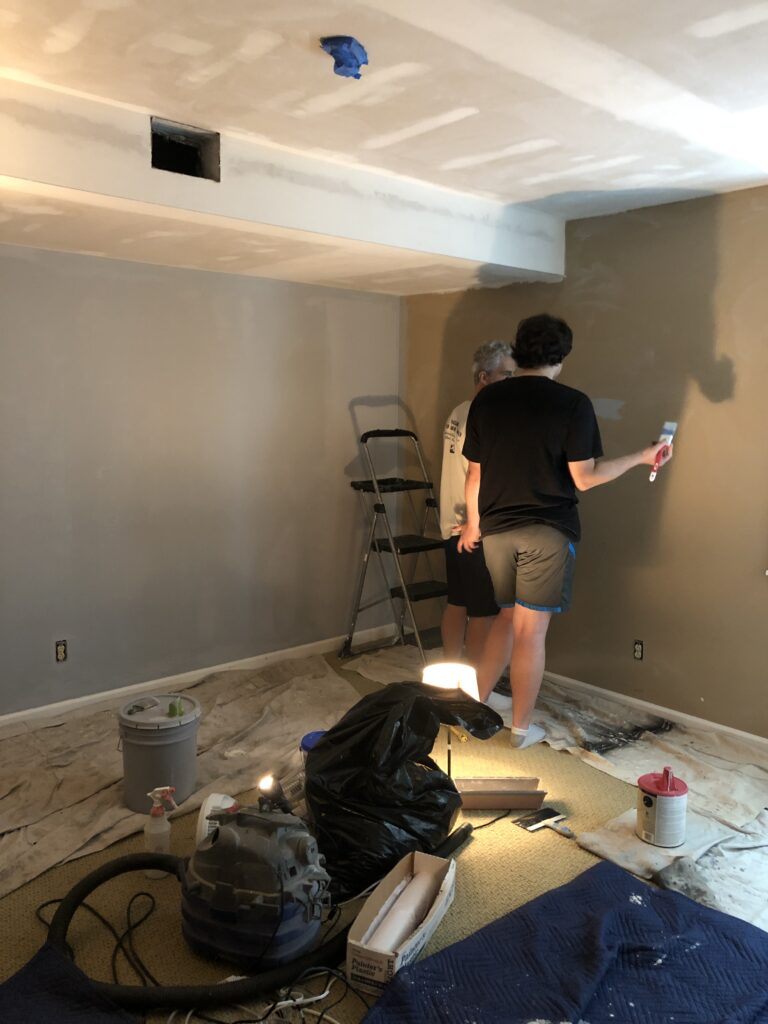
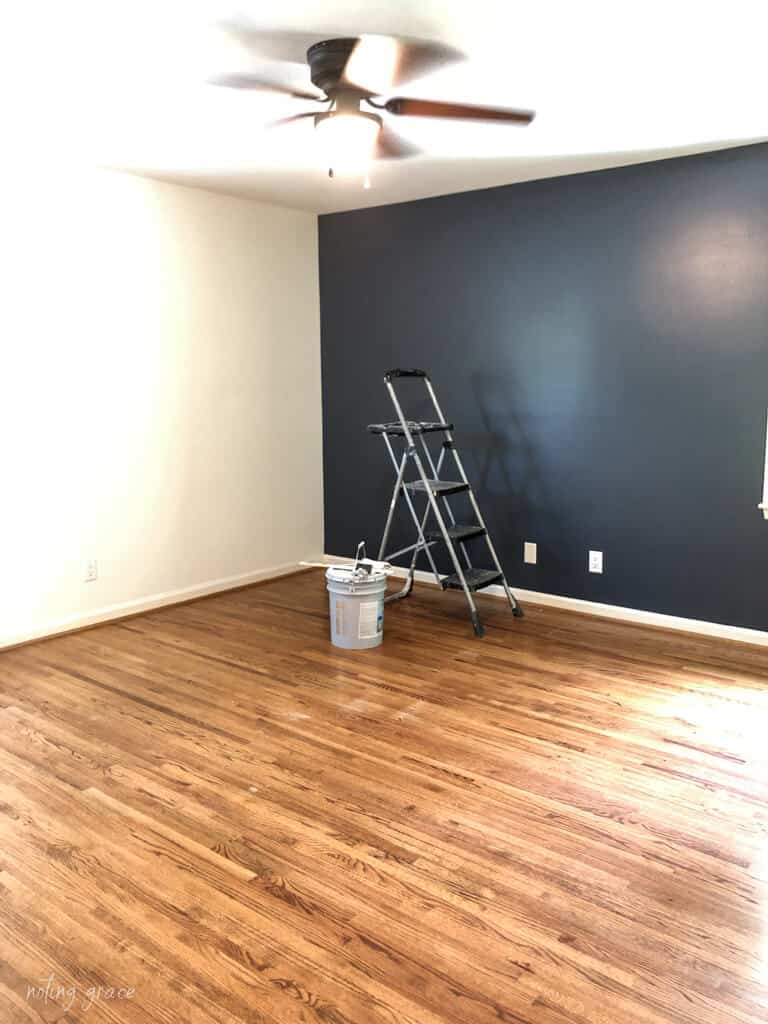
So we went to task, first scraping the popcorn from the ceiling followed by a fresh coat of paint. If you want to see my secret trick for scraping popcorn easily, check out this post.
Then priming and painting the walls was next.
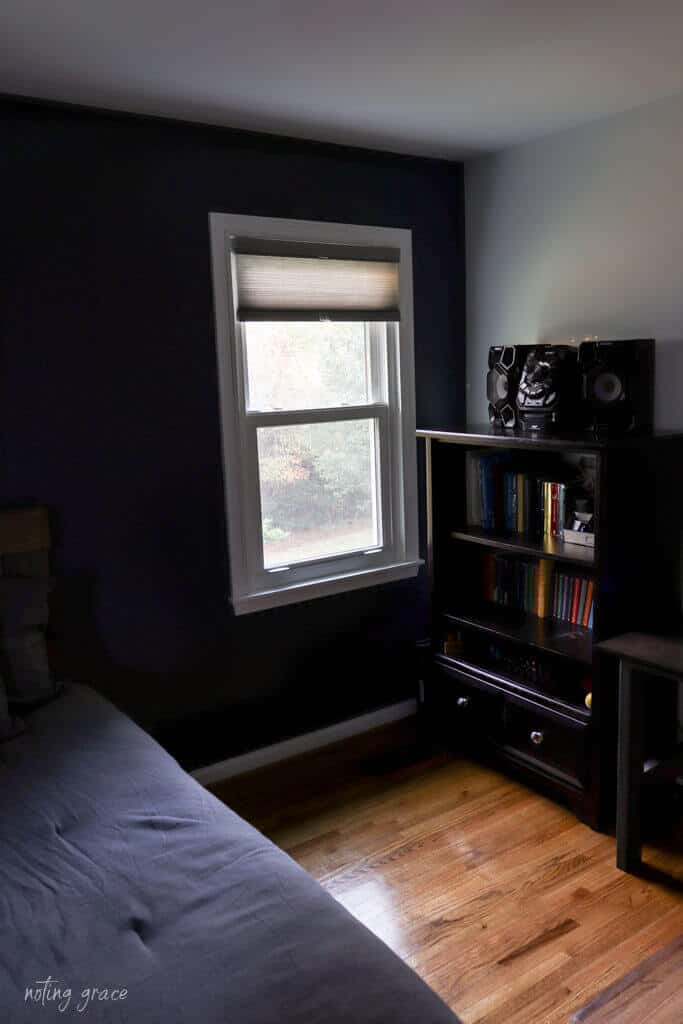
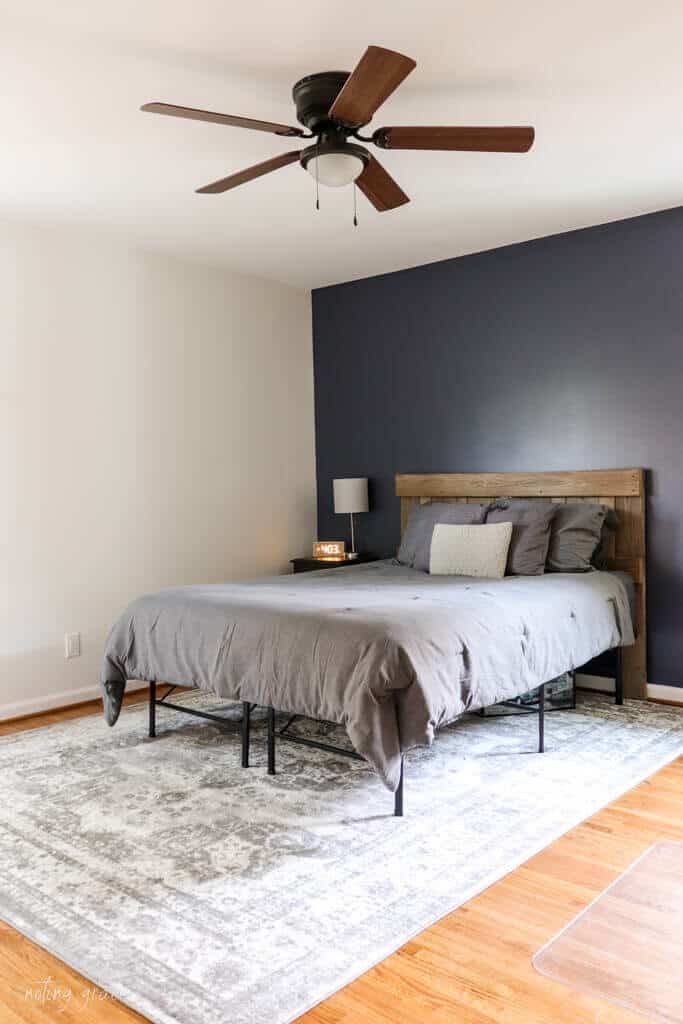
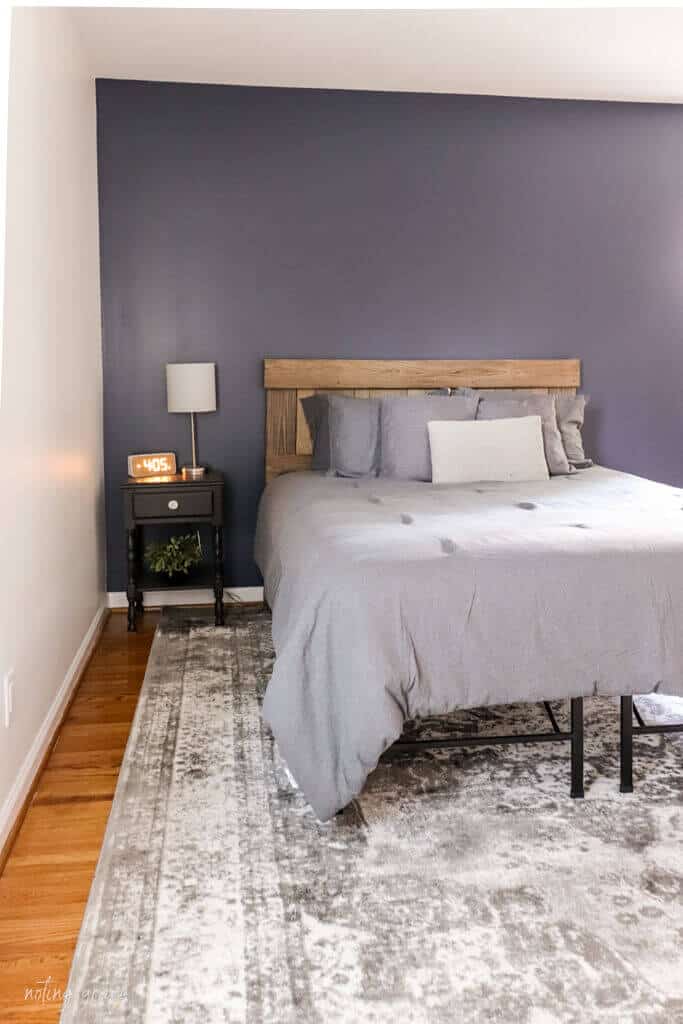
And yes, my son is that tall – nearly 6’6″ barefoot. My man-son wanted a masculine room, so we went with a charcoal color – Sherwin Williams Cityscape.
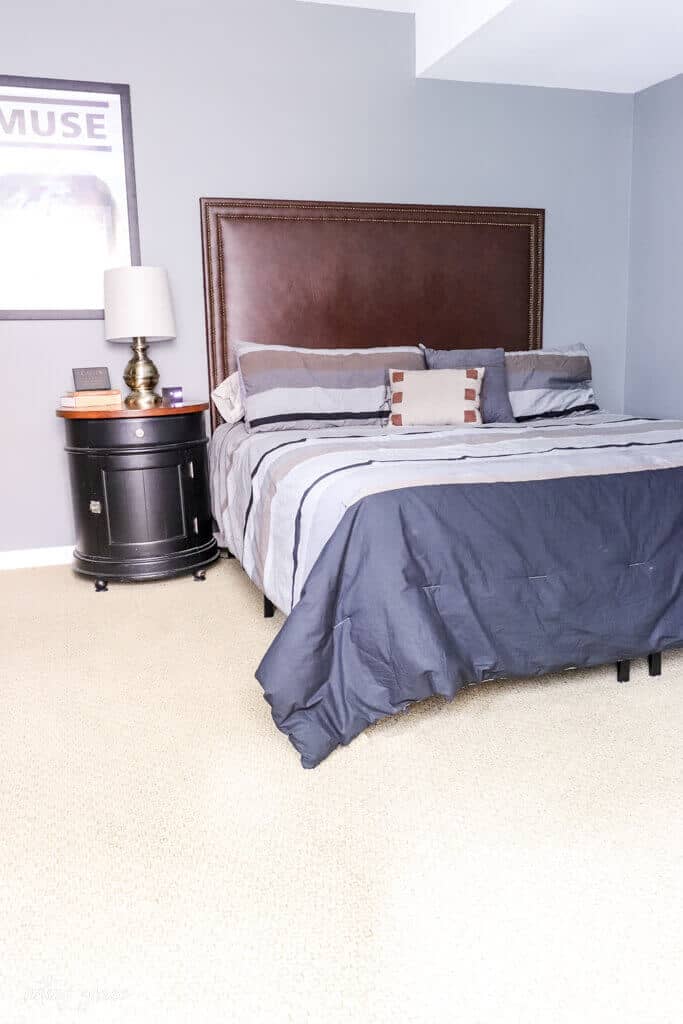
We reused his headboard from his last room, which was a fun industrial themed room.
In fact, that headboard was our very first DIY – long before Noting Grace was an idea or concept! So there’s a bit of sentimental value to it for me.
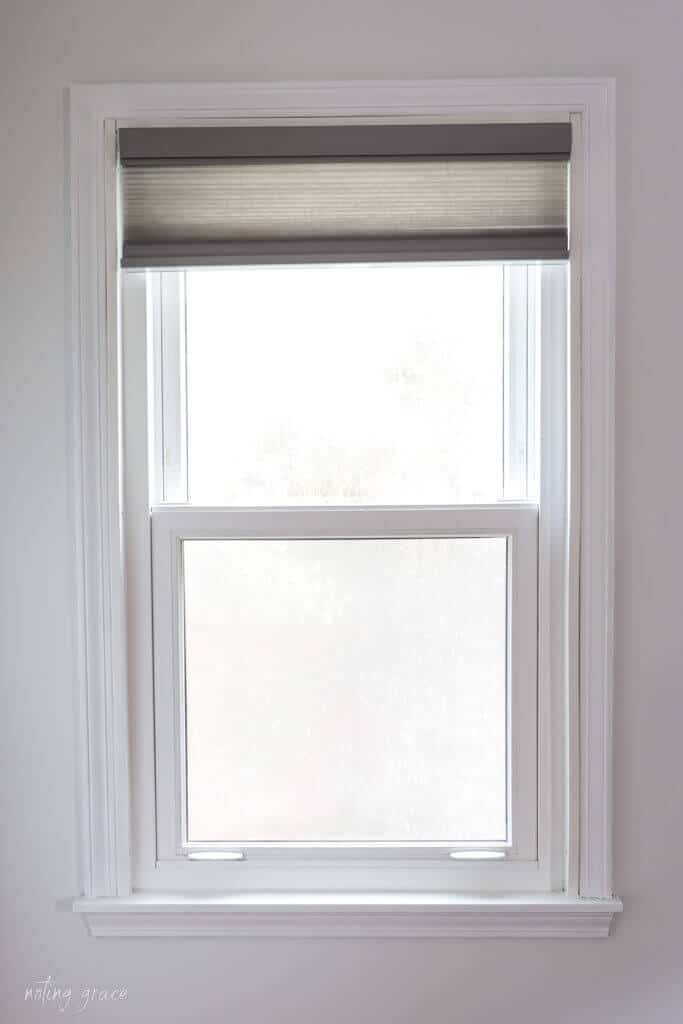
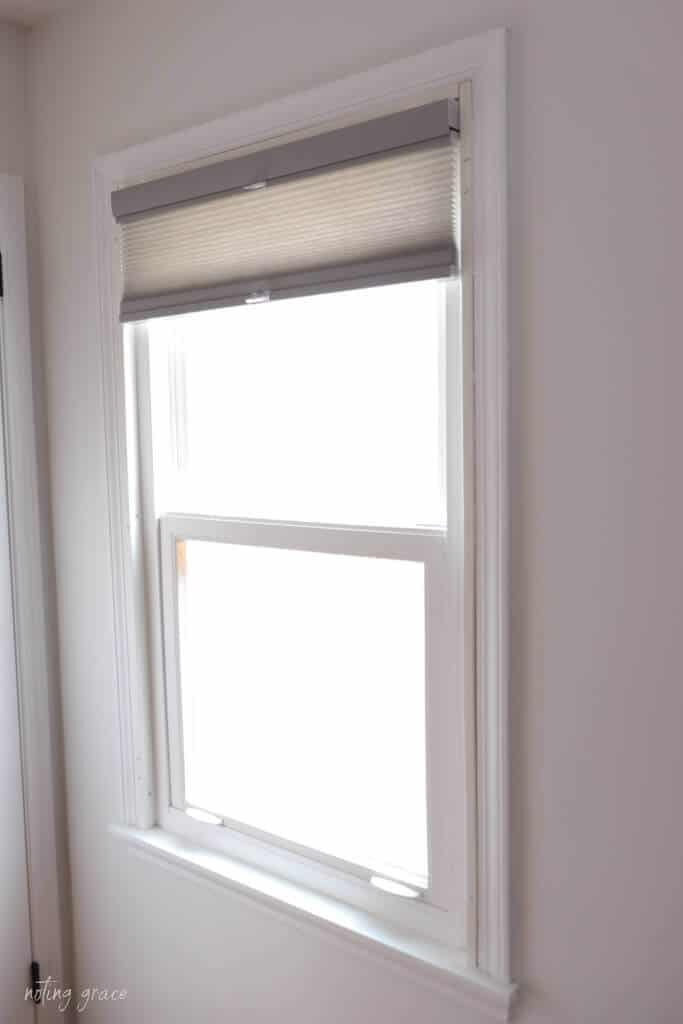
One thing that was super important to our son was the window.

There were cheaply made blinds in the window that wouldn’t open and close.
So they needed to be replaced, but my son didn’t want it to be too dark since this basement bedroom was already a cave-like feel.
I found these Elegance Zebra Light Filtering shades from Affordable Blinds.
I LOVE Affordable Blinds – they have great products at amazing prices! Plus they have top notch customer service – which is a huge plus for me.
I used their Woven Wood Shades in both my Sunroom as well as my Kitchen windows.

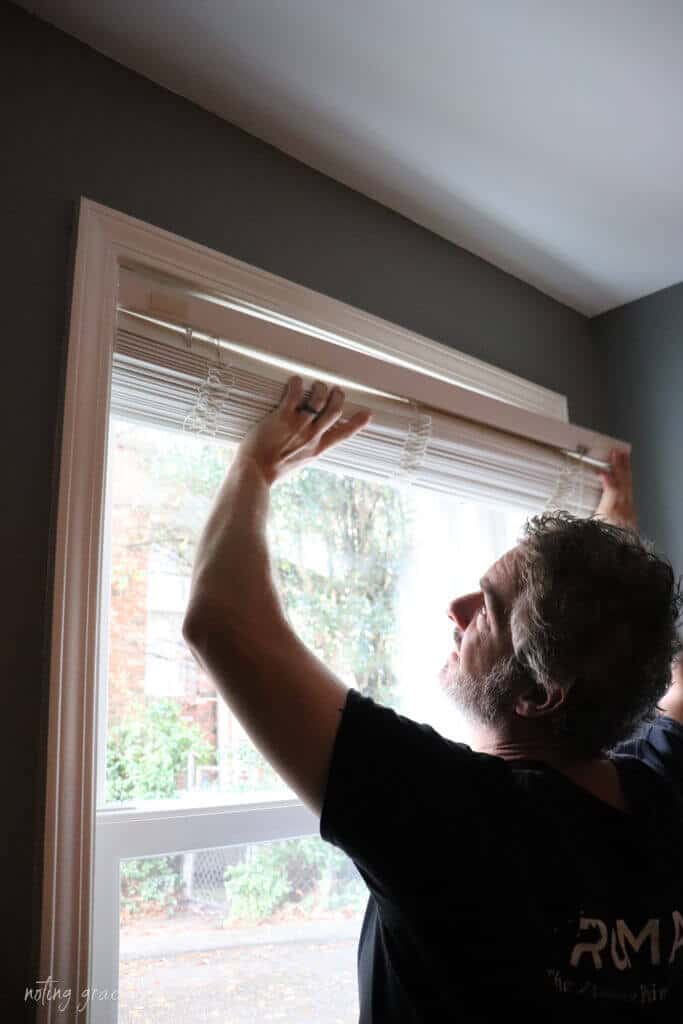
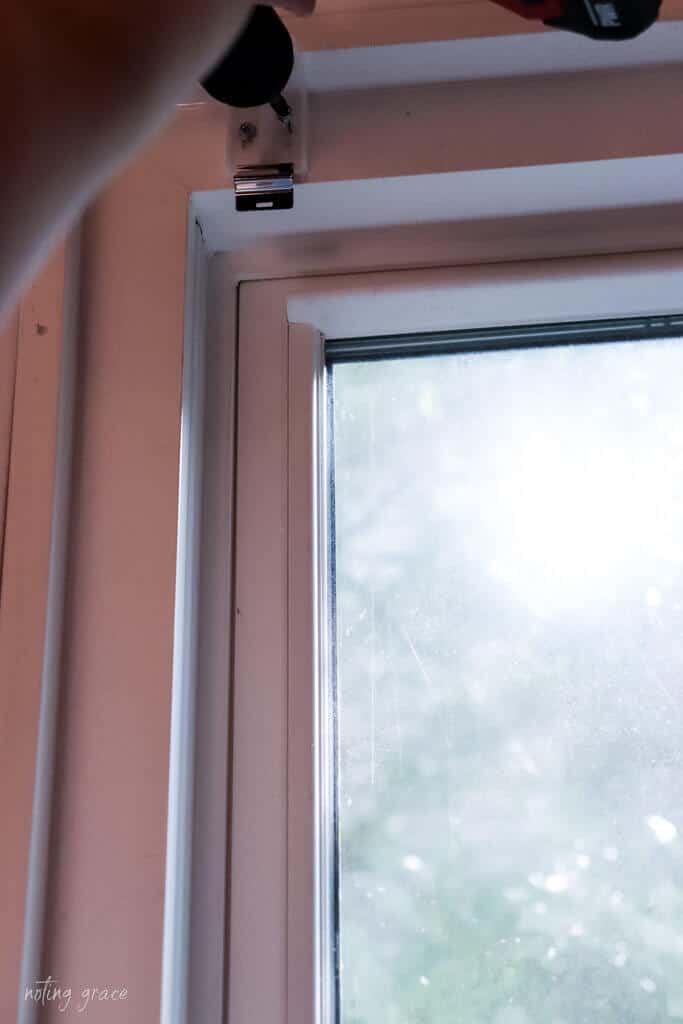
To begin, Trent removed the old shades first.
There is something so satisfying about getting rid of the old, broken and busted items!
It’s a fresh start with a fun new gadget!
Installation was a cinch – took us about 15 minutes total, including rounding up all the tools.
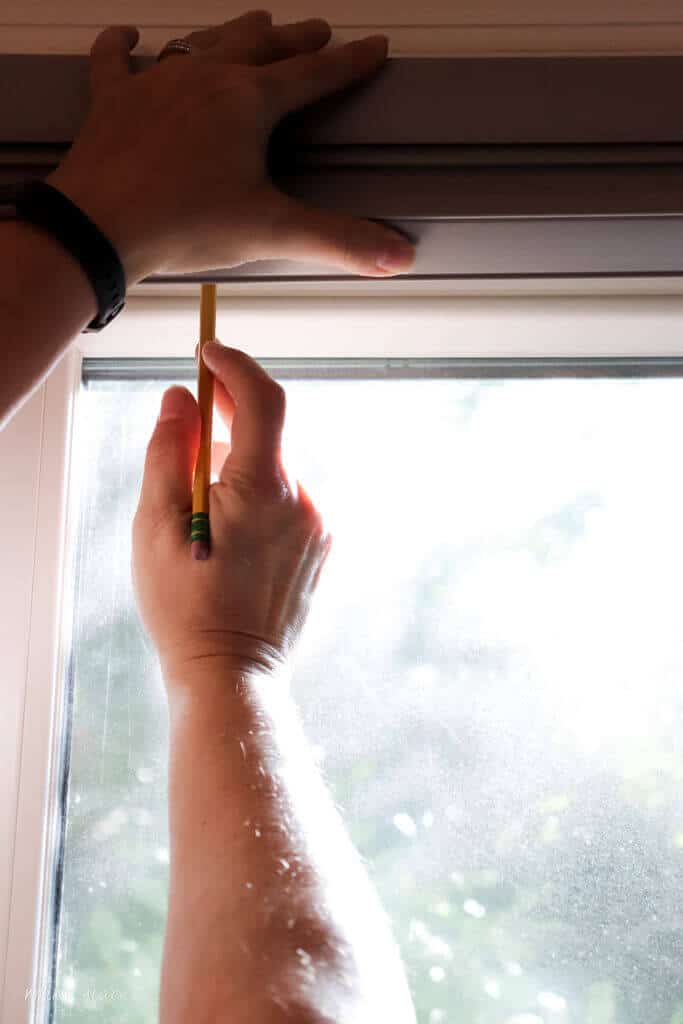
Trent placed the mounting brackets on the shade, and then dry fit the shade into the window, marking where the brackets are.
For this window, we went with an inside mount.

Once the brackets are installed, you simply click the blinds in place.
Easy peasy, lemony squeezy!
Now you can get all fancy schmancy and go for the motorized version, which – get this – you can operate with your phone! What?
But, we’re all old school here in the Fancher house, so we opted for the pull cord.
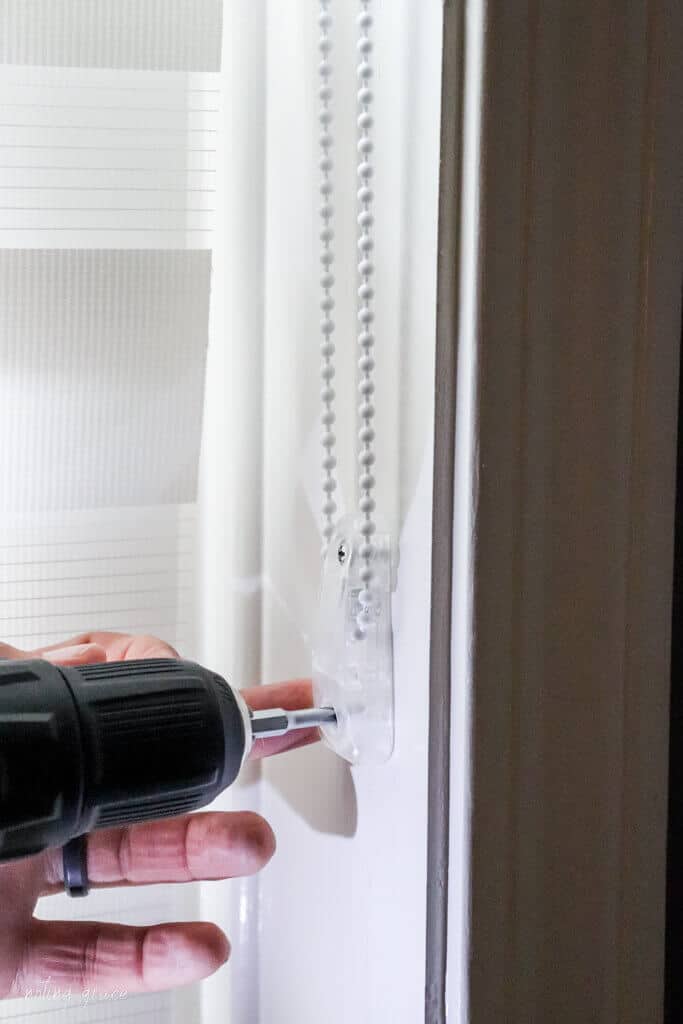
So we mounted the cord bracket to the window frame and were done!
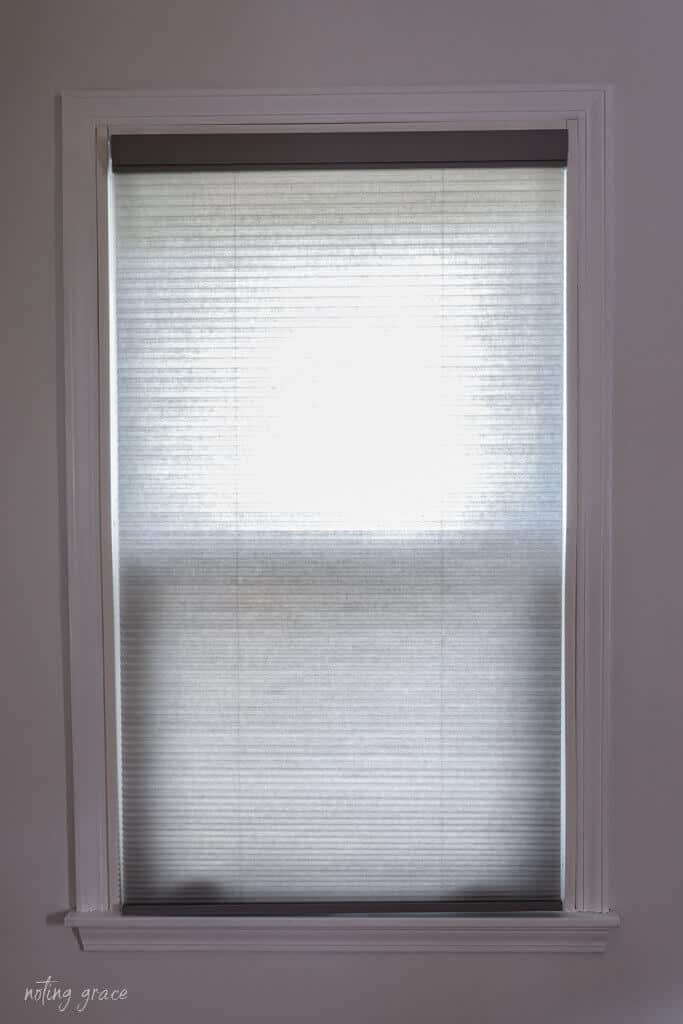
Here’s how the blinds look with the light filtering option.

Isn’t that so cool?
My son thinks it’s pretty awesome, which then makes his parents pretty awesome, too! A nice extra perk for installing window blinds.
Wanna see how they look completely closed?
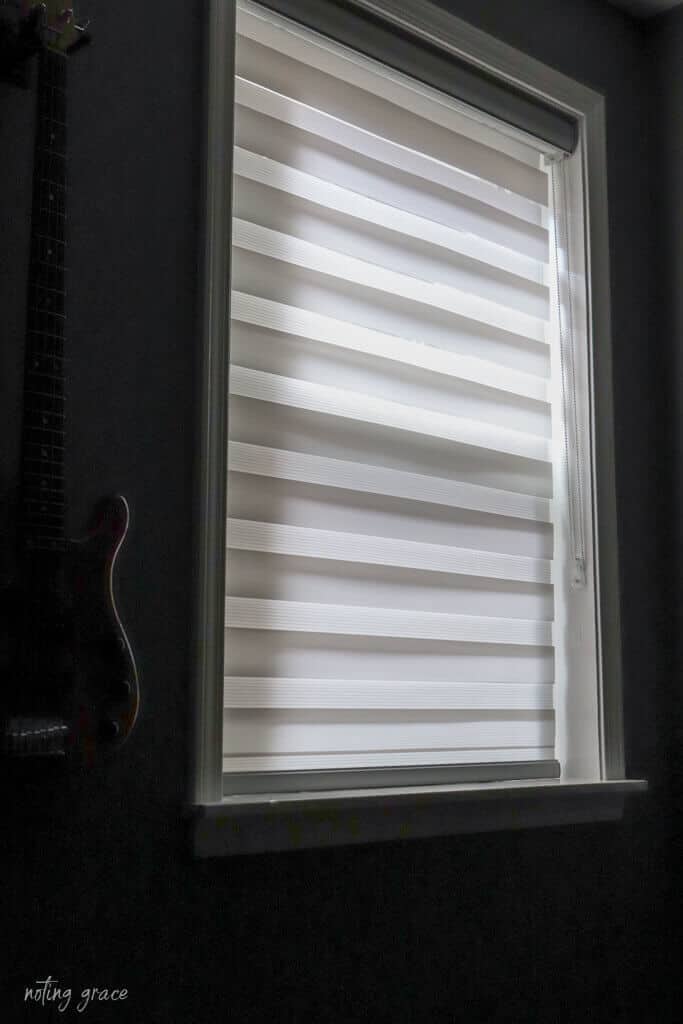
Nice!
Check out the Zebra Shades and Blinds at AffordableBlinds.com.
It was exactly what he wanted. Nothing too dark to make him wake up to a pitch black room.
And for the daytime he has the option to fully raise the blind to let in all the light.
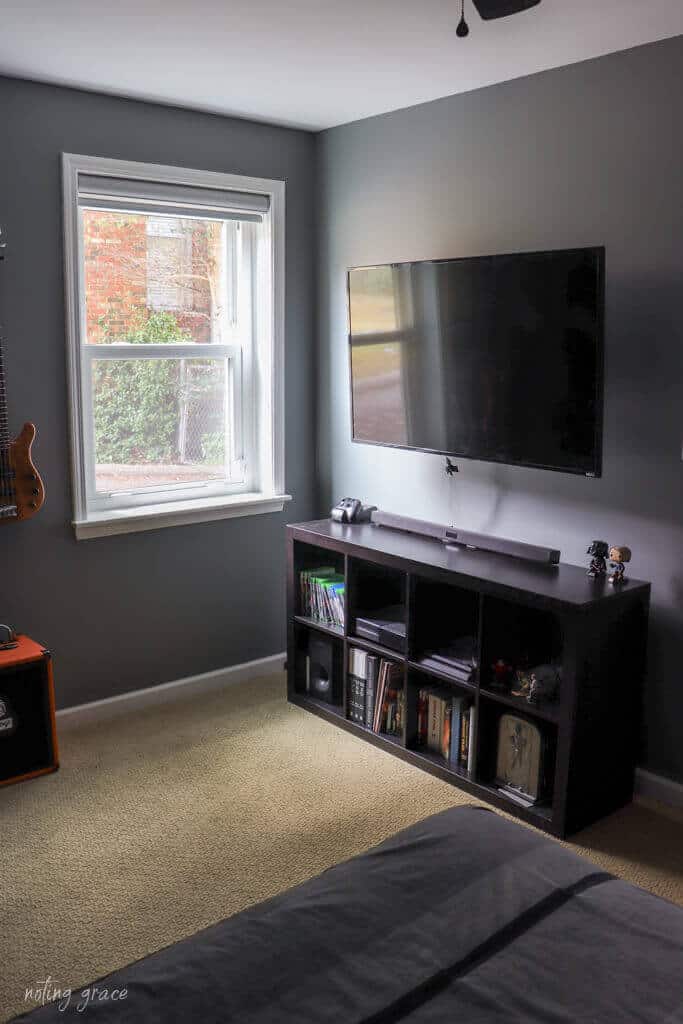
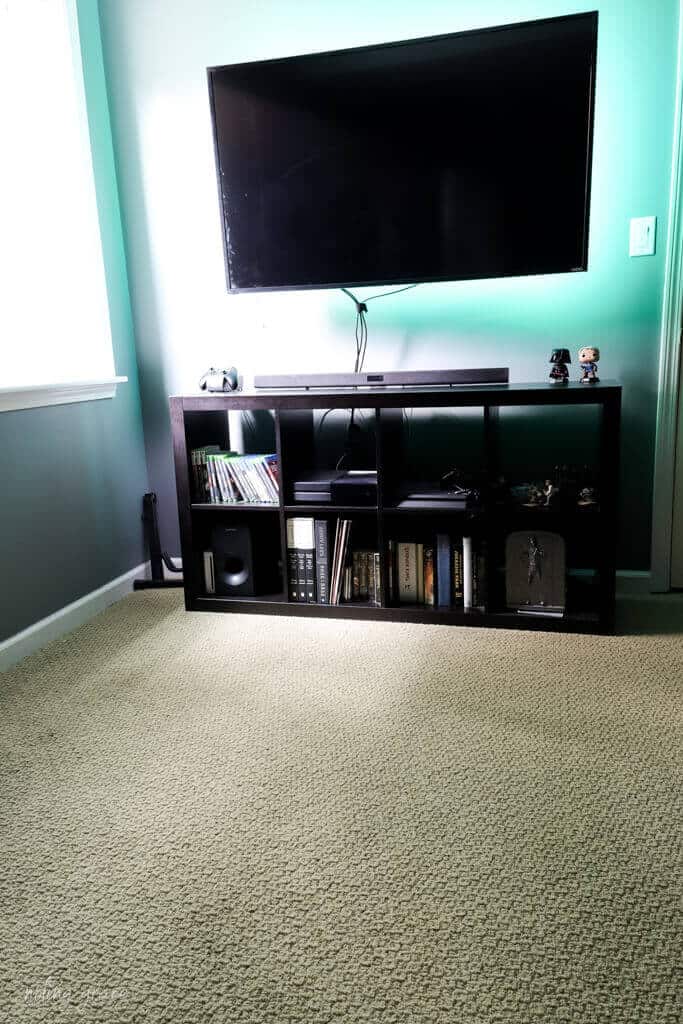
And yes, that is a ginormous TV in his room.
It was already there for gaming and this young man has proven to be ultra responsible, so there’s nothing nefarious happening behind our backs.
Plus, there’s super cool back-lighting to the TV.
Again, another major score for cool parent points!
One downside is the carpet.
Definitely no bueno, but not quite in the budget to replace at this time, so that will be another update for another time.
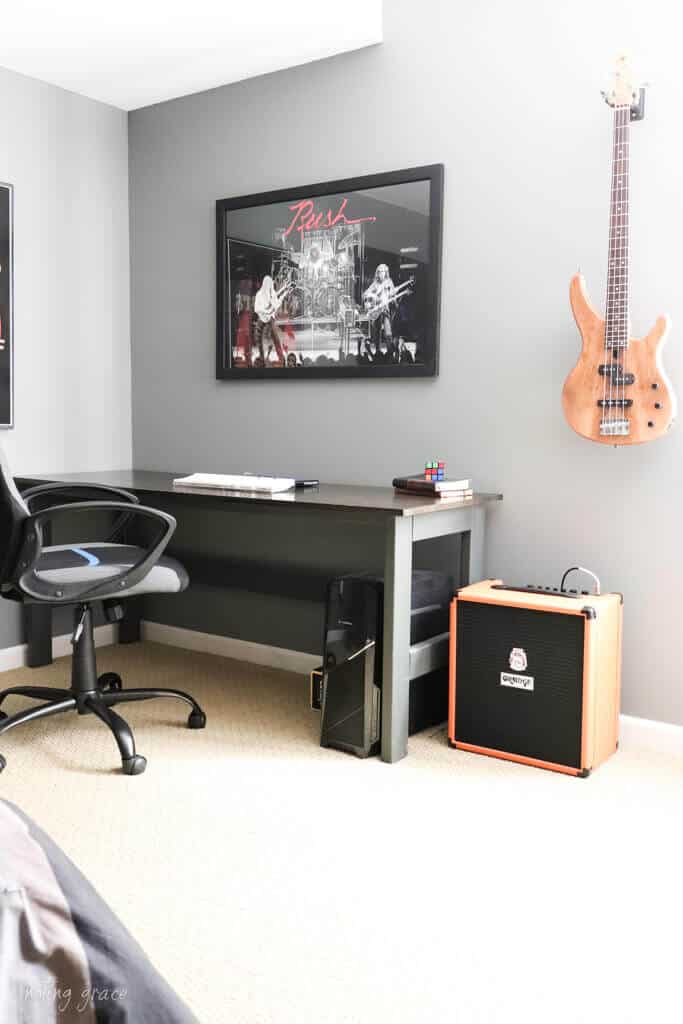
Since my son is a musician, like his Mom and Dad, we decked out his room with all his gear and hung posters from some of his favorite bands on his wall.

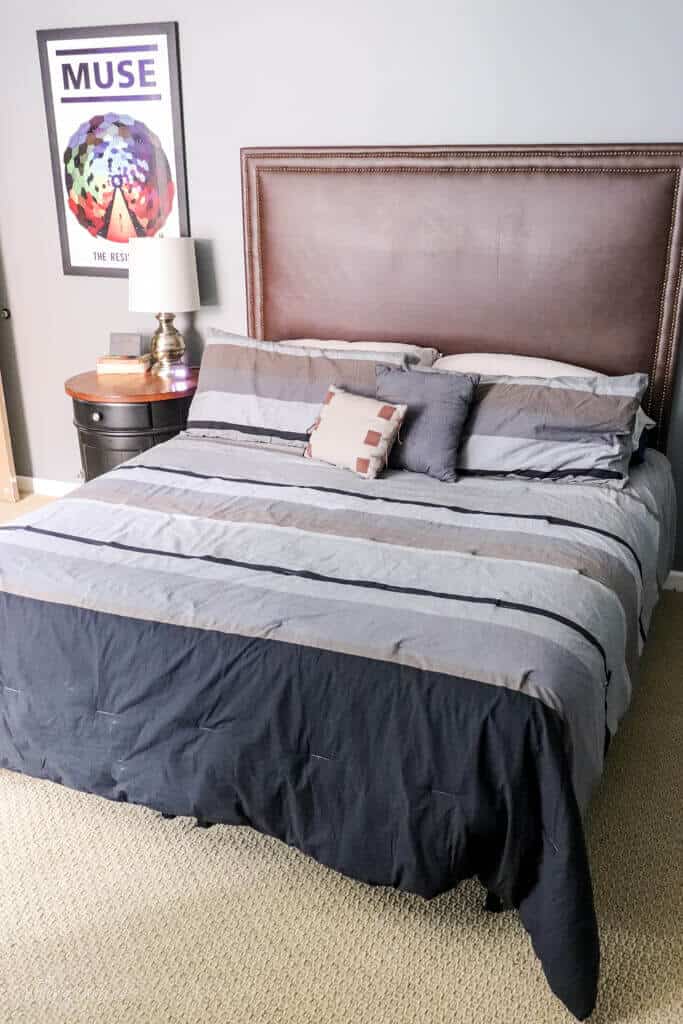
And this is real life, y’all.
Crinkly bedding, misshapened pillows and total teenage hang out.
And don’t be fooled – I shoved most of his junk behind his closet door for this photo op!
But that’s okay – I’m still a cool Mom, remember? LOL
So now let’s move to the younger son’s room.
Shop the Room

The Youngest Son
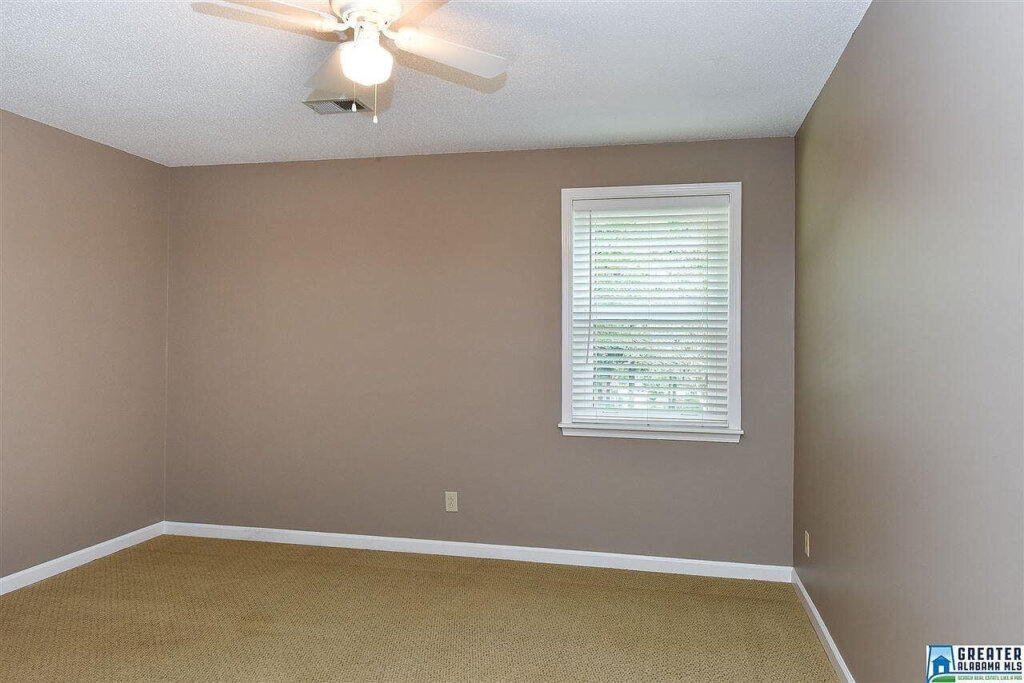
Formerly the oldest son’s room, my youngest wanted to move into this room because it was on the back side of our house and didn’t get tons of daylight in this room.
His old room, now our Guest Room – got lot’s of bright light, especially in the morning.
Not a fan favorite among the teen crowd.
So we started the same way, scraping and painting the ceilings.
Followed by a fresh coat of paint on the walls.
Now here’s where we got really lucky!
The blue accent wall paint is Sherwin Williams Navy Steel. The previous homeowners left us two, brand new gallons in our garage!
So the only paint we needed to purchase was the wall paint, which is Sherwin Williams Pure White.
For his room, we opted for Top Down, Bottom Up Cordless Cellular Shades, Exquisite.
Again, these blinds were super easy to install!

Following the same steps as we did for the other son’s room, we clipped the brackets on the blinds and marked where to install them.
Next, we used our drill and screwed them into place.
And hanging them is just as simple as clipping them onto the brackets.
Here’s how they look.
My youngest historically has been my early riser.
It’s not a surprise to wake up finding him cooking himself an omelet, fully showered and dressed for the day.
So he didn’t want the black out shades either, but these block an amazing amount of light.
These are cordless blinds and can raise and lower from the bottom as well as the top.
Check out the Top Down/Bottom Up Shades at AffordableBlinds.com.
The only tricky thing was installing the clips onto the blinds that raise and lower them.
My hands couldn’t snap them on no matter how hard I tried, so I needed to get Trent’s strong hands to do it.
Again, simplicity was key.
I guess it was all the themed rooms from the past that made them want to something simpler, but that’s okay.
I loved having their input.

The only signs of ‘little kid’ still left surround his desk.
But he even paired that down from before.
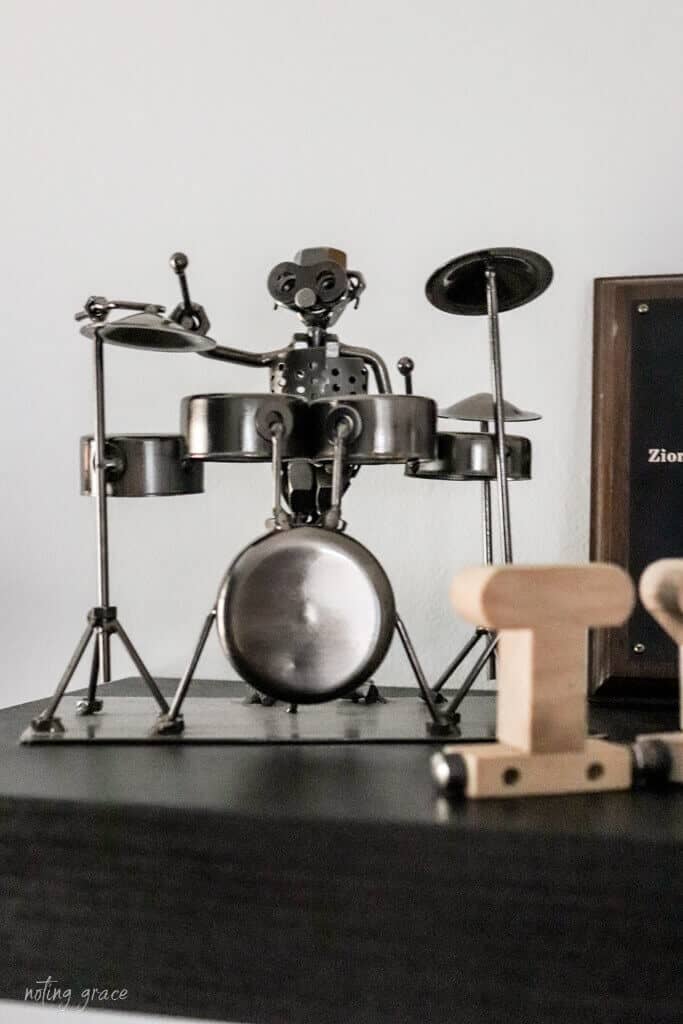
Isn’t this metal drummer figurine the coolest?
So my youngest is also a musician. In fact, he attends the same Fine Arts High School that his Dad went to many moons ago.
And, yes – I live in a house with two drummers…..
I’ll just leave that there for you to ponder upon…
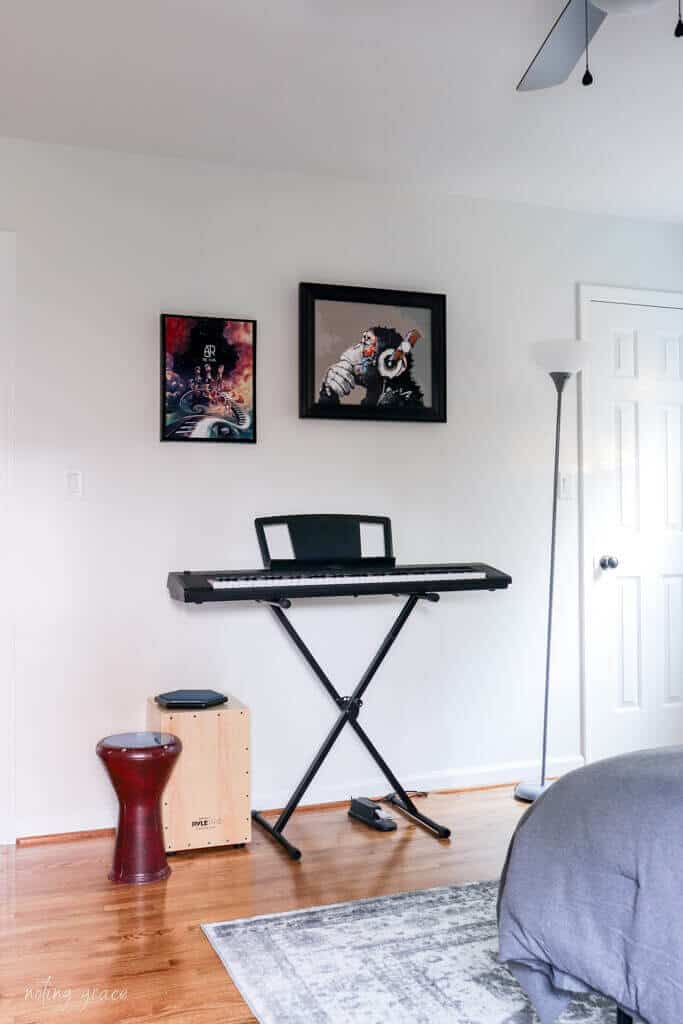
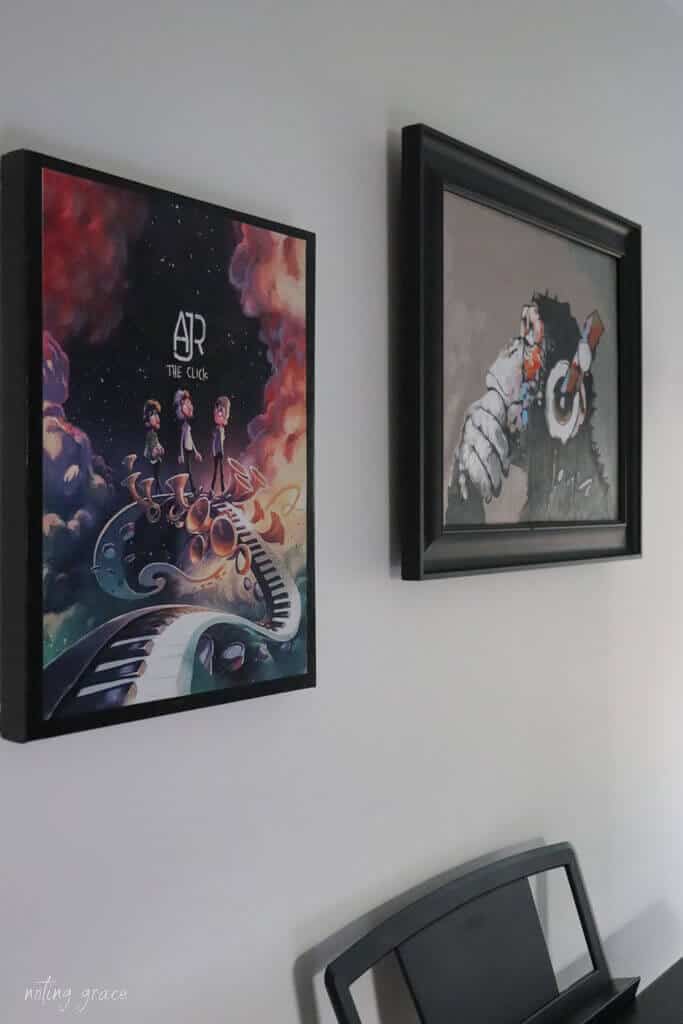
Not to be outdone by his brother, we also made sure to hang some fun music artwork in his room.
Again, not too busy.
Simplicity was key for both boys.
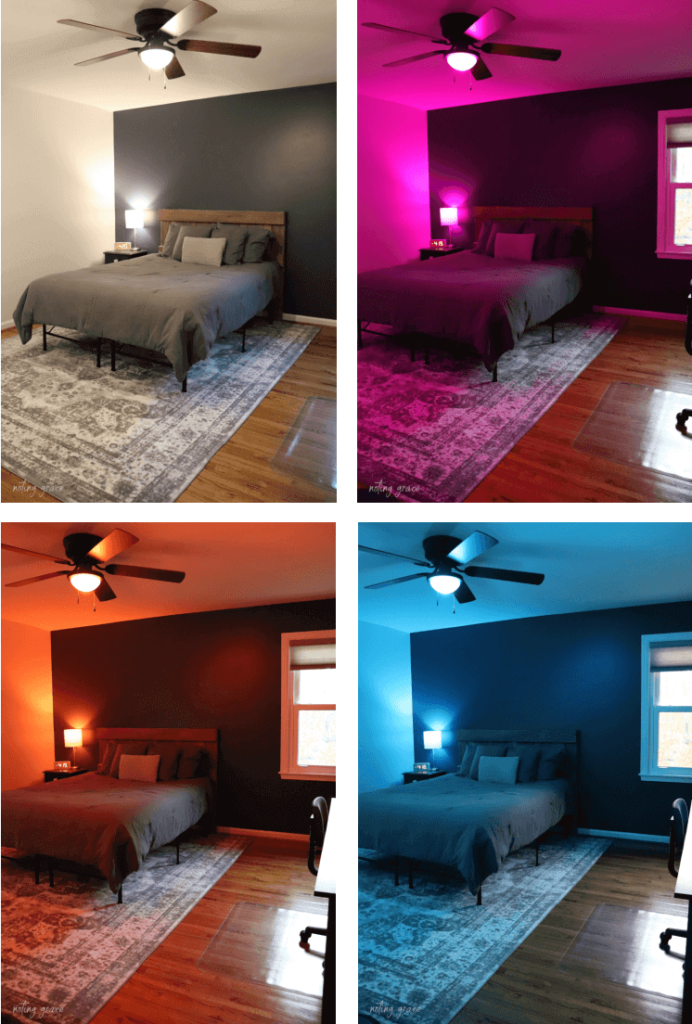
But since this lad doesn’t have a TV in his room, we splurged and got him some fun LED light bulbs to create a colored vibe in his room whenever he wants!
Shop the Room
Nothing fancy, but still a handsome set of rooms.
To be completely honest, they wouldn’t let me ‘blogger’ it up too much.
They just wanted their rooms to be an extension of themselves without too much of Mom’s design plans getting in the way.
And that is completely fine.
My message I try to convey through this blog is to create a space that makes you happy and these rooms hardly have a touch of momma in them.
Oh believe me – I would have done things way more differently, but that’s not the vibe they wanted.
But just wait until they leave the house! Then those rooms are mine! Mwhaahahahaha!
Let me know how you decorate your kids rooms! Do you handle all the design plans or do you let them take the lead? Leave me a comment below – I’d love to hear from you!
Pin This For Later!
Other Posts You May Like


One Comment