Turning an Old Picture Into Artwork
Instead of giving an old piece of wall art to goodwill, I decided to do a fun and easy DIY. Today I’m turning an old picture into artwork.
We are in the throws of the One Room Challenge.
Which means removing all the old decor from the room.
So I have a nice pile of items that either needs to be sold, donated to a thrift store, or repurposed somewhere else in the house.
I had this blue and white cardboard print that I found many years ago at Hobby Lobby.
But for our living room update, the colors and style didn’t work anymore.
Since we gave our fireplace a Lime Slurry update, I needed new artwork for my mantel.
So here’s a simple tutorial on how to create your own DIY wall art.
Turning an Old Picture into Artwork
(Some affiliate links are provided below. Full disclosure here.)
Supplies:
Piece of Art or Old Picture
Painter’s Tape
Paint Brush
Acrylic Paint in color palette of your choice
Drop Cloth
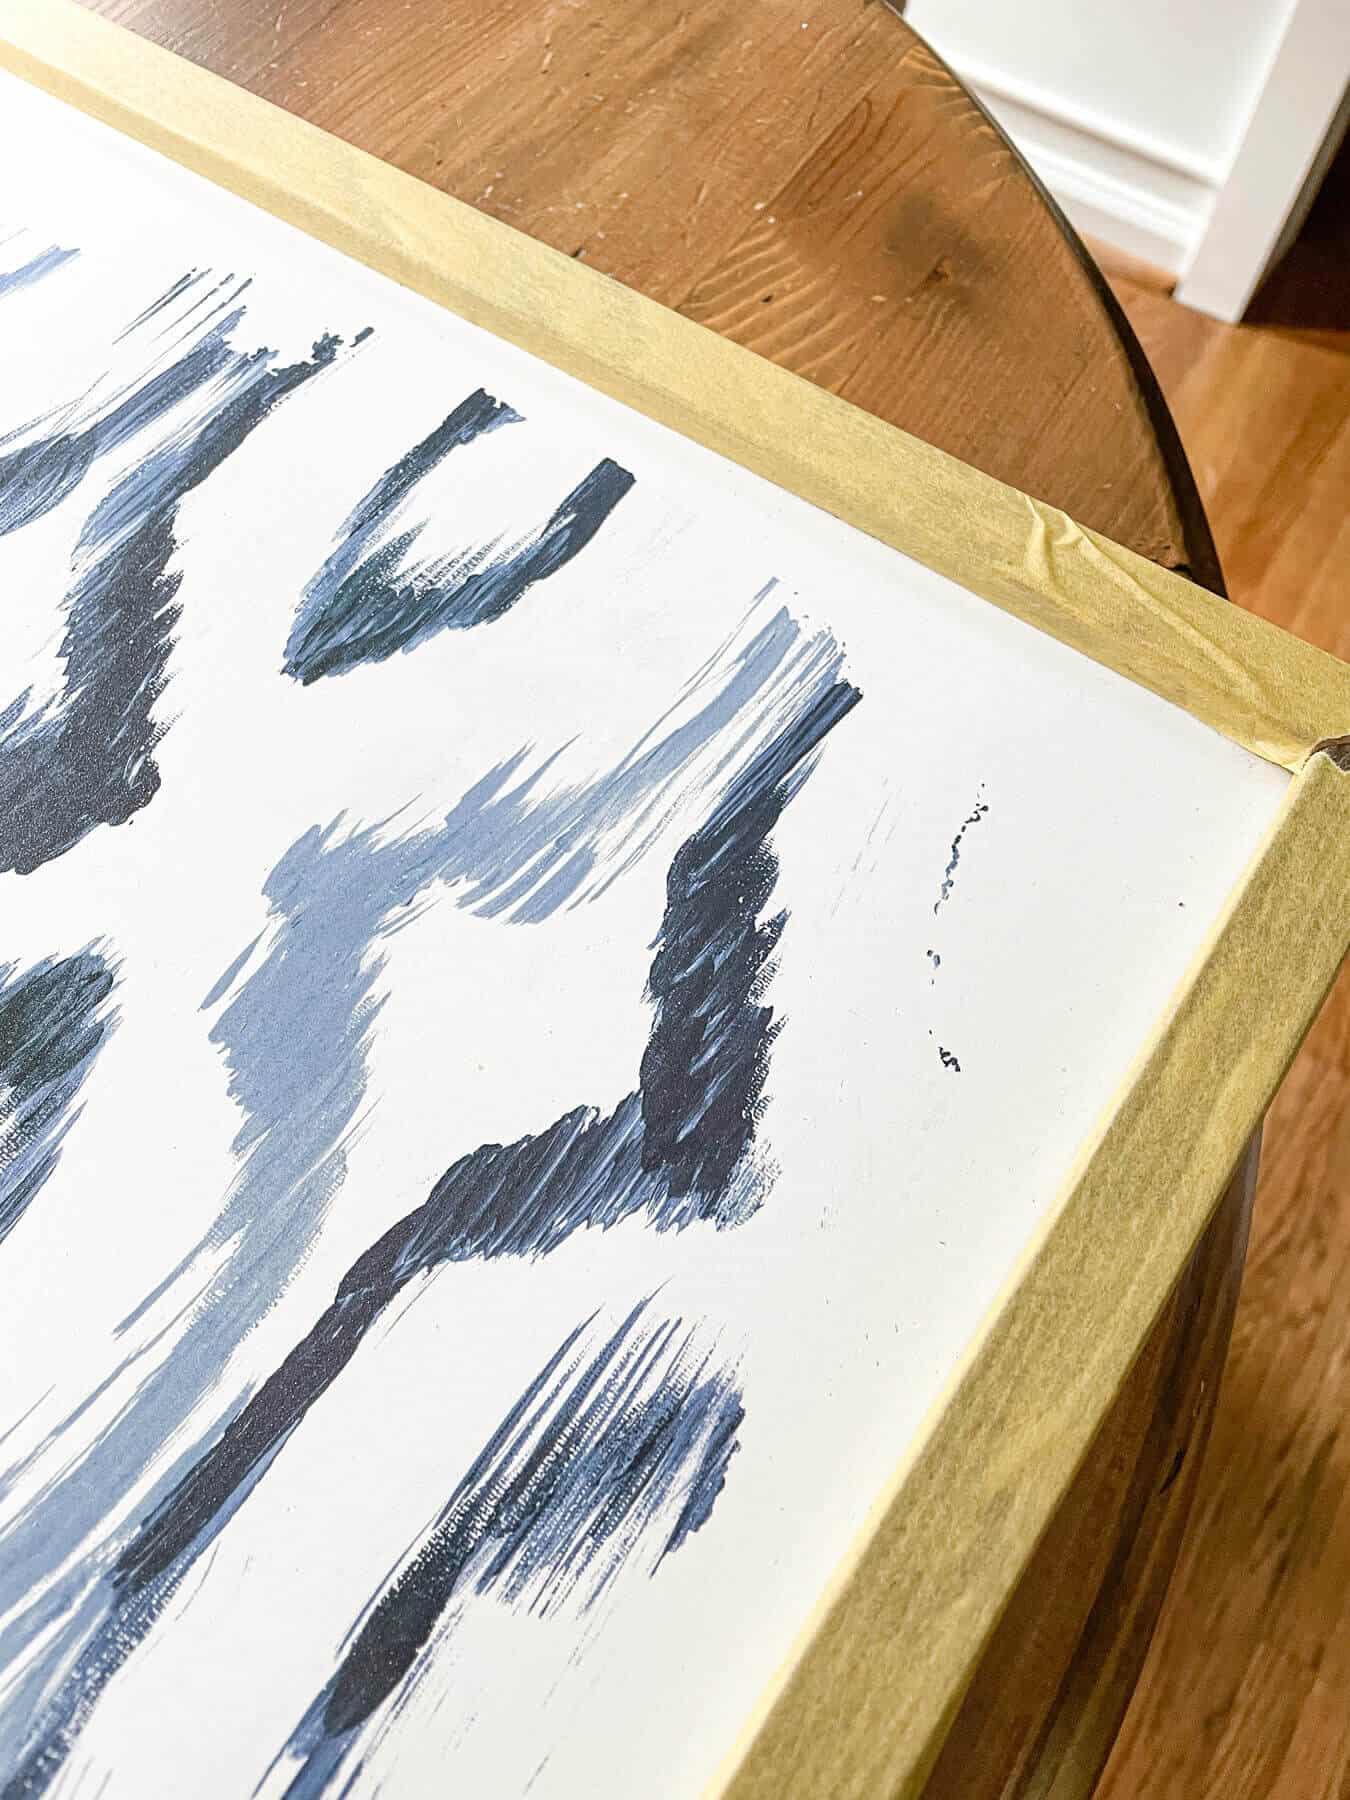
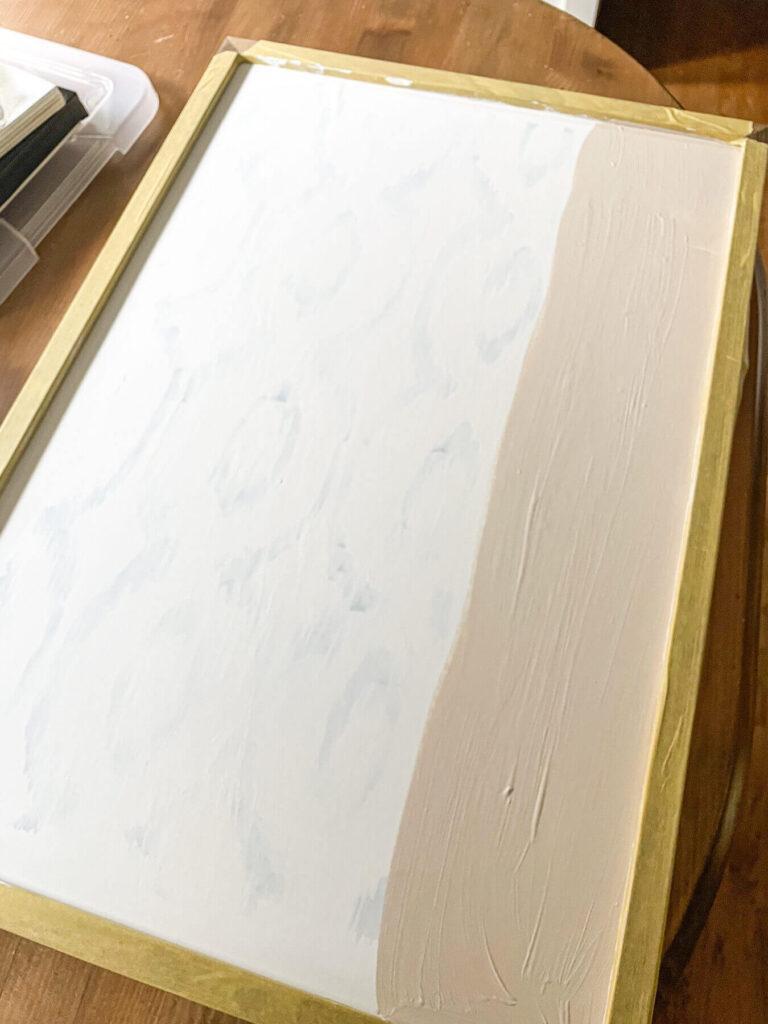
Since my artwork was already in a wood frame, the first step I made was to tape off the frame to keep any paint from getting on it.
That way I could paint the edges of the canvas to get full coverage.
Next, I took some white paint and covered the entire picture.
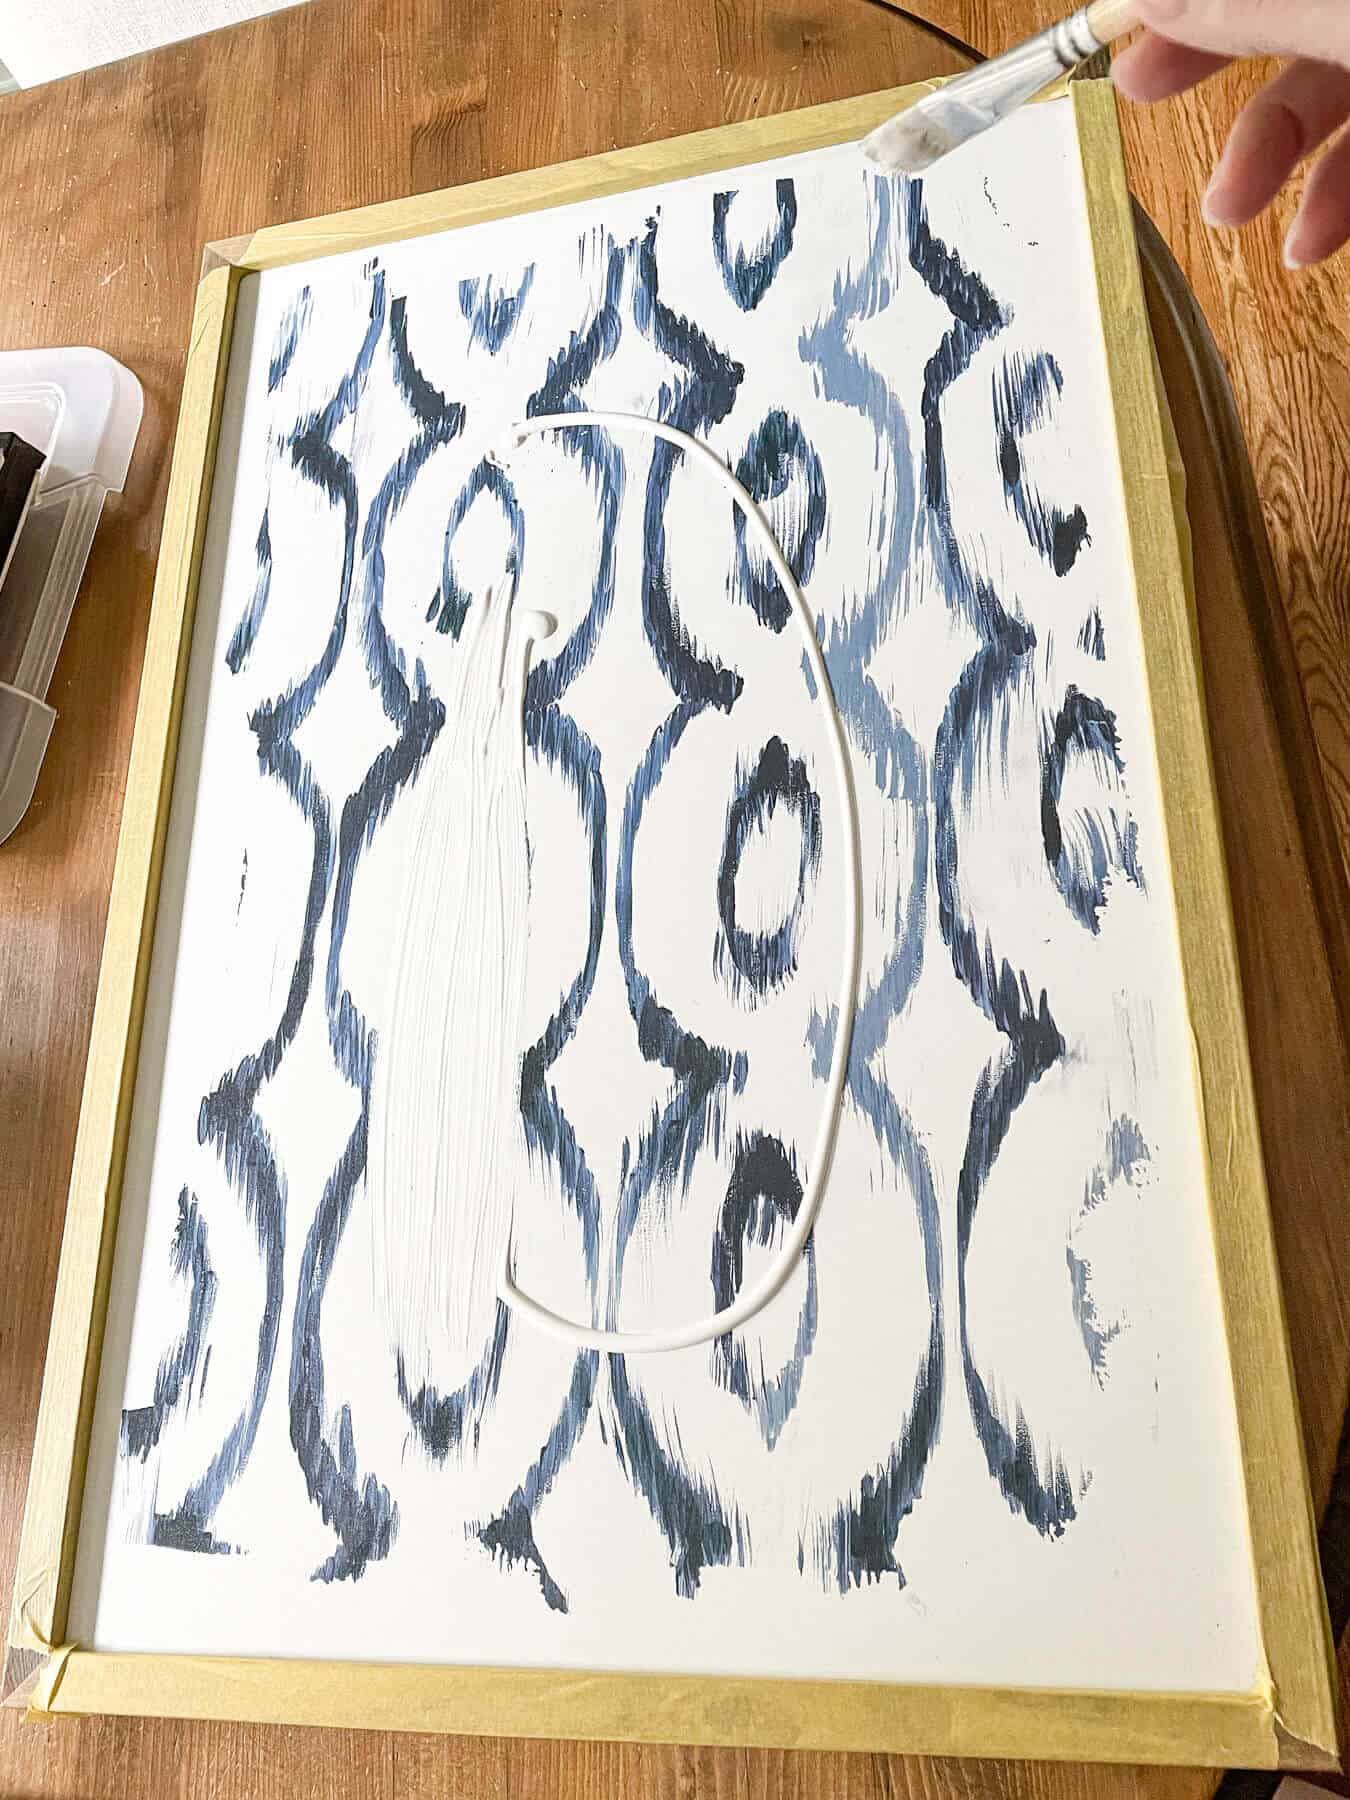
As you can see, I just poured it directly onto the surface.
I did find I had to keep adding more to get full coverage for this first coat. And I also switched to a large brush to make this first step quicker.
Once you have your base color applied, allow it to dry for a little bit to see if you need another coat.
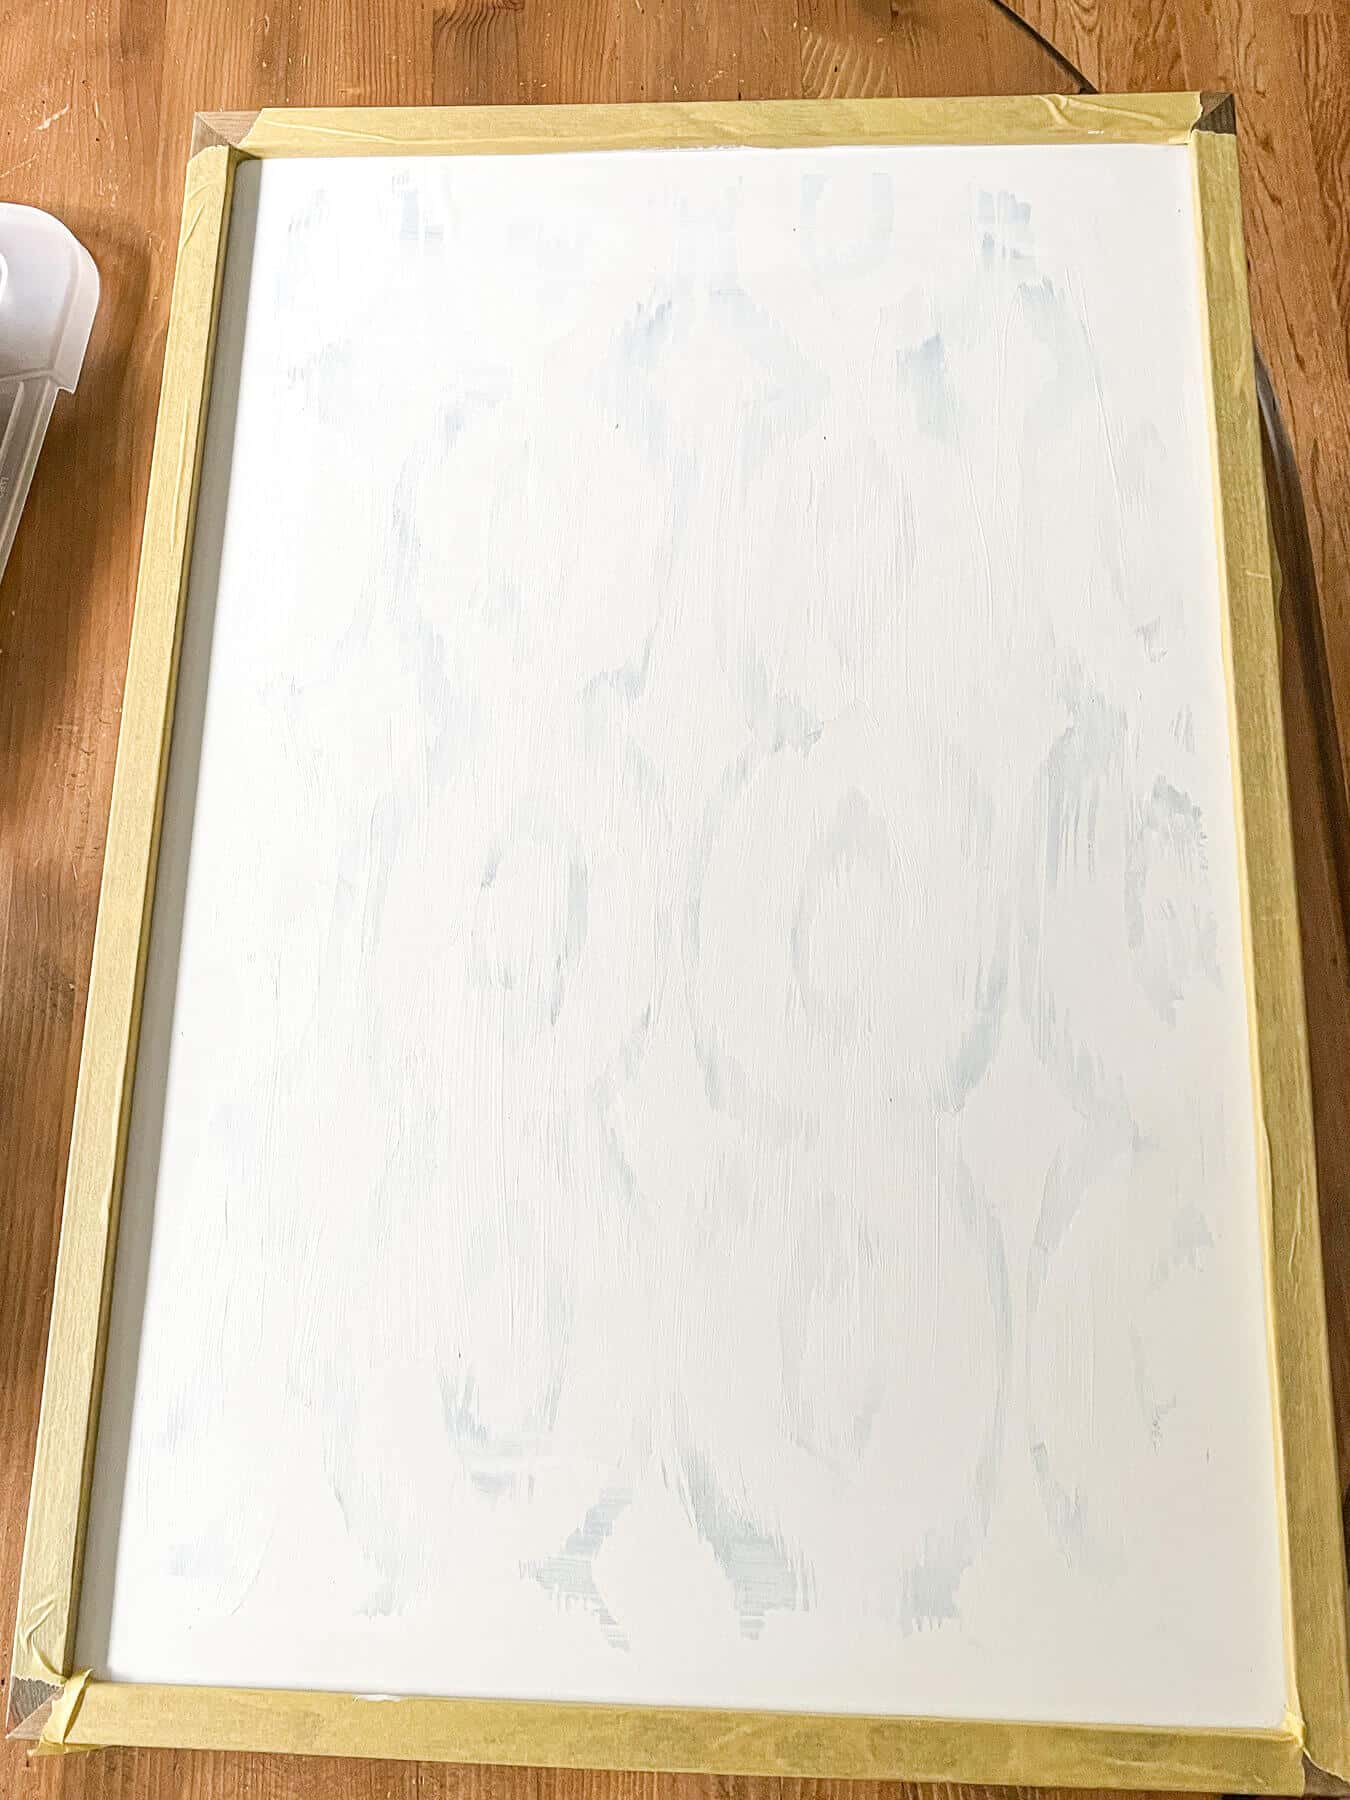
That’s what happened to me, so I added another coat of my white acrylic paint on top.
On a closer look, I noticed that the blue print was somewhat embossed, which I thought would only add character to my abstract artwork.
After the second layer was applied, I started adding my colors.
I started with a warm beige, then added a bit of gray, and then mixed the colors together.
My father in law loves to paint and he once told me that you start with your darker colors first and then add the lighter colors on top.
Now this isn’t a detailed abstract art technique with an exact step along the way.
Honestly, I just winged it. And the worst thing that could go wrong was that I would have to start over again.
After my dark colors were layered, I started adding more white back into the painting with random brush strokes.
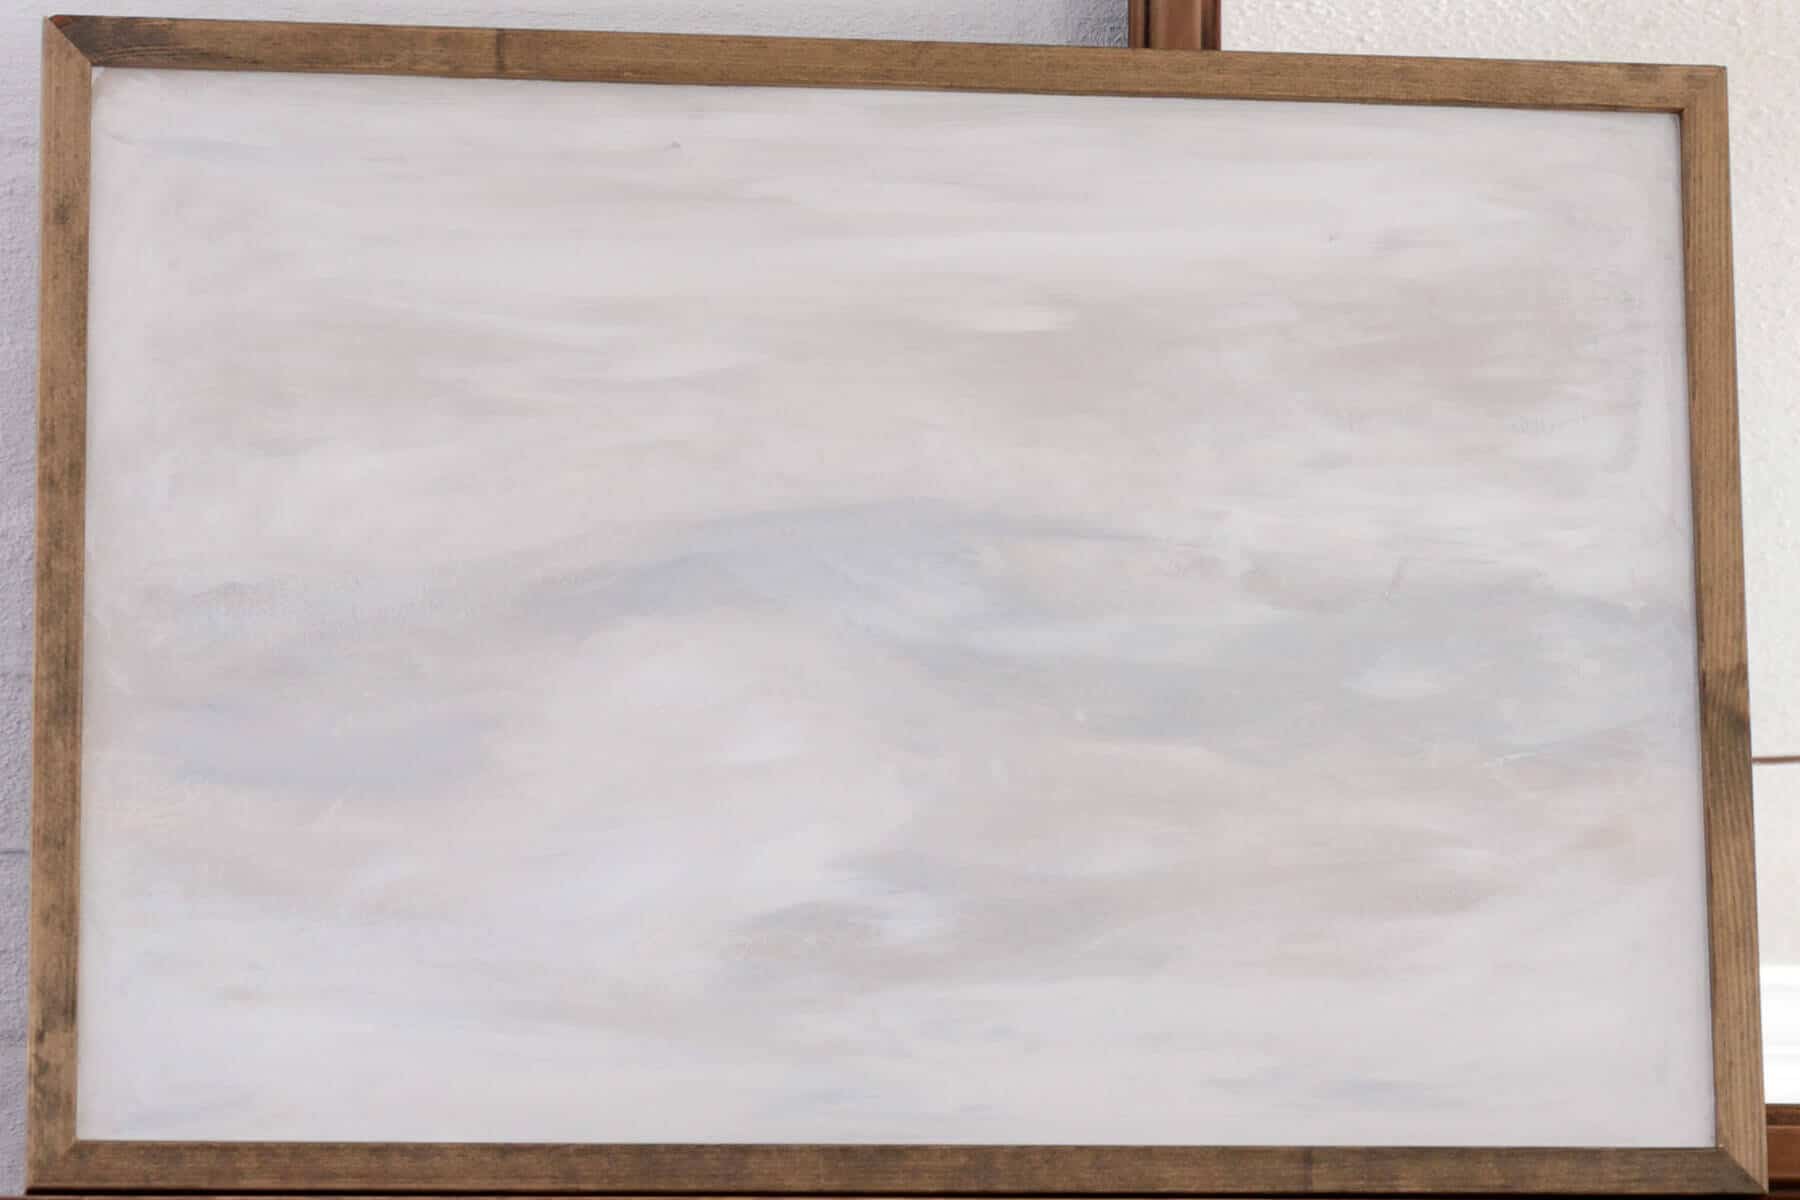
I found working with the layers of paint while they were still wet an easy way to get the look I wanted.
There’s really no wrong way to do this.
The fun part was mixing the paint strokes until I got the look I was pleased with.
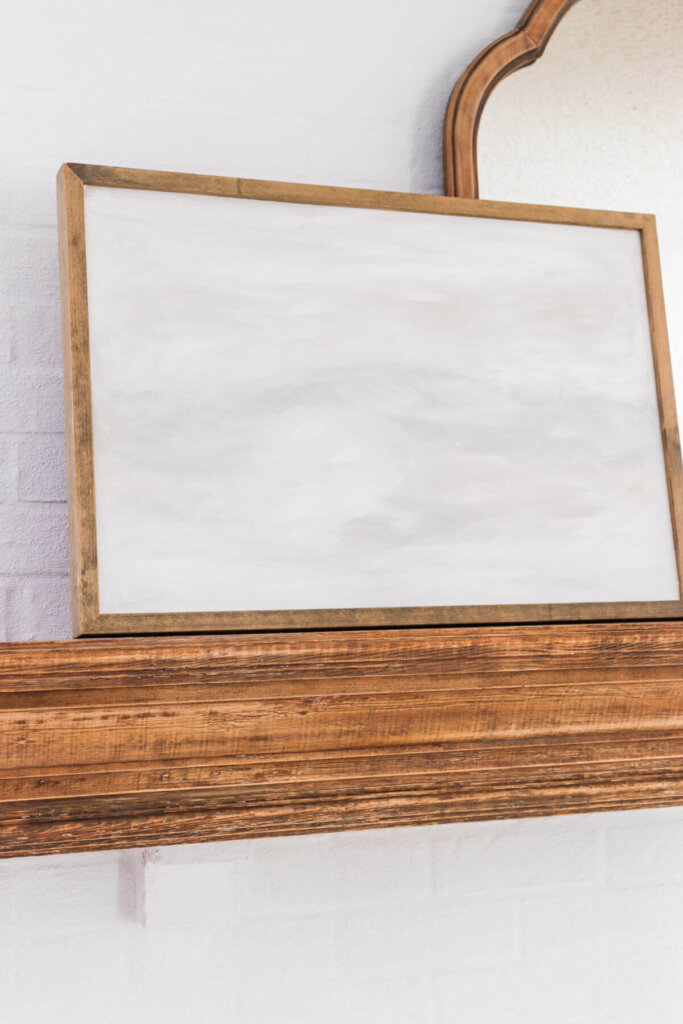
Once it was dry, the final step was removing the painter’s tape and setting it in place for display.
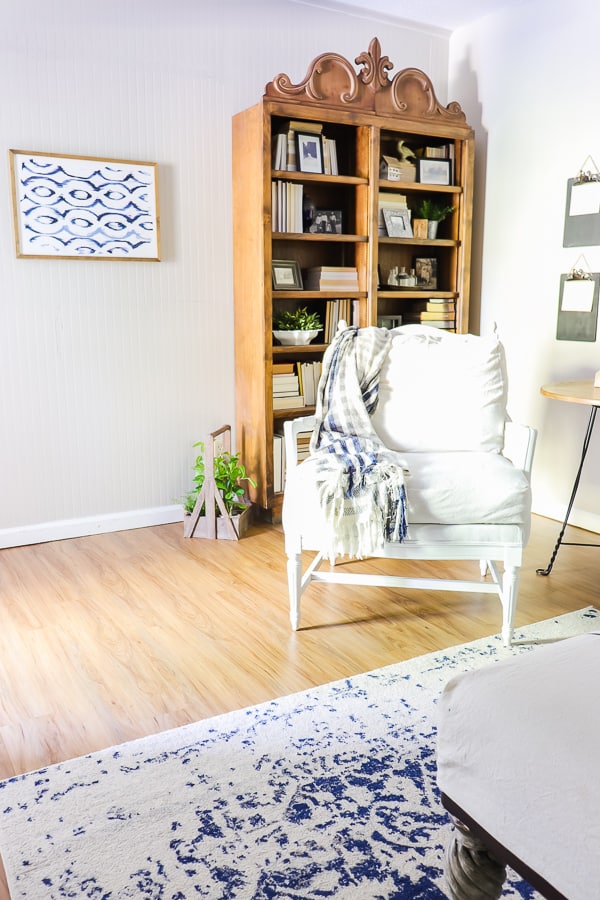
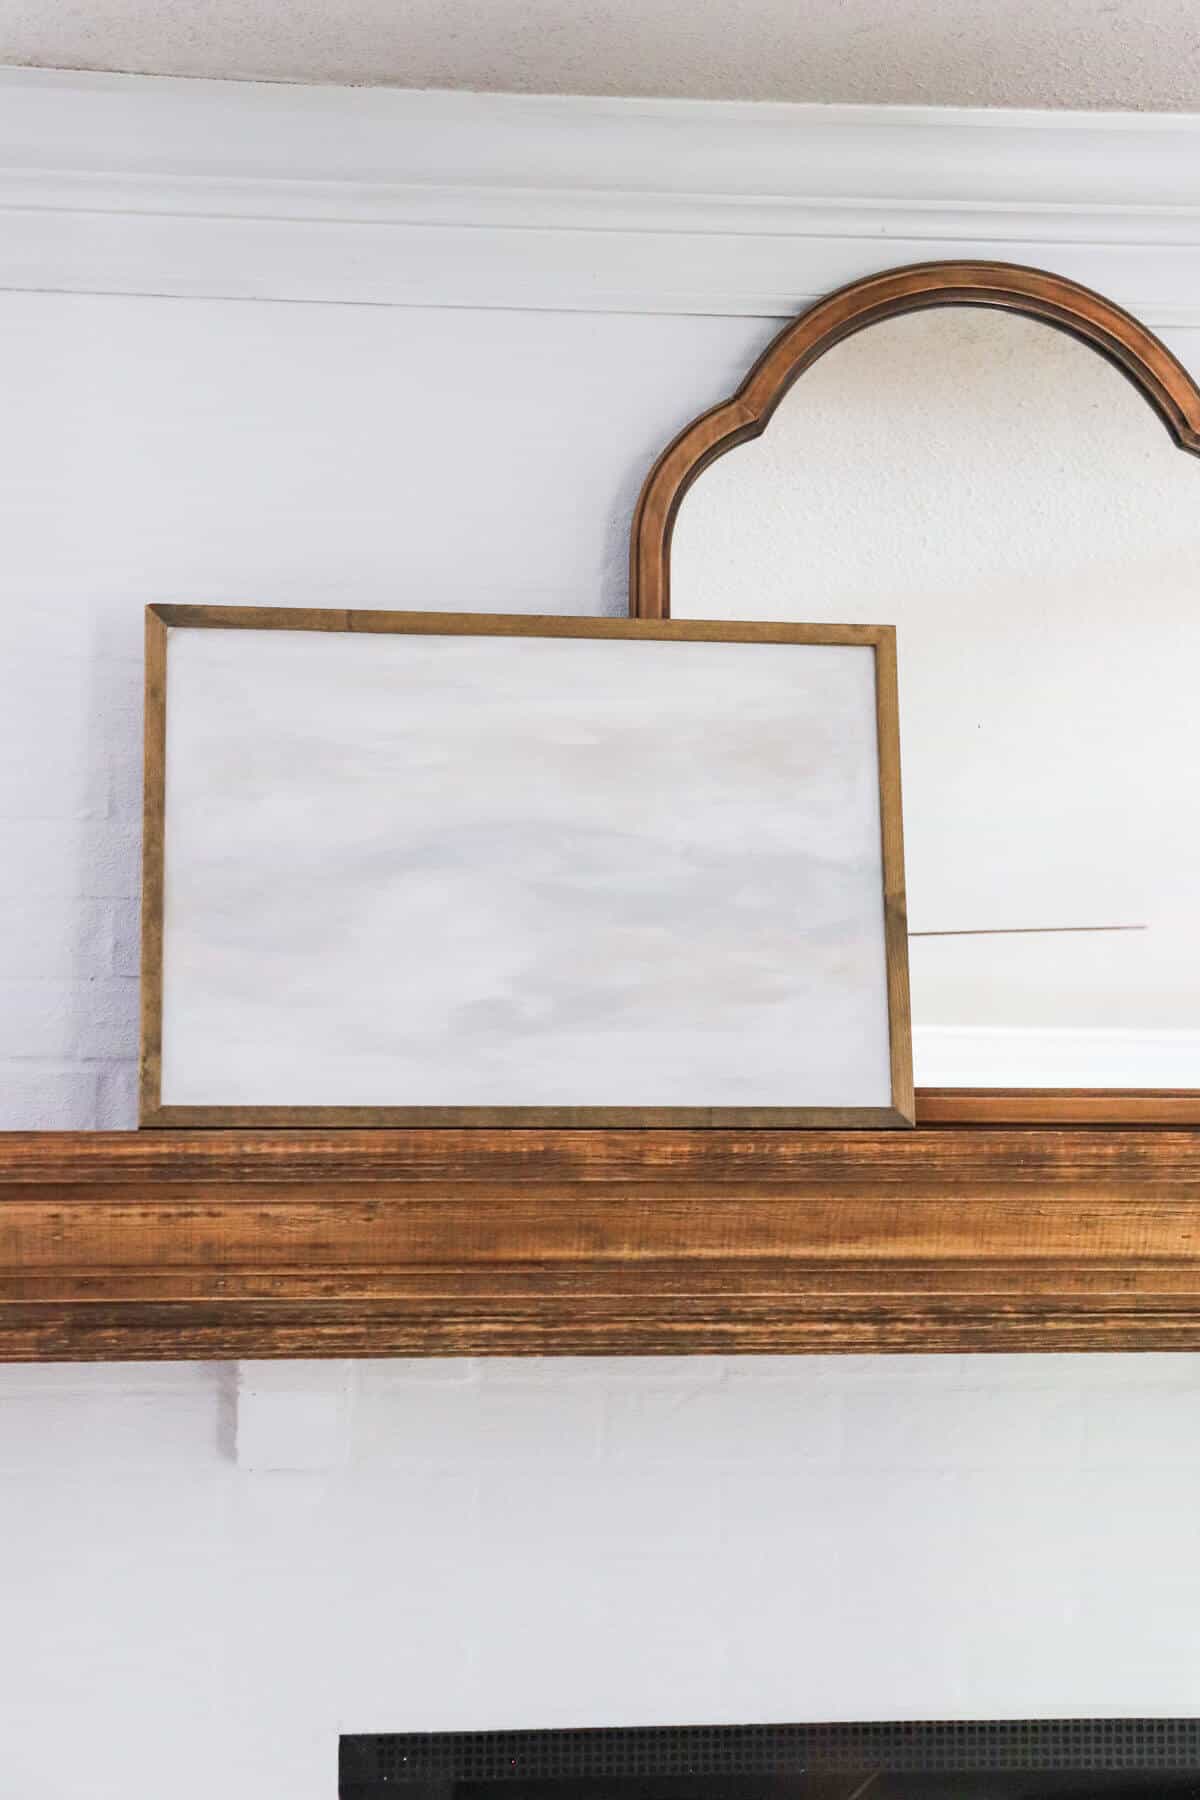
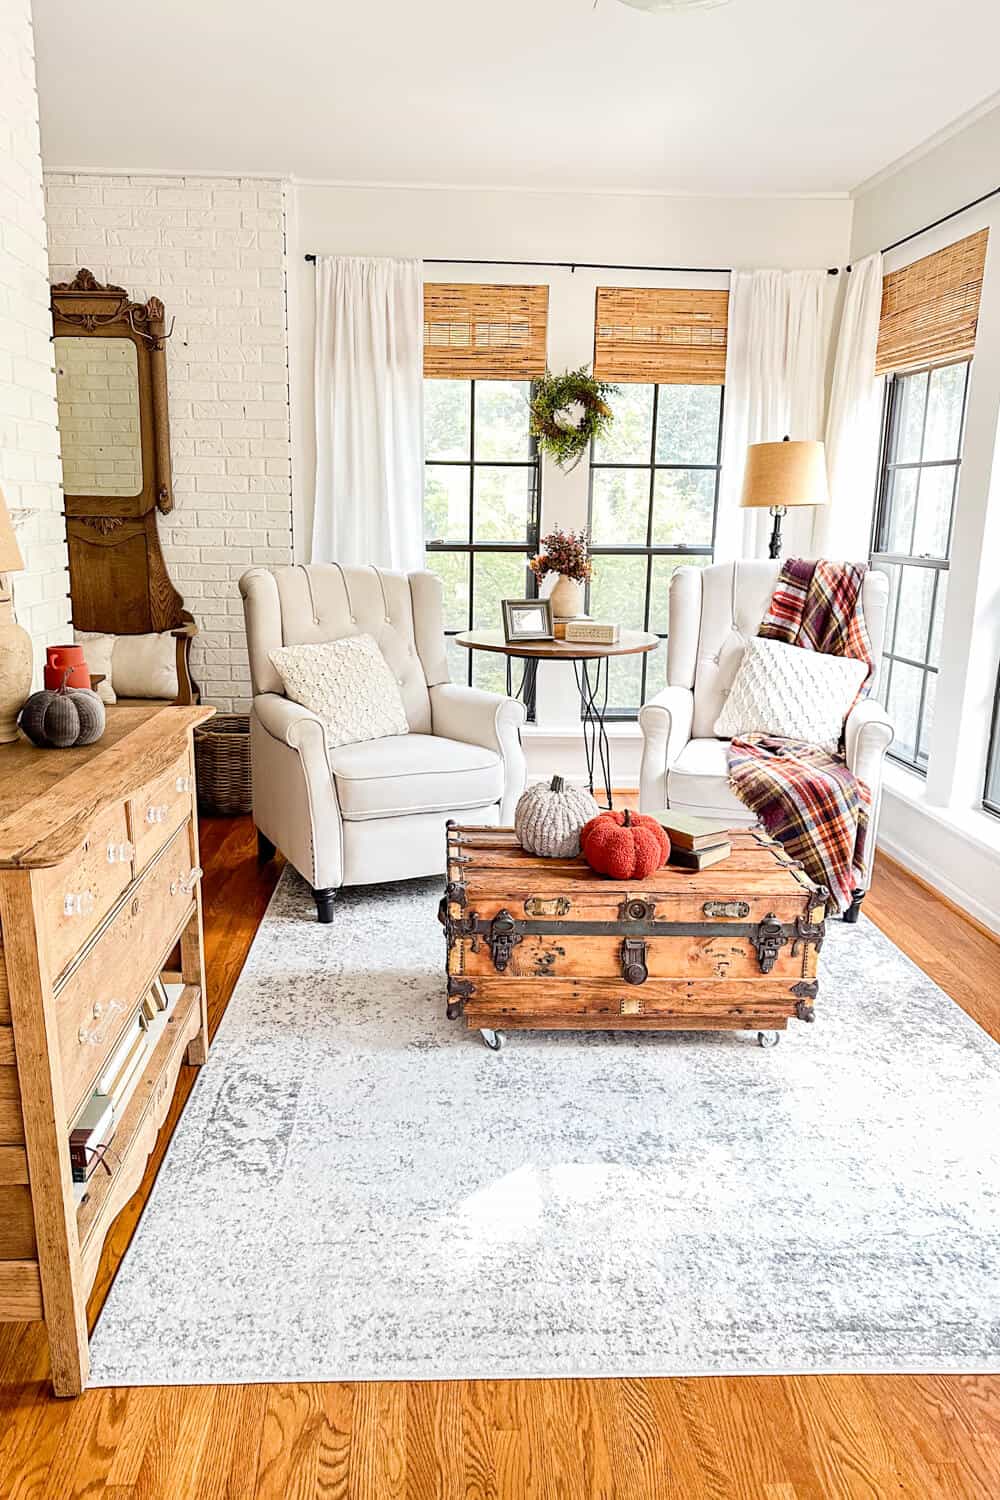
Here it is sitting on my mantel in my living room.
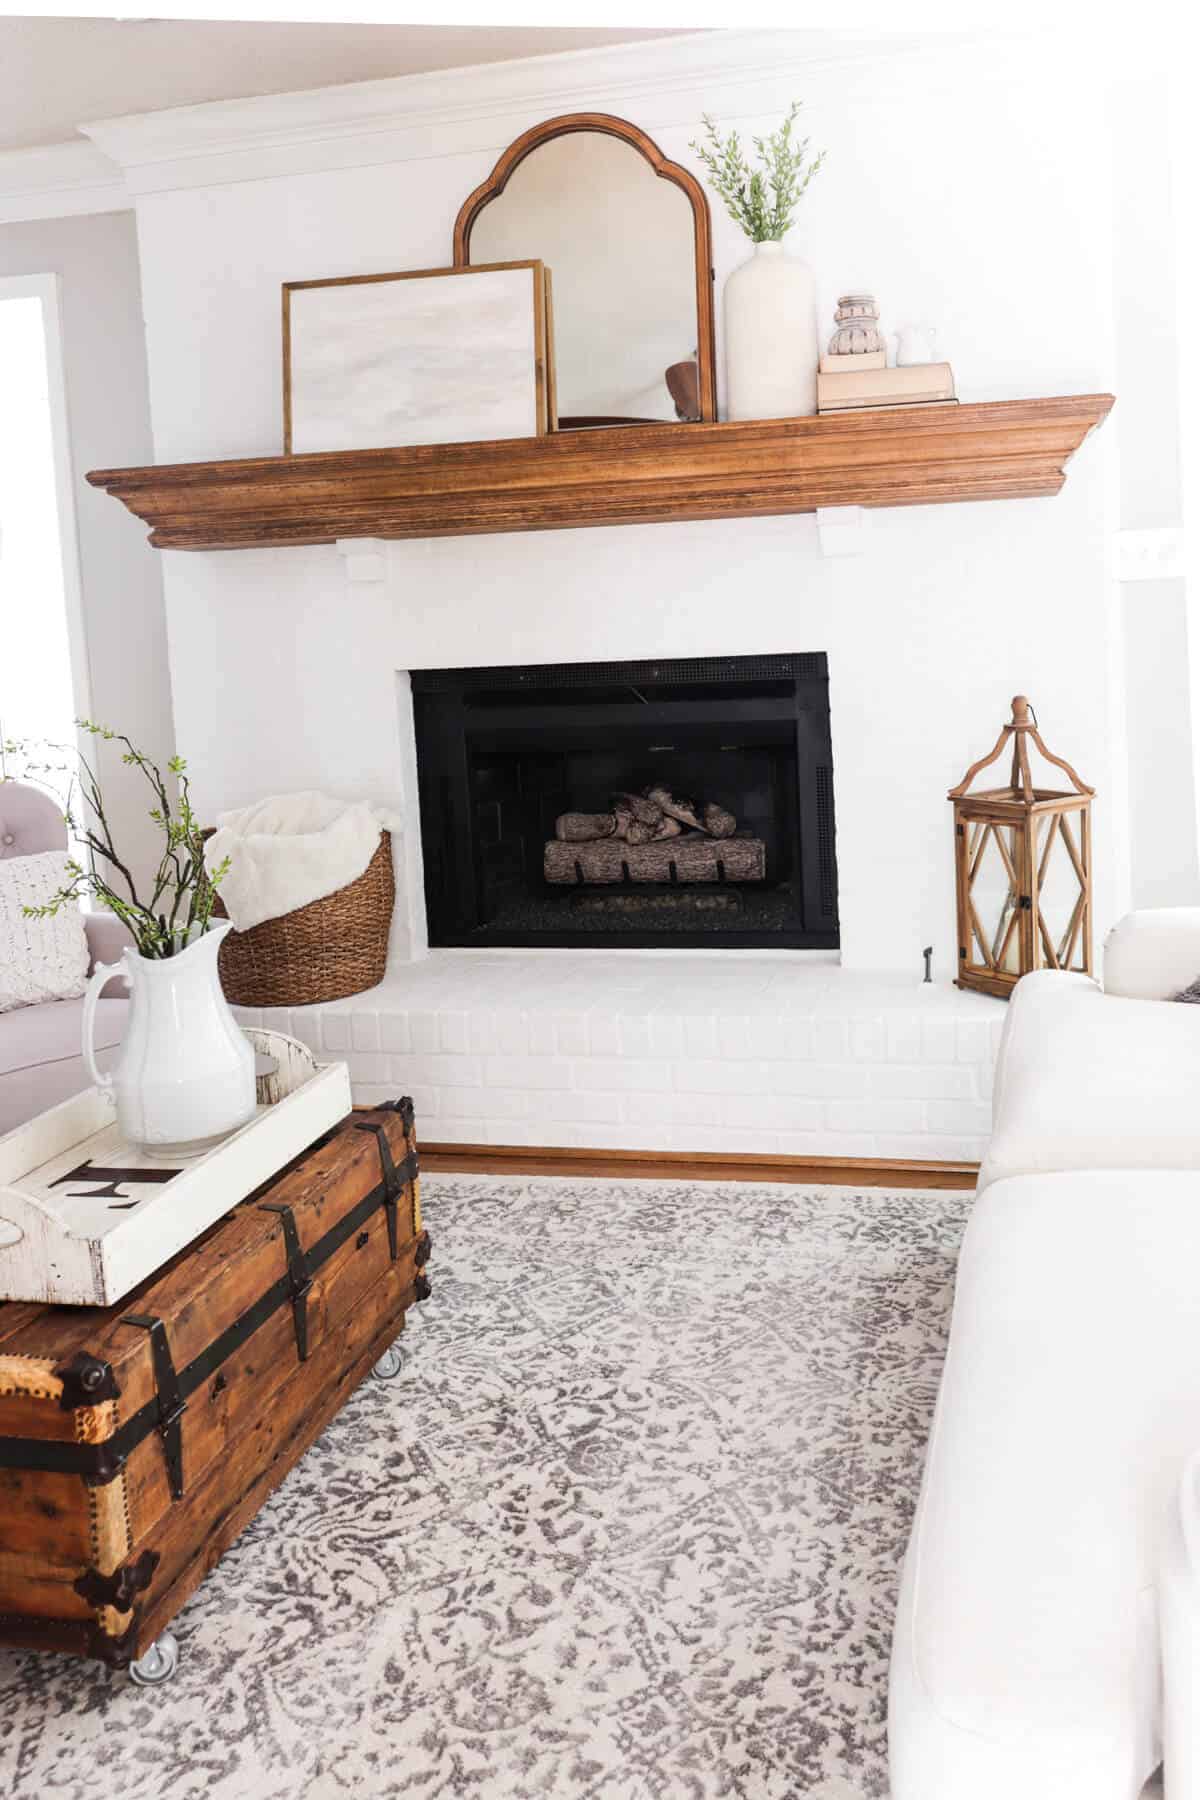
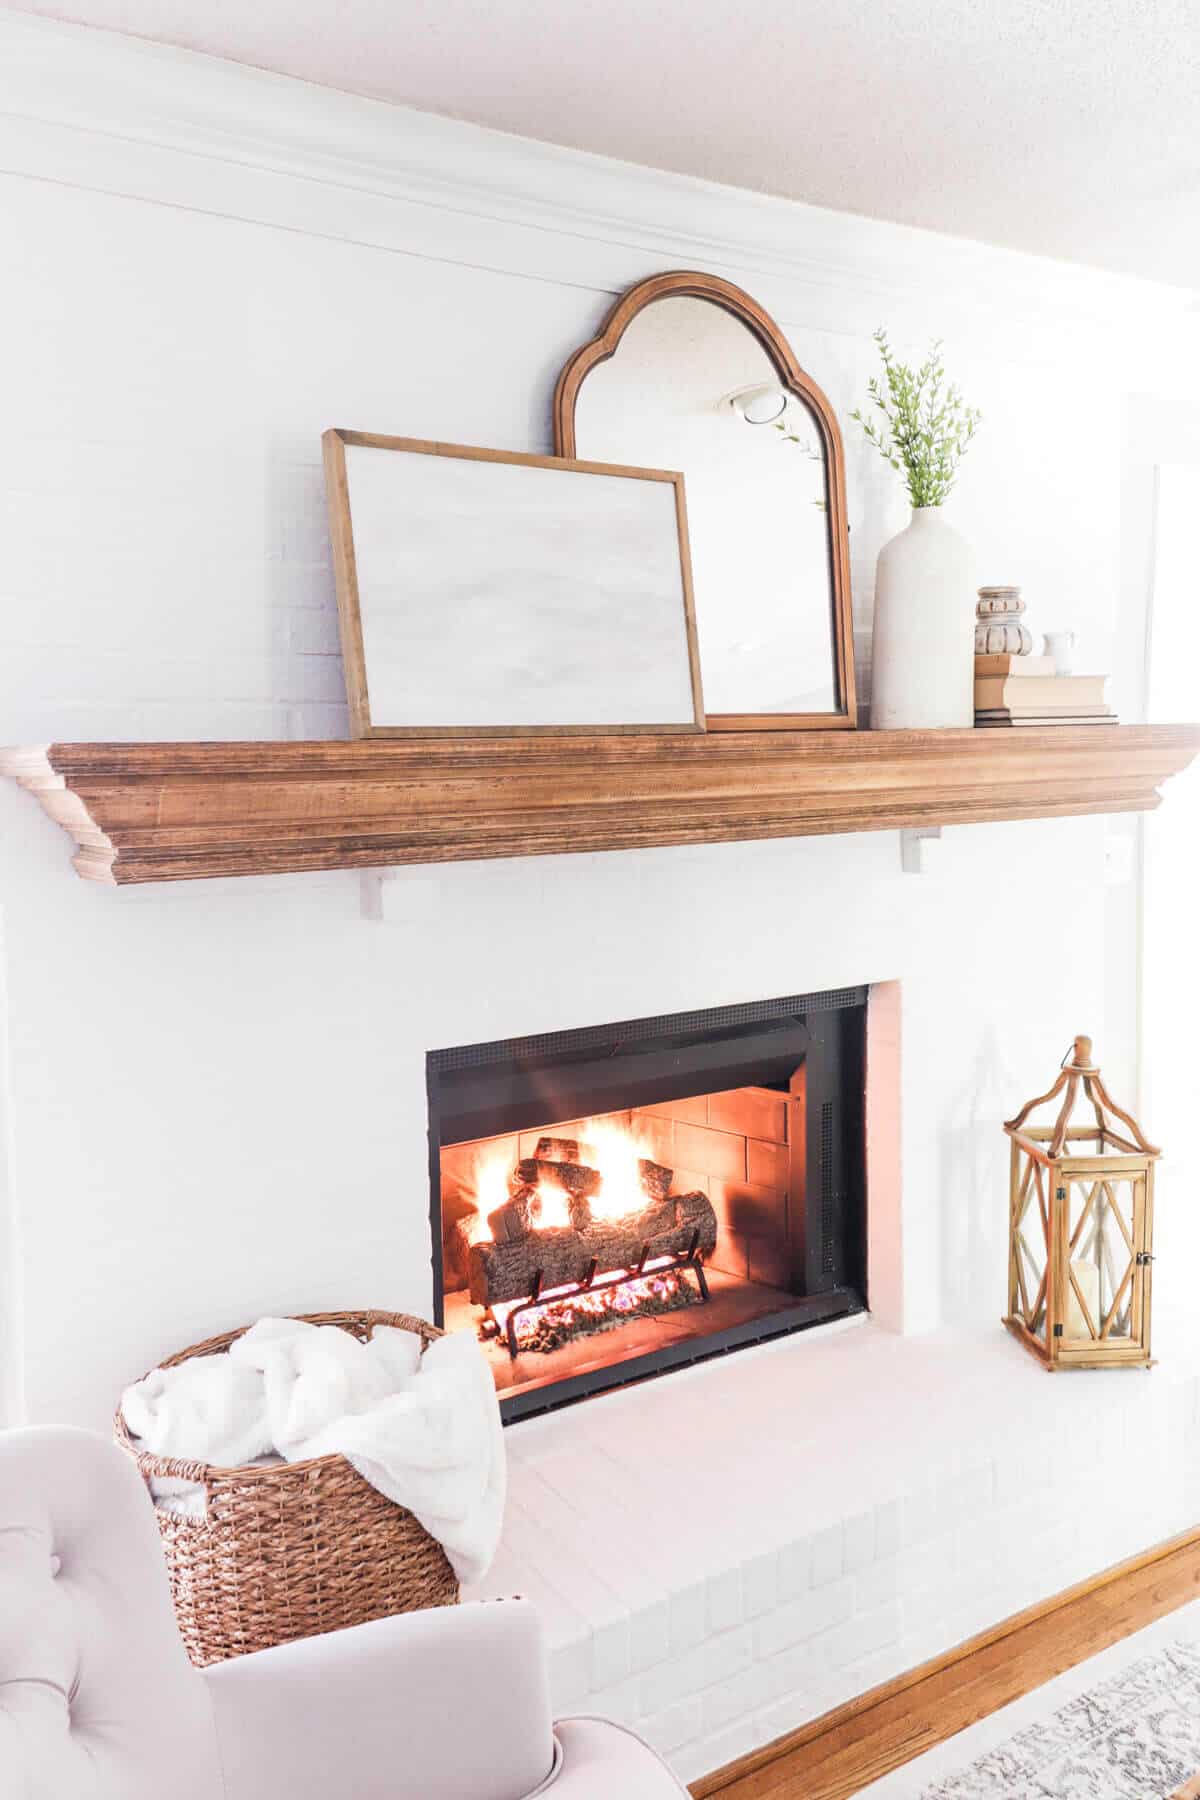
I wanted something soft and muted that wouldn’t take away from the focal points of my fireplace and new gas logs!
Stay tuned, because I will be sharing the details on the gas logs soon!
So I hope these easy steps inspire you to create your own abstract art pieces.
And the great thing is there are so many different mediums you could try.
Tissue Paper or drywall mud would be an easy way to add texture. You could even add gold leaf for a splash of shine or use a palette knife to carve details into your final piece! Or explore different techniques to get the look you want.
You can make your own diy abstract art for your home catered to your decor.
And the best thing is that you will be happy knowing that you did this fun project yourself.
So if you have an old canvas laying around that isn’t your style anymore, try making yourself some new art with this cool tutorial.
And I have a huge treat for you all! I am joining a few of my friends as we are each sharing something that we are updating, making over, or refreshing in our homes. We’re calling it New Again, where we are giving new life to something.
So be sure to check out all the awesome posts below!
New Again

A Life Unfolding
Using Vintage Suitcases in Decor

Noting Grace
Turning an Old Picture Into Artwork
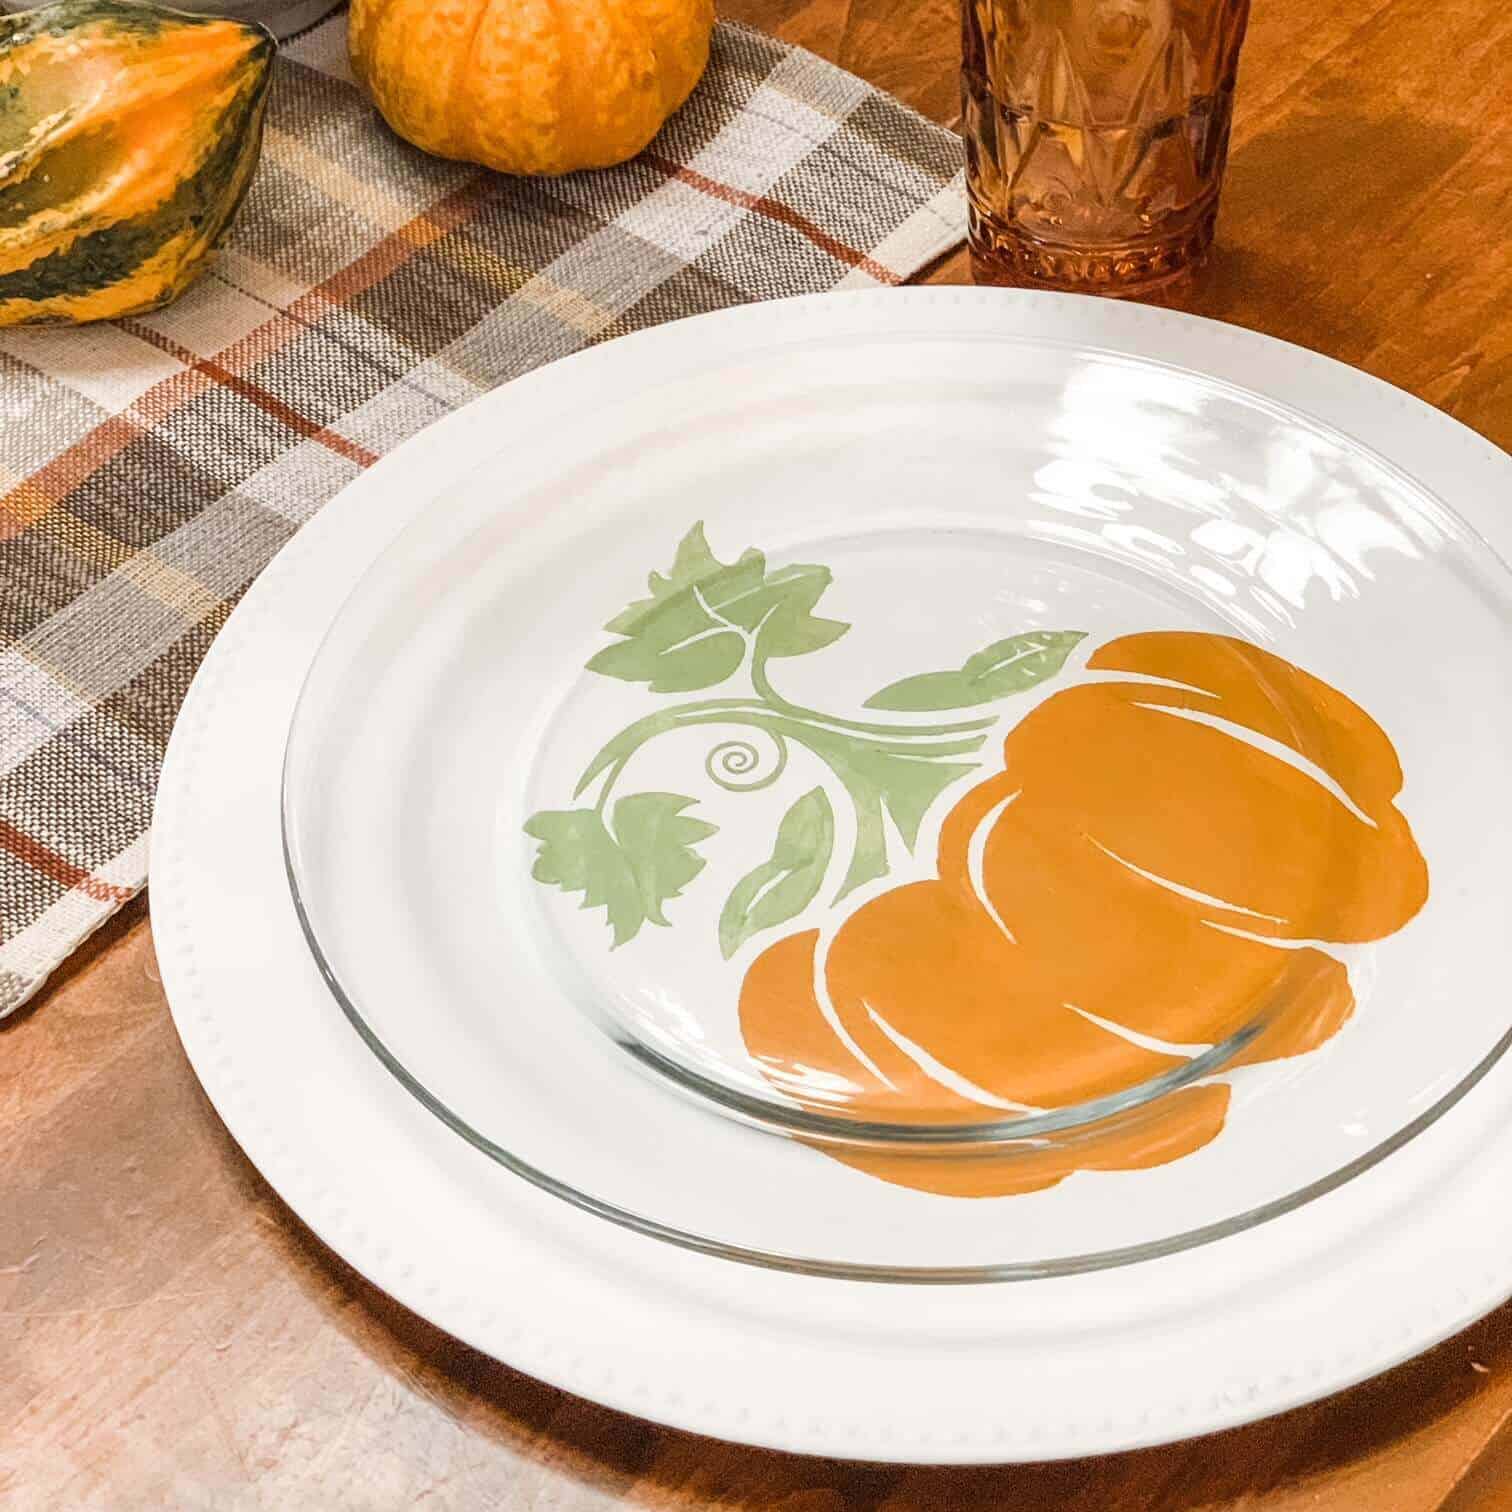
Roots of Home
DIY Pumpkin Painted Chargers for Fall
Sand Dollar Lane
How To Decorate Kitchen Shelves


Thank you, Leen! I love being able to save money by repurposing home decor!
What a clever idea, Jen! I love the soothing colors and the wood frame looks great on your mantle too!