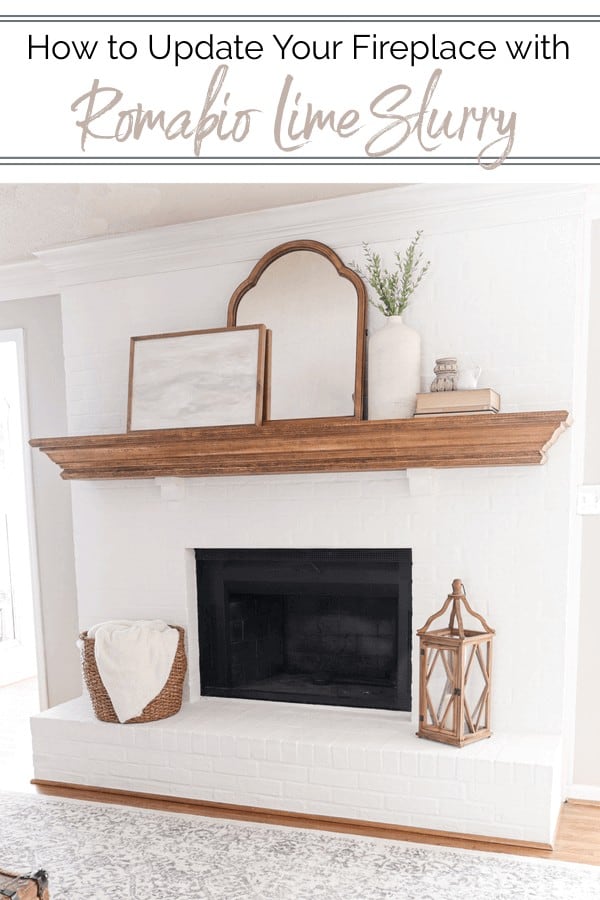
How to Makeover a Brick Fireplace with Lime Slurry
Lime Slurry is the latest trend that is here to stay and I am so excited to show you how to lime slurry a brick fireplace in just one weekend!
We are constantly improving on the DIY projects we have done.
A tweak here or a quick update there.
But this is by far one of my favorite projects we’ve completed! And it’s a DIY project you can do, too!
If your fireplace has an old brick color that doesn’t suit your style, then this will bring new life with a unique look for your home.
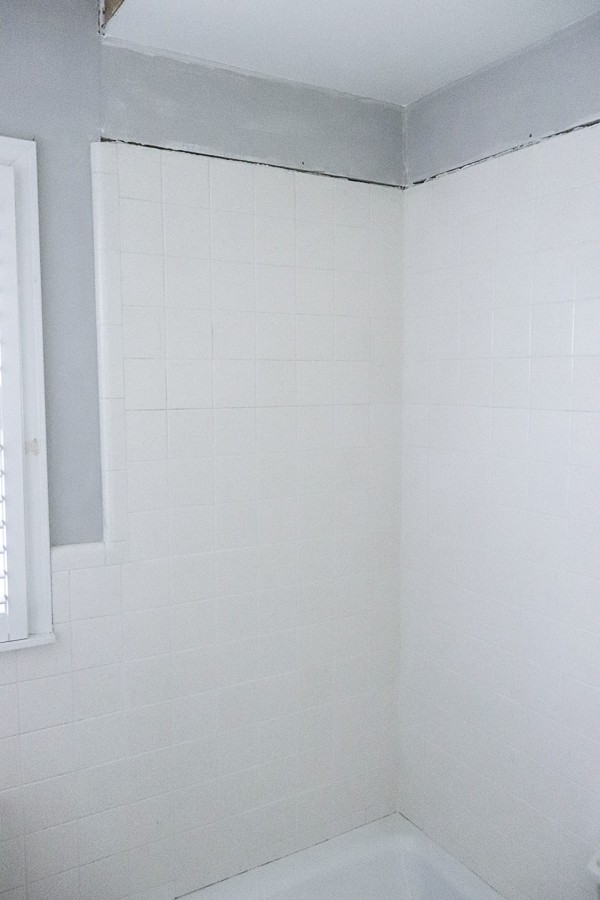
A few years ago, we gave our ugly brick fireplace covered in latex paint an update using Romabio MicroGrip Primer and Masonry Flat Paint.
And while it was a stunning finish, I couldn’t get past the ugly divots and worm markings in the brick.
So when Romabio came out with their Lime Slurry – I knew I had found the solution for my fireplace.
Even though I was ready to dive right into this project, a few weeks ago, I shared how I had to take an initial step in preparing my fireplace for a lime slurry application.
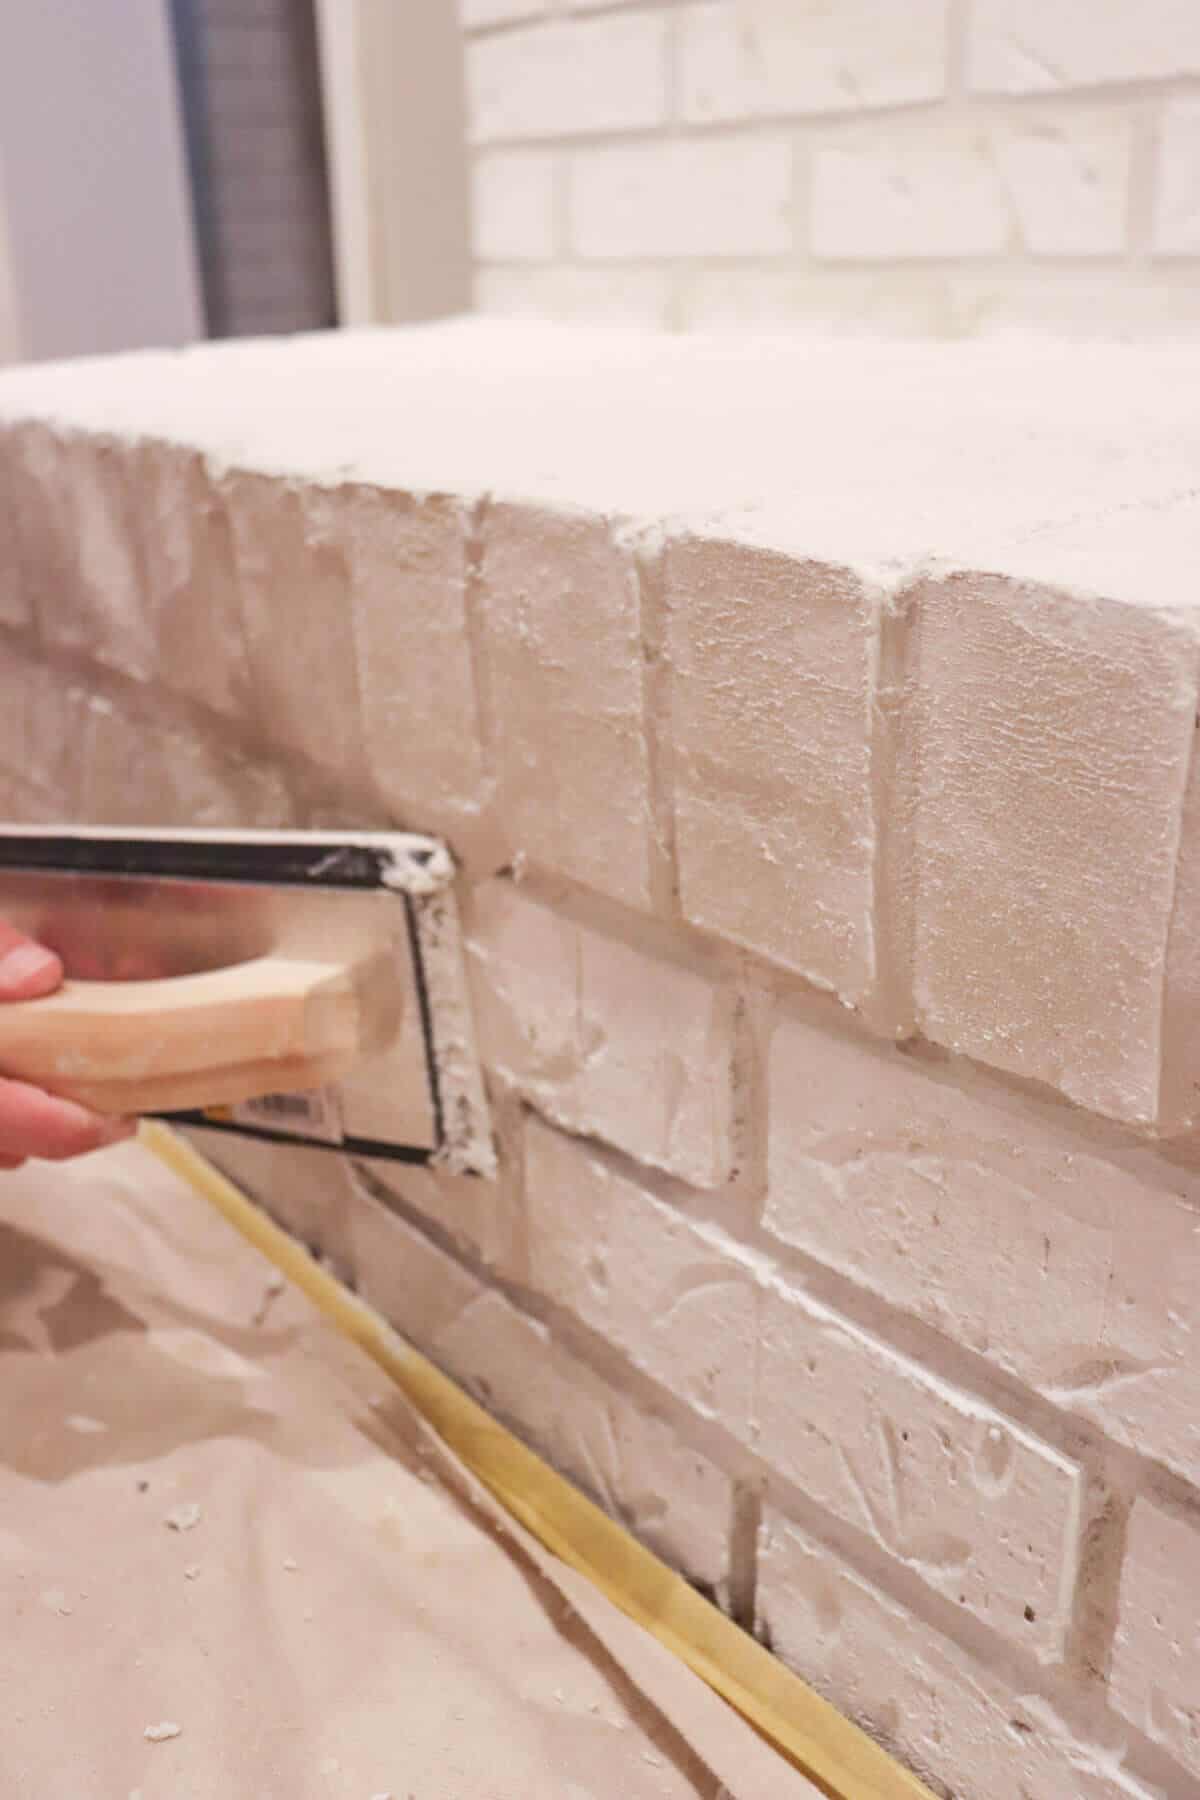
I spoke with the team at Romabio and explained the stucco look I was wanting to achieve. I quickly learned that I had excessively deep mortar joints that needed to be addressed first.
So we added more mortar to our fireplace joints to help get the exact finish of my dreams.
What is Lime Slurry?
It is a textured Italian lime paint made by Romabio and used for unpainted brick, stone or masonry surfaces. What I love most about this company is the history. Taking authentic Dolomite lime from the mines in Northern Italy for half a century, Romabio has formulated two uses for slaked lime and this type of paint is by far my favorite!
Not only have they created an amazing limewash paint that we’ve used many times, but they added the texture to their lime formula creating their Lime Slurry.
Once applied, it creates this stunning, flat European finish that fill almost every street on those historical buildings in Italy.
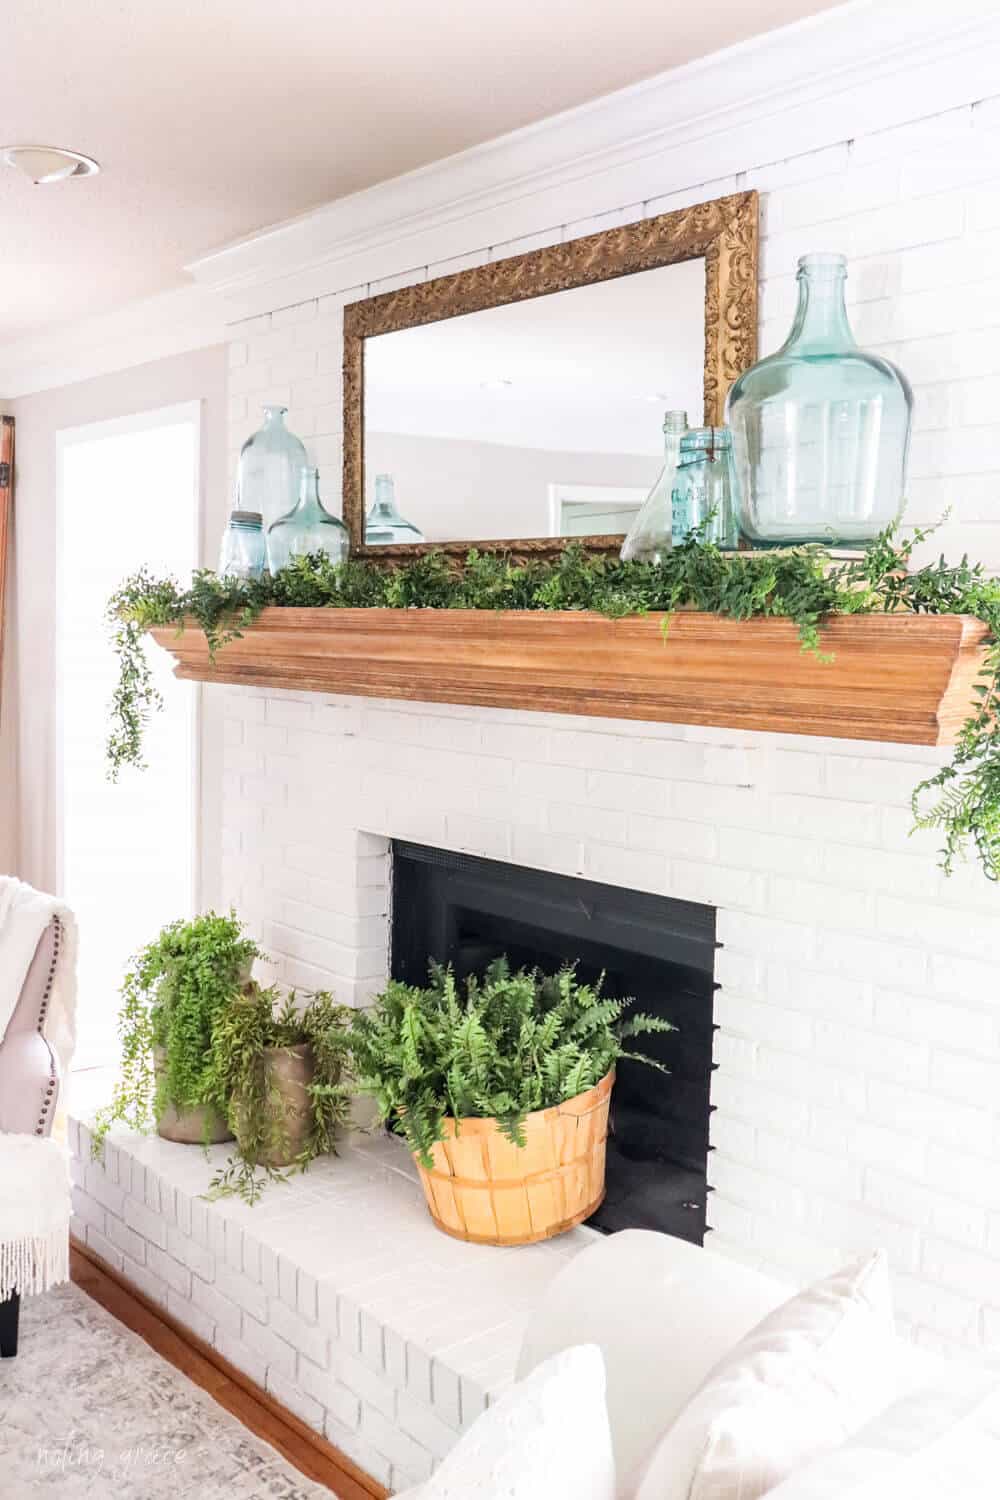
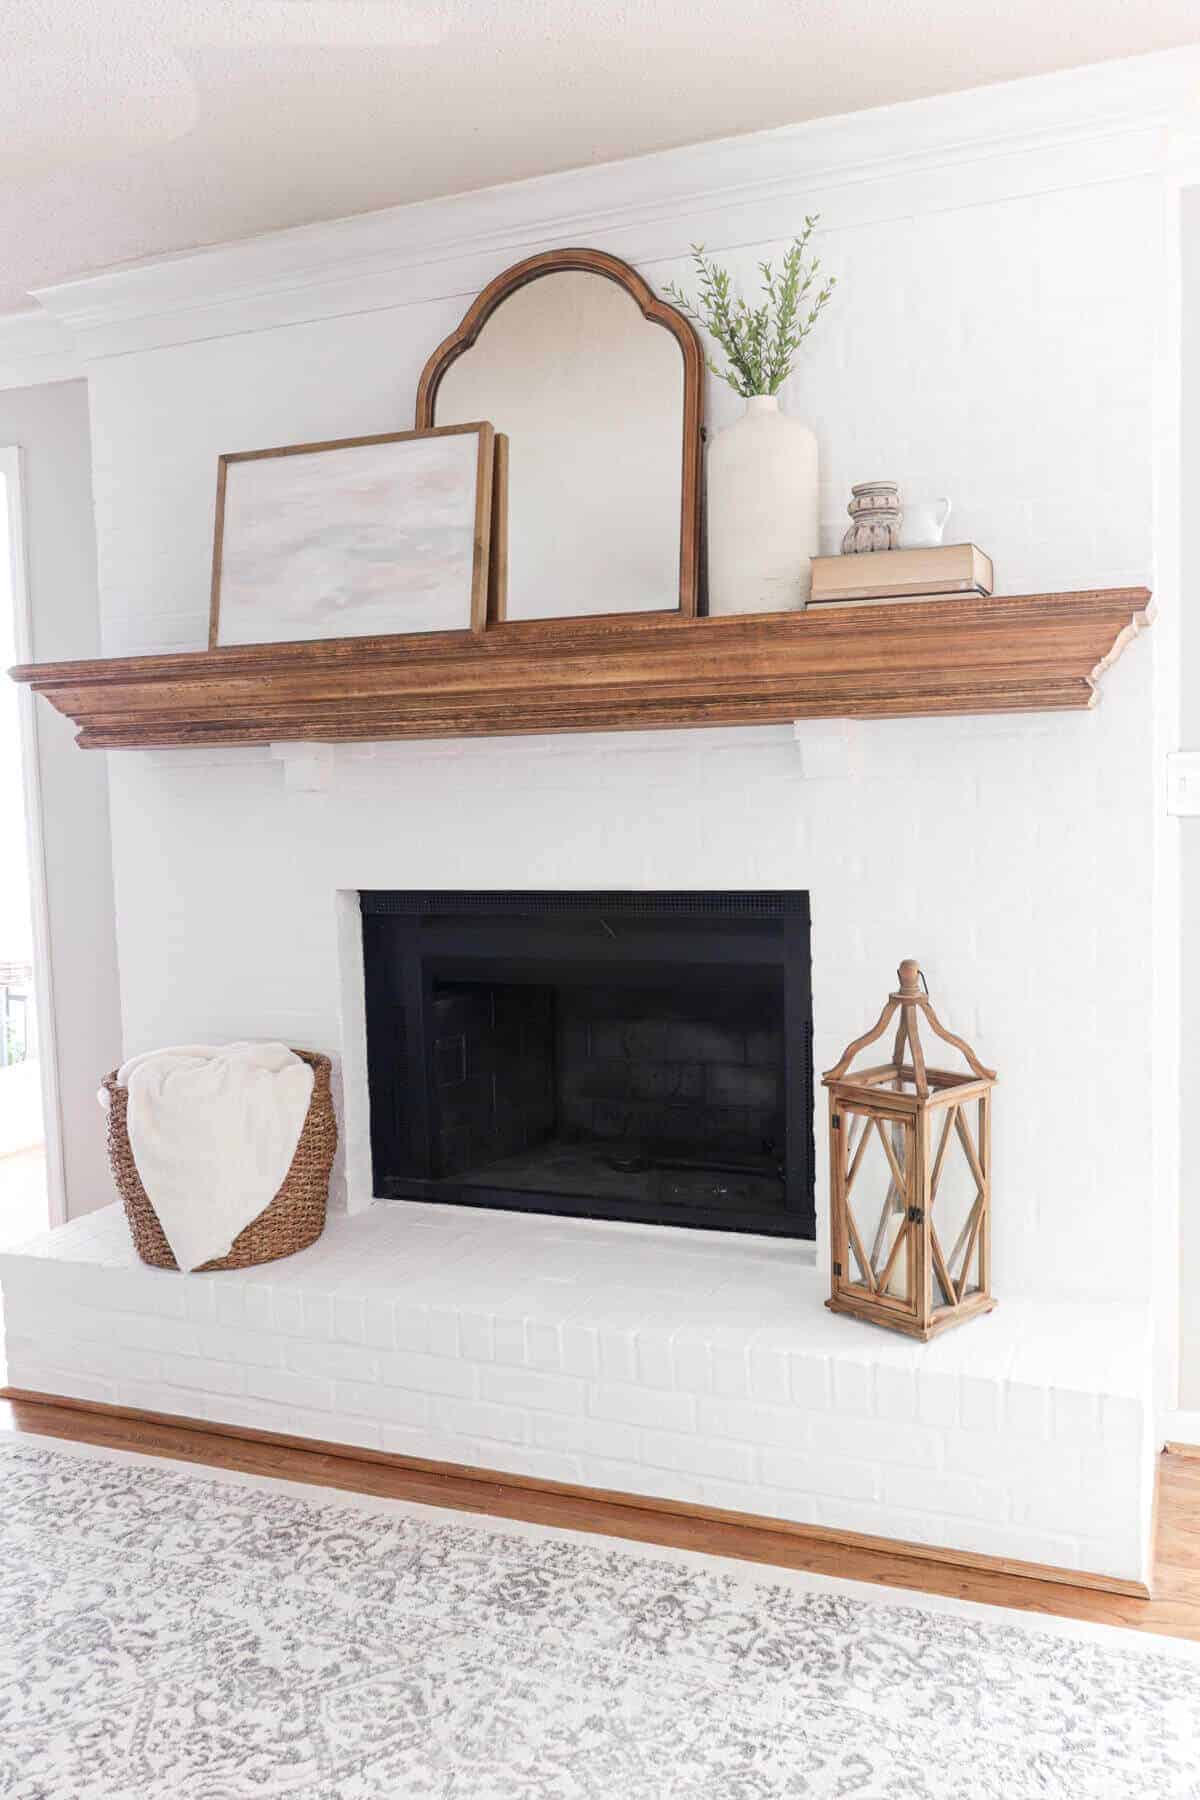
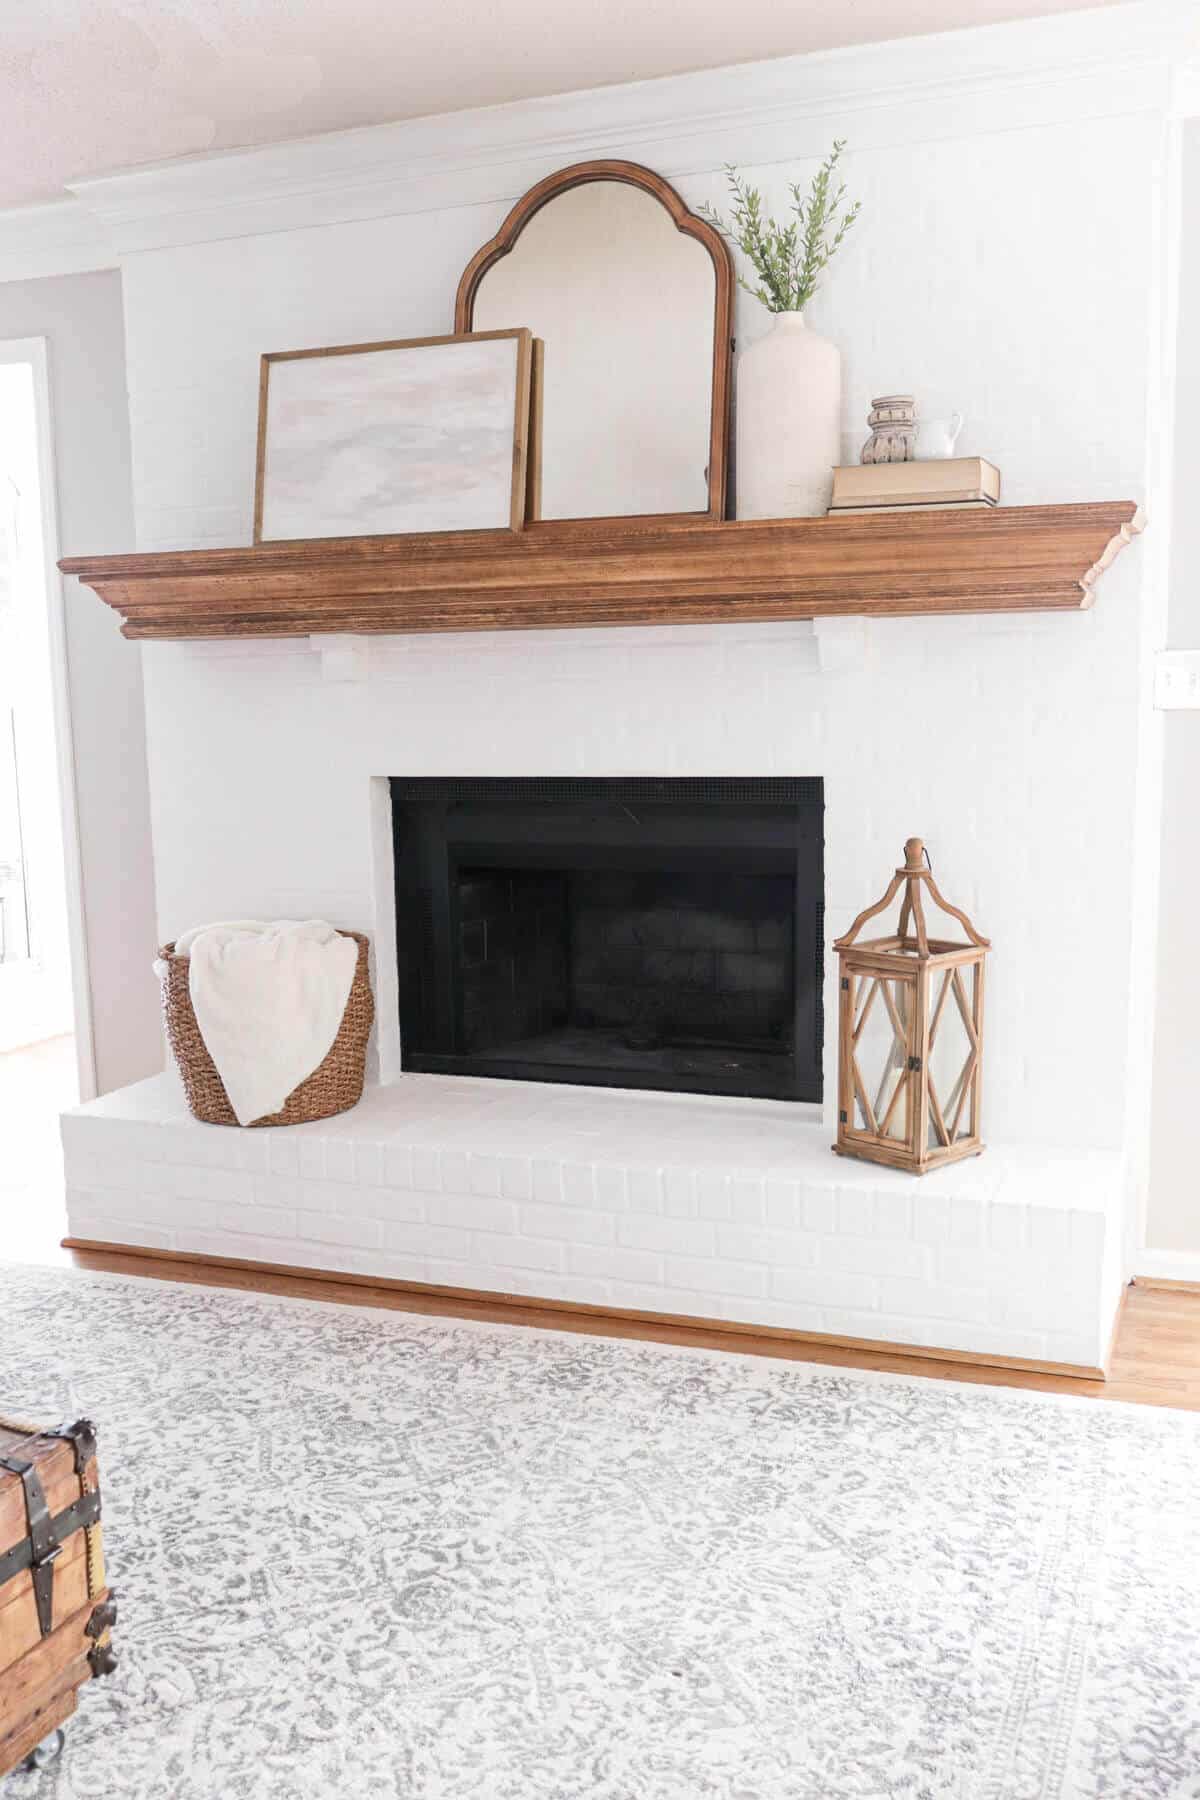
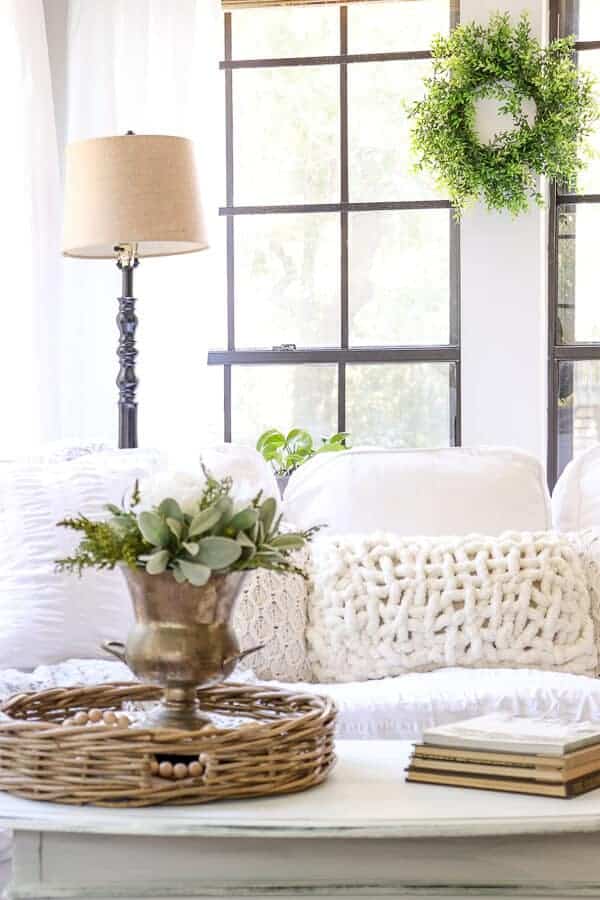
This is the finished product. Isn’t that gorgeous?
I knew this beautiful textured finish would be the perfect solution to hide the markings in my brick that I hated so much and give my fireplace a modern look.
How to Lime Slurry a Brick Fireplace
(Some affiliate links are provided below. Full disclosure here.)
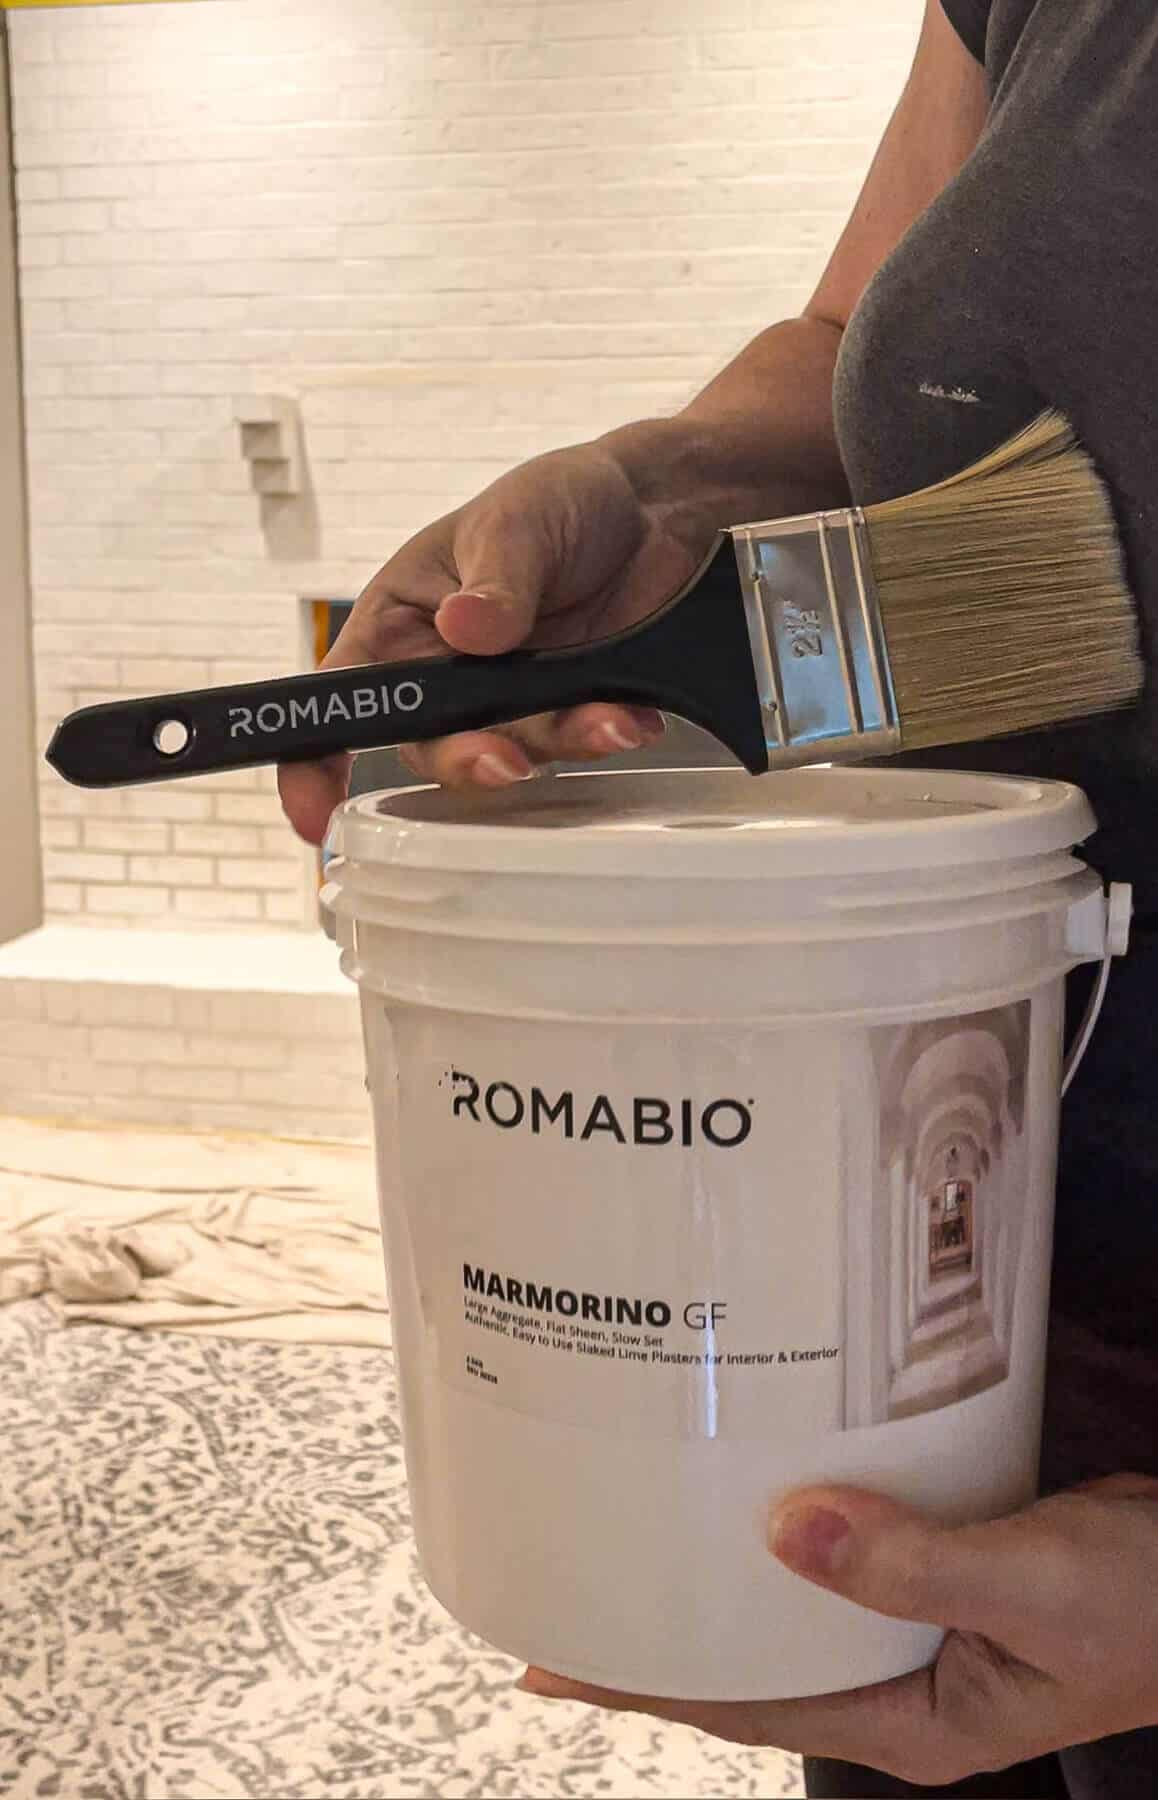
Supplies You’ll Need:
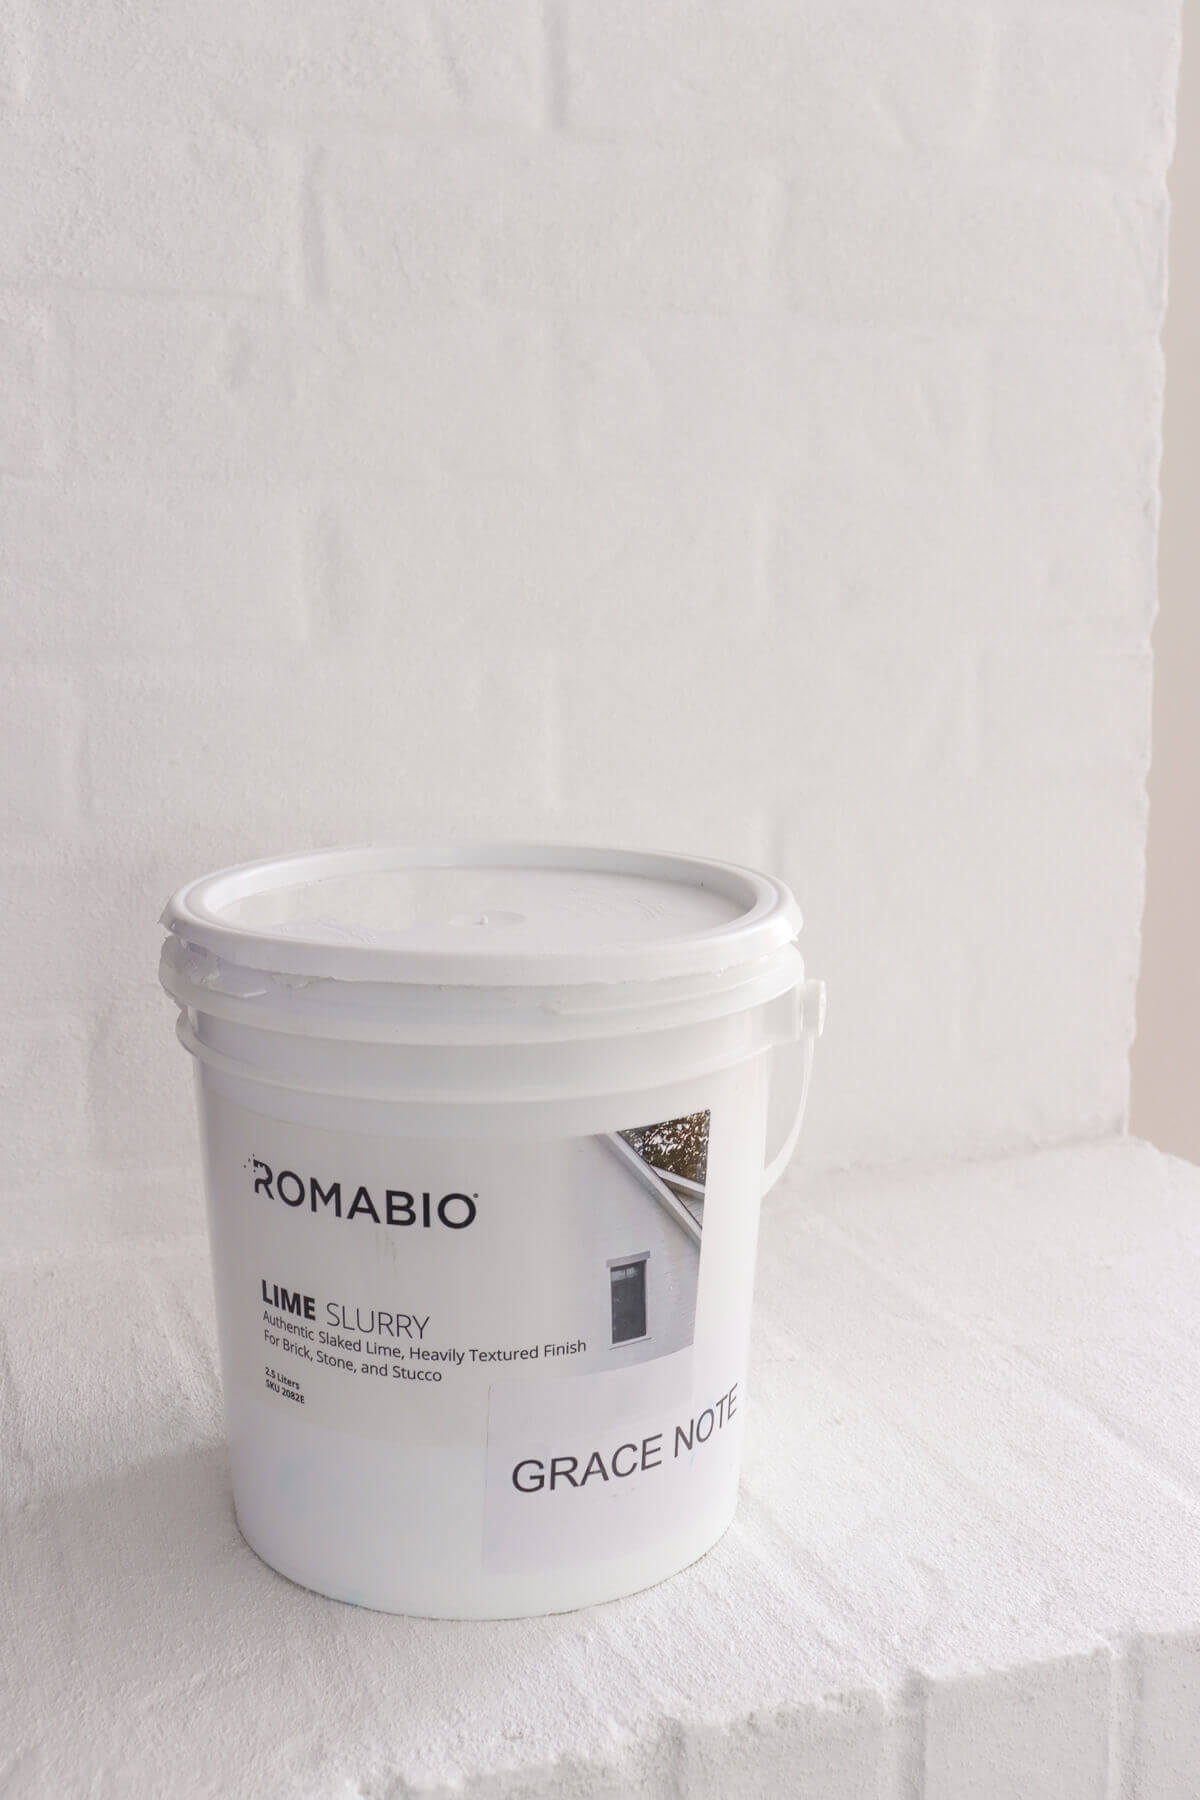
Romabio Lime Slurry – we used my custom color, Grace Note
Stir Stick
Water
Drop Cloths
Masking Tape (Trent loves this type for his limewashing jobs)
Goggles, Gloves and Face Mask
Optional Supplies:
Pre-coat of Romabio Marmorino GF
Romabio Micro Grip Primer
To prevent chalking, use Romabio Mineral Shield
Preparation:
If you are starting with an absorbent brick wall, then the only prep needed is cleaning the brick. Make sure to remove any dust, dirt, or fireplace soot from the brick.
For painted brick, or brick that isn’t absorbent, then you will need to apply one coat of Romabio MicroGrip Primer. This will allow the Lime Slurry to adhere.
TIP: How do you check if your brick is absorbent? Perform a simple absorbency test. Take a spray bottle filled with water and spray it onto the brick. You could also splash a tiny amount from a glass. After a few moments, see if the water is soaking into the brick. If so, then you can apply Romabio directly to the brick. If it beads up, similar to tile, then you will need to apply their primer.
Since we previously painted our fireplace with Romabio Masonry Flat, no prep was needed. The same would apply if you have applied their Classico Limewash.
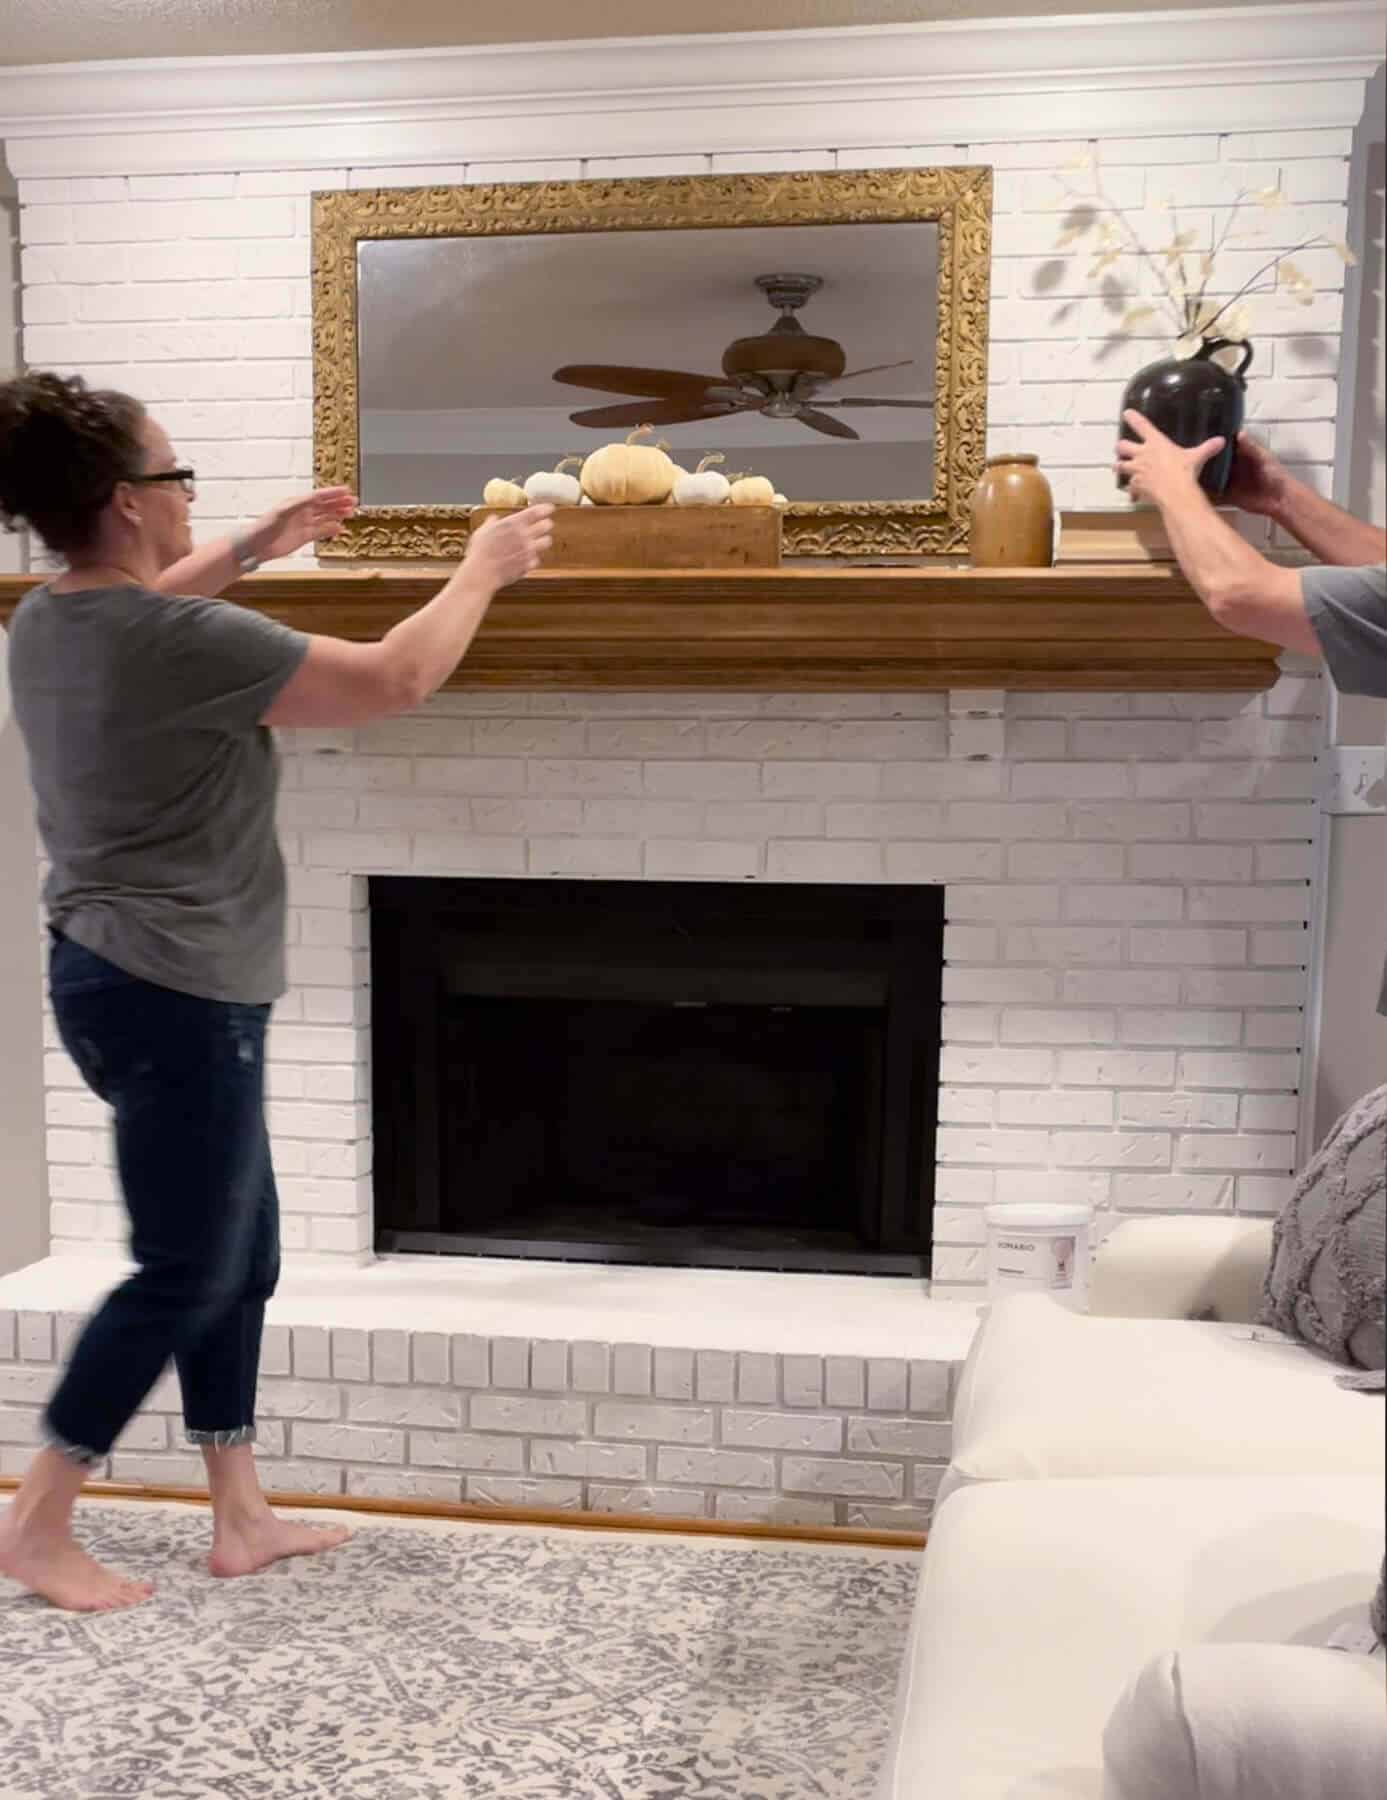
It’s a good idea to move any furniture out of the way and cover your floors with drop cloths. We also masked off our fireplace since we had already painted the firebox black.
After we completed filling in our mortar lines, one optional step that we chose to apply was Romabio Marmorino GF.
It is a flat, larger grain plaster made from authentic slaked lime and is typically used for exterior and interior stucco finishes.
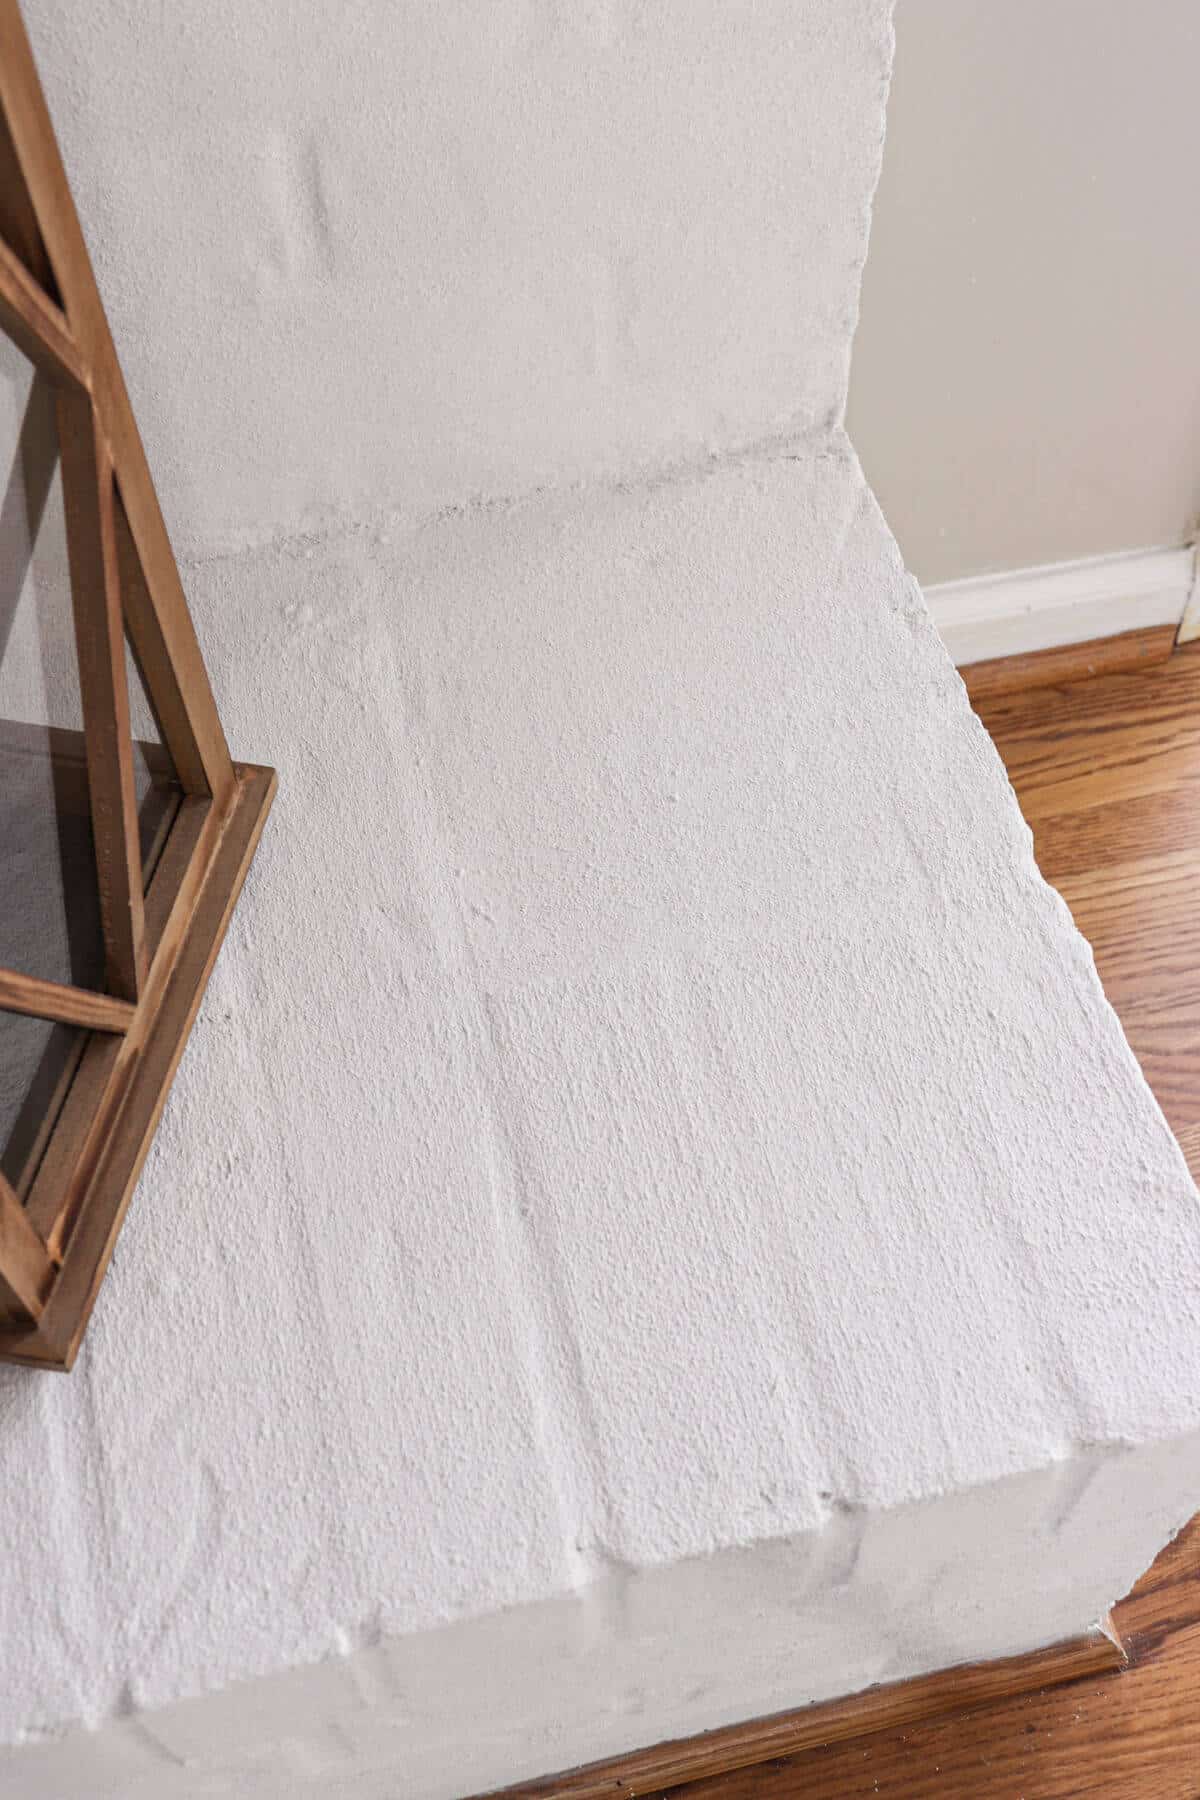
Remember, we wanted to fill in all those divots and worm marks in our brick.
After we made the brick mortar joints flush, we allowed that to cure overnight. The next morning, I focused only on those divots and applied the Marmorino GF to those spots, filling in those ugly spots.
Again, this is an optional step. But in the picture above, you can immediately see the difference in the top of the brick fireplace where I applied a coat of the Marmorino GF and the lower brick that only had the mortar lines filled.
It was so fun watching the transformation slowly take place with each step.
Once we filled all the divots in the brick, we allowed this to dry 24 hours before applying the first coat of Lime Slurry.
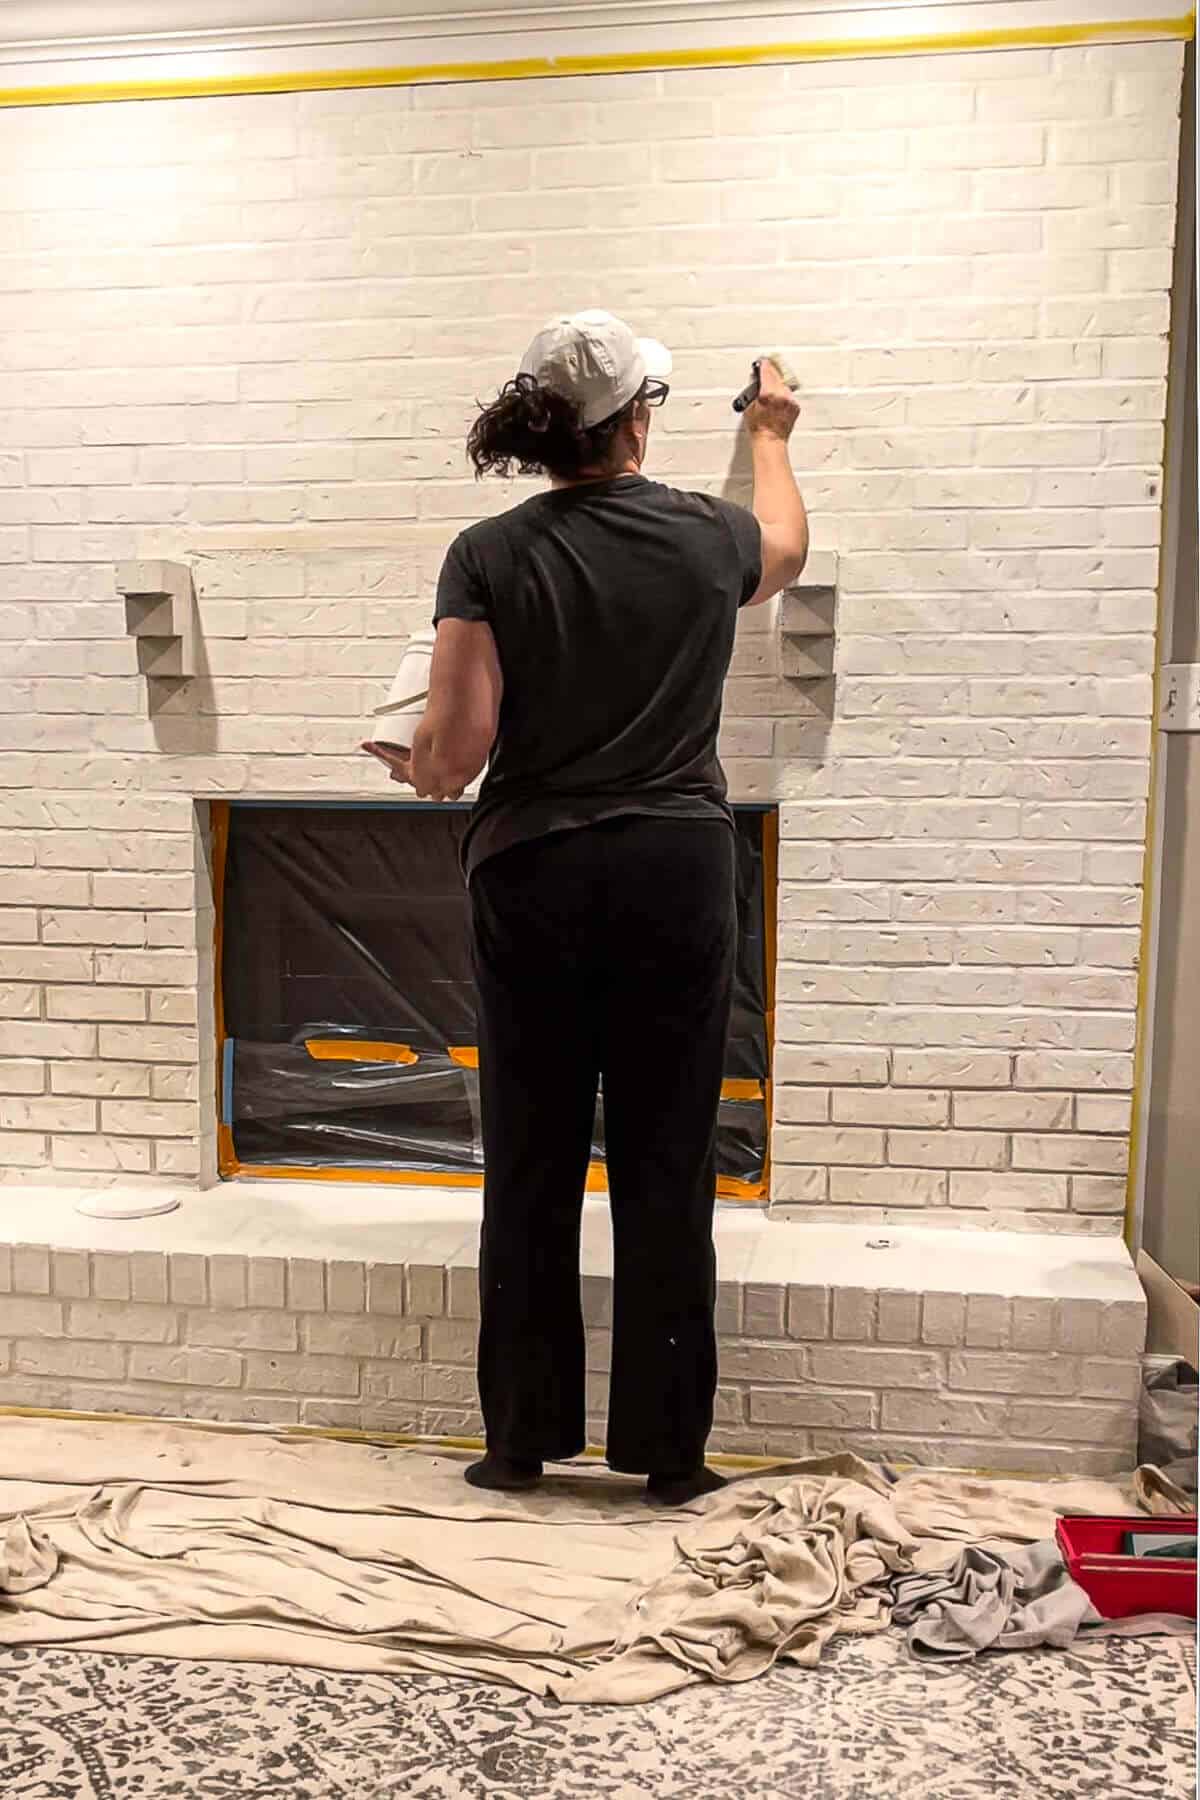
Applying Romabio Lime Slurry
To begin, you want to add a very small amount of water to the slurry. This product comes in concentrate, so dilution is necessary.
I would scoop out a little bit and add a small amount of water and mix thoroughly.
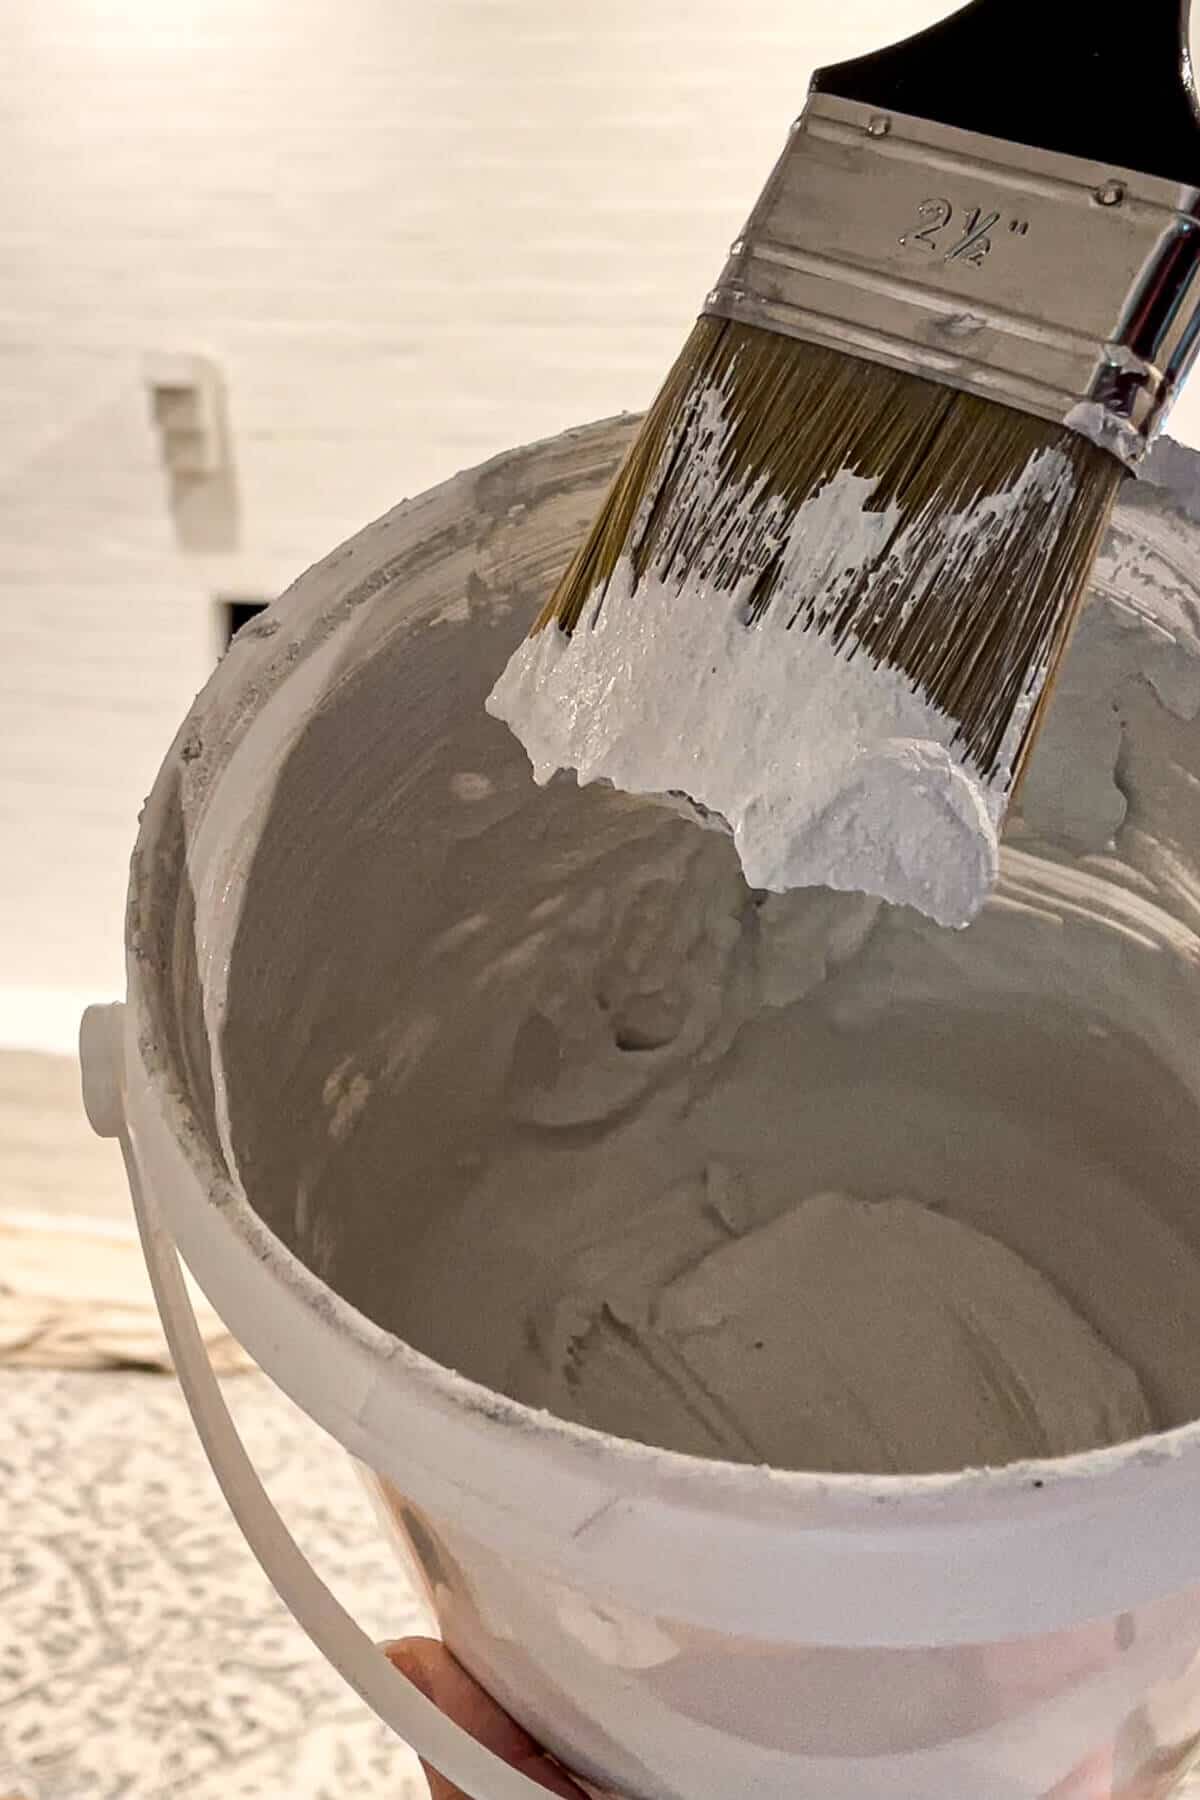
You want the slurry viscosity to be thick, but also workable. Think about the texture of a Frosty. 😉
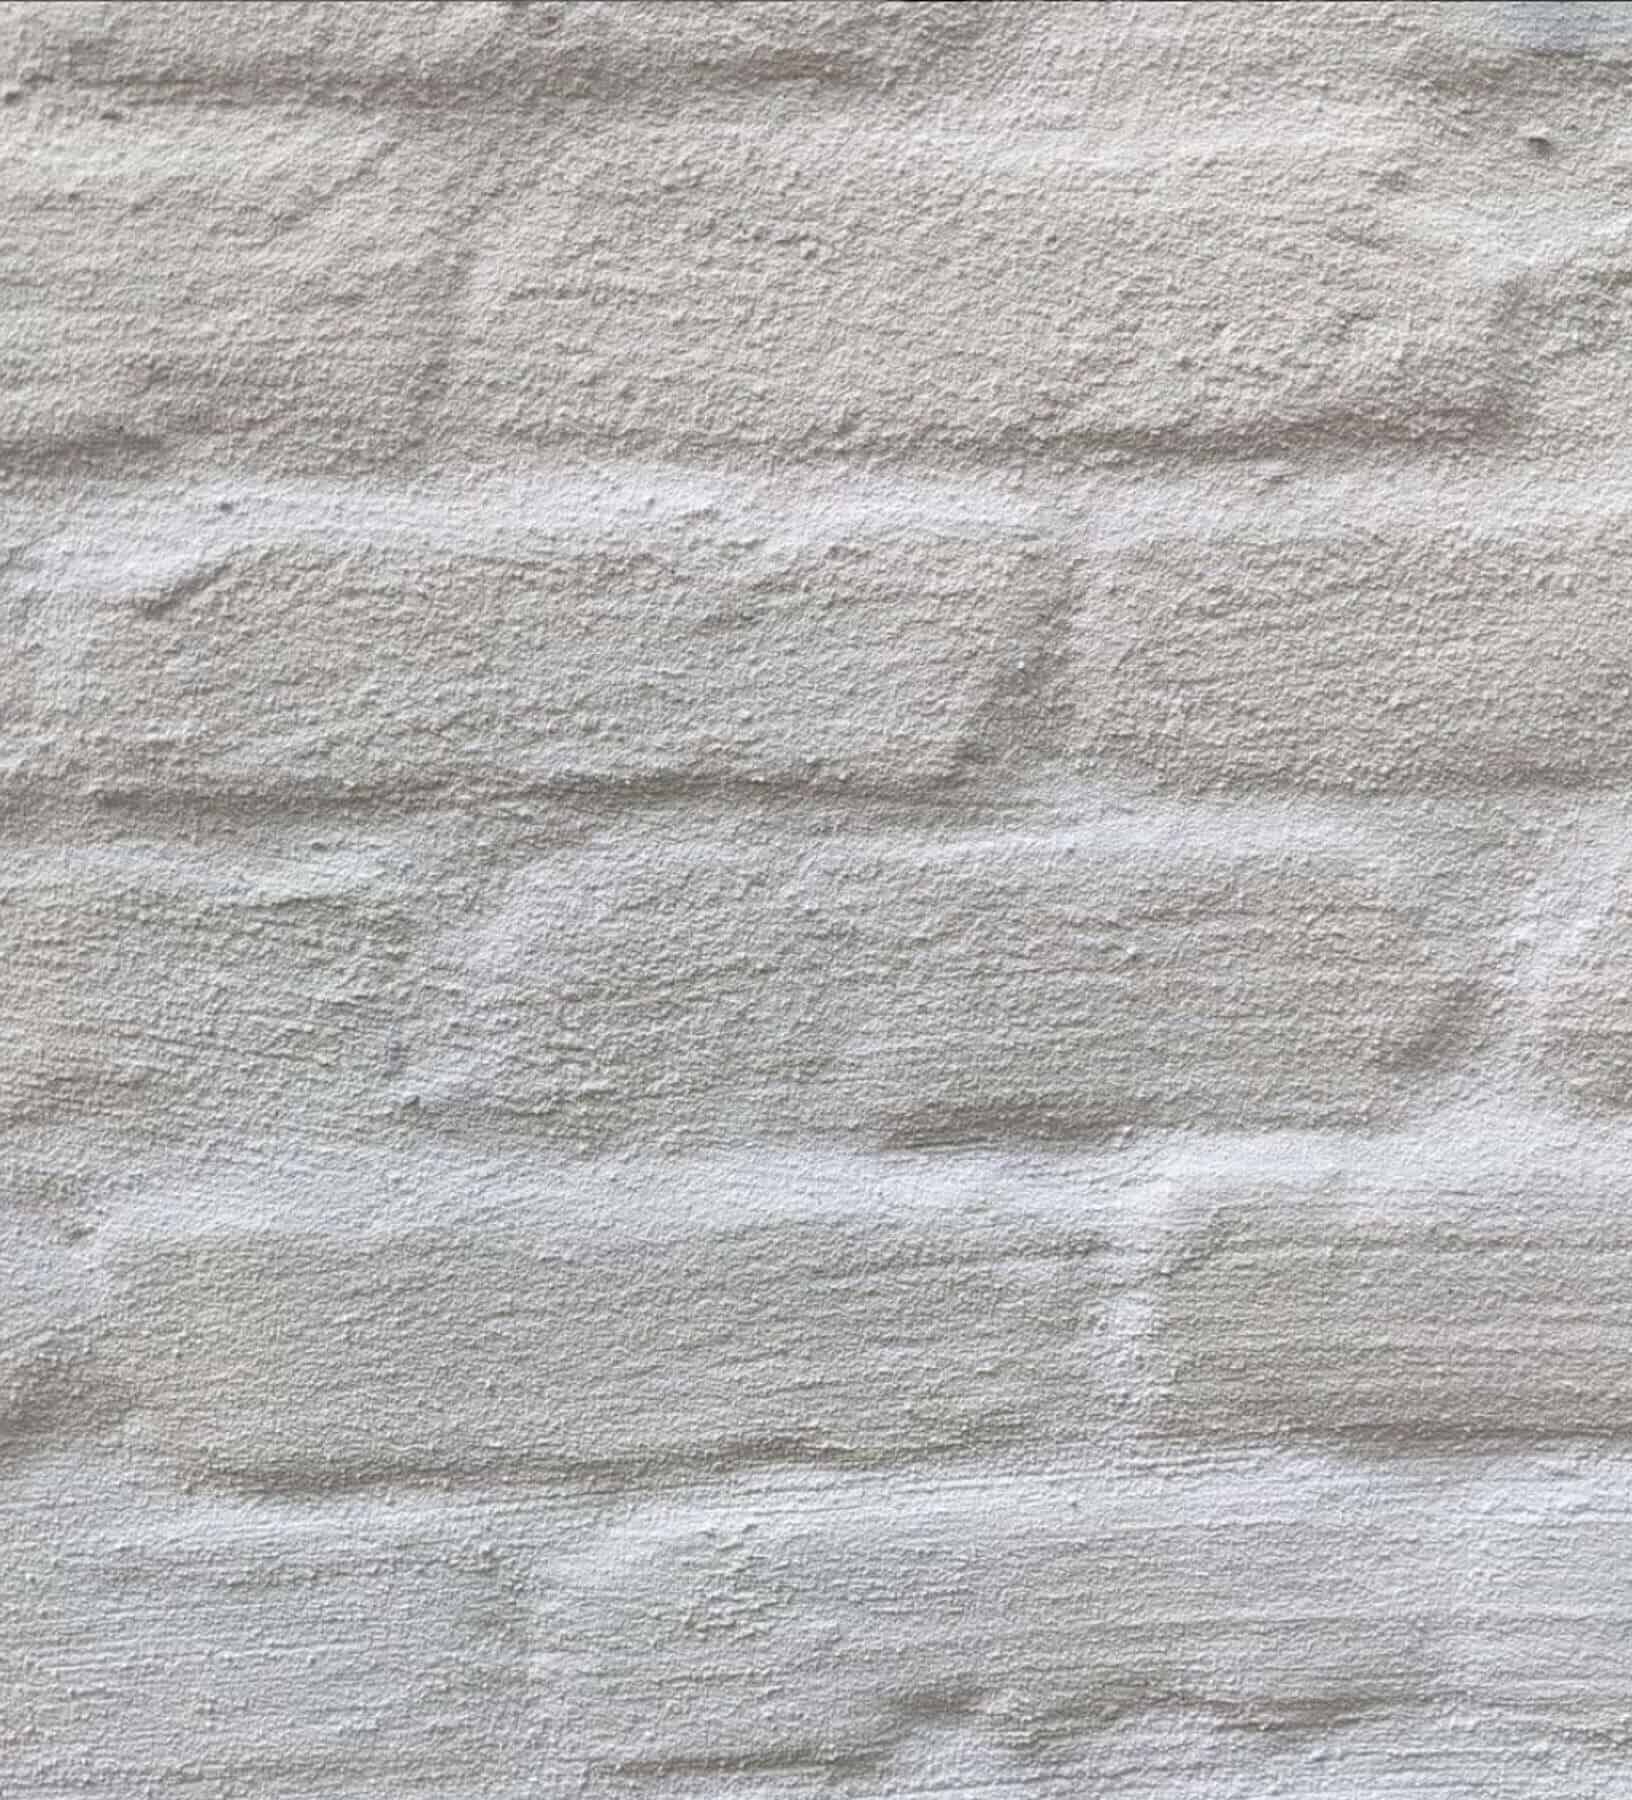
Now this type of material is different from traditional paint. There is a slight aggregate to the lime slurry creating a stucco-type look.
The first step in application is wetting the surface. It doesn’t need to be soaked, but damp enough for the product to set properly. Since this is an indoor fireplace, we used a spray bottle, but if you were outdoors, a garden hose would work.
You don’t want to apply a thick layer to begin with. The thicker the product, the more difficult it is to dry which may result in cracking.
It’s best to apply a thin layer in multiple coats until you get the look you want. And with each new coat, make sure the first layer is fully dried. We waited overnight between coats.
The number of coats depends on the final look you want.
You also want to avoid using a stiff brush.

Even with my soft bristled brush, you can see the defined brush strokes.
Make sure you apply the lime slurry in a horizontal pattern. You want the top of the bricks to appear smooth and uniform.
Here is what our brick looked like after the first coat of our Lime Slurry application.
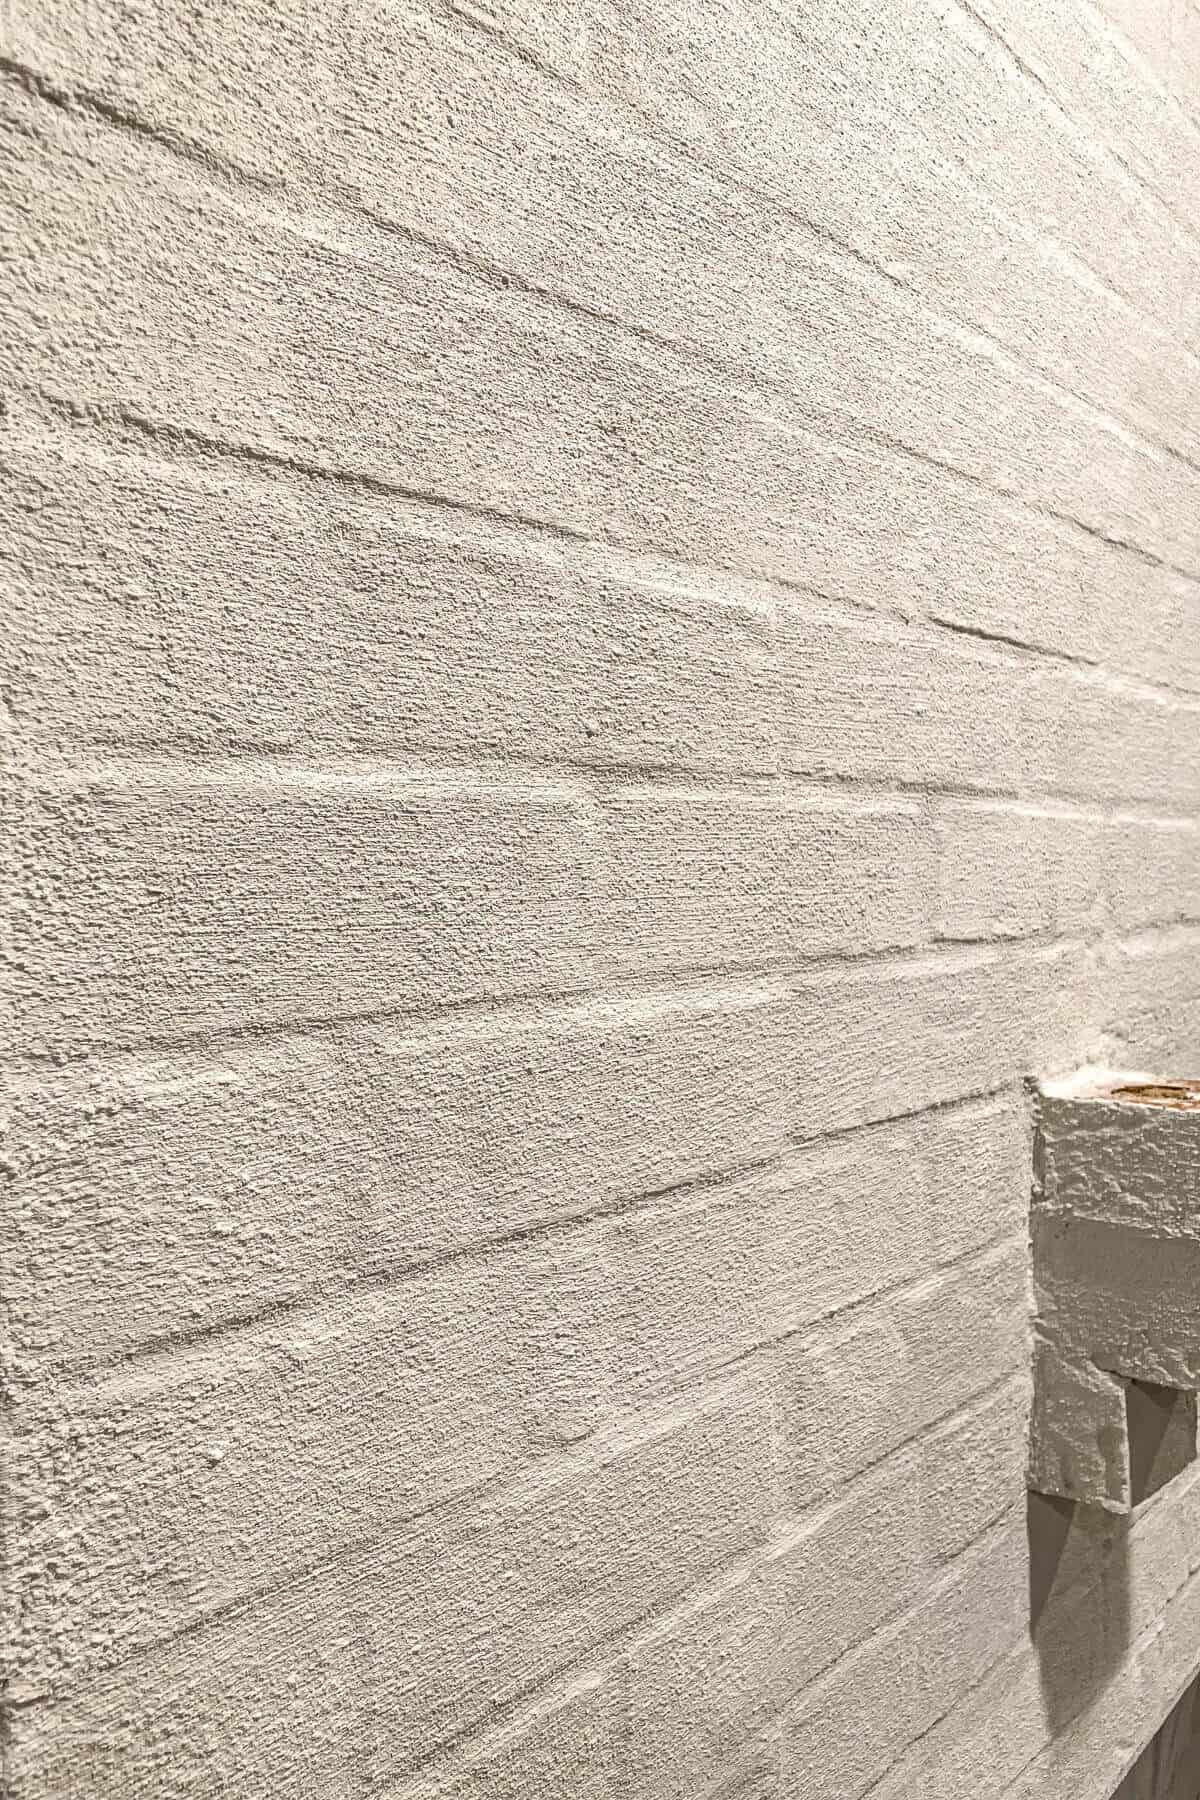
All the divot marks and worm lines have disappeared!
However, after this first coat, it was still a bit too textured for me, so we decided to apply a second coat.
Now I know that sounds counter intuitive to add more texture to create a smoother finish. But if you think about the texture in the slurry filling in those tiny holes, it makes sense.
Here’s how it looks after the second coat.
The end result is a brick finish that mimics the look of lime plaster creating a full coverage of the masonry surface you are applying it to.
While, I loved the look of our Limewashed exterior brick and then the Masonry Flat painted brick – which is still in our sunroom, by the way – I wanted a different look for my fireplace that would stand out.
Optional Step: Applying Mineral Shield
Along with their Lime Slurry, Romabio has introduced two new products, an Algae and Moss Cleaner (exterior only) and Mineral Shield, which water and stain proofs your painted brick reducing the chalking effect.
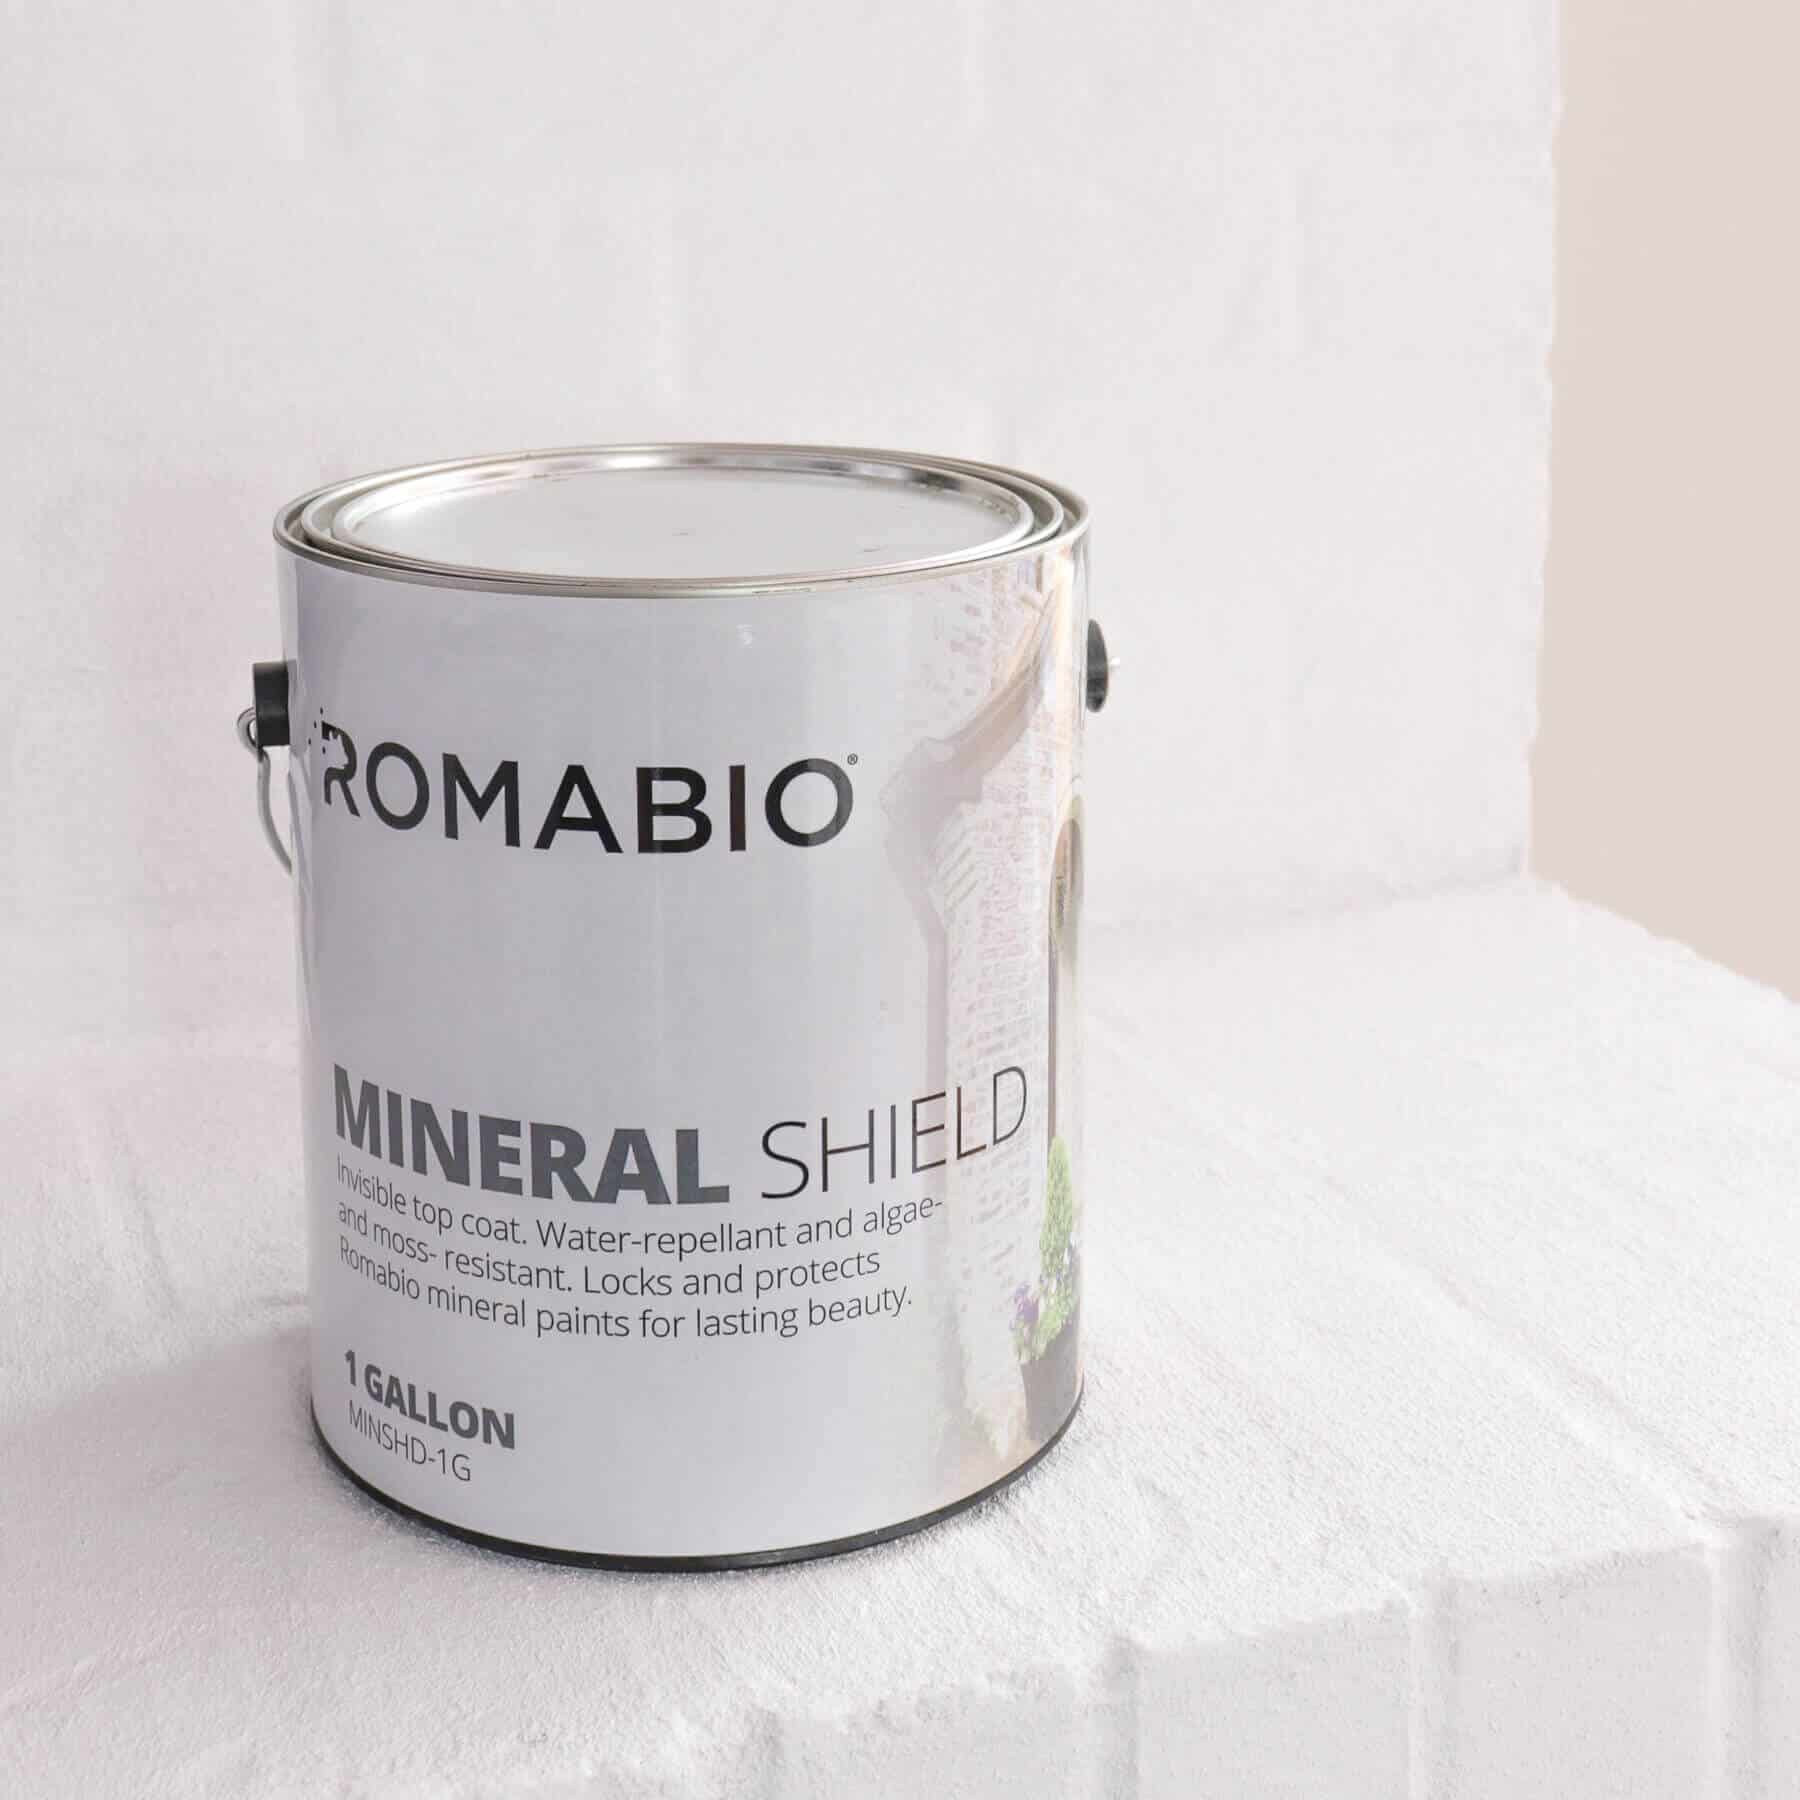
As the can says, it’s an invisible top coat. And there are many benefits to applying this over mineral based paints or other porous masonry surfaces, especially for outdoors where rain and water are prevalent.
But one thing to note is that when lime based products are applied, there is the possibility of chalking. Meaning when you rub up against it, a tiny residue may wipe off.
Mineral Shield stops that chalking from happening.
The last part of this fireplace makeover will be new gas logs installed in the firebox, and I know people will want to sit on the hearth when the fire is lit.
And I didn’t want anyone getting up with a chalky bum after warming themselves in front of the fire.
So we opted for this last step to ensure our finish doesn’t begin chalking and continues to look beautiful!
It’s ready to use right from the can – no need to dilute it.
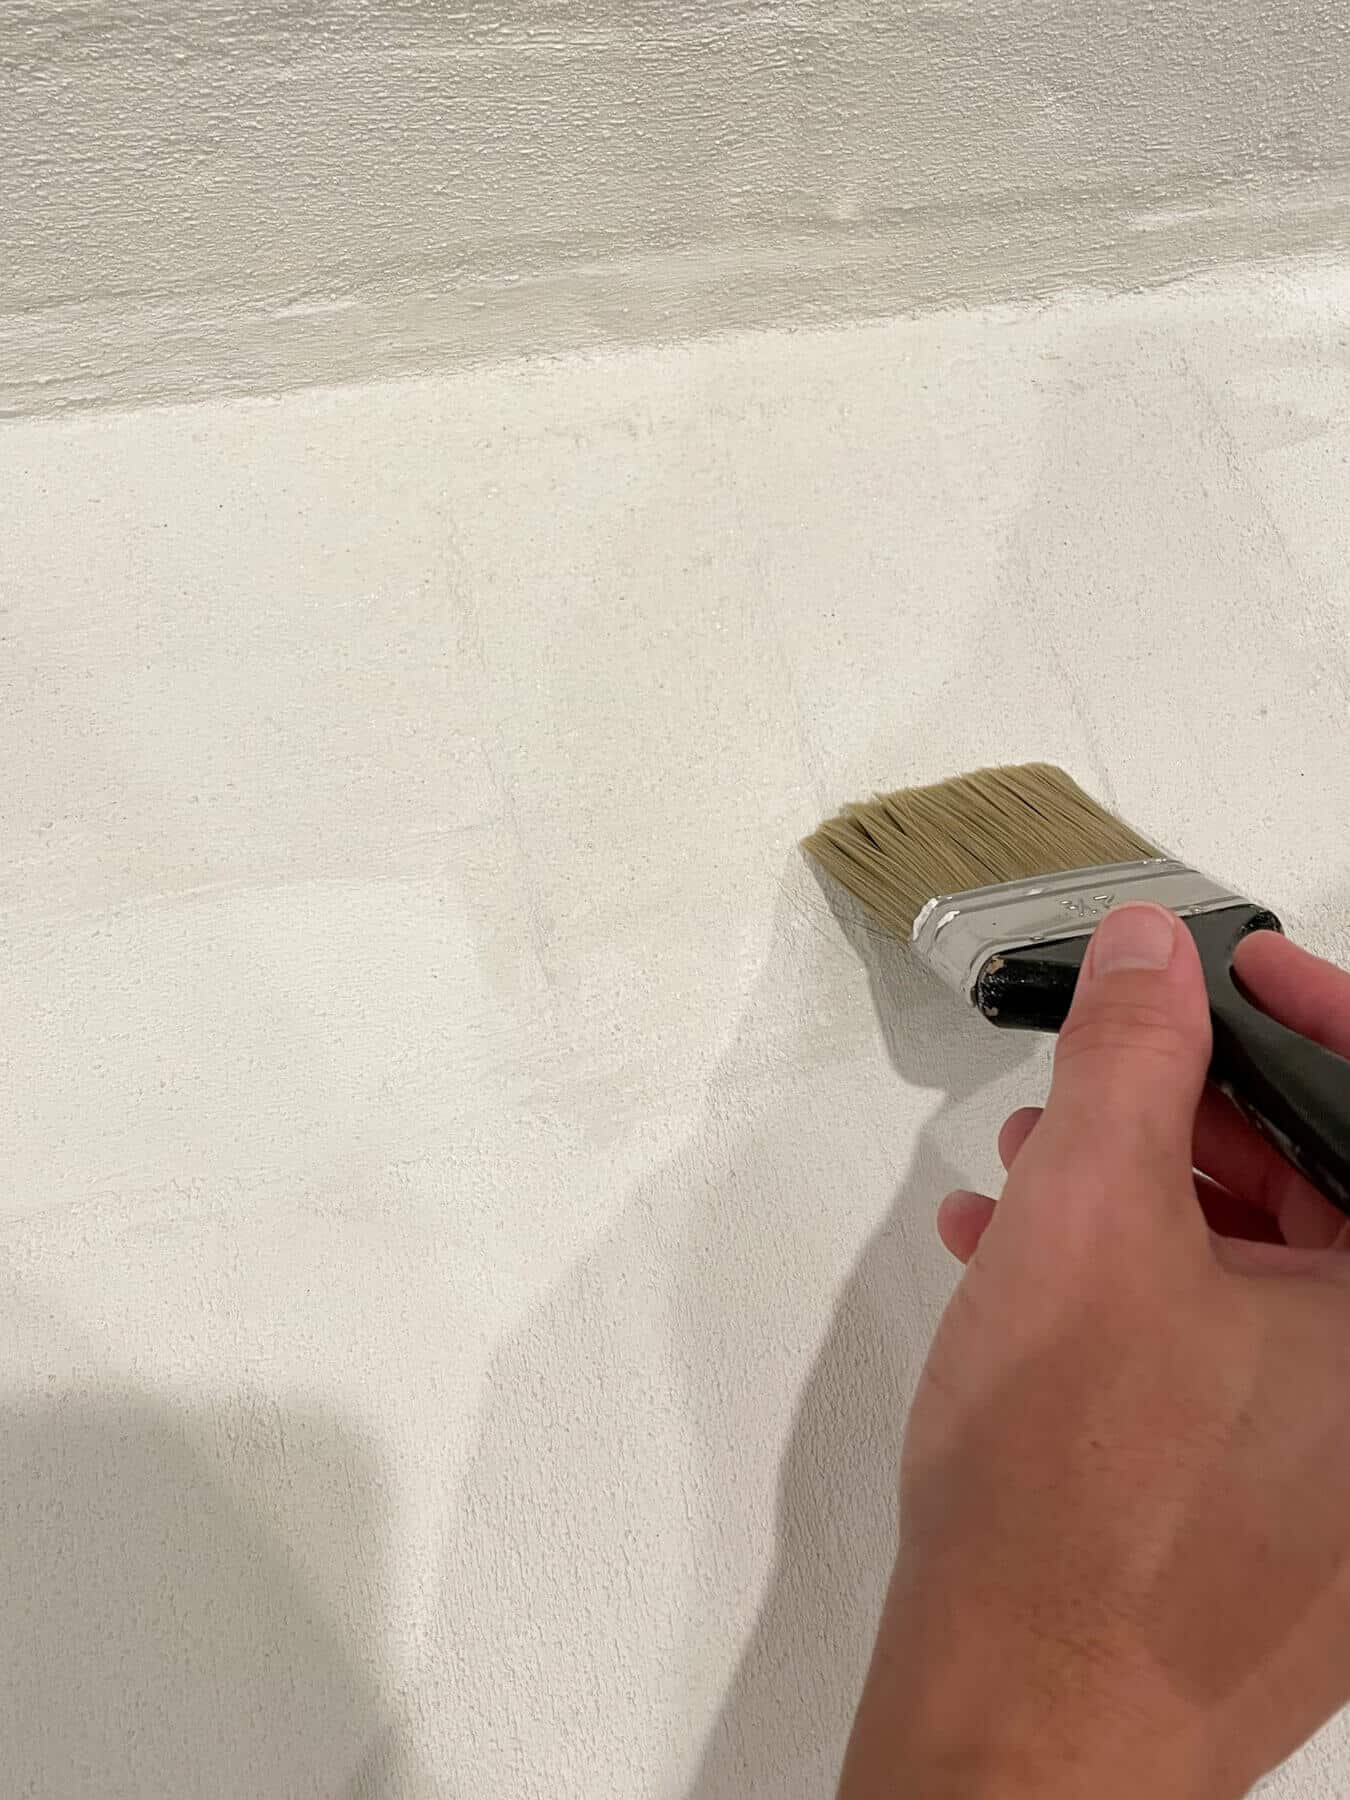
For our fireplace, Trent brushed it on over the Lime Slurry.
We also applied some on our exterior and was able to use a garden sprayer and application was so simple!
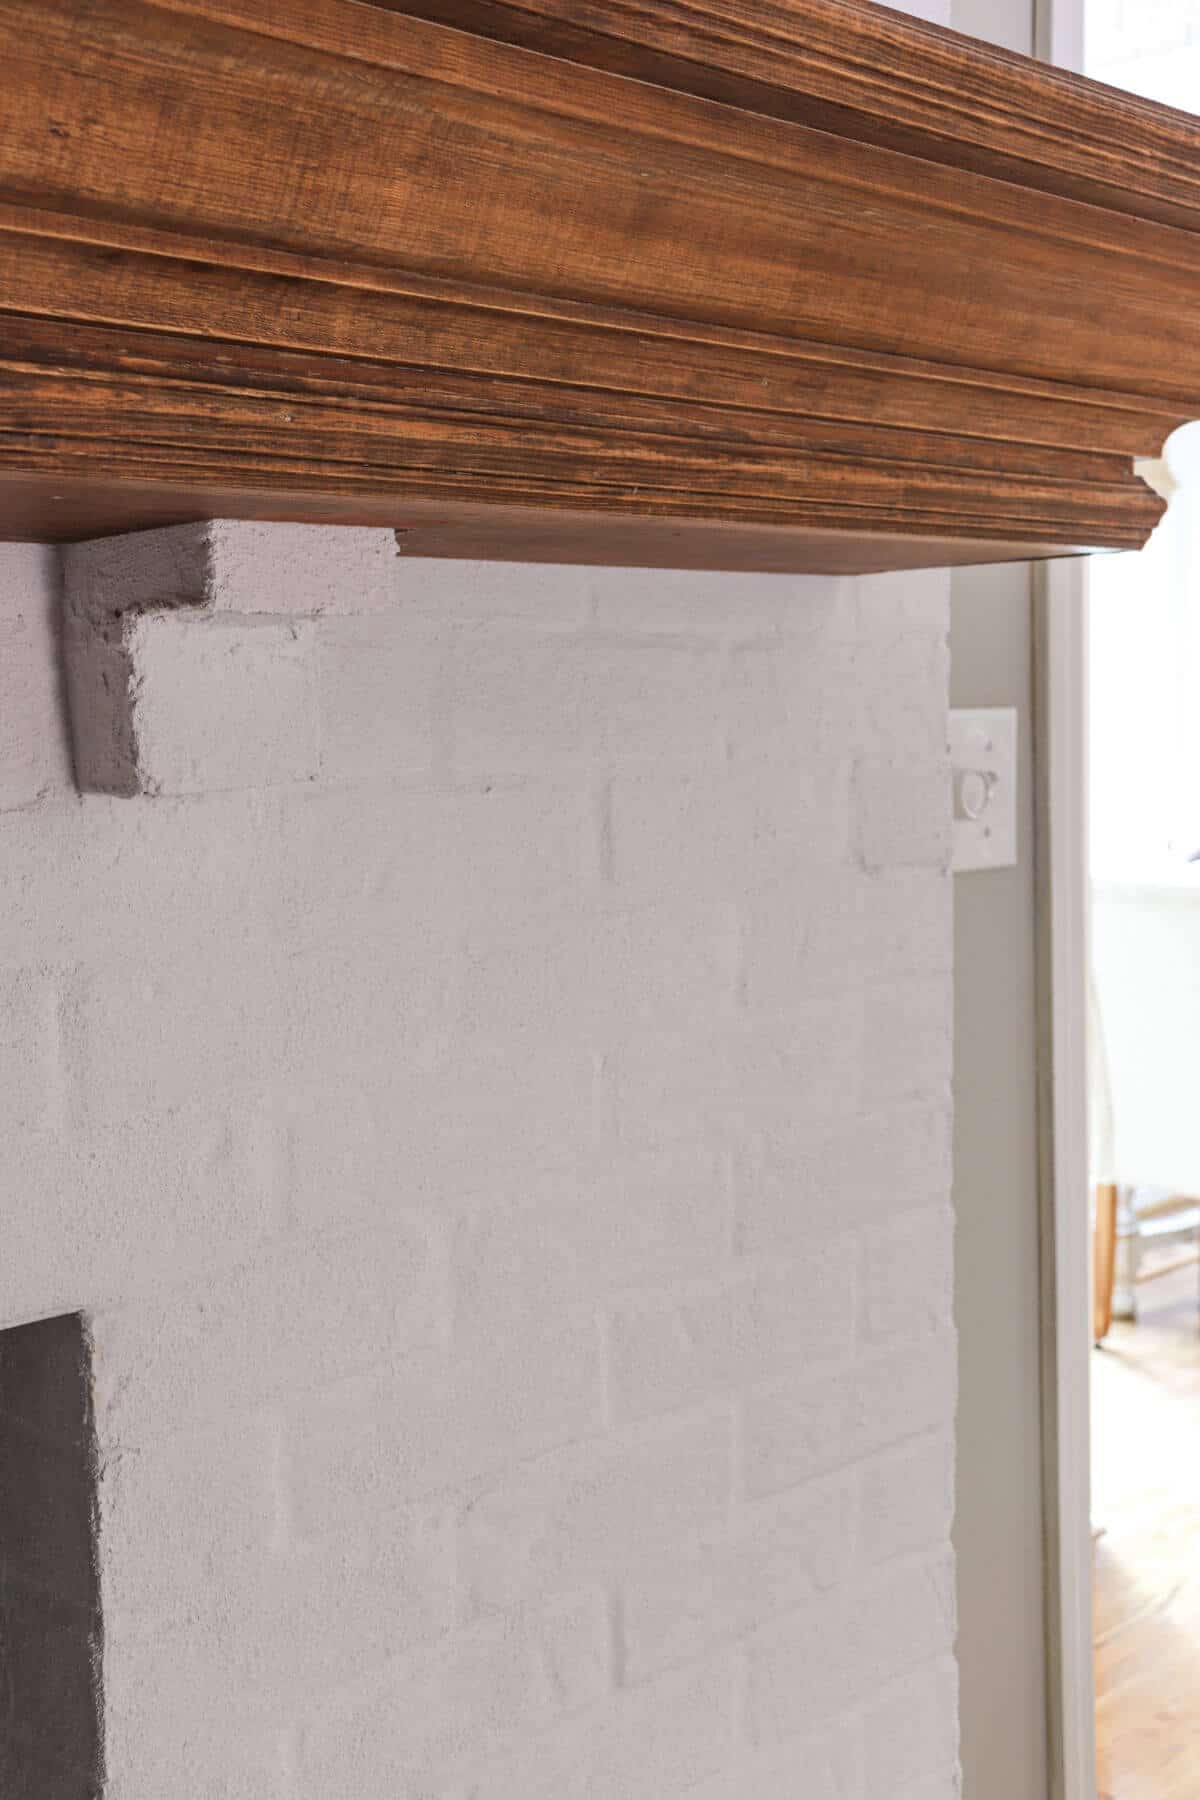
Here’s how the fireplace looks once the Mineral Shield has dried.
It’s completely invisible and doesn’t change the color of the surface.
Y’all, I can’t stop grinning when I look at this makeover!
It’s fresh and new and looks like the European farmhouse fireplace of my dreams!
And when we get our gas logs installed – that will be the candle on top of my perfectly iced cake!
I love Romabio products so much – which is why I share my personal experiences with you! If you ever have questions – please reach out!
I shared in stories on Instagram a few weeks ago and some of you reached out with a few questions.
Frequently Asked Questions
Is the Lime Slurry available in different colors?
Yes and no. It is a white based paint, which you can have custom tinted, but you are limited to lighter colored tints. However, you can achieve darker colors with a top coat of Romabio Masonry Flat (check with your local retailer or contact Romabio). If you are wanting to choose a white paint, my custom color, Grace Note, is a perfect neutral white that pairs well with warm and cool tones.
The Lime Slurry is available on Amazon, but you can purchase the interior paints in my colors that are available.
What does the Lime Slurry feel like?
It is a rough texture, but it’s not so rough that you couldn’t sit on the hearth.
Now if you have a little one who loves to perform pirouettes on the make-believe fireplace stage, it may be a bit rough on their tender feet, but no more than a typical sidewalk.
Is lime caustic?
As with any product you use in your home, you want to take necessary steps to protect yourself during application. That being said, my husband and I have applied Romabio Classico Limewash and Lime Slurry to masonry surfaces and have not had any reaction so far. And we have let our boys apply the lime wash as well.
But it’s always wise to take precautions when introducing a new product in case you have an allergic reaction.
What types of materials can you apply lime slurry to?
Most absorbent and porous surfaces should work, like brick, stone or other masonry surfaces. But it’s always wise to test in an inconspicuous area first. One trend many homeowners are following in new construction is to choose the cheapest brick on a new home and apply architectural finishes, like Lime Slurry, over the brick surface. It is a great way to change the look of an entire house while also still allowing the brick surface to breathe.
I plan to apply some leftover slurry to a terra cotta pot. I’ll be sure to share the DIY! 😉
Can I apply Lime Slurry myself?
Certainly! While Trent is a seasoned Romabio Preferred PRO applicator, I am not. So I was able to do this myself without any struggles. That’s the great thing about Romabio products. They are very DIY-friendly and have many tutorial videos on their website you can watch.
I hope this encourages you to give this DIY a try! Let me know if you have any questions about the process and I would be more than happy to help out!
Stay tuned for the last step in getting the fireplace of my dreams – replacing the log lighter with gas logs!
Will Romabio Lime Slurry work for my brick exterior?
Yes! In fact, one of my favorite inspiration pics comes from Struttura – masters with Romabio Finishes.
Lime Slurry has similar properties to Romabio’s Classico Limewash in that they are both breathable coatings while drastically changing the look of your brick. The breathability is the main reason I chose Romabio products in the first place!
If the finish is too rough for your liking, they also offer Masonry Textured, which has much smaller aggregates added to the paint.
Pin This for Later!
shop our favorite home items
shop now
Join Our Community
Don’t miss the next DIY! Receive exclusive content, including behind the scenes photos, our favorite home decor DIYs and more!

Yay!! Yes, you can use that on the divots and I would try applying it concentrate first to see how it responds. Test an inconspicuous area – like the lower side. That will help you get the hang of it before applying it to the front. Use a rubber trowel to get that smooth look. Let it fully dry and then apply the masonry flat.
For the Masonry Flat on fireplaces, the diluted masonry flat should be enough to not have to wet the surface. When we do fireplaces for customers, we like to lightly spritz some water on the surface to see how it soaks up before applying anything. If the brick seems damp for a few minutes, then skip the wetting step. If the brick soaks up the water and it’s dry almost immediately, then you may need to dampen the brick. Each brick is different, so take you time and be patient. Once you learn your brick, the process is super simple and it’s so fun to watch the transformation process.
Hope these tips helped! Good luck and send us pics!
Jen and Trent
It’s Megan again! I found the marmorino gf! Yay!
Would it be possible for me to use it on my divots and then do the masonry flat over the top? Do I need to wet it before applying?
Hey Megan! Thanks so much for reaching out! We know the Marmorino can be hard to find, so another option is to purchase mortar from the big box store. We got a tub of the premixed and troweled it in and it worked perfectly. We have an entire blog post detailing exactly how we did this if you want to check that out. We’ll link it here for ya!
https://notinggrace.com/fireplace-makeover-filling-recessed-mortar-joints/
Hope that helps and good luck with your project!
Jen and Trent
I love this! It’s exactly what I’ve been looking for, especially the filling in the divots with the marmorino. My problem is I cannot find that product. 😞 Is there another product you would recommend?
Thank you!!!
YAY!!! This has made us so happy!
We love that this inspired you to tackle the project yourself. We have been enjoying our fireplace with this cold winter and have been telling ourselves that we wished we would have done this from day one in this house. Hopefully, your new fireplace will continue to bring you joy for years to come!
Thanks so much for taking the time to share – we love hearing comments like this!
Jen and Trent
I found your blog as I was looking for a fireplace makeover for my 1971 brick fireplace that had greatly recessed mortar and I am so happy I found you!! I followed nearly all of your steps from re-mortar-ing my bricks, I had to add a high-adhesion primer as my bricks were already painted and then did 2 coats of Romabio lime slurry (which I got tinted in a light sidewalk gray color) and then did 2 coats of Romabio Mineral shield. I also did the fireplace conversion from the brass door to a black metal with a gas log, thanks so much for sharing, I love my ‘new’ fireplace and was so easy!
Hey Jodie! Thanks for reaching out! Our wall color in this post is Agreeable Gray and you can find the Lime Slurry on Amazon. I have linked to the exact product in the post if that helps. 😉
Please tell me your wall color too! And where can we get the lime products!
Hi Carole! That is a great question! I had a 2.5 liter container and with two coats, I used almost all of it.
Since our fireplace was previously painted with Romabio, I didn’t need to prime, but being familiar with their products, if you are going over painted brick, a 1 liter container should be all you need for one coat. If your brick is unsealed and unpainted, no need to prime! You can go right over the brick with the slurry.
Best of luck to you and I’m so glad you took the time to comment!
Jen
Hello, love your fireplace! I’m going to try your technique on mine. Can you give me a rough estimate of how much, primer, slurry (prob 2 coats) you used? My fireplace is a little bigger than yours. Thank you!