Vintage Industrial DIY Sawhorse Lamps
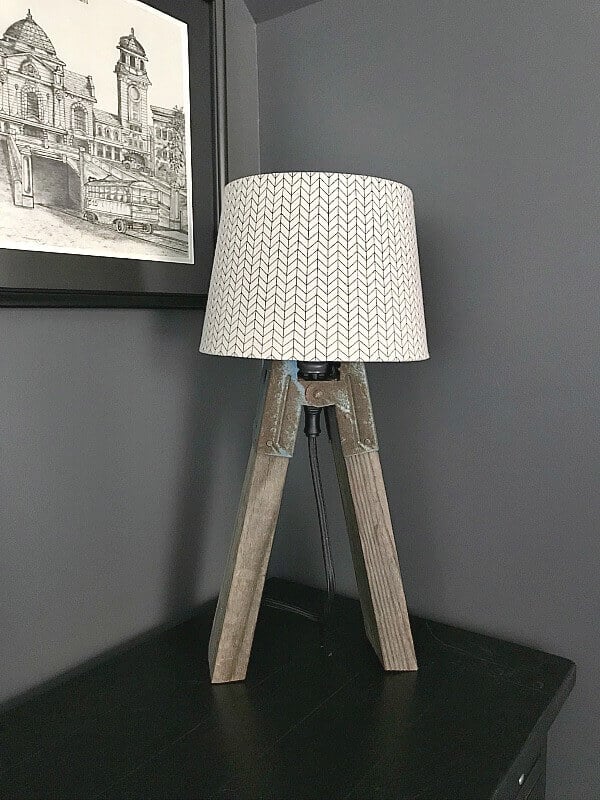
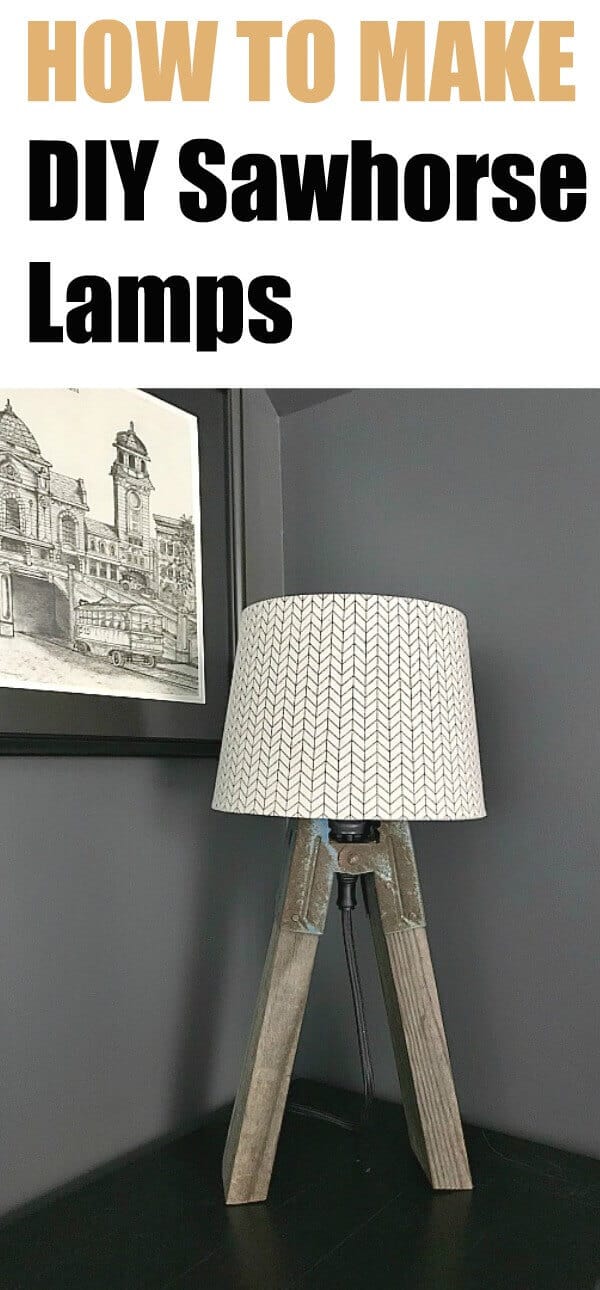
We made these DIY Sawhorse Lamps that are incredibly easy! You can create this vintage industrial style lamp for your home with this super simple tutorial!
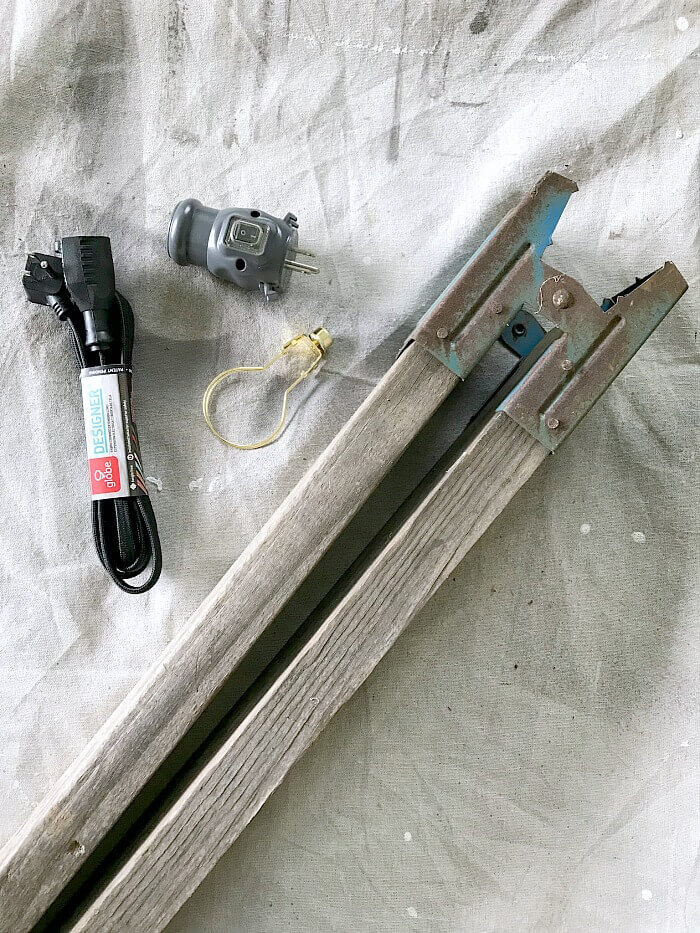
Ever had an idea that popped into your head, but you never did anything about it? This idea had been in the cobwebs of my mind for a few years.
Actually – I had this idea a few years ago, but just now got around to it.
For the One Room Challenge, we wanted to create one of a kind lamps for our son’s room and I had the perfect solution.
When we moved into our Almost Farmhouse four years ago, the previous owner left lots of items behind in his outdoor shed, including these rusty sawhorses. So years ago, this idea was born, but it took a little bit of time to come to fruition.
So if you have sawhorses laying around, or stumble upon some at a garage sale, here’s a unique way to repurpose them.
DIY Sawhorse Lamps Supplies
Affiliate Links are provided for your convenience.
Old wooden sawhorses – the rustier the better!
Pull Chain Light Socket Adapter with Outlet
Light Socket Adapter plug in
Extension Cord – we used fabric ones
Lamp Shades
Pencil
Level
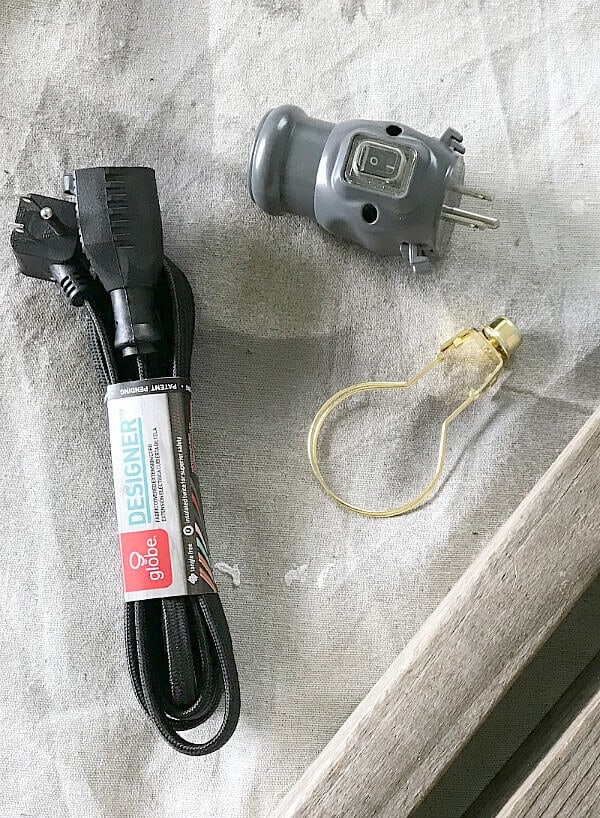
I wasn’t quite sure how the assembly was going to work, so it took a bit of trial and error.
We had these funky shop lights that we purchased about 6 years ago that were laying around in our garage, unused.
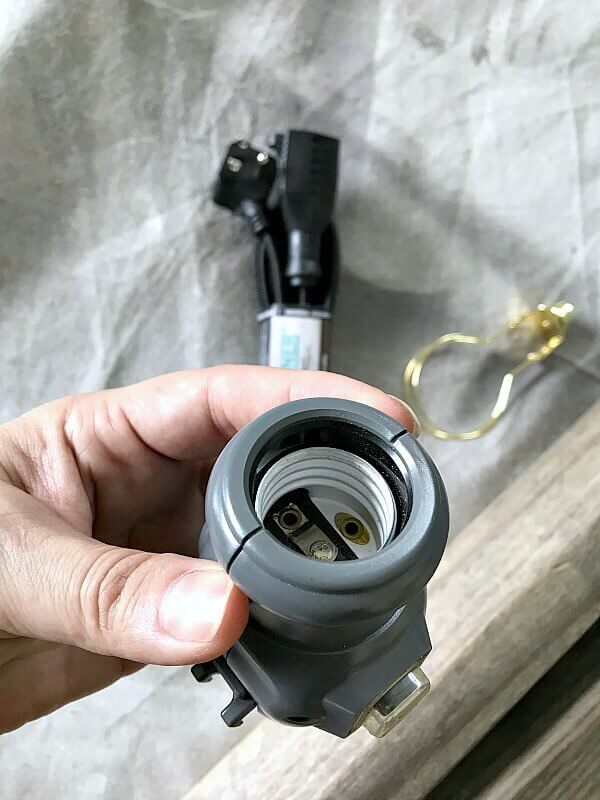
What I loved about them is that you could screw the bulb in on one end and the plug in on the other end.
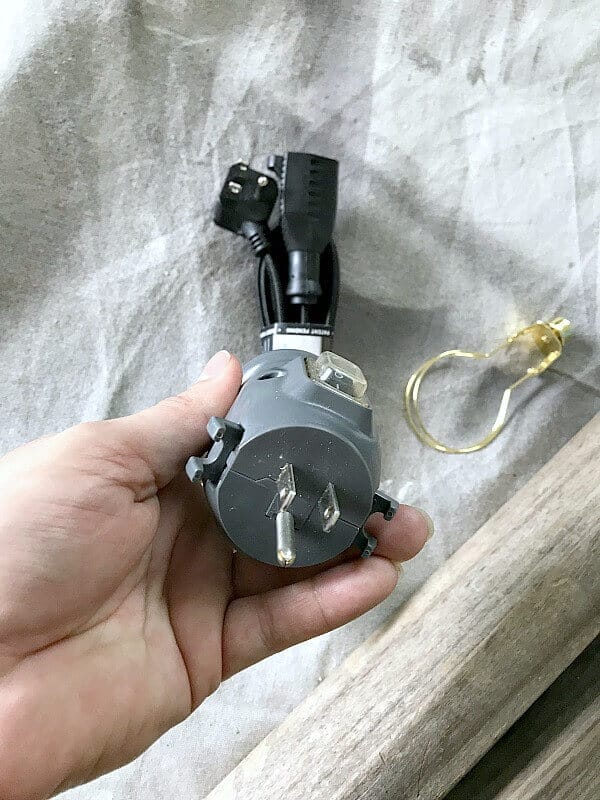
And I loved how they looked, but wasn’t sure if it would work for us. Unfortunately, for my son’s room, it wasn’t the right fit.
Not because it didn’t work. If you have something like this on hand – it may work for your lamps. Because my gentle giant isn’t the most coordinated child, the lamp kept toppling over in the sawhorse. So I had to find a better solution.

I went to my local hardware store and showed them the old shop light base and they pointed me to these light socket adapters.
They were perfect because they had a pull chain and a handy dandy extra outlet that’s always a plus!
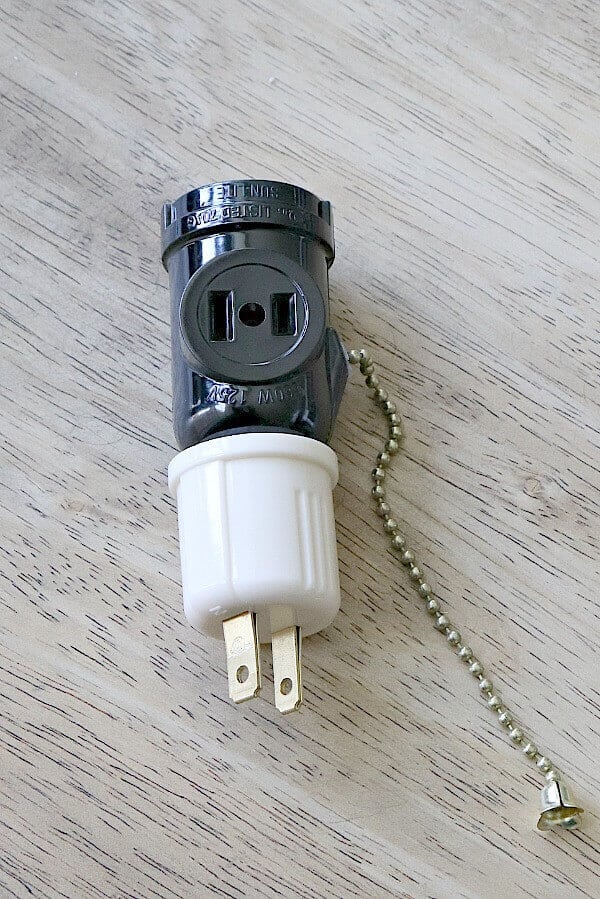
You simply screw the two parts together and you have a working lamp base.
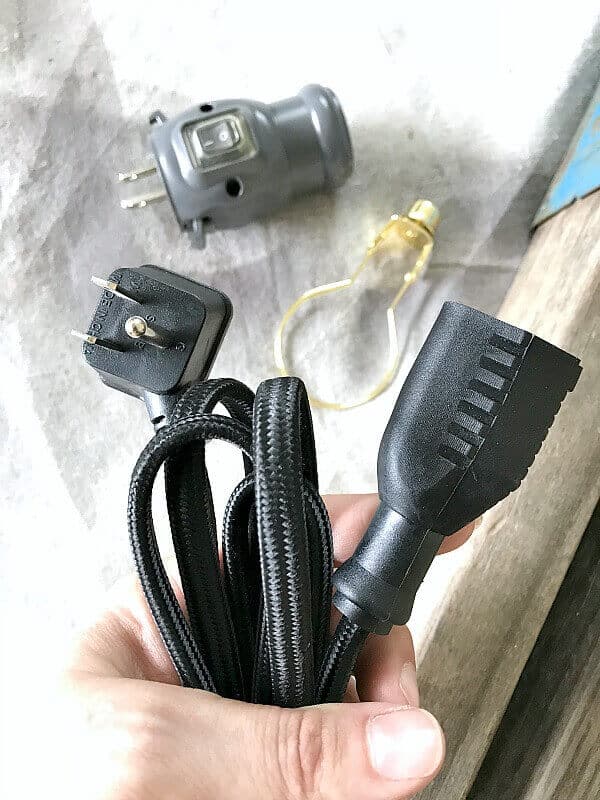
I found these cool fabric covered extension cords and knew they were the perfect fit for this DIY Sawhorse Lamp.
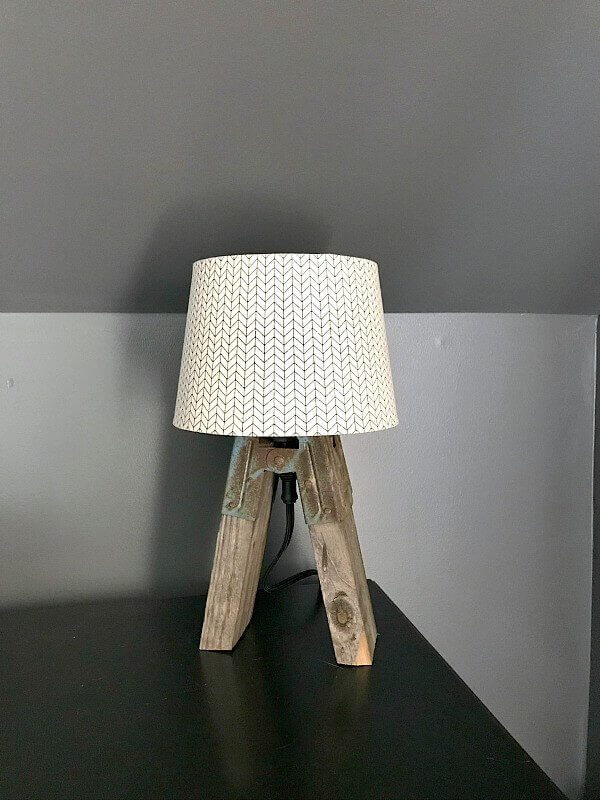
So now it was time to cut the legs of the lamp. The cool thing about this step is that it’s completely customizable. For one lamp, we wanted something a bit taller. But for the other lamp, we needed the complete opposite – a shorty lamp that would fit under an angled ceiling.
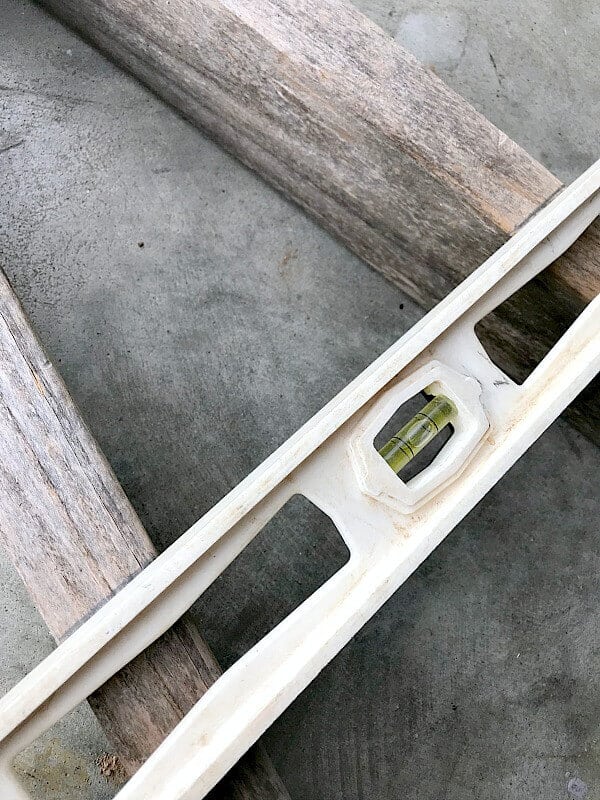
Extend your sawhorse and measure your cut. Use a level to draw a line in order to have a steady base. Uneven cuts would result in a wobbly wonky lamp, which is no bueno.
I made the cuts on our Miter Saw and was good to go!
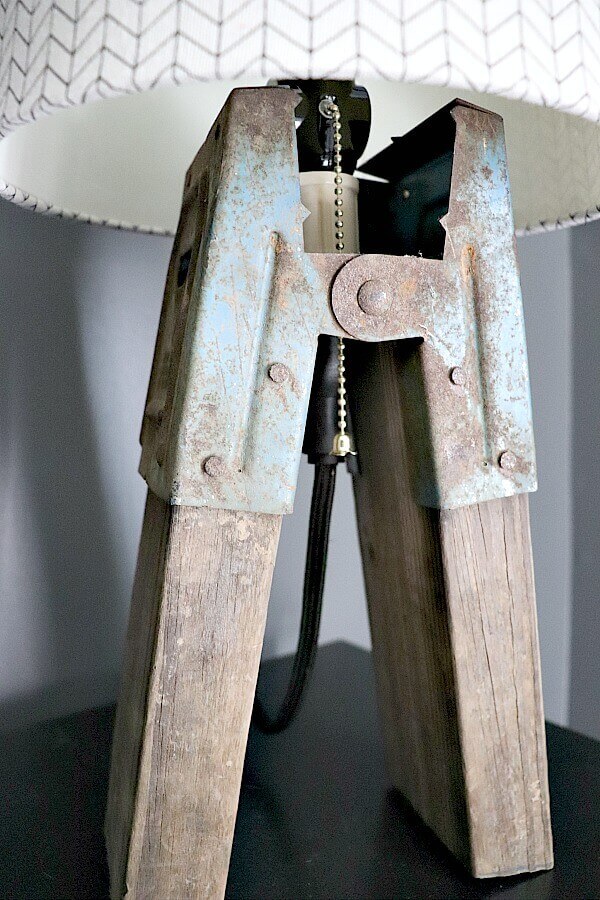
Assembly is a cinch – just pinch the outlet adapter between the cut sawhorse. Then add a bulb and your lamp shade and you’re done!
All in all, it took me about 20 minutes to make these and my son loves how they look in his room.
DIY Sawhorse Lamp Cost Breakdown:
Extension Cords – $11.50
Light Socket Adapters $11.75
Sawhorses – free
Lampshades – free from storage
Total Cost – $23.25 or $11.63 each
So not bad for unique DIY Sawhorse lamps that have that vintage industrial feel and are one of a kind.
So I hope this inspires you to think outside the box the next time you stumble upon some old sawhorses. Of course, if you DIY one of these yourself – send us a pic! We’d love to see it!



This is such a cool project!! Thank you for sharing at Merry Monday party. I’m going to feature your DIY lamp at next week’s party. We hope you’ll come by and share another project or two 🙂
Thanks for letting me know Shirley!!
Love these. Such a creative and fun project and unique. This post is being Featured at Merry Monday this week. Sharing. Hope to see you at the new party going on now!
Love how they turned out Jen. Such a unique and easy creation
To cute. You are inspiring me to get the one I set aside done. It is with a tripod. Need to get on that. Thanks for sharing.
Terrific idea.
Love these!
Thank you my sweet friend!!
Oh my goodness! Brilliant! They turned out SO good! -Kelsey (@belleberrycottage)
Thanks boogerest! Love you!
My little gore did it again