Easy Frayed Drop Cloth Curtains You Can Make in 5 Minutes
I needed a quick and budget friendly solution for window treatments in my son’s room. I found my solution with these easy frayed drop cloth curtains you can make in 5 minutes.
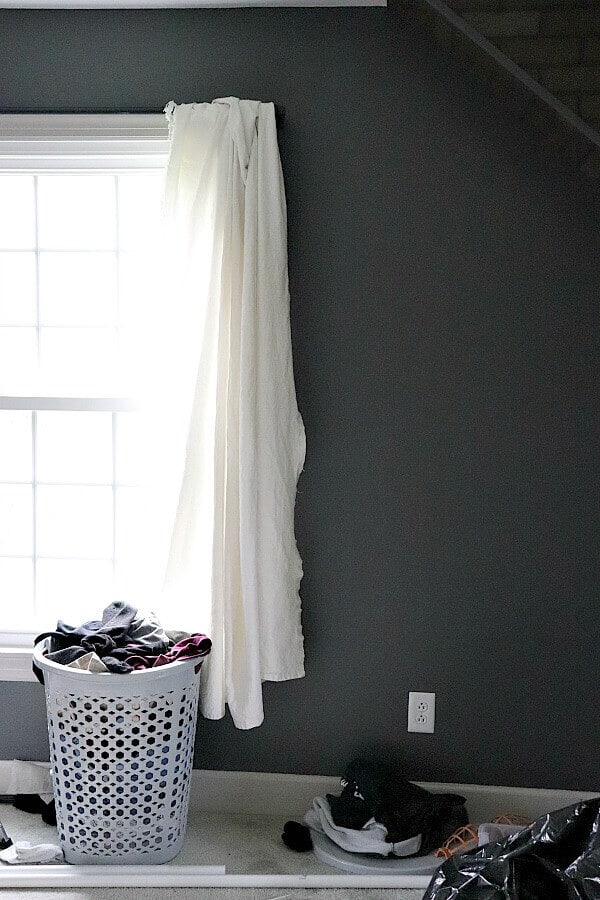
Whenever you make over a room, you can be guaranteed of one thing – a mess.
At least, that’s what happens at my house when we tackle a new project. Shuffling piles of stuff from one corner to the next while you move around the room to work in a new area.
But sometimes, inspiration can be born from that shuffling process – like the curtain idea I found while making over my son’s room.
See that drop cloth draped over my son’s curtain rod? That is leftover remnants from my drop cloth covered chair I reupholstered last year. Somehow, it got mixed in with our painting drop cloths and I ask my son to put it somewhere so we wouldn’t mess it up while painting his closet.
So this is where he hung it.
And I instantly fell in love! His room color is so dark and I was wanting to balance out his room with lighter colors, but curtains can be so costly. I knew this idea would be a budget friendly option.
I immediately jumped online to order the same drop cloths I used for my chair project. Here’s what you need to make these super simple curtains! I’ll include affiliate links for your convenience. It doesn’t change the cost of the item, but it helps support my blog. You can read all about that here.
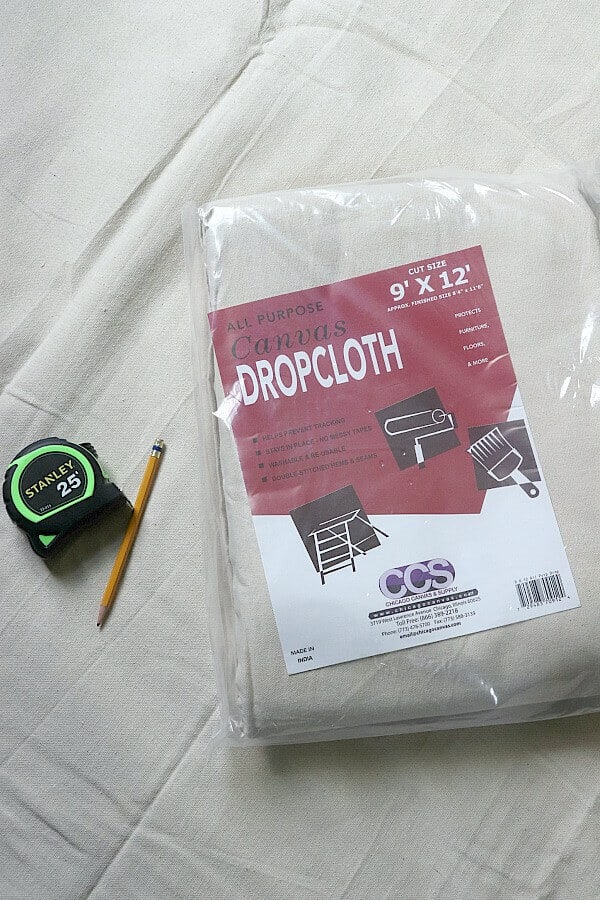
Easy Frayed Drop Cloth Curtains
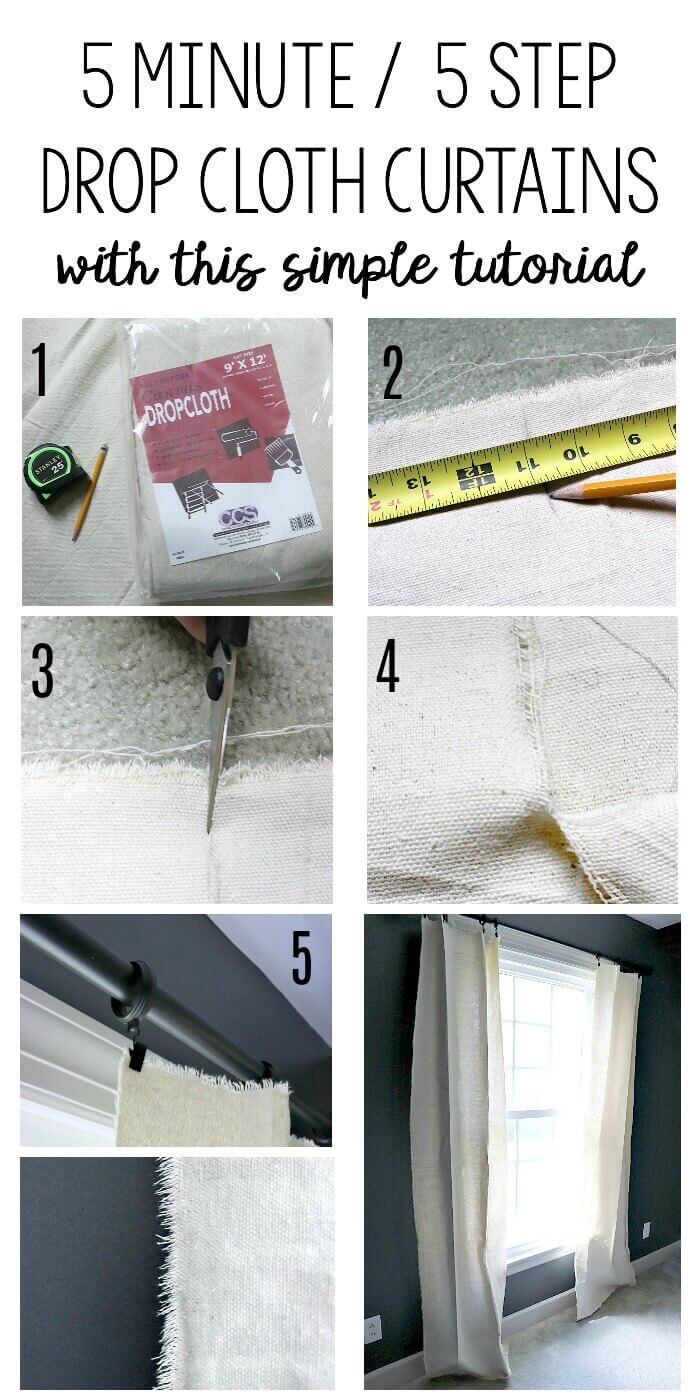
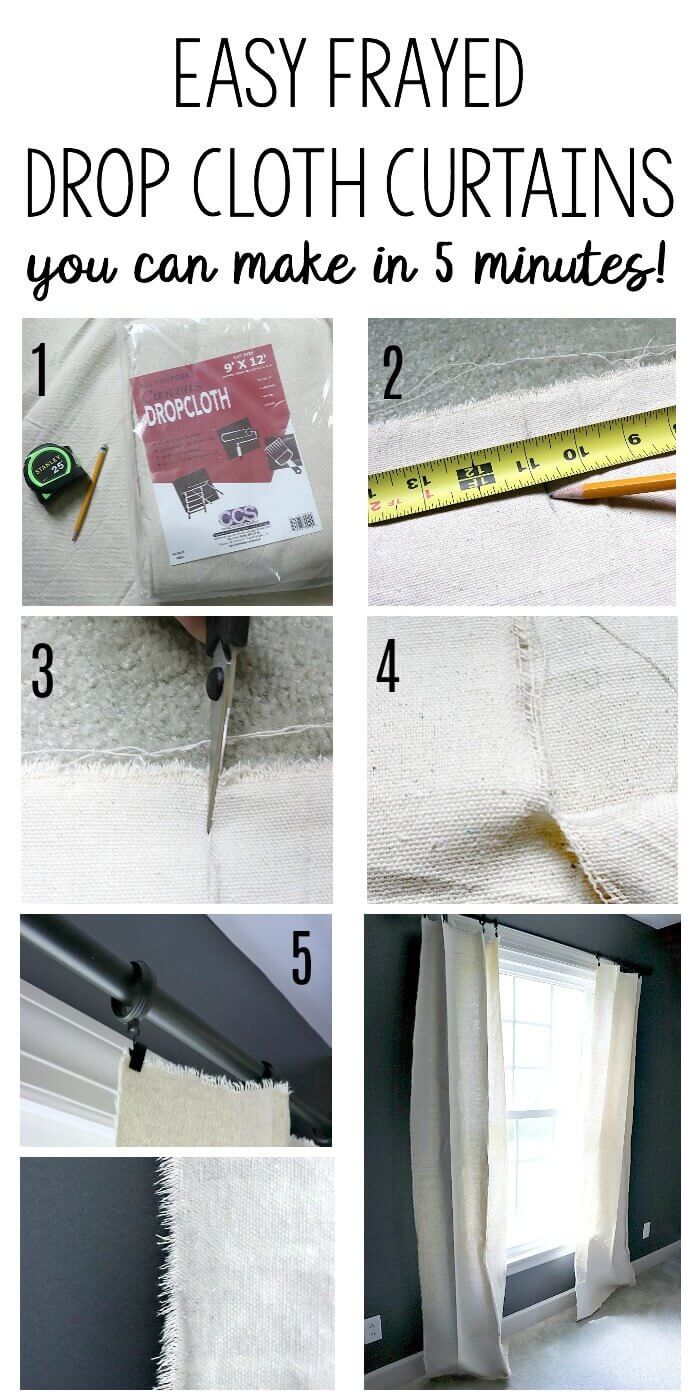
Drop Cloths – I ordered 2 sets of 9 X 12 to cover all the windows in my son’s room.
Tape Measure and Pencil
Scissors
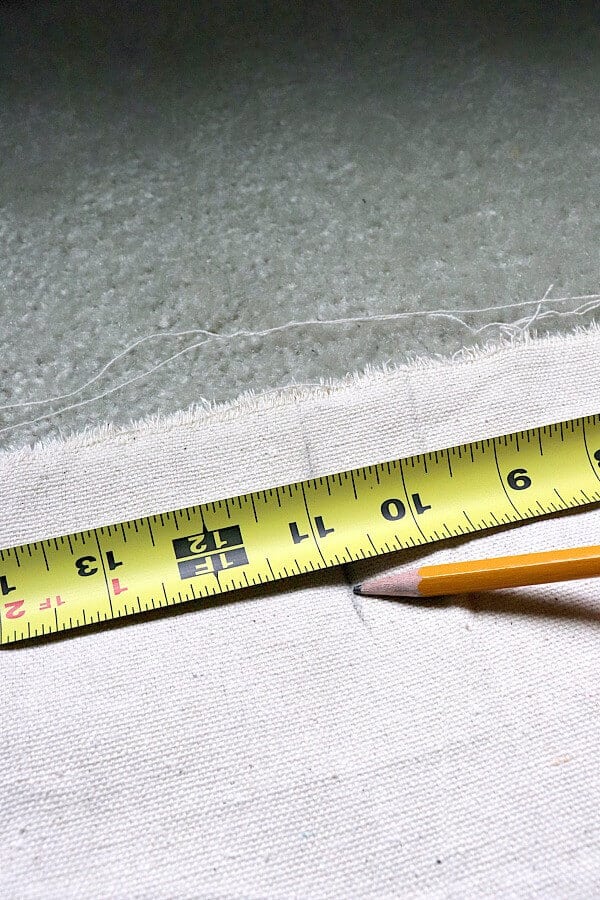
To begin, measure your windows and mark where you need to cut. For my windows, I had to measure for width and length and mark both areas.
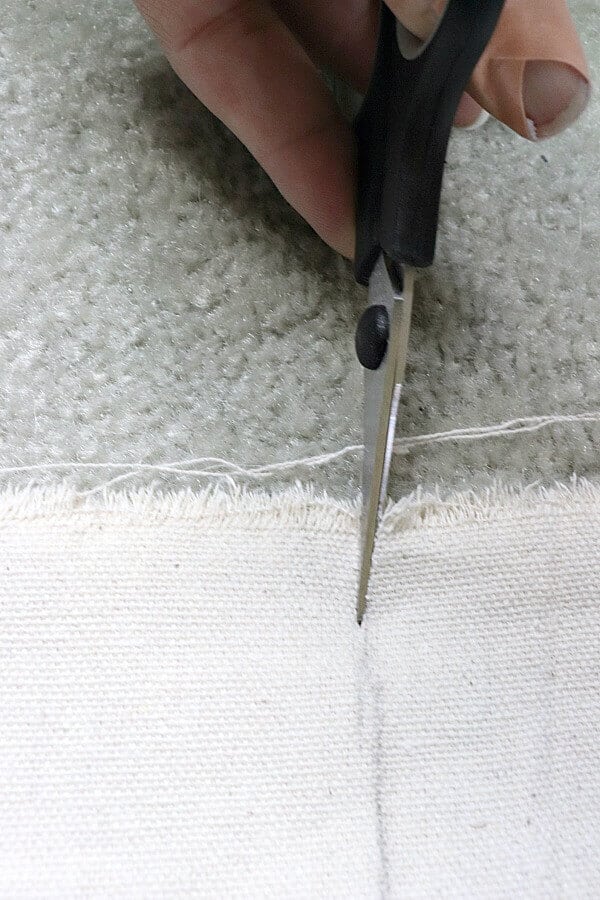
After you’ve made your marks, take your scissors and cut a one inch slit.
Why only one inch? Well, here’s the easy peasy part.
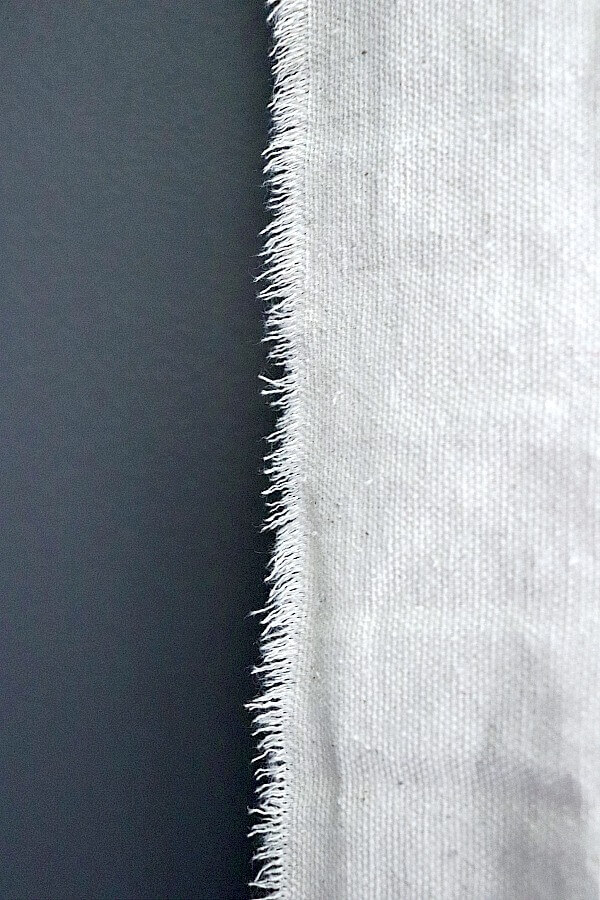
When you rip drop cloth, it rips in a straight line!
Say what?! And it creates a perfect frayed edge for your curtain panels.
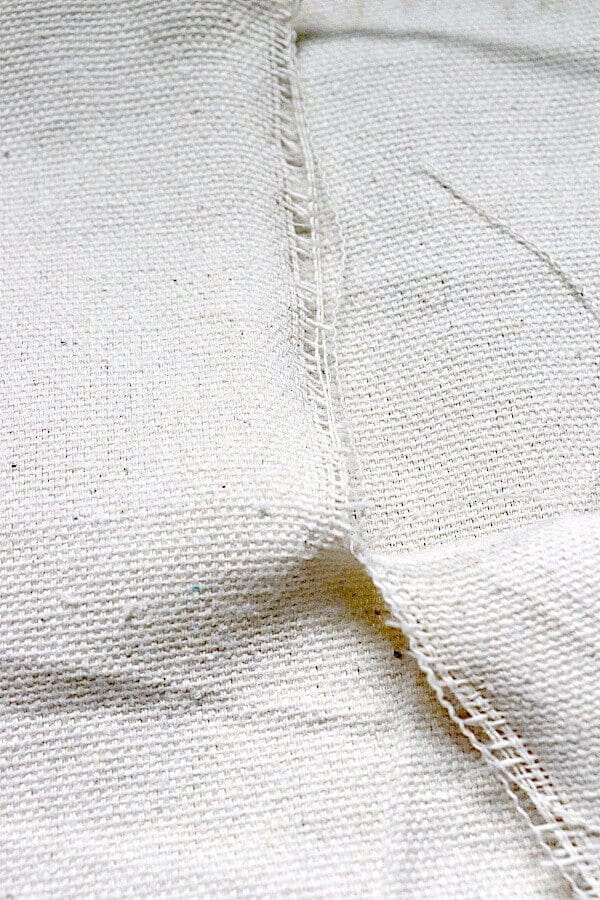
Simply rip down the fabric to your window’s measurements. My windows were each sized differently, so I had to do a wee bit of math to make sure I was utilizing the fabric in the most economical way with very little waste.

It’s so satisfying ripping apart that fabric! I don’t know why!
So, do you notice the strings of fabric in the pile above?
All you have to do is remove those strings and you have an instant frayed edge!
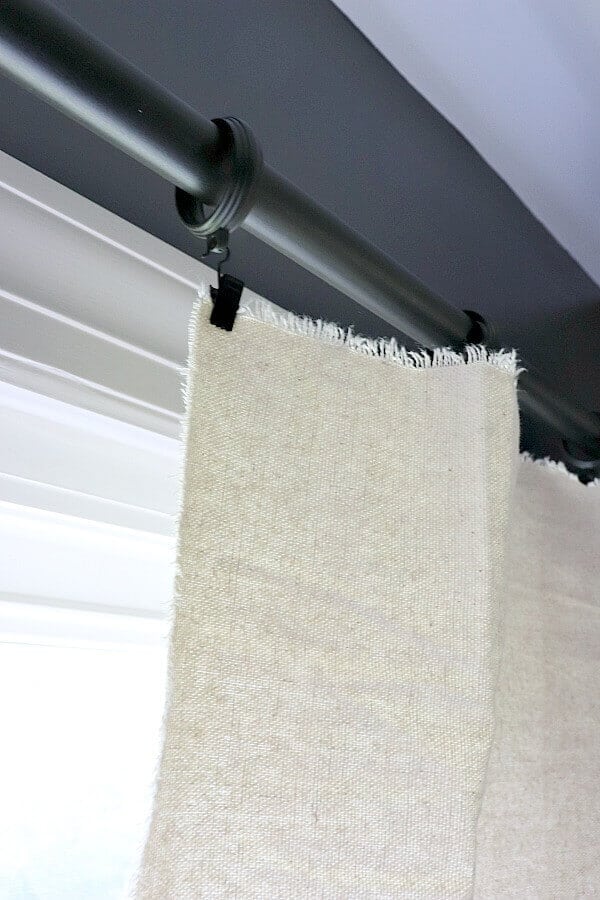
I had curtain rod clips from some old curtain rods and those worked perfectly. Just clip the curtain panel in place and you’re good to go!
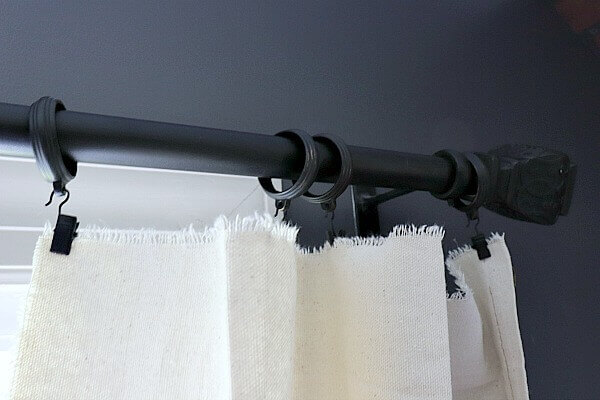
Since this is an industrial room, I opted to leave the manufacturers seamed edge on a few panels.
Unfortunately I did notice that I made a bad measurement that needed to be fixed.
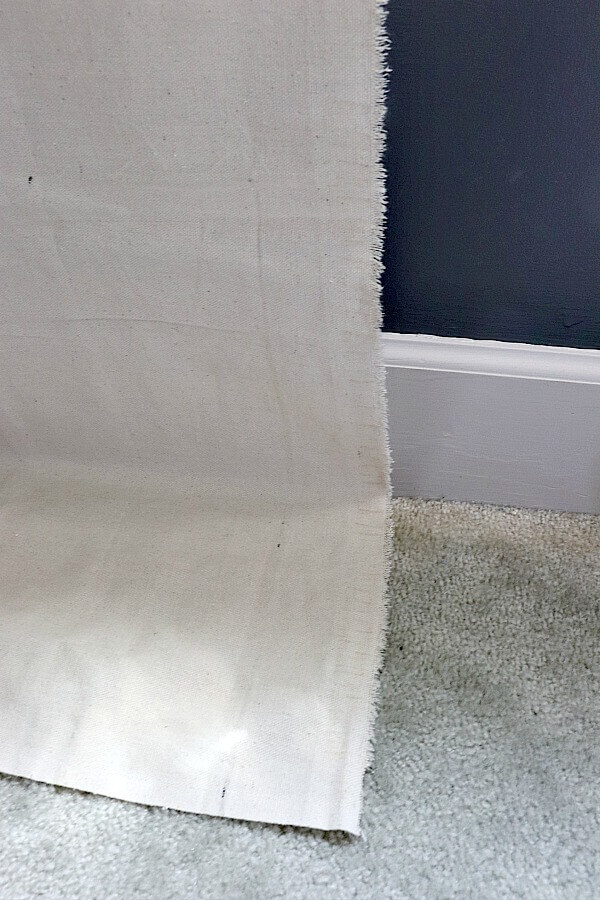
On one window, the curtain panels were just too long.
But I was able to fix it in less than a minute!
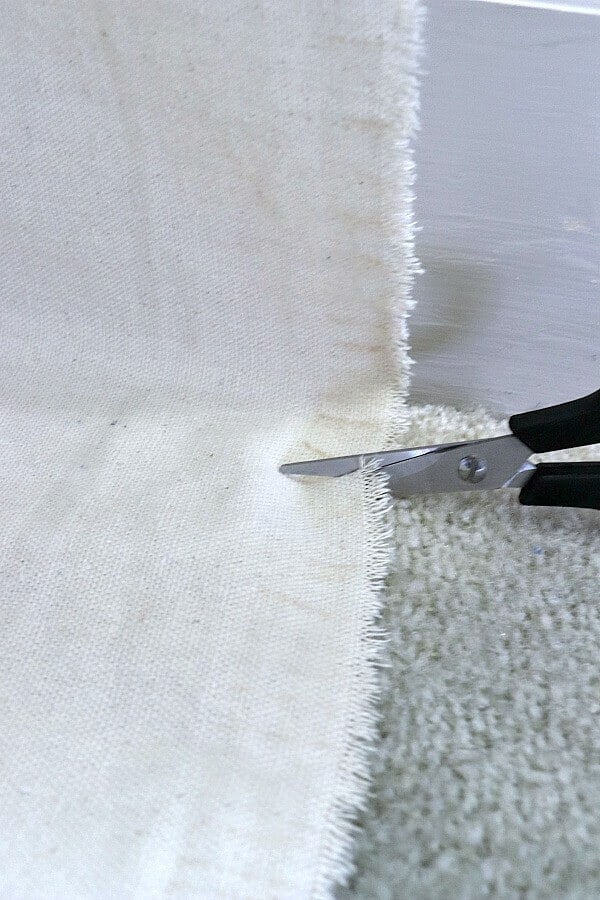
Figure where you want your curtain to hang. I wanted a very slight puddle to these panels, so I went out about an inch from the baseboard.
Then you just snip and rip! I didn’t even remove the panel from the rod!
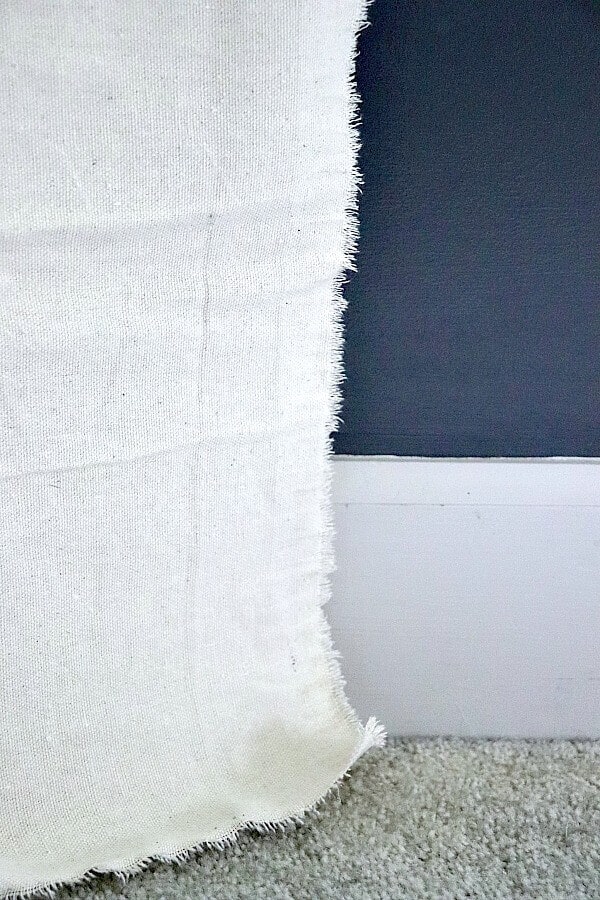
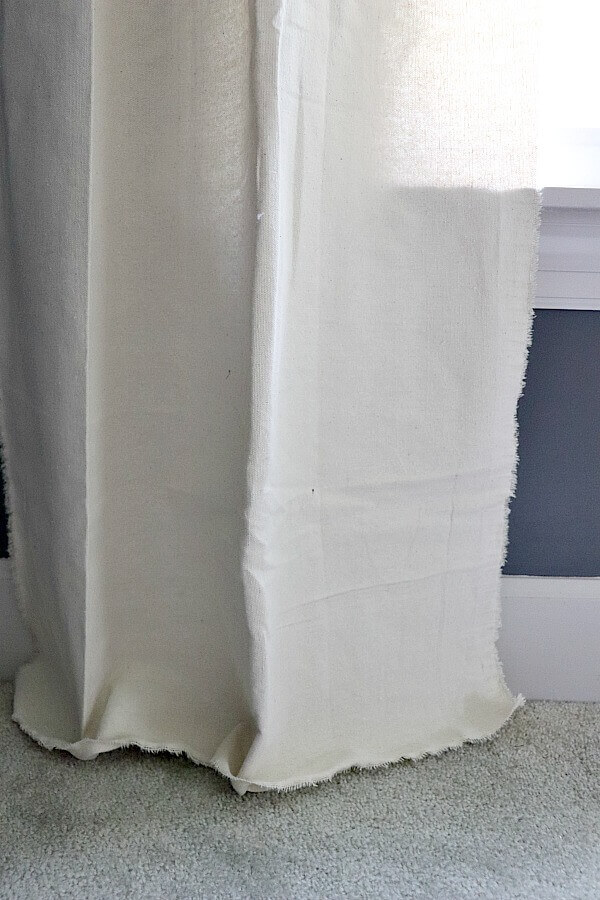
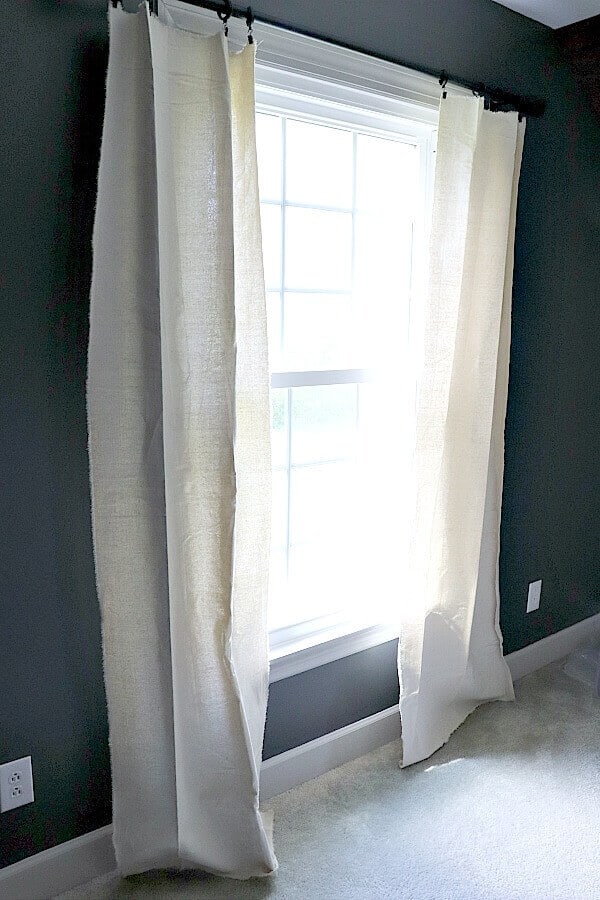
I finished all three windows in 15 minutes.
My son came in his room and I got the teen approval! Of course, that’s huge, ya know!
I spent $44 on the two sets of drop cloth, but used just a small portion of the second set, leaving me with about 3 yards leftover. By my calculations, I was able to cover 2 regular windows and one HUGE picture window – all for about $28!
<insert money saving happy dance>
All that is left for me to do is to steam out the wrinkles and maybe add tie backs, but that’s still up in the air. So I’m going to hit my local thrift store to see about making a DIY tie back. If I find a solution, I’ll show it in the final reveal of this room, so be sure to follow along!
Easy Frayed Drop Cloth Curtains You Can Make in 5 Minutes – you can’t beat it.
Join my newsletter so you don’t miss another post!






I love this idea of a no sew curtain. So simple and quick. Pinned.
Thank you Ann!!
Those turned out so cute! Thanks for sharing this with us at the Homestead Blog Hop!
That is a very cute and clever fix! Thanks for sharing with us at the Summer Fun Linky party. Pinned.
Thanks Debra! I’m so pleased with the results!
Thank you Mary Beth!