Industrial Decor Elements for a Boys Room
WIndustrial Decor Elements for a Boys Room – we are in week 4 of this Spring’s ORC. This week, we had fun adding Industrial Decor Elements for a Boys Room! Follow along as we get closer to the reveal!
Sometimes you get into a project and it moves along tediously slow, and then there are times when you are pleasantly surprised like this room reno!
Week four of the One Room Challenge has been known for being notoriously challenging, but unlike the past challenges, this one is coming along ahead of schedule. I can’t believe it!
Last week, I was able to finally get some curtains hung.
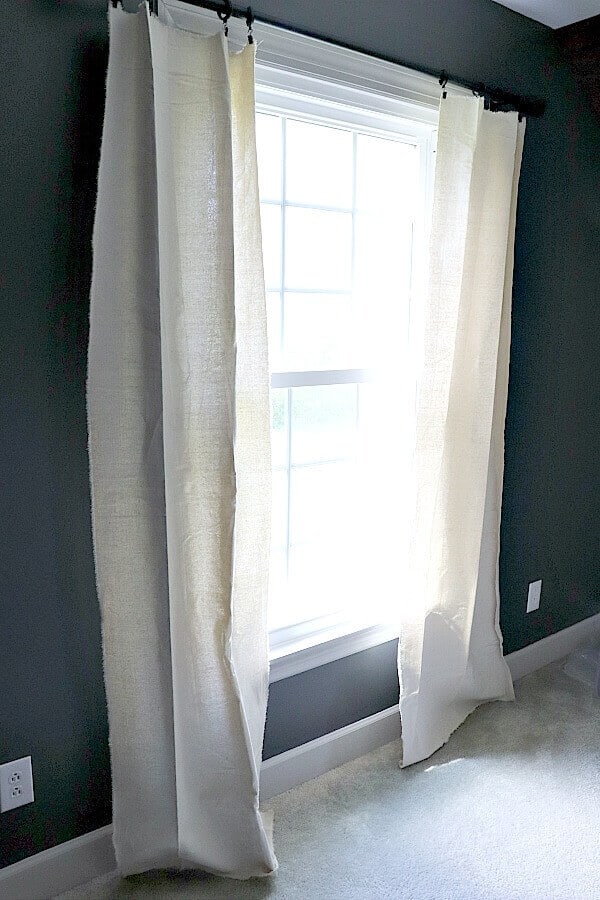
I was amazed with how easy these frayed drop cloth curtains were to make! And they look great against those dark colored walls.
This week we tackled a few fun industrial decor items that we wanted to incorporate in my son’s room and what a difference it makes when you start adding the fun elements!
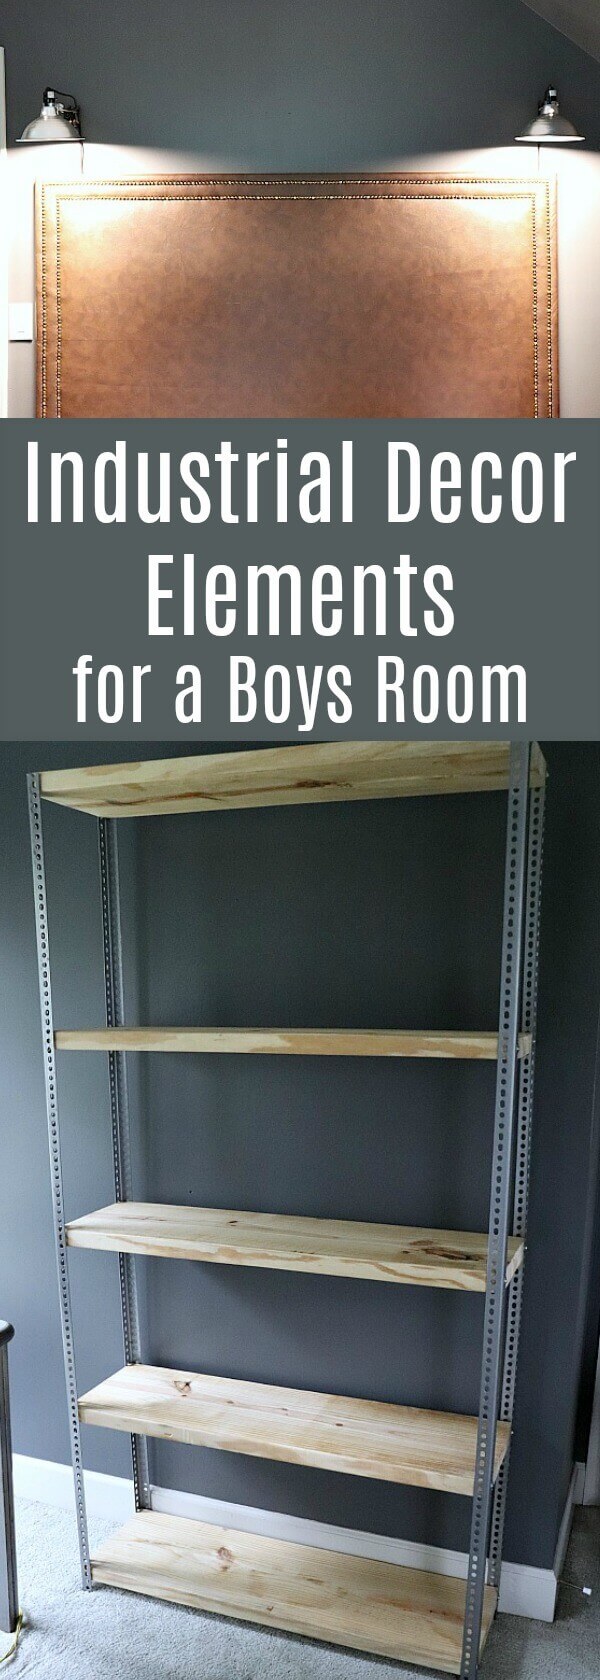
When we replaced our mattress last month, we gave our old California King mattress to our gentle giant. Since our son is 6’5″, this mattress is perfect for his height, but we needed a headboard and I had the perfect solution.
Meet our very first DIY.
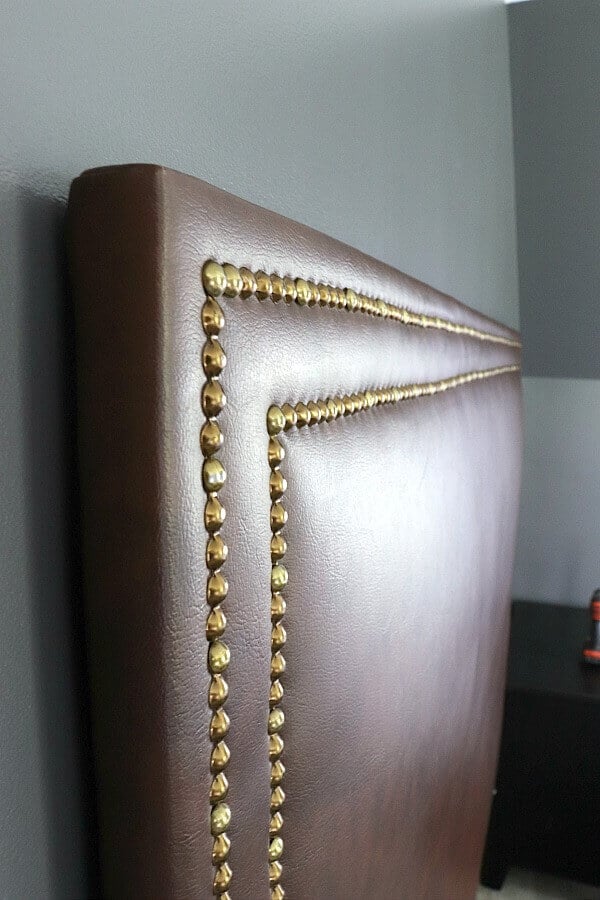
Long before blog land ever existed, Trent and I were out in Los Angeles pursuing our music careers, broke and living on love and dreams. We made this headboard for our tiny apartment.
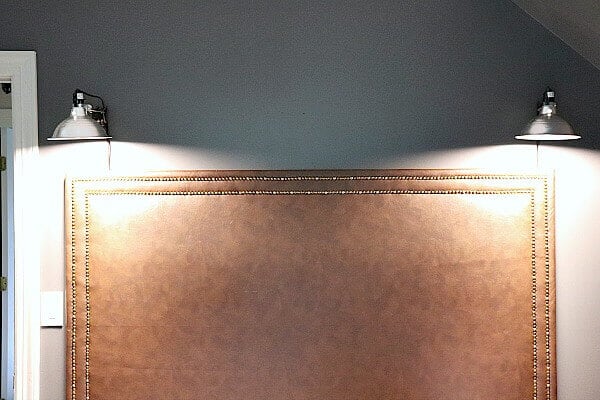
It’s a thin sheet of plywood covered in batting and brown pleather with a nail head trim.
Year after year, we’ve brought this headboard with us wherever we moved – 15 years of never really finding a spot for it in our home. I was so excited to finally find the perfect space for this treasure of ours!
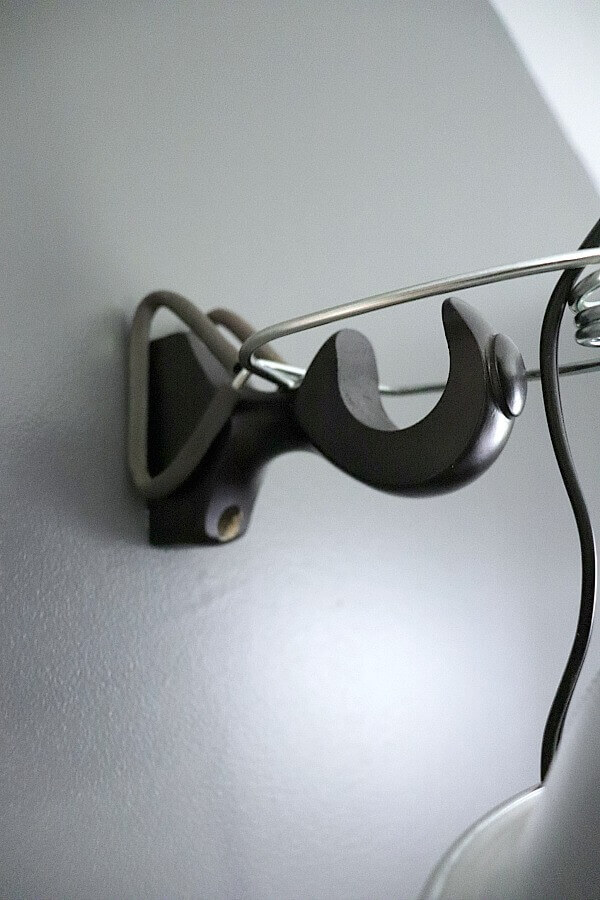
We opted to forego an accent wall behind the bed, but I wanted to create a lighting feature over the headboard. I used old curtain rod brackets as bases and hung aluminum clip work lights to them.
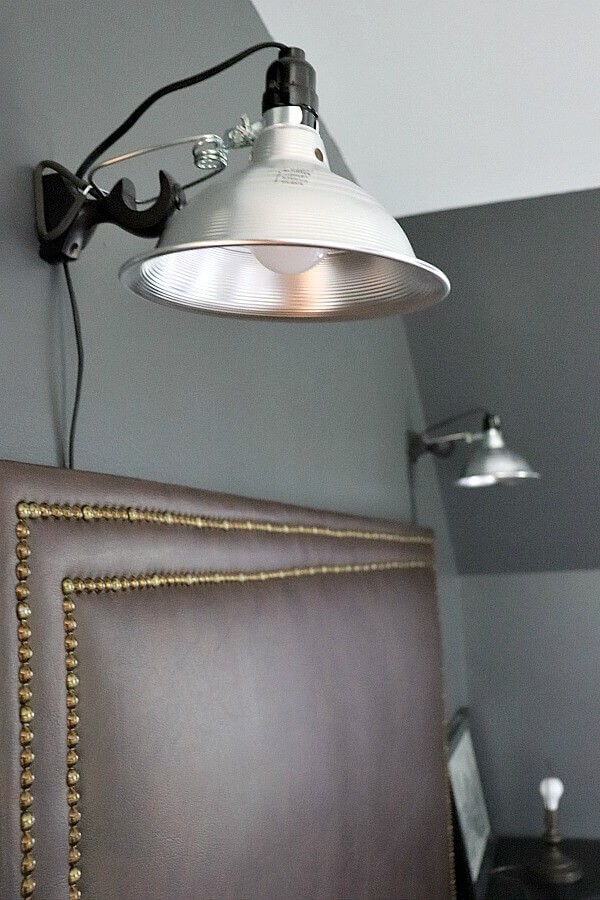
We hung the headboard higher than normal for dramatic effect and I love how the lights look perched above it!
Another feature we wanted to focus on this week was a new bookcase.
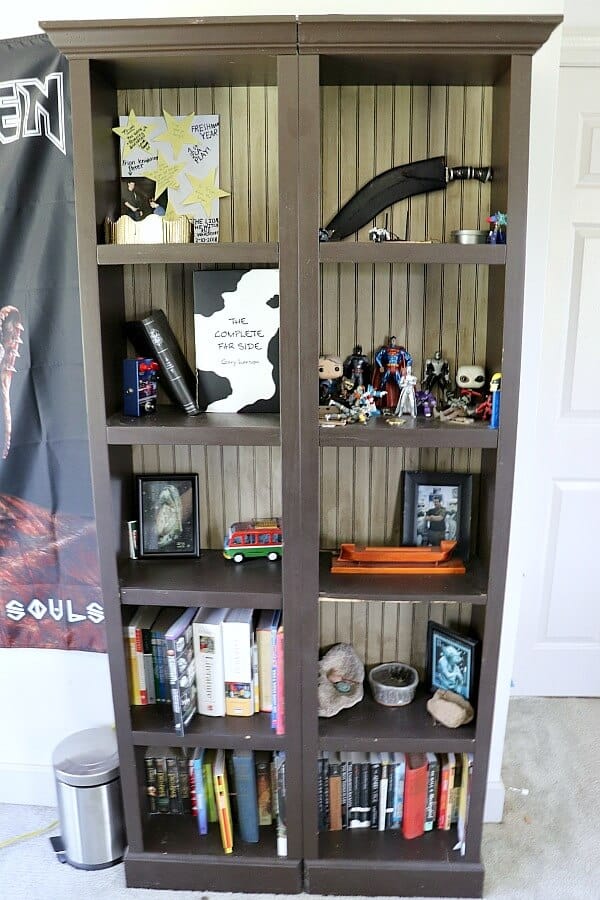
My son’s old bookcase was on its last leg and didn’t quite fit the vibe for this room.
When we swapped beds, our youngest son was upgraded to a queen mattress which left us with some extra wood that was being used to support his old twin mattress.
We thought those would make perfect shelves for an industrial-looking bookcase. All we needed was some angled steel bars and some screws and we were in business.
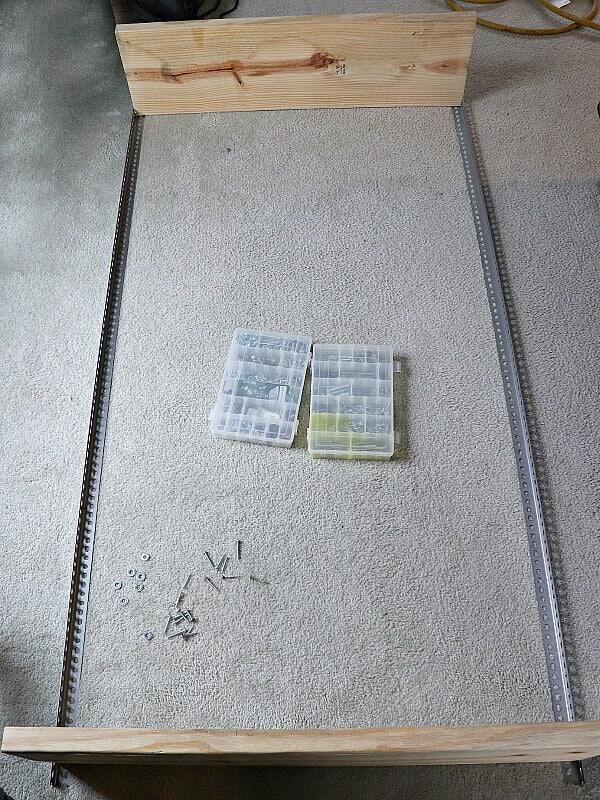
We laid out the angle rods and secured the top and bottom boards first to get it close to square. We used screws and washers (all sizes from our stash) and drove them right into the sides of the board.
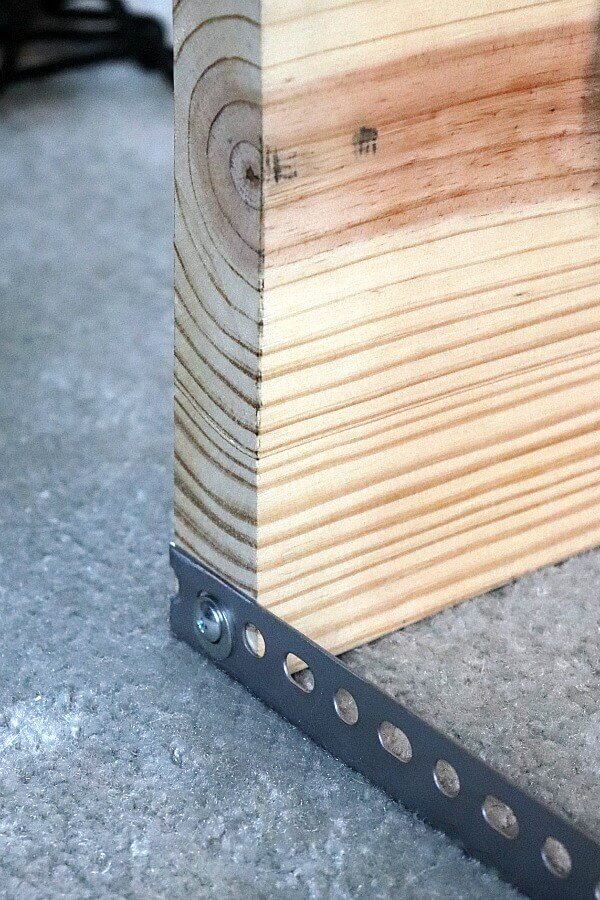
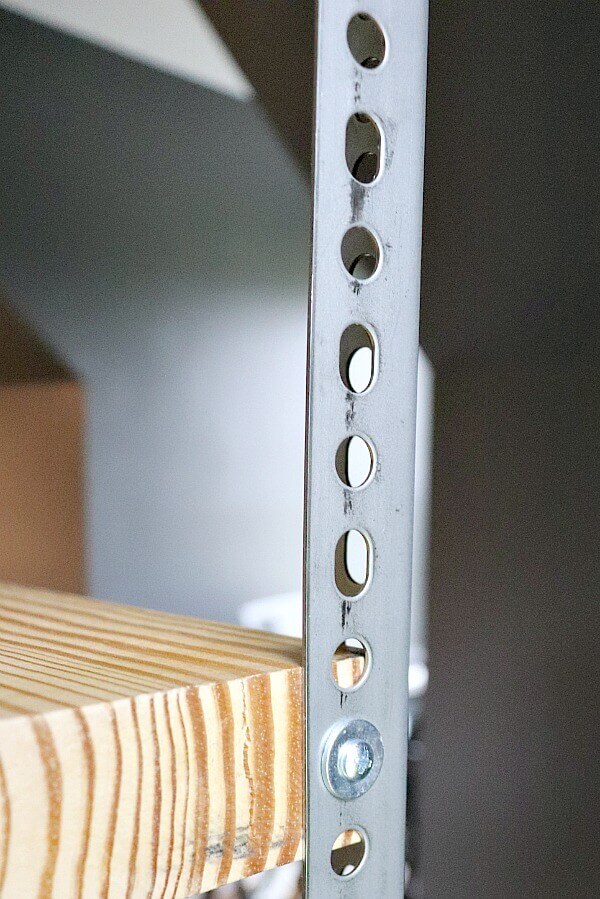
Sometimes you just have to Frankenstein things together!
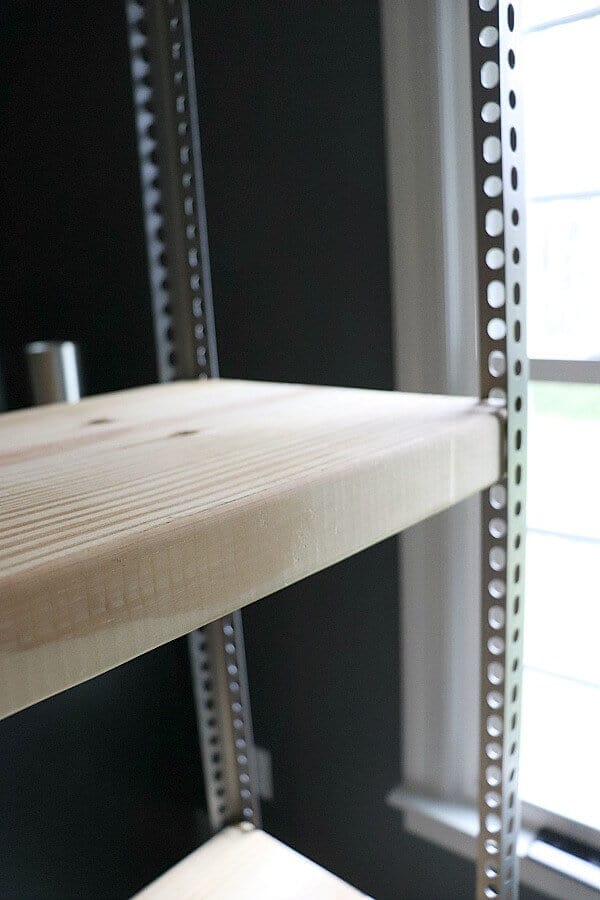
I was going to stain the wood, but once we stood the shelves upright, we loved how the natural wood looked against the Peppercorn colored walls.
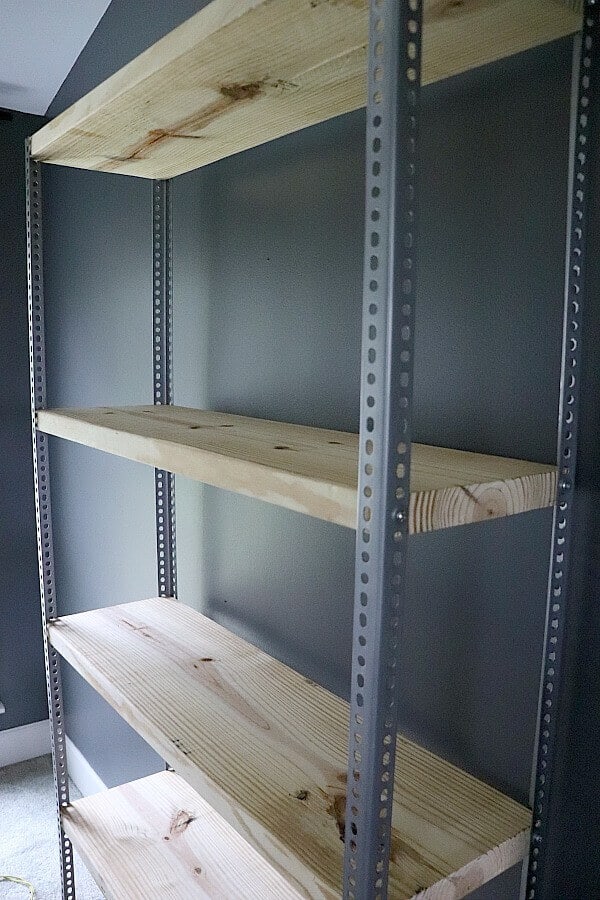
We thought we might have to add braces for stability, but since the wood we were reusing was an inch thick, those braces didn’t seem necessary. It’s pretty sturdy!
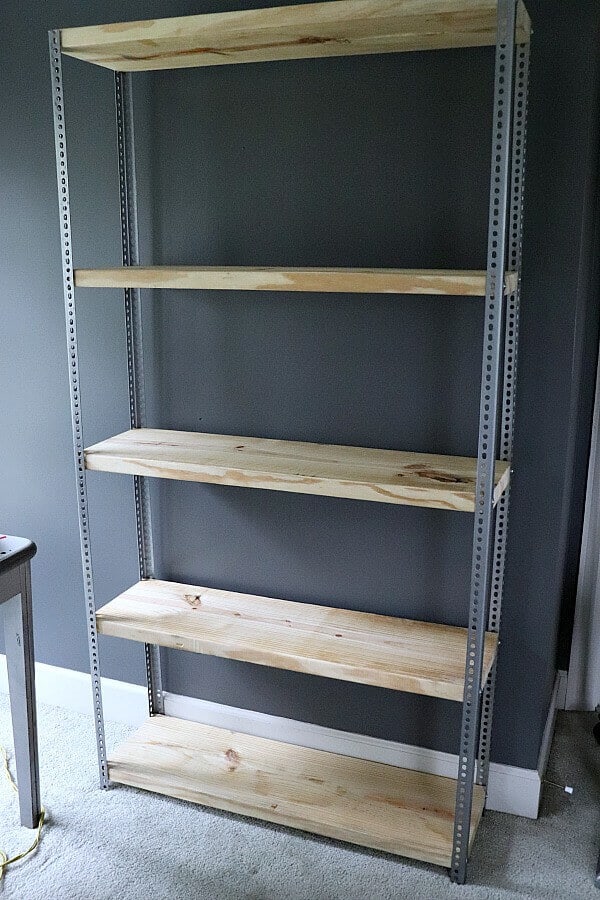
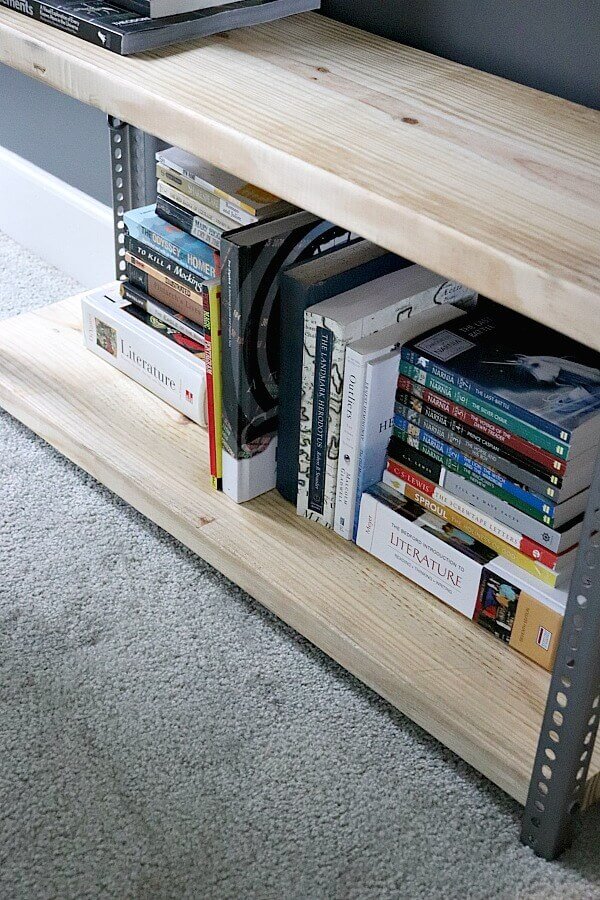
Pretty cool, right?! And our son already started putting his books on the shelves.
It’s fun to see him get excited about creating his own space. He gained a moment of understanding of what I do with this blog and even remarked, “I can see why you enjoy this, Mom!”
And here I thought this challenge would help me understand him more! Being able to teach him basic DIY skills as well as how to do these makeovers on a budget is such a blessing!
Speaking of budget – let’s rack up the numbers for this week! Affiliate links are provided for your convenience.
Industrial Decor Elements for a Boys Room
Purchases for this week
Headboard – Old DIY – free
Clip Work Lights – $17
Curtain Rod Brackets – free
Wood for Shelves – free
6 ft x 1 1/4 inch Steel Angle brackets (4) – $53
Total Out of Pocket – $70
Up to this point, we have spent about $250! It’s unbelievable how much change you can make to a space by repurposing items and planning your purchases wisely.
Next week, we hope to create a fun industrial “prop” area, so stay tuned to watch all the final pieces fall into place!

Week 1, Week 2, Week 3, Week 4, Week 5, Final Reveal
I hope that everyone else on this One Room Challenge was met with an equally surprising week 4! Only 2 more weeks until all the reveals! I can’t wait!
Don’t miss another post! Join my email list so you get all the latest updates!
[yikes-mailchimp form=”1″]
To see our other rooms we’ve made over in the past – check out the pics below!
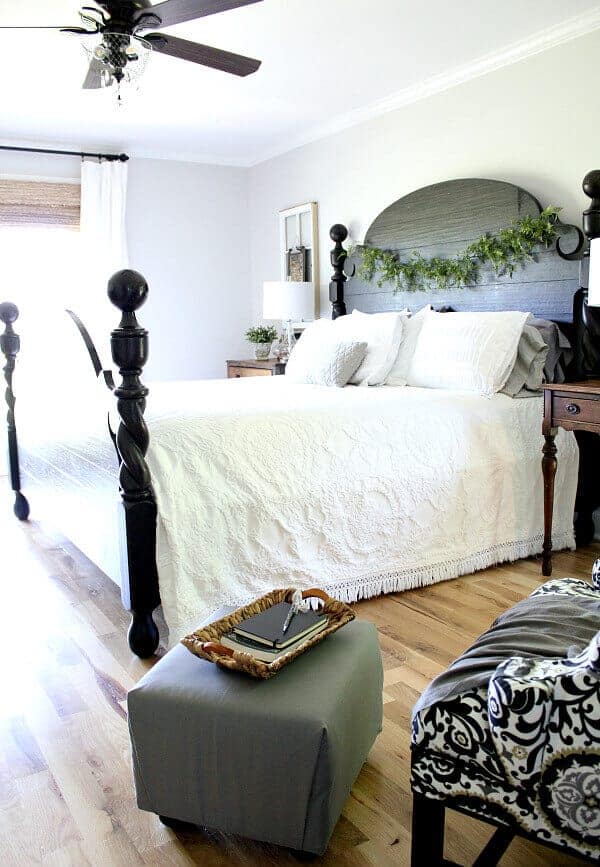
Making Over Our Master Bedroom
