Making over a closet for less than $40
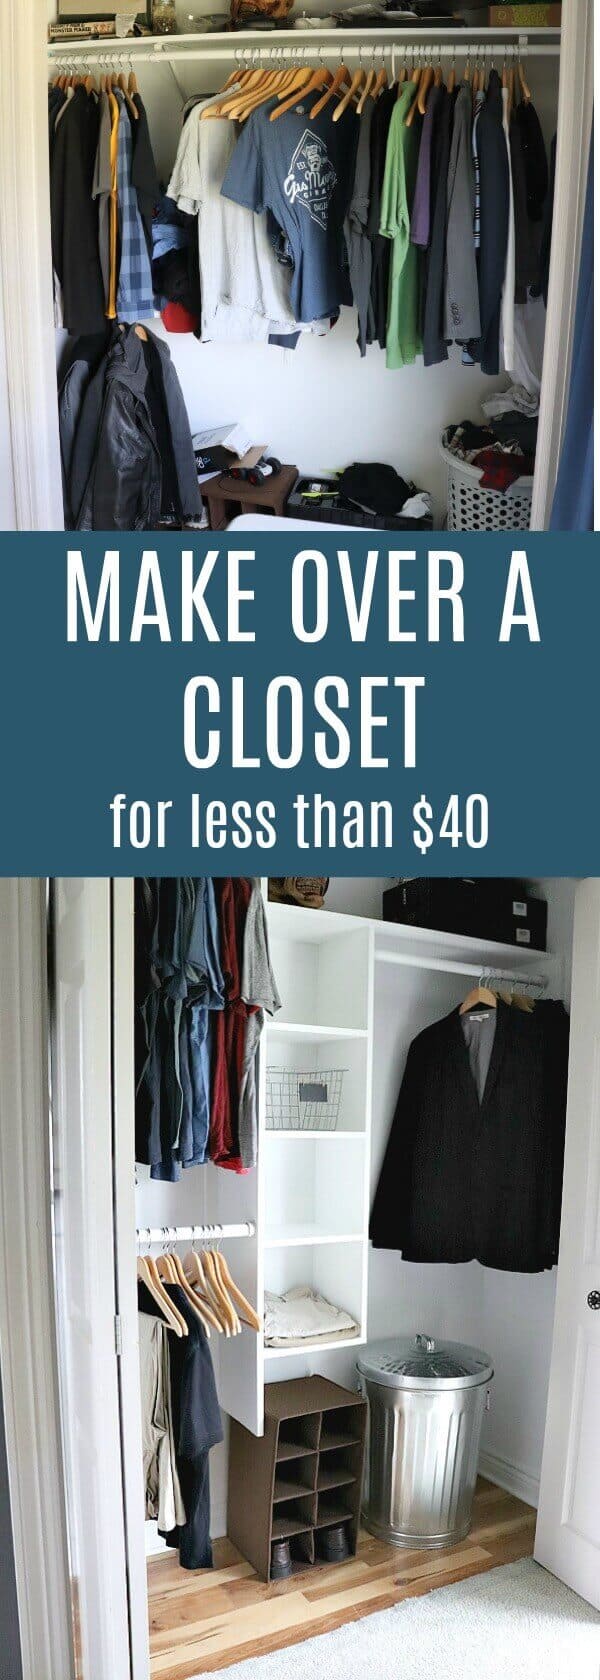
We are transforming our son’s room into an Budget Friendly Industrial Teen Room for the One Room Challenge. The week – we are making over a closet for less than $40!

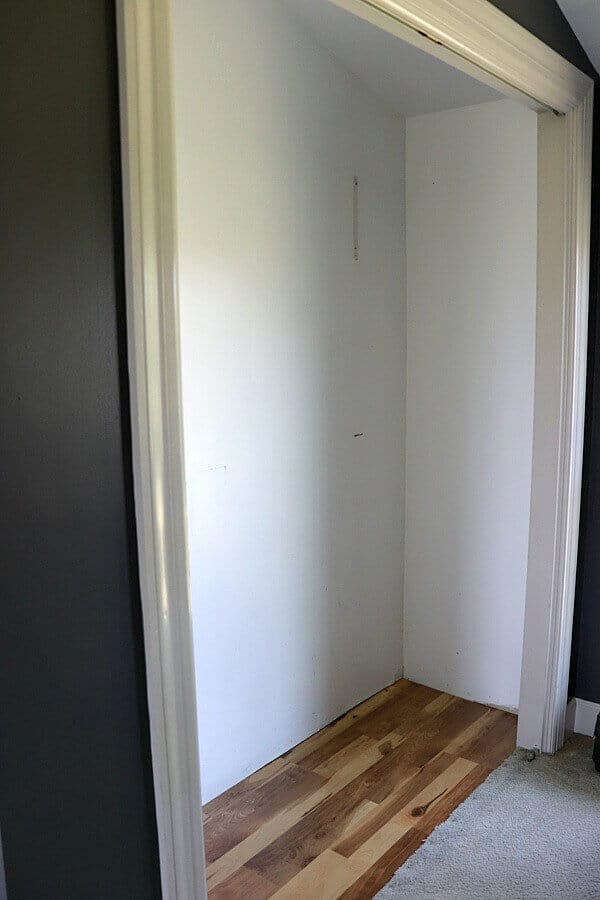
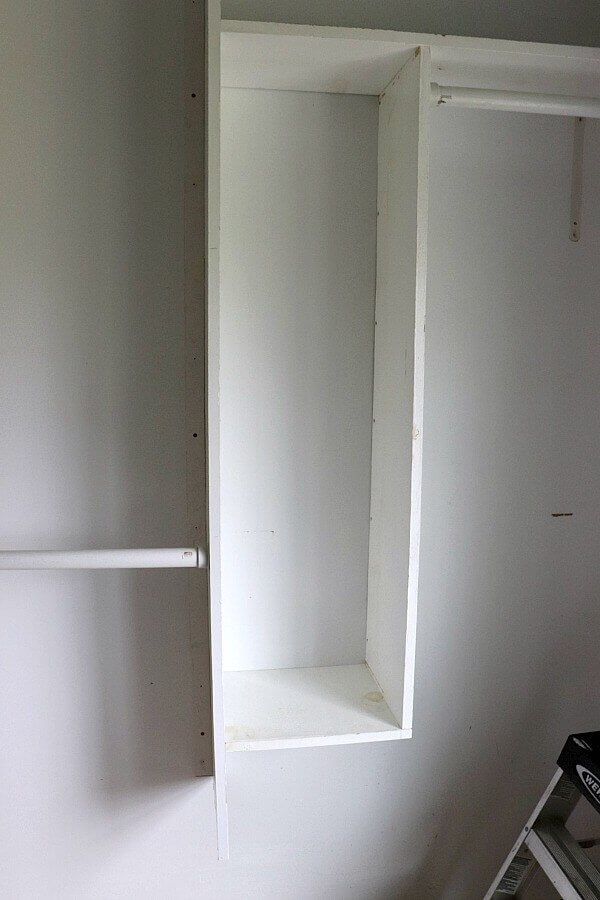
What do you see?
More importantly – what do you not see?
If you said closet doors, you’re right! And if you said the bottom clothing bar, you’re also correct! Guess what – there’s a shelf there too hidden under those long shirts!
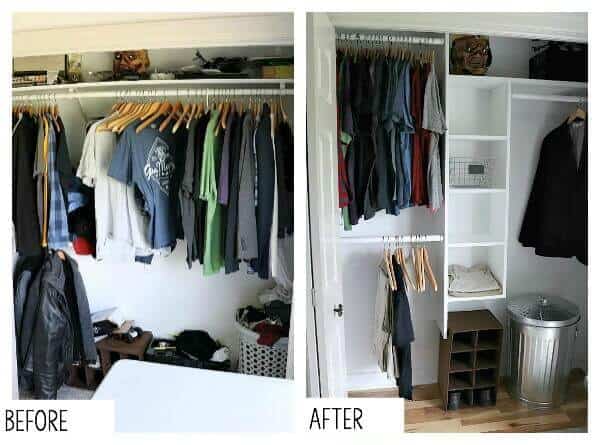
When you have limited space in a closet, but also have a really tall child, you have to make a few adjustments to fit your needs. This layout wasn’t working for my son and his clothes were getting ruined from the hangers on the bottom rack, so we knew this was a must on our to do list for this One Room Challenge.
As I mentioned in week one of this room reno, the floor of this closet was exposed subfloor, so that’s what we tackled first.
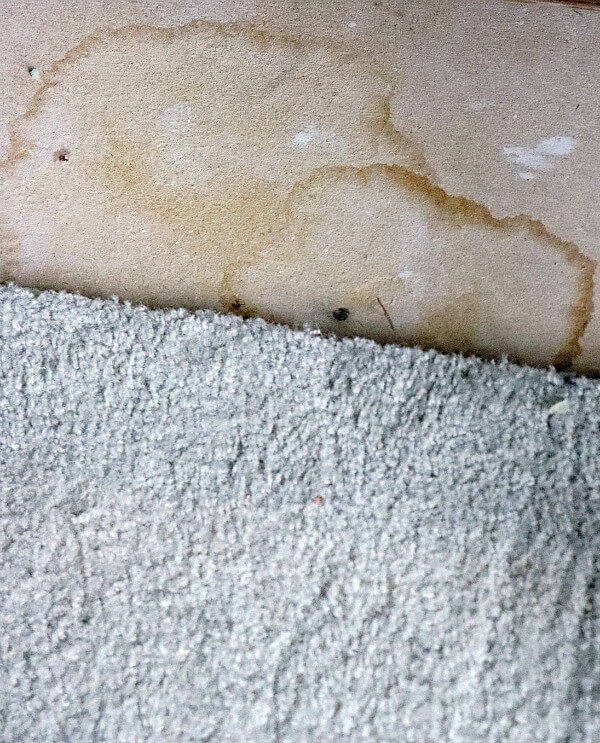
Either the previous owners had a very incontinent pet, or my boys spilled lots of drinks in this closet.
I’m hoping it’s the latter!
sigh
This has been the floor of this doorless closet for the past 3 years, when we ripped out a weird angled shoe rack in order to provide toy storage for our boys.
When we realized new carpeting wasn’t in the budget for this makeover, we had to come up with some idea of how to fix this problem area.
That’s when serendipity stepped in.
On a recent visit to Lowe’s, we looked at their flooring department to see if we could copy the luxury vinyl tiles in our Kitchen, since that was such an easy DIY. When we stumbled upon a clearance box of flooring, we knew we hit pay dirt!
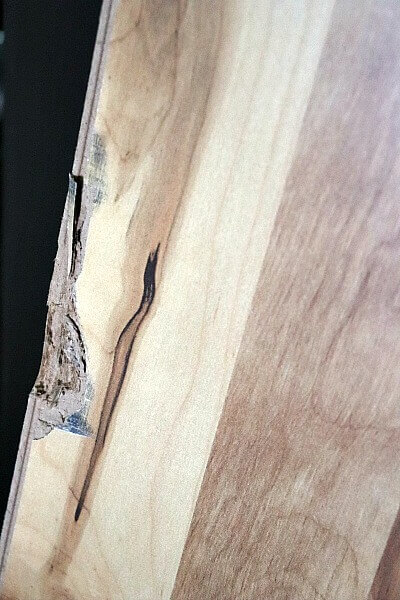
This one little piece saved us so much money! The entire box of flooring was marked down to $15 and was more than enough to cover the small space in our son’s closet.

And just as Serendipity does, this floating floor almost matches our cabin grade hardwoods! A perfect temporary fix until we replace the carpeting in this room.
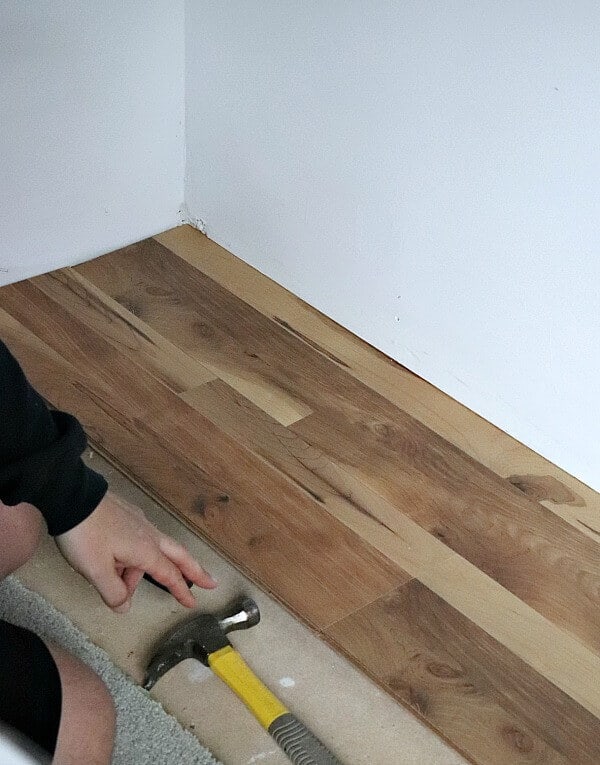
It took just one Saturday afternoon and the floor was in. Since it was meeting up with the existing carpeting, Trent had to tack the carpeting directly to the subfloor. You can see the tiny divots in the pic above, but after a couple of days, the carpet pile fluffed right back up!
So next came the removing of all the existing closet hardware. We set the boards aside since we were reusing them for the DIY Built-in shelves.
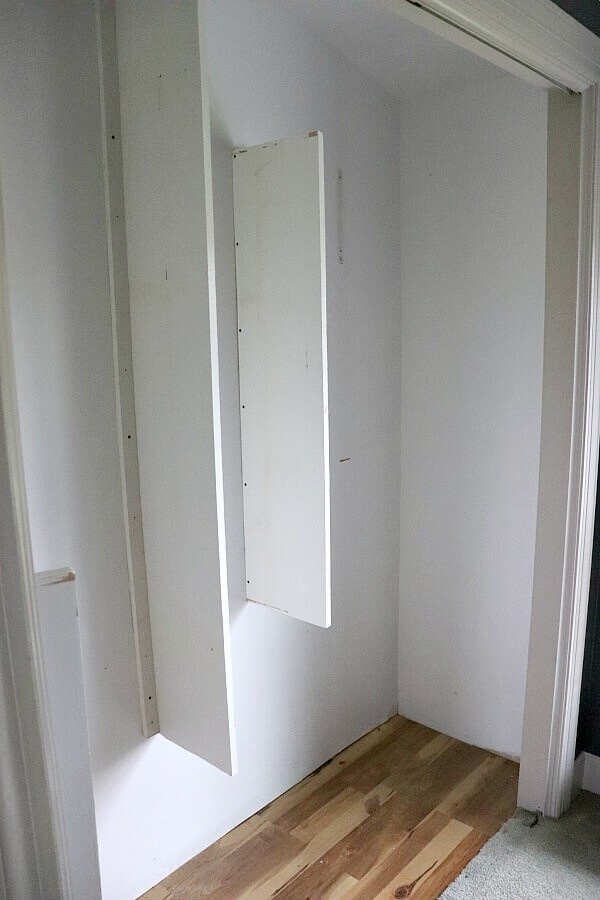
First we installed the ribs on the outside of the shelving sides with some 1 by 2 mdf pieces I bought for my Farmhouse Pantry Makeover this last January.
I am admittedly a scrap wood hoarder, with a huge pile in my garage.
But, because of that, I was able to save hundreds of dollars on purchasing lumber!
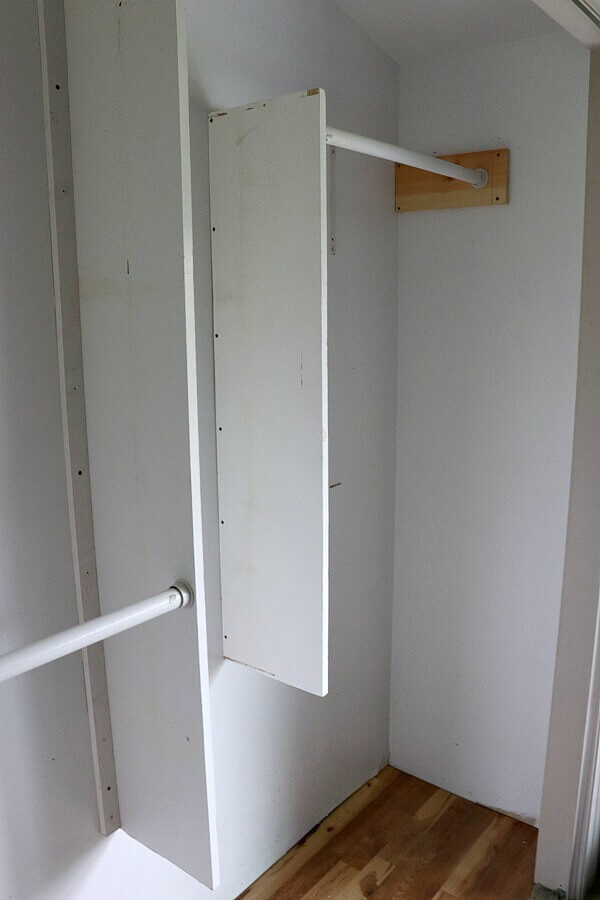
Next, we installed the closet bar brackets.
Here’s where I really had a dilemma. A mental battle so-to-speak.
The frugal momma of my gentle giant said to hang the bar to fit his height, but the sensible woman who thinks of resale issues for the next person in this house started creeping into my brain.
But I quickly shut down that game of what-ifs!
I know you know what game I’m talking about. The same one that makes you second guess 0r even triple guess starting any home projects for fear of failure.
Friends – you have to live in your house for yourself!
This may possibly be our forever home – only God knows our plans and we are to trust and enjoy each day we are blessed with. And that means rejoicing in my tall child and fixing his closet to meet his needs!
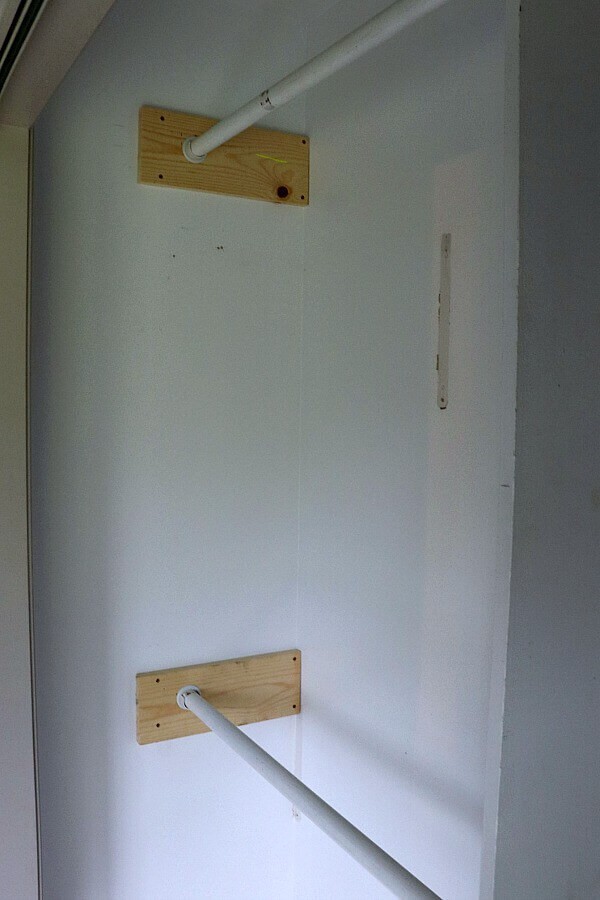
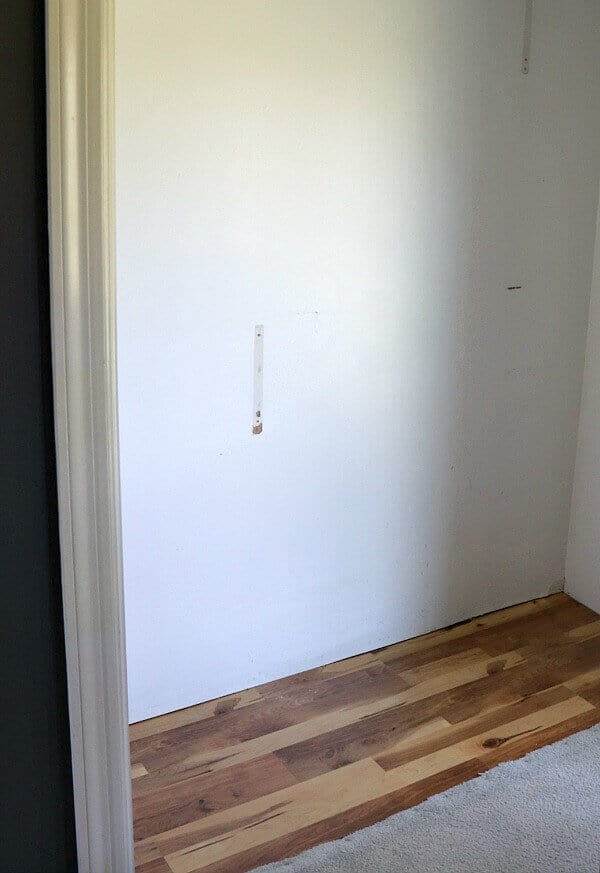
So we took one of his shirts and placed it on the wall to mock up the length needed for each bar.
Next it was time to start adding the shelves. Again, we are reusing scrap wood that we had in our garage. When I replaced my painted pantry shelves with stained ones, it made finding painted wood for the shelving easy peasy!
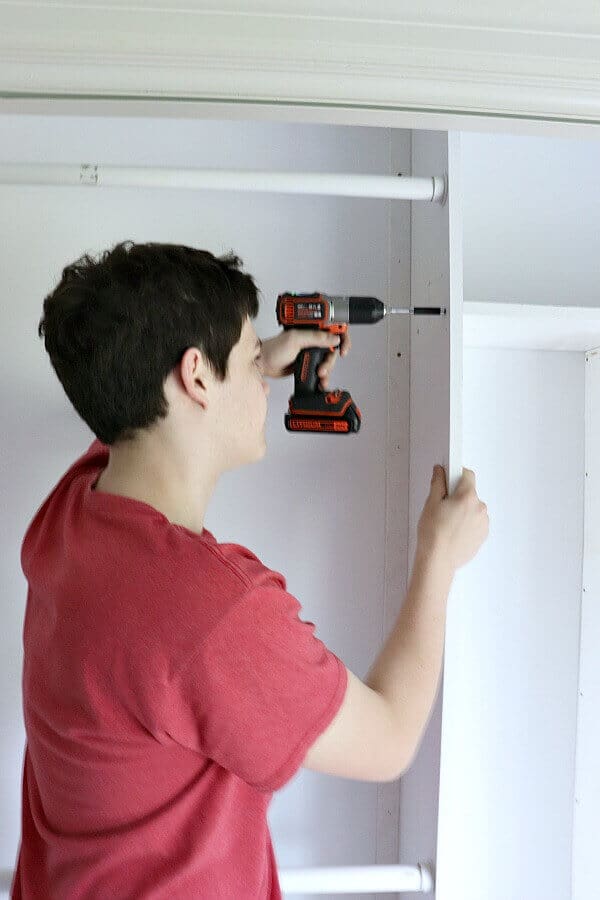
We were able to capitalize on another teaching opportunity and had our son help install the built-in shelves.
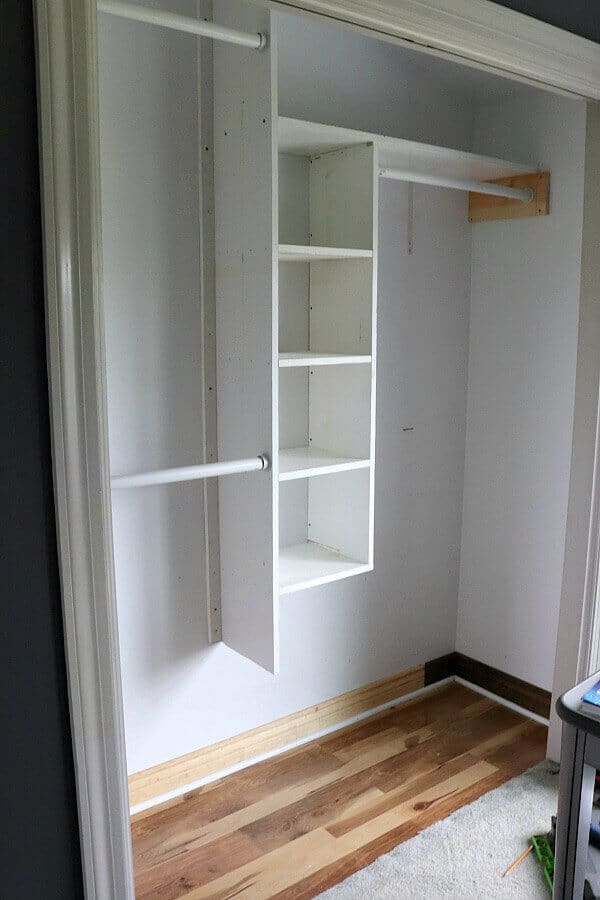
After the shelves were finished, Trent installed the baseboards from scraps that were gifted to us by a neighbor.
Look at that patchwork closet!
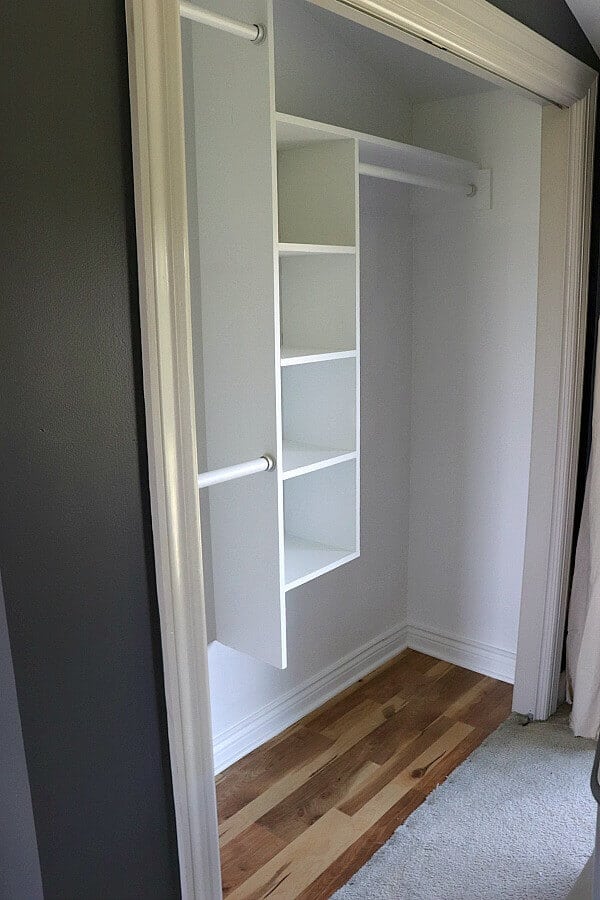
Nothing that a can of paint can’t fix. Just look!
Now it was finally time for fixing these closet doors. It only took us three years.
I’m actually embarrassed at how easy this fix was.
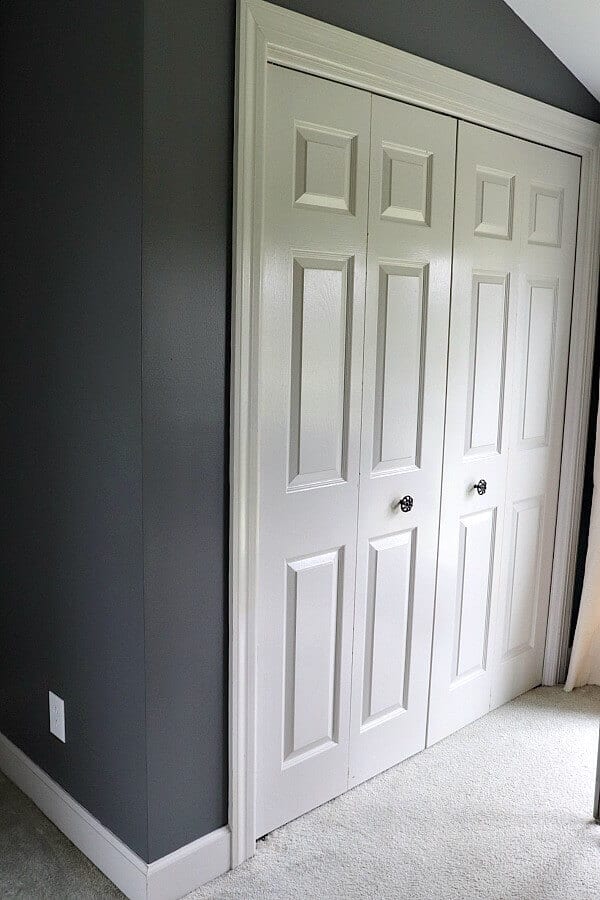
You just get a bi-fold door hardware kit from your big box hardware store and follow the instructions. I’m not including a tutorial on this since this is a repair and not a new install, but seriously – we should have done this years ago!
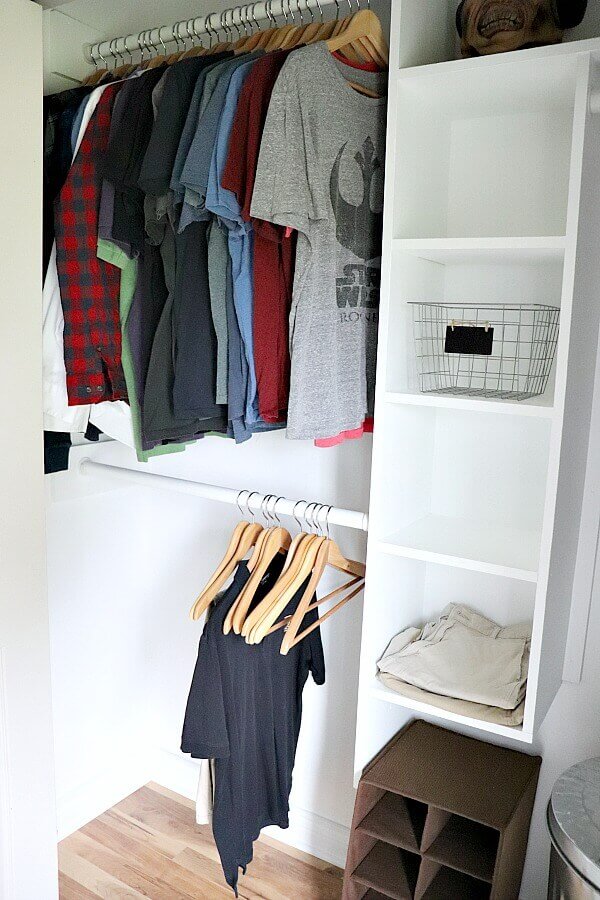
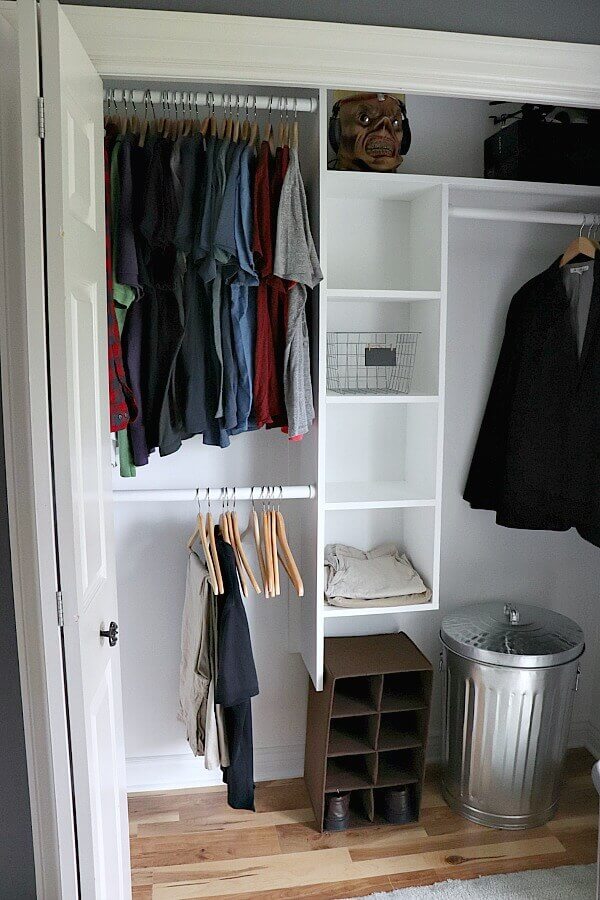
Now for the fun part! Seeing if this closet works for my 6’5″ still growing 14-year-old.
This was also a perfect time to weed through clothes that no longer fit, which is why his closet looks so barren!
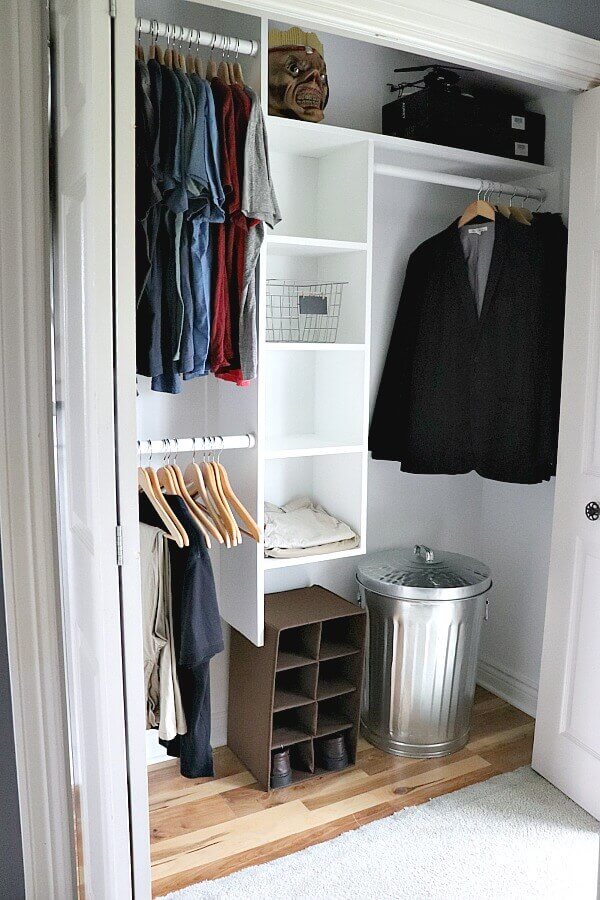
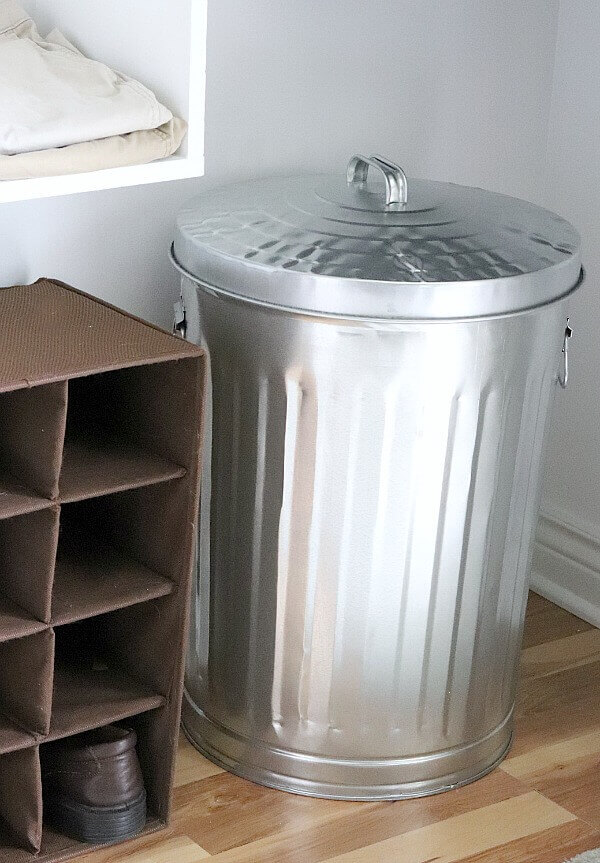
We picked up this cheapy metal trash can to match the industrial theme of this room. It’s such a fun idea for a hamper, don’t you think?
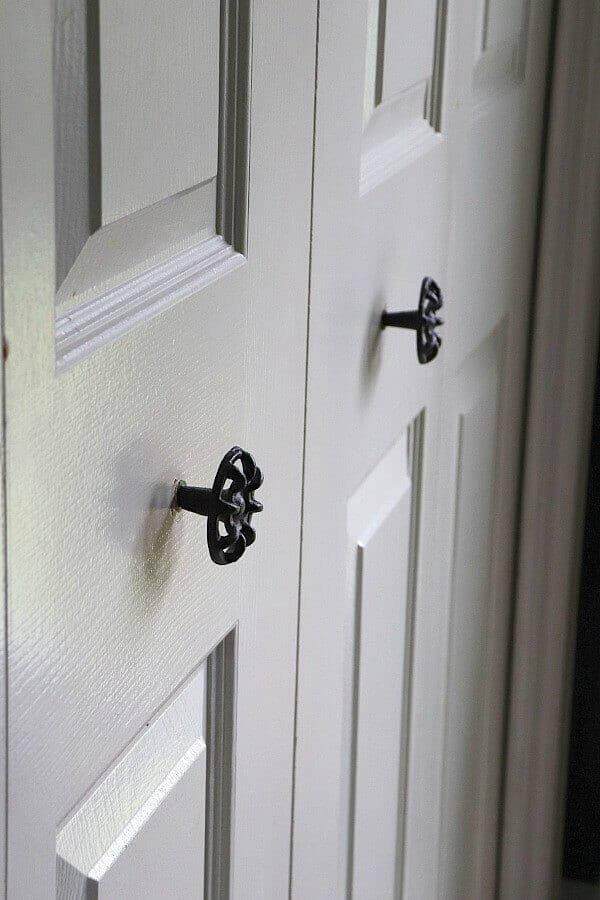
We finished off the doors with these awesome faucet head drawer pulls from Hobby Lobby.
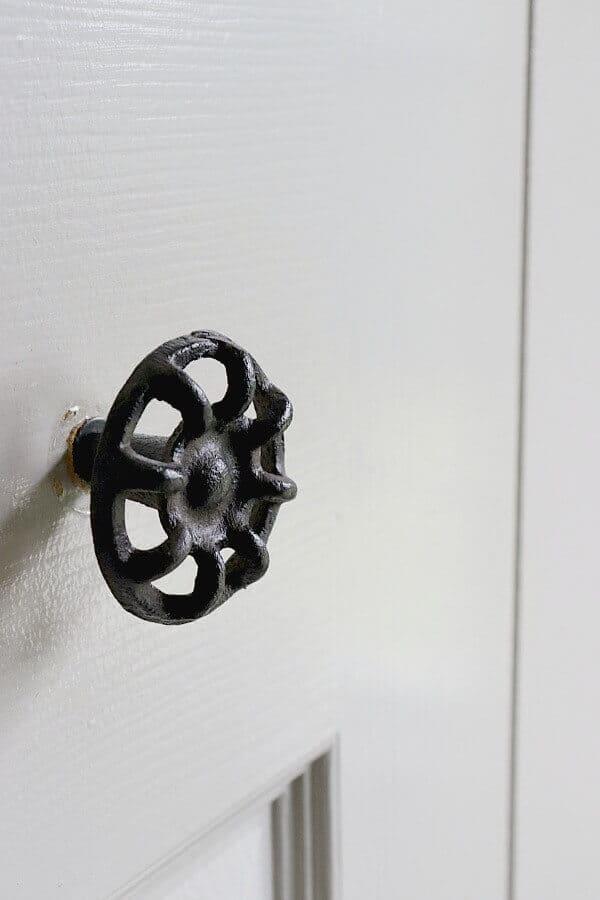
My son was so excited when he saw those door pulls. I scored some serious cool mom points there!
Let’s hit the numbers to see the final tally!
Making Over a Closet for Less Than $40 Breakdown of Costs
Affiliate links provided for your convenience at no additional cost – read all about that here.
Wood, baseboards and clothing bars – free by reusing what we had on hand
Clothing Bar Rack Holders – 3 sets $6
Clearance Flooring – $15 from Lowe’s
Bi-fold Closet Track Replacement – $16
Total Cost: $37
I’m not including the door pulls or trash can in this breakdown of cost, because those weren’t required for this makeover, but here are those details:
Faucet Door Pulls – Hobby Lobby $3.99 each (on sale at 50% off)
Trash Can – Tractor Supply Co $22.99
Total Extra (but not necessary) Cost: $26.97
So there you have it folks! This was a much needed DIY for our gentle giant! He is so much happier having a workable closet that won’t ruin clothes, plus better storage and organizing possibilities with the shelves.
And I am so much happier knowing that I listened to my heart instead of my head. Hopefully this will help you if when you’re struggling with the what-if game like I did!

Week 1, Week 2, Week 3, Week 4, Week 5, Final Reveal
Now I’m off to see how all the other bloggers are doing at this monumentuous halfway point on their 6 week One Room Challenge journey. The featured designers are blowing my mind these season! Linda from Calling it Home has gathered such amazing talent, as usual!


Thank you ladies!
Thanks Meaghan! He thinks it super cool that his clothes finally fit!
Thanks Angela! We are all about stretching that dollar!
Jen – you are so talented and resourceful! You accomplished so much this week and the closet looks great. It is so wonderful that you and your son worked on it together…well done!
This looks awesome! I am definitely bookmarking this for when we go and redo both of our closets. They are totally not functional with just one longggg rod across the inside. Looks great and is super cool looking with the floor and trash can as a hamper!
What an amazing job you did! I love how you used so many mix and match materials–it saved you a ton and after paint you would never know! 🙂
We kept the left side long since the shoe rack is next to those shirts. Having messy boys, I thought it might be wise to keep any and all dirt from shoes away from all the laundry I’ve cleaned. LOL
Thank you for that encouragement Sandi! I am so glad to hear that other families have done the high double rod option! It was an important lesson to learn to love the home you are in!
This was a great post. I love that your son helped and had input. This will be more than just functional and we have double rodded all our closets with the high rods, Even the front door closet is done this way, so there is room for a boot/shoe rack below. Great Post!
That looks so great! Nice and clean and functioning for him. Just curious though as to why the one board runs past the bottom shelf on one side and not the other?