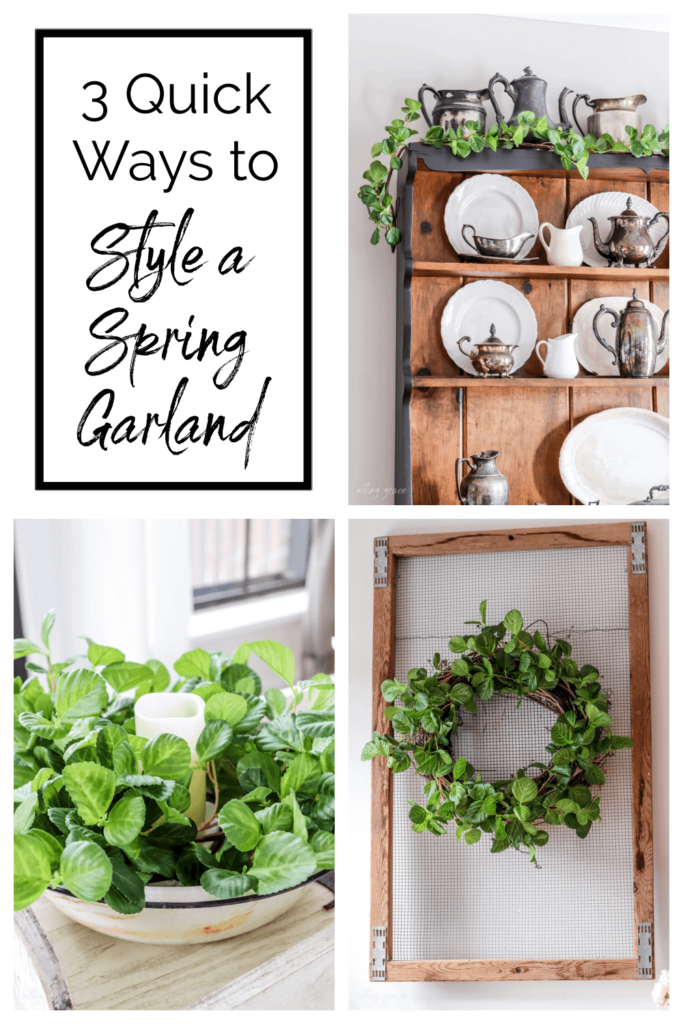
3 Quick Ways to Style a Spring Garland
I’m always looking for ways to repurpose my seasonal decor. Today I’m sharing 3 quick ways to style a Spring garland!
I was sitting in my sunroom the other day and started to notice the tips of the trees starting to bud with bright green.
That means that Spring is coming – which brings me so much joy!
Spring and Fall are my two favorite seasons and also my favorite to decorate!
Each year, I drag out all my decor from previous years in the hopes to reuse something.
First off, if you know me by now, then you know I LOVE to save money.
Some call it being cheap, but I like to call it being smart and economical.
So I’m always finding ways to reuse an item with a new and different approach.
I thought it would be fun to take one item and show you 3 quick ways to style a Spring Garland.
3 Quick Ways to Style a Spring Garland
(Some affiliate links are provided below. Full disclosure here.)
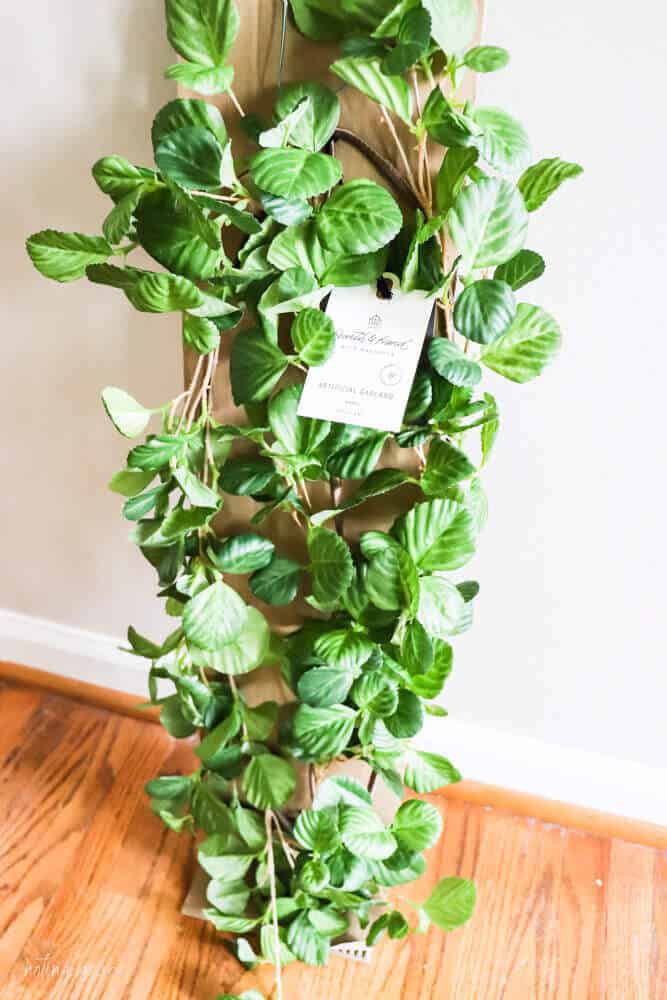
I love visiting Target to see the latest decor from Hearth and Hand or Studio McGee.
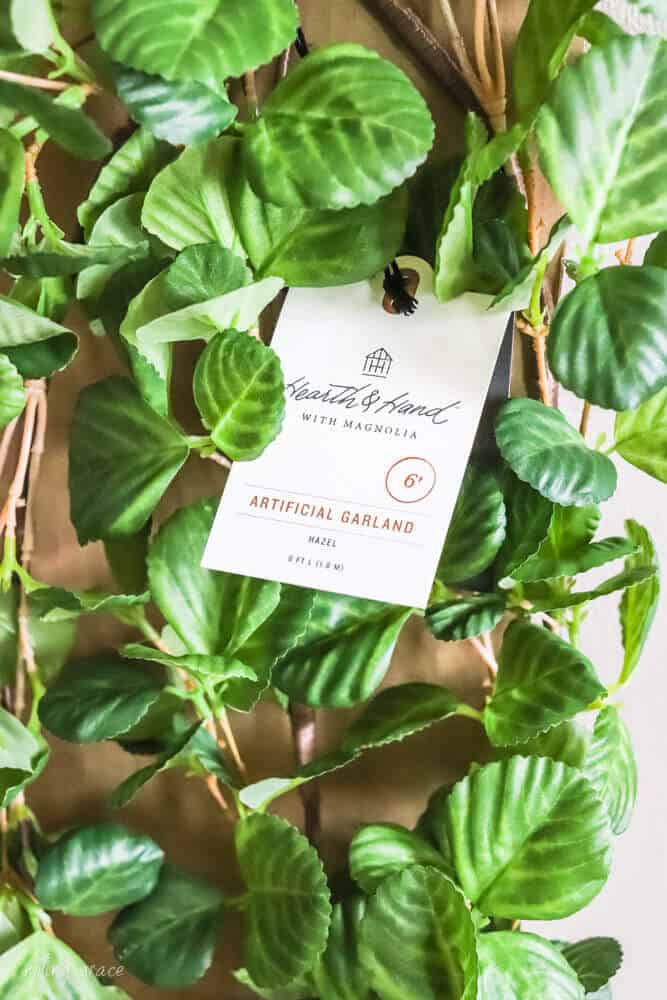
This 6 Foot Hazel Garland was just the cutest and it was a great deal too for such a realistic garland.
Plus, I think I could use this year round – not just for Spring.
So first, I styled it as it’s intended purpose – a garland for my Dining Room Hutch.
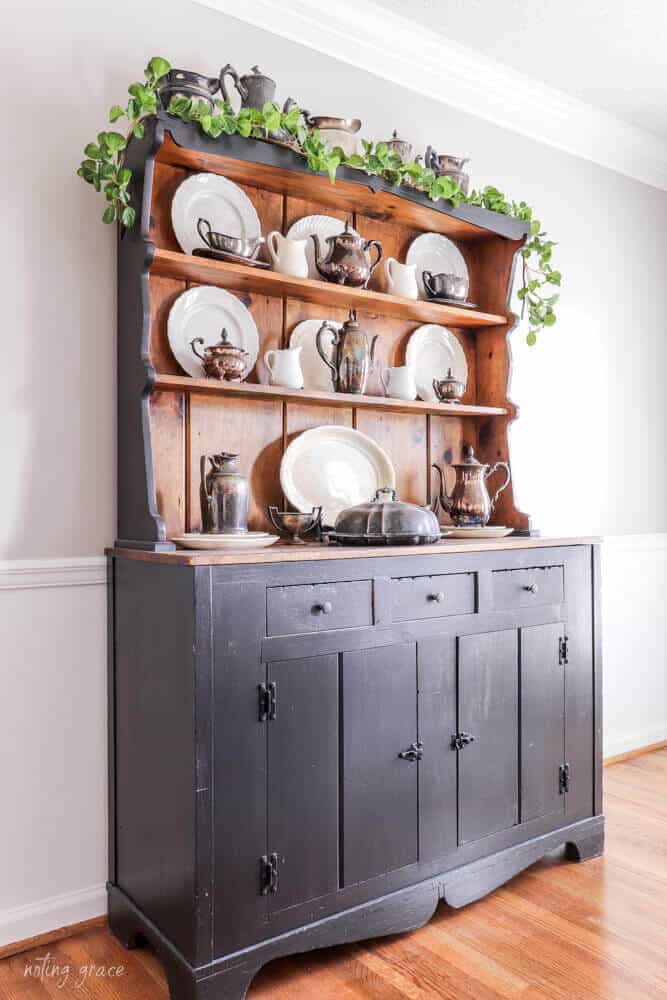
It brought beautiful color to my painted hutch.
If you are looking for the tutorial on how I painted my hutch, click HERE for all the details.
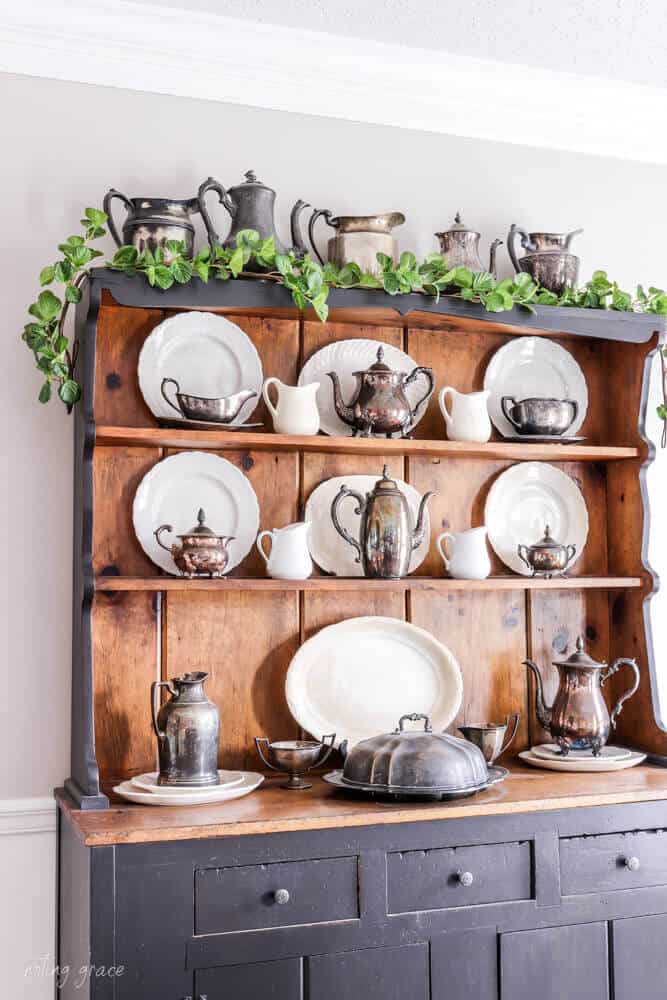
It looked so pretty against my tarnished silver – which is one of my favorite things to collect!
Adding just the right pop of spring color brings a big ole smile to this face!
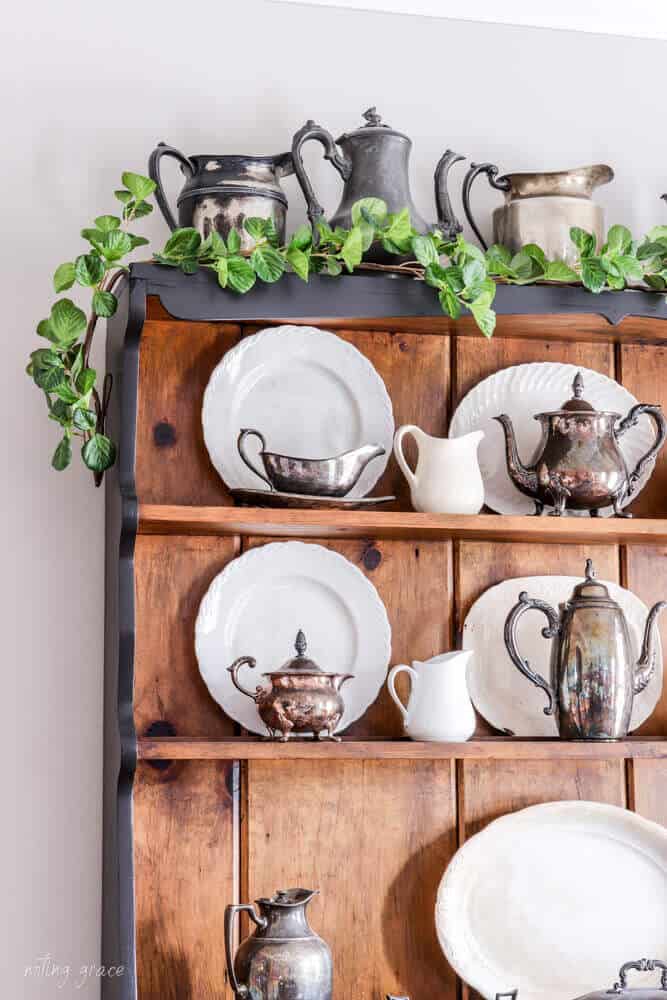
Six foot is a great length for garlands. Not too short to be used as a typical garland, but also not too long to limit what else you can use it for.
So I loved this first way I styled it and how it looked on this hutch of ours.

But let me show you another way I LOVE to repurpose my garland.
I dug out an old grapevine wreath form and wrapped the garland around it.
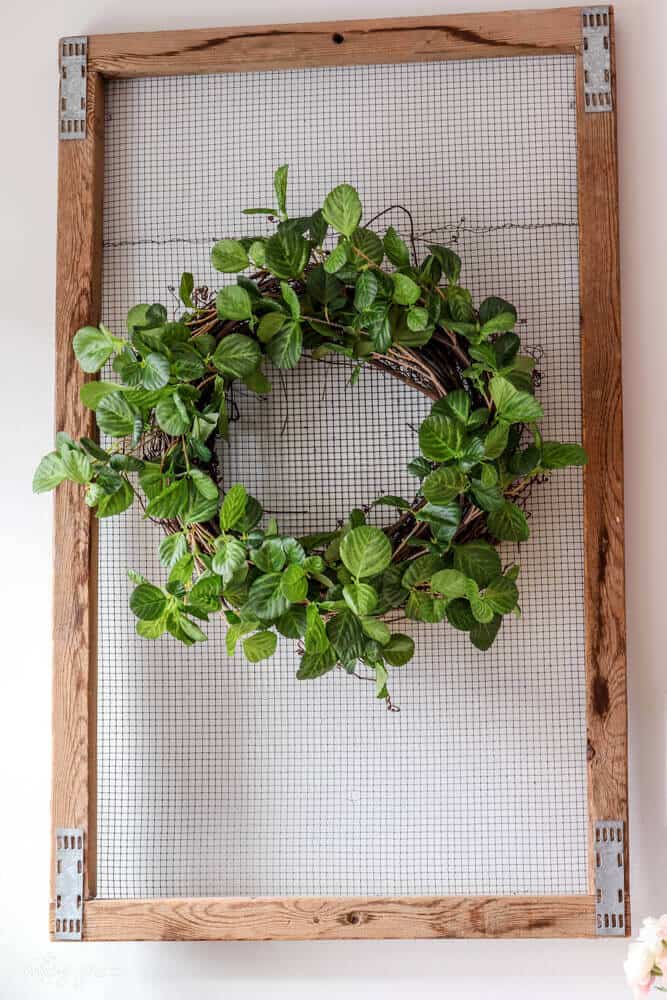
Isn’t that the cutest?
I love how the leaves pop off the wreath form and add some color to the wall.
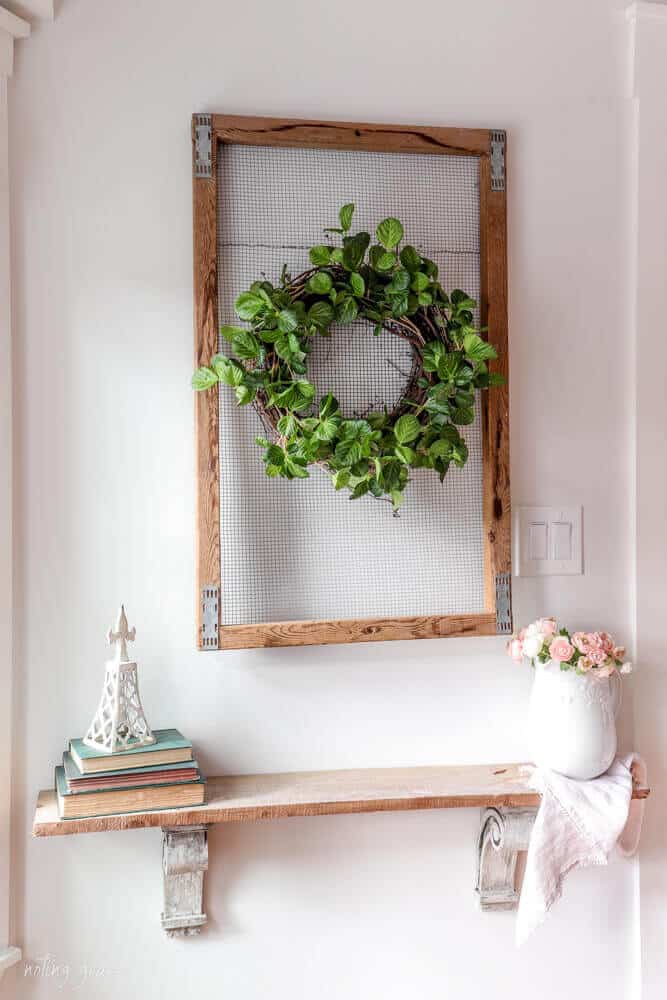
I hung it on my DIY animal cage lid turned into a faux tulip crate that I have hanging in my eat in kitchen.
And it adds some pretty texture to the wall.
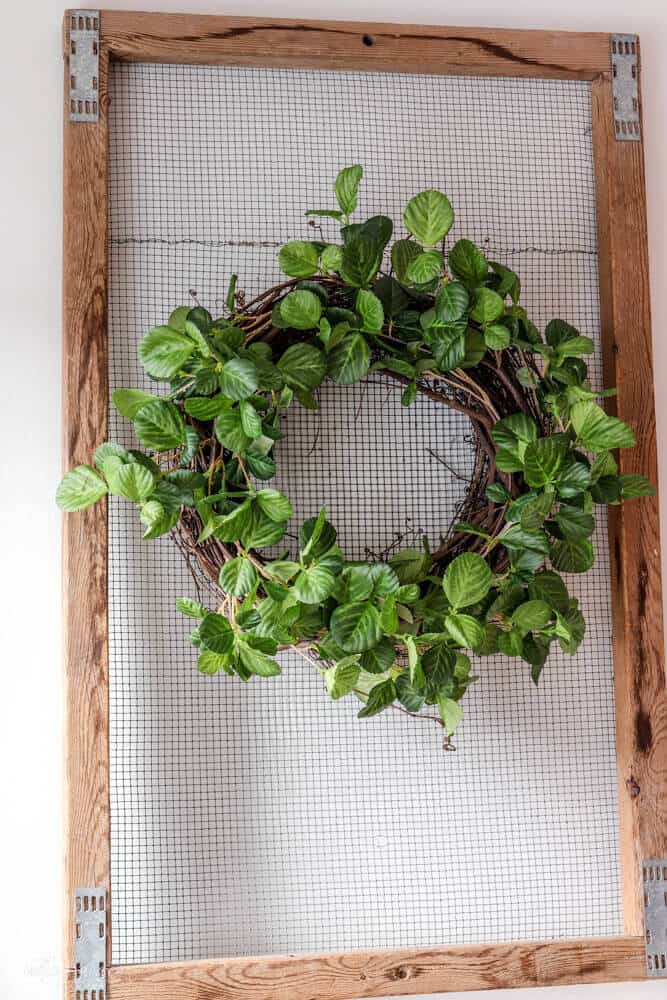
I just used the twist ties that held the garland to the cardboard and wrapped it around the twig wreath.
It’s super easy peasy and took me only a few minutes to assemble and hang.
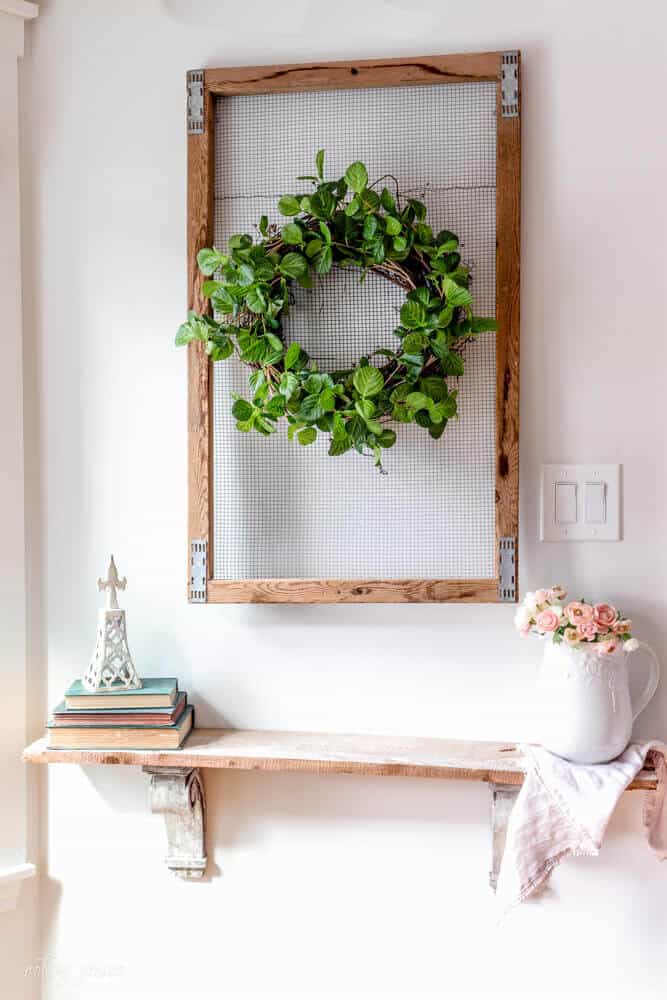
It looks perfect hanging above my DIY Vintage Corbel Shelf.
But let me show you one more way I like to repurpose my garland.
And it’s so simple, you’ll be wanting to buy me a cup of coffee!

I took an old enamel bowl and filled it with the garland.
Simply wrap the garland into loops and twist the leaves until you get the look you want.
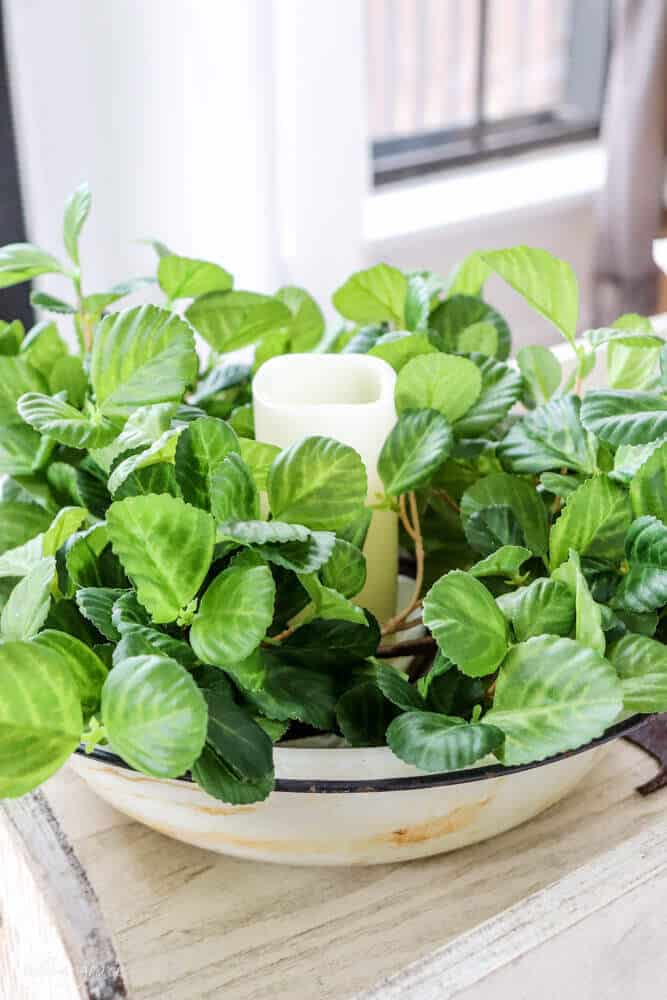
Then I plopped a battery lit candle in the middle and boom shaka laka – you’re done!
Isn’t that the easiest thing ever?
Now I wouldn’t recommend a real candle. Fire next to faux branches would be no bueno, so the battery operated ones are super safe!
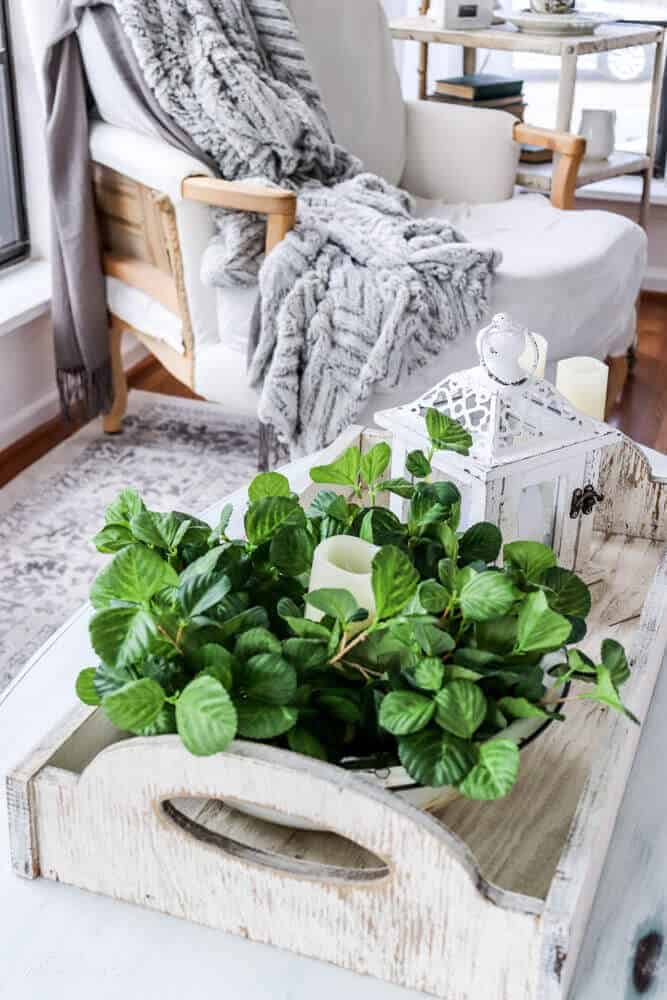
I placed the bowl on coffee table in my sunroom and it’s a perfect way to add some touches of greenery to your decor.
So if you are looking for ways to repurpose your old spring decor, I hope this gave you some ideas!
I’m all about finding budget-friendly and economical ways to create a beautiful space and this is one of my favorite ways to save money.
So friend – you got this! Go dig out that old decor and see how you can repurpose it this season!
Pin this for Later!
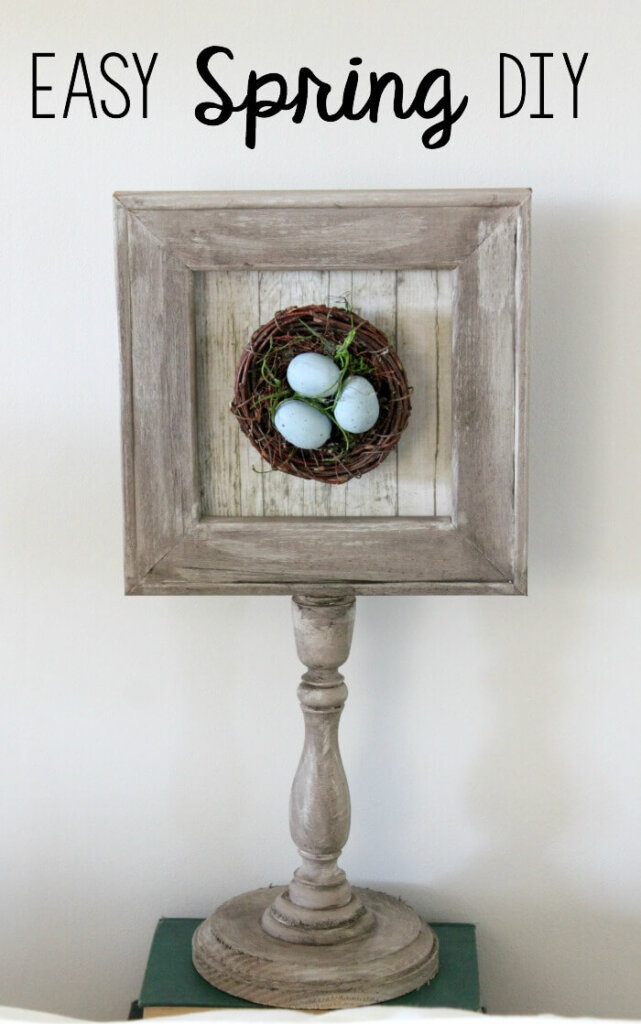
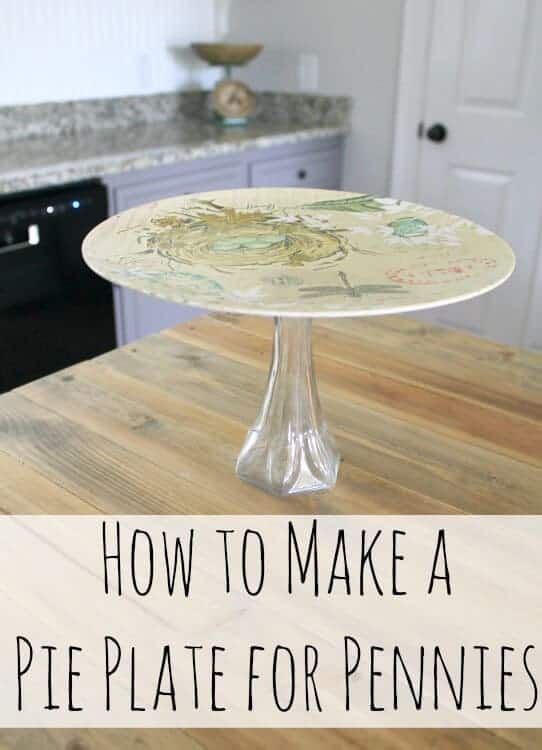
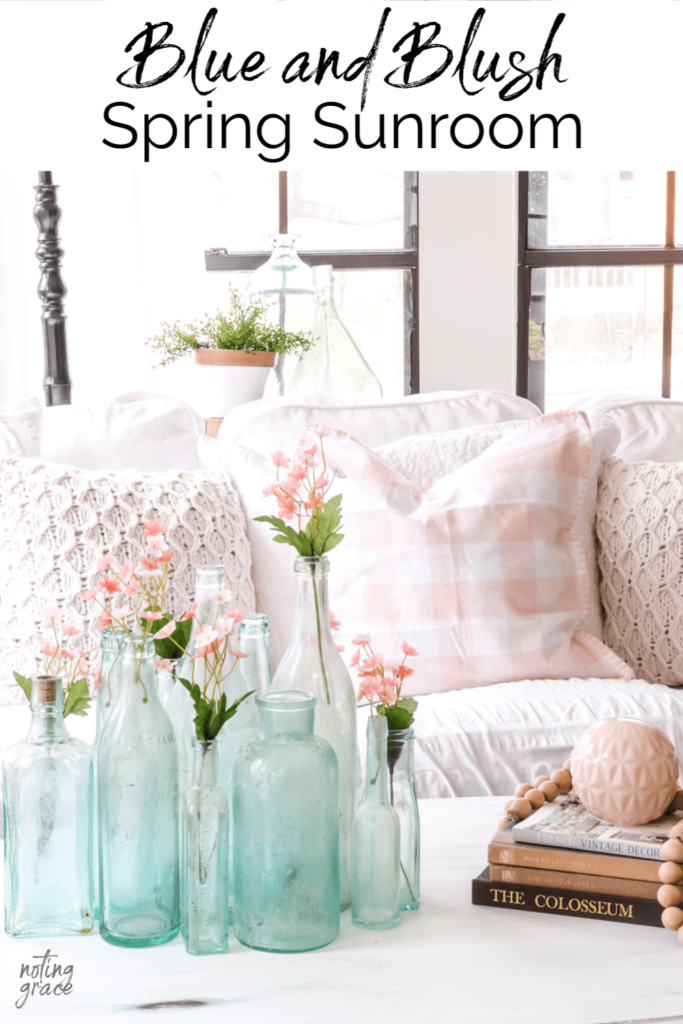
You may also like these other Spring Posts:


Thank you so much, Lynne! This means more to me than you know!
Jen I love your decorating style. It is simplicity at its finest which is so what I like
Thanks Linda! I love finding new ways to repurpose old things!
We are so glad to came back to join us! You are welcome anytime!
Great fun ideas! i especially like the wreath on a vintage screen.
Jen,
I love these tips. Thanks for allowing me to join you this week on Welcome Home Saturday!