Easy Spring DIY
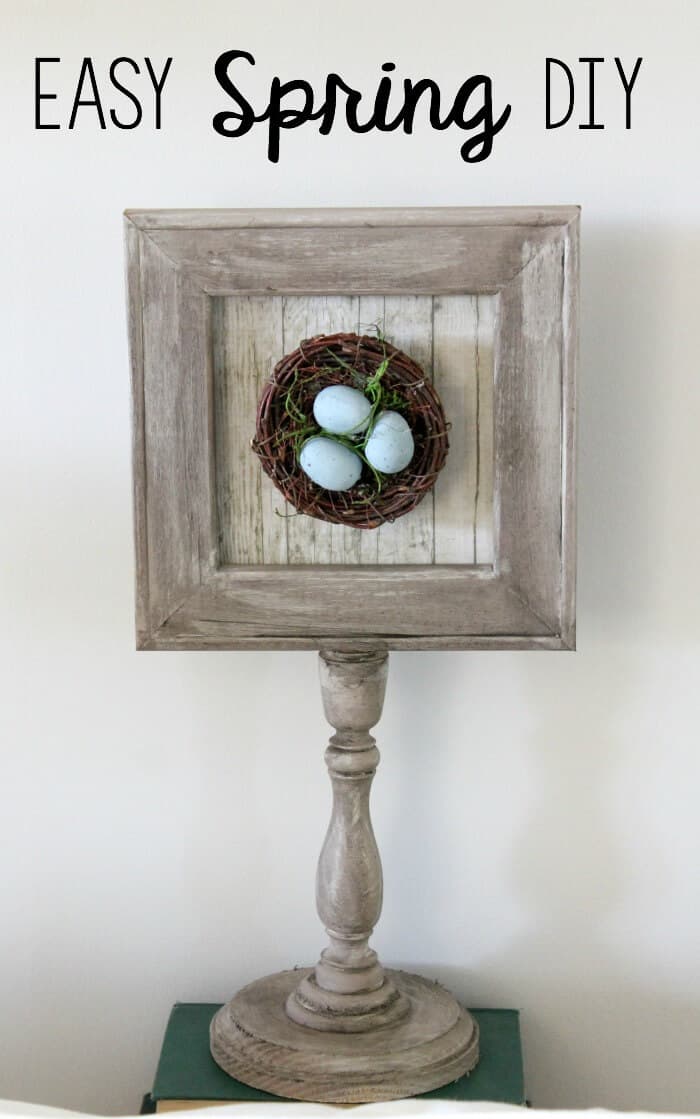
Here is an easy Spring DIY tutorial you can create in just an hour to bring fun touches of Spring decor to your home using wood elements and nests.
Spring is almost officially here, even though our yard was covered in snow this past weekend.
Even as I’m typing this, I’m sipping my coffee to keep warm.
Not cool, Mother Nature, not cool!
It didn’t stop me from making this Easy Spring DIY and today I’m going to show yow how I did it.
Look at these cutey-patootie frames I found at Hobby Lobby a few weeks ago.
Shh… you also get a sneak peek of something I bought for my Spring Home Love blog hop happening this Wednesday!
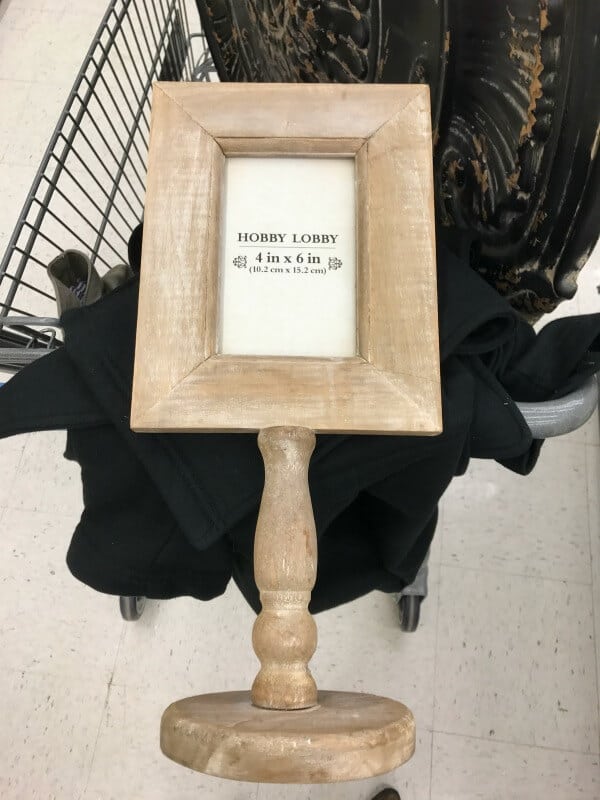
Anyway, this frame was oh so cute, and there were two of them! I wanted them – I NEEDED them, but at $20 each, it wasn’t gonna happen. Reluctantly, I put them back and sulked away to the next aisle, where I found 2 wooden frames on clearance for $2 each! I thought I heard a choir singing, only to find out it was me! What a steal!
Inspiration struck and I raced back to the wood section and found the other elements to make my own wooden picture stand.
I believe I strutted out of that store like a boss. I spent only $12 for supplies to make both stands – saving $28.
And now I get to share with you how I made these Easy Spring DIY frames!

In addition to purchasing the clearance frame, I got a wooden candlestick and a round base plate. I used wood glue from the hardware store and glued them together.
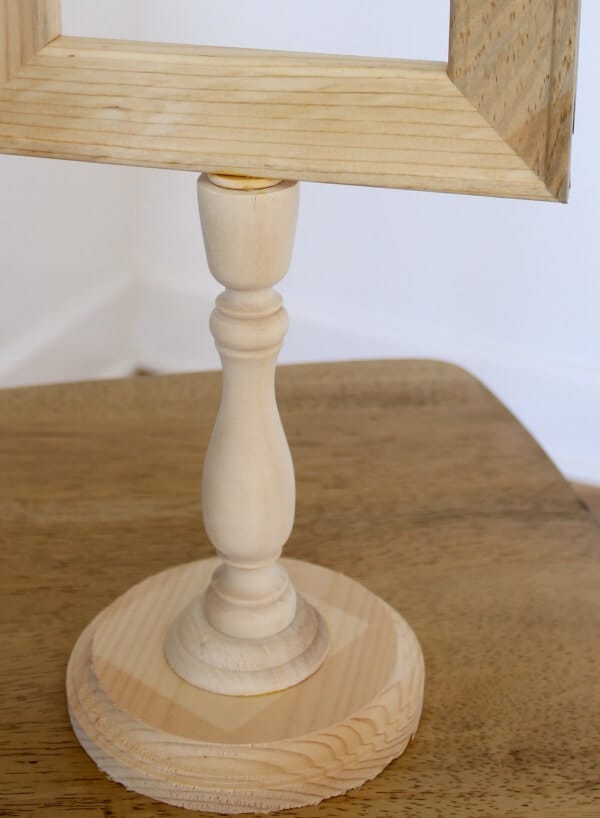
Allow the glue to dry overnight before painting it. And you might want to use clamps – one of my stands fell apart because the glue didn’t quite adhere, so clamping it did the trick for me.
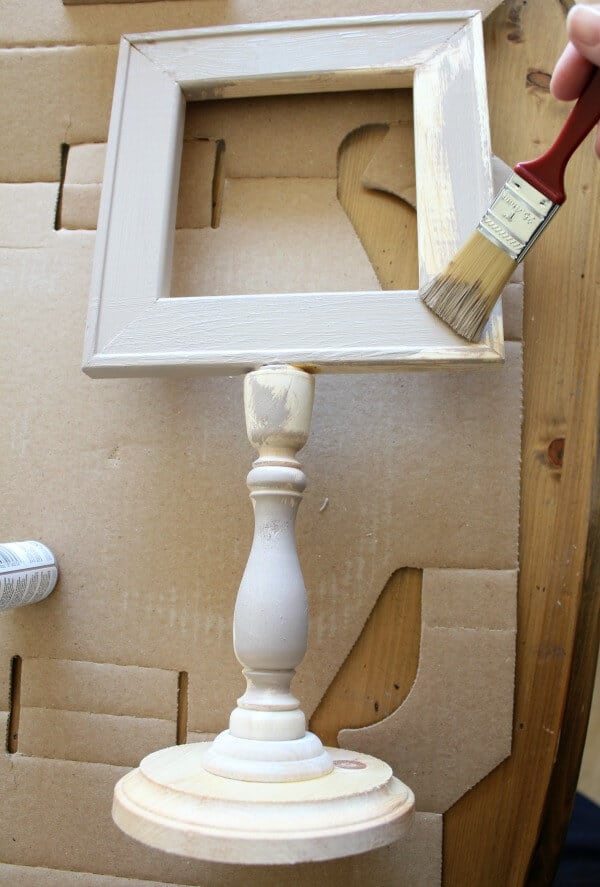
I loved how the original piece had a driftwood look to it. I painted them with my craft paints mixing browns, tans, whites together to get a weathered look.
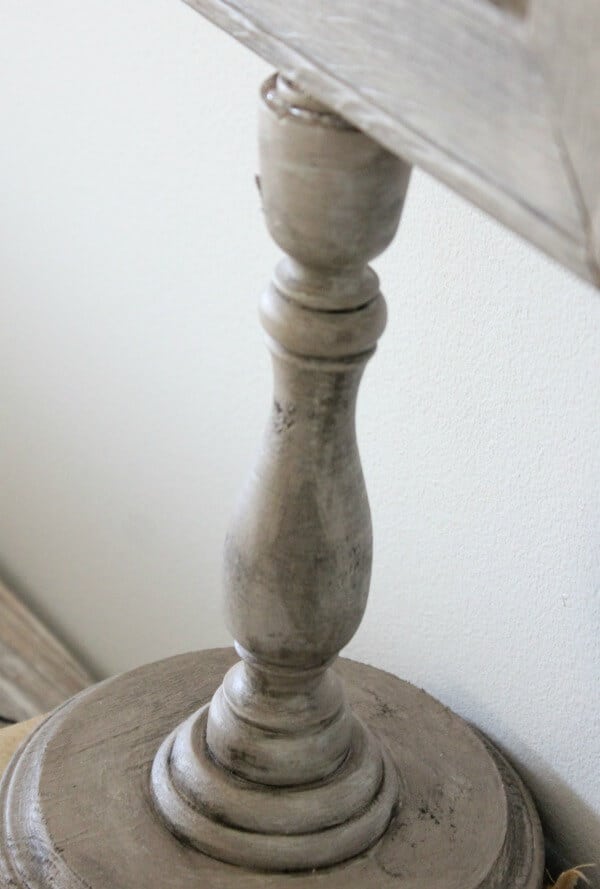
Then I applied antiquing glaze all over to age and seal the paint.
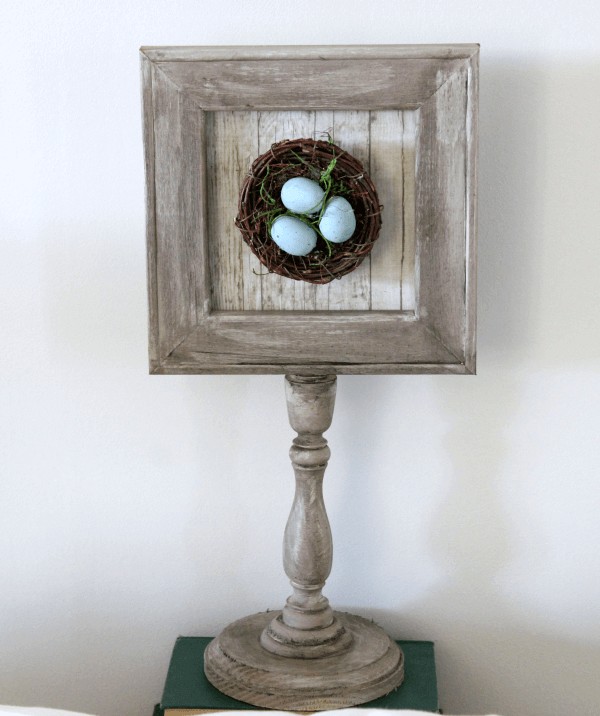
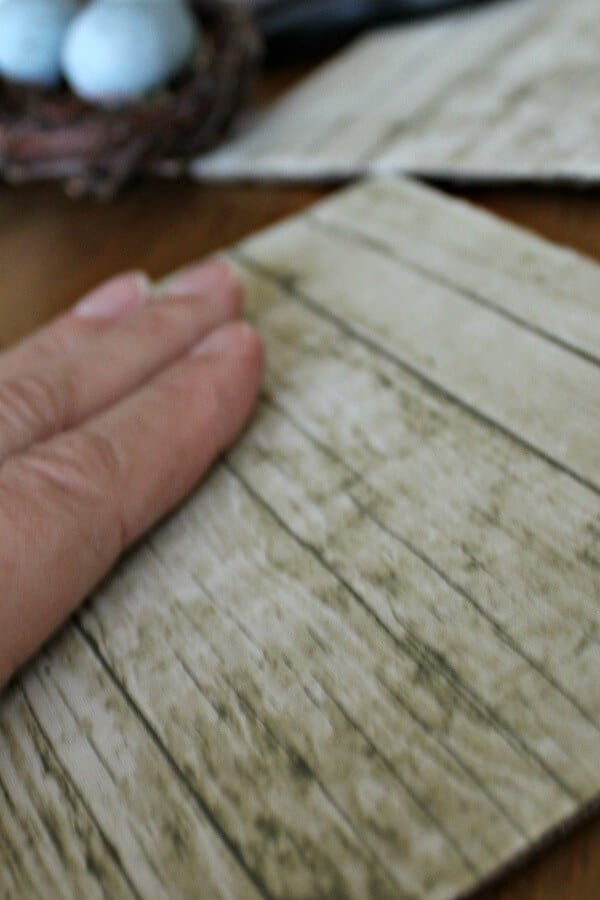
For my artwork, I wanted to create a 3-D type of art that would pop in my room. The fun, wonderful people from Paper Riot sent me some samples from their upcoming product line launching soon to play around with. They sent me some fun adhesive fabric with a gorgeous wood plank pattern.
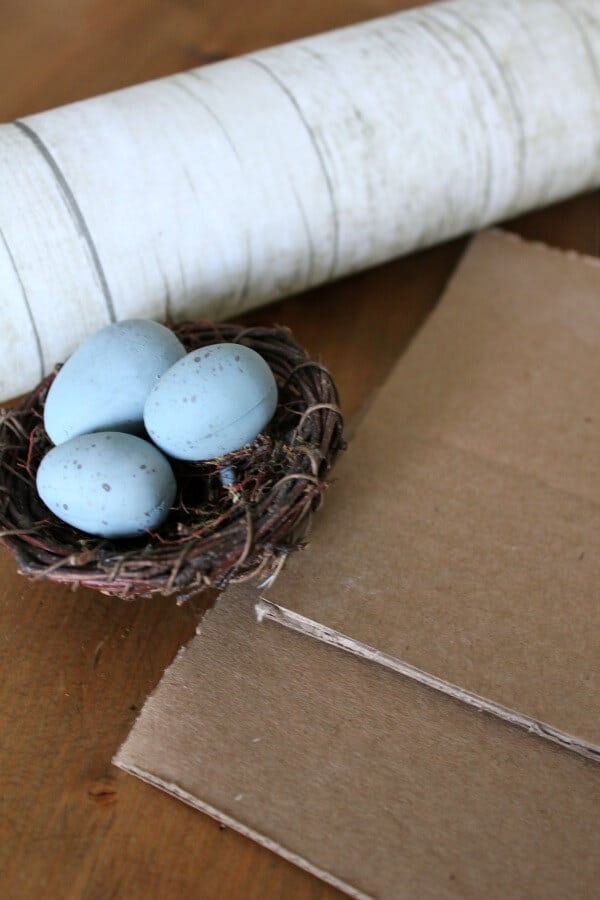
I cut some squares out of cardboard to adhere the fabric to.
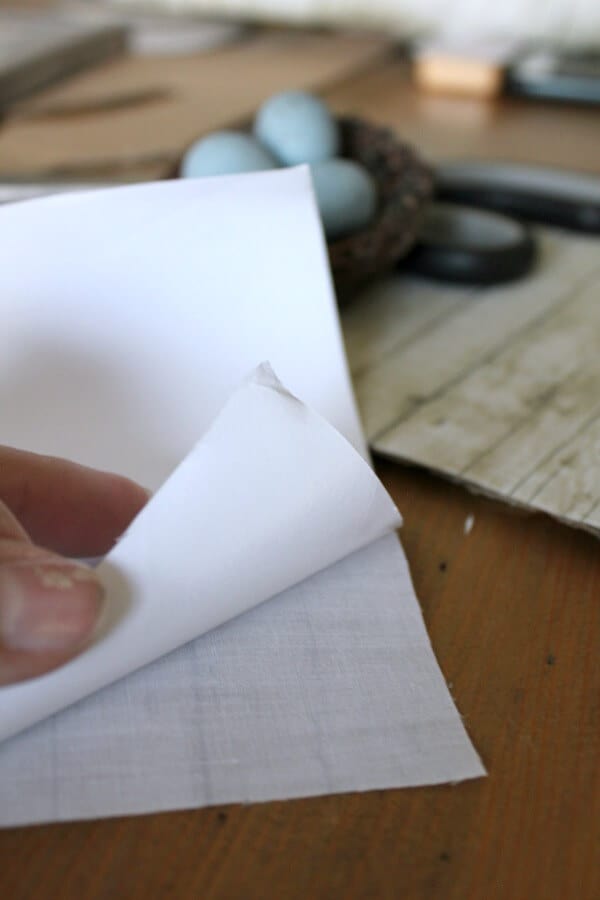
The adhesive fabric was so easy to work with and looks so realistic!
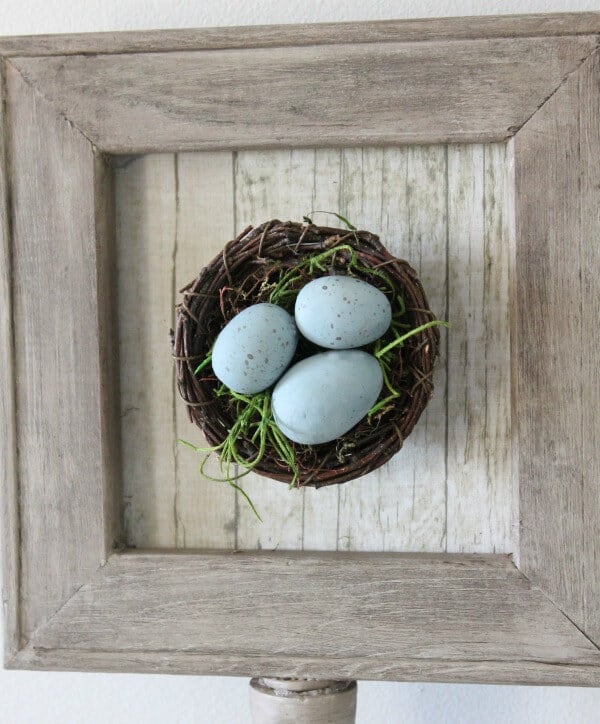
I simply hot glued the cardboard to the back of the wood frames. Then I hot glued the nest to the front. It was so easy and turned out so beautifully!
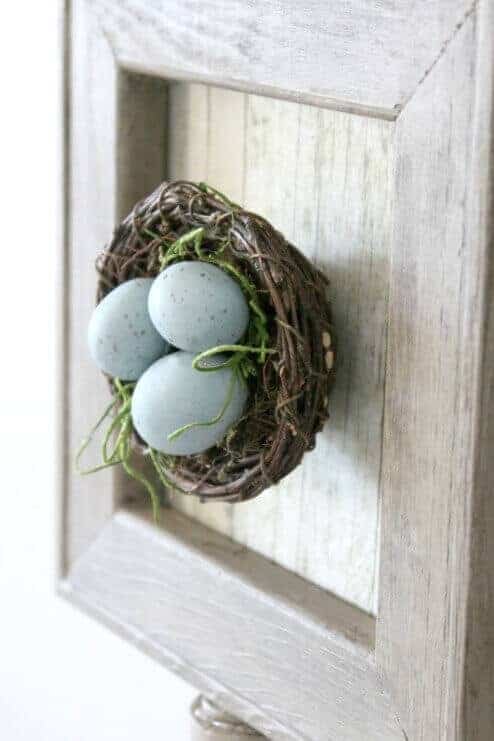
I love the 3D effect of cute bird’s nests.
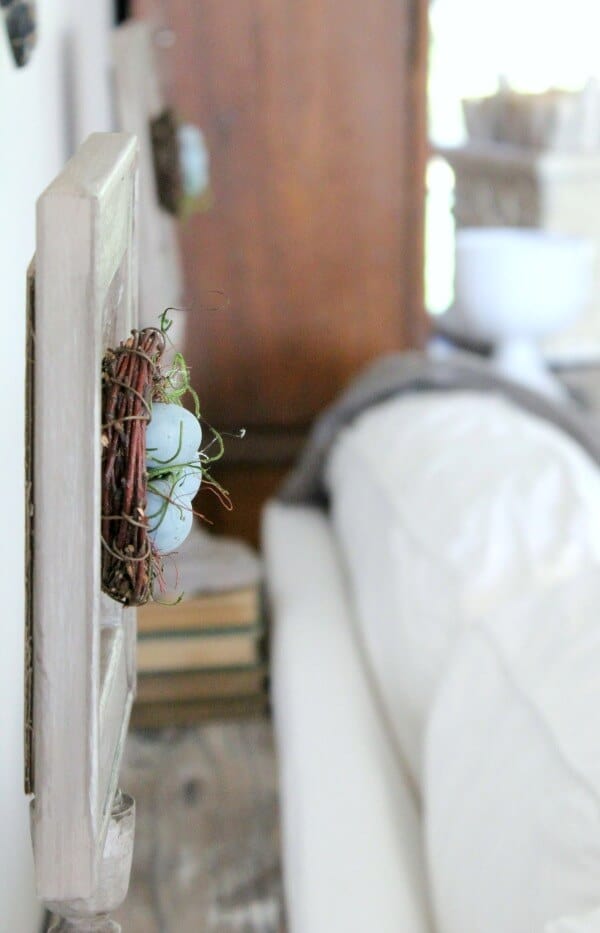
Be sure to come back on Wednesday to see how I’ve staged this Easy Spring DIY in my home for the blog hop! To get your own adhesive fabric, here’s an affiliate link for you:
This post contains affiliate links.
While I may receive a small compensation, all prices remain the same for you!