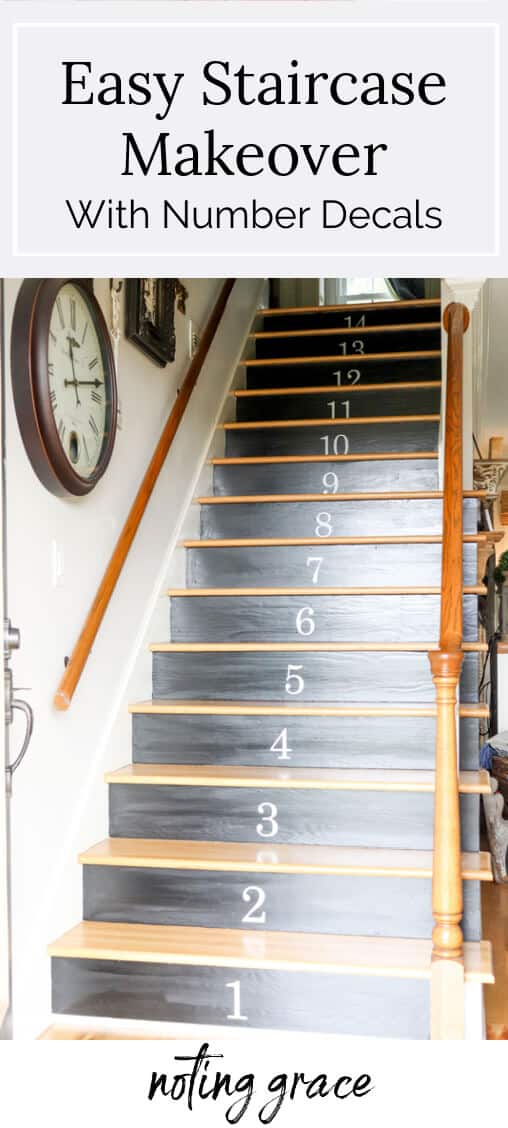
Update Your Entryway with this Easy Staircase Makeover
An Easy Staircase Makeover is surprisingly possible in just one weekend.
Check out how we did it and you”ll soon see why!
Do you ever look at something long enough that makes you want to change it?
That’s what eventually happened to me and my staircase. In this case, it all started with my clock.
I’m always glancing at my Stairway Gallery Wall when I check the time.
So I guess seeing the same thing over and over became ho-hum.
In other words, it doesn’t sit well with my redecorranging self!
Here’s how our stairs looked before.
Easy Staircase Makeover
(Some affiliate links are provided below. Full disclosure here.)

Yikes, right? That pink, old carpet was really nasty.
When we tackled our hardwood floors, one of the first things I decided to rip up was the old, pink stair runner.
We were so excited to see that the wood stairs were complete all the way across the treads.
Some carpeted stairs only have partial wood treads on the sides, leaving the plywood as an underlayment for the carpet.
So we were very happy to learn that we wouldn’t need new stair risers.
When we hired our guys to install our hardwood floors, they added the cost of updating the stair treads to match the new flooring.
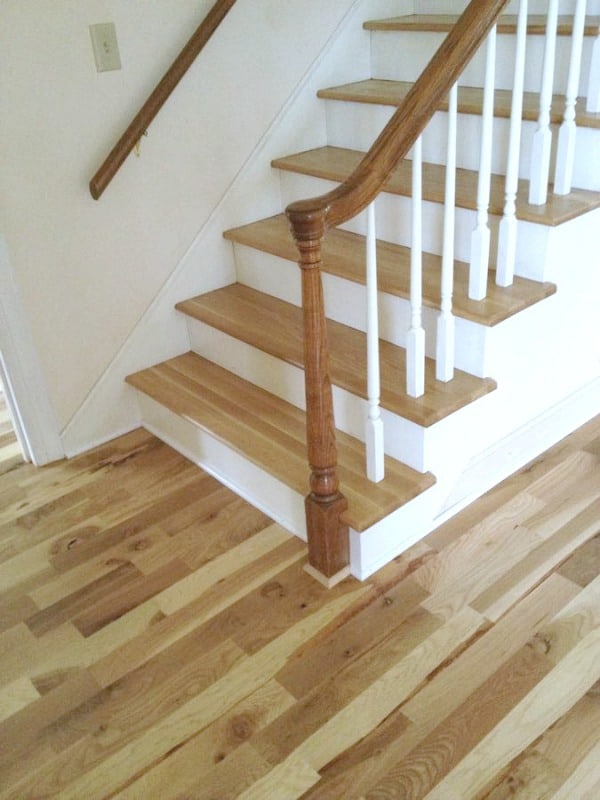
They looked like new stair treads!
And we were thinking of painting the handrail, but the color of the newel post matched some of the darker wood grain in our floors.
So I simply used wood filler on the nail holes left from ripping out the old carpet where the brad nailer or staple gun had attached it.
Then I gave it a fresh coat of white paint and let it be.
Here’s how it looked just a few months ago.
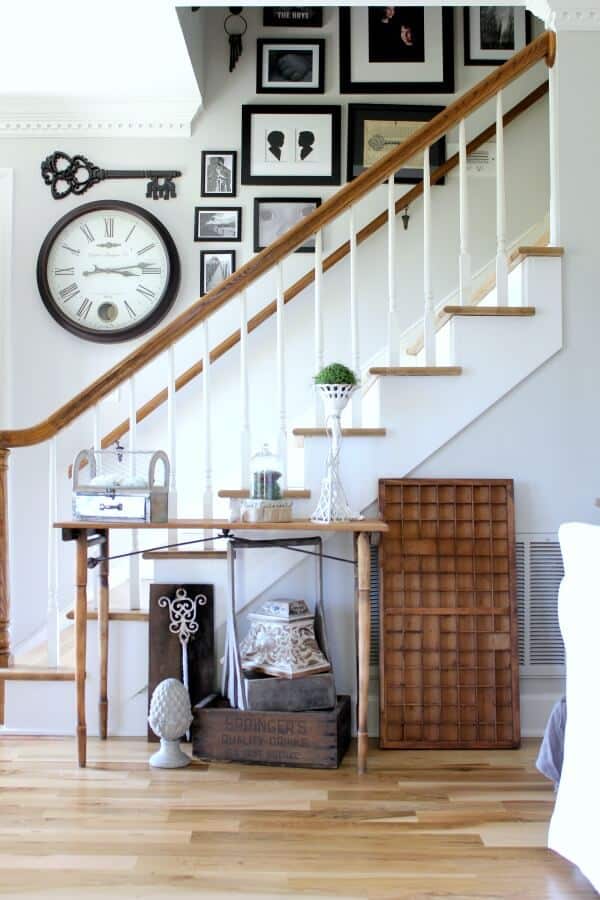
Our staircase opens into our living room, so I needed to give it a little decor love with some family photos creating a fun gallery wall.
I loved seeing my boys’ sweet baby faces, but as they have grown, they started to get embarrassed of having their photos on display.
Especially when friends came over, and especially that many photos.
Indeed it was kind of shrine-esque, I’ll admit.
So, it was time for a change! Funny how I hate changes in my personal life, but love to switch things up almost daily in my home.
Anywho…..this space needed updating.
Above all, the main thing I wanted to makeover were my stair risers.
But then when I saw some number decals, I was instantly inspired!
I previously worked with them when I updated my Farmhouse Kitchen Island stools and I love how easy of a product it is to work with.
Today, I had to share this simple tutorial with you for my Easy Staircase Makeover.
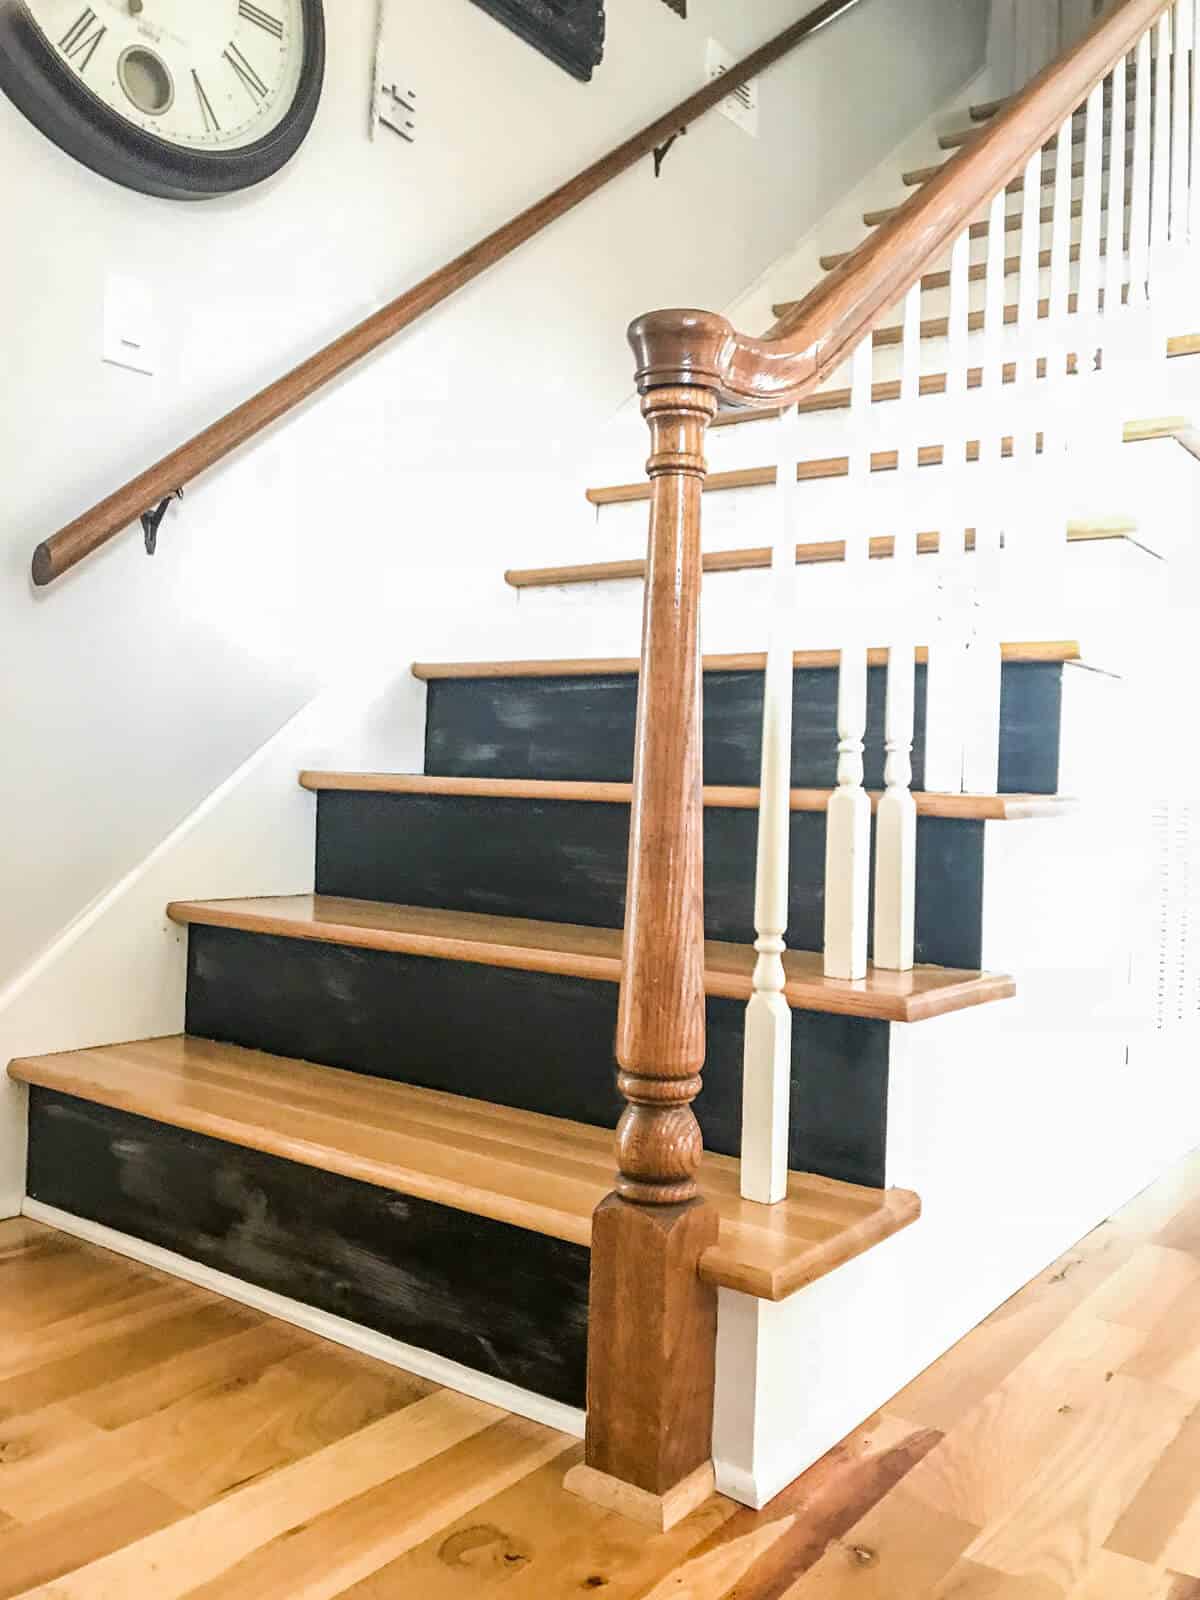
Painting the Risers
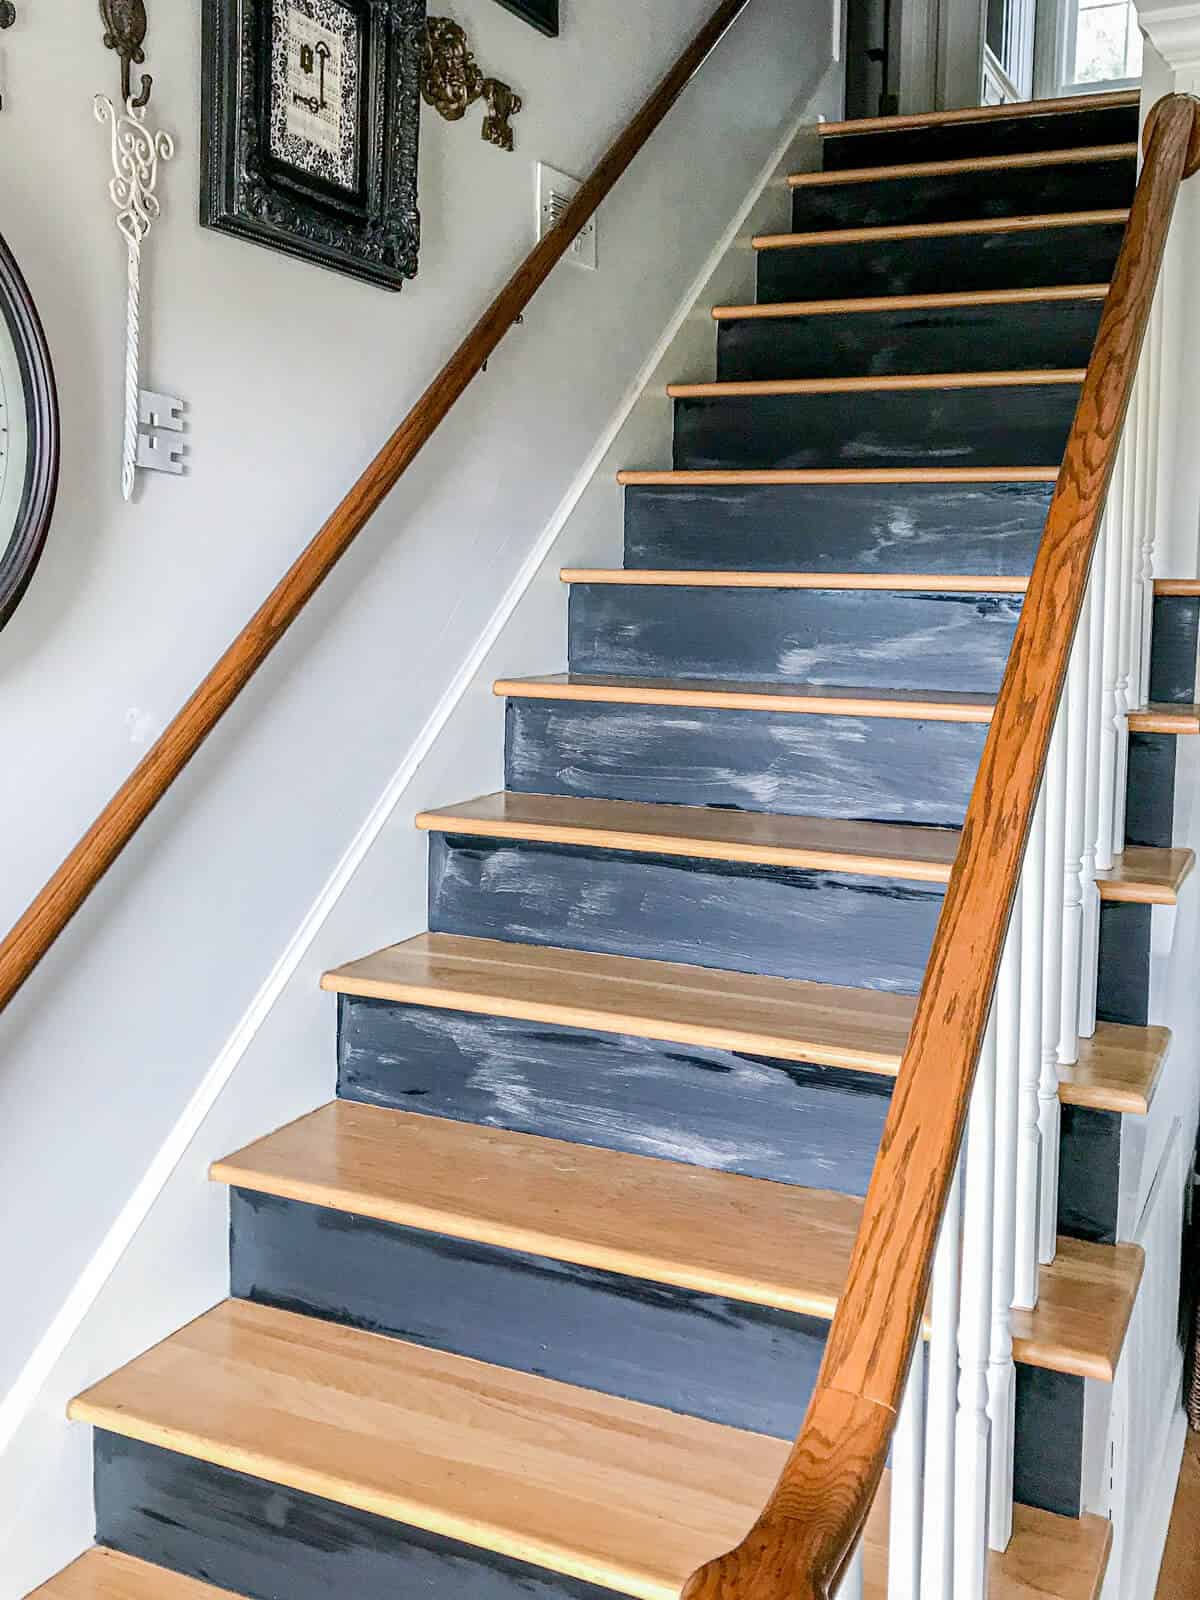
To begin with, I painted the risers of my stairs.
Particularly, I wanted a muted look and tried to achieve that using chalk paint.
And it looked amazing!
Until… womp, womp….
My son’s large ski-of-a-foot walked up the stairs, instantly scratching the risers.
And then I remembered. Every piece of trim in this house is painted with oil paint, including these risers, which means you have to cover oil with oil.
So if you want to do a lot of prep to make the oil surfaces latex-paintable – it is doable. But this momma don’t have time for that!
Since I had black oil paint on hand, my budget-minded self was happy to save the money using what I had, even though it was not sheen I originally wanted.
So I got out my paint brush and painter’s tape again and was finished in just a little time.
After a couple of coats of paint, I waited until the next day for the paint to fully dry to move on to the vinyl decals.

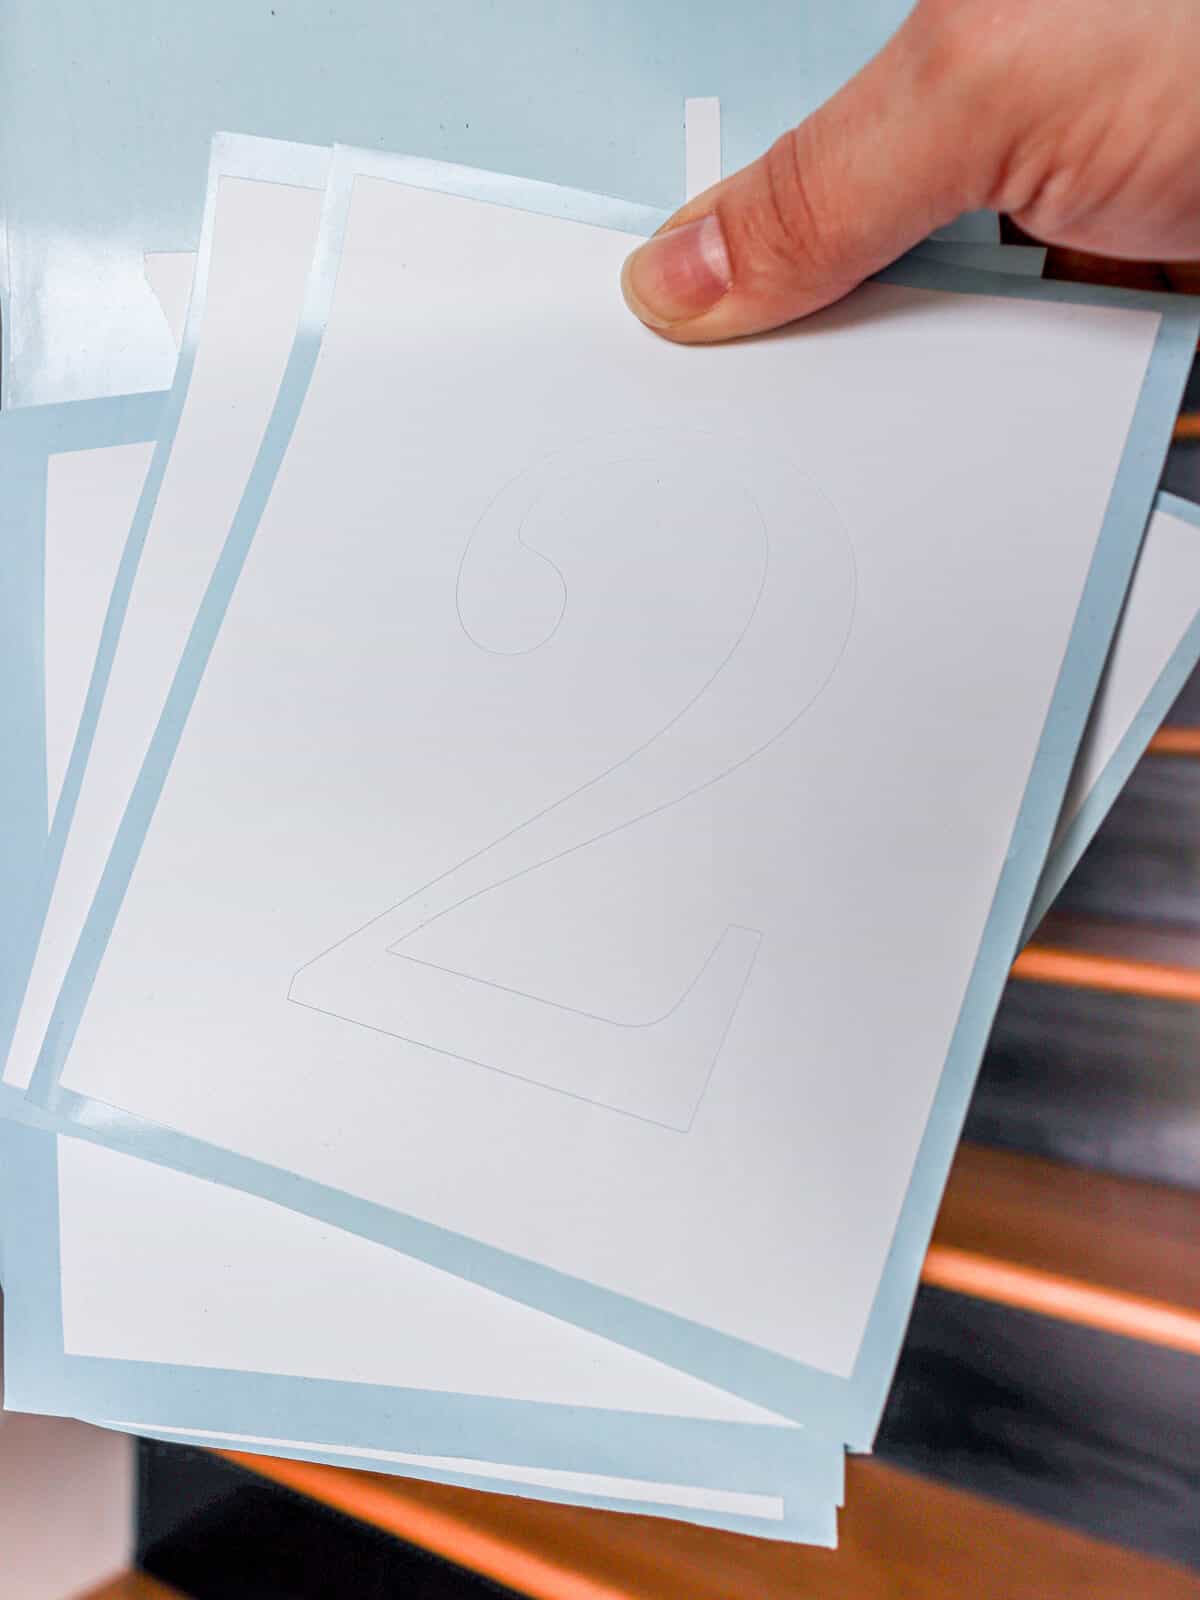
Adding Vinyl Numbers to your Staircase
Supplies for this next step:
I found my vinyl decals from a small online shop that has since closed.
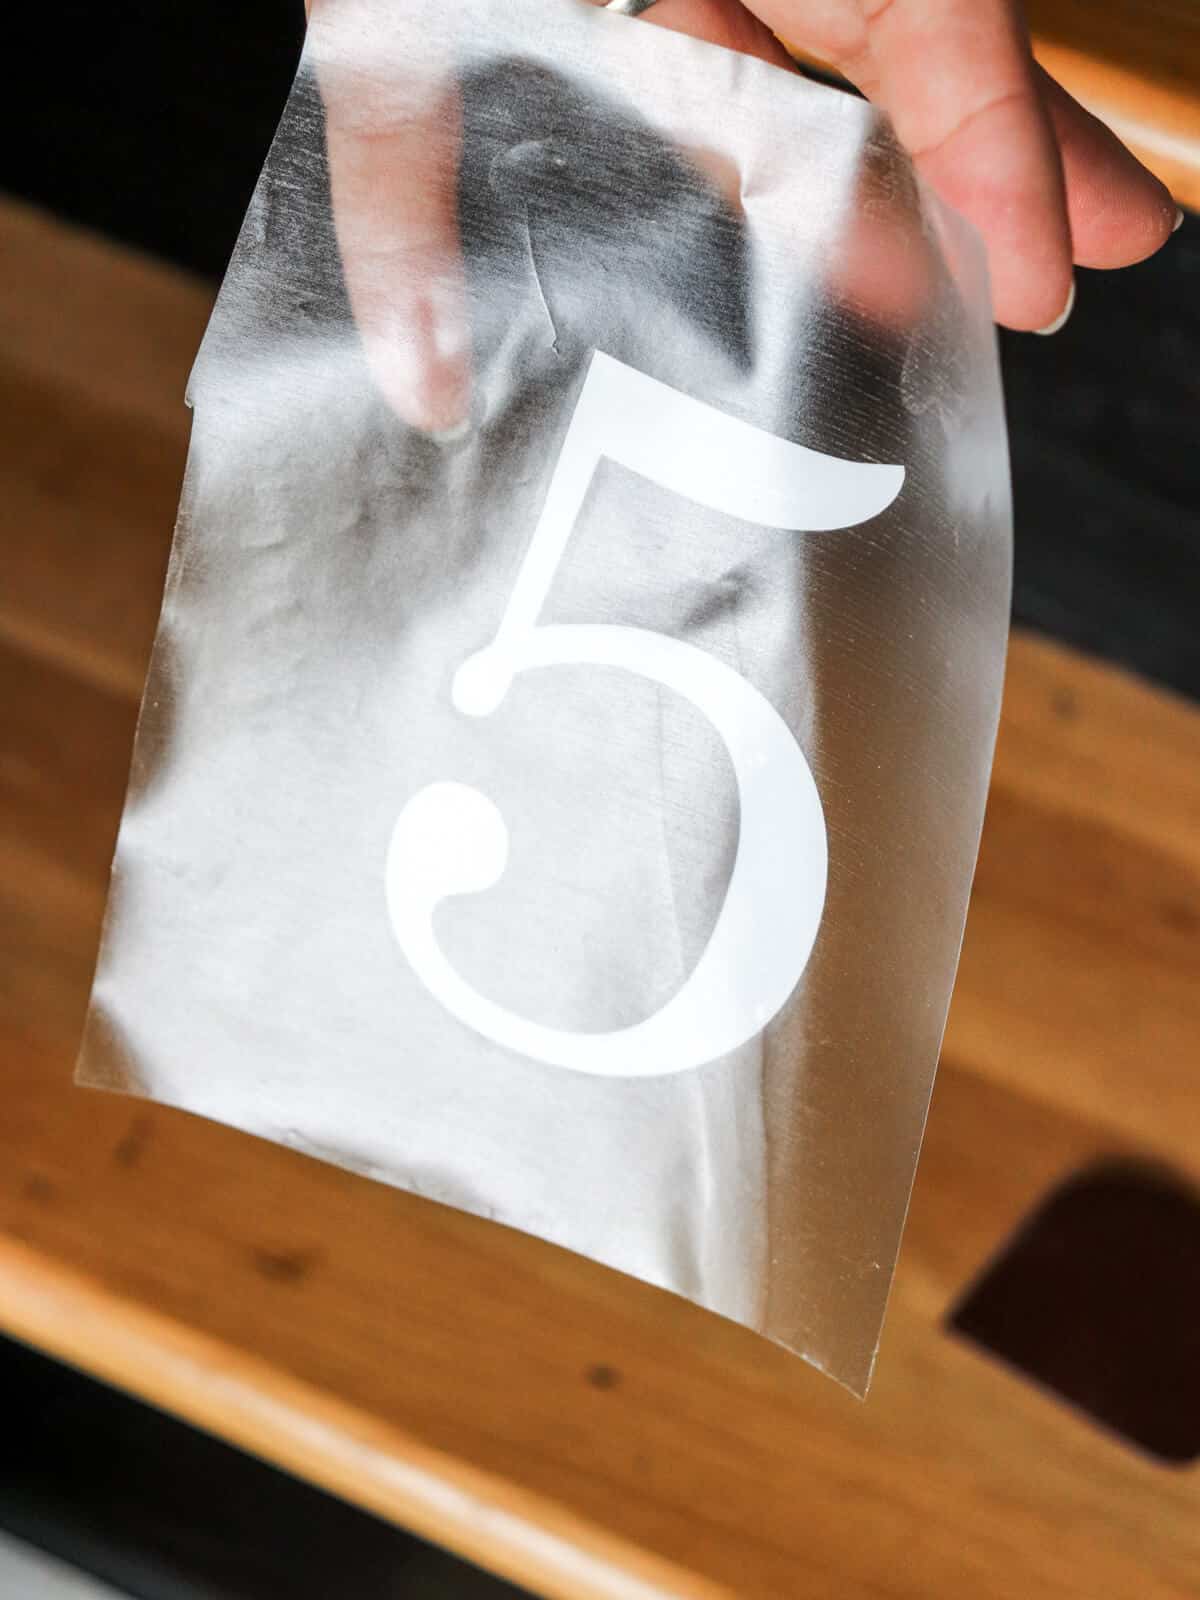
What I loved most about these were that the vinyl numbers come in 2 workable options – either to use as stencils or as vinyl transfers, which is the application I’m using.
First, I removed the outer trim, leaving just the number on the paper.
*Note: You would do the opposite if you were using this as a stencil.
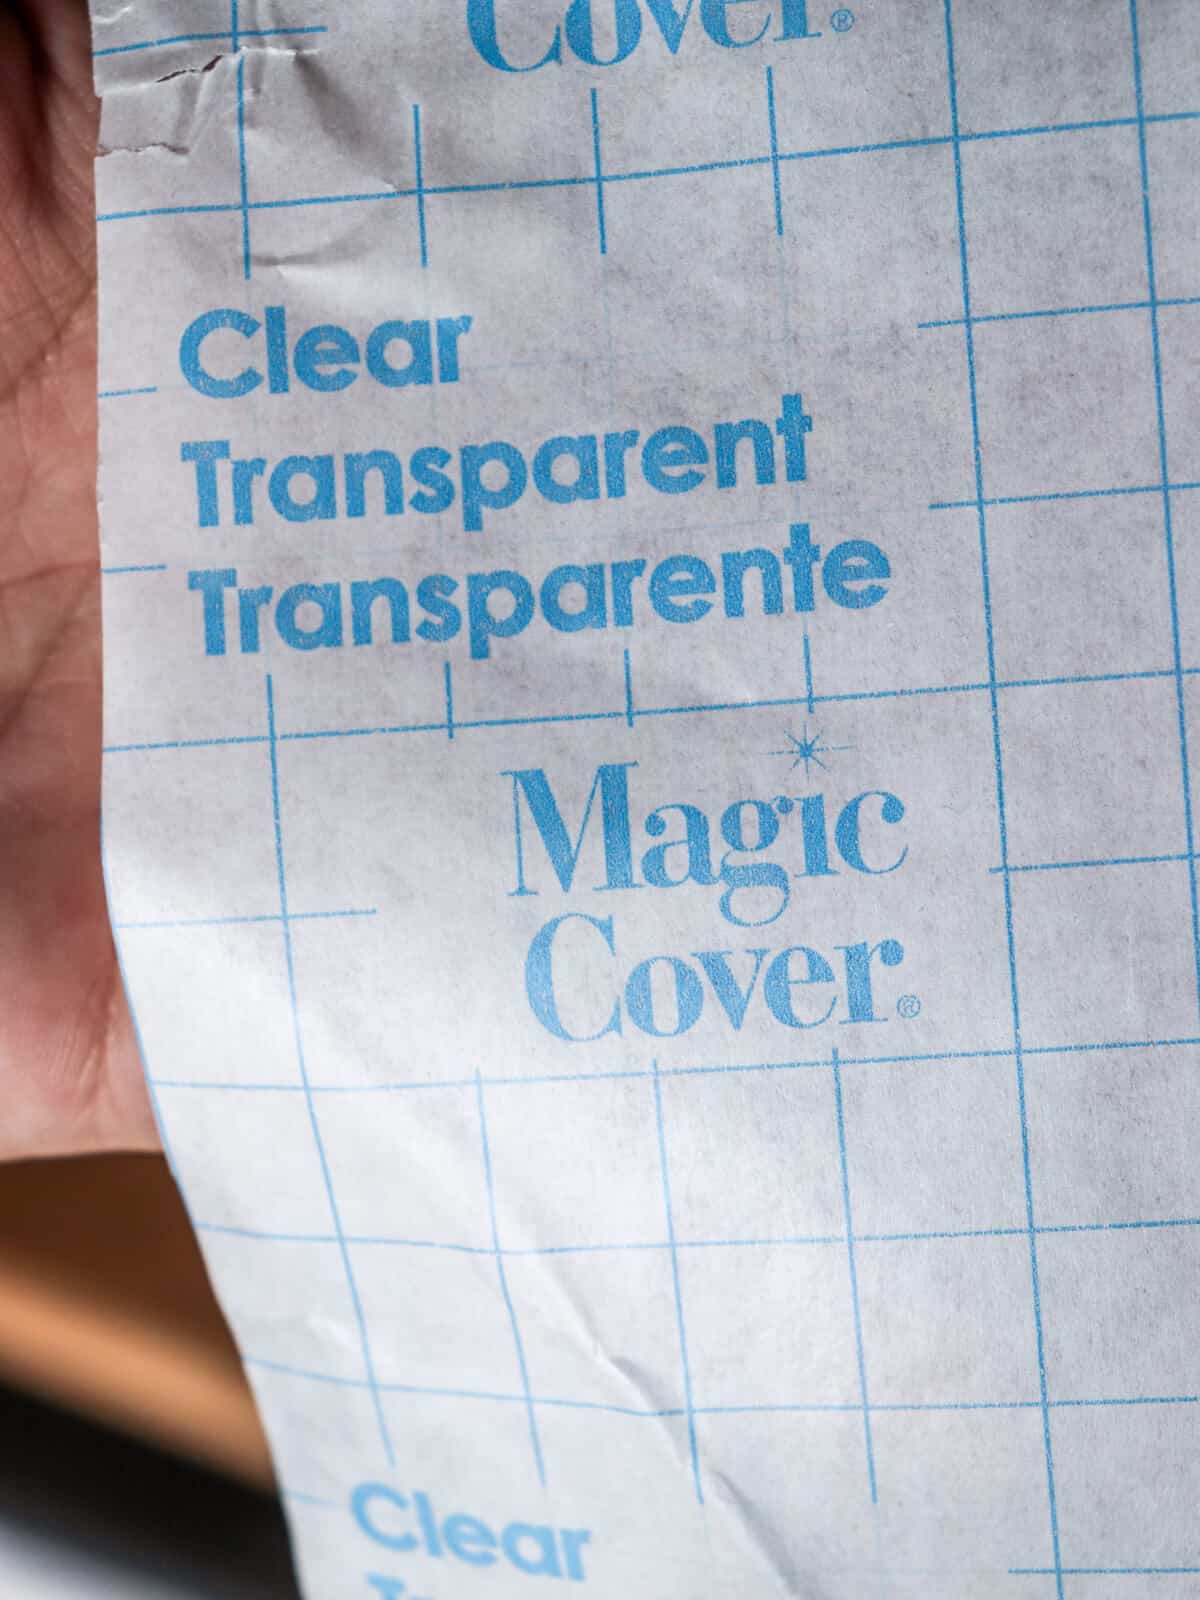
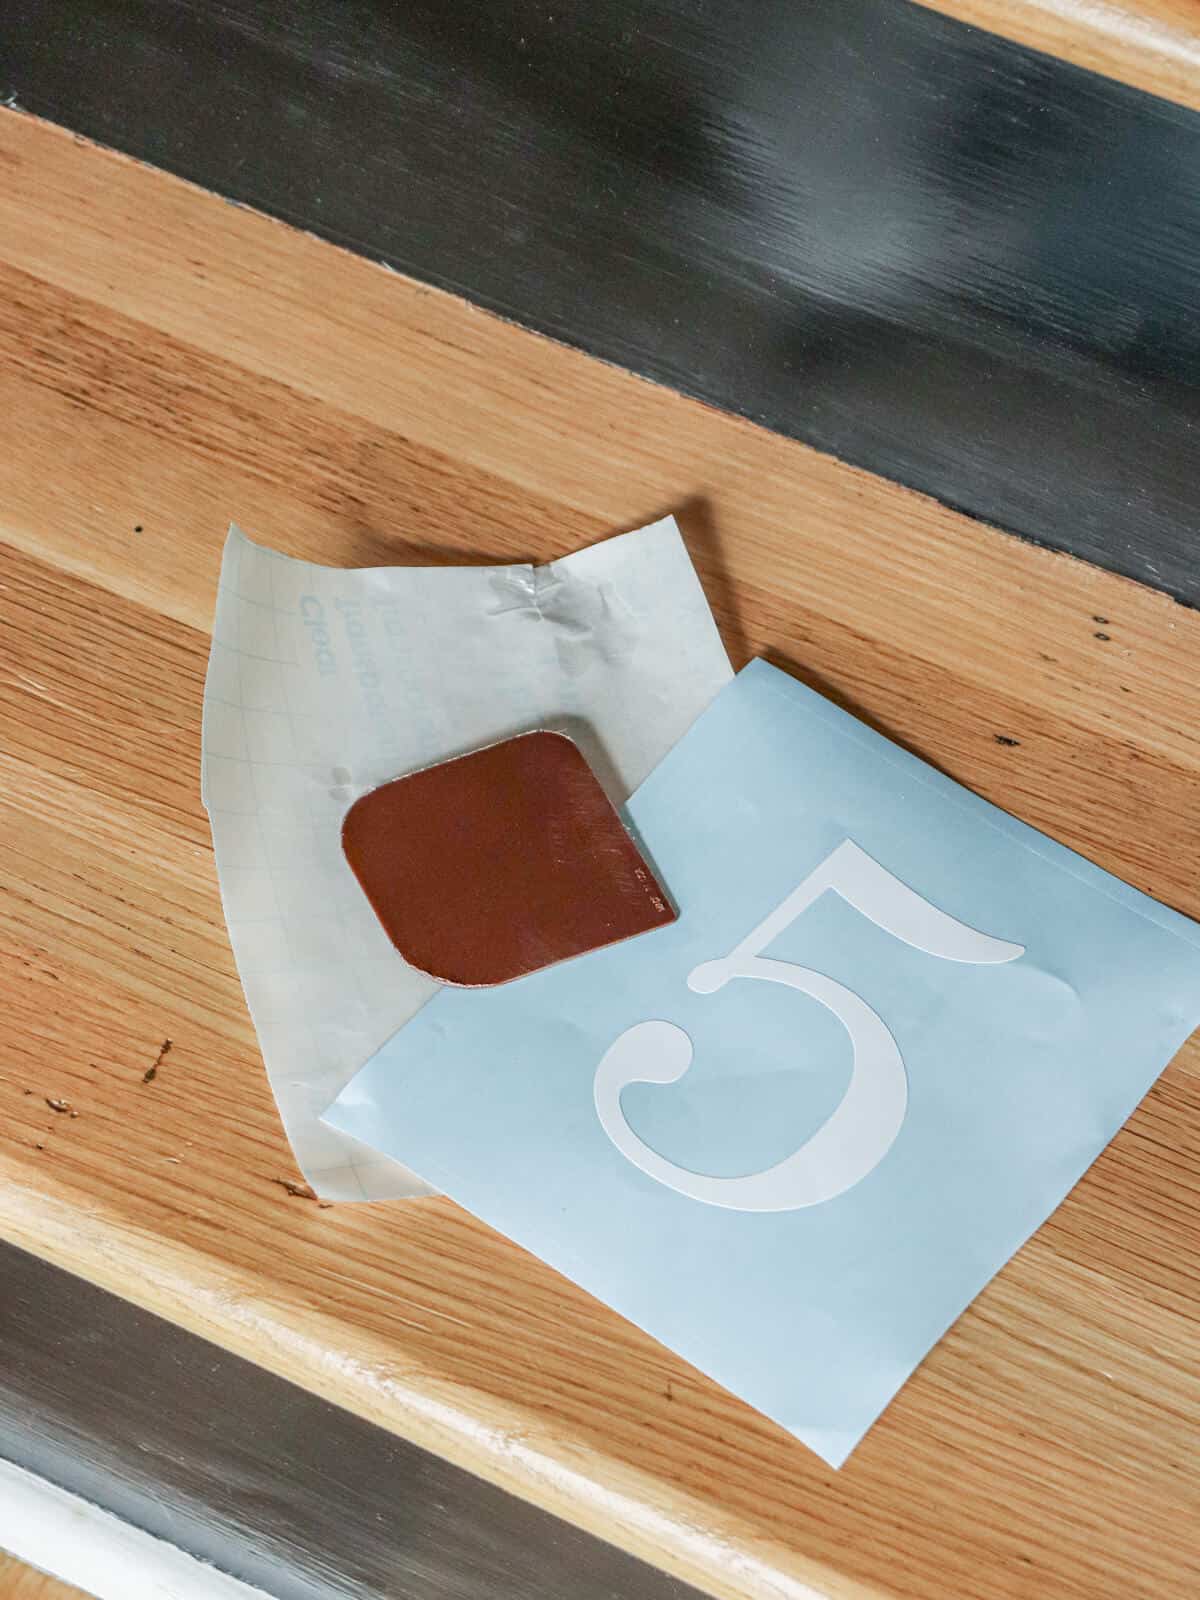
Included with their product was this magic paper.
And let me tell you, it’s undoubtedly magic. I don’t know what kind of juju it’s made of, but I love this stuff – and you’ll see why!
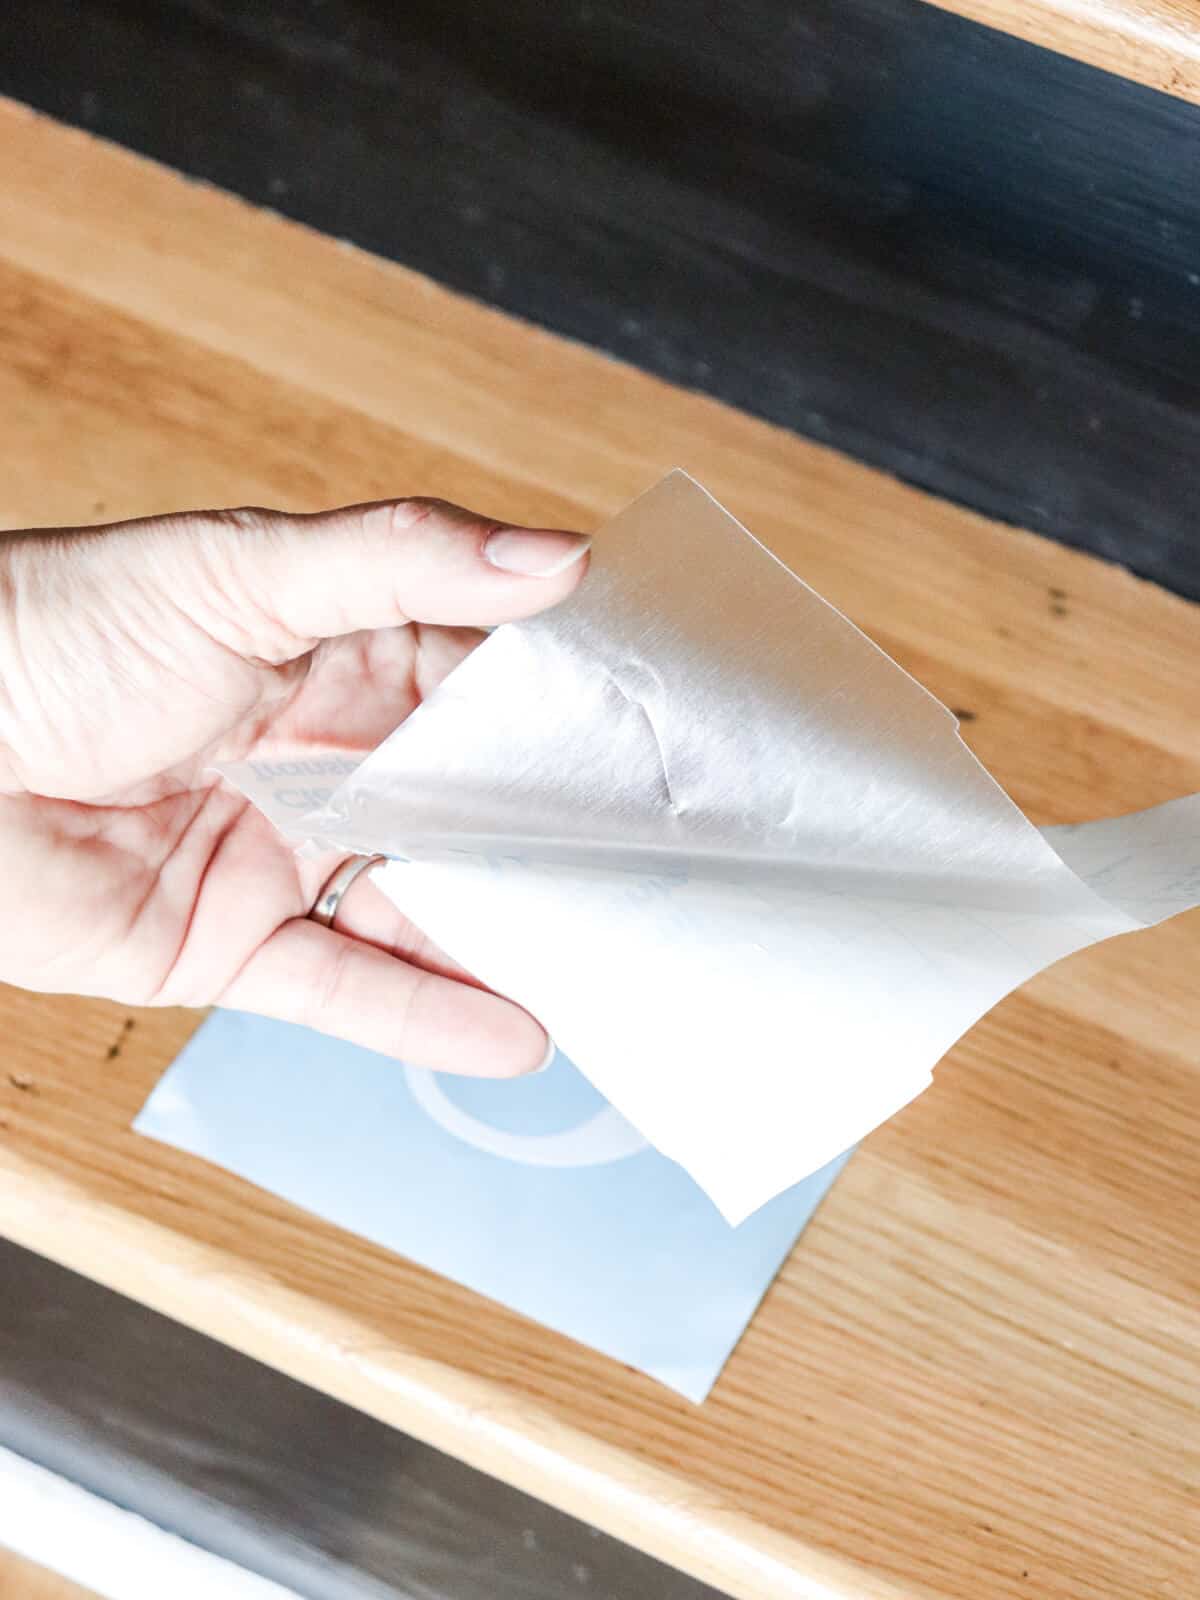
You simply separate the magic paper from its backing.
Then apply it over the vinyl number you want to transfer.
Easy Staircase Makeover
You line it up with your number.
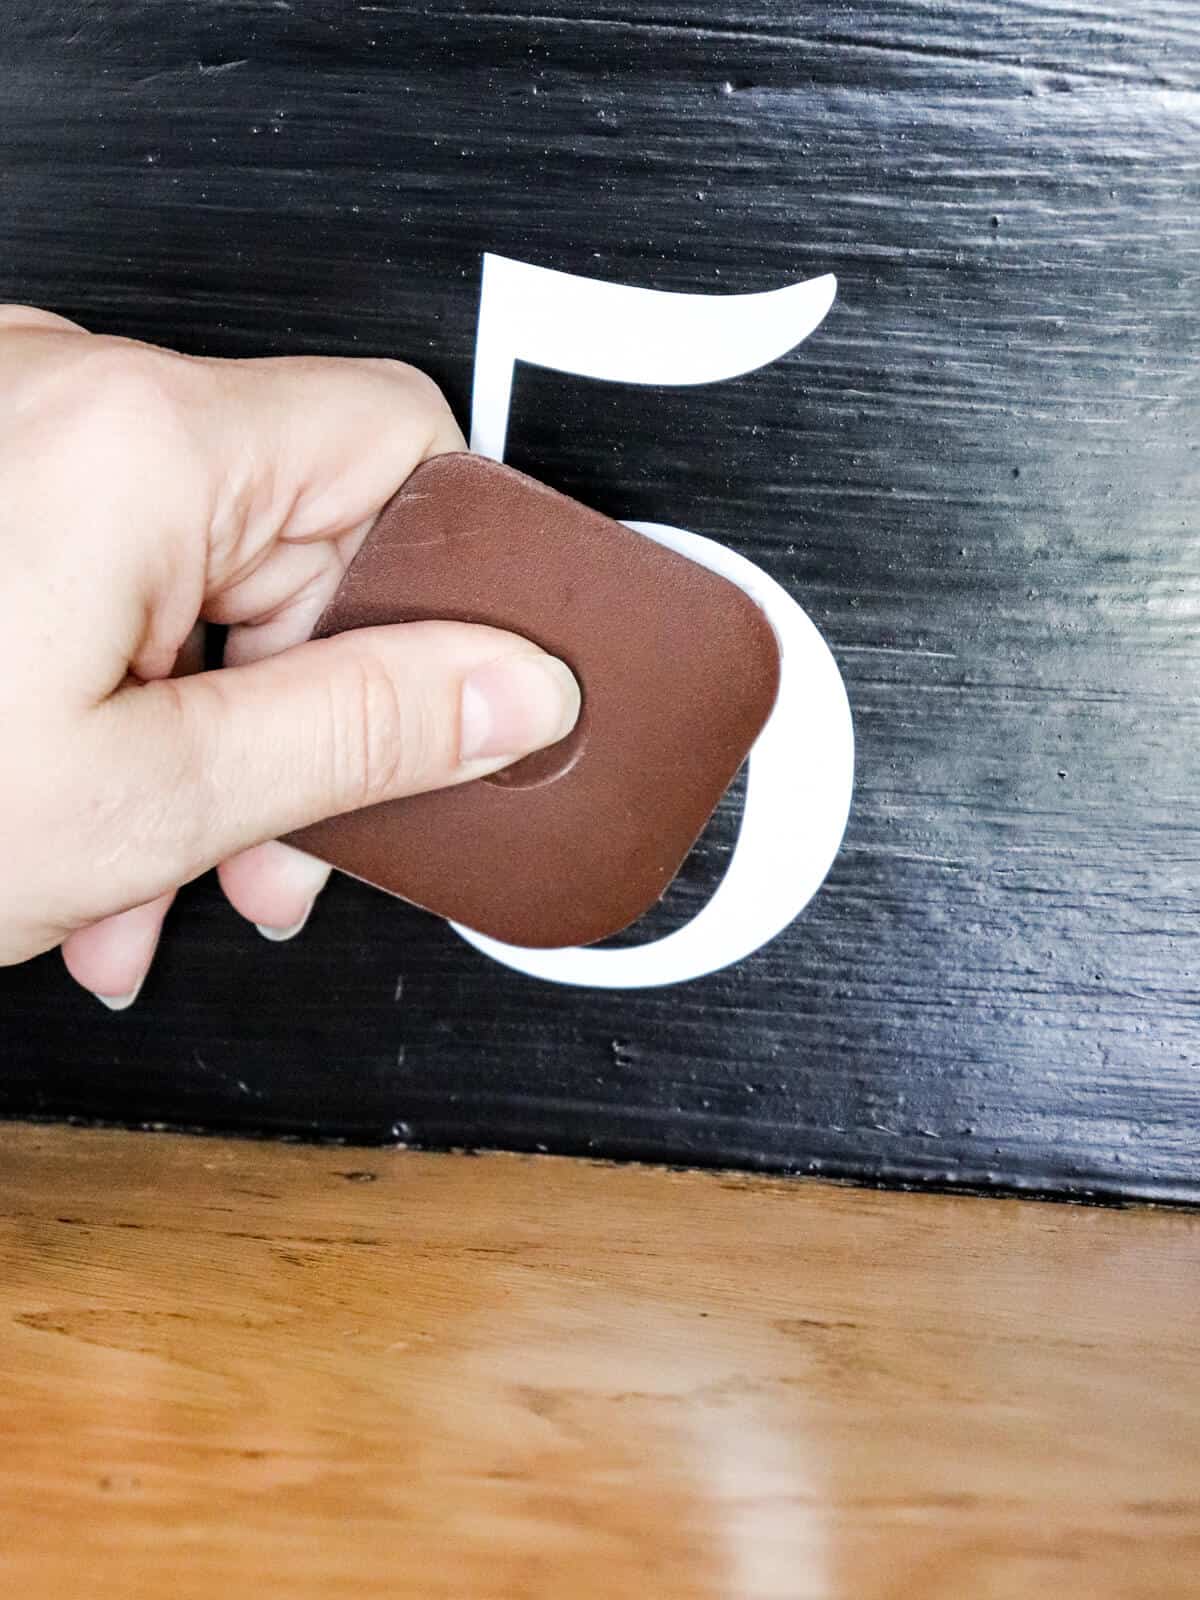
Lightly scratch the magic paper over the vinyl number using a plastic scraper. Mine is just a plain ol’ kitchen scraper.
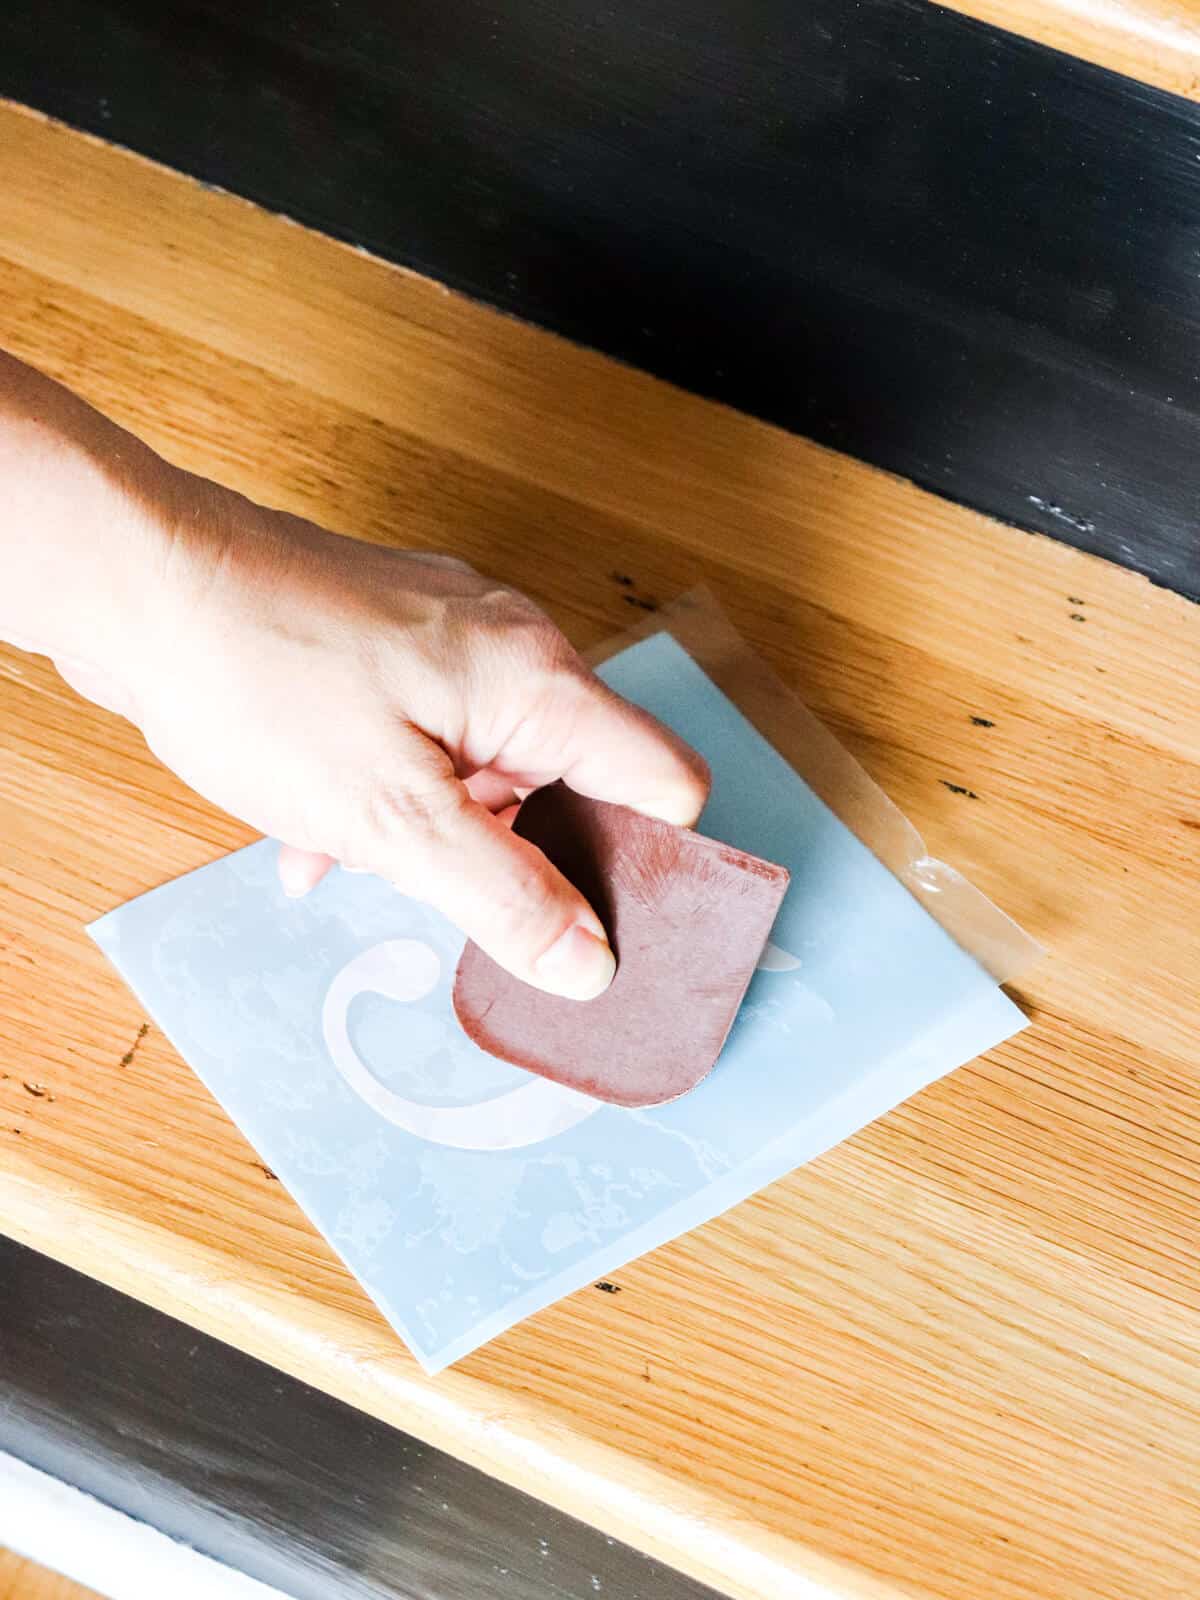
This is how you can easily transfer the vinyl number without risking tears.
Plus this gives you the option to make sure it is placed correctly before sticking it down.
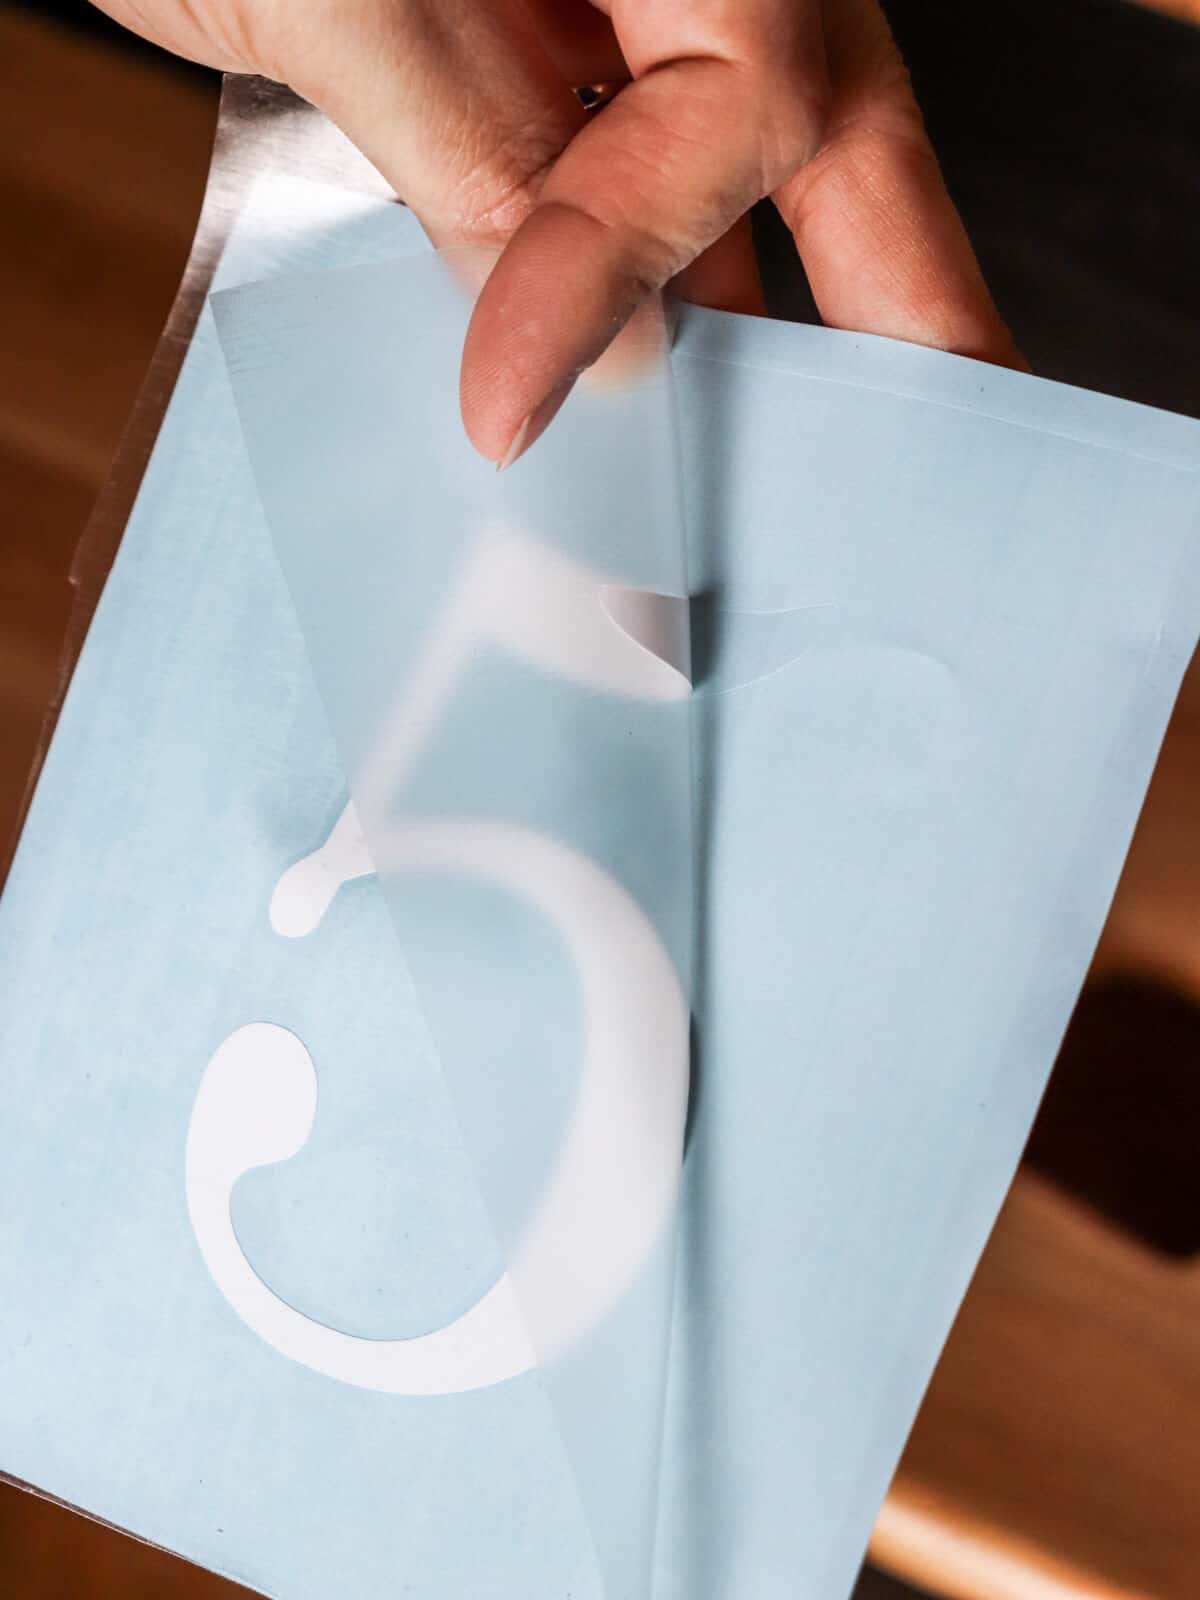
Then carefully peel the paper away.
You’ll see it leaving the number on the magic paper.
This basically creates a workable transfer for your number.
But here’s where it’s magic – it’s reusable!
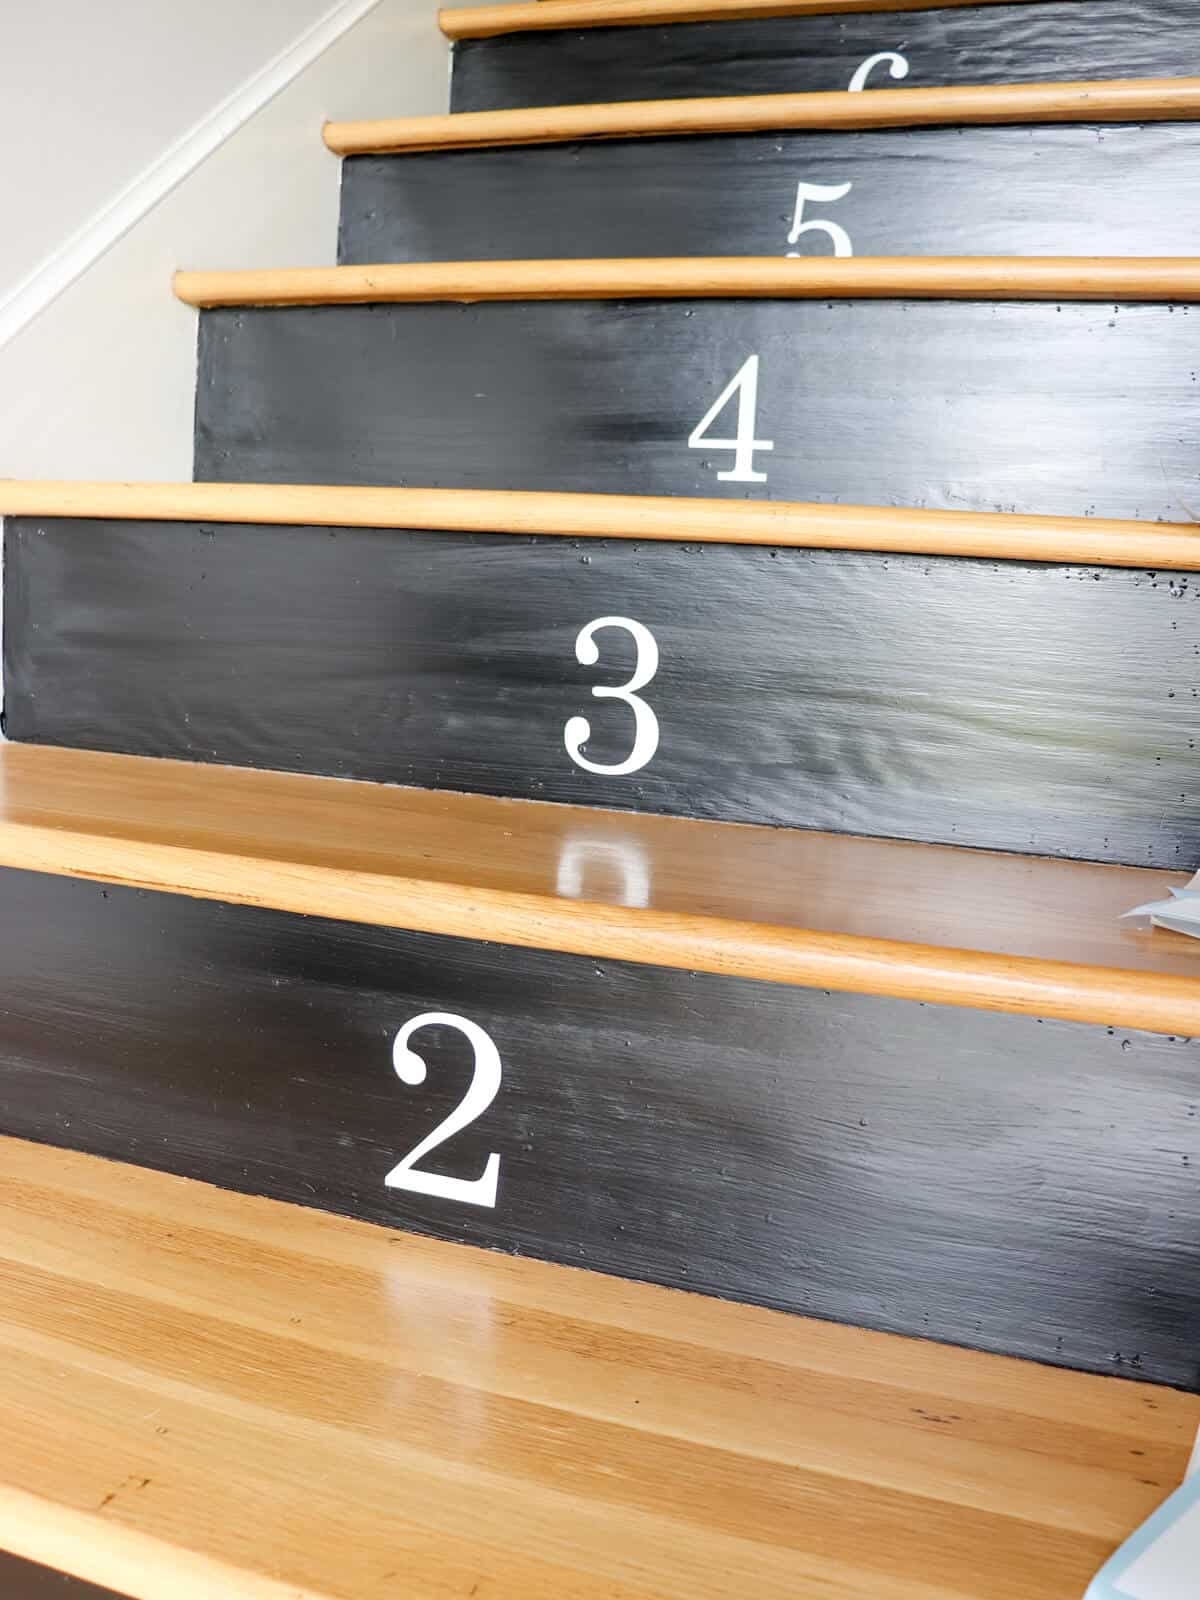
Then you simply line it up and lightly place it where you want it to go.
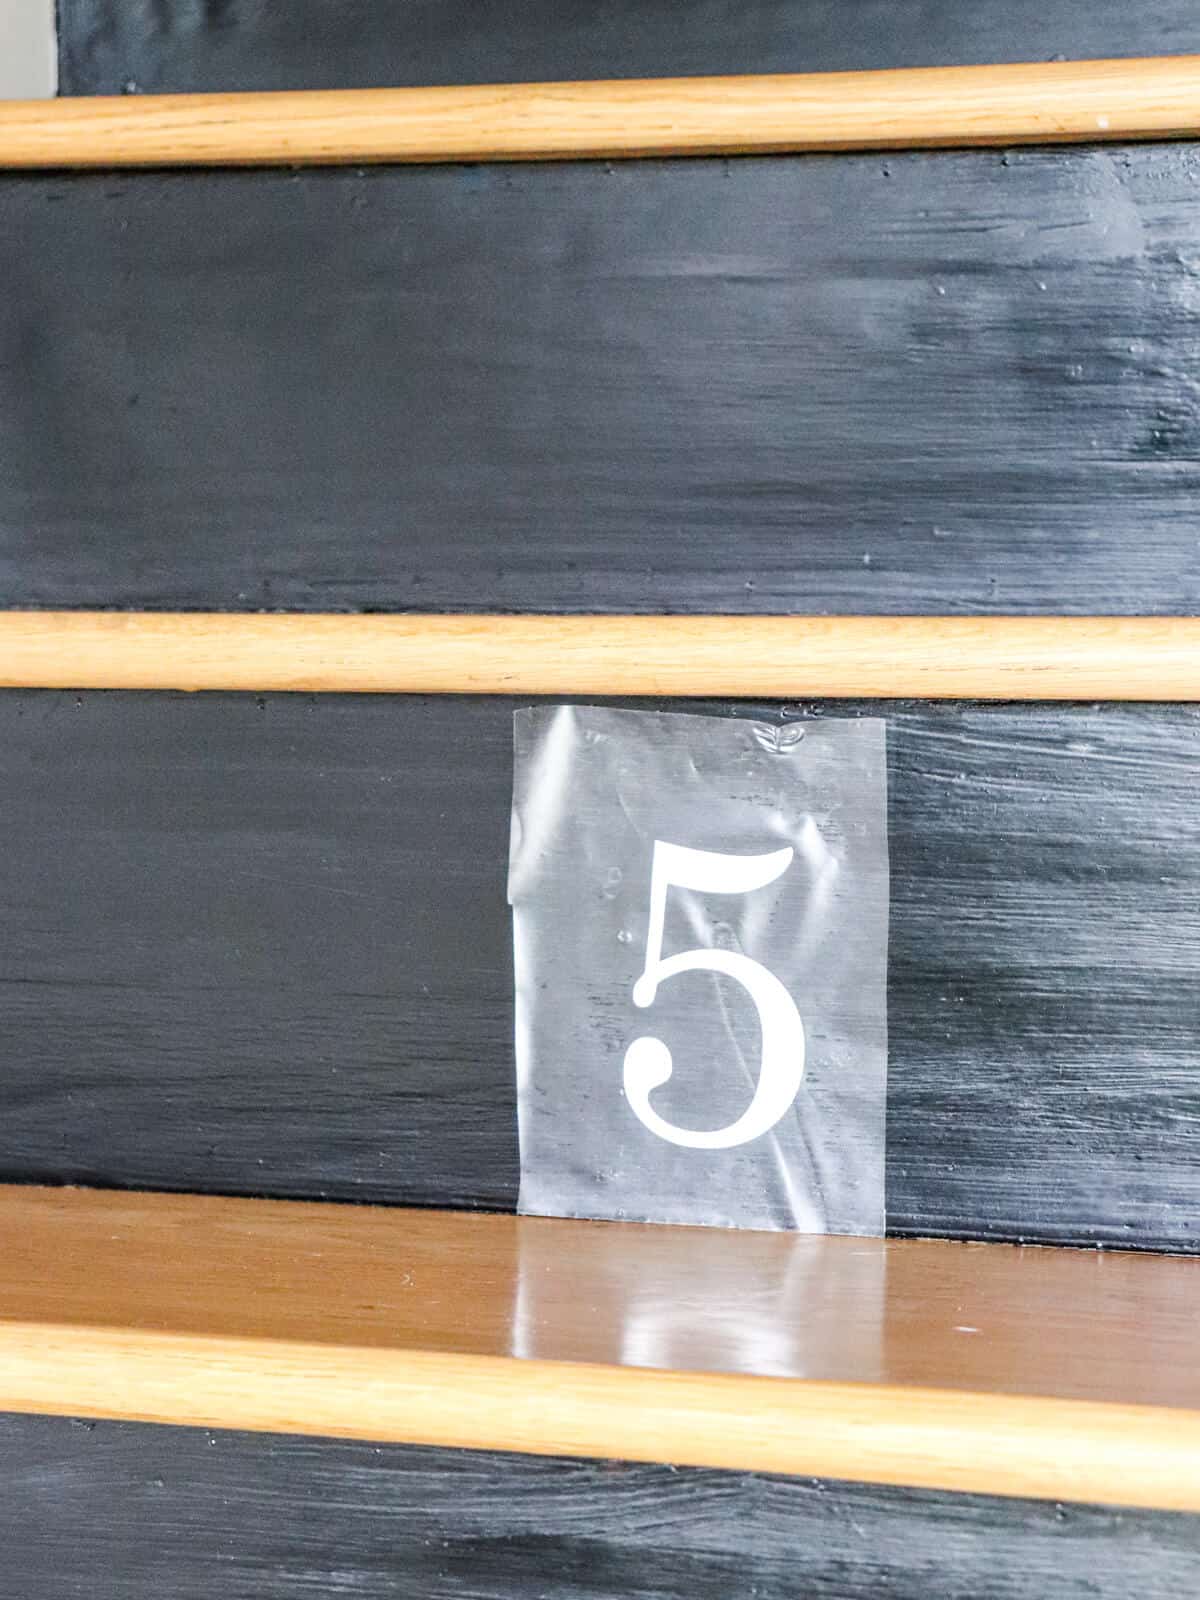
I measured and marked a small tick on each riser so that each number would line up.
After placing a number or two, I would take a step back and adjust to the left or the right as needed.
The number stayed on the magic paper until it was time to transfer.
How cool is that?!
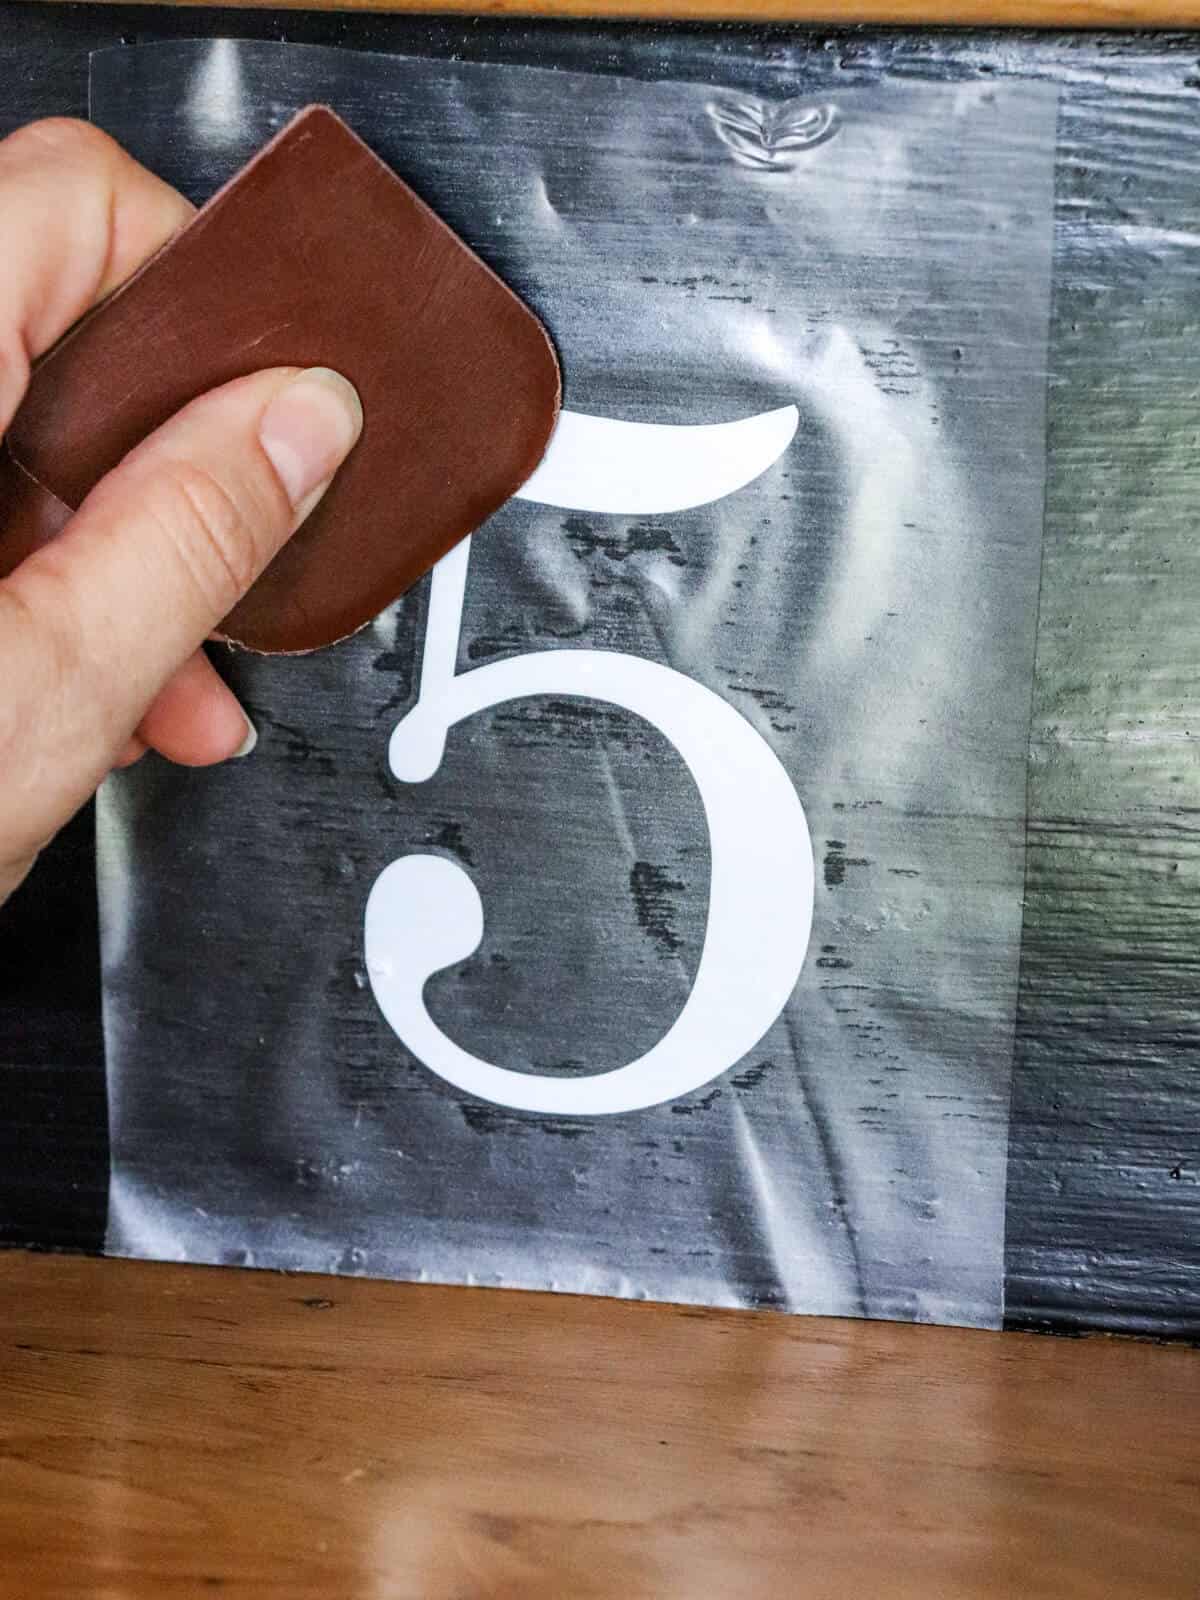
Once I had my number ‘locked in place’ I used my handy dandy scraper and lightly rubbed the number on the riser.
Make sure you go over each edge of the number thoroughly.
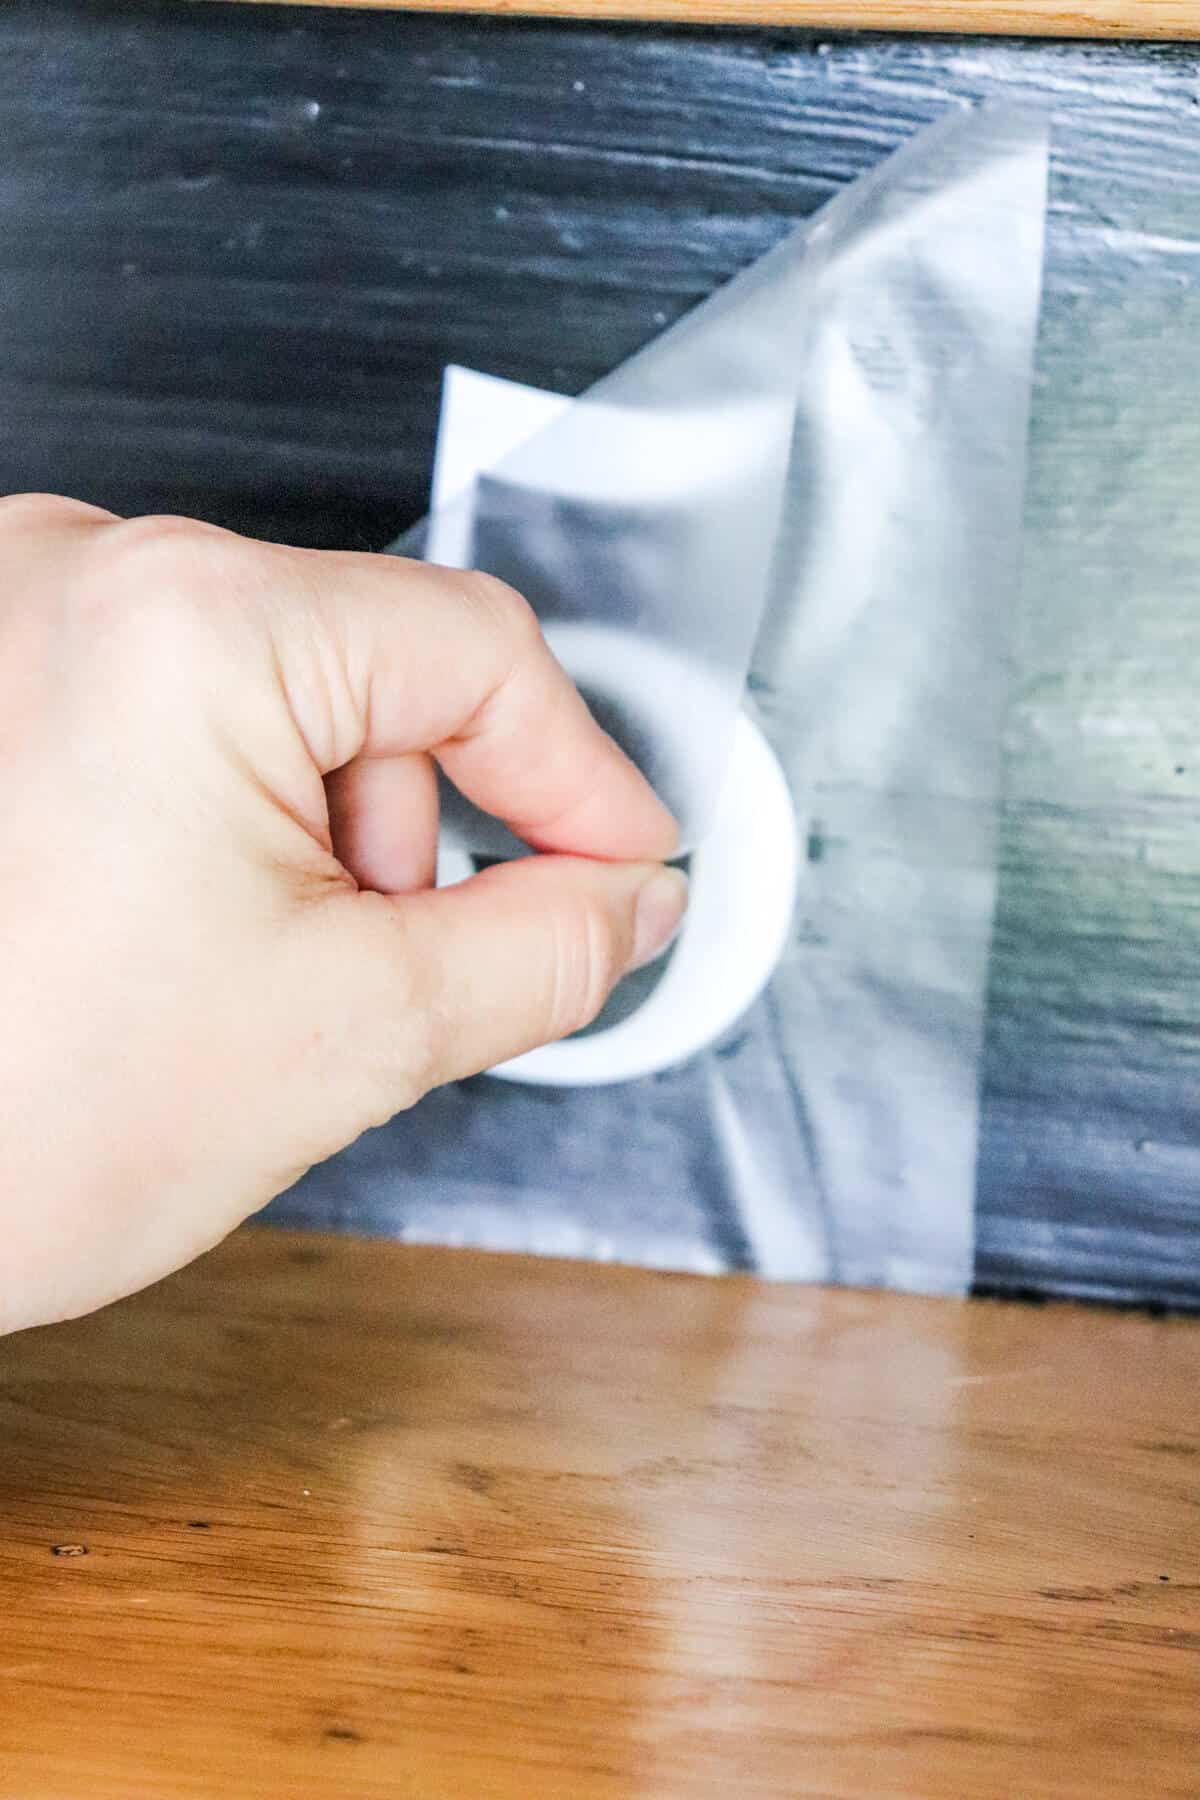
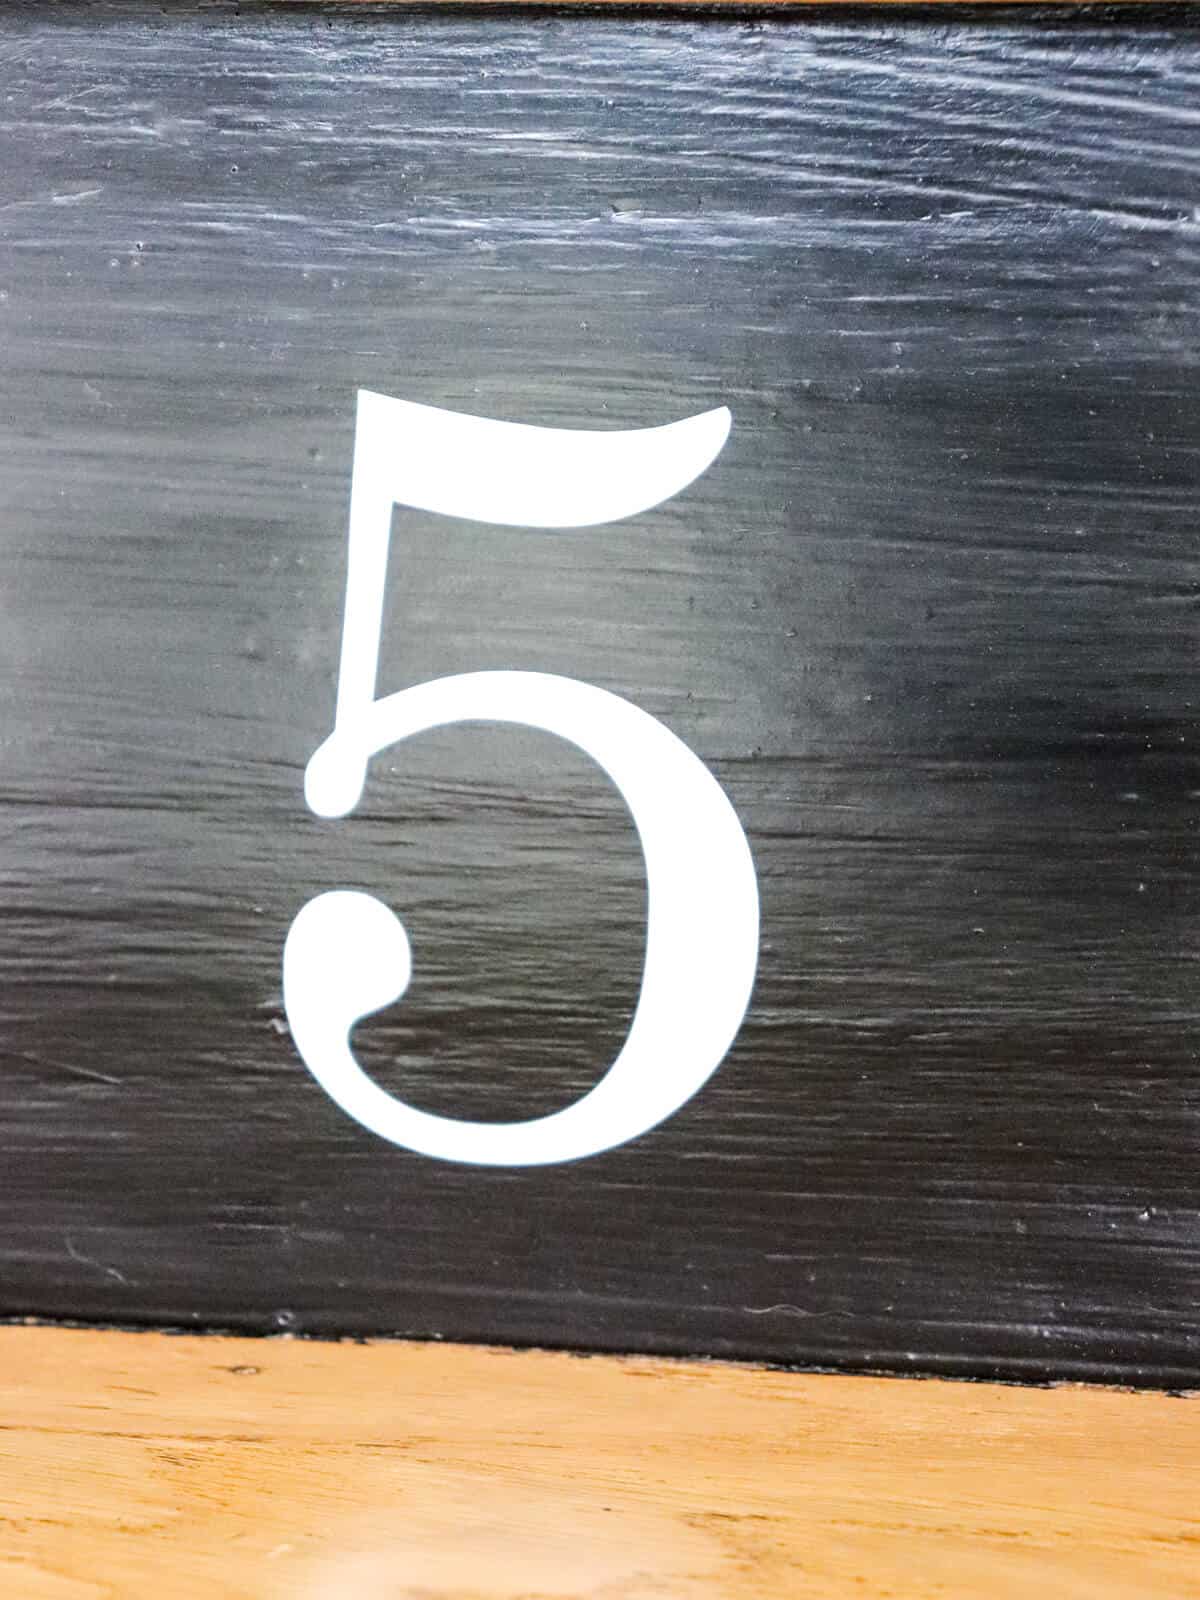
After that, carefully peel the magic paper away and the number stays.
Instantly, it made a huge difference!
However, if your number didn’t adhere completely, rub the vinyl very lightly in the places needed.
I only had to do this a couple of times.
Then just repeat each step with the other numbers.
Another magic thing about this paper is the reusability factor.

One piece almost completed the entire staircase. I used the same piece of transfer paper for 8 numbers.
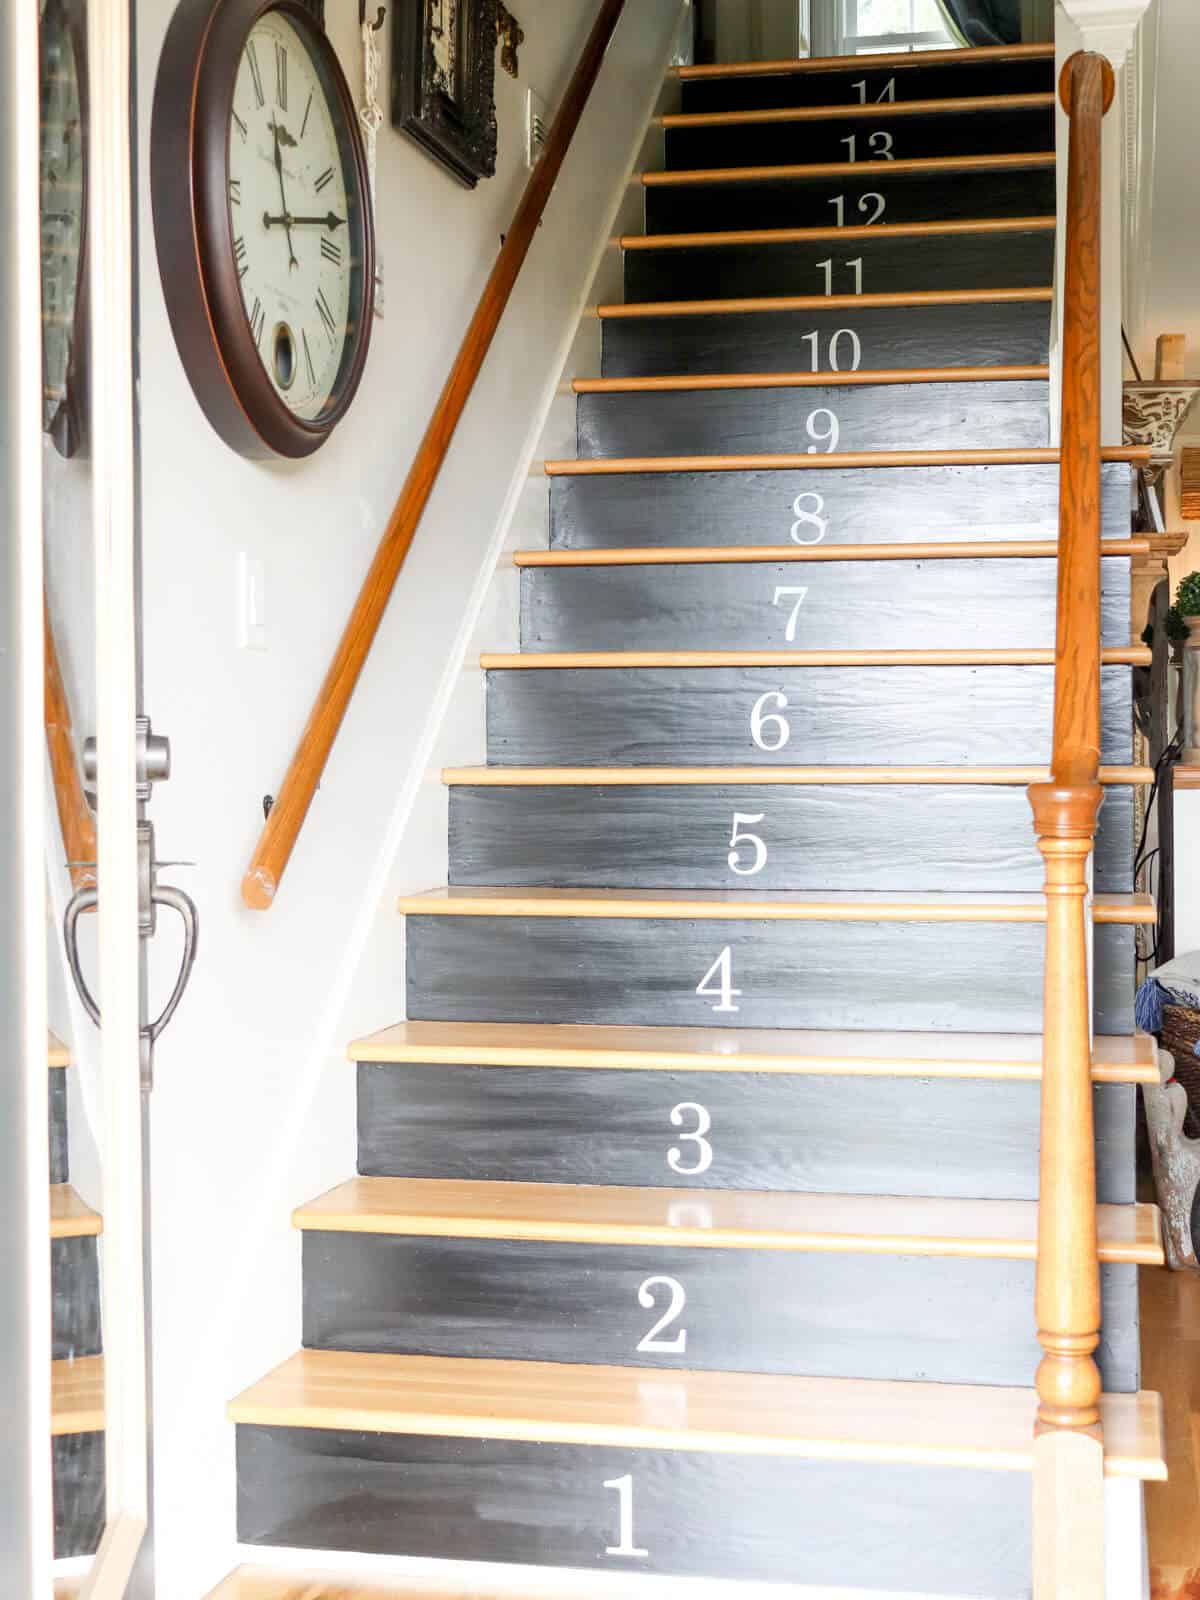
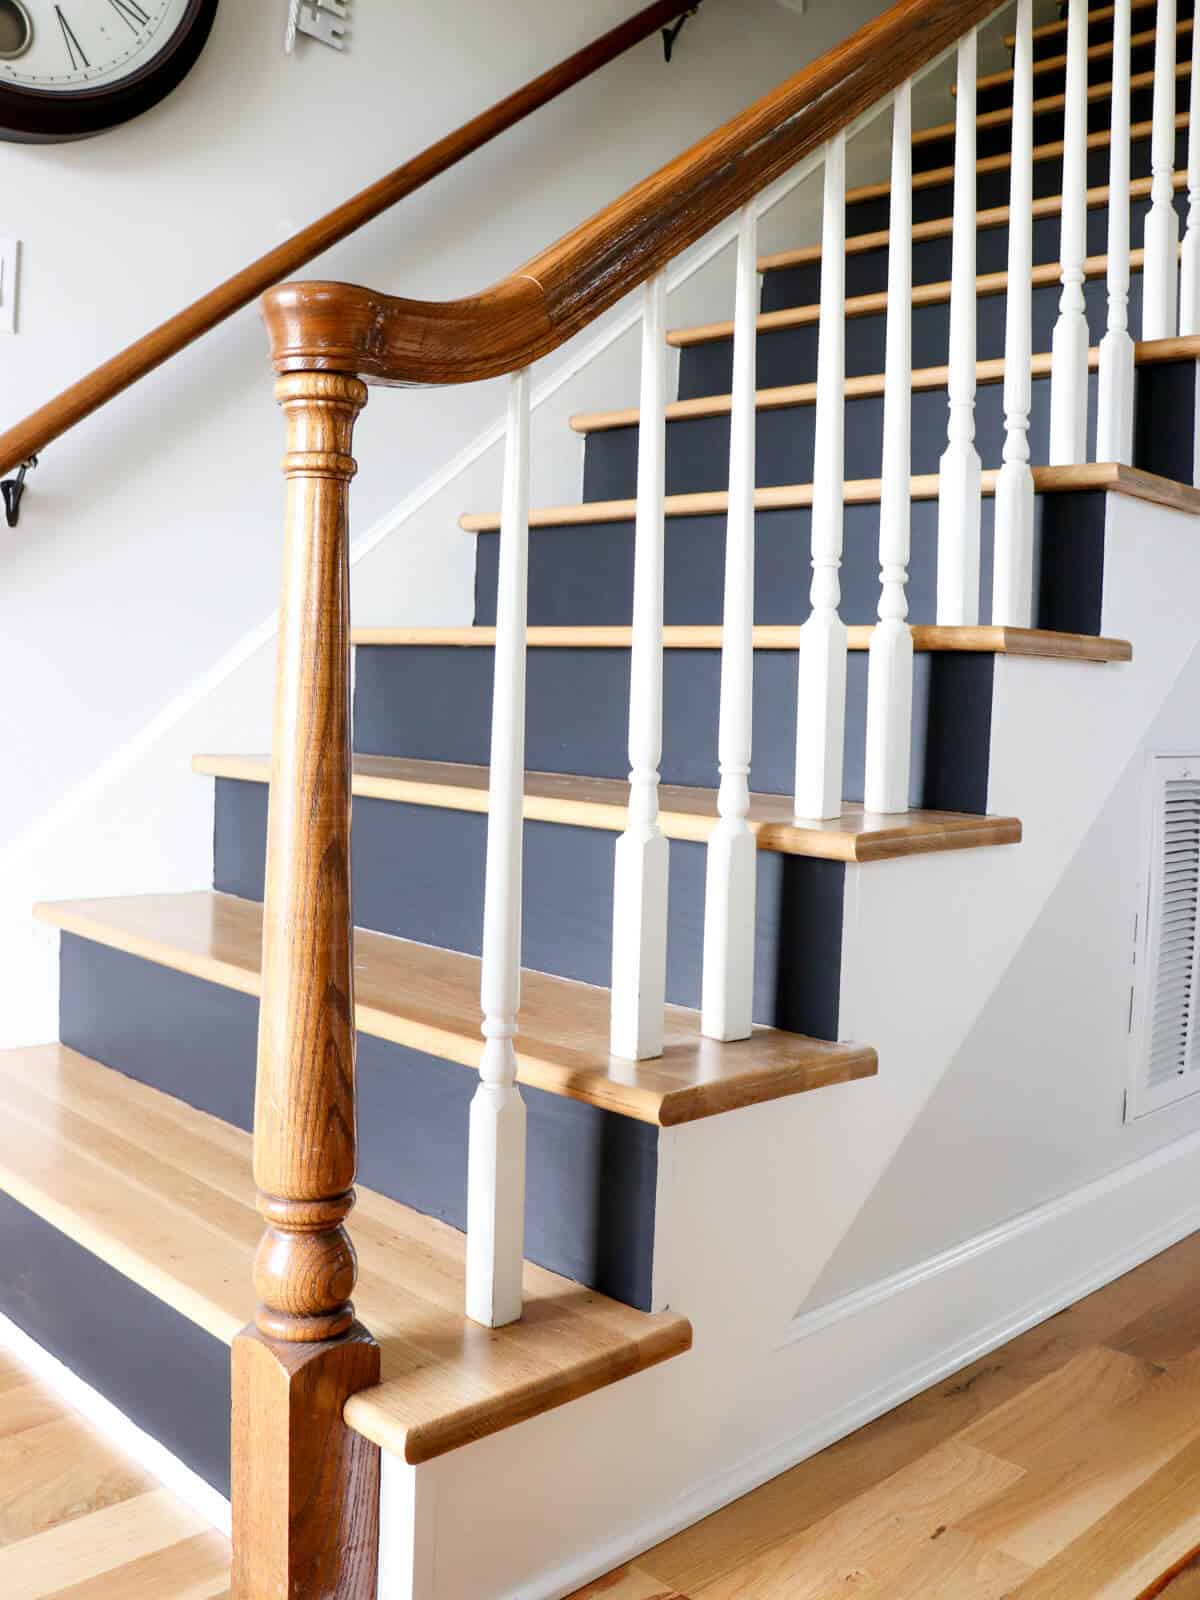
Now check out the final product!
This is what greets you when you open our front door.


Ooh-wee! That gets me so excited!
It looks like a new stairs! And it instantly gives visual interest when you open the door.
Of course, I love how fast this easy staircase makeover was. Other than the painting mishap, this diy wasn’t a lot of work.
If I didn’t have to repaint the stairs, this would have been done in a day.
But I wasn’t finished there. I still had the gallery wall to update.
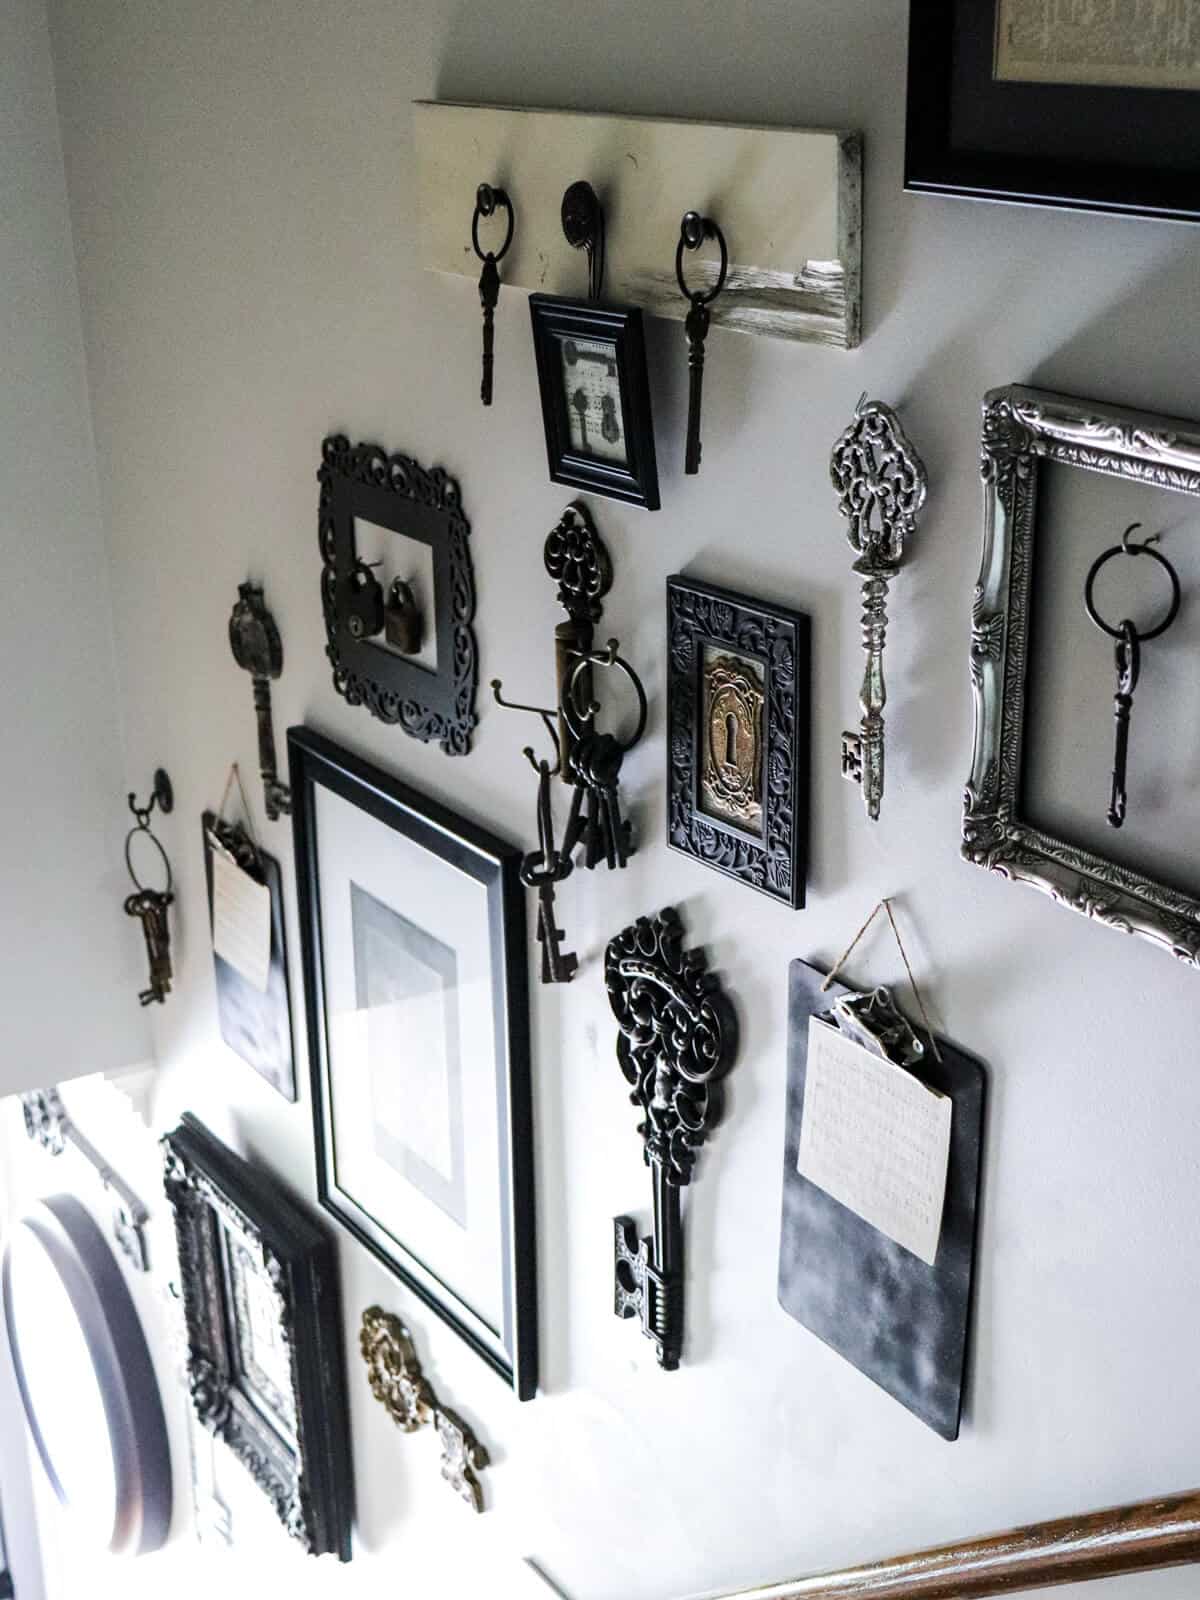
Updating Our Gallery Wall
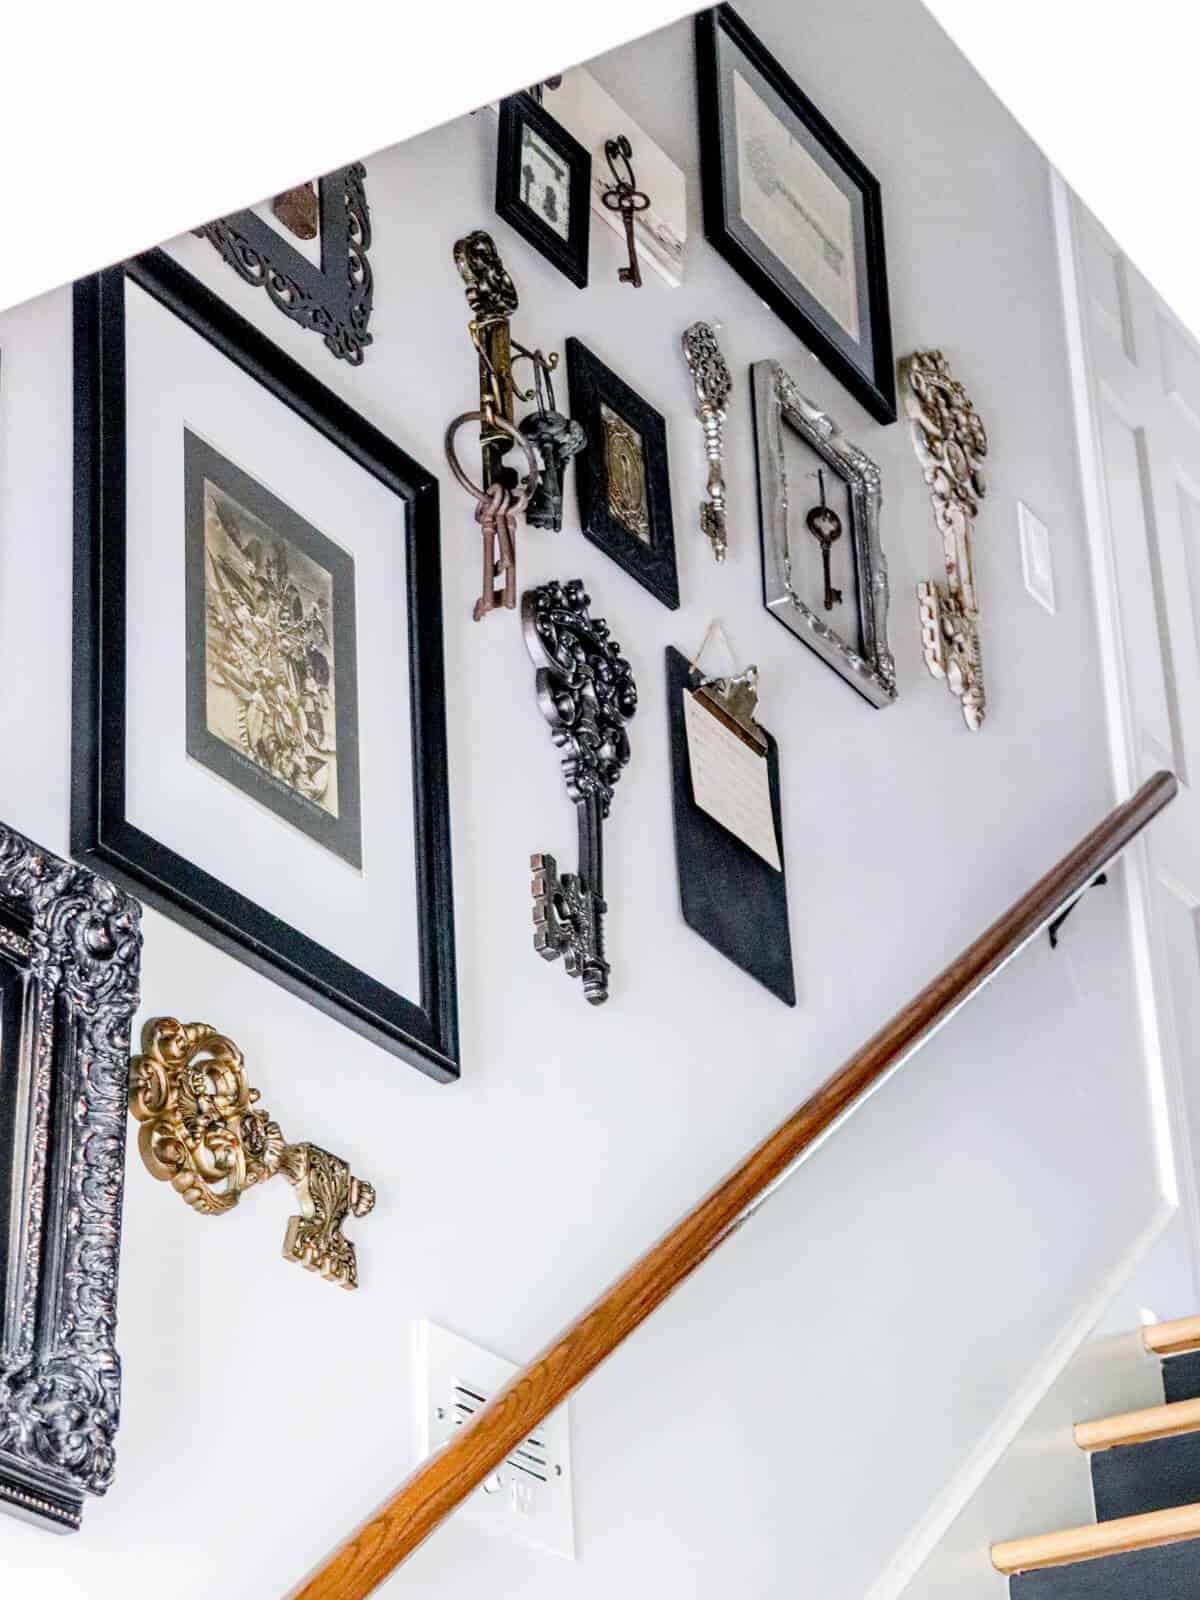
I have a thing for keys and old locks.
In fact, I have accumulated quite the collection over the past few years.
From keys from estate sales and junkin finds, to some pieces from my family members – which are undoubtedly my fav!

One of my favorite pieces is this framed DIY artwork I made years ago.
It’s especially precious because it’s from my first voice teacher.
My cousin who has passed. It still shows his notes he made for me and each time I pass it by, I smile.
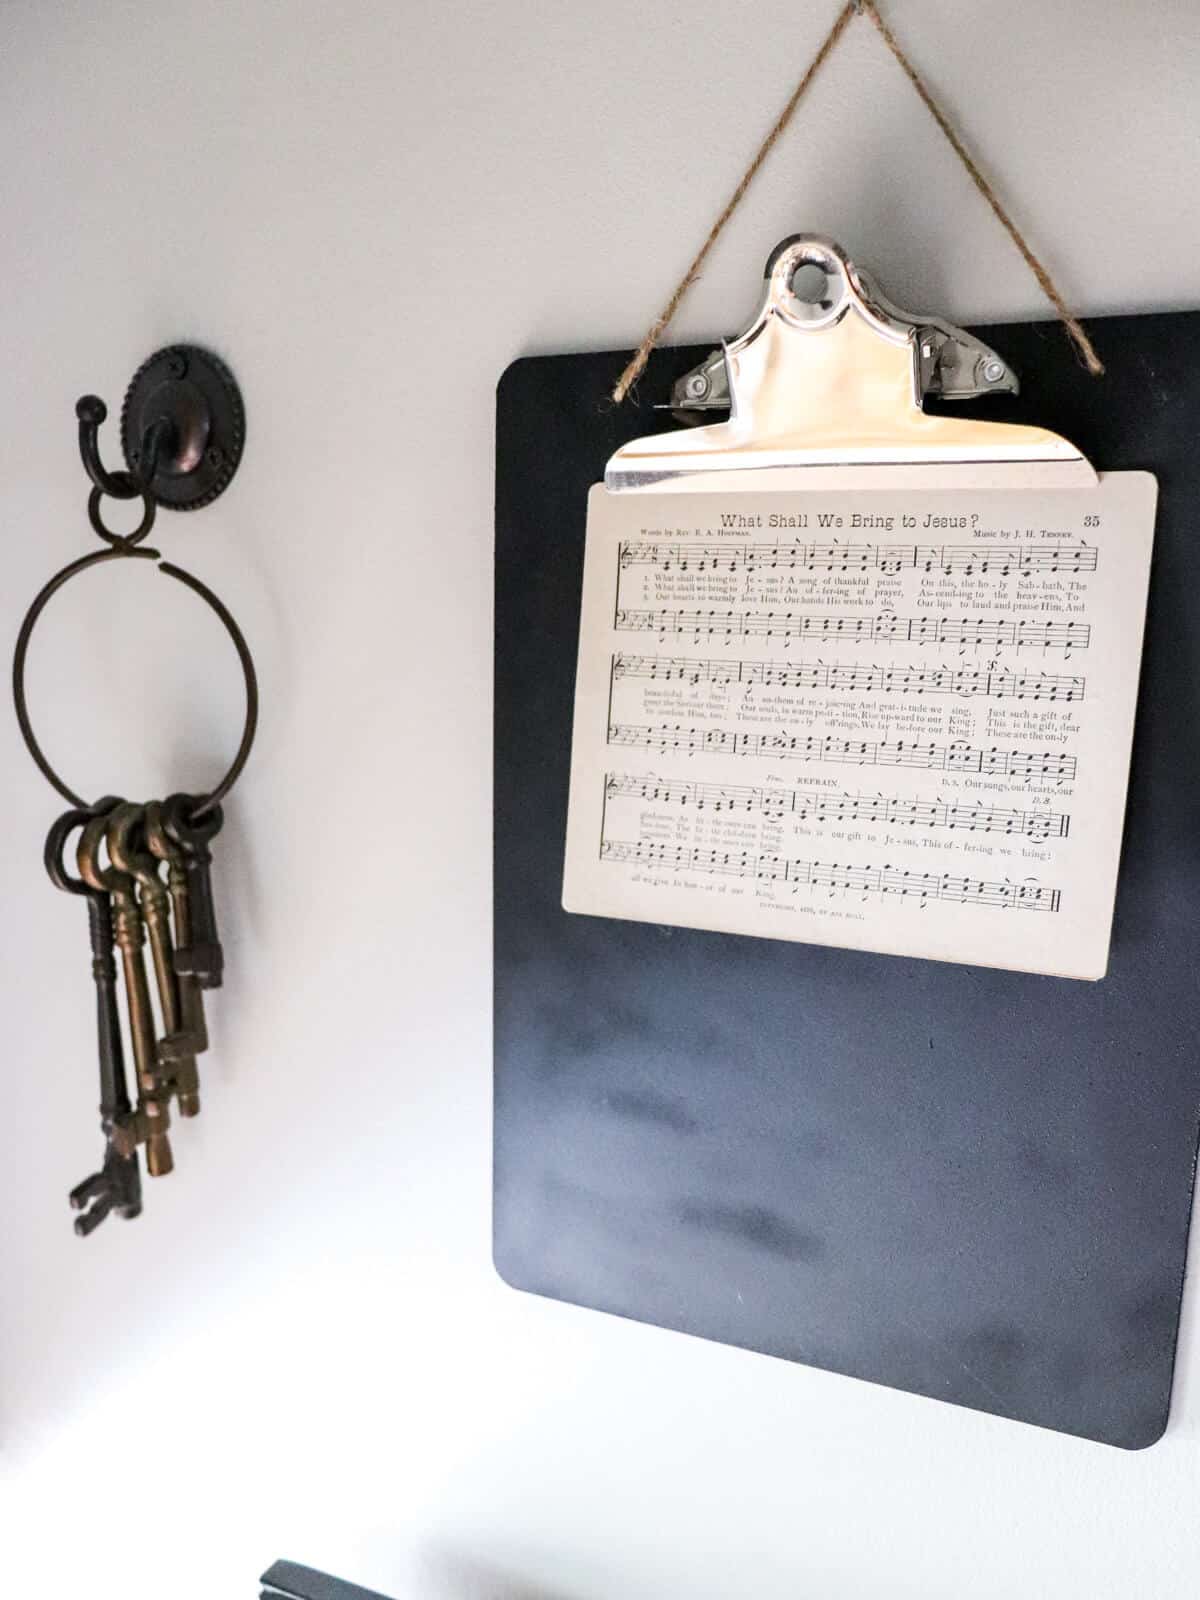
I also included my DIY Clipboard Art frames with vintage music cards.
And those keys with the broken ring always hung in my grandma’s house. I love that it’s now in my own home.
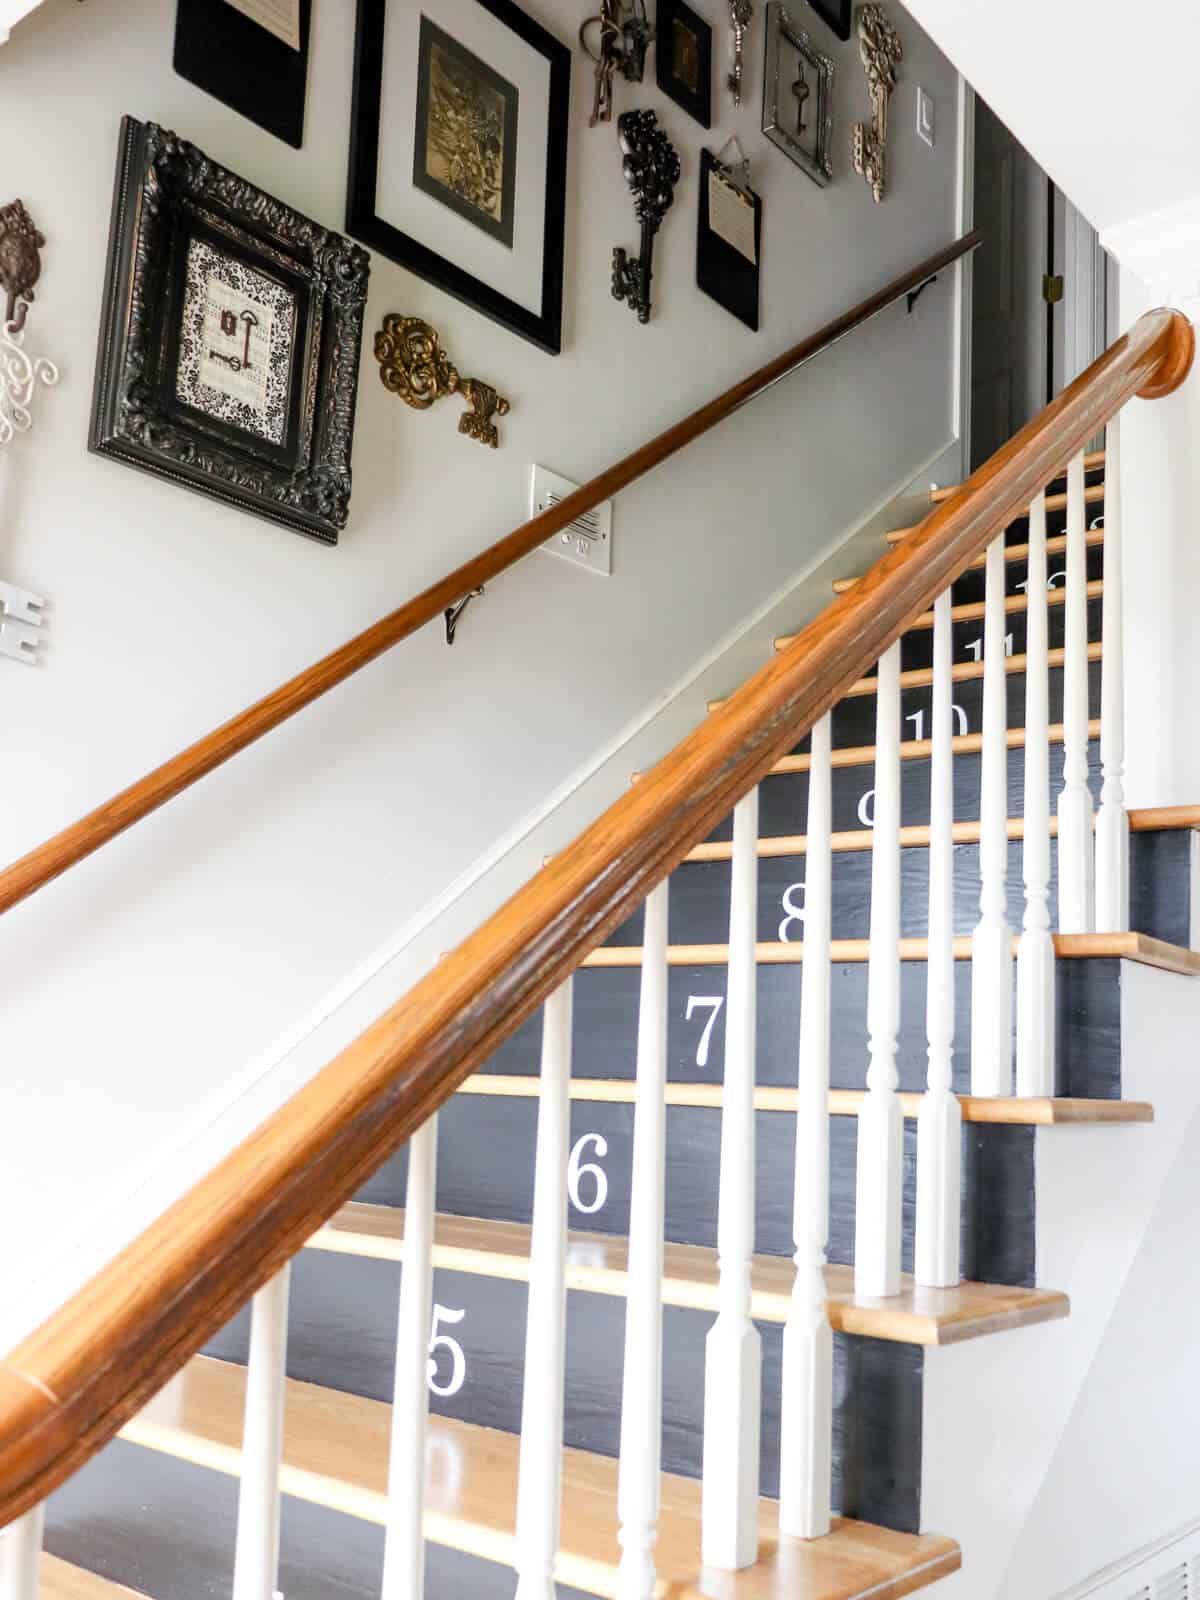
So now my entryway now looks welcoming and amazing with this Easy Stairway Makeover and new gallery wall!
So what do you think?


Even though I had hoped for the chalky sheen of the other paint, the smooth finish of this paint looks great.
And I couldn’t be more pleased with the end result.
Frequently Asked Questions
What is the cheapest way to renovate stairs?
By far, painted stairs is the easiest way and the most economical option. You can take any dated, old staircase and give it a brand new look with a can of paint.
Just use paint and do it yourself. Create a pretty pattern with stencils, or make a dramatic statement with black risers like I did, or choose a different color that works with the rest of the house.
There are many fun things you can do with a little paint and stairs.
How much does it cost to update a staircase?
For this project, I was only out the cost of the vinyl decals, which were less than $20.
However, for our basement stair makeover, we installed new treads, replaced the balusters, and added a carpet runner. That was closer to $500.
How can I change the look of my stairs?
Here are some other DIY options to consider if you aren’t a fan of this stair makeover.
- Ombre Look: Have you seen these before? You start with a darker color on the lowest riser and work your way up to lighter paint colors. It’s definitely a statement piece!
- New Stair Treads: They have some really cool tread covers made from laminate flooring that slide right over the existing stair. It’s on the pricier side, but it’s a great way to update your stairs without a lot of effort.
- Install a Stair Runner: We just did this with our basement stairs and by adding a new runner, it gave our stairs a new look.
I hope these easy steps inspired you to create your own diy staircase makeover.
Using stencils and decals is the easiest way to create a temporary look that lasts a long time.
shop our favorite home items
shop now
More Staircase Makeovers to Check Out
- DIY Basement Stair Remodel and How to Install an Indoor Outdoor Carpet Runner
- Making Over Our Basement Stairs
- Creating a Stairway Gallery Wall
- How to Repurpose Exterior Iron Stair Railings
- Basement DIY Remodel Progress and How to Install Iron balusters
Featured on The Spruce
That turned out so cute! Thanks for sharing it with us at the Homestead Blog Hop!
Michelle – this was the perfect start to my day today! Thank you so much for honoring me with this feature!
I wanted to let you know I am featuring this great project at #merrymonday this week. I hope you will check it out when you have a chance! Hope you will link up with us again! https://ourcraftymom.com/15-quick-and-easy-diy-projects-to-refresh-your-home/