Making Over Our Basement Stairs
While tackling our family room renovation, the one thing we needed to update were our carpeted stairs. Here is our progress and tips on how we are making over our basement stairs.
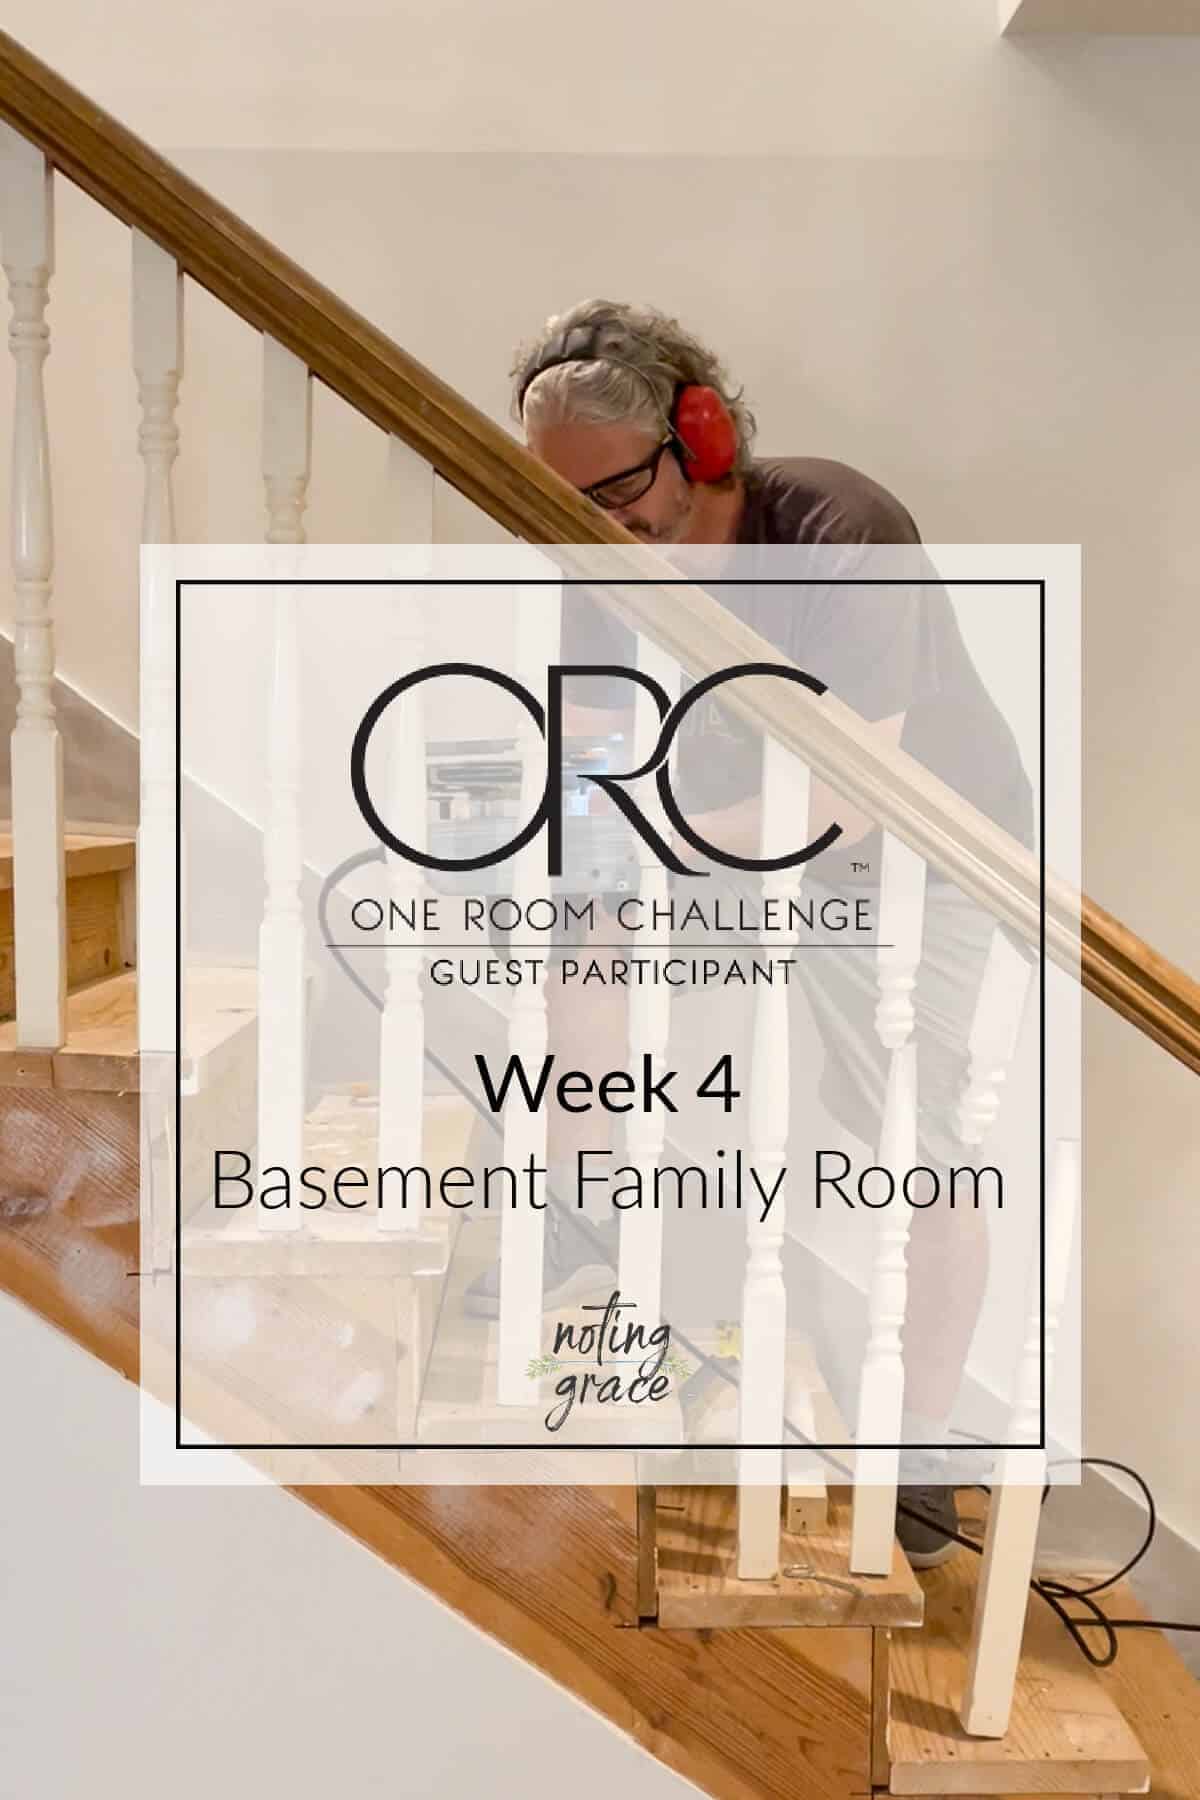
Here we are at week 4 of the One Room Challenge and we are slowly making progress on this Basement Makeover.
The two main DIYs in this room are the accent wall and our basement stairs.
And luckily, we’ve made some decent progress on these projects.
Here’s a quick reminder of how our old staircase looked at the beginning of this challenge.
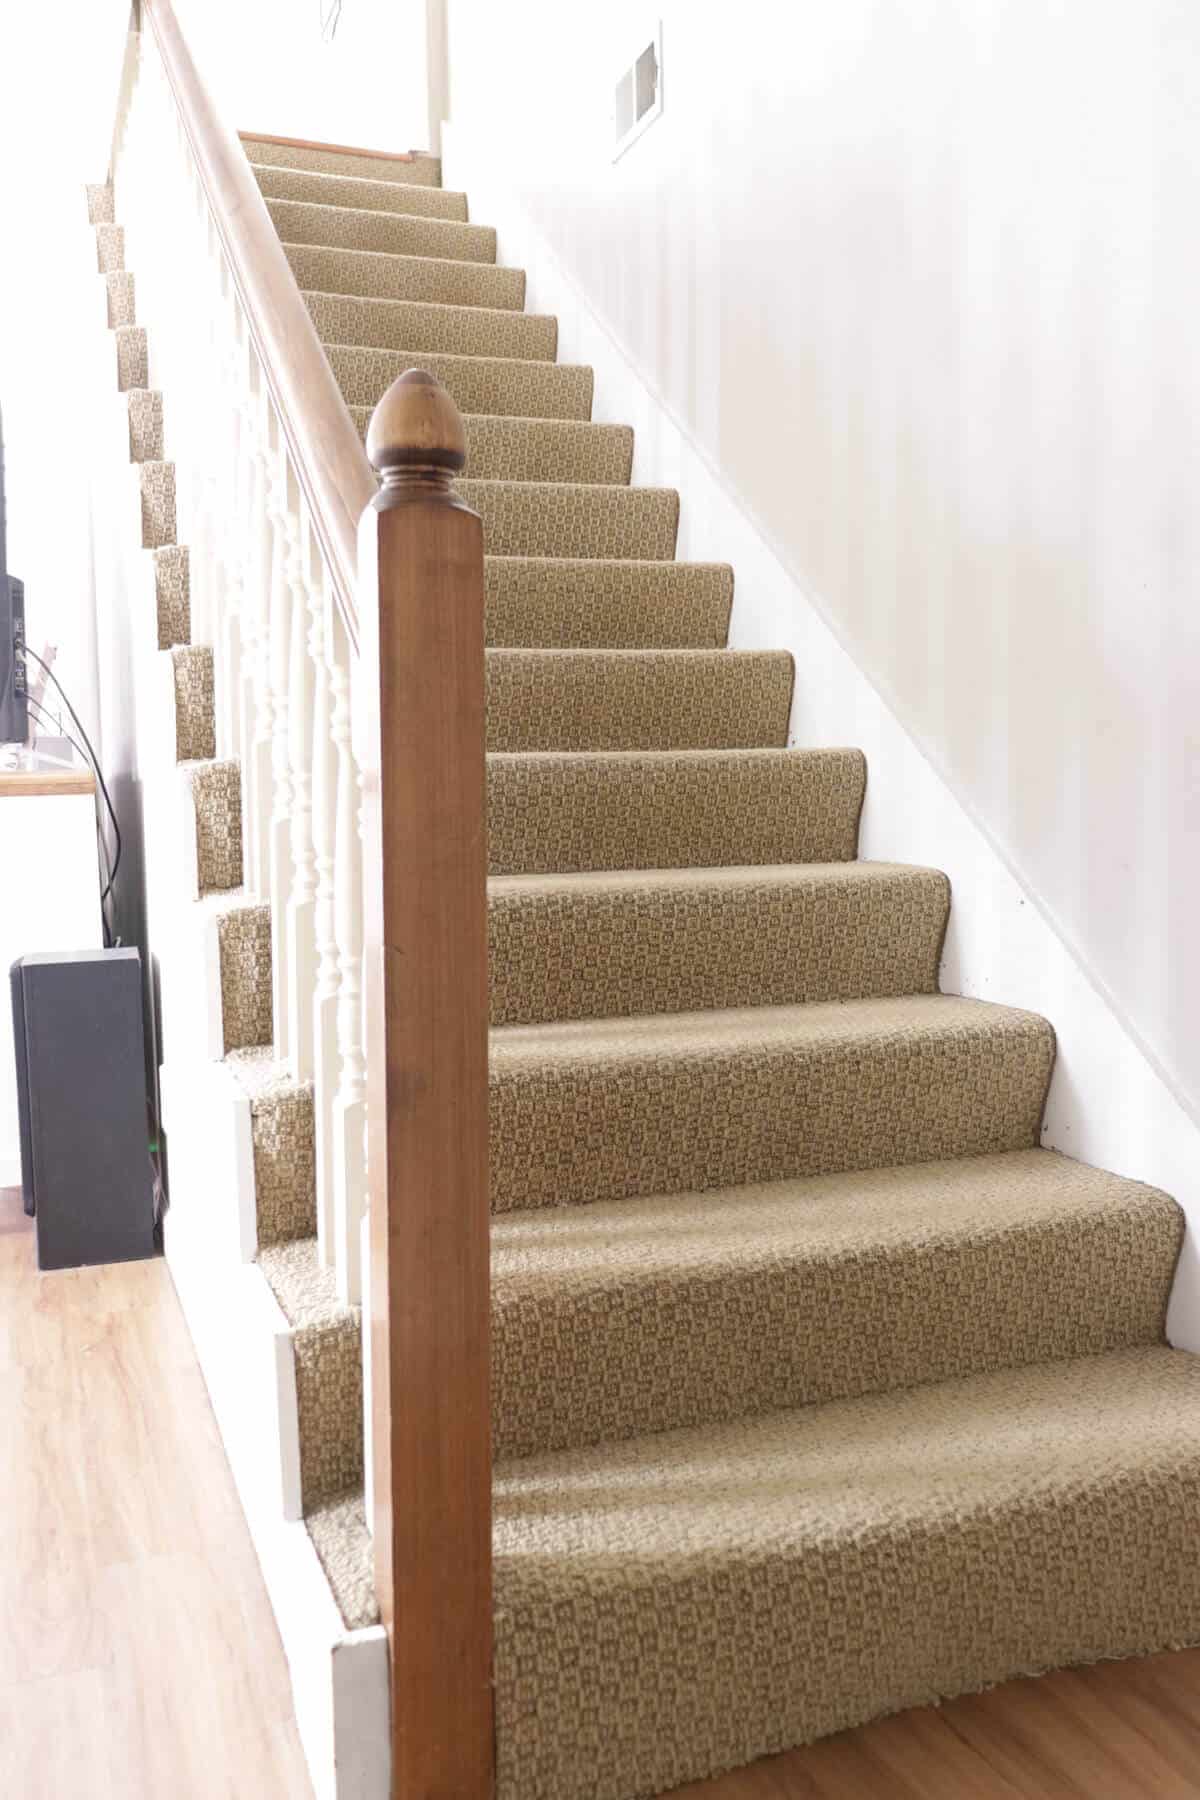
Ugly, smelly carpet and a dated banister.
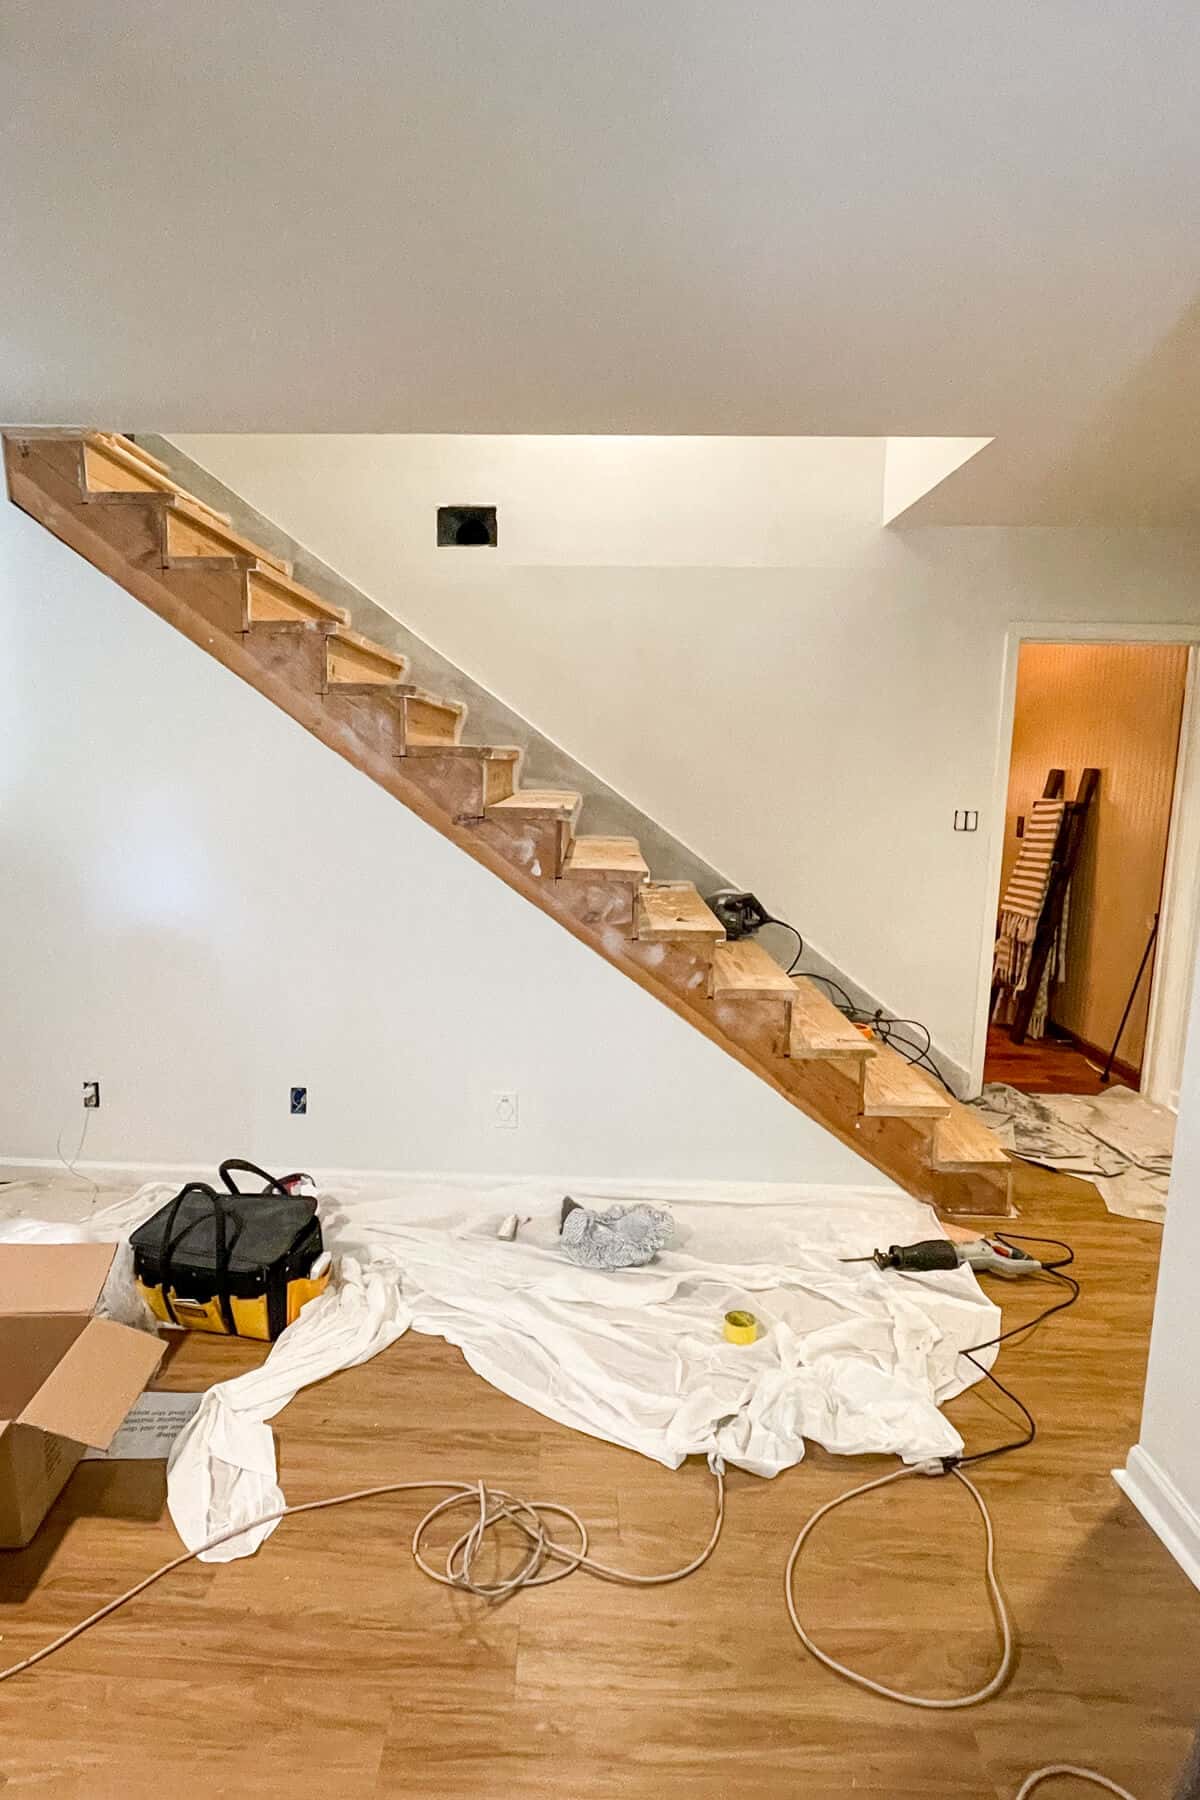
When we ripped up the carpet, we immediately realized the basement steps were in need of repair or replacement.
There were large gaps between the stair tread and the stringer.
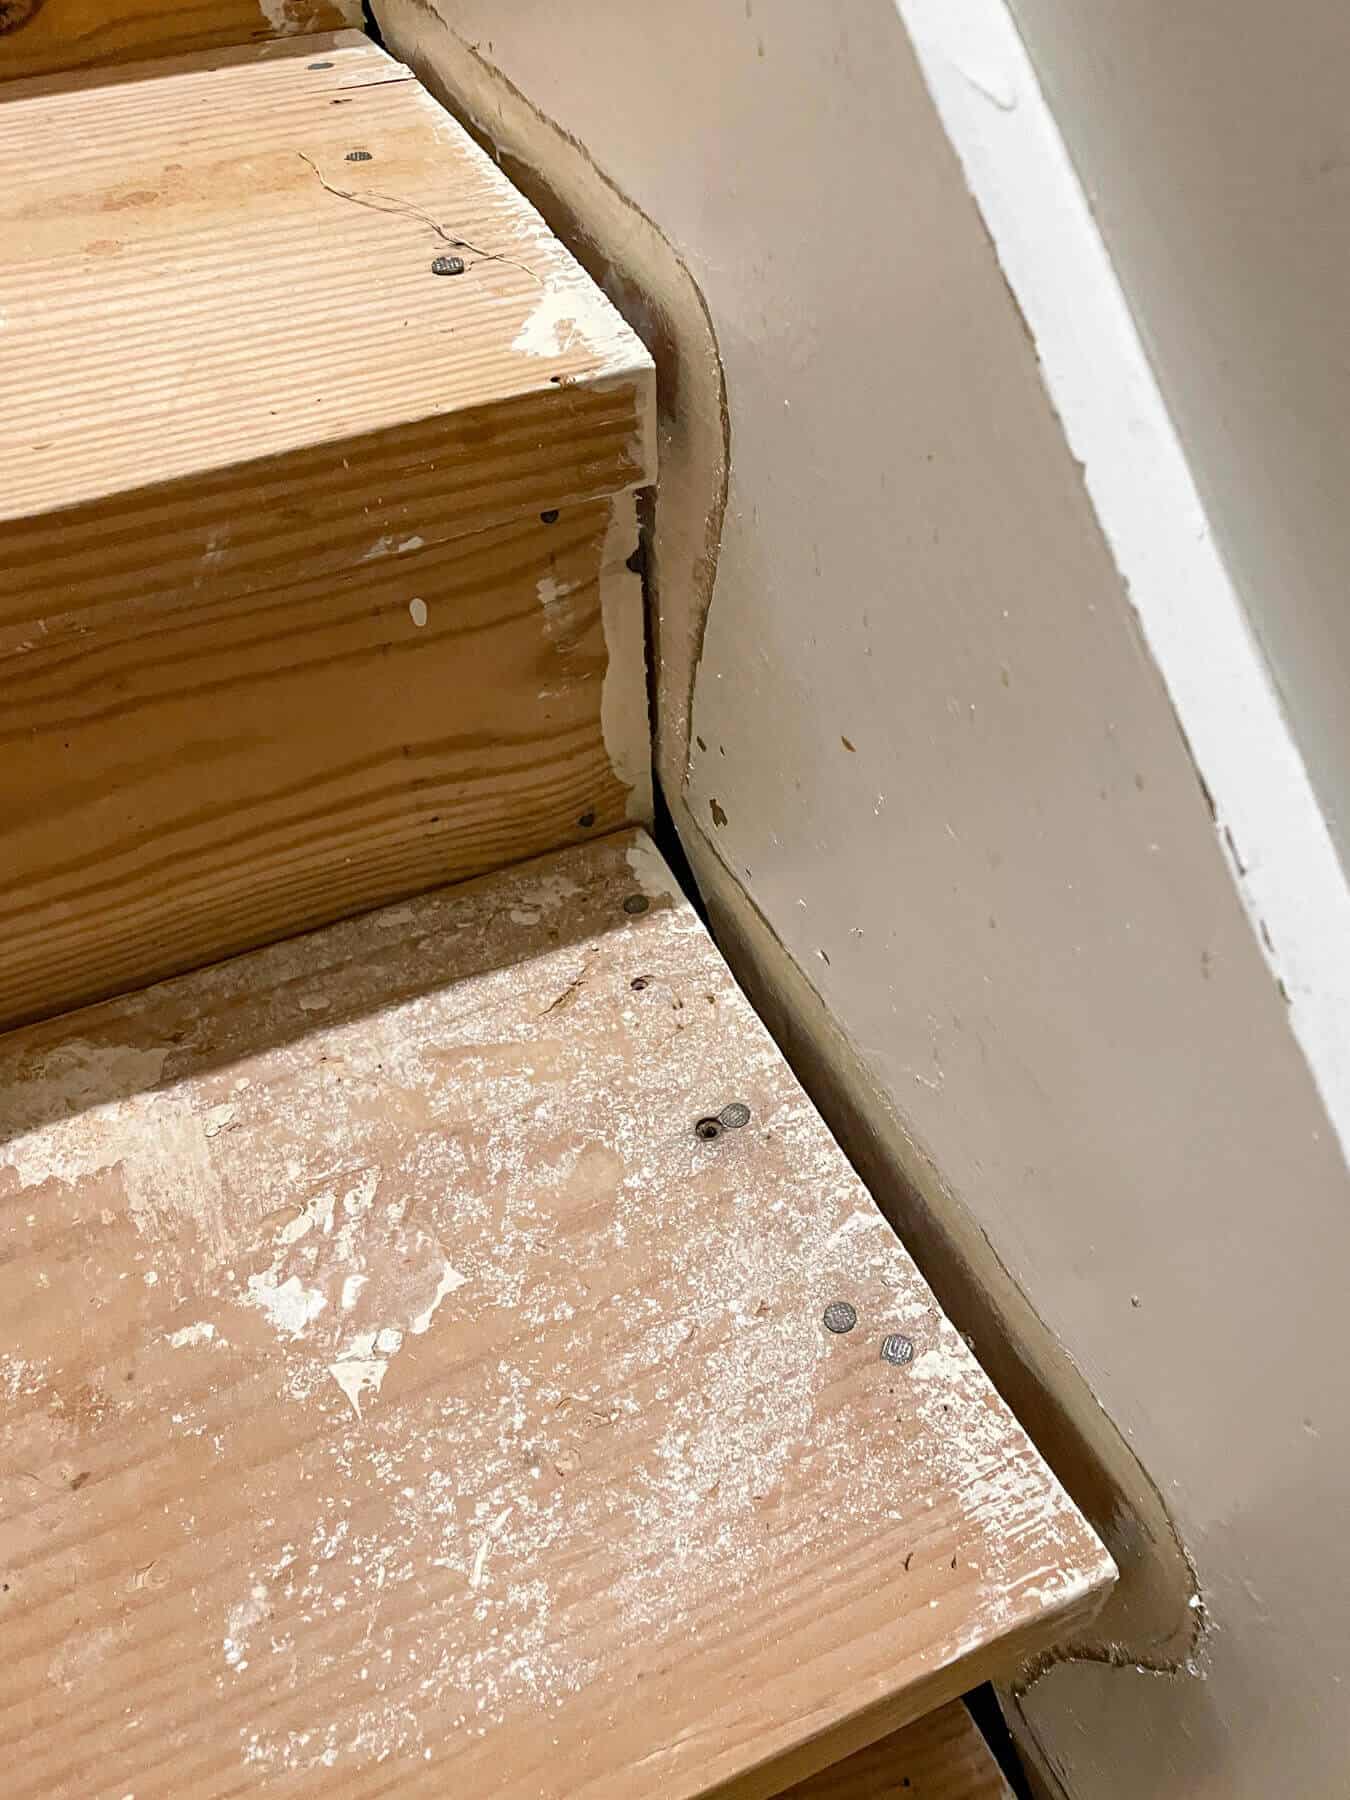
So our original plan of fixing the existing stairs wouldn’t work and we had to go back to the drawing board.
Sometimes the cheapest options are not right for the project.
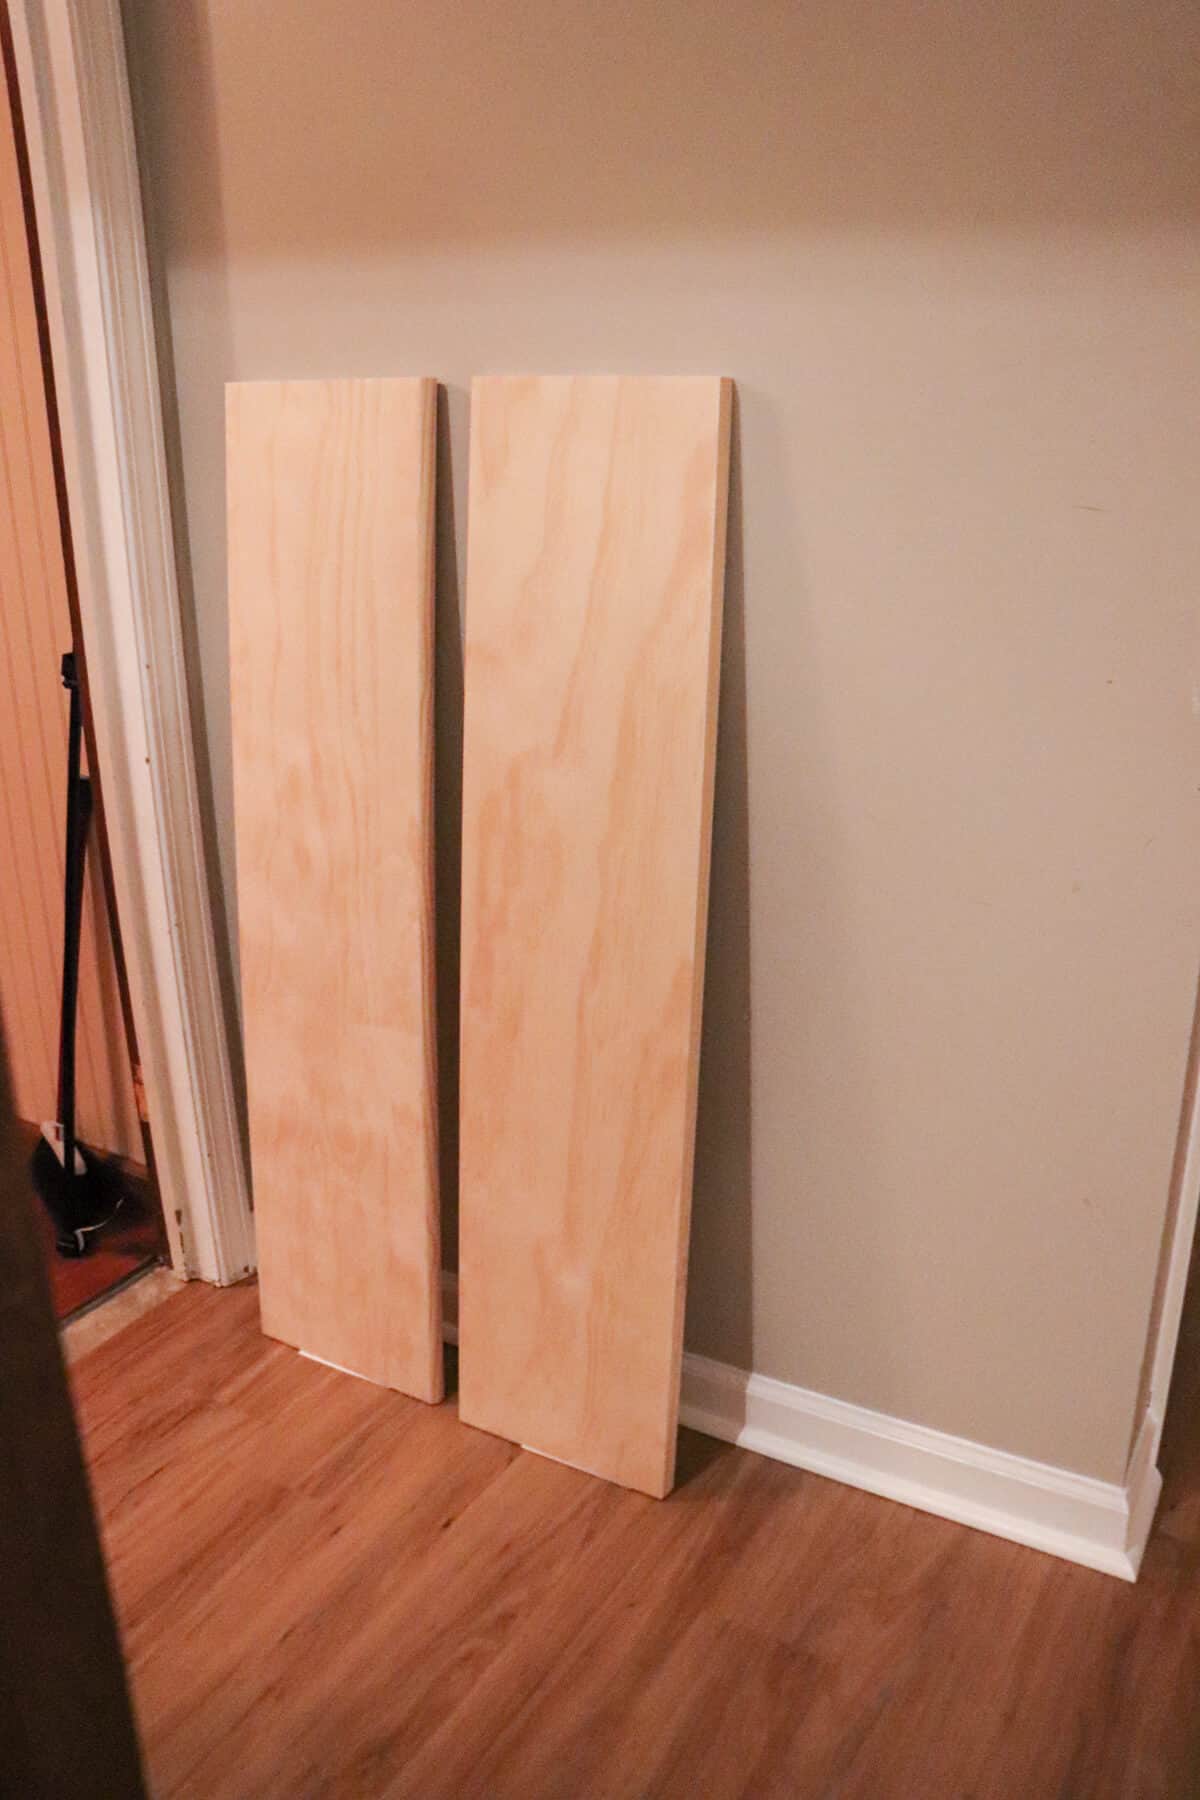
We found the the best option would be to replace the stair treads with affordable pine treads from Home Depot that could get a coat of paint and install a stair runner so it could still look nice.
But before we could start removing the treads, we had to take down the banister and balusters.
At first we tried hammering each baluster out, but quickly found that would take too much work.
So Trent thought of a great option to make the removal process easier.
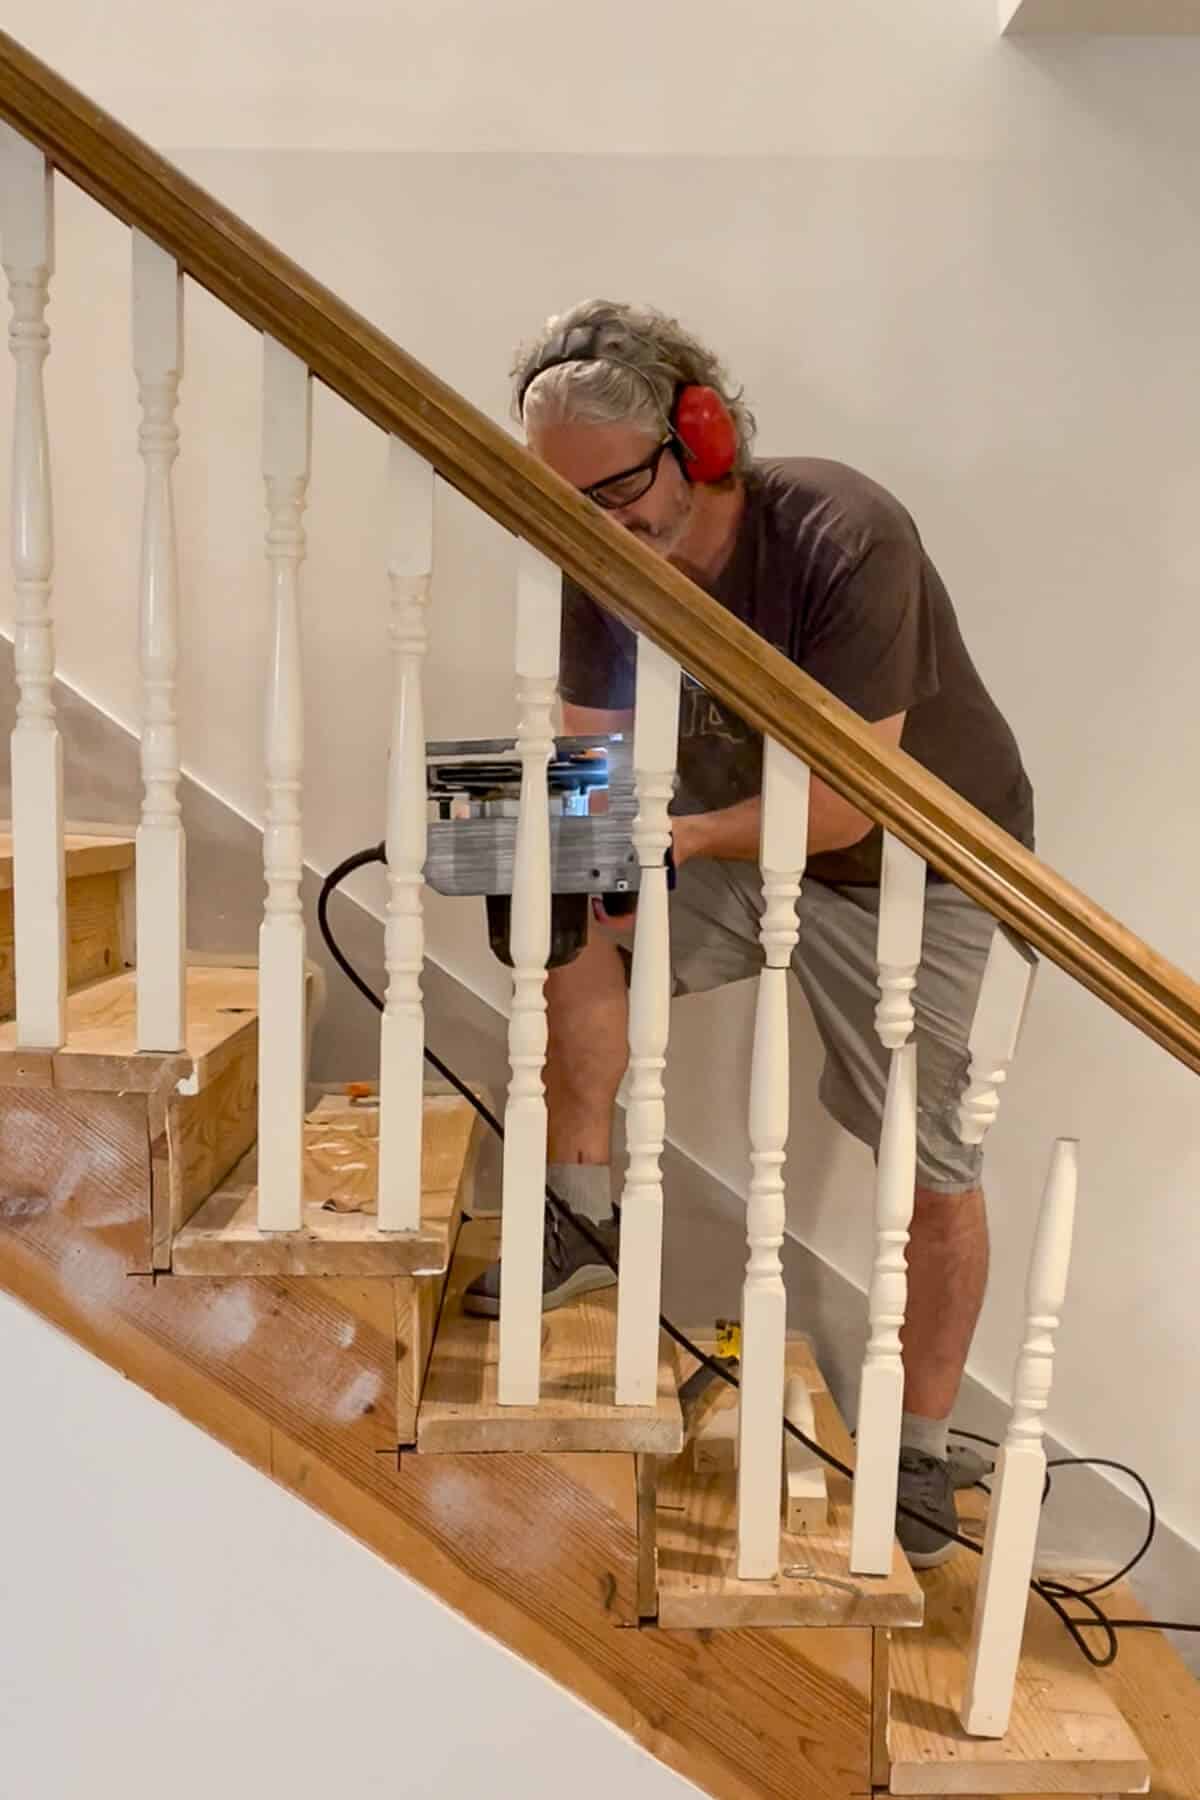
He took our circular saw and in less than a minute had all of those dated balusters cut and ready to remove.
It’s so important to have the right tools for the job. And that includes eye and ear protection!
Now we could finally start seeing this room take shape.
One of the main things about this basement renovation is how the staircase looks in the room.
And that means giving the banister a fresh coat of paint.
The easiest way to do that is to unscrew the banister at the top of the stairs as well as remove the newel post at the bottom of the stairs.
That way, we can take the banister to our garage for a short time to give it a coat of paint.
Plus, that means it is out of our way when it’s time to remove the stair treads.
Isn’t that lovely?
I thought about redesigning my original to an open floor plan, but quickly thought it wouldn’t be a good idea for safety reasons.

So while I was hoping to get those treads replaced by this week, we didn’t quite make it, but it’s progress nonetheless.
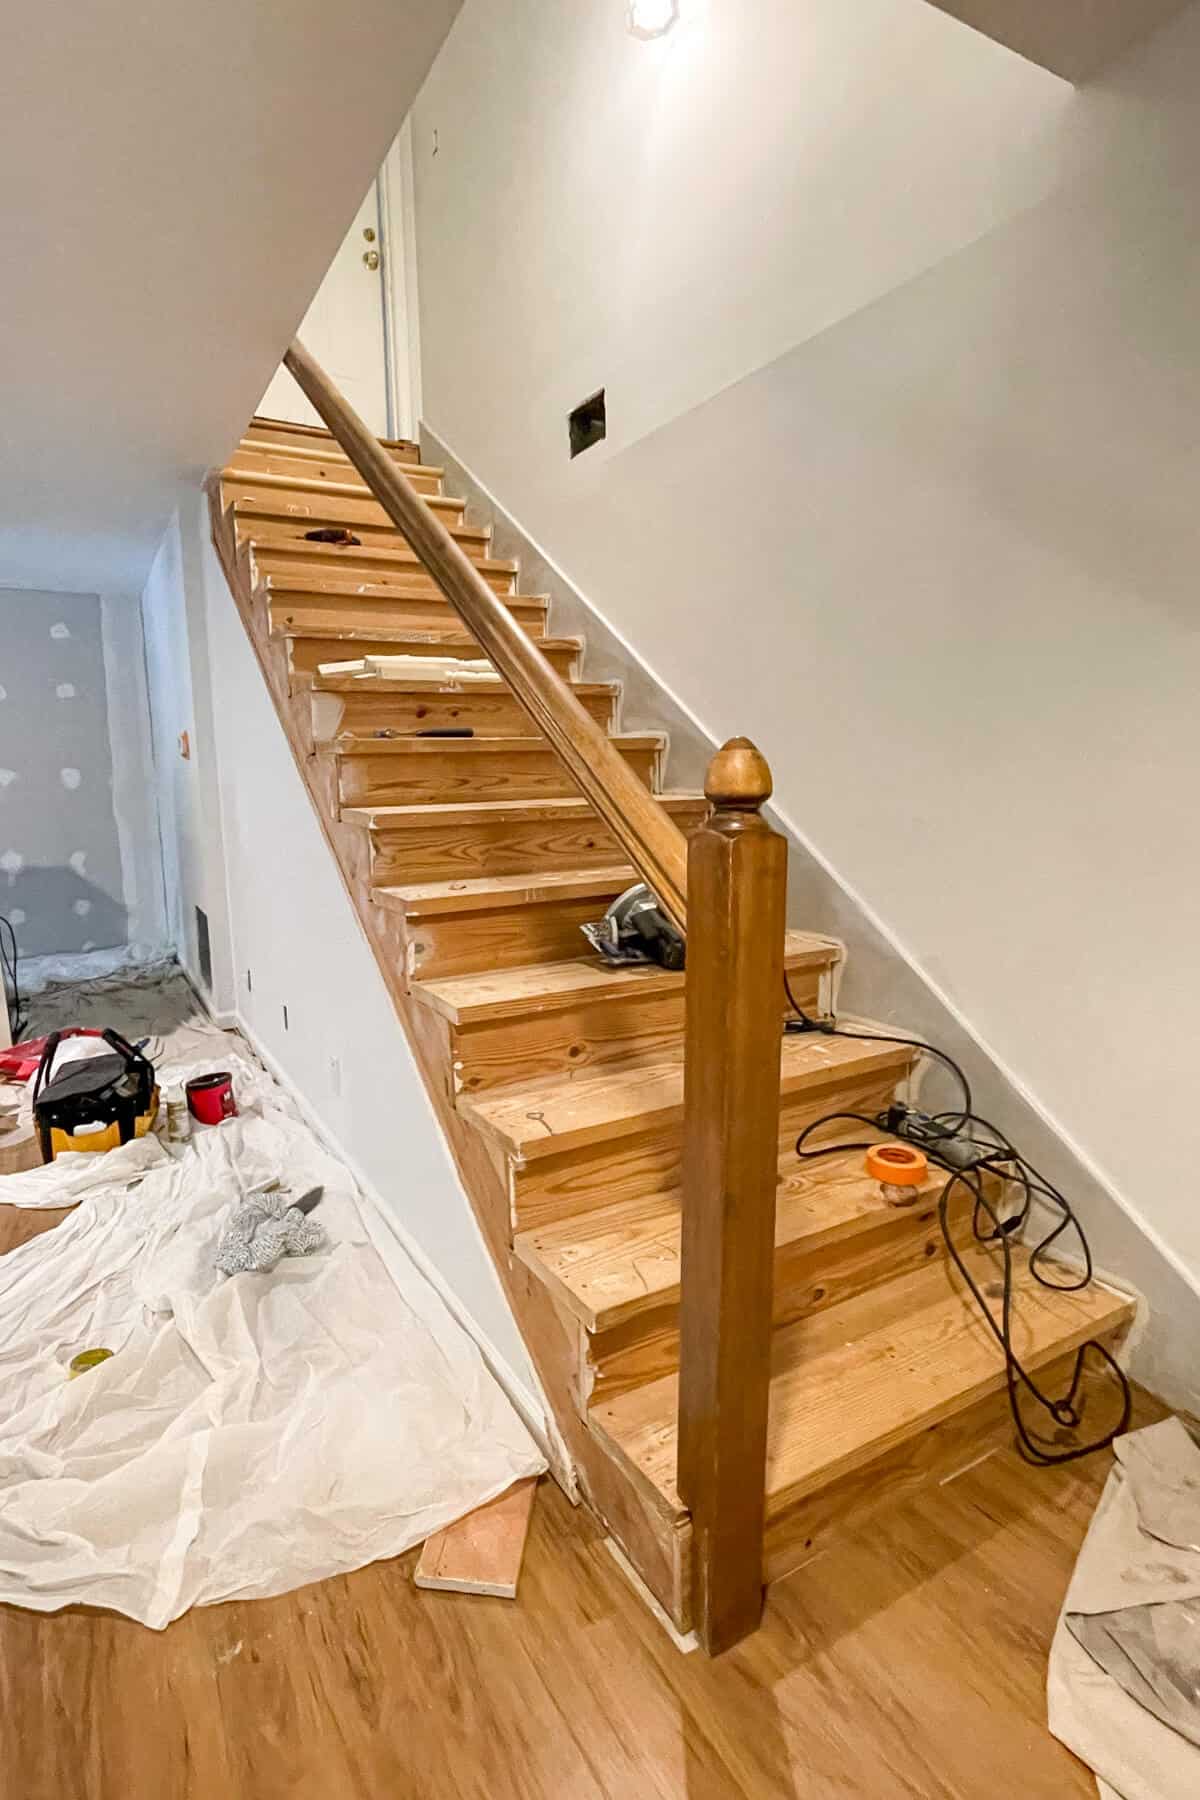
Now that the banister and balusters are removed, we have a good starting point as well as enough room to update this basement staircase!
The first things we have to tackle is math – blech!
We have learned that our riser height is not consistent. So that will need to be addressed and is a difficult task for this mathematically challenged blogger.
The old stairs definitely have some issues.
And the best way to fix those is to take our time and do it right.
One thing we are sure of is that we’re going to have a hard time removing those treads. The original builder used really long nails so hopefully we can find an easy way to remove them.
So the next steps will be installing the new treads and priming and painting them. Then we can get to the new balusters.
It will look like a new staircase when all is said and done!
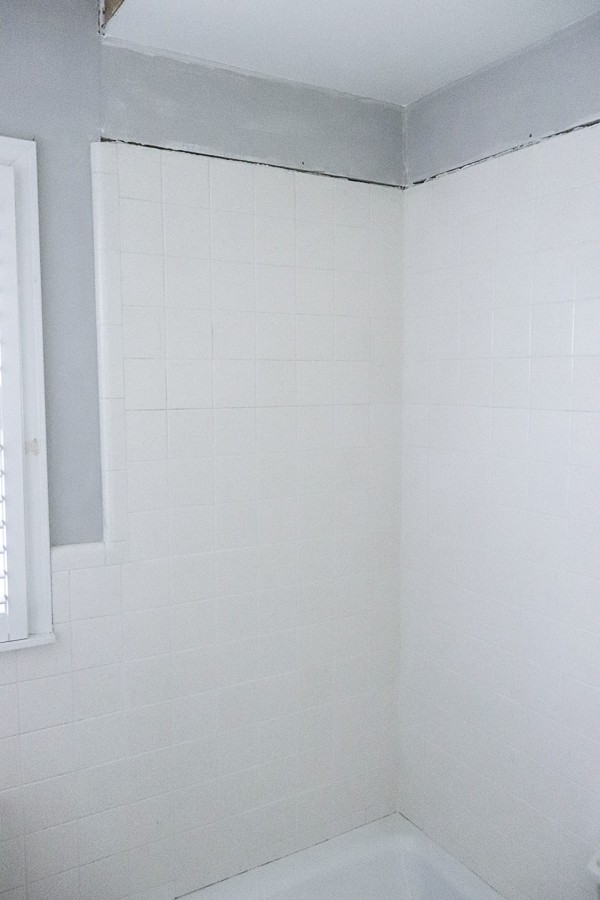
Accent Wall Update
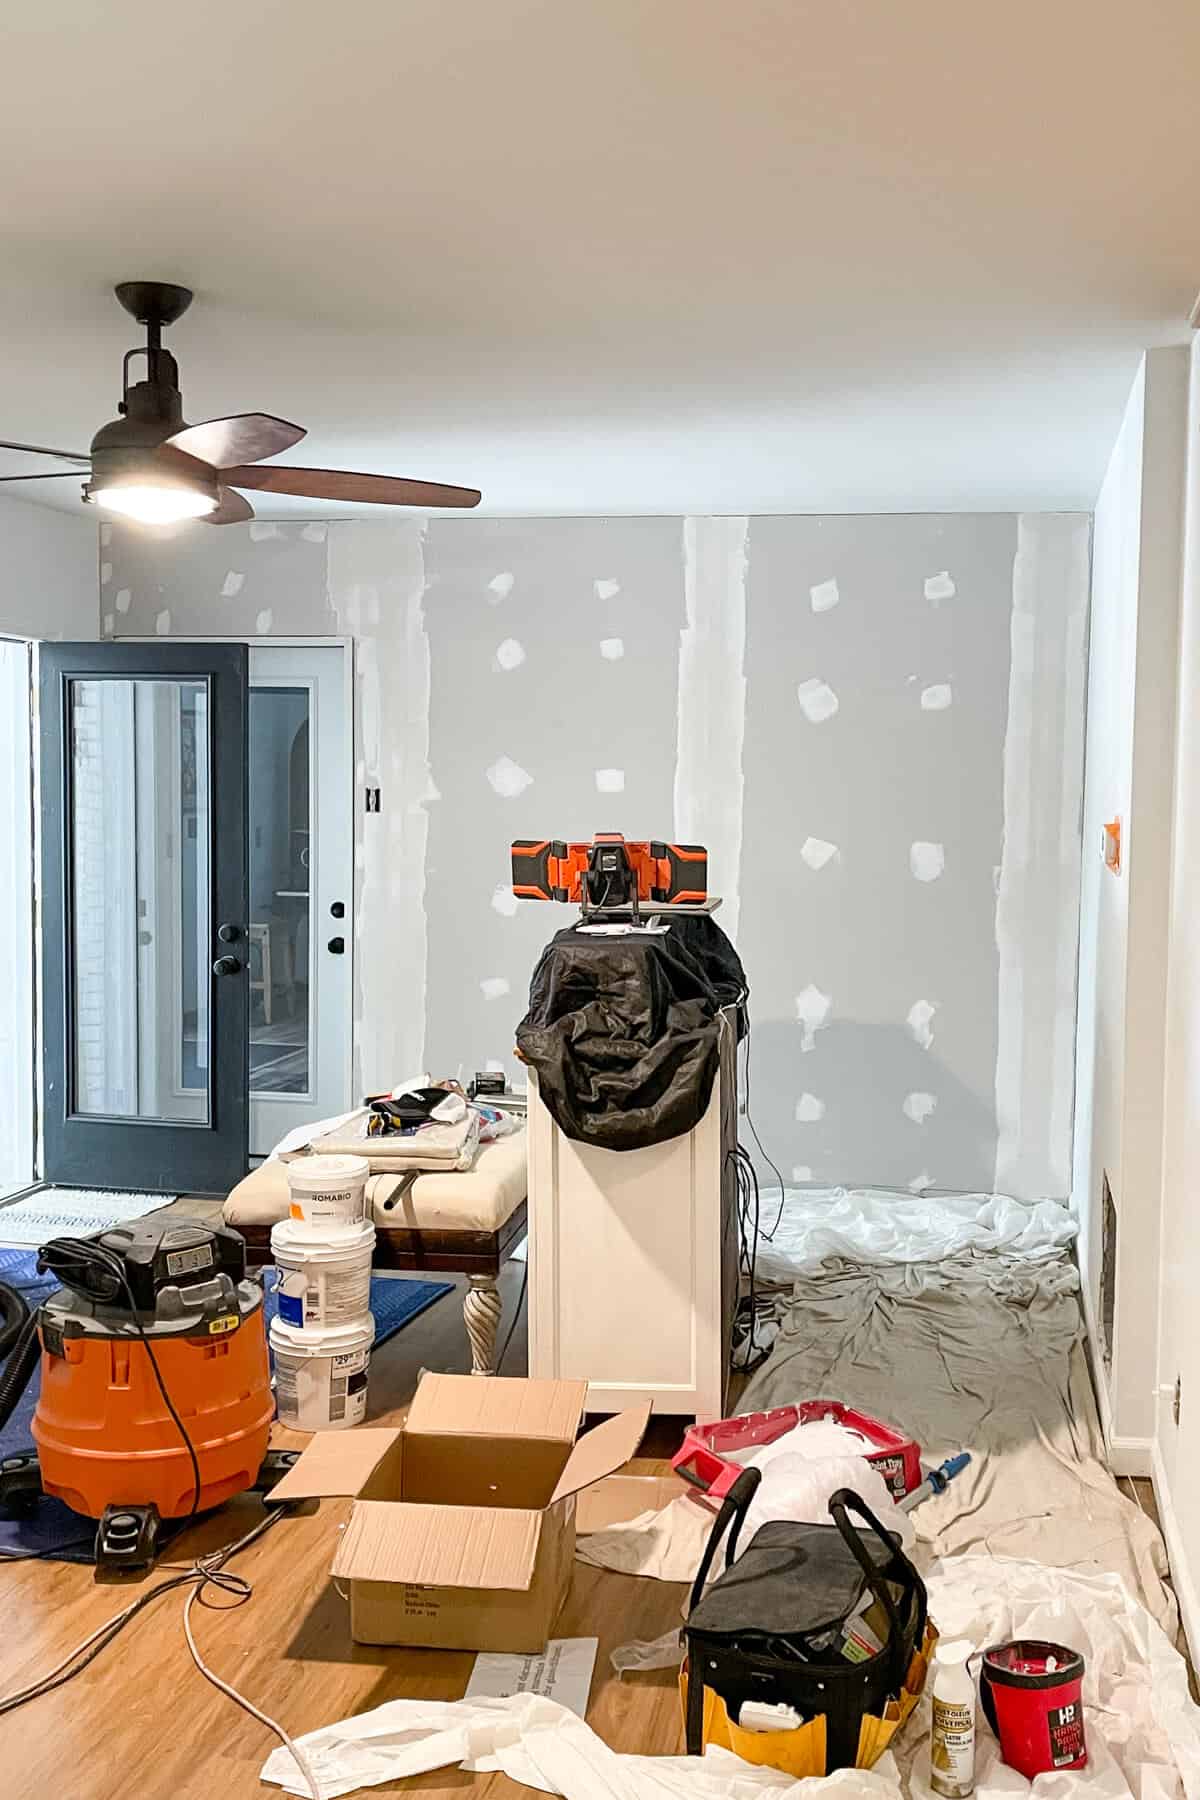
We finally installed our 1/4 inch drywall over the old damaged drywall that the previous owner had installed creating a new wall we can work with.
And Trent was able to get the first coat of drywall mud over the seams.
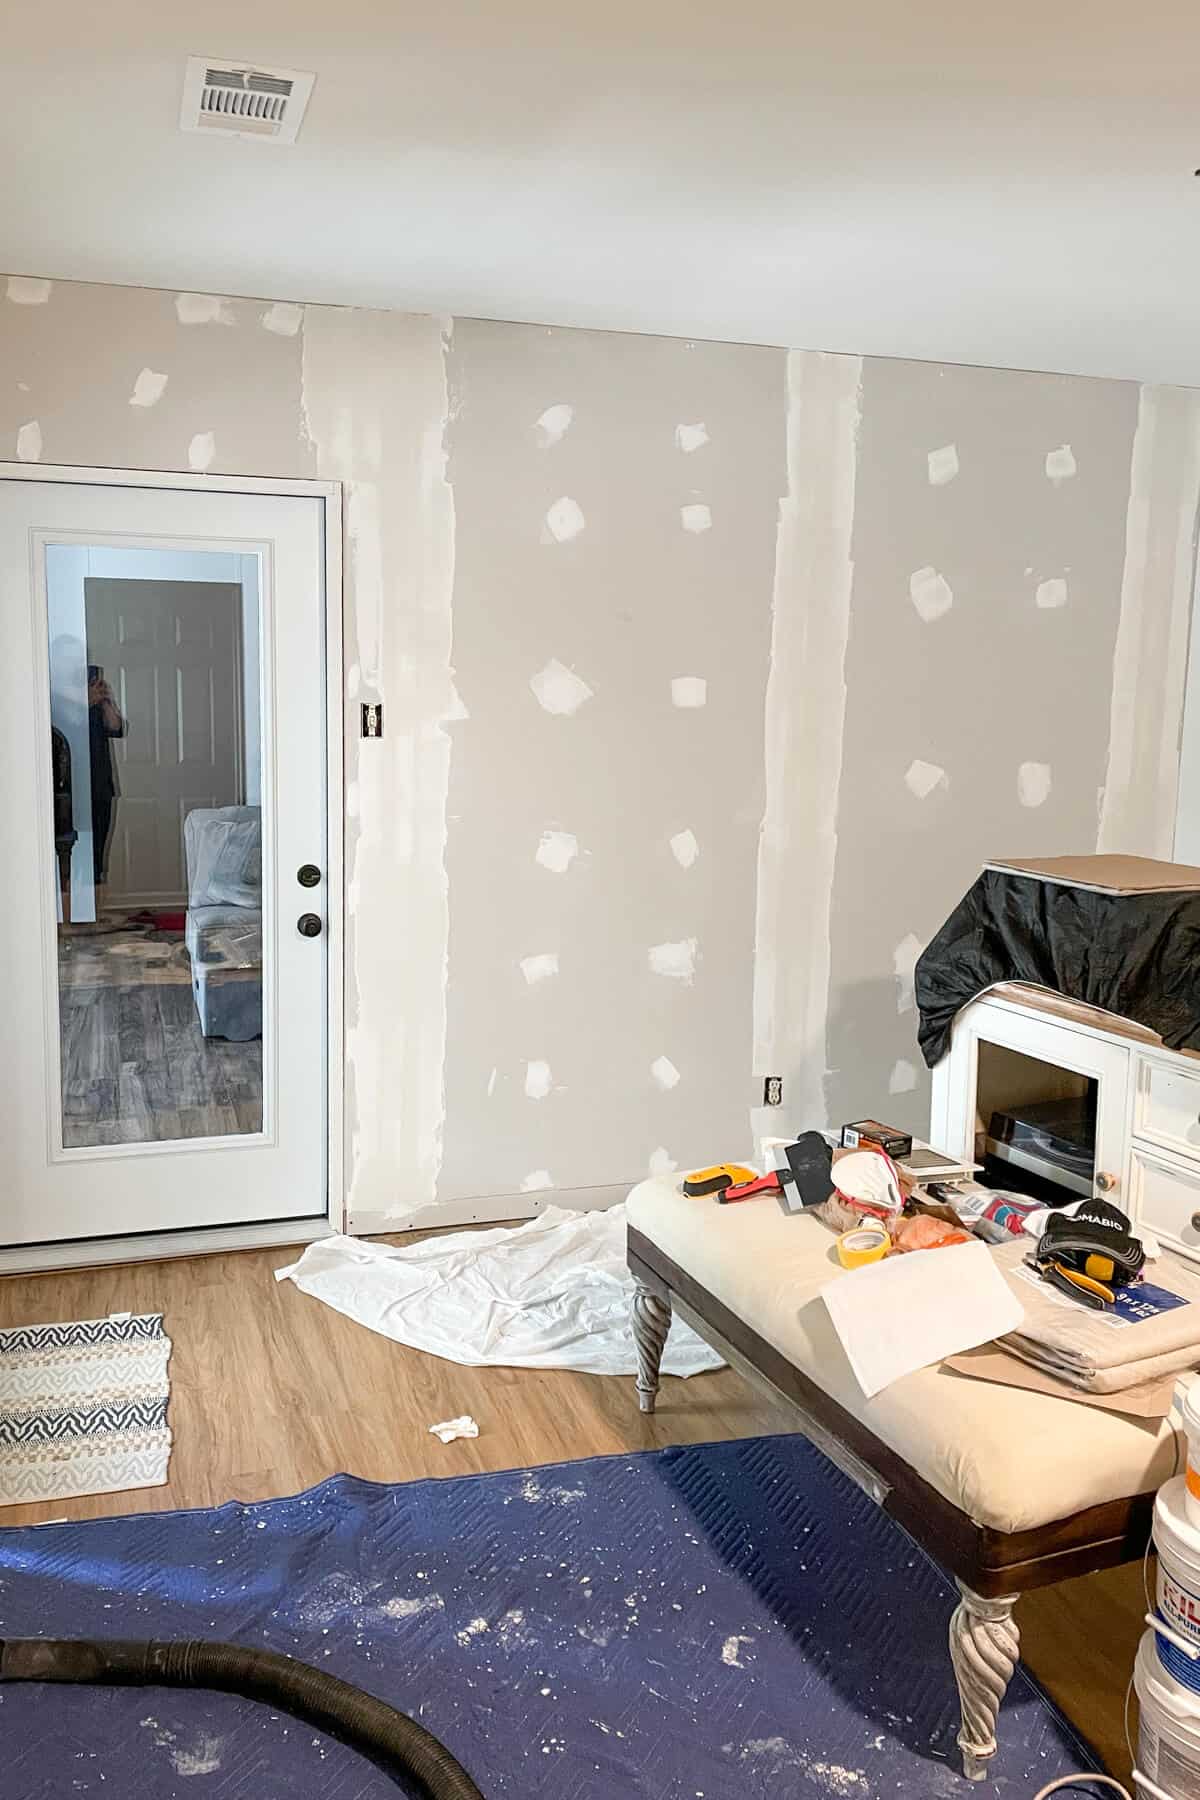
But immediately, I can see the improvement to this living space.
I can’t wait to get to the fun part of creating a custom lime finish for this wall. Stay tuned because I will definitely be sharing all the details in a blog post.
Update on our Sectional Fiasco
If you have been following along, then you know that we had a huge issue when they delivered our sectional we ordered back in February.
It came with 2 right arms. YIKES!
The latest news is that the replacement piece is in production. They are doing their best to get it to us by mid November. So hopefully that means it will get here in time for the reveal.
But if not, it will be okay. We have 3 of the 4 pieces and I have to share a follow up if it’s delayed.
Plans for Next Week
Stairs and Wall will be on our minds for these next few weeks. But I can finally see it coming together for the first time.
Here are my goals for Week 5:
- Start painting the accent wall
- Finish installing the stair treads with new stairs
- Paint the treads and hopefully install the carpet runner
Be sure not to miss this season’s Featured Designers and the Guest Participants links at the One Room Challenge weblink up! As always, special thanks to the One Room Challenge media Sponsor, Better Homes and Garden and to Linda – owner and creator of the One Room Challenge.

Home Pop || HANDy Products || Urban Ambiance || Affordable Blinds || Romabio Paints