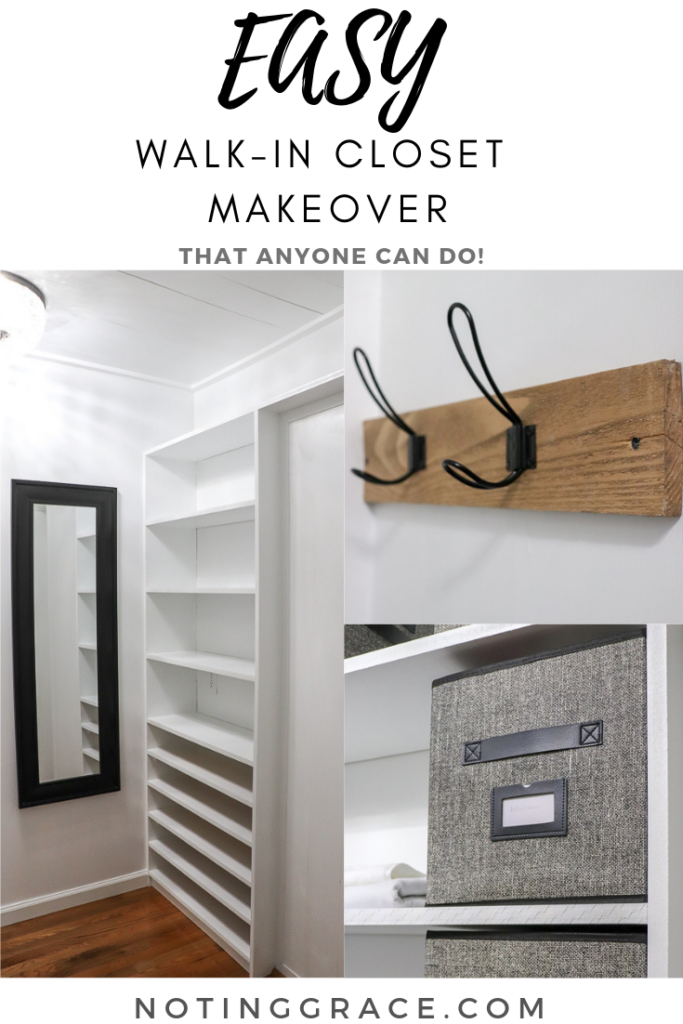
Rebuilding Our Master Closet
When we renovated our master bathroom, we were left without a closet. Here is how rebuilding our master closet gave us so much more storage.
This was the makeover should have been done months ago!
But, ya know…. life happens.
And then the holidays came. So while this walk-in closet was an easy project, it just took soooooo long!
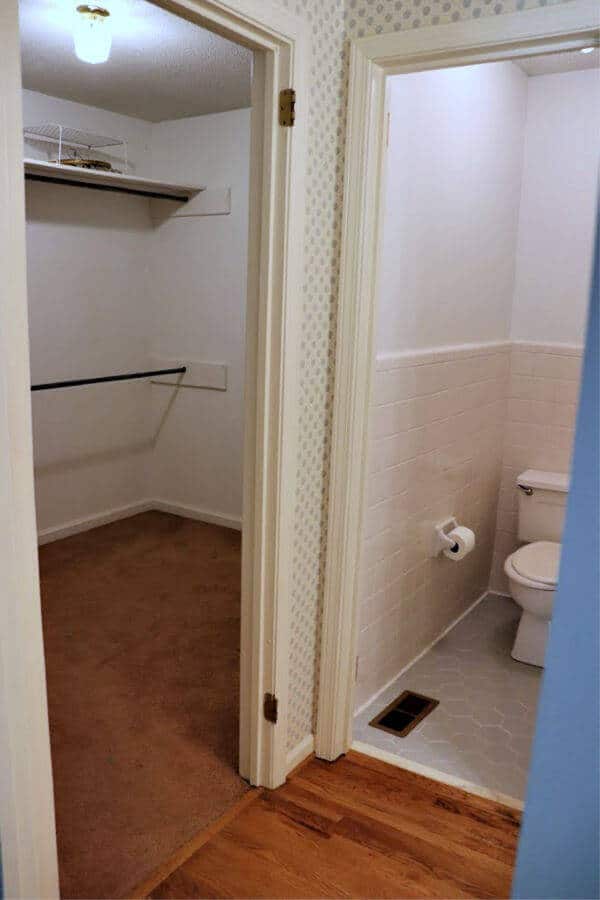
When we made over our Master Bathroom, we wanted to move our toilet for privacy. With our closet being so large, we were able to use some of that square footage to create a privacy nook.
That meant closing off the existing closet doorway that originally was in the bathroom, and building a new wall.
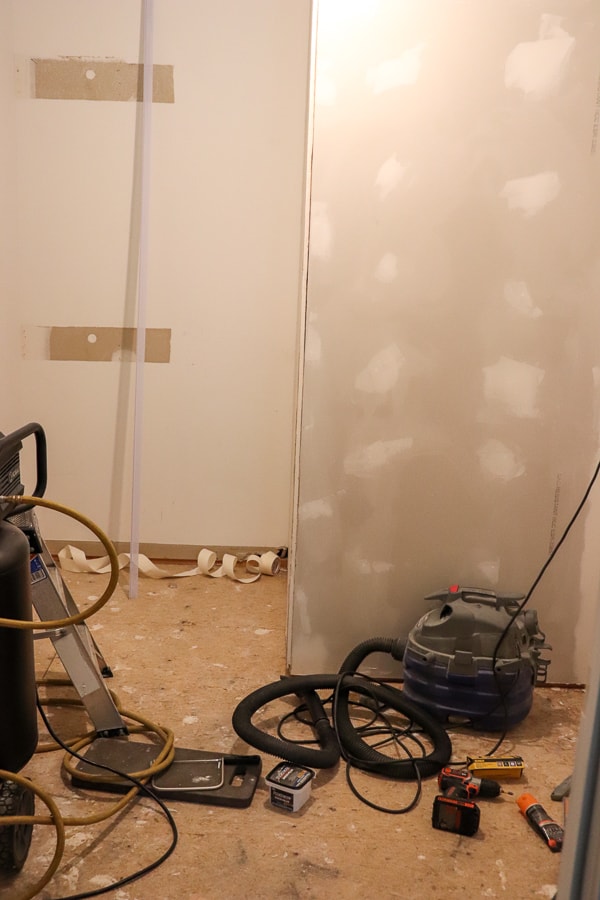
But closing off the only entrance into the closet meant moving the doorway.
Once the first concern was tackled, we knew we had another issue.
The flooring! This was the only carpeted closet in our home!
While the original carpeted floor in dusty rose may appeal to some, it was a great big uh-uh for us.
And here’s something to consider when you plan design makeovers. You have to look at the rest of the house for design cohesiveness.
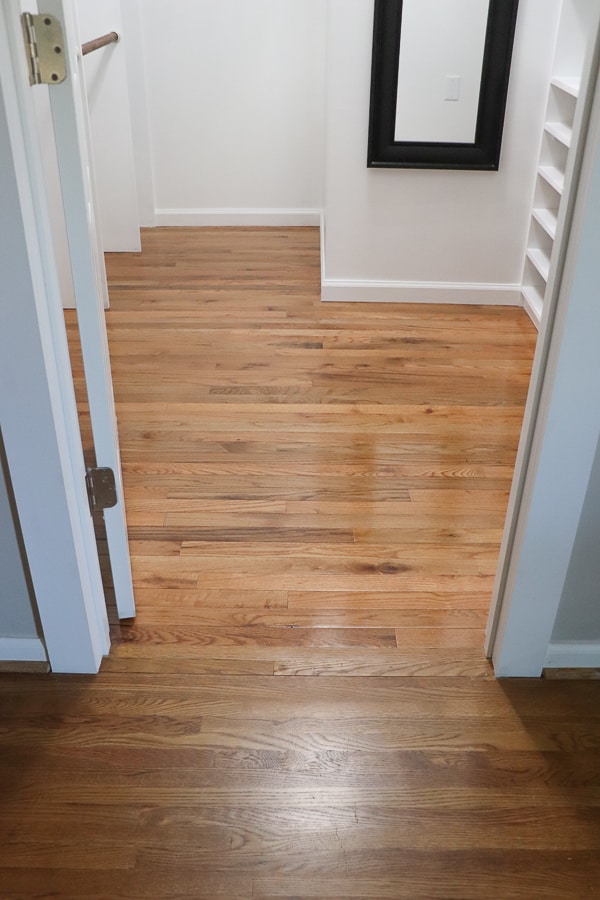
Since all the other closets had hardwoods, it made the most sense aesthetically to put them here.
But here was the problem.
They no longer make the skinny flooring that was installed 30 years ago.

So we went searching for the next best thing – an almost perfect match.
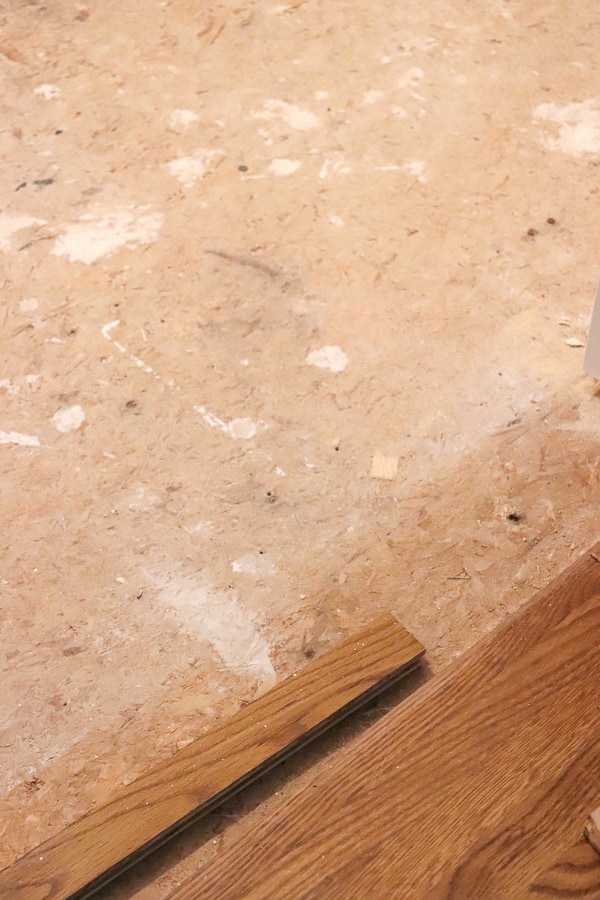
We found a good pairing with Bruce Hardwood floors. The width of the boards weren’t the same, but the color matched almost perfectly as well.
Not only that, but the threshold was seamless between the flooring transistion!
Not too shabby! And they were easy to install.
We rented a flooring nail gun and hammer for the day and got them in!
TIP: When you install hardwood flooring yourself, make sure the seams line up tightly. Also, make sure to leave a 1/4 – 1/2 inch gap around the edges to allow for expansion. Don’t worry – the baseboards and moulding will hide the gap.
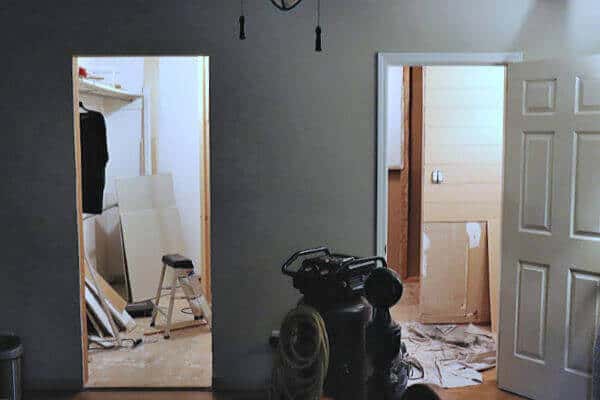
After we worked on the floor, we moved on to the ceiling.
We had to hide that popcorn!
Since we had so much overage from our shiplapped walls we installed in the bathroom, we used those leftover boards to hide the ceiling!
I love being able to save money like that!
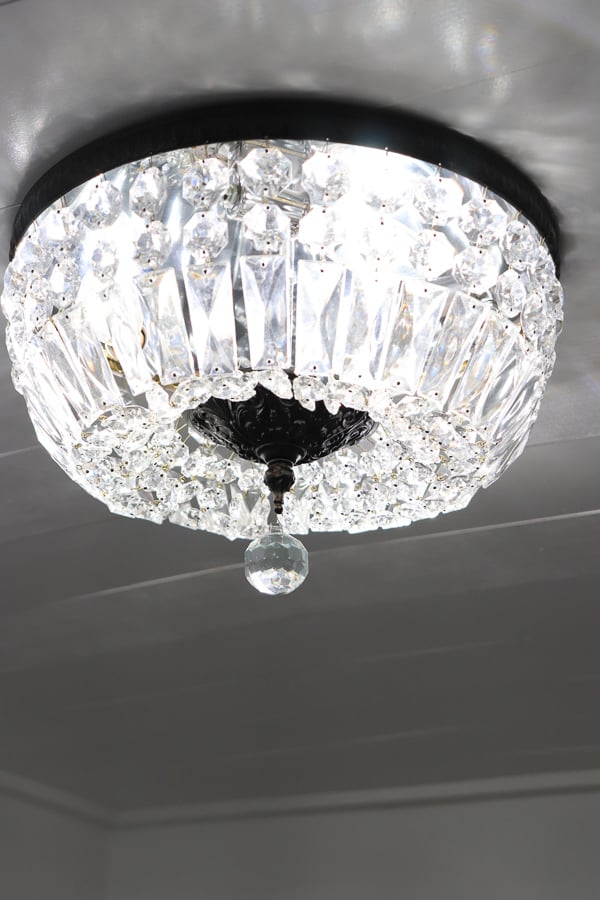
We also repurposed an old ceiling fixture from our entryway. I spray painted the old brass with an Oil Rubbed Bronze and gave the crystals a good cleaning.
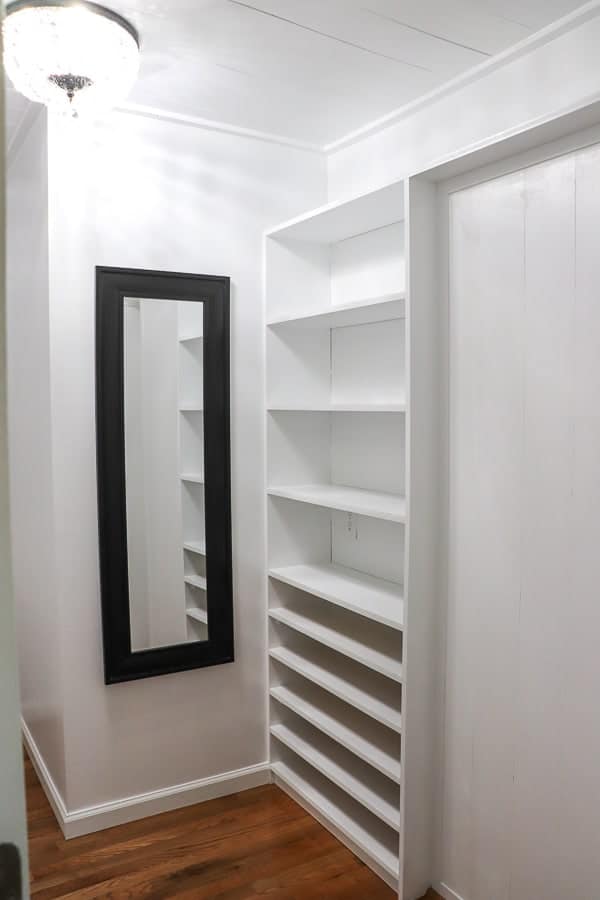
We were finally ready to build the closet! We purchased 3 sheets of MDF and had them cut 11 inches wide.
Not only does it make loading into the van easier, but it also makes the install that much quicker. It’s definitely worth the price of the extra cuts (which is only a few bucks anyway!)
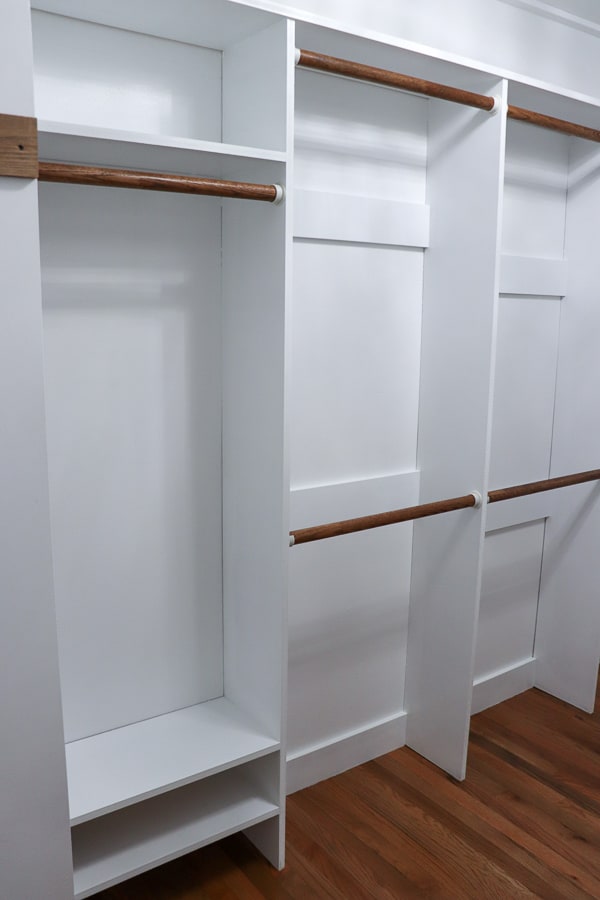
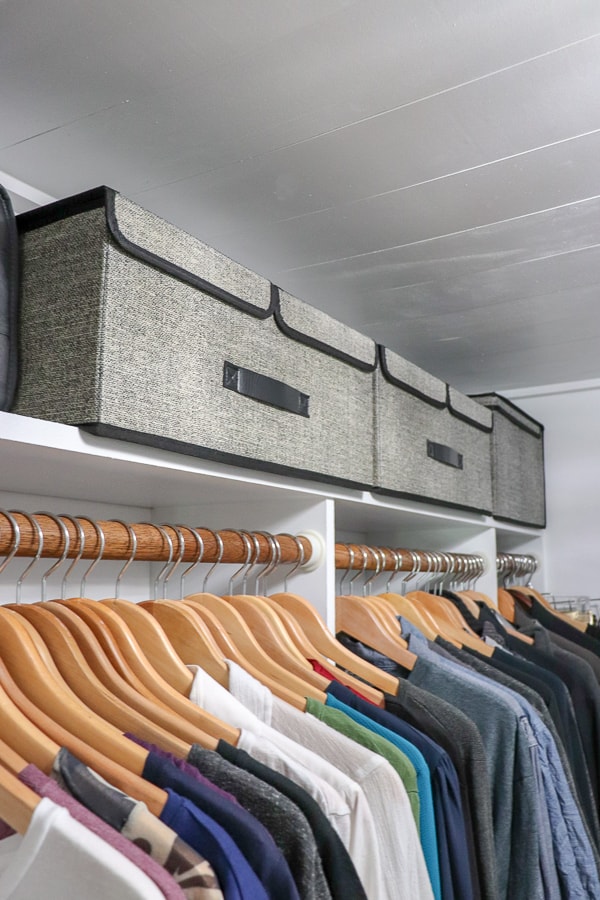
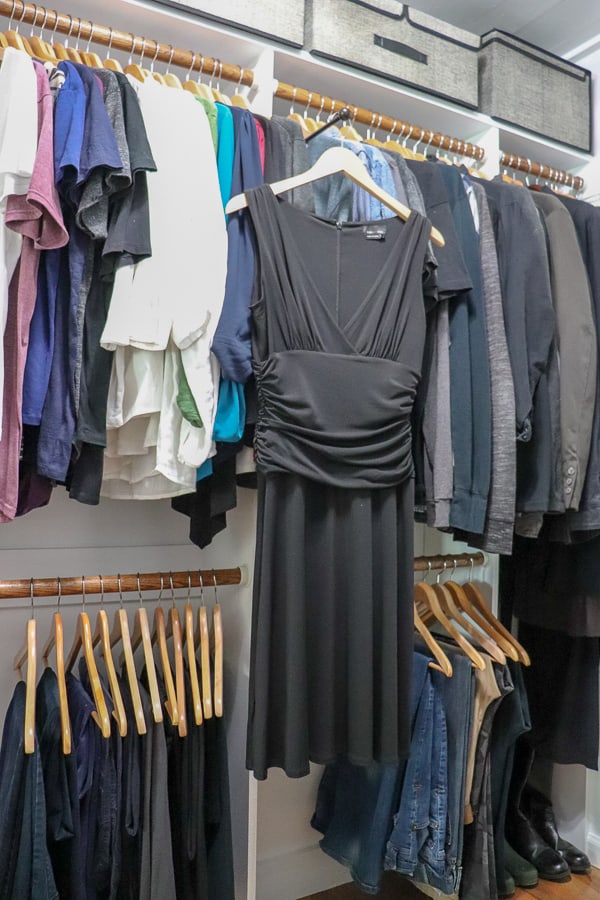
We raised the height of the top bar and added 2 sections to allow for longer clothing, like coats and dresses.
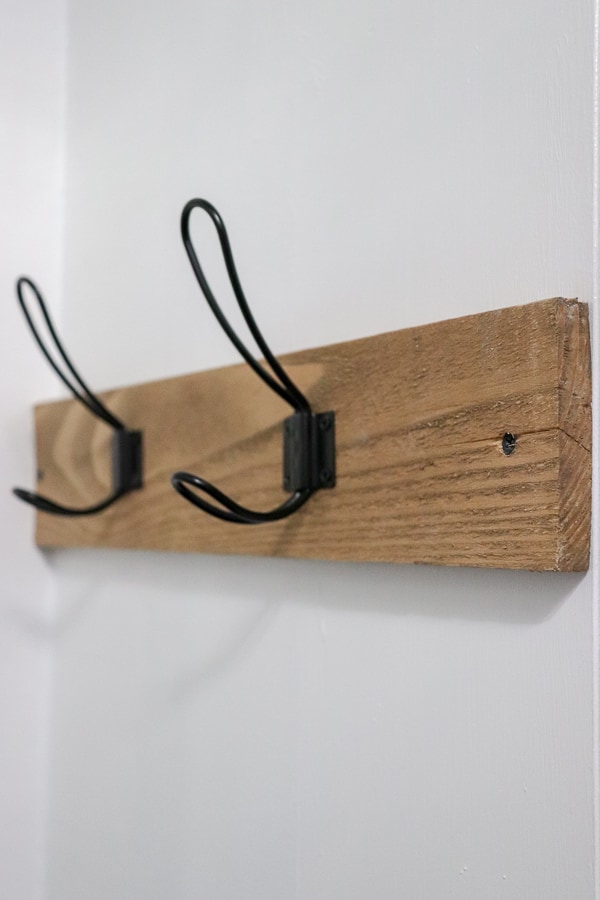
I added some hooks behind the door. Perfect for hanging a robe, or an extra towel.
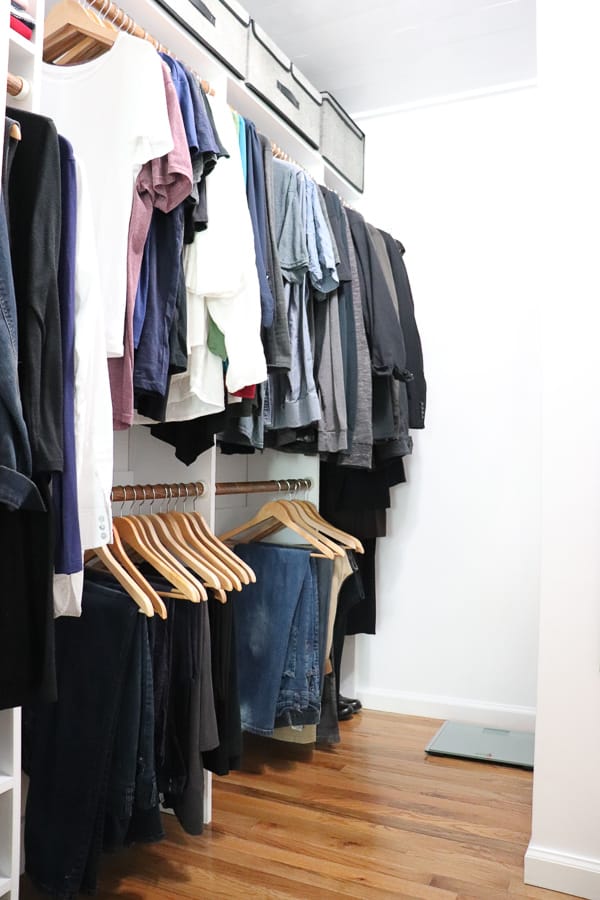
I can’t tell you how happy we were to finally be moving our clothing into this closet.
We had moved into this home a month before we were knocking out walls, so the first season of living here meant we were heading downstairs to dress.
One concern we had was that we were losing square footage by adding that wall. That could easily have taken away from the storage options. But lemme tell ya – I was pleasantly surprised.
Not only do we have enough room, but we have more than enough!
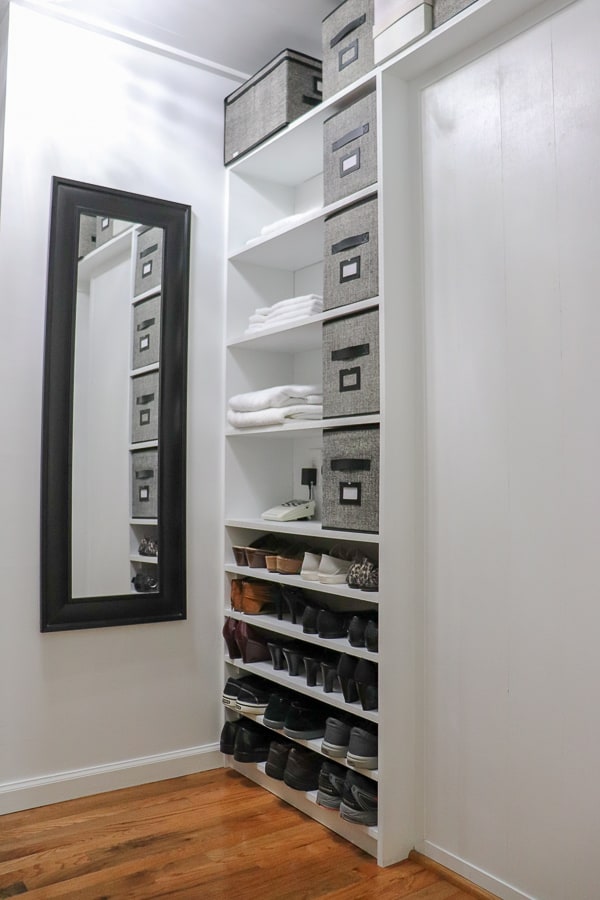
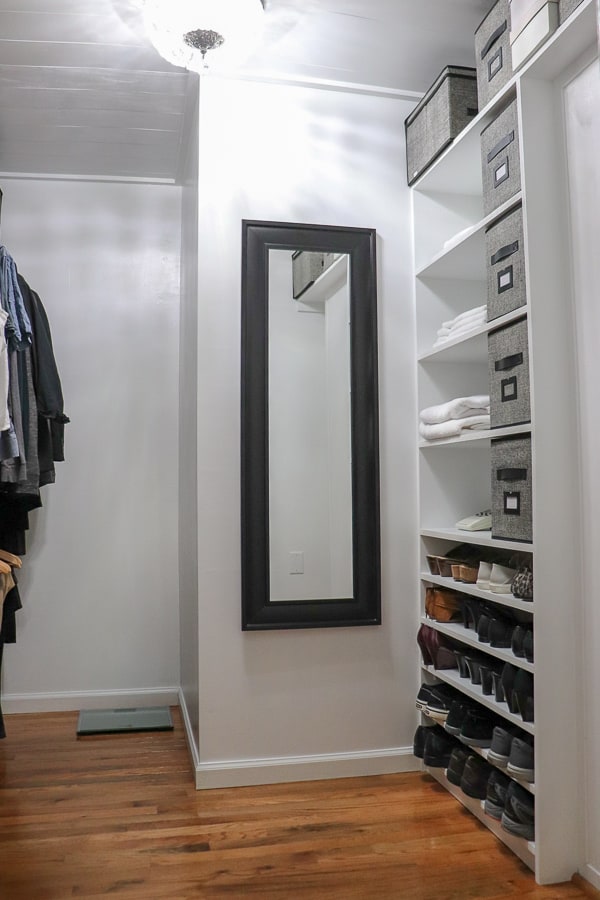
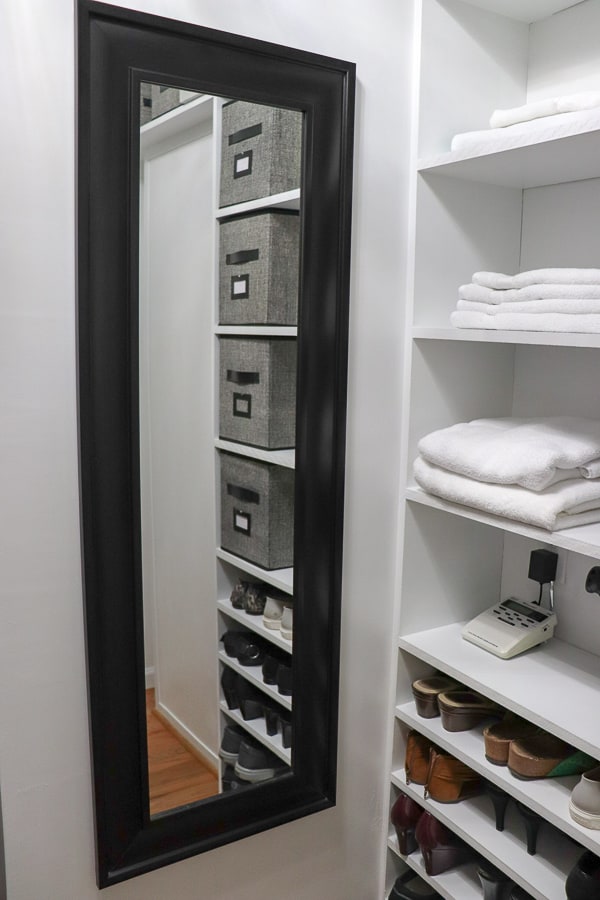
All of our shoes fit into the cubbies Trent built. There are these on the lower half of our storage unit.
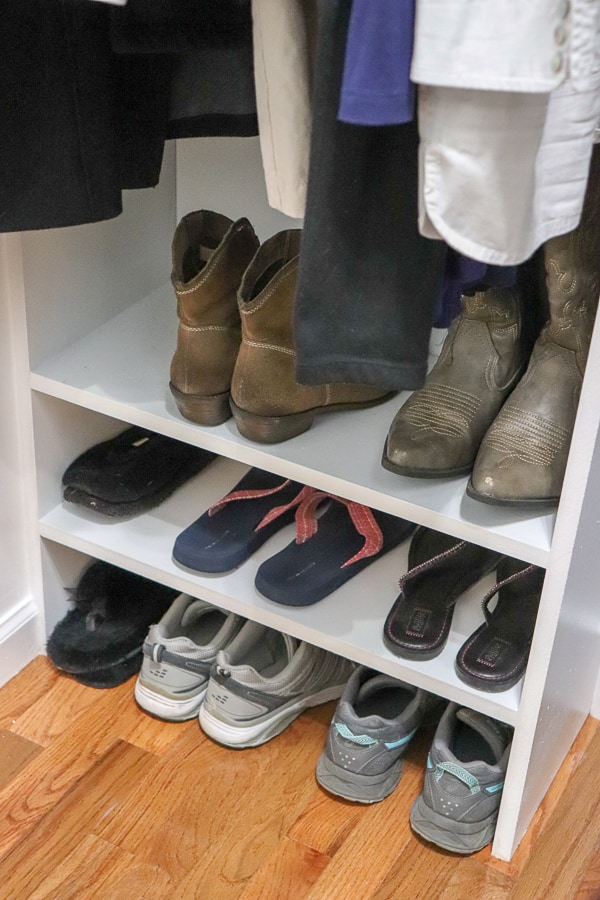
And there are additional ones on the opposite side.
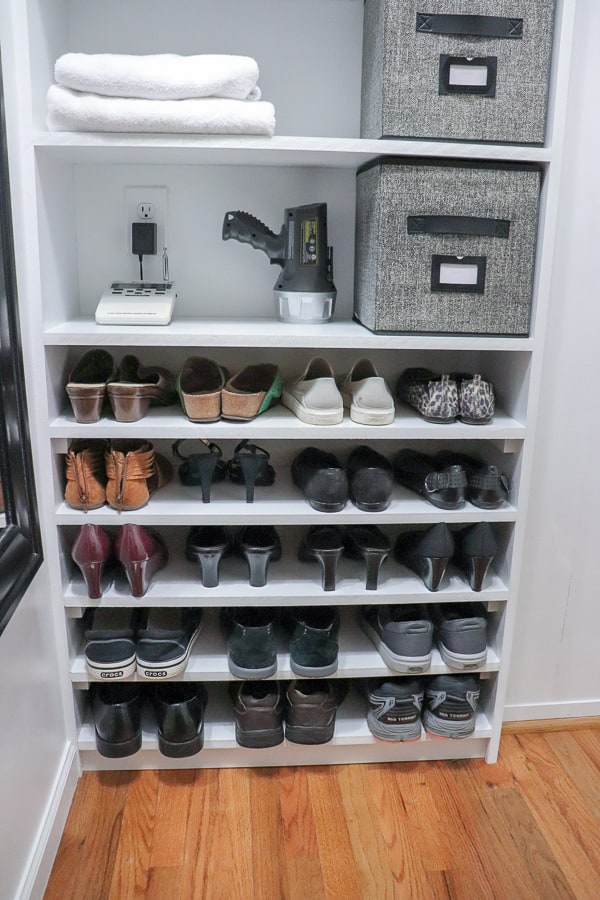
We made sure to have an outlet in our shelving unit.
We live in the south, and a weather radio is a nice addition to have to your home!
Not only that, but if you need an extra area to get ready, the outlet is next to a mirror.
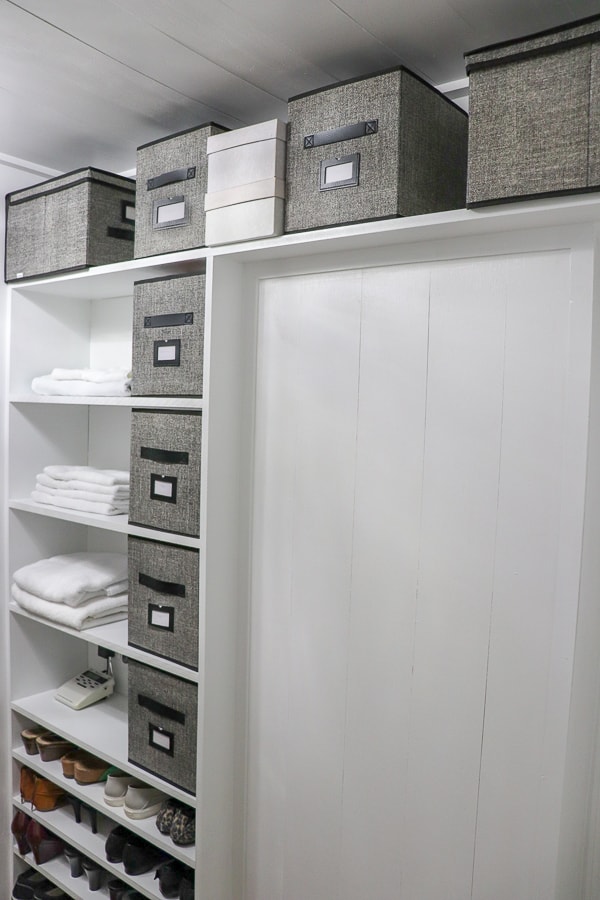
We found these fabric boxes on Amazon. Now we have so much storage that some of them are still empty!
We have larger bins on the opposite side that is perfect for off season clothing storage.
But let me show you the coolest thing!
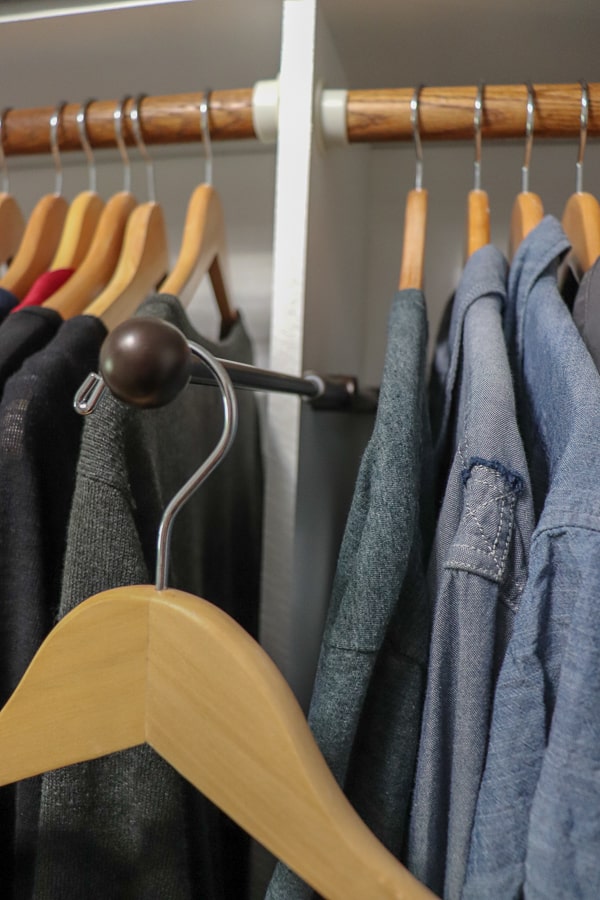
We also purchased this pull out valet rod.
This is perfect for setting your outfit out for a big event, or even having an extra spot for steaming clothes.
And the last little thing that makes me smile is that I have a spot for my scale.
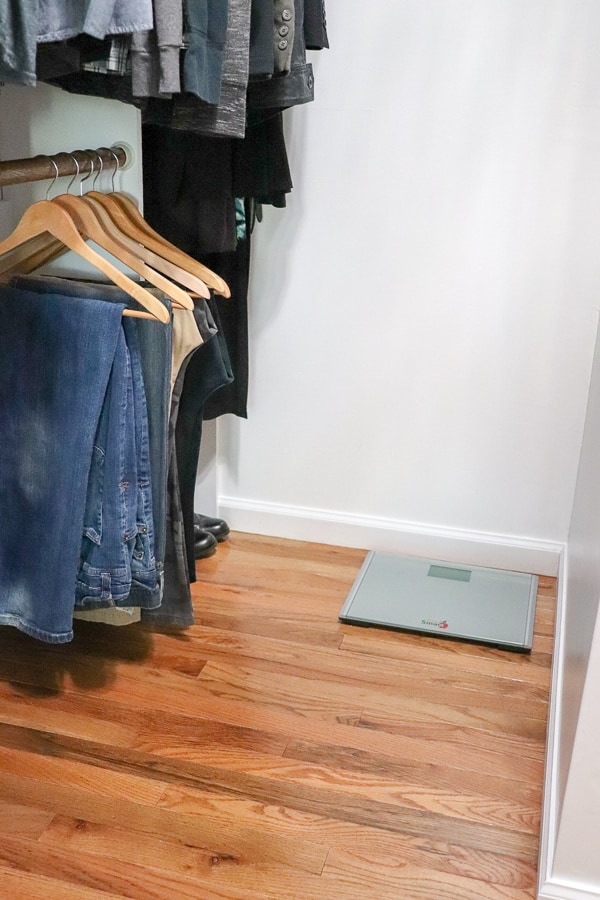
Part of my resolutions this year is taking charge of my health and this scale is the bomb!
Not only does this EatSmart scale have a 100% Guarantee, but it also has a wider footprint, which is perfect for Trent’s larger feet.
TIP: For accuracy, did you know that you aren’t supposed to move a scale around? Find a spot and keep it there.
So now that my scale has it’s own designated spot, I have a private place where I can weigh in.
In privacy.
Cuz when every ounce counts, you strip down to your skivvies.
Know what I’m sayin’?
How wonderful rebuilding our master closet has been.
It may have taken longer than we had liked, but now everything is in it’s place with ample room to grow!
I hope this encourages you to rethink your closet spaces in your home!
Be sure to pin this for later!
You may also like these older posts:
Making Over Our Master Closet
Organizing Your Kitchen Into Zones
Farmhouse Pantry Makeover
Organizing your Laundry/Mudroom Clutter

11 Comments