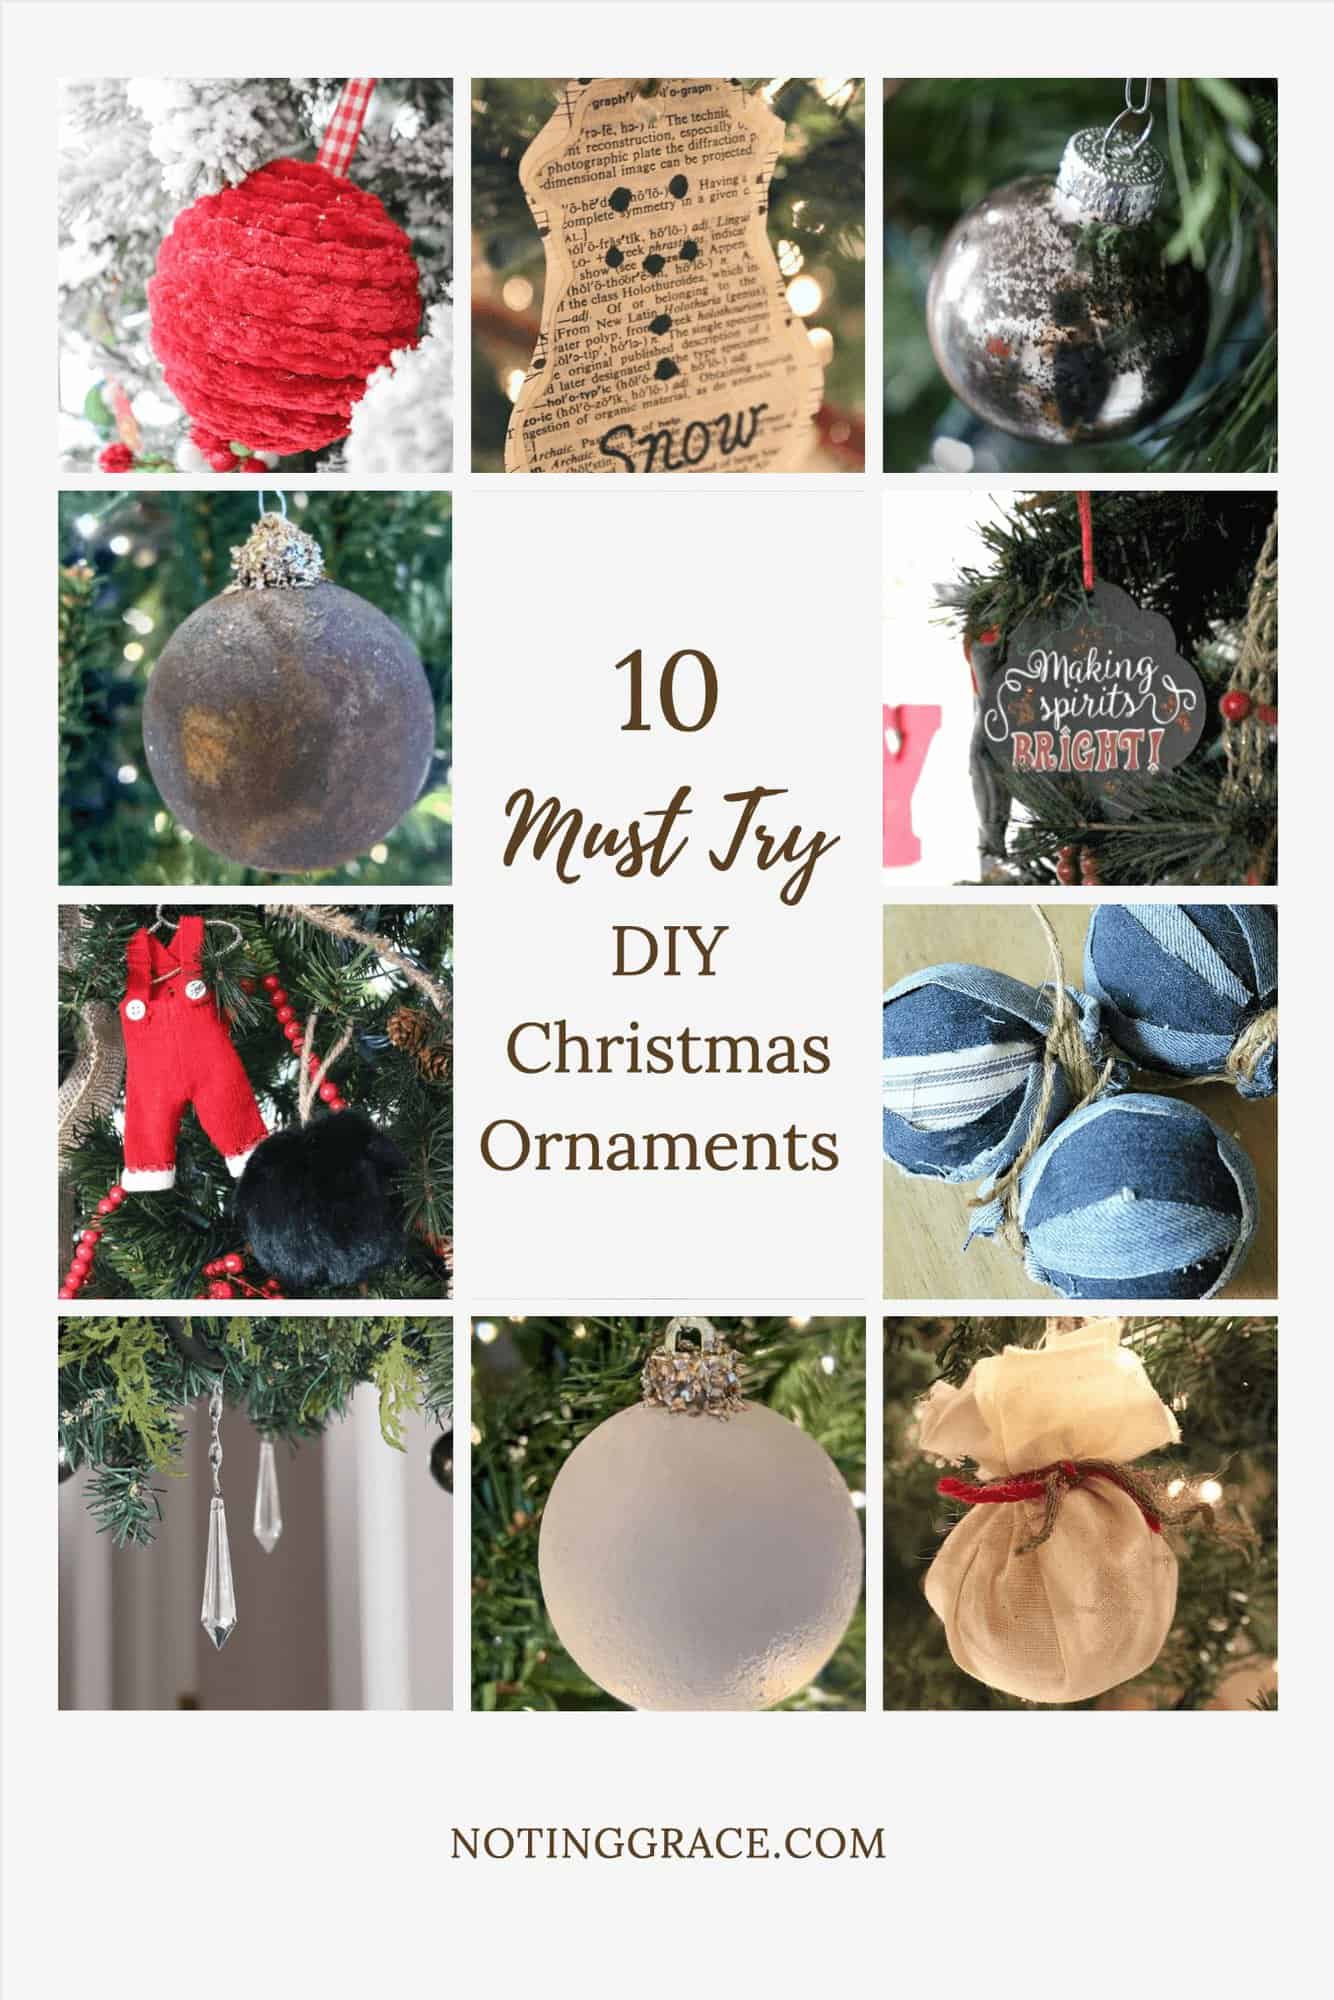
10 Must Try DIY Christmas Ornaments
Let’s be honest, friend—holiday decorating can feel a little… defeating. The prices are up, your energy is down, and somehow all the store-bought ornaments are either overpriced or not your style.
If you’ve ever stood in the seasonal aisle wishing for something cozier, cheaper, or just more you—you’re not alone.
You CAN make a beautiful tree—without breaking the bank. Here’s how.
Finding just the right Christmas ornament can be challenging. They’re either not the color that you want or way too expensive!
We believe beauty doesn’t come from a big budget. It comes from using what you already have, adding a little creativity, and trusting that peace and purpose can grow in the simplest spaces—even on your Christmas tree.
This list of 10 must-try DIY ornaments is for anyone wants to make their home feel festive but also realistic. You’ll find easy, budget-friendly ideas made from things like fabric scraps, paper, yarn, and even old denim. Each one is:
- Simple to create (no fancy tools required)
- Family-friendly (great for memory-making with kids or grandkids)
- Designed to reflect your story—not some showroom trend
We’ll even sprinkle in a few bonus ideas at the end—because when inspiration strikes, we don’t want to hold back.
Whether you’re starting from scratch or just adding a few personal touches, these ornaments are more than just decorations. They’re little reminders that you can create beauty in this season—with what you already have and who you already are.
Let’s make something meaningful together.
10 Must Try DIY Christmas Ornaments
This post contains some affiliate links for your convenience. Click here to read my full disclosure.
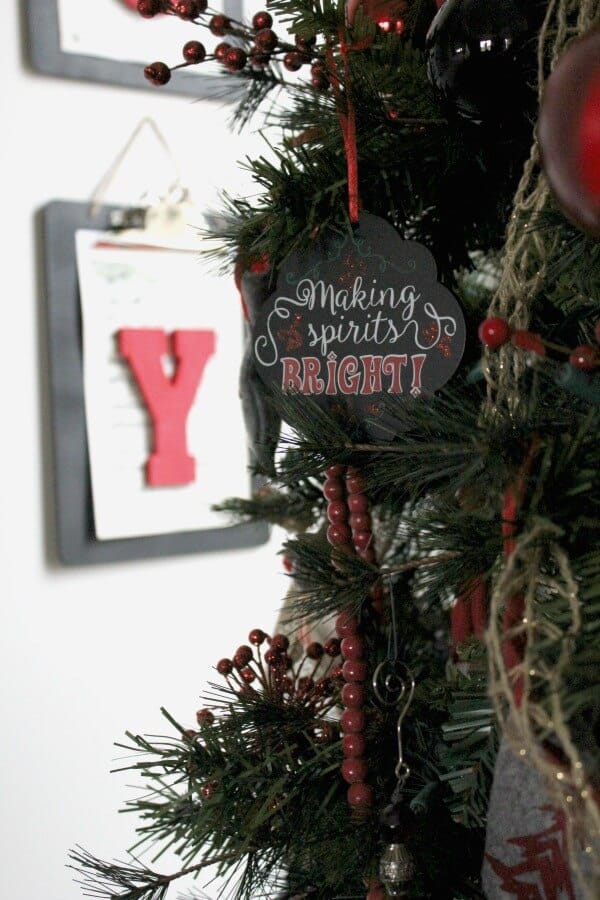
1. Paper Ornaments
Budget-friendly, kid-approved, and full of charm.
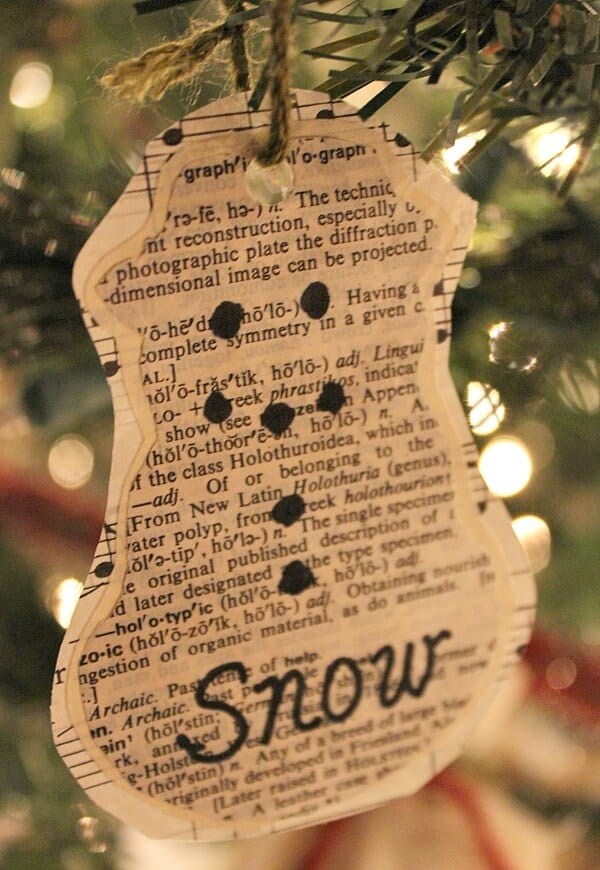
If you’ve got paper and glue, friend—you’ve got Christmas decor.
These handmade paper ornaments were born during a lean season when all we could afford was the tree itself. We called it our Handmade Christmas.
And honestly? They’ve become some of our most cherished memories.
What You’ll Need:
- Hole punch and yarn or string
- Scrapbook paper, sheet music, or old book pages
- Scissors (or holiday cookie cutters for tracing shapes)
- Glitter glue or markers

How to Make It:
- Cut out your favorite holiday shapes—think trees, stars, birds, or snowmen.
- Add glitter, drawn-on details, or little stickers to personalize.
- Punch a hole in the top and loop through yarn to hang.
Why We Love It:
It’s a beautiful project for all ages. No pressure, no perfection—just creativity and connection.
Plus, it’s practically free.
These are the kinds of ornaments your kids will look back on and say, “Remember when we made those?”
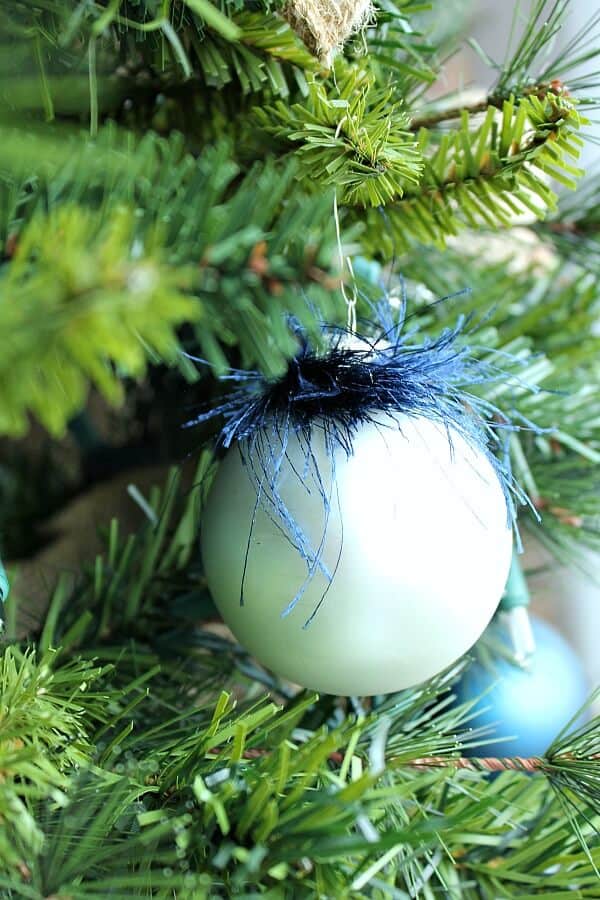
2. Fabric Covered Ornaments
Breathe new life into old decor—no sewing required.
Ever found a box of ornaments that just didn’t match your style anymore?
Don’t toss them—wrap them! This idea came from the same timeframe in Vegas. I did have some old ornaments on hand but they were not anything that I wanted to hang on our tree!
This DIY is perfect for repurposing what you already have while adding a soft, cozy texture to your tree.
What You’ll Need:
- Old ornaments (any kind)
- Fabric scraps (cotton, flannel, linen)
- Yarn, twine, or ribbon
- Scissors and hot glue (optional)
How to Make It:
- Cut your fabric into a circle large enough to wrap your ornament.
- Gather it at the top and secure with yarn or ribbon.
- Optional: Use hot glue for extra hold.
Why We Love It:
It’s reversible—just untie the fabric later if you change your theme next year. This one’s ideal for renters, repurposers, or anyone who’s riding that “make it work” budget.
Bonus Tip: Try tinsel yarn or fringe for extra flair! Simply hot glue this around the top and hang it to the tree.
Here’s another variation if you just wanted to use yarn and hot glue.
3. Yarn Covered Ornaments
Warm and wintry with a handmade feel.

These chunky yarn ornaments are one of the most-loved DIYs on our YouTube channel—and for good reason. They’re simple, soft, and look like mini sweaters for your tree.
What You’ll Need:
- Foam balls (craft store or dollar store)
- Chunky knit yarn
- Ribbon for hanging
- Skewer + hot glue
How to Make It:
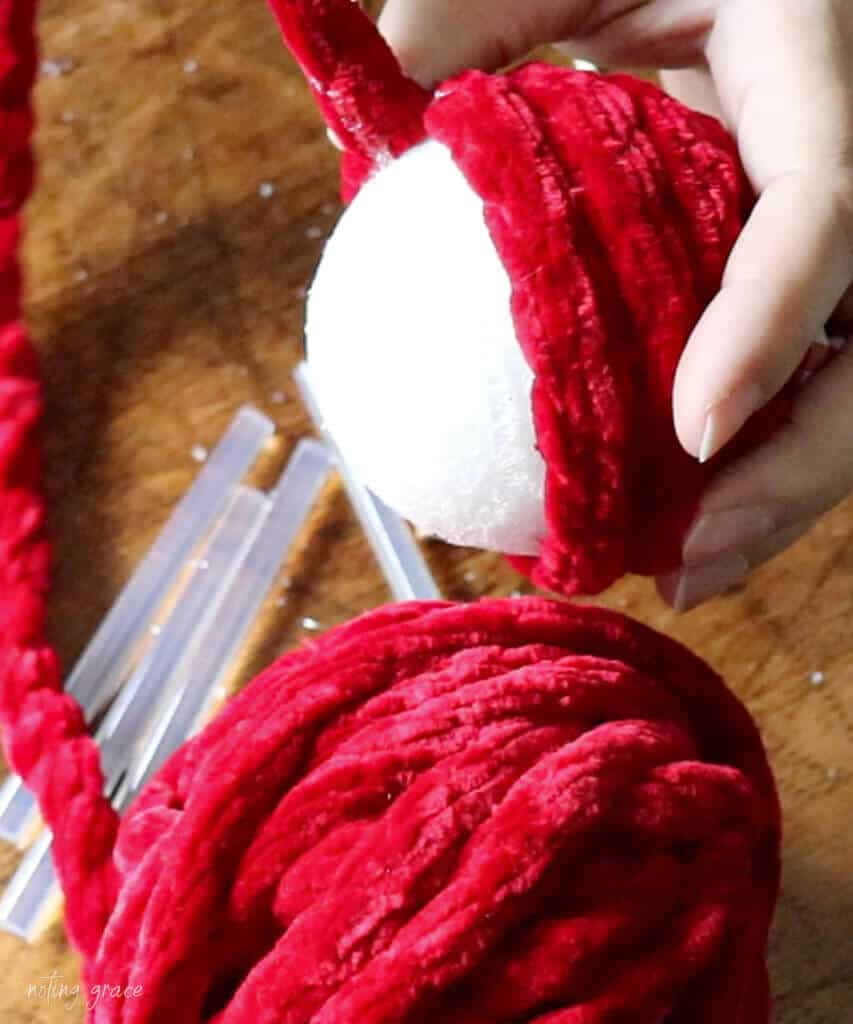
- Dab hot glue on the ball and wrap yarn in circular layers.
- Poke a hole at the top with a skewer.
- Add hot glue inside and insert ribbon for hanging.
I made this yarn covered ornament a few years ago and still hang them on our tree!
Why We Love It:
They’re modern, cozy, and customizable to your color scheme.
If you want a Scandinavian or neutral Christmas look, this one’s for you.
4. Gift Box Embellishments
Turn tiny gift toppers into tree decor.
Next time you’re in the wrapping aisle, grab a few flat gift box embellishments. They’re lightweight, festive, and incredibly easy to repurpose as ornaments.
What You’ll Need:
- Mini gift box toppers (think plaid, snowflakes, tiny wreaths)
- Ornament hooks or ribbon
- Scissors (for adding a hole if needed)
How to Make It:
- Modify the embellishment to hang (usually just add a hole if there isn’t one).
- Thread ribbon or a hook through and place on your tree.
Why We Love It:
They’re ready-made and super budget-friendly. Perfect for themed trees or last-minute filler decor.
A few years ago I did a Tartan plaid themed Christmas tree in our dining room I was so excited when I found these small Tartan gift box embellishments with snowflakes and Christmas trees.
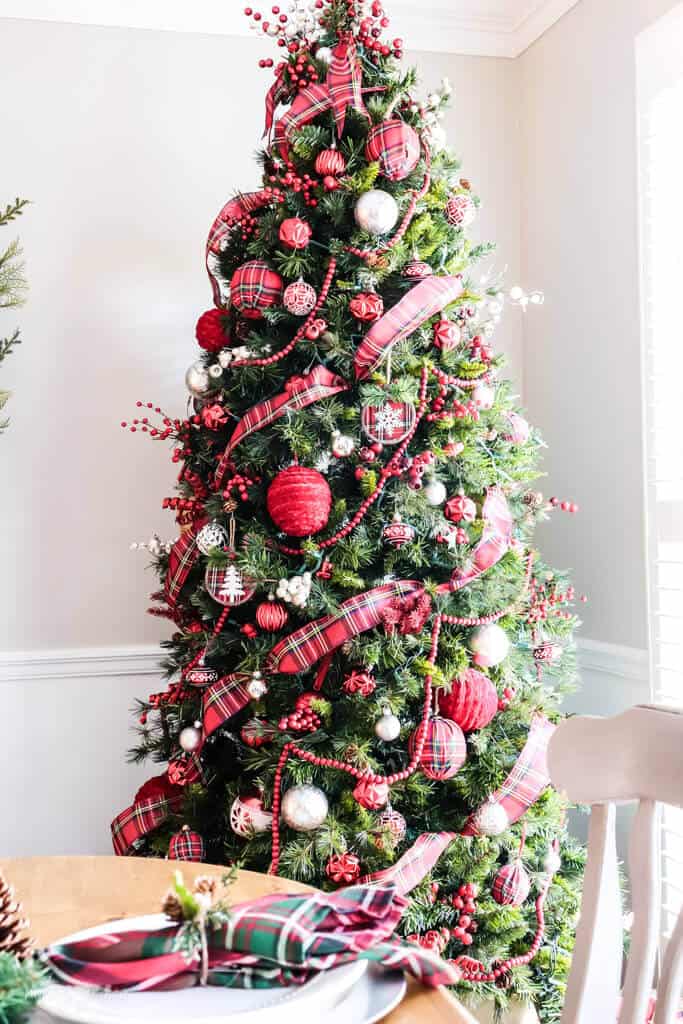
I was able to just simply modify them enough to where I could hang it on my tree.
I’ve also used plastic snowflakes, miniature wreaths, and wooden elements.
So there are all kinds of small tiny things that you can repurpose from using it as a gift box embellishment to hanging it on your tree.
And the greatest thing about it is that they are very affordable!
5. Gift Card Holders
Unexpected and full of personality.
We’ve all seen them when the checkout lines – especially at the big box hardware stores. They usually have fun little tool boxes that you can put your gift cards in when you give those as a present.
I’ve used this many years ago on our Buffalo Check Christmas Tree.
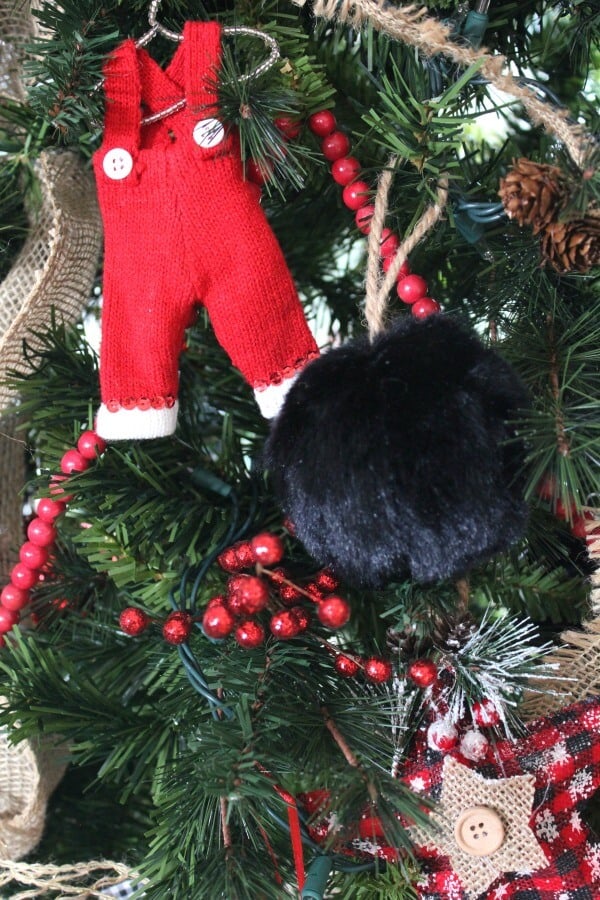
Some of the cutest tree accents started out as… gift card holders! From tiny toolboxes to knit Santa overalls, these mini designs add a whimsical, rustic vibe to your tree.
What You’ll Need:
- Cute gift card holders (from hardware stores, craft aisles, etc.)
- Ribbon or hook for hanging
How to Make It:
- Loop a ribbon through or use a hook if there’s a built-in hanger.
- Place it on your tree where it can be seen and enjoyed!
Why We Love It:
It’s a fun little way to add some whimsy to your tree!
It’s an easy way to add character without crafting from scratch. Think “cozy cabin” or “nostalgic heirloom” vibes.
6. Denim Covered Ornaments
Turn outgrown jeans into rustic charm.
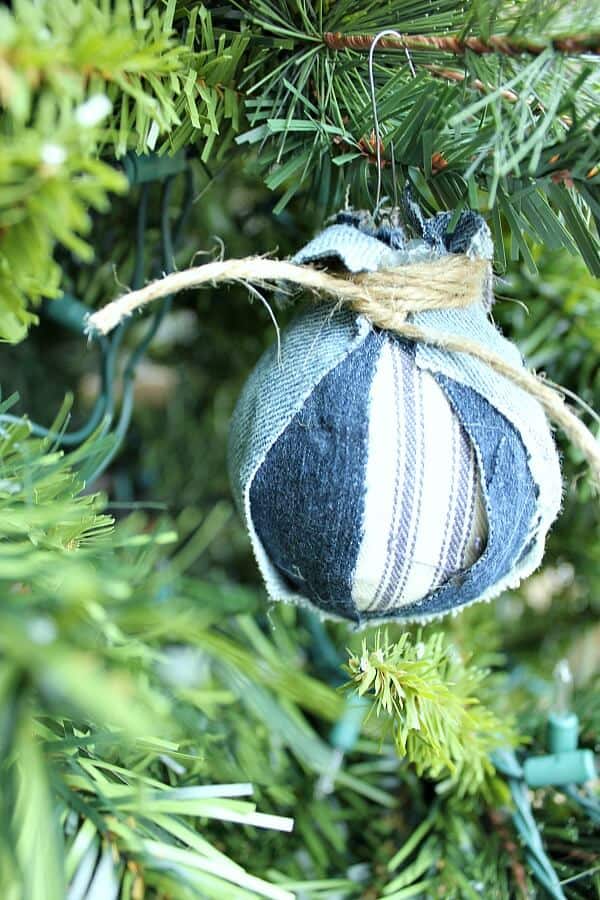
This DIY started with a tablescape idea and turned into a favorite tree project. If you’ve got a pair of jeans ready for retirement, here’s their second act.
I simply created these denim ornaments using what I had and it from a pair of left over jeans that my boys have outgrown.
What You’ll Need:
- Old jeans
- Ornaments to cover
- Hot glue
- Scissors
How to Make It:
- Cut denim into strips or shapes.
- Wrap or patch onto old ornaments using hot glue.
- Add ribbon or twine for hanging.
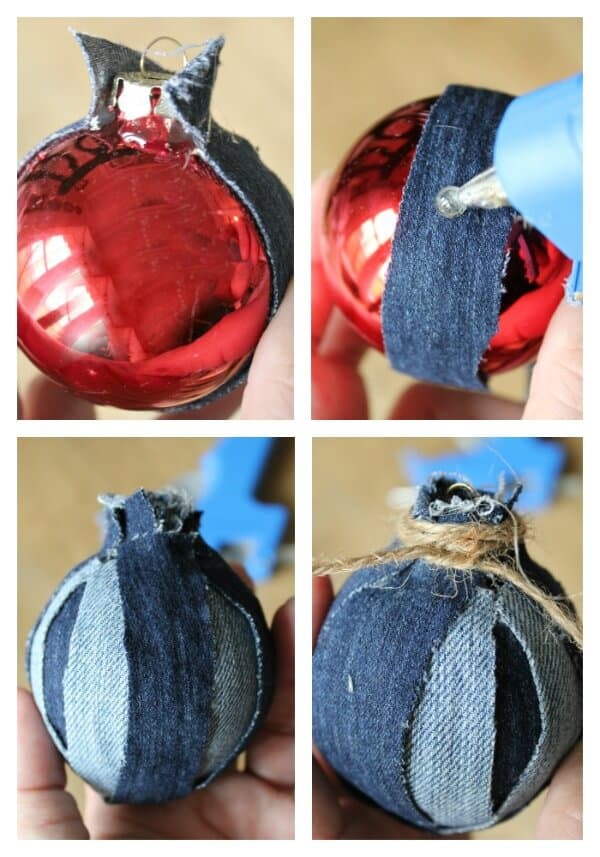
Why We Love It:
It’s sustainable, sentimental, and surprisingly beautiful. Bonus points if you use jeans from your kids’ younger years—hello, memory lane!
If you have any extra pair of blue jeans around, this is a fun and easy craft that you can do!
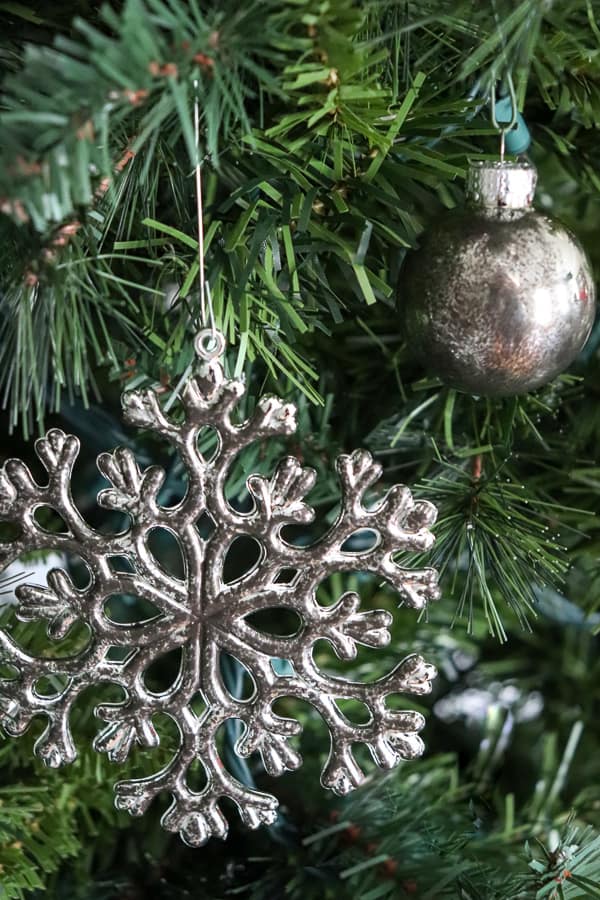
7. DIY Tarnished Ornaments
A vintage look without the antique store price.
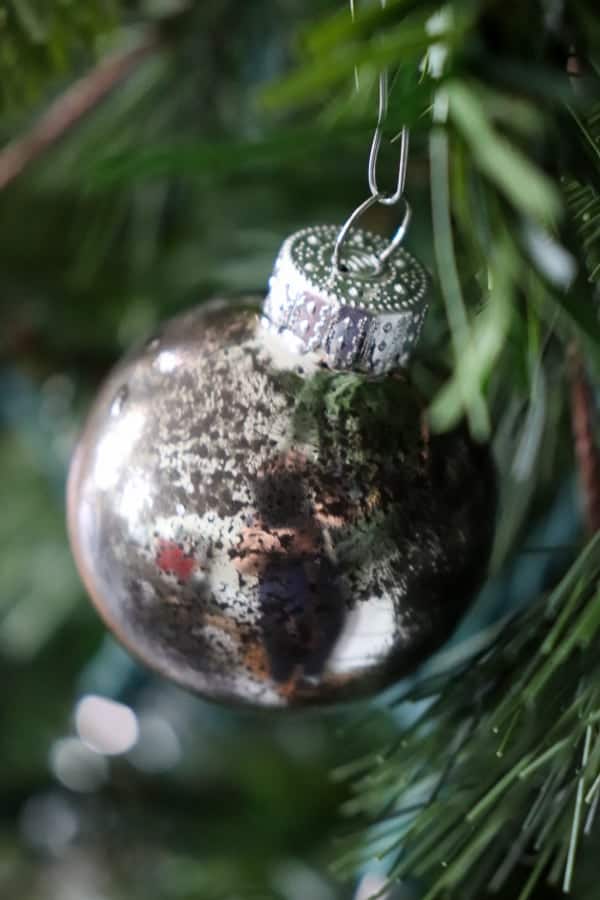
Can’t find the aged-silver ornaments you love? Make your own.
These give your tree that classy, timeless touch—without spending a dime on designer decor.
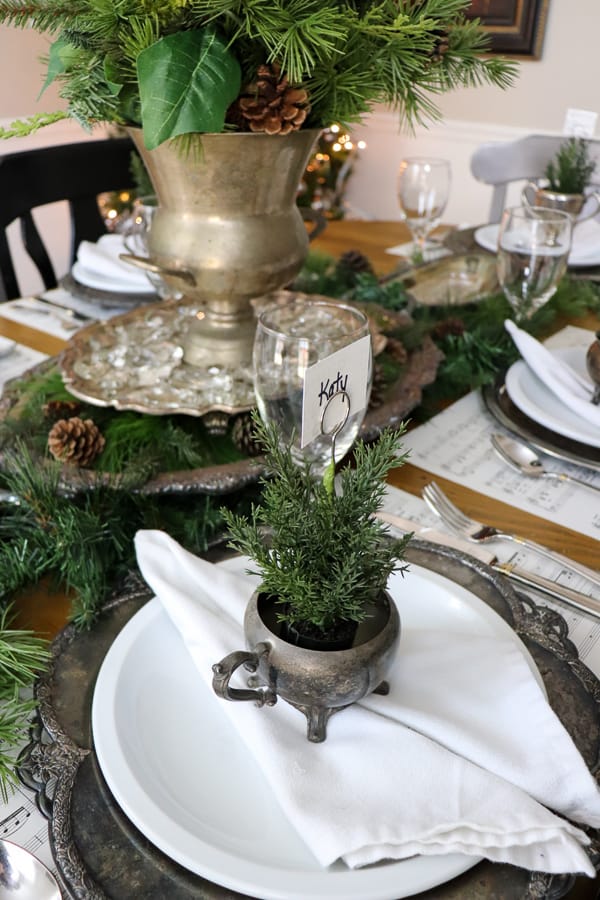
This idea came from one of my very favorite Christmas tablescapes that I had created using sheet music, tarnished silver trays as chargers, and beautiful hints of crystal here and there.
For the tree in the corner, I could not find any tarnished silver ornaments.
So I made my own!
What You’ll Need:
- Silver plastic ornaments
- Antiquing glaze or dark wax
- Sponge or cloth
How to Make It:
- Dab glaze onto the ornament’s surface.
- Buff it with a cloth to blend and soften.
- Let dry completely before hanging.
Why We Love It:
They’re sophisticated but simple. These add beautiful contrast to bright or neutral tree themes.
It’s such a unique ornament that I still use on my tree today.
8. Jewelry or Charm Ornaments
A little sparkle goes a long way.
Have extra beads, broken jewelry, or chandelier crystals? Don’t toss them—turn them into ornaments!
This is a great upcycle project that feels luxe but costs nothing.
What You’ll Need:
- Large beads, crystals, or jewelry pieces
- Jewelry wire or fishing line
- Hooks or ribbon
How to Make It:
- String your pieces onto wire or thread.
- Loop into an ornament shape or hang straight from the tree.
Why We Love It:
These catch the light beautifully and add elegance to any decor style—from rustic glam to classic Christmas.
I made a few variations using some crystals that I had on hand along with some jewelry making supplies. Check out our video to see a few more that I have created!
These last 2 ornaments are the newest ones I’ve created this year and will be sharing a full tutorial on how to make these next week, so stay tuned!
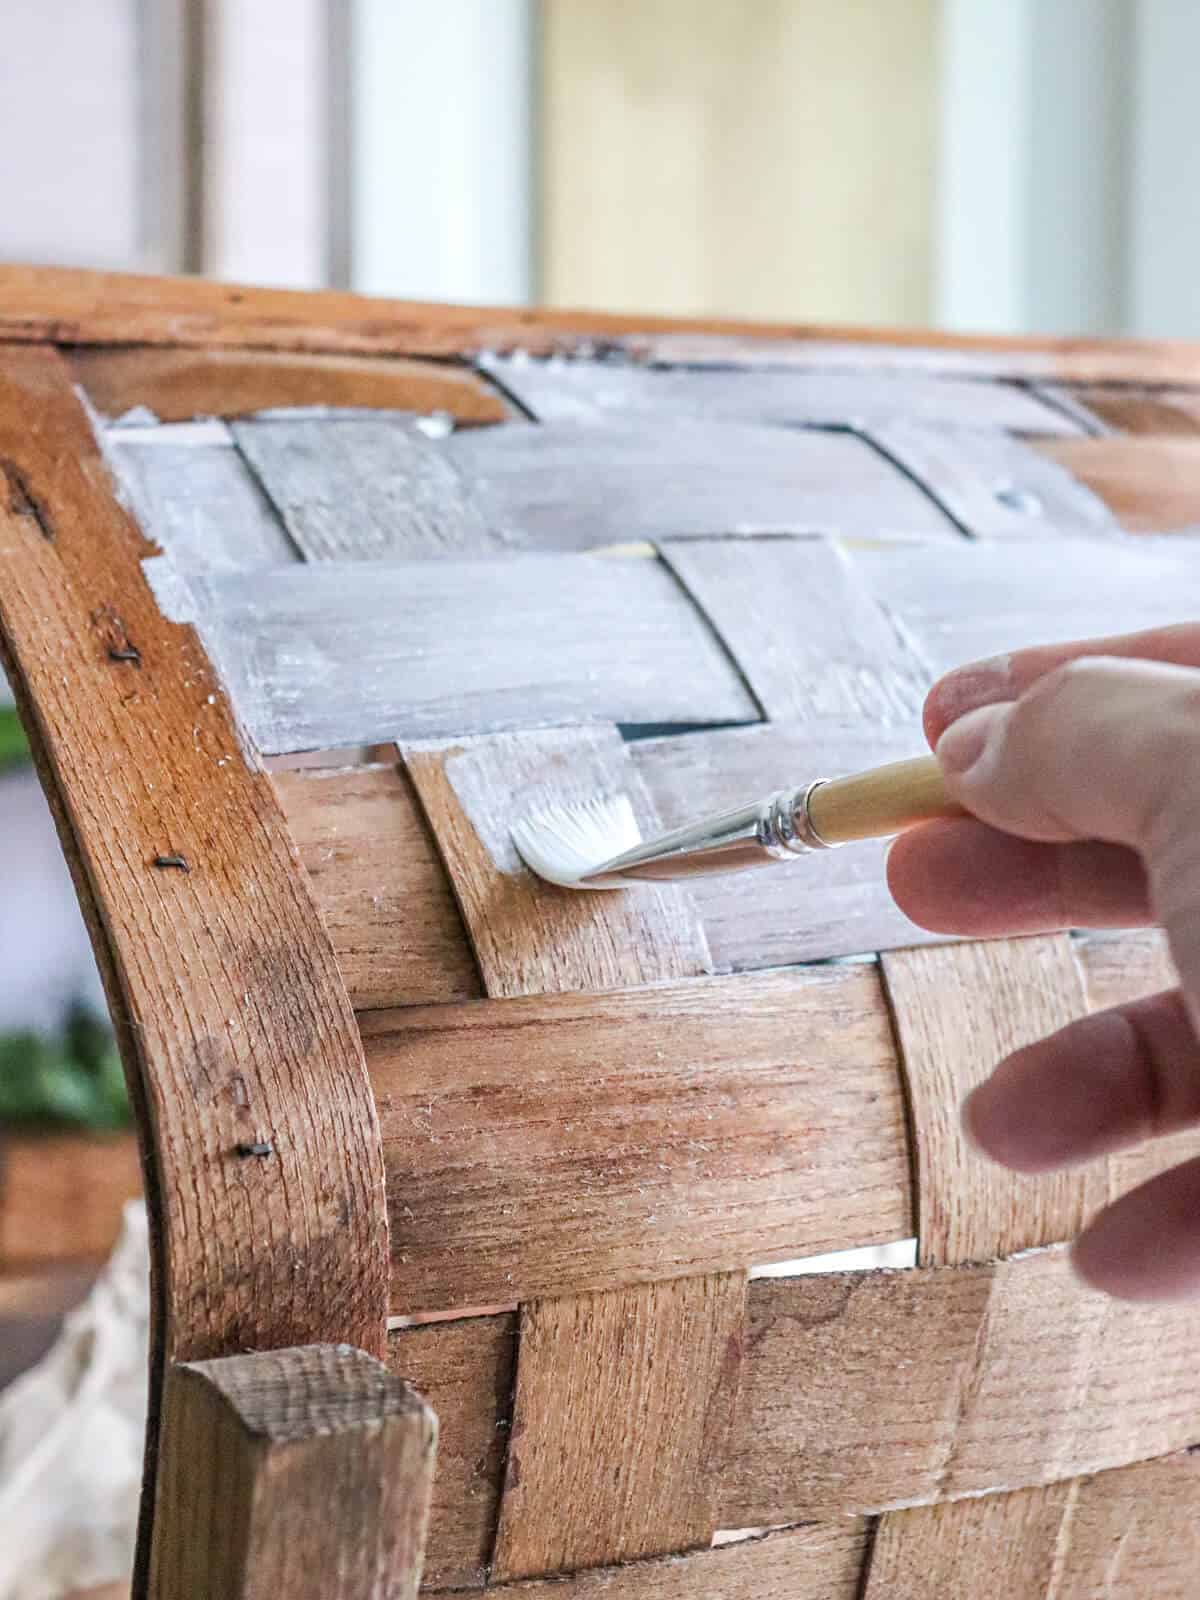
9. DIY Faux Matte Ornaments with a Glitter Top
Velvet vibes without the cost.

Here’s an easy way to give cheap glitter ornaments a high-end makeover. A little paint goes a long way in creating that soft, faux-crushed-velvet effect.
What You’ll Need:
- Glitter ornaments (as your base)
- Matte acrylic paint
- Tacky adhesive + glitter (for the top)
How to Make It:
- Paint over the entire ornament with a matte shade.
- Let dry, then add glitter adhesive to the top third.
- Sprinkle glitter and shake off excess.
Why We Love It:
They’re customizable and look so chic—perfect for neutrals, metallics, or moody palettes.
You can use any extra paint you have. Just think of all the different colors you can create!
You can read the full tutorial on how to make these or watch this detailed video.
10 DIY Rust Ornaments With Glitter
Industrial meets sparkle in the best way.
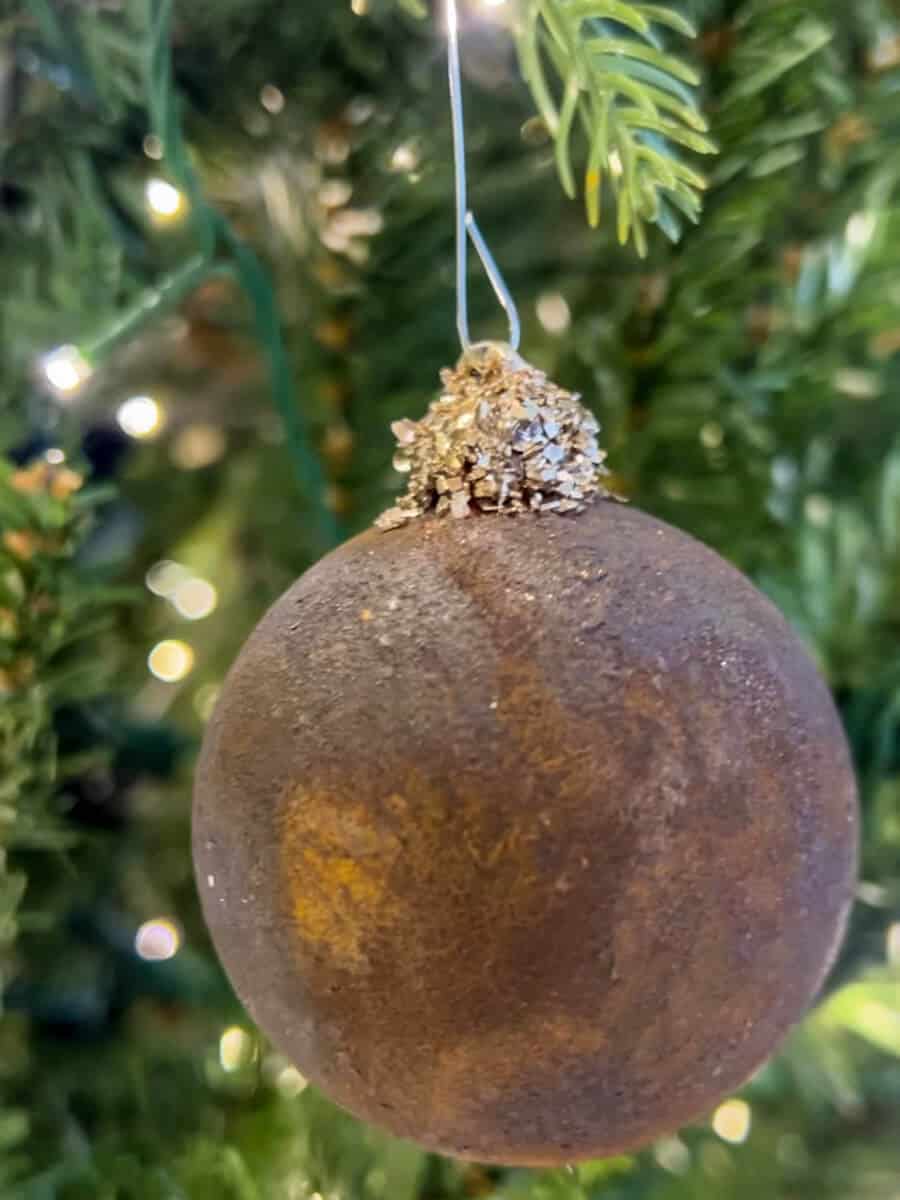
Using a rust kit might sound intimidating—but it’s surprisingly doable, and the results are stunning. Think aged copper or patina with a touch of Christmas magic.
What You’ll Need:
- Rust-Oleum Rust Kit (primer, topcoat, activator)
- Plain ornaments
- Tacky glue + glitter (optional)
How to Make It:
- Follow the rust kit instructions: primer, top coat, then activator.
- Let the magic happen as it dries and oxidizes.
- Add glitter if you want a glam-rust hybrid.
You can read the full tutorial on how to make these or watch this detailed video.
Why We Love It:
It’s a statement piece that adds depth and texture to your tree. Edgy but festive.
I have to say this is one of my favorite ornament DIYs that I have done!
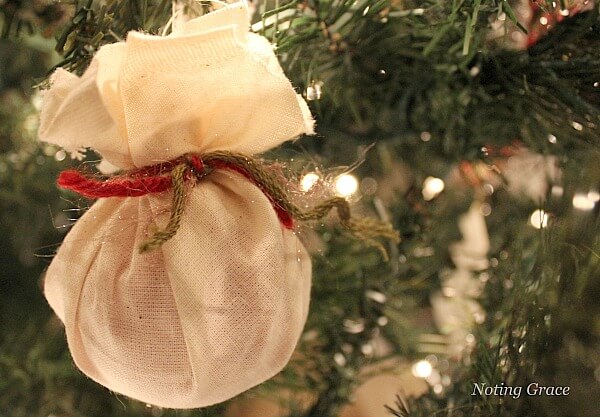
Bonus Handmade Ornament Ideas
- Fillable Clear Plastic Ornaments: Clear plastic ornament balls are easy to find. Simply take off the top and fill the inside of the ornament with all kinds of stuff. Glitter, artificial snow, pom pom balls, cinnamon sticks – all kinds of stuff you can add to a fillable ornament!
- DIY Sea Glass Ornaments: Great for a coastal Christmas—use paint or hot glue to attach faux sea glass. If you are wanting a coastal feel, check out this tutorial from my friends at Charleston Crafted.
- Gold Leaf Glass Ball Ornaments: Apply gold leaf with mod podge for a luxe, hand-gilded look. Here’s a great tutorial on how to create your own from my friend Roxanne from The Honeycomb Home.
- Pom Pom Balls: Glue pom poms onto a foam ball for a colorful, kid-approved accent.
You Don’t Need Perfection – Just a Place to Start
Whether you try one ornament or all ten, we hope this gave you the courage to start creating again.
Not to impress anyone. Not to get it “just right.” But to fill your space with memories, warmth, and a little handmade joy.
You don’t need fancy tools or fresh-from-the-store decor. You just need a little time, a few supplies, and the belief that beauty is still possible—even in the small things.
Have fun, and make memories.
More CHRISTMAS IDEAS to check out!
- Budget Friendly Christmas Tree Ladder
- Christmas in the Sunroom
- Simple Ideas for Christmas Kitchen Decor
- Easy Semi Homemade Red Velvet Cake Recipe You Must Try!