Basement Makeover Progress: Demolition Day
Diving back into project mode has been super exciting, especially when we get to demo the room! Here’s our basement makeover progress – demolition day!
This week proved to show us a few surprises, and maybe a plan change for our staircase.
If you’ve been following along, we are participating in the One Room Challenge and are making over our basement family room.
Most of the room renovation is strictly decor, but one huge DIY we have to tackle is our dated staircase.

Basement Makeover Progress: Demolition Day
It’s week 2 of the One Room Challenge, which means we get to show where we started!
What is the One Room Challenge?

If you aren’t already familiar with this project, let me give you a quick overview. It’s a bi-annual decorating event hosted by Linda – founder and organizer of the One Room Challenge and official media sponsor Better Homes and Gardens.
Each home influencers and blogger can choose any room in their home to completely redesign in 8 weeks, while sharing the whole process on the One Room Challenge website. There are 20 featured designers, as well as hundreds of additional guest participants, like me!
If would want to catch up on my design plans for this room, head over to Week 1 where I share my mood board for this basement family room makeover.
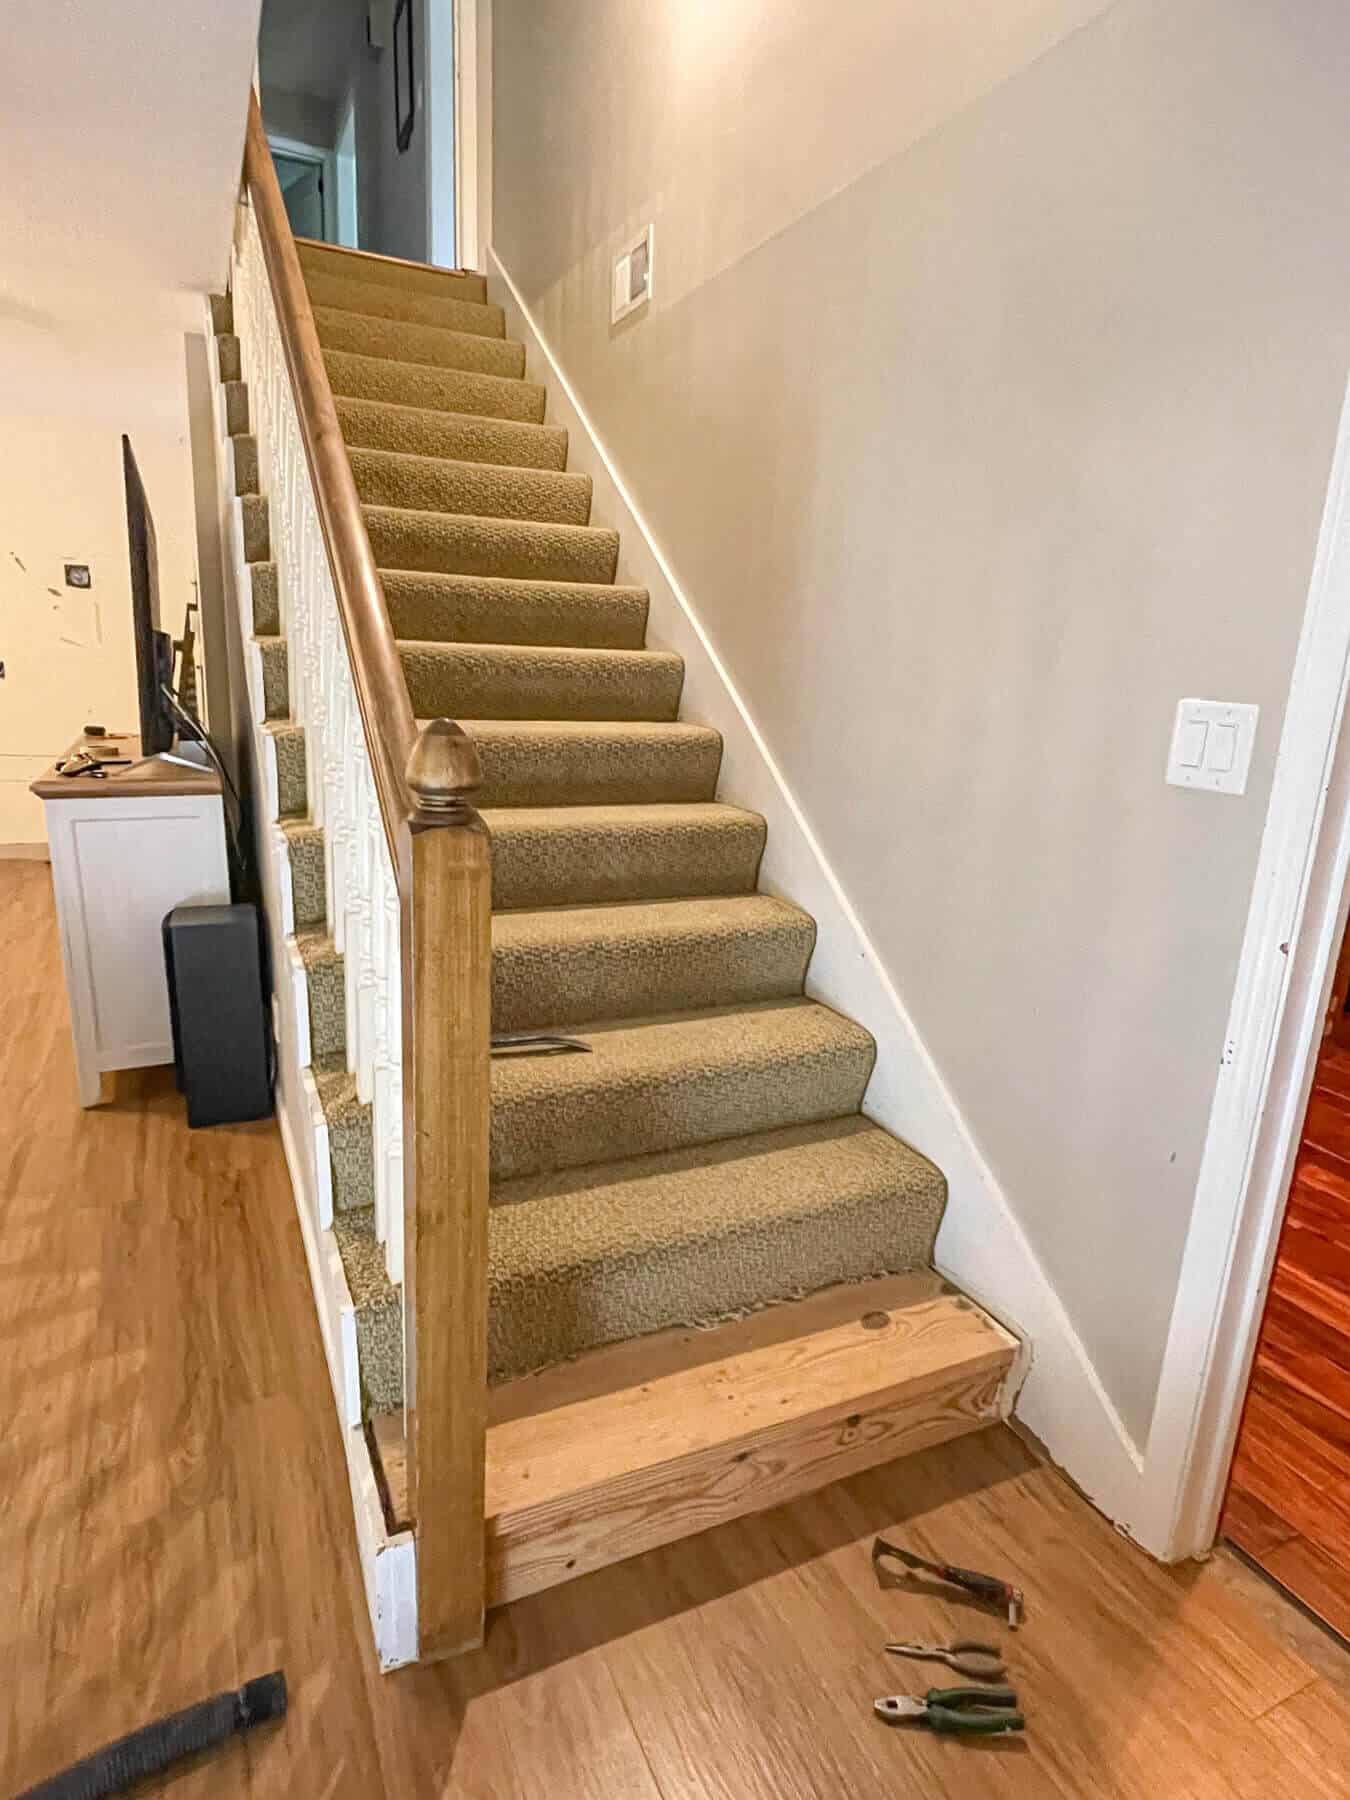
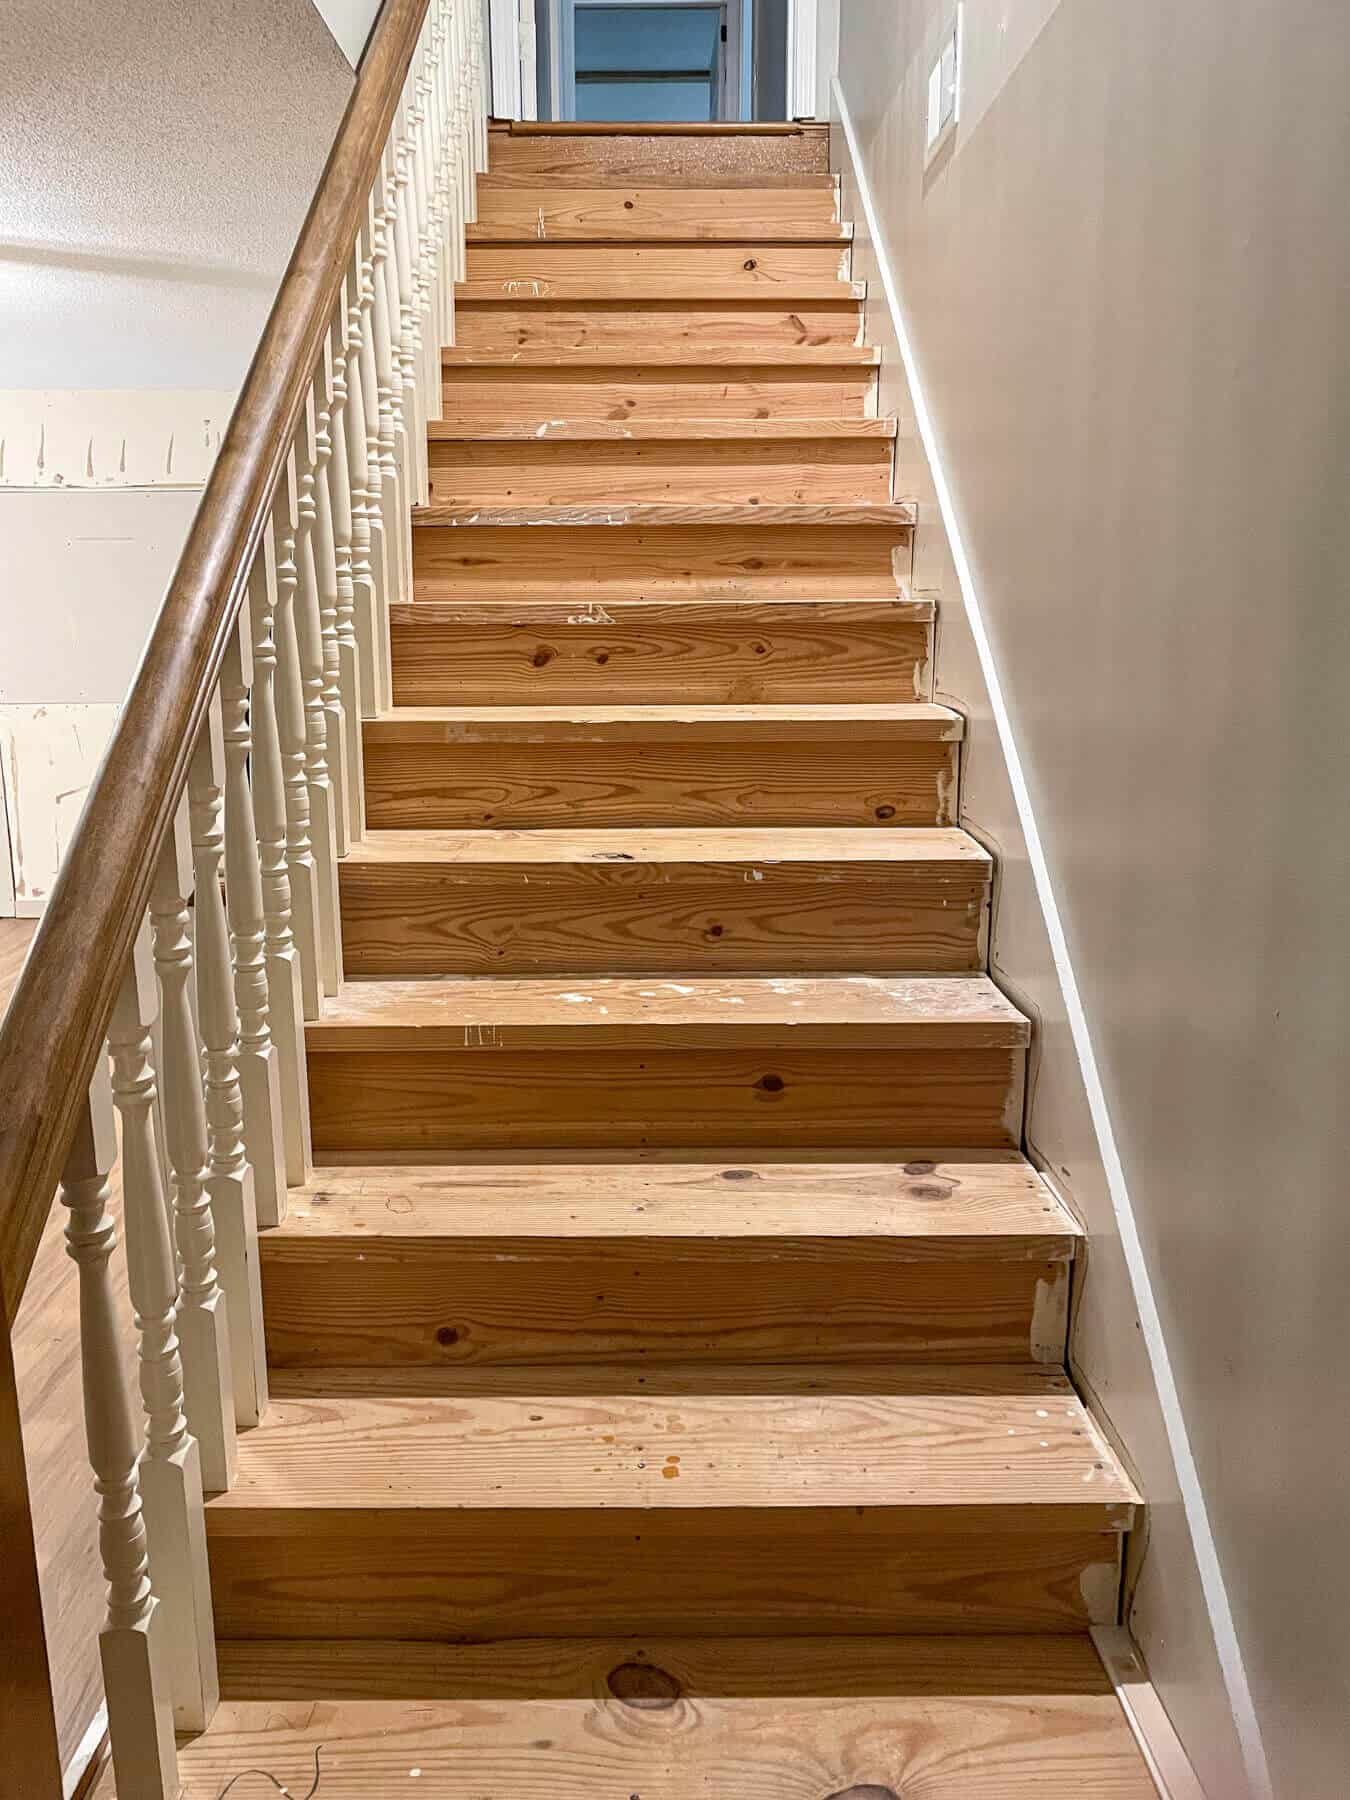
Well, I knew these stair would be full of surprises.
First off, they were constructed very oddly.
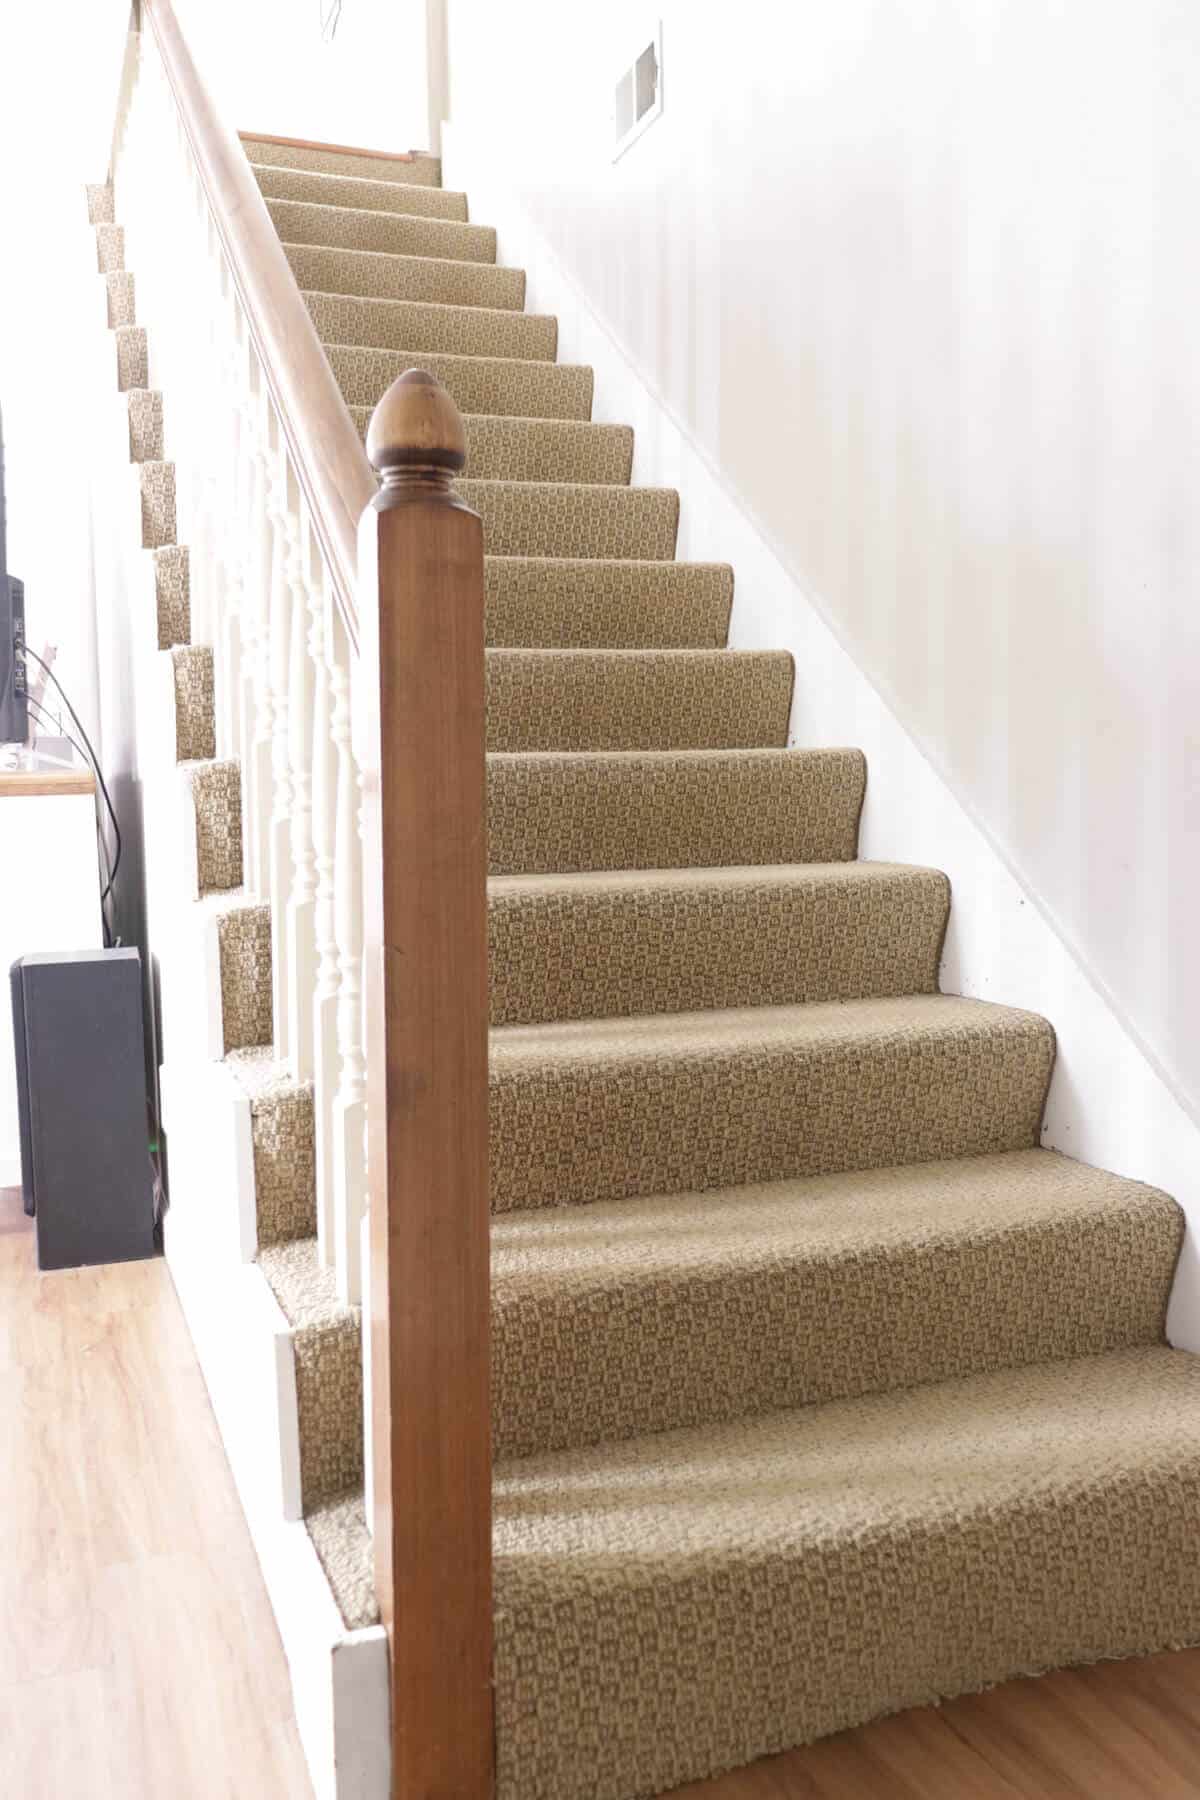
And secondly, the carpet installers stretched the carpet to the edge of the stringer and it made me wonder what was underneath that outside edge.
But, I could.not.wait. to get that carpet off the treads!
So we got right to work and started ripping it up.
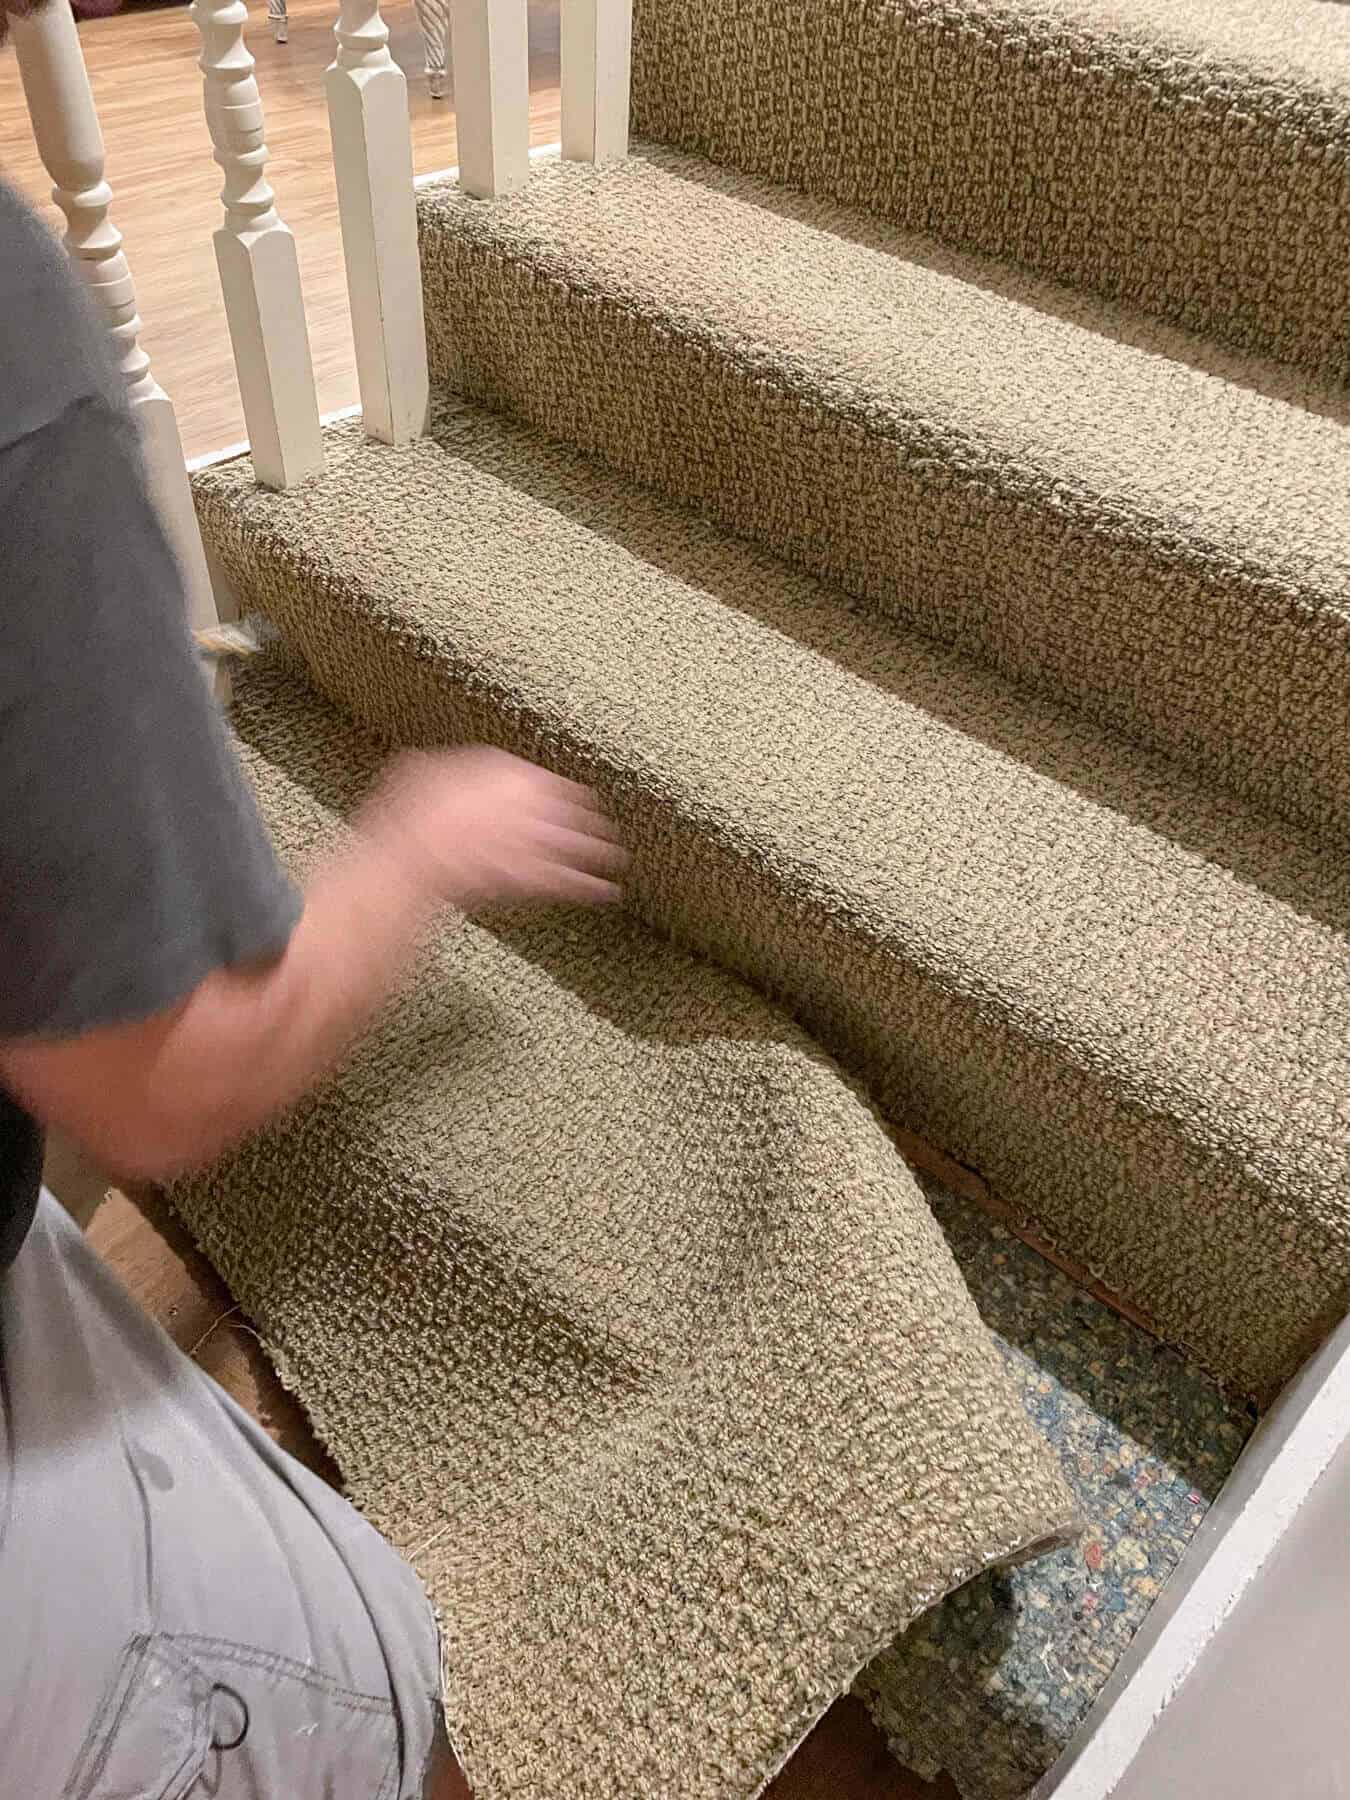
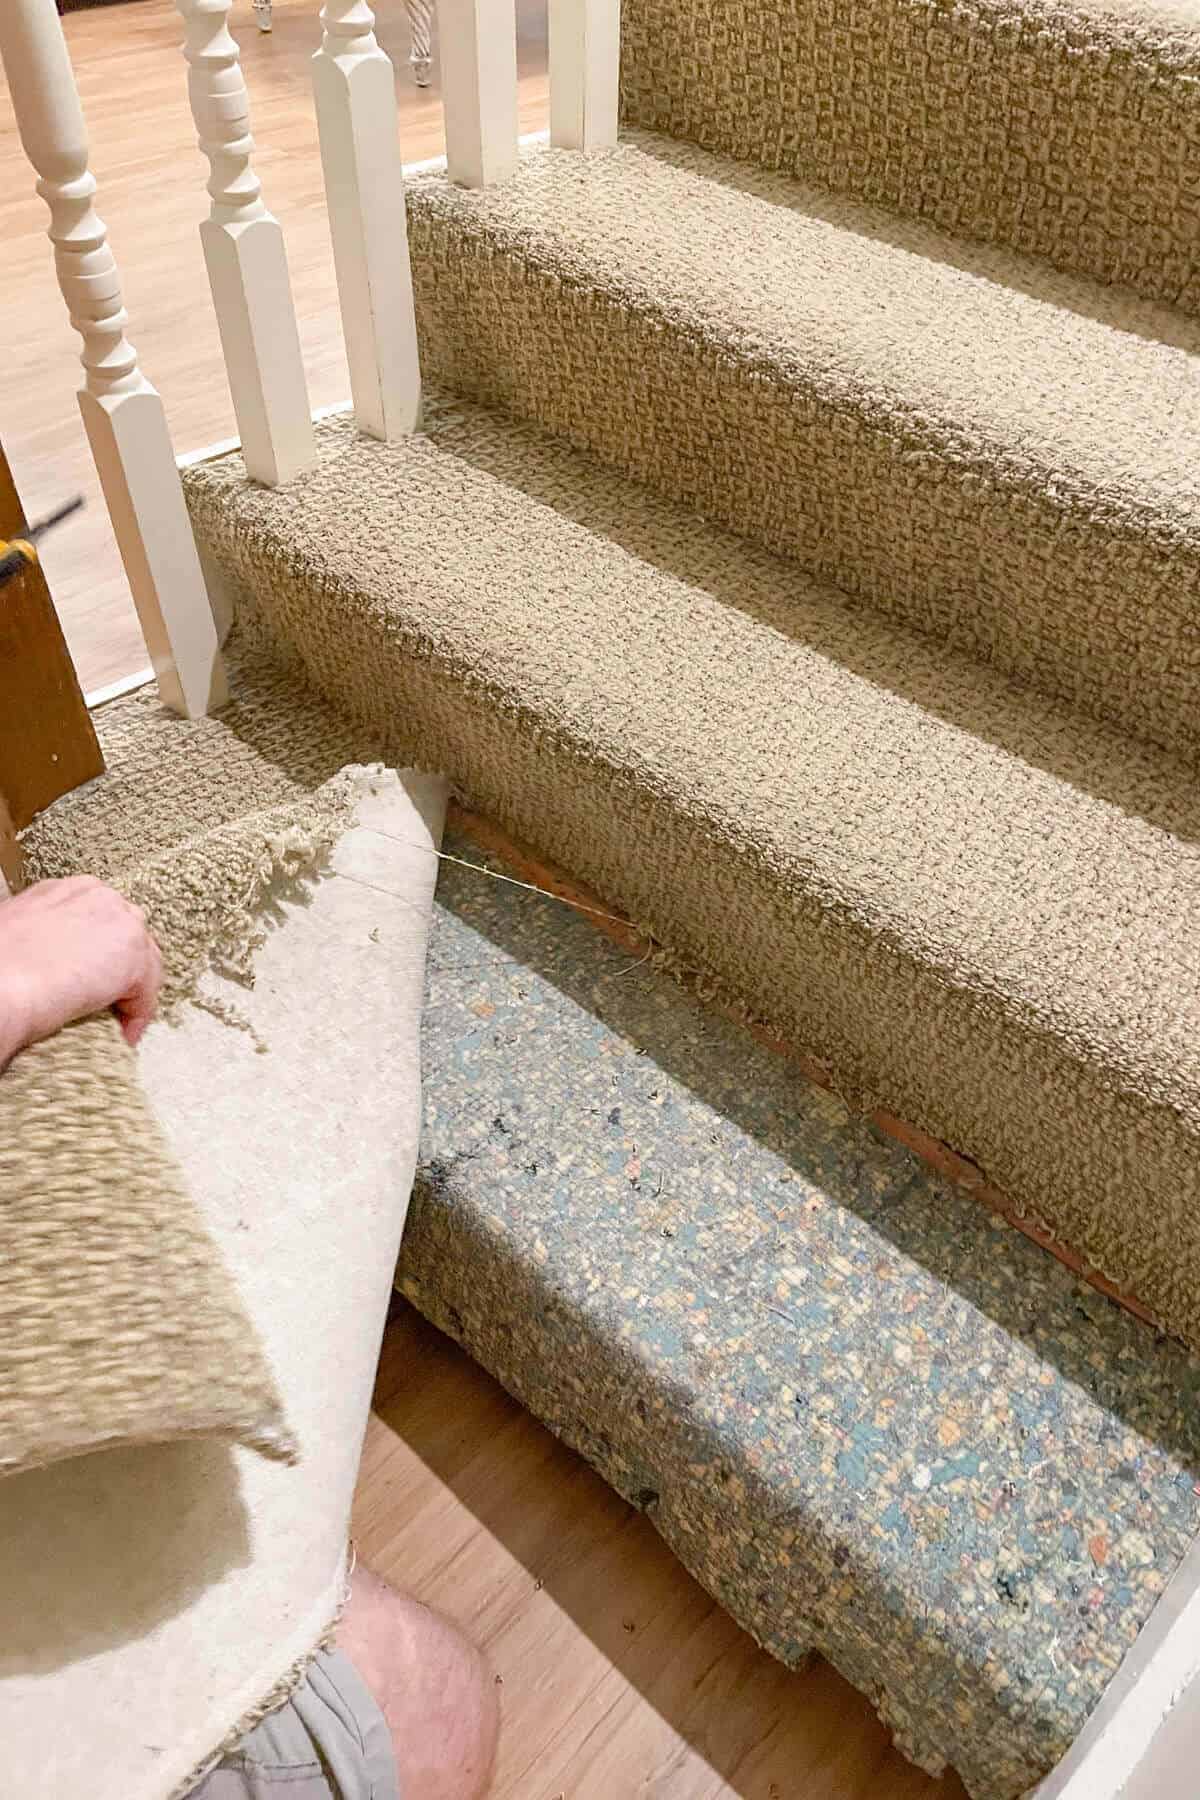
We found a disintegrating carpet pad.
And staples.
LOTS of staples. But then we started noticing the problems.
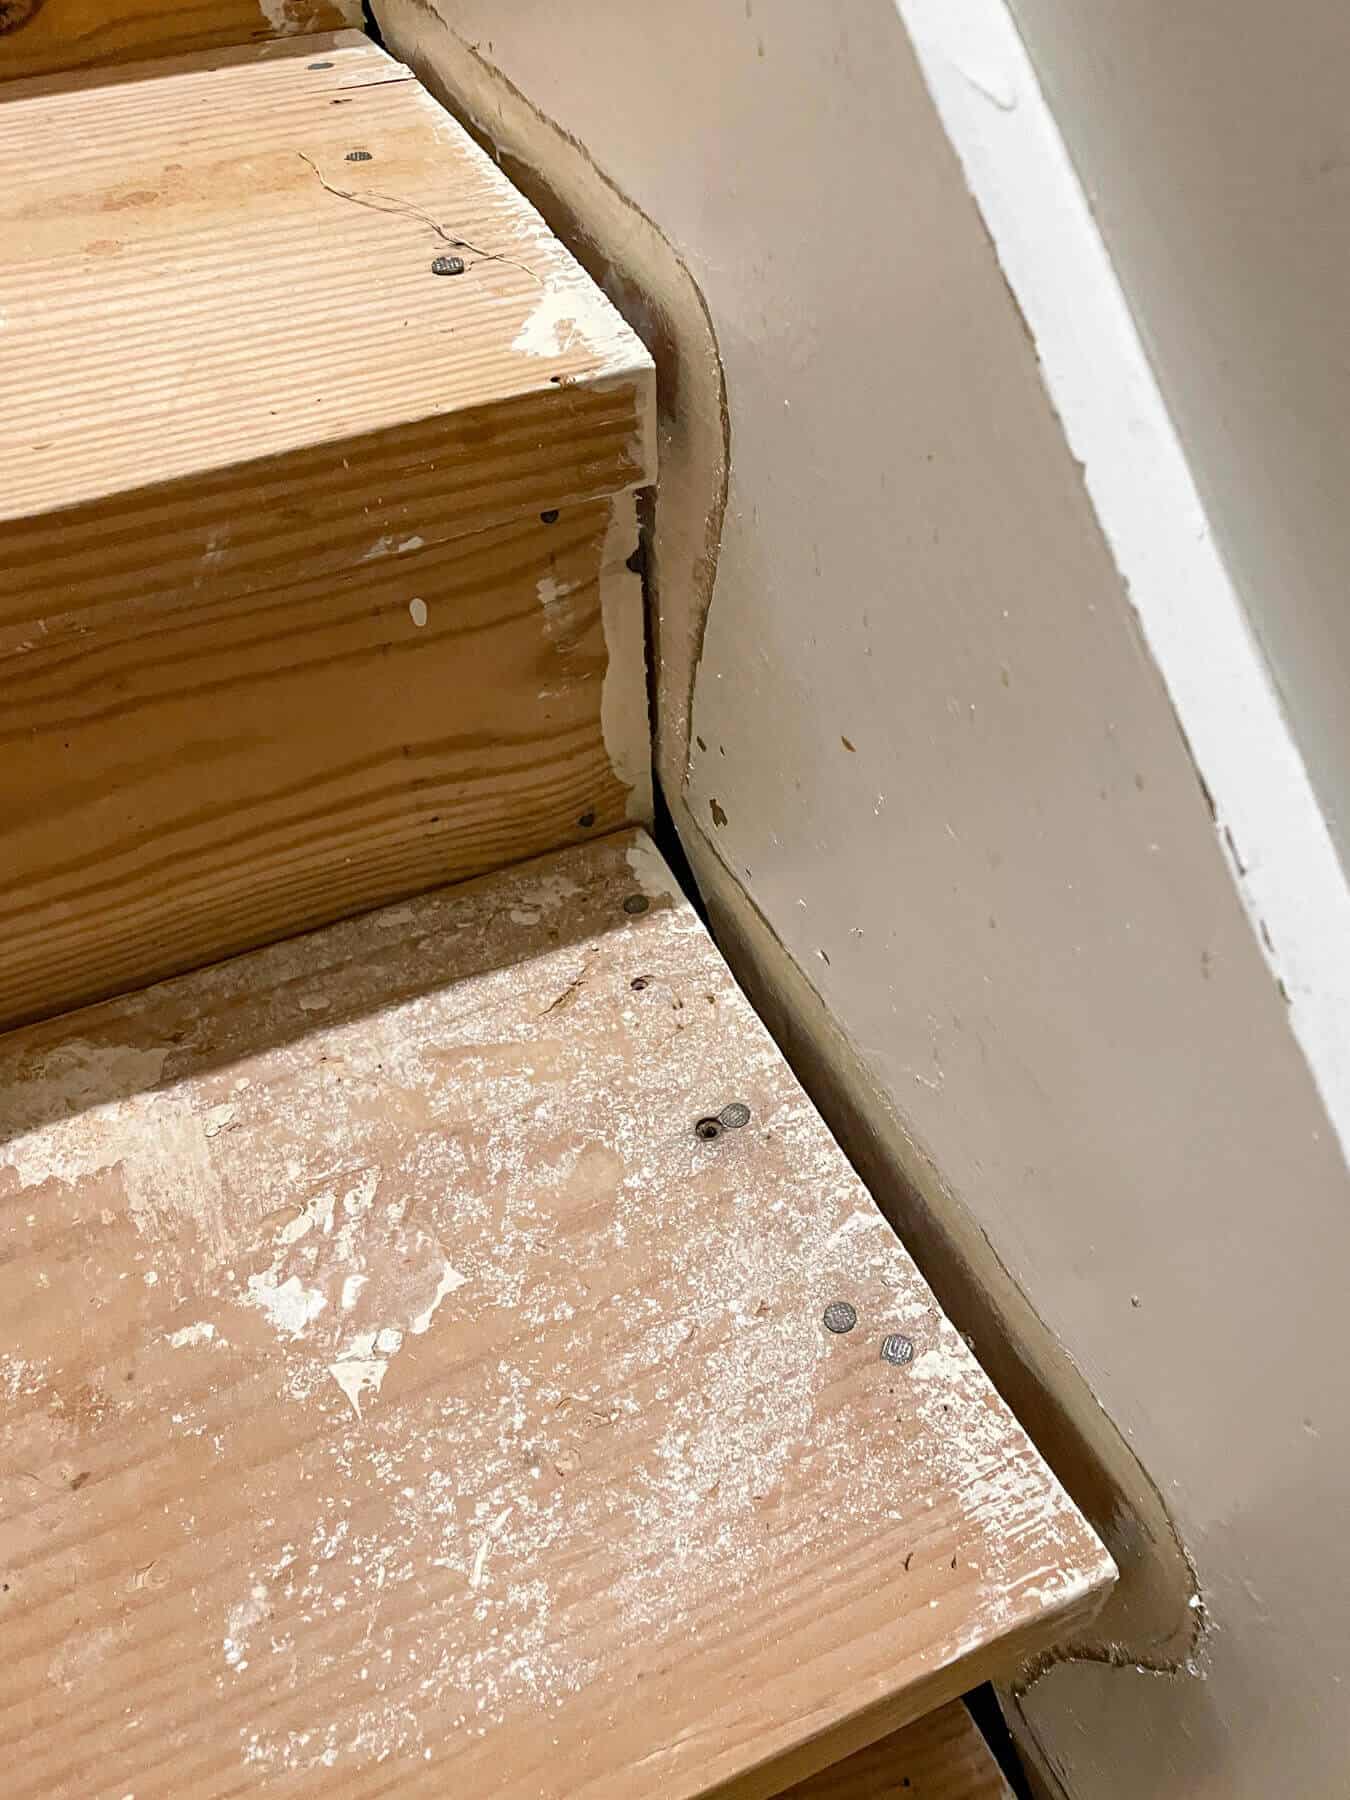
And we were right about that outside edge.
There is a huge gap between the stringer and each tread.
But it doesn’t stop there.
There are also HUGE gaps between the wall and each tread. Almost a 1/2 inch in places!
So big, that it will be challenging to figure out how to fix them.
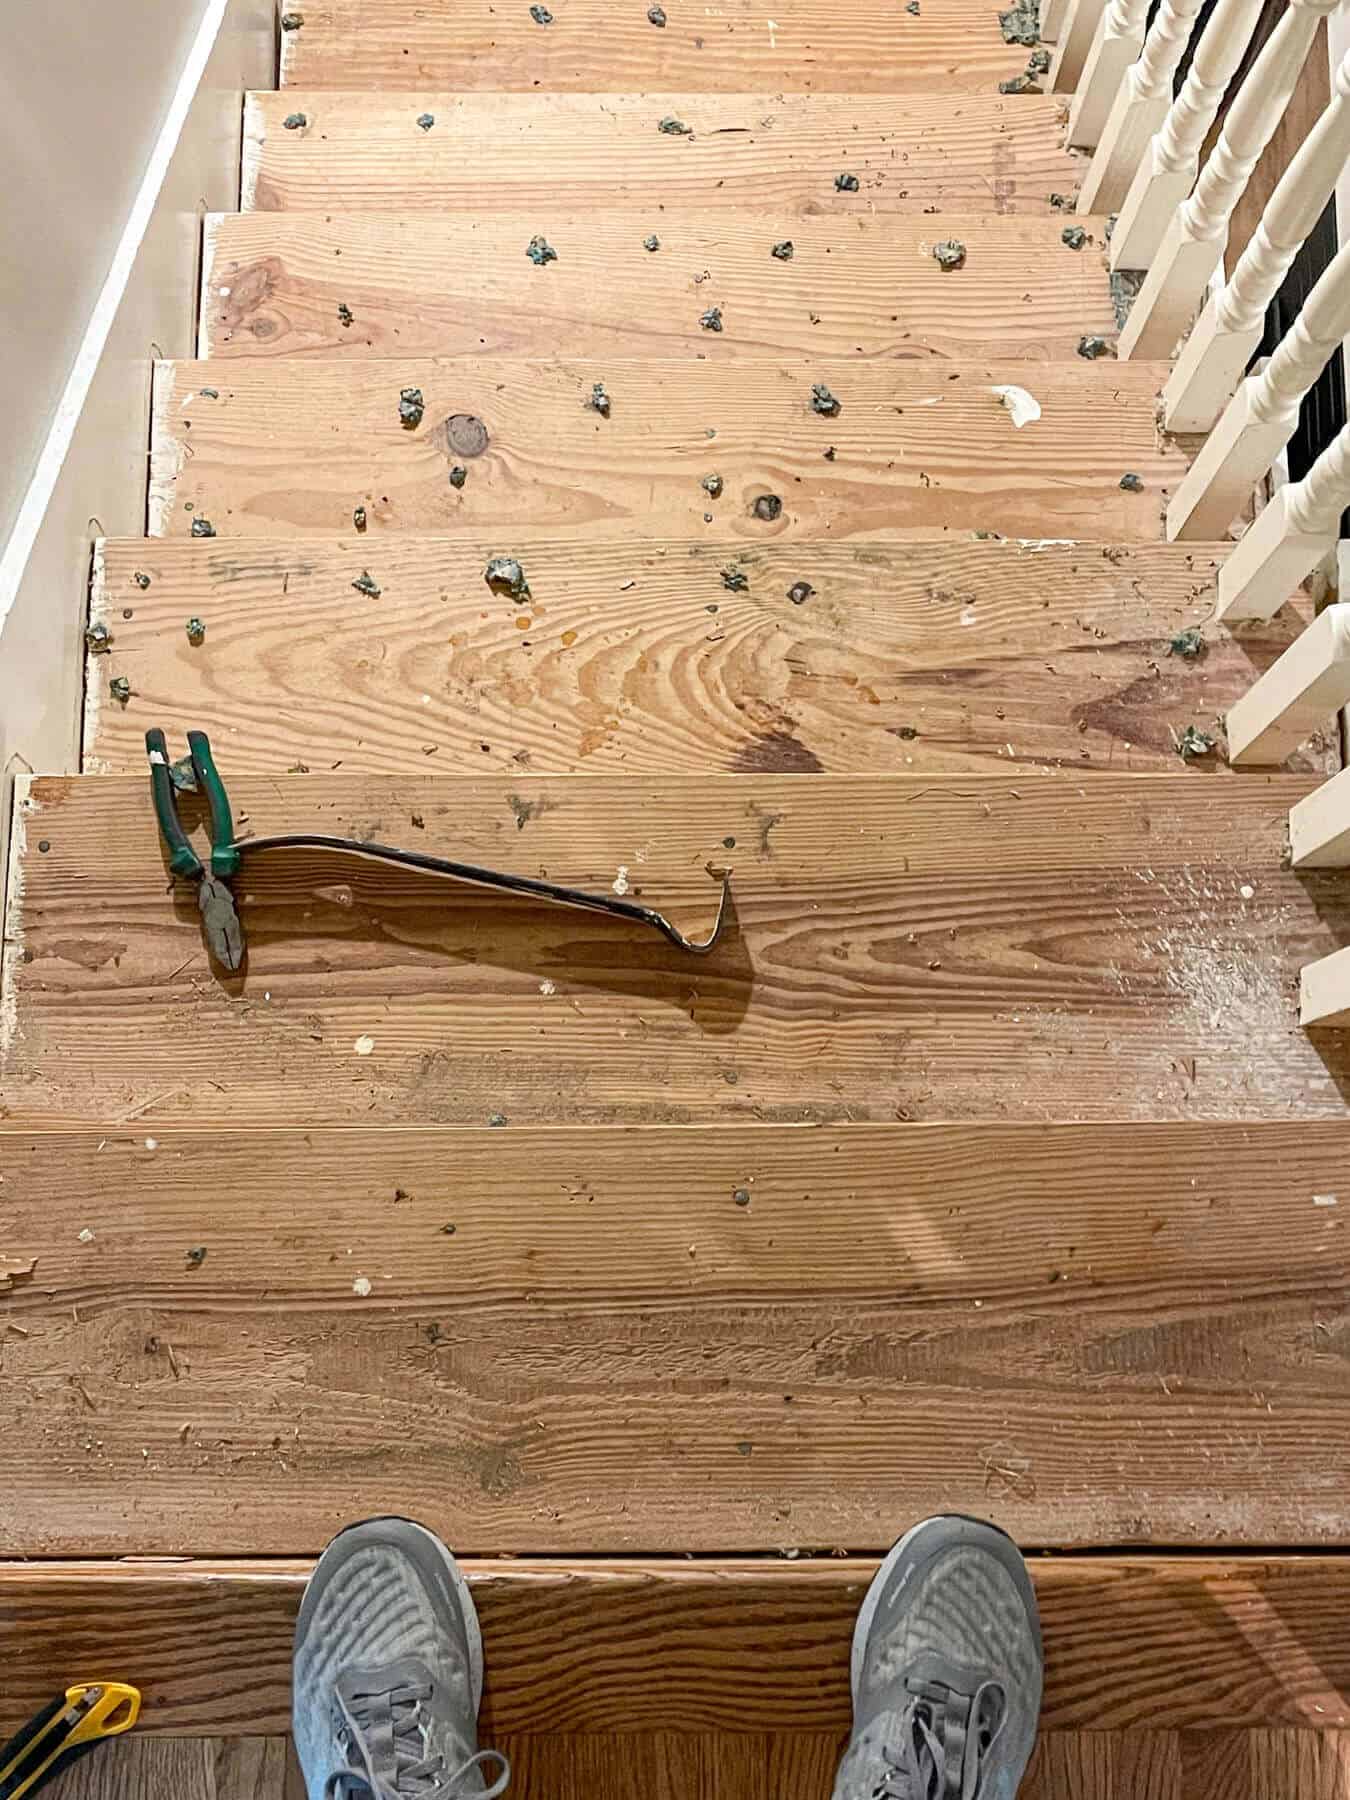
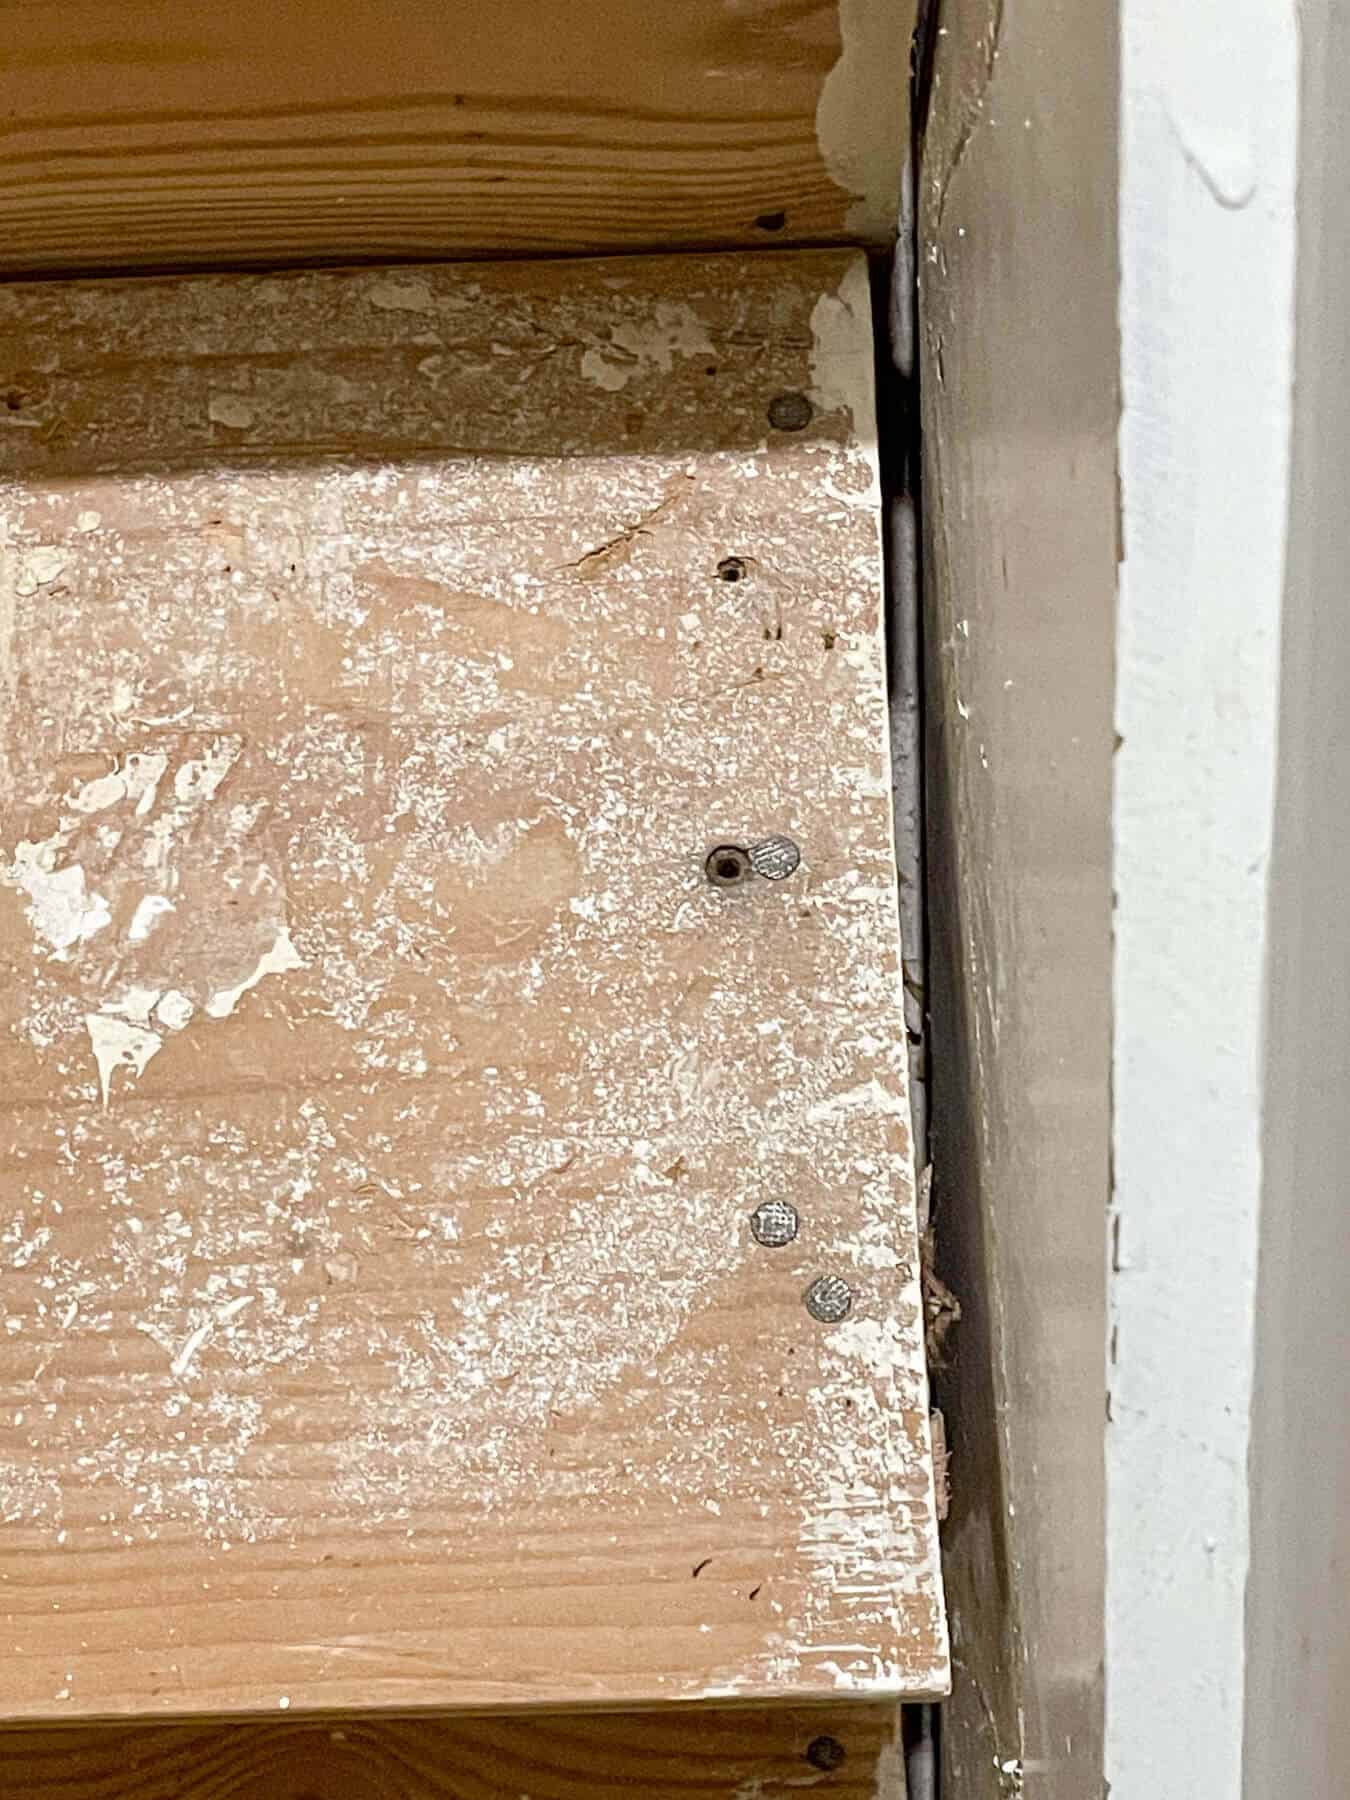
And the final issue are the treads themselves.
To keep costs down, we were planning on sanding and painting the treads and adding a carpet runner down the center.
But there are visible nails on the sides that would be exposed as well as knots that even paint won’t hide.
Not only that, but the builders nailed the balusters into the treads which may cause damage when we remove them to install the new metal balusters.
So we have 2 choices.
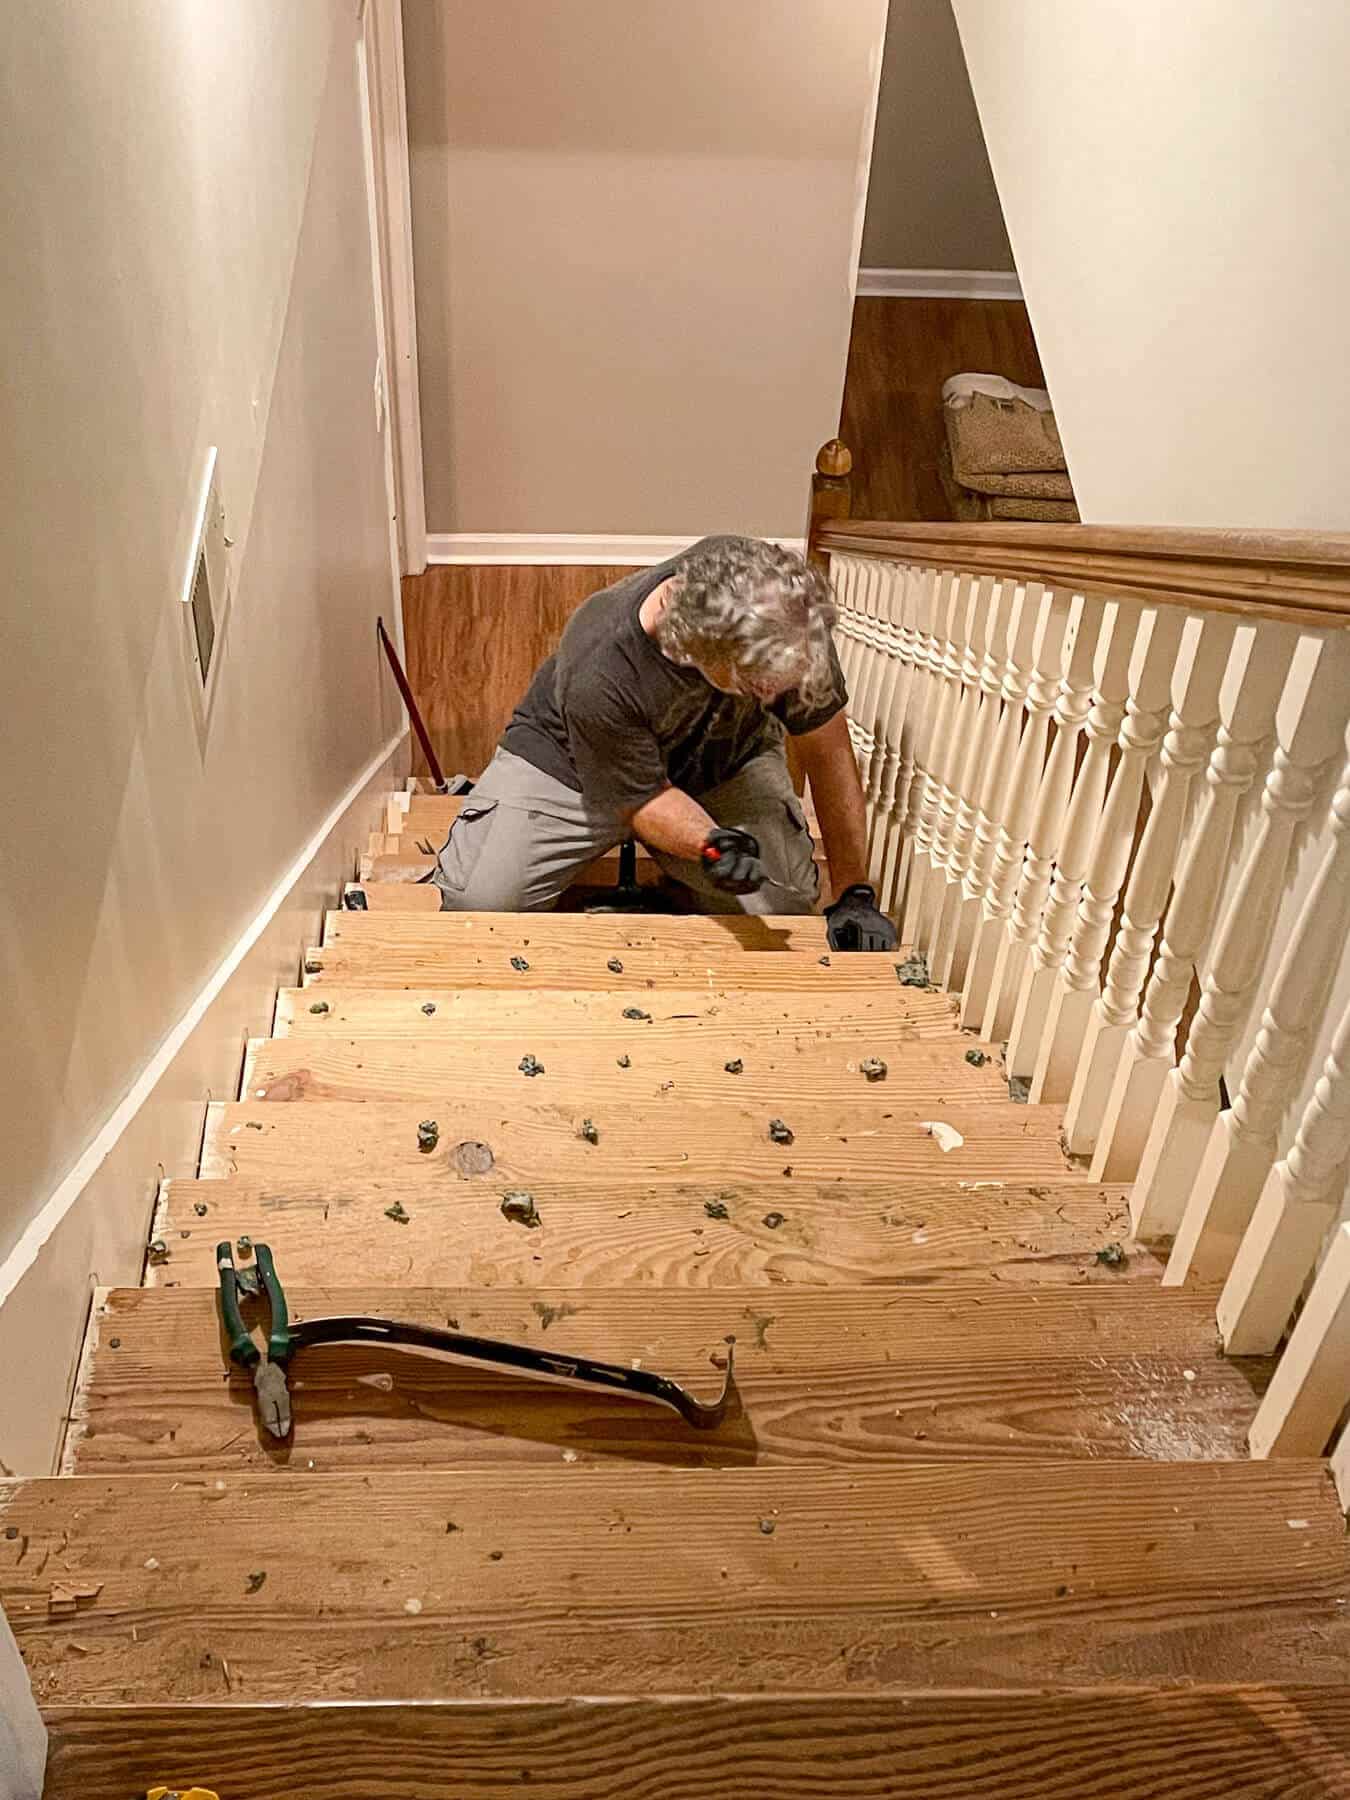
Figure out a way to work with what we have – which will require lots of sanding and creative fixes.
Or we buy new pine treads and paint them. Those would only cost about $175 with tax, and I’m thinking that may be the way to go!
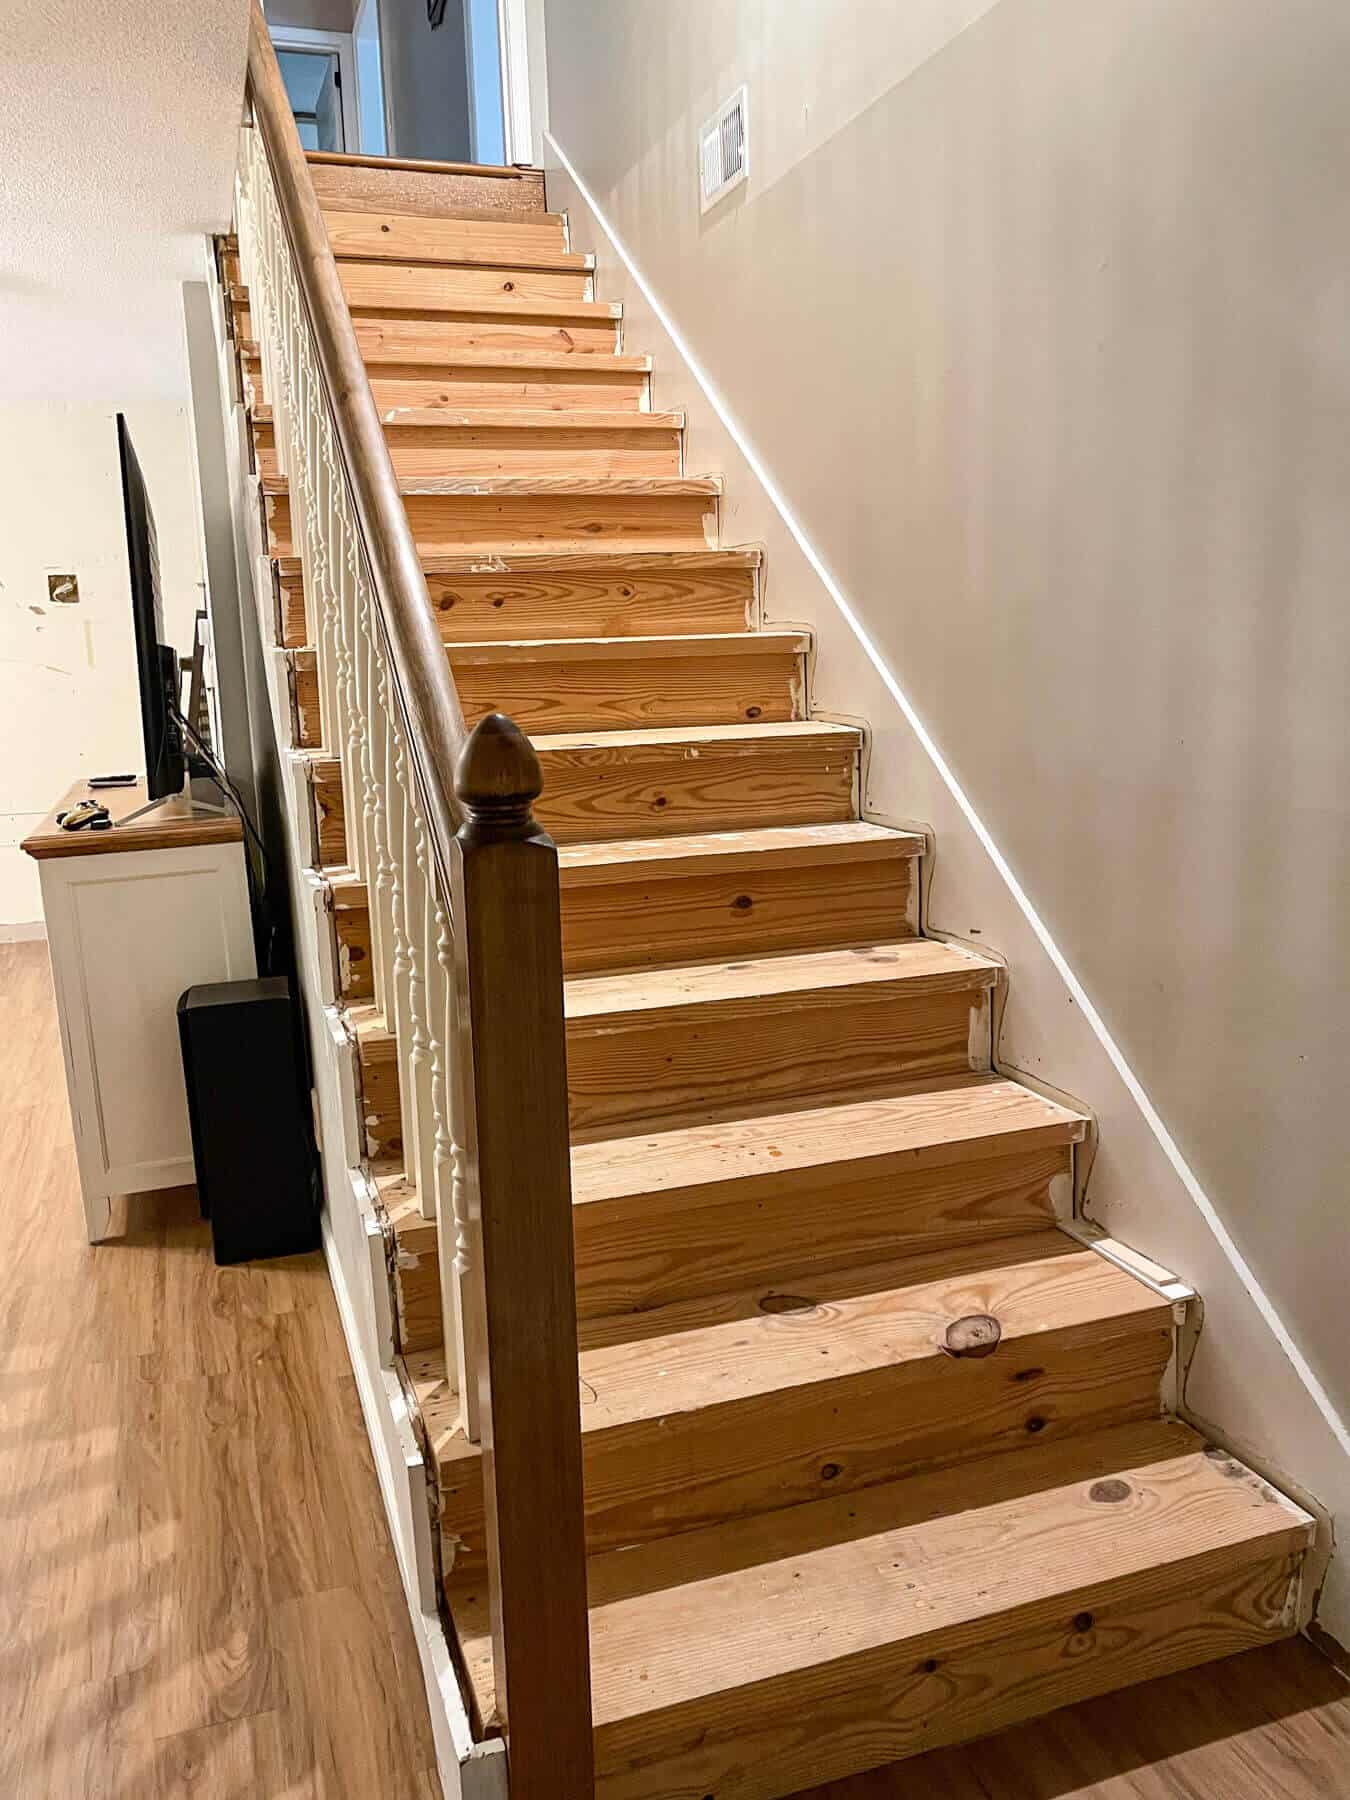
Even though there are a few hurdles, can I get an amen for that carpet being gone?
I am so very happy that I don’t have to see that anymore.
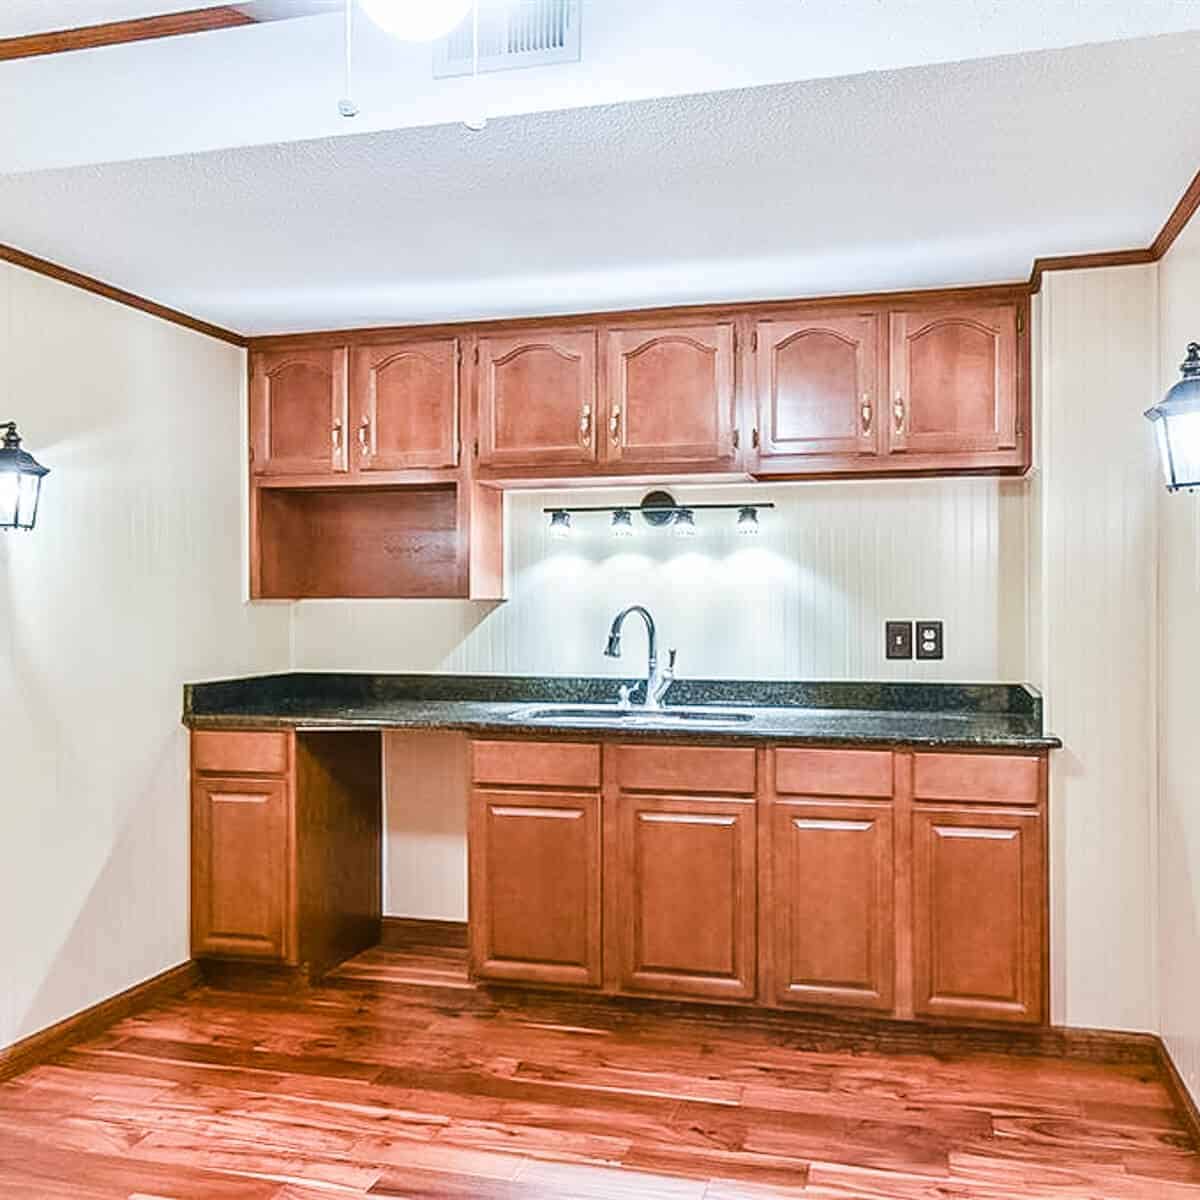
The next area that needed some demo work done was the beadboard basement wall.
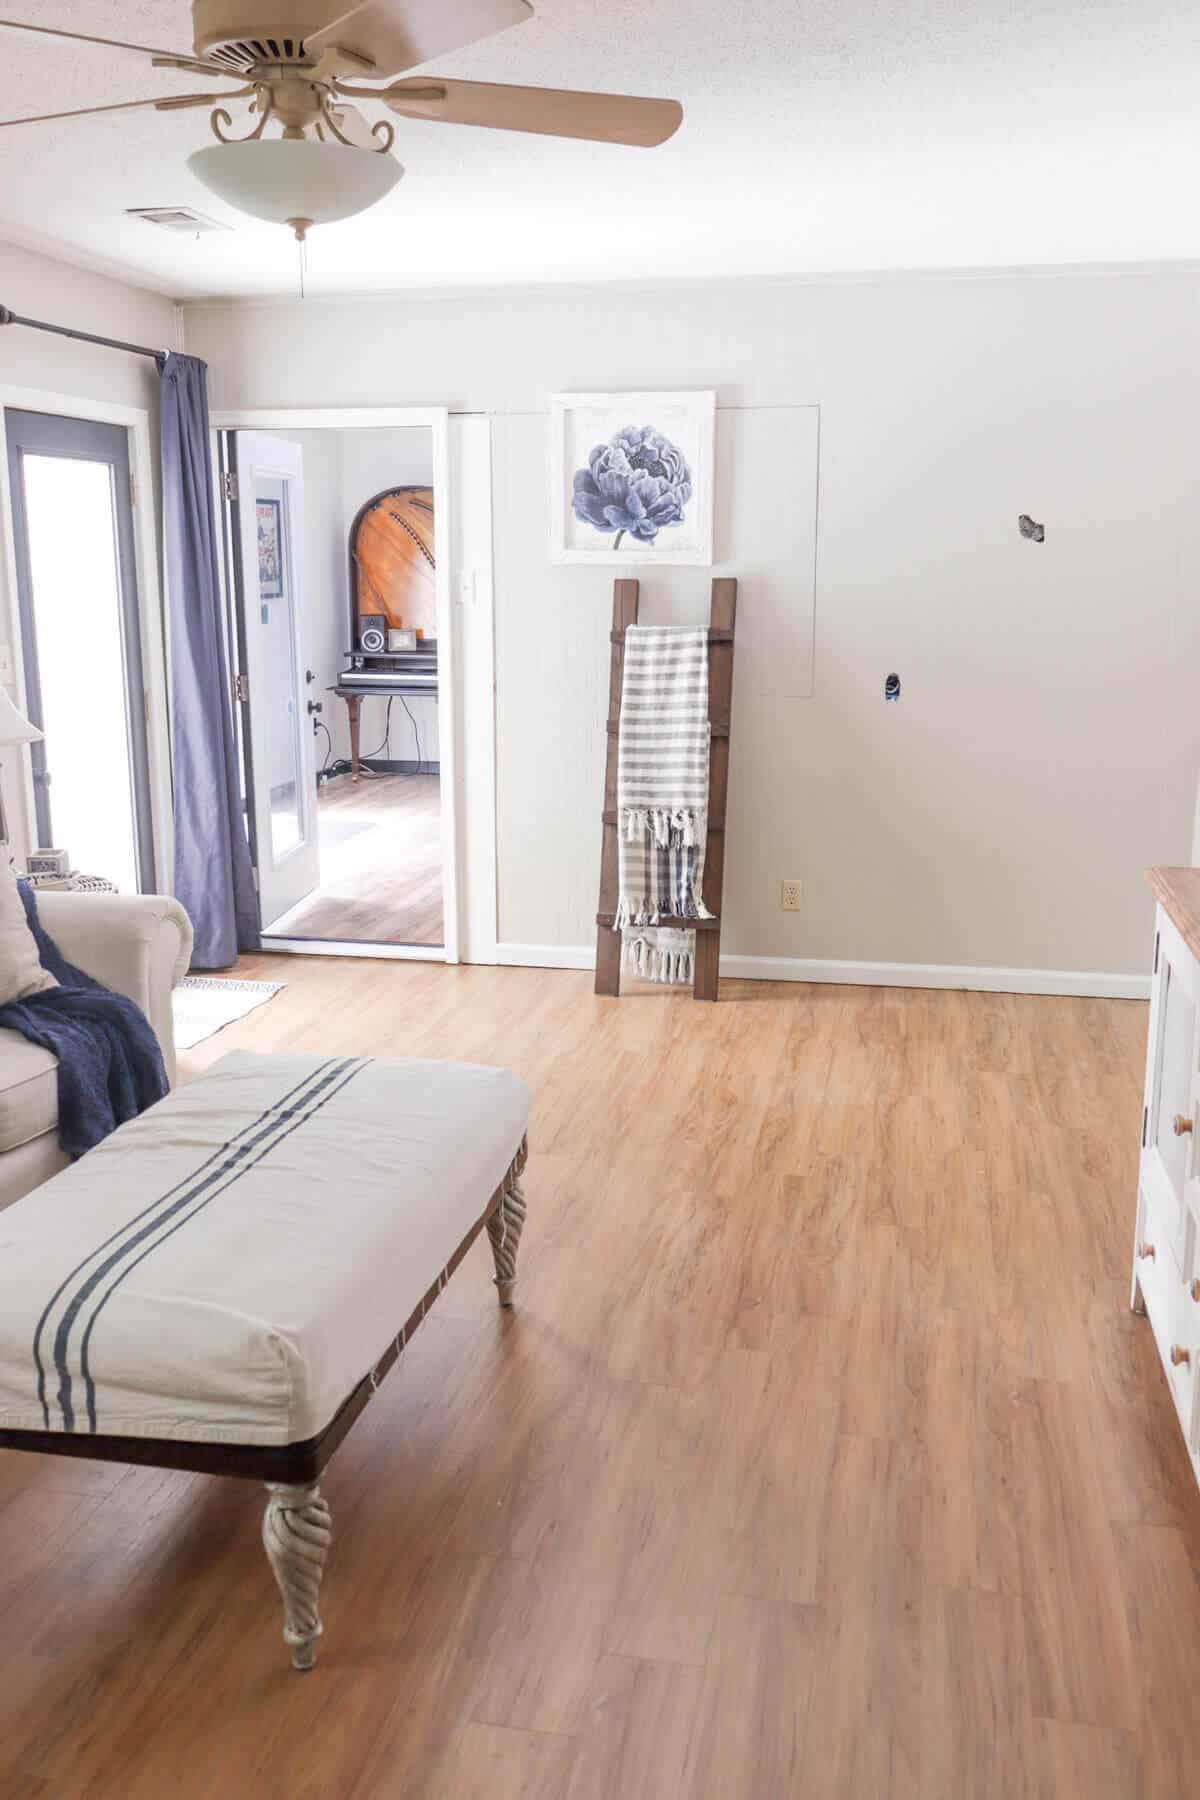
We pieced it together a few years ago when we filled in a pass through to close up our Music Studio.
And the beadboard was a very poor wood quality with chips in the wood.
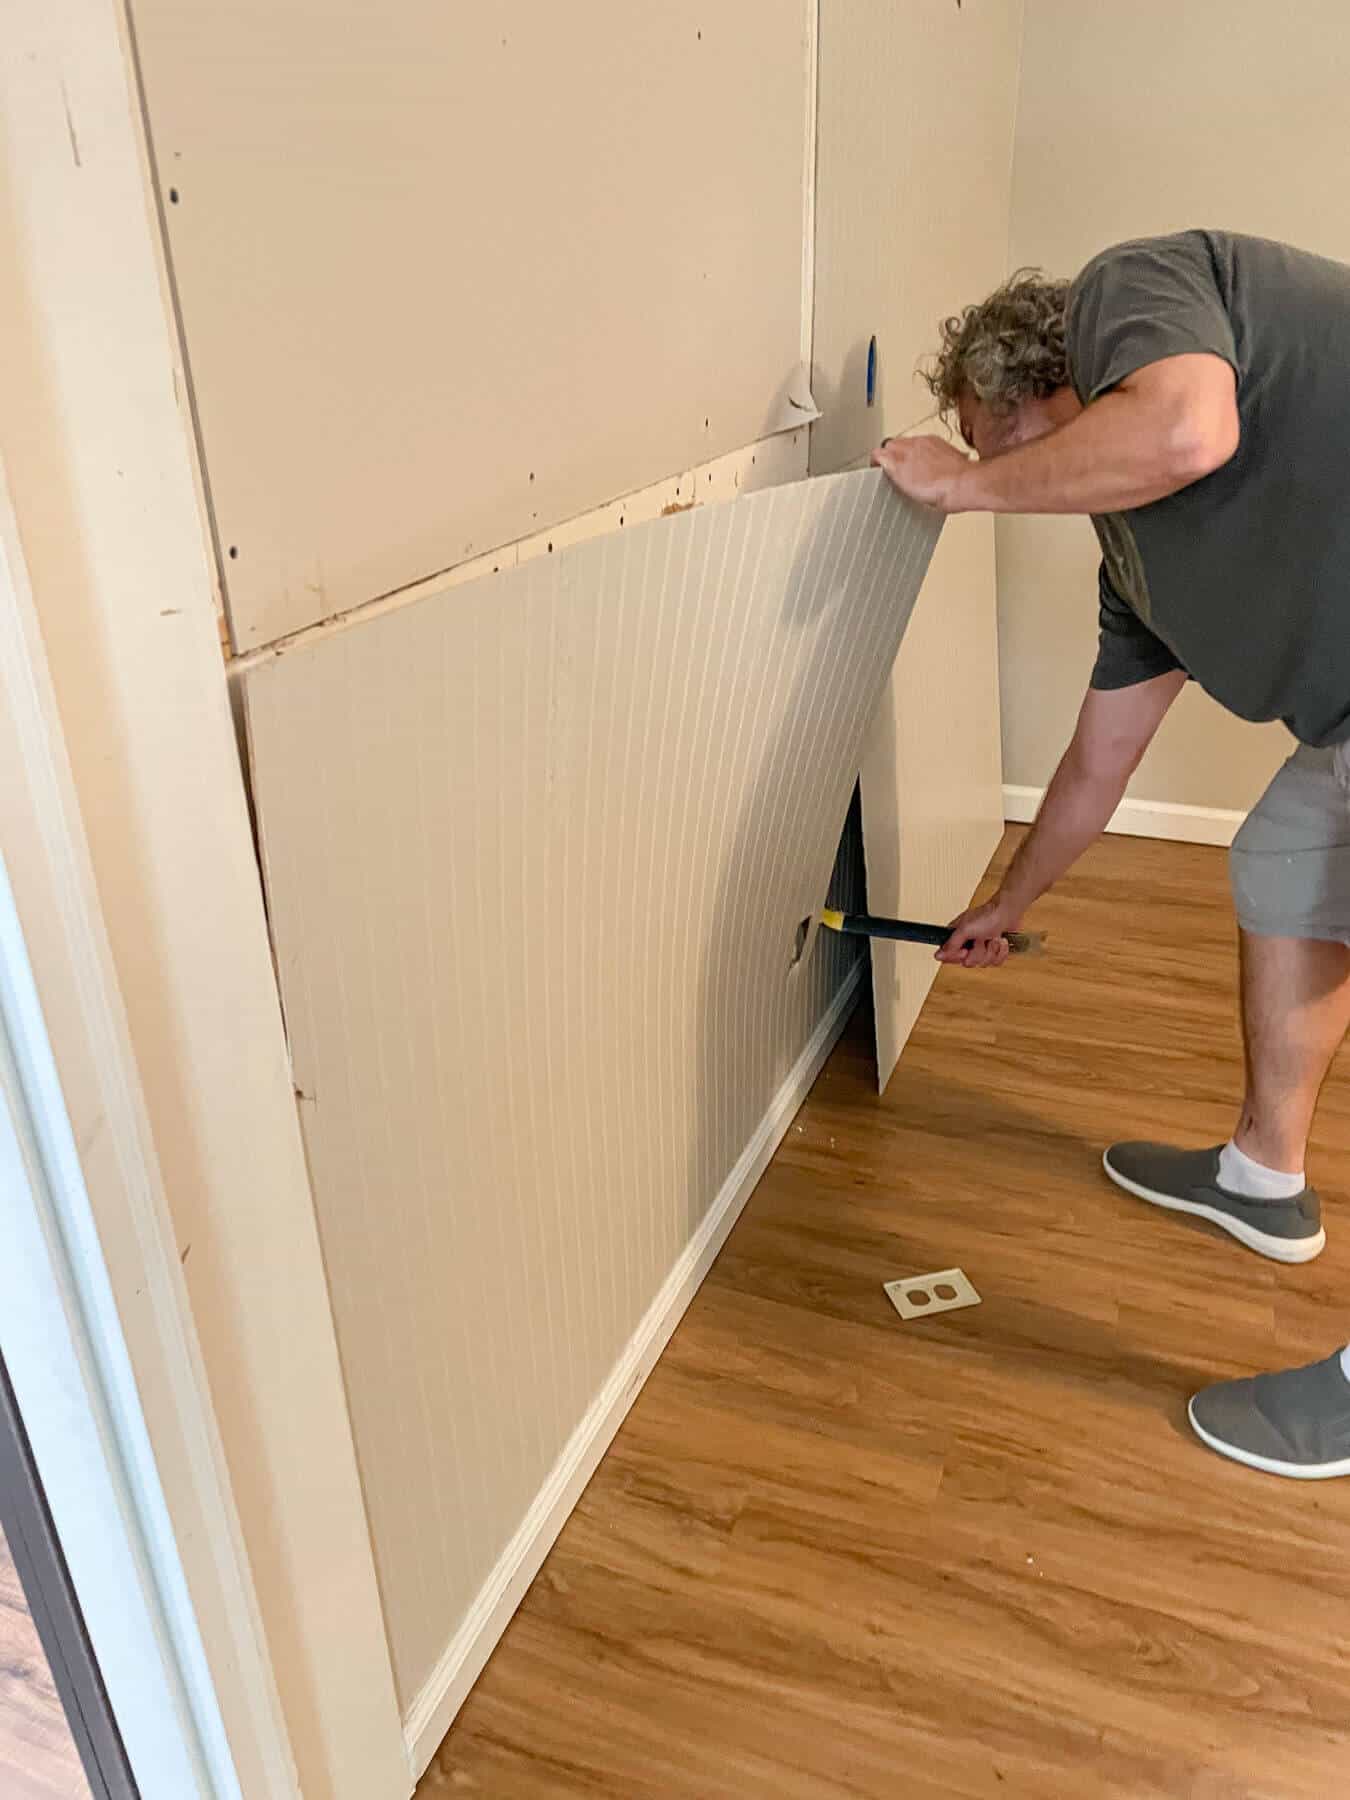

We were finally able to get all the beadboard off the wall.
But there was one more issue.
The wall outlet was placed oddly on a piece of 1 x 6 trim.
So we needed to remove that as well.
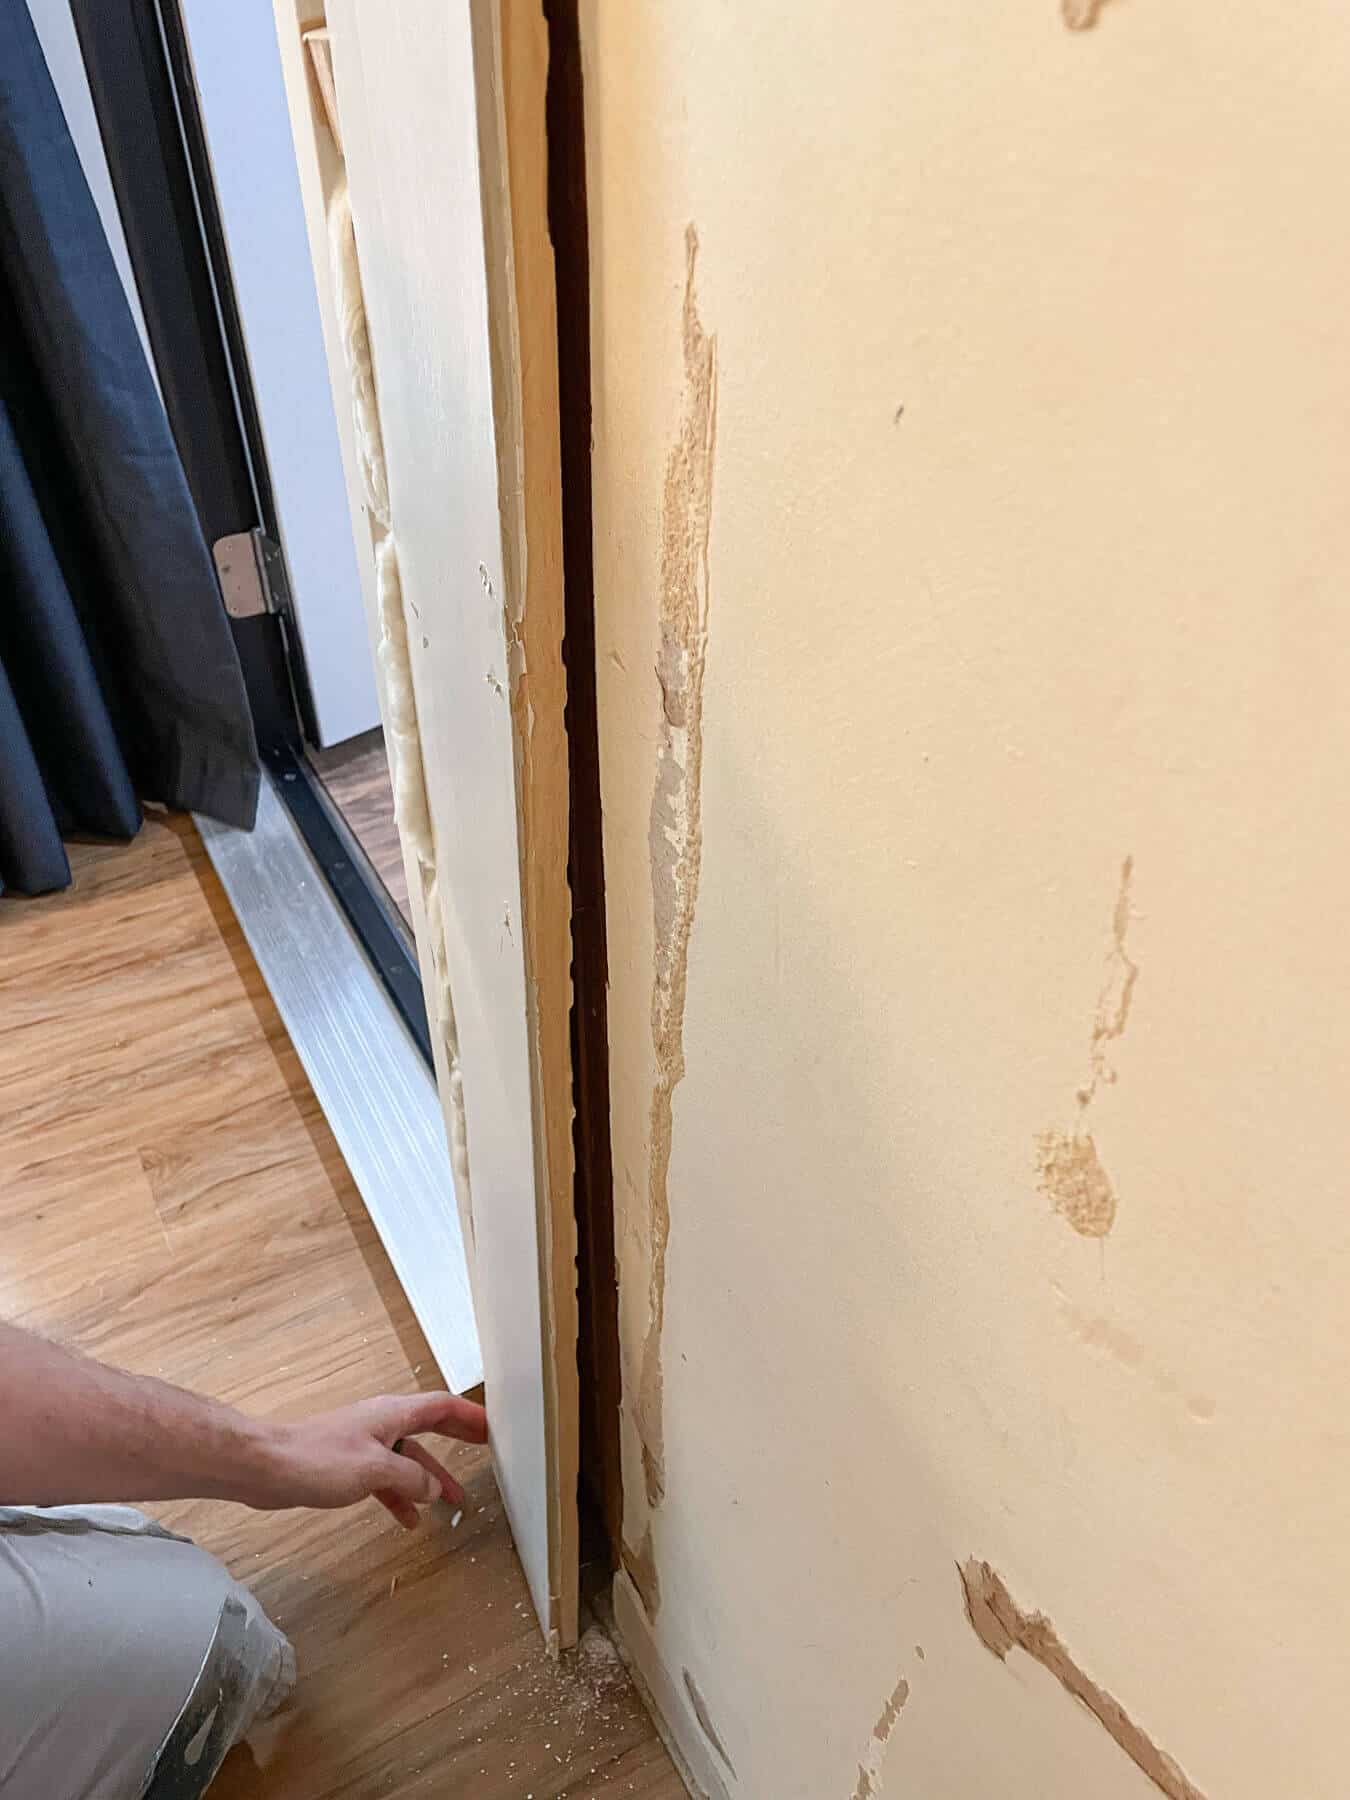
This also involved taking off the door molding, which is fine with me.
We installed this exterior door to keep the sound from the music studio from escaping, and it’s the builder grade brick molding that doesn’t match the rest of the room.
I was fine with that going bye-bye.
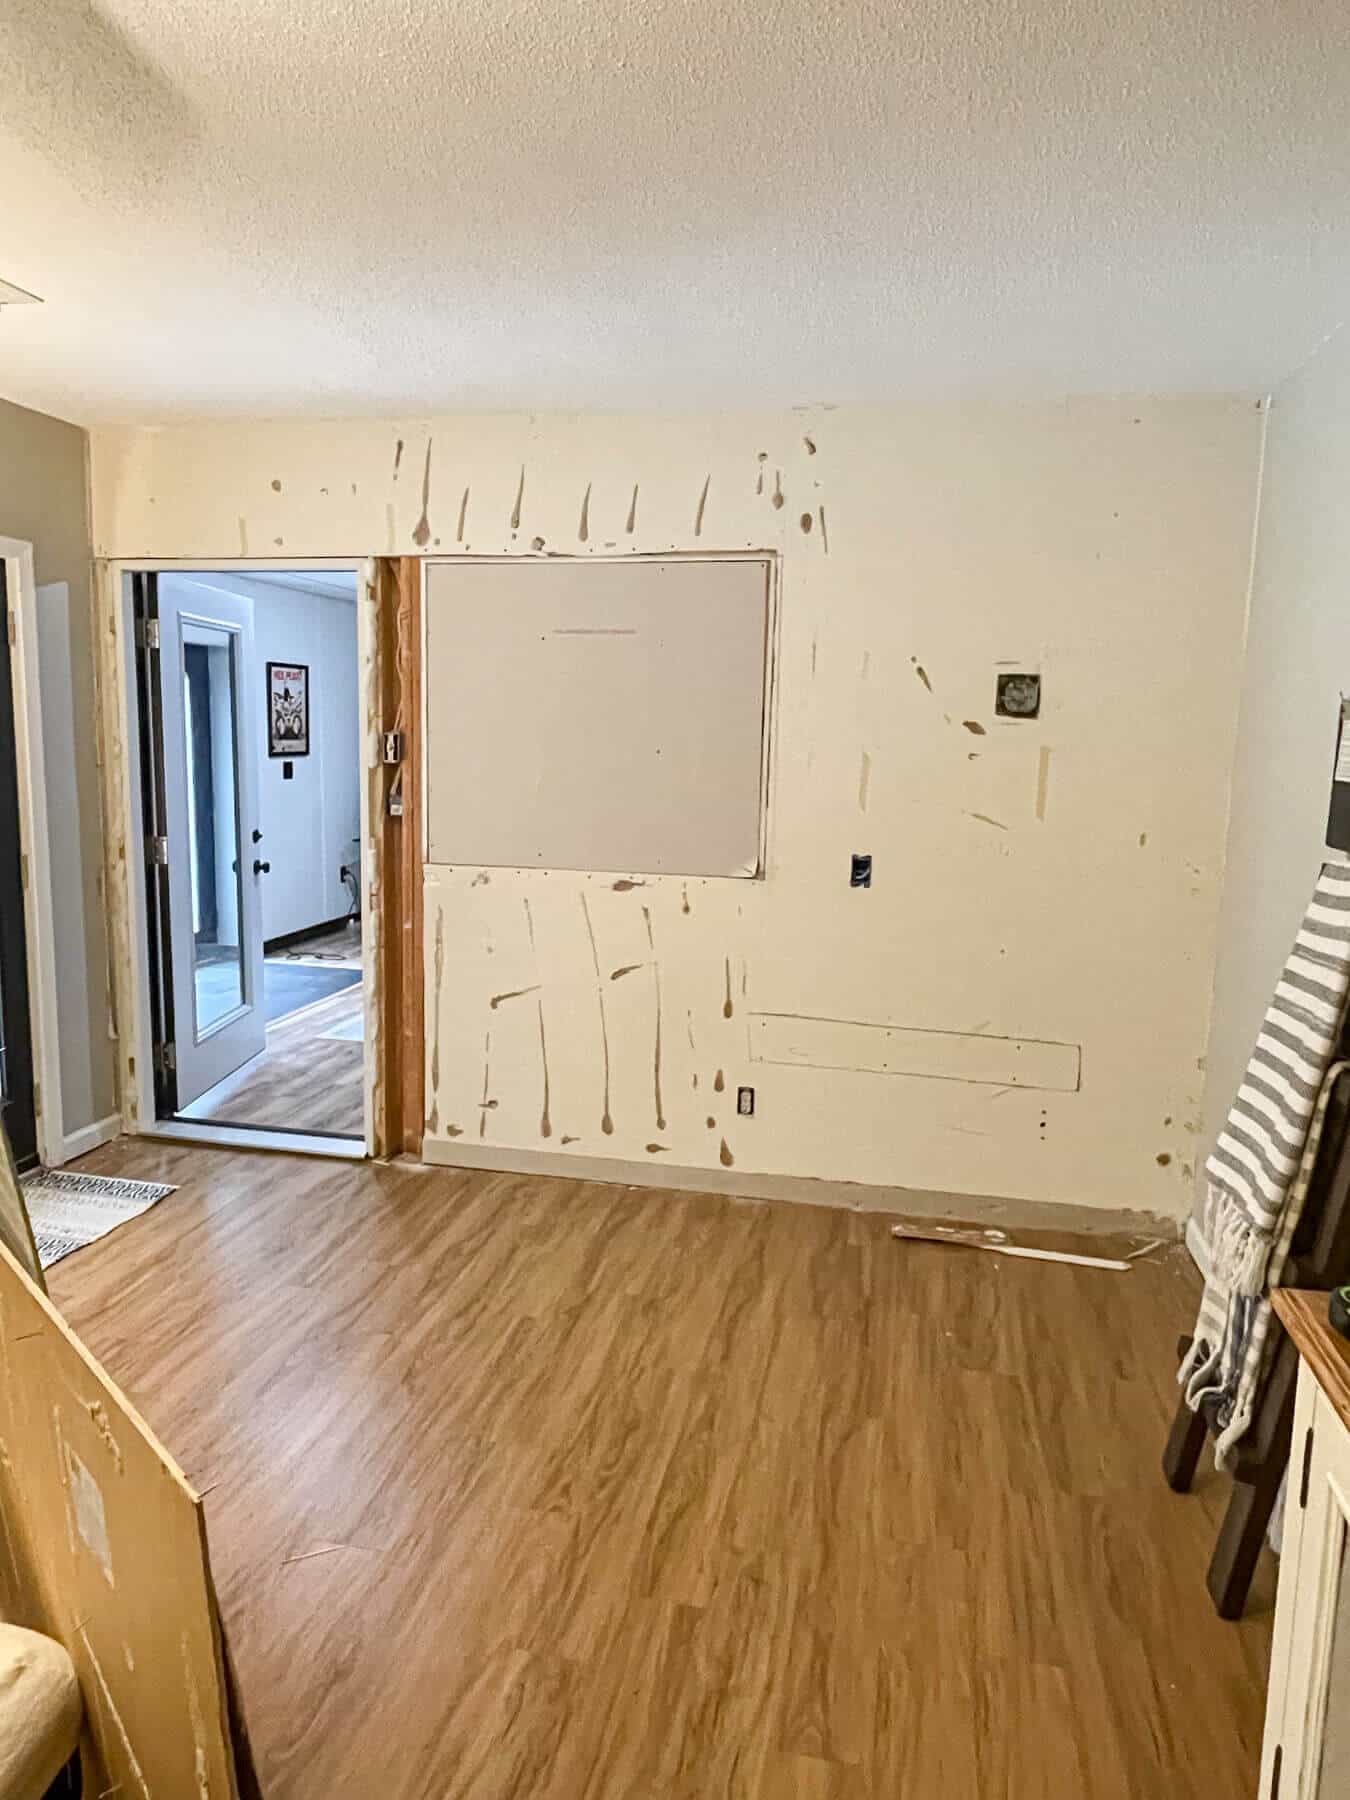
Our solution for this wall is to install 1/4 inch drywall over the existing drywall instead of trying to repair the gaps and holes that are there.
Plus, that creates an additional layer of sound proofing for our studio!
And lastly, but certainly not least, we started scraping that dreaded popcorn off our ceiling.

I was hoping to get further into the room than I did, but that will have to be for next week.
Plans for Next Week
Painting is on the menu for this next week! I want to make sure the ceiling is painted before our sectional (hopefully) gets delivered.
And I have to get the popcorn off the ceiling over the stairs, so we’ll need to find some ingenuity for that task!
Here are my goals:
- Finish scraping the ceiling
- Start priming and painting the walls and ceiling
- Figure out what we’re going to do with the stair treads
Be sure not to miss this season’s Featured Designers and the Guest Participants links at the One Room Challenge weblink up! As always, special thanks to the One Room Challenge media Sponsor, Better Homes and Garden and to Linda – owner and creator of the One Room Challenge.

Home Pop || HANDy Products || Urban Ambiance || Affordable Blinds || Romabio Paints