3 Easy Steps to Update Pre-painted Brick
After making over my fireplace with mineral based paint, I couldn’t wait to try it on my painted brick in my sunroom. Today, I’ll show you 3 easy steps to update pre-painted brick using Romabio Masonry paint.
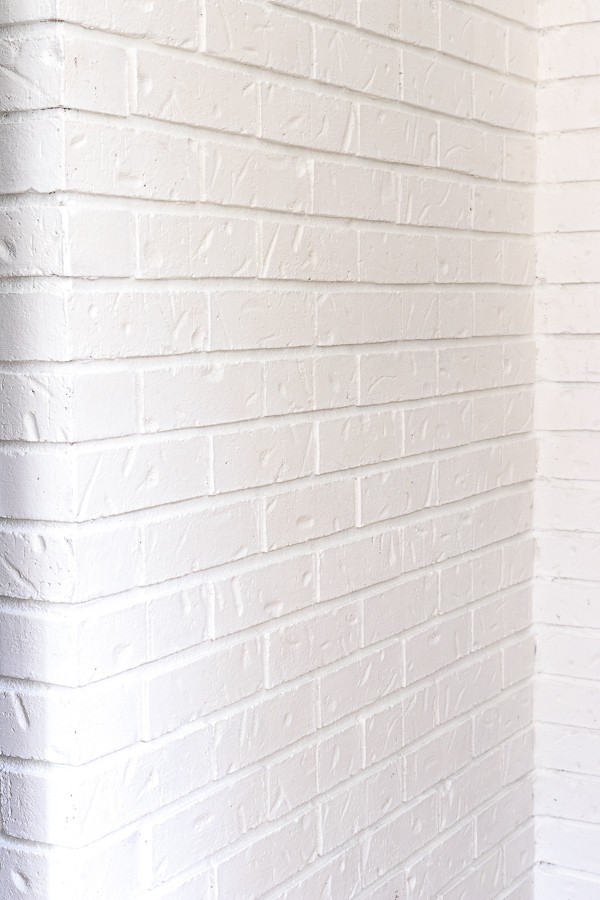
I love my Limewashed brick on the exterior of our home.
It’s creamy, beautiful and perfectly farmhouse.
We are in the process of updating our sunroom, and I have dreams for this space.
I want this to be so comfy that it begs you to stop the busyness and read a book or come take a nap.
There’s nothing more comfortable than creating that feeling with soft elements – and rough brick isn’t one of them!
Here are 3 easy steps to update pre-painted brick using RomaBio’s Masonry Paint.
First, let me show you the materials needed for this project. Affiliate links are provided for your convenience.
Materials Needed
- RomaBio Masonry Paint – I used Avorio White
- RomaBio BioGrip Micro Primer
- Large Masonry Brush – this one is the bomb!
- Drop Cloths
- Paint Mixing Cup with Measurements
- Smaller Brushes
- Paint stir sticks or drill with paddle attachment
3 Easy Steps to Update Pre-Painted Brick
Prep
The first step to success in any project is your prep work.
Start by cleaning any dirt or soot off the brick with a mild cleaner and cover any flooring areas to be painted with drop cloths. A quick vacuum does the trick for any dusty areas.
If any paint is peeling or flaking, it should be scraped off.
What I love about RomaBio’s product line is that it comes concentrated, extending it’s usability and shelf life. So an important step in prepping your work is to dilute RomaBio’s products before applying them to a masonry surface.
Since my brick was pre-painted, you have to use RomaBio’s BioGrip Micro Primer to allow the masonry paint to adhere to the acrylic painted surface.
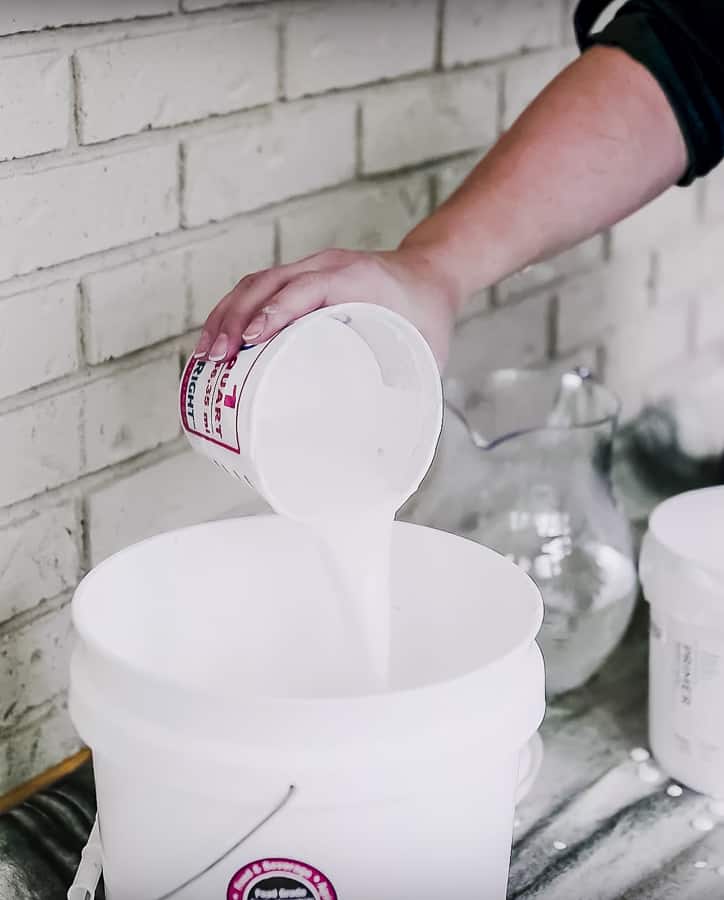
In 2 separate mixing buckets, I diluted the primer and masonry paint by 20 to 30%.
Having a cup with premeasured marks makes the math very easy!
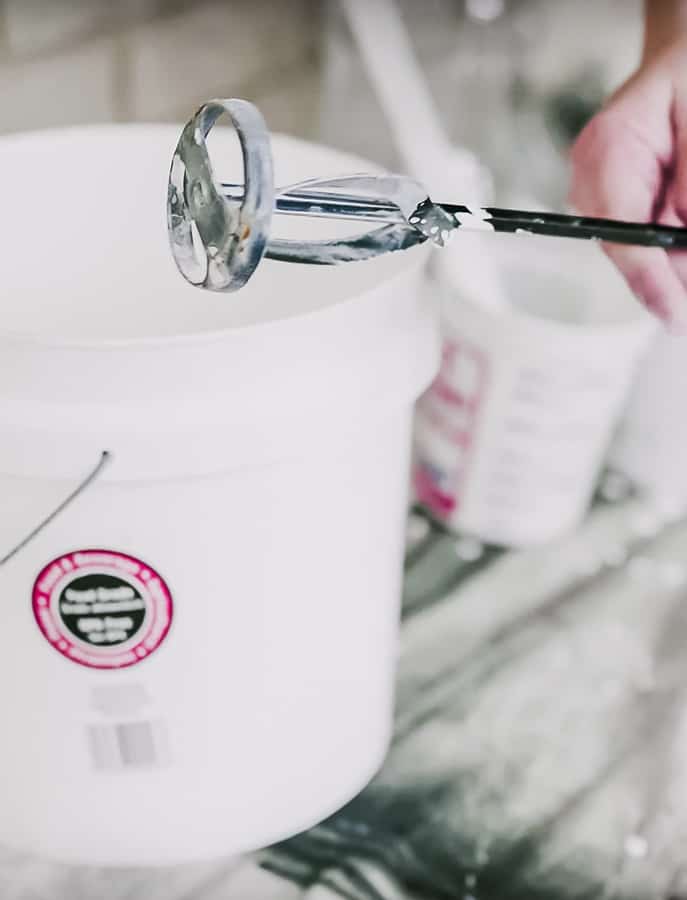
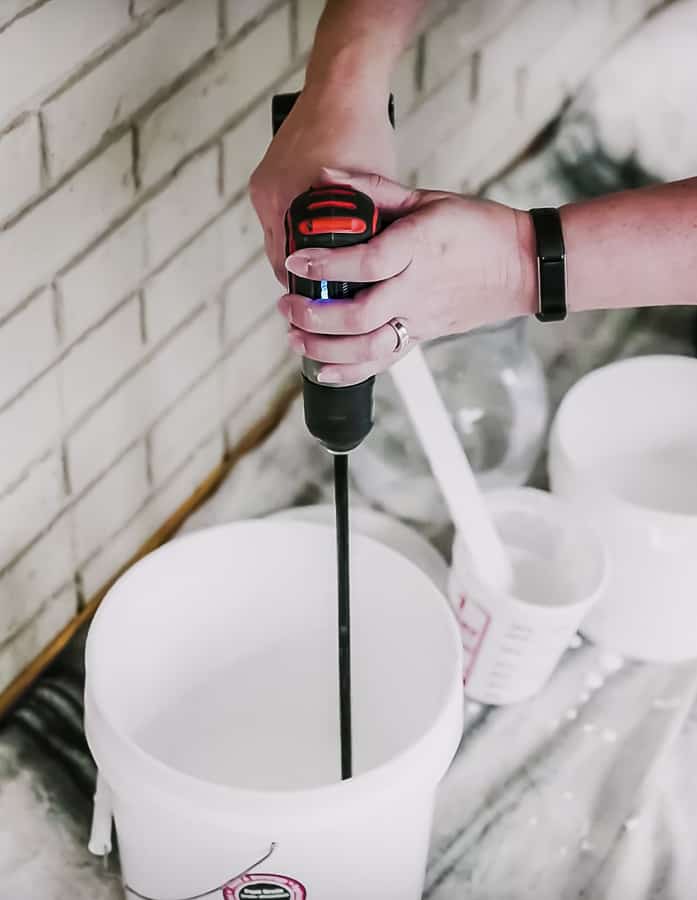
Using a Paddle drill attachment or stir-stick, you want to mix thoroughly for 3-5 minutes until there is no standing water. Make sure that there are no large clumps and the paint feels consistent.
Prime
After you dilute the primer, you can apply the primer just like any paint.
The RomaBio’s Masonry products can be brushed, rolled, or sprayed on. I prefer the Large Masonry brush.
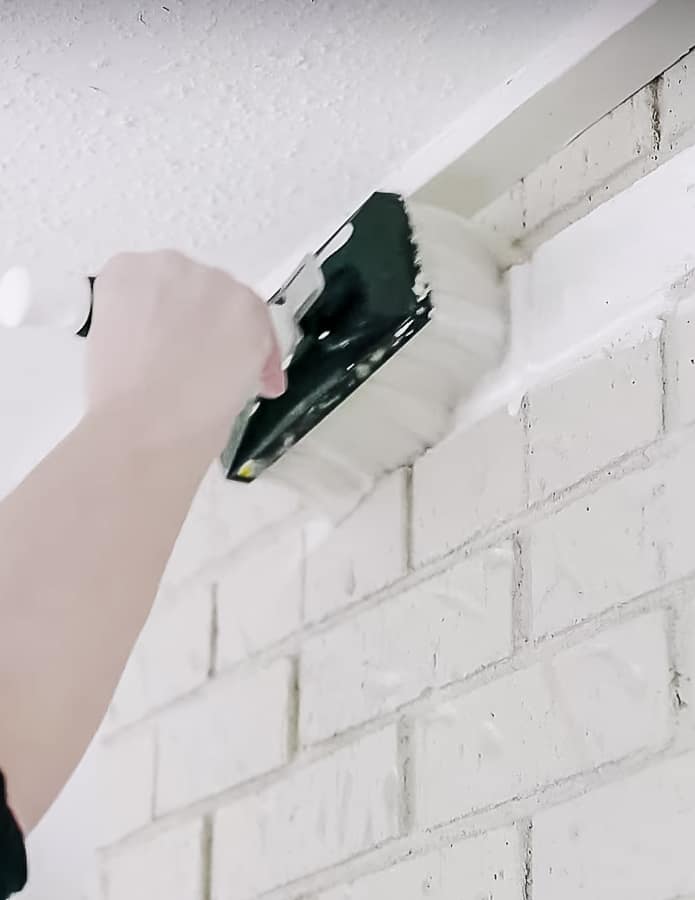
One trick I found helpful is having a small brush nearby. Use it to touch up any grout lines you may have missed.
Let the primer dry for about 8 hours before applying Masonry Paint. If the mineral primer or Masonry paint gets on any surfaces not meant to be painted, remove them asap using a rag and water or a mild acid like vinegar.
Touch the brick and you can feel the texture of the primer. It creates a gritty surface over the existing painted brick allowing for the Masonry Paint to adhere.
Paint
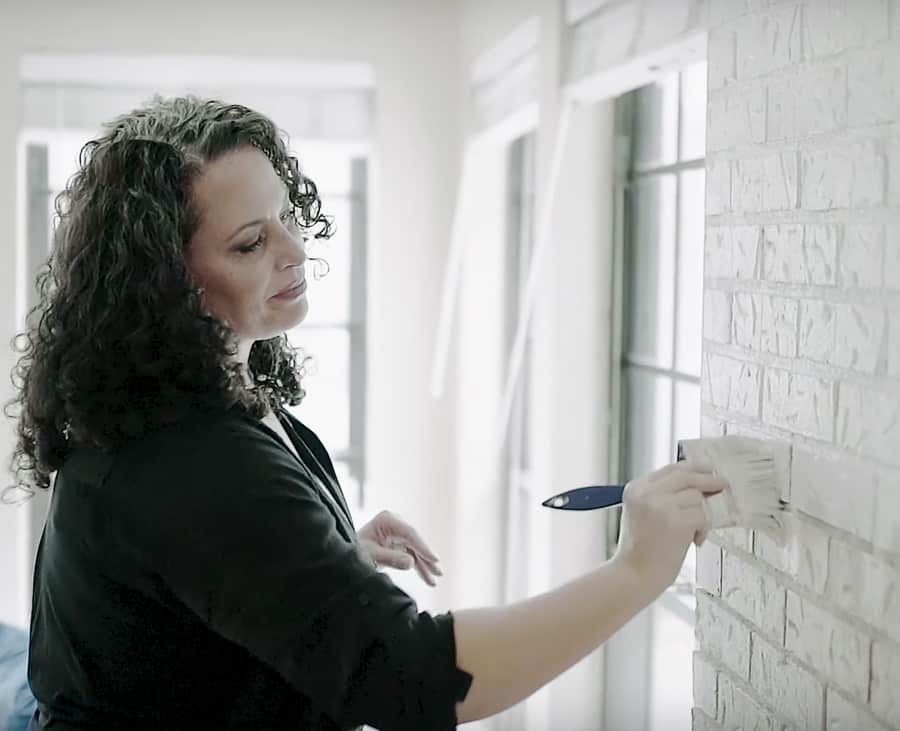
Now for the fun part!
Apply the Masonry Paint as a top finish coat over the primed surface. Don’t worry about making sure the brick is perfectly covered. You can worry about that on the 2nd coat. You can touch up any missed spots at anytime.
Once you finish applying the first coat, wait at least 4 – 8 hours before applying the second coat of Masonry Paint.
After the second coat is applied, clean up any messes with water or vinegar.
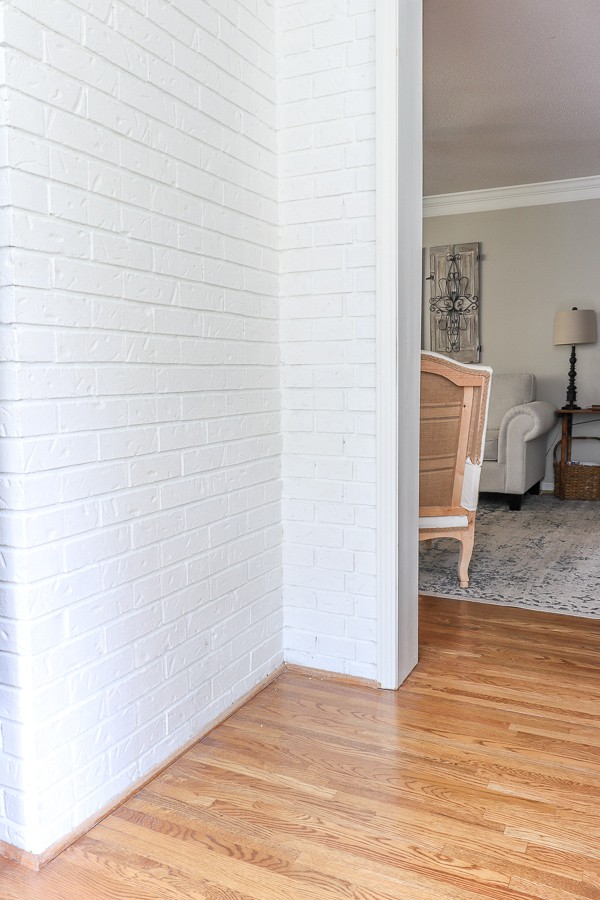
I am loving how the room looks with this updated brick!
We also painted the walls this week using a color from my custom collection with Romabio. This beautiful, neutral white is called Grace Note.
There isn’t much wall space with the large windows in the sunroom. So I opted to paint them the same color I used in our kitchen remodel.
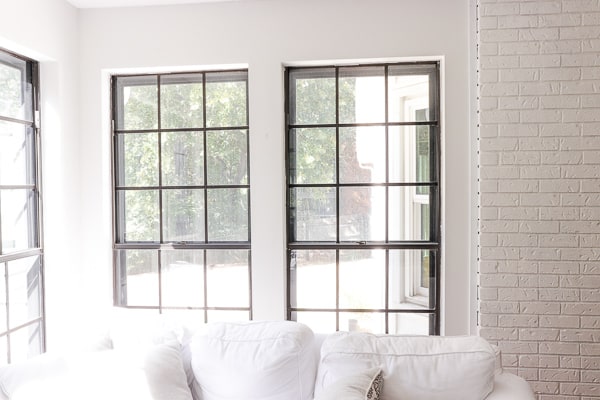
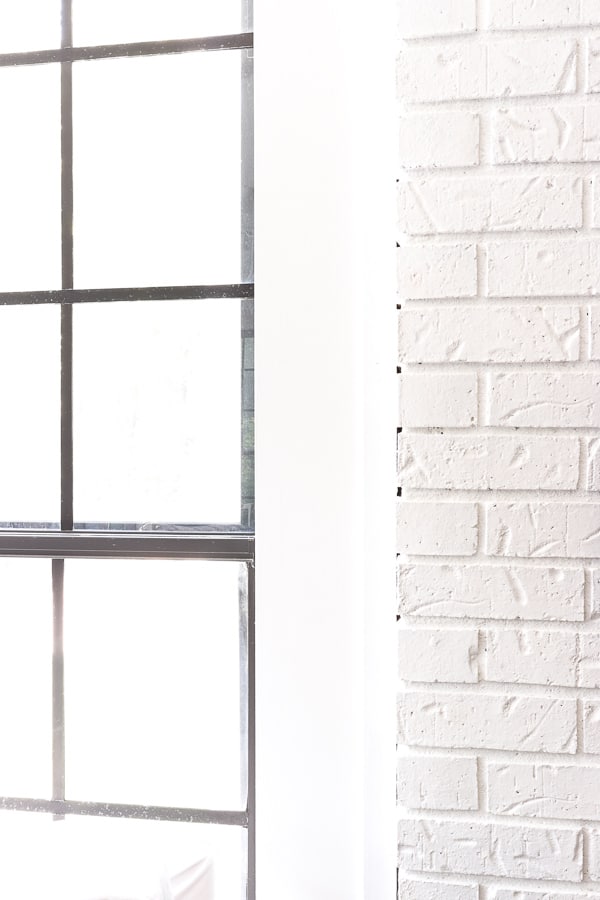
I think the black metal windows stand out even more now!
So, we made some awesome progress this week.
But now it’s time for the not so fun job.
Scraping the ceiling.
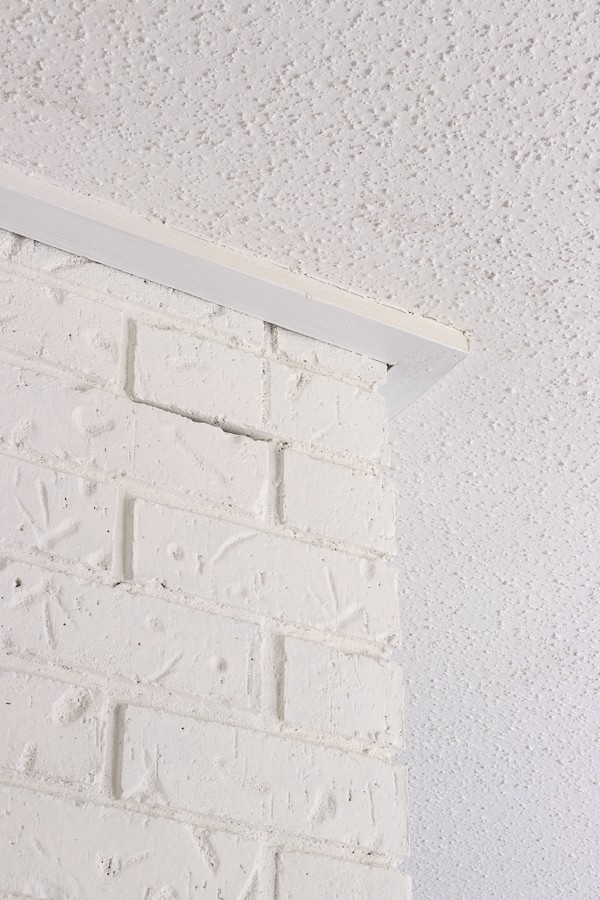
I probably should have done this task first, but honestly, I didn’t have the mental capacity to tackle it.
I needed visual stimulation to get geared up for it. But now, I’m ready!
Next week, I will share a tutorial on my easy way to keep it mess free.
If you want to see a video of this painting process, along with my fireplace makeover, check out the post below.
Let me know what you think in the comments below. You can find me on Facebook, & chat with me on Instagram.
As always, THANK YOU so much for stopping by my blog. It means so much to me!
And don’t forget to sign up for my newsletter so you don’t miss the next post!
Thank you so much Kristin!!
It looks so pretty!! I’m always in awe of your DIYs!! You have such a great eye and style!