Vintage Vanity Stool Makeover
This should be called the DIY that didn’t happen, because sometimes the original is better. See why this vintage vanity stool makeover didn’t go as planned.
Ever have a project suddenly surprise you?
That’s what happened with this little vanity bench I’ve had for years.
Much to my surprise, this little bench has worn more outfits than a runway model.
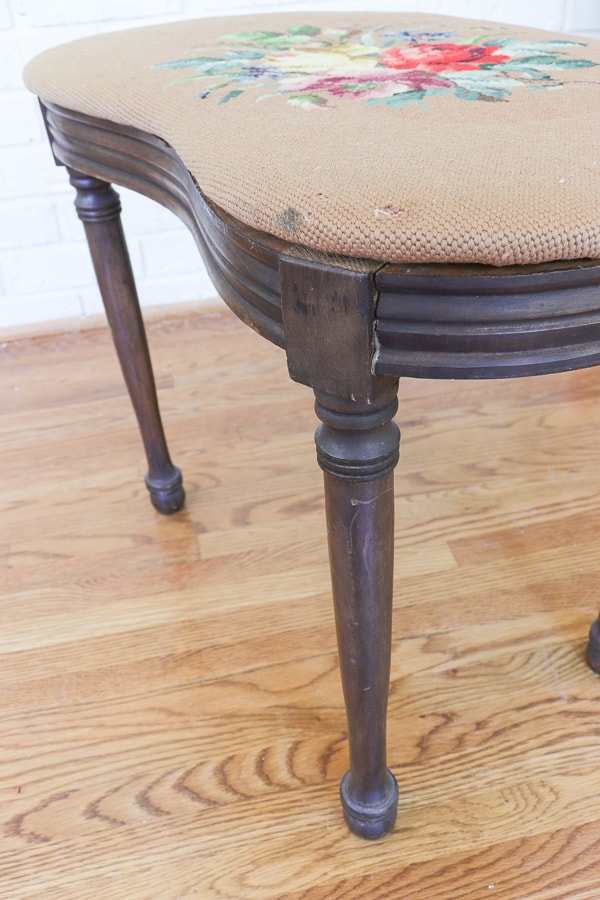
Years ago, when we lived in Vegas, I found this vintage bench while on one of my early Saturday junkin trips. I think I walked away with this pretty piece for $10. I loved the curve of the kidney shaped seat, but didn’t care for the cover, so used a toile curtain valance that I found on clearance to cover it.
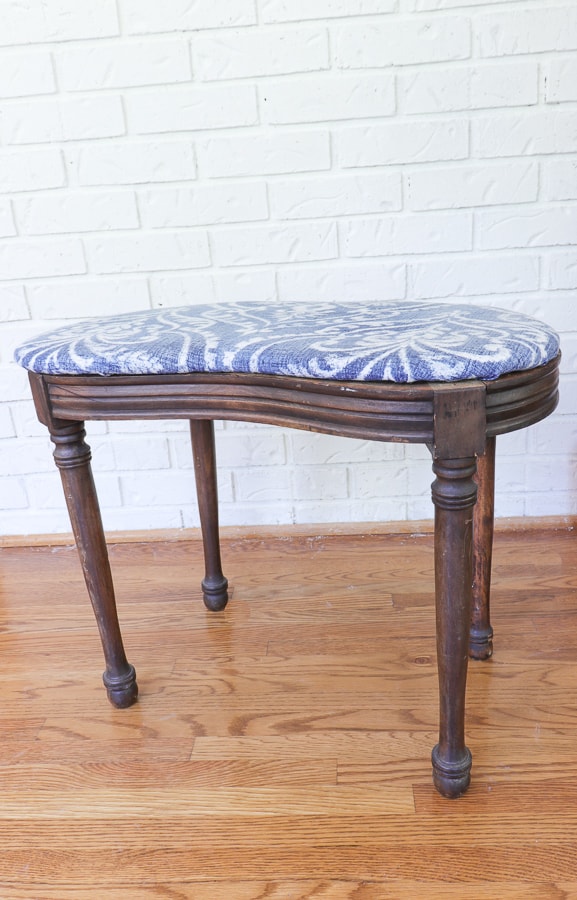
Then a few years later, I gave it another update using some leftover remnants I had from my DIY Fabric Wallpaper.
So, feeling the itch to switch, I decided to do a little Vintage Vanity Stool Makeover.
I started by removing the blue fabric and toile valence fabric and took it back to how it looked when I bought it.
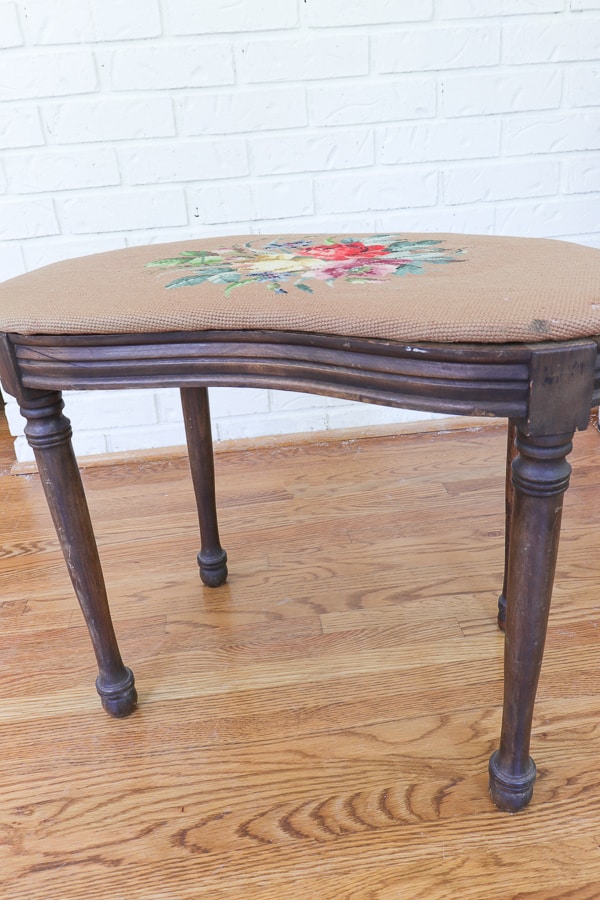
This cross-stitch took someone a long time to make.
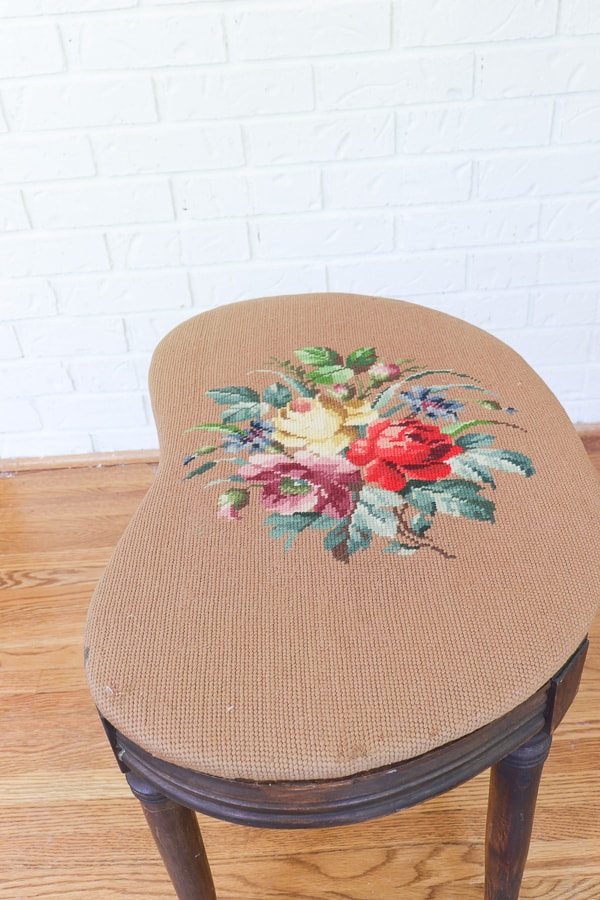
Look at those curves! See why I fell in love all those years ago?
I always admired the cross-stitch, but it’s not my jam, y’all. It was time for it to go.
So the plan for this DIY was to remove the old fabric and recover it as well as sanding down the base to a natural wood.
Here’s where the whole plan went awry.
Vintage Vanity Stool Makeover
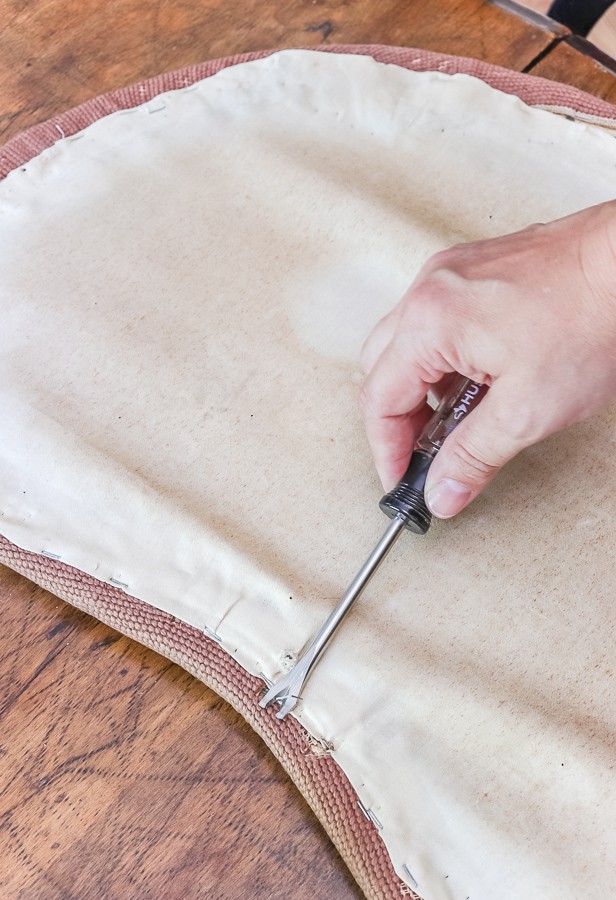
Using my favorite tack pulling tool, I removed all the staples of the fabric backing and cross-stitch cover.
Guess what I found?
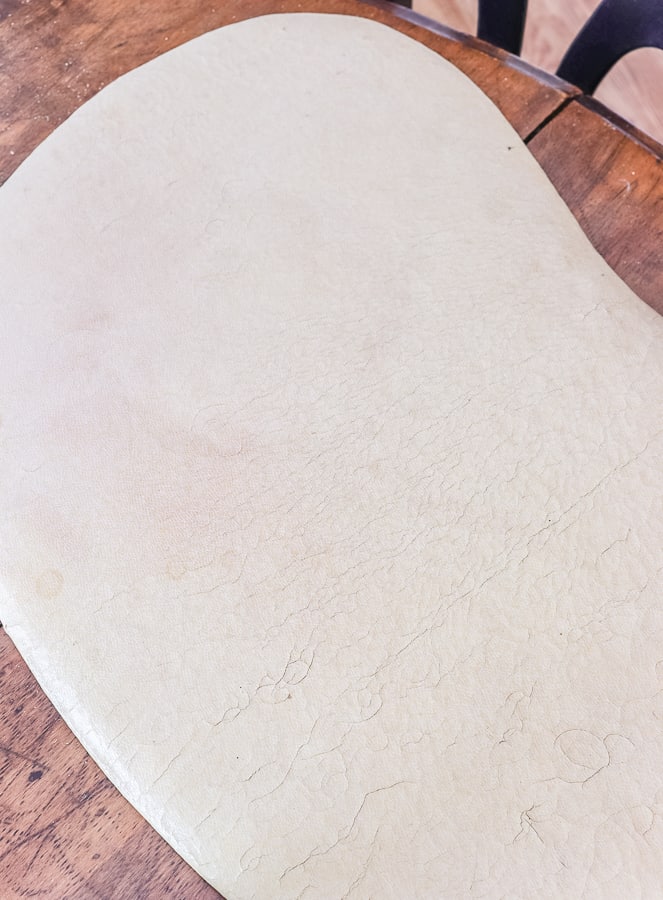
Some chippy, cracked and crazed oil cloth from years ago. Just look at the back!
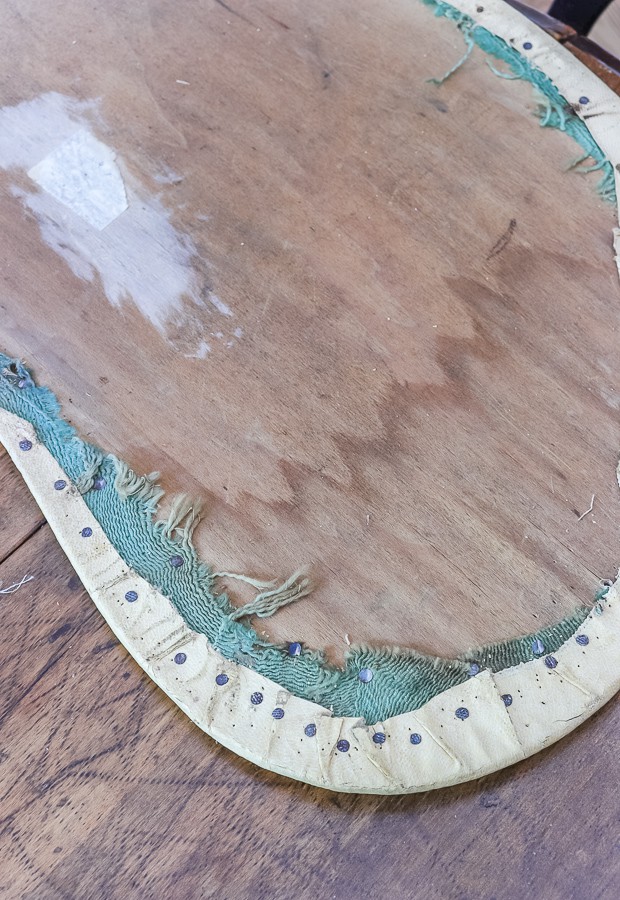
Look at those tack nails! This means this was put on before the era of staple guns! That’s pre-1950s, friends!
So, at this point, I’m starting to wonder the age of this piece. I knew it was old because it had flat head screws in the woodwork and it’s super rickety.
I carefully remove all those vintage nails and uncover this gem!
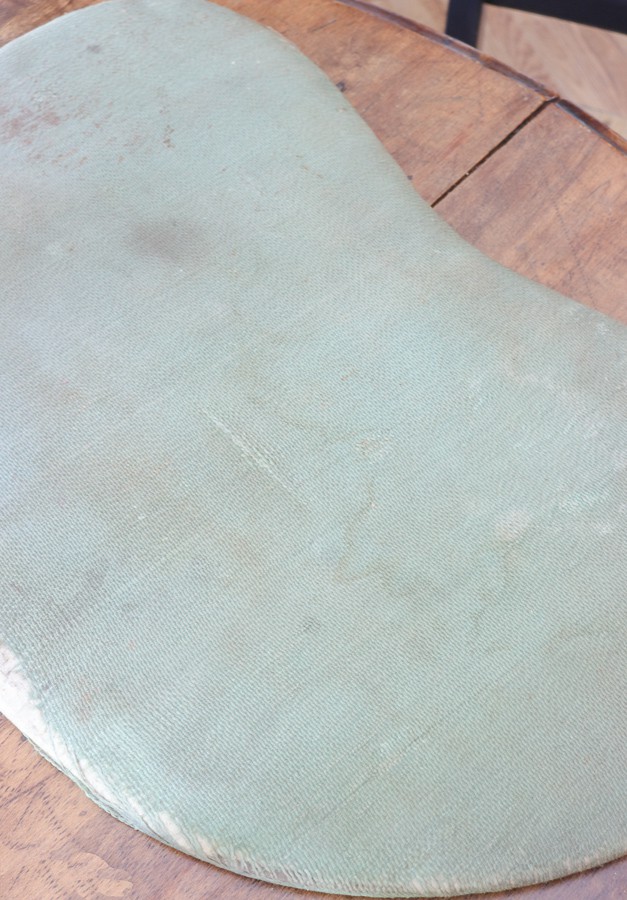
It’s the original cover.
The original cover in its tattered and worn perfection with an amazing light green hue.
I couldn’t believe it!
I rushed to put it back on the base to see how it looked.
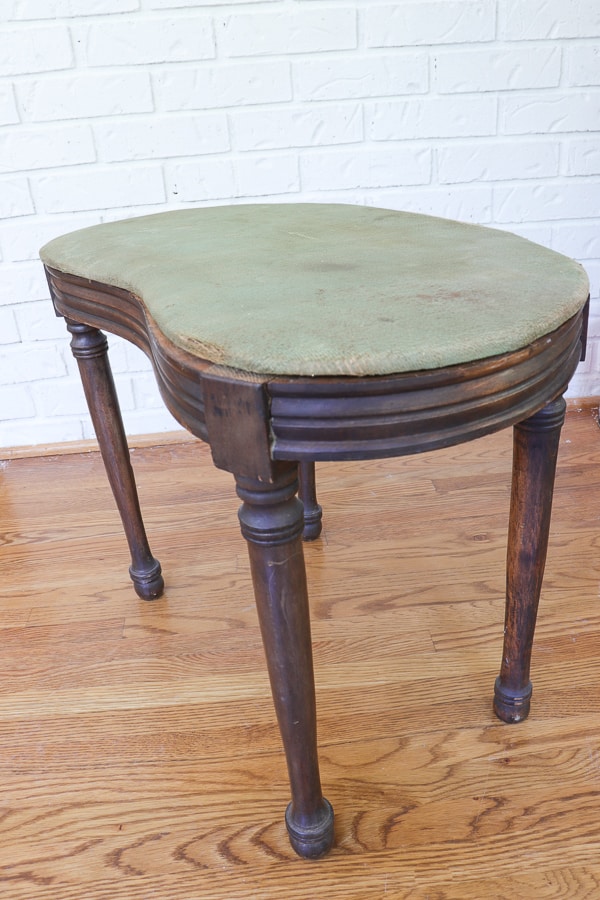
Wow! Just Wow!!
This stopped me in my tracks…. almost. I knew my original plan to recover the bench was out the window, but I still wanted to freshen up the base a bit.
Also, I needed to give the top a good, but careful scrub.
I took the top and lightly scrubbed the fabric and set it outside to allow the sun to do it’s job.
While that was drying, I took the base to the garage and sanded off the old stain.
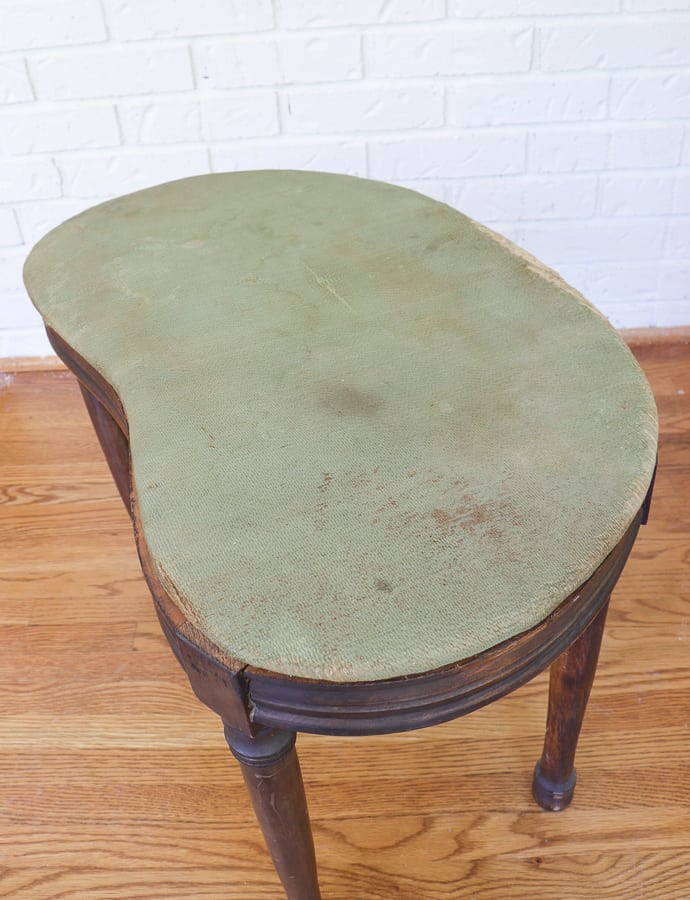
Want to see it now?
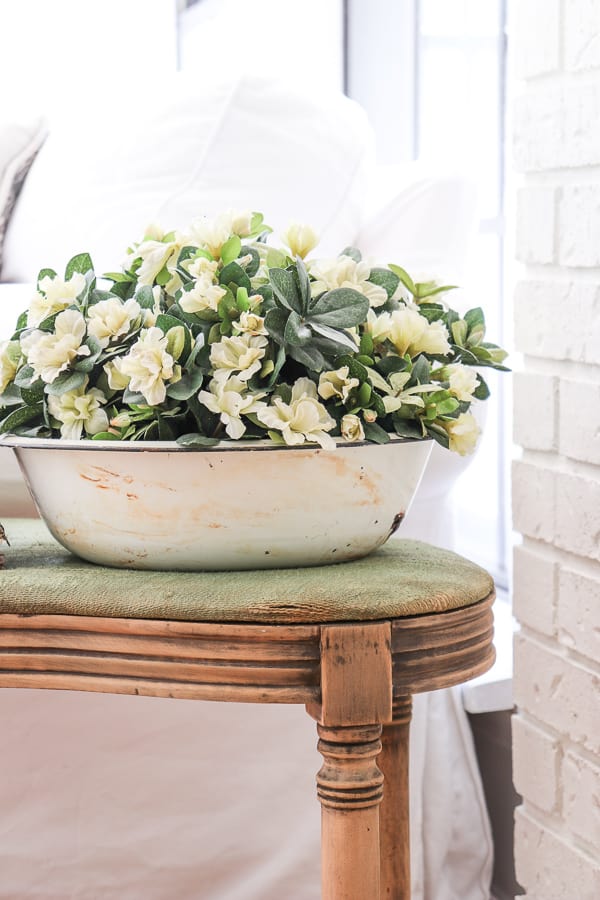
As I was sanding, I was kinda digging the antiquing that was happening with those grooves. It was difficult to get in those areas to sand, so that happened to be a happy mistake.

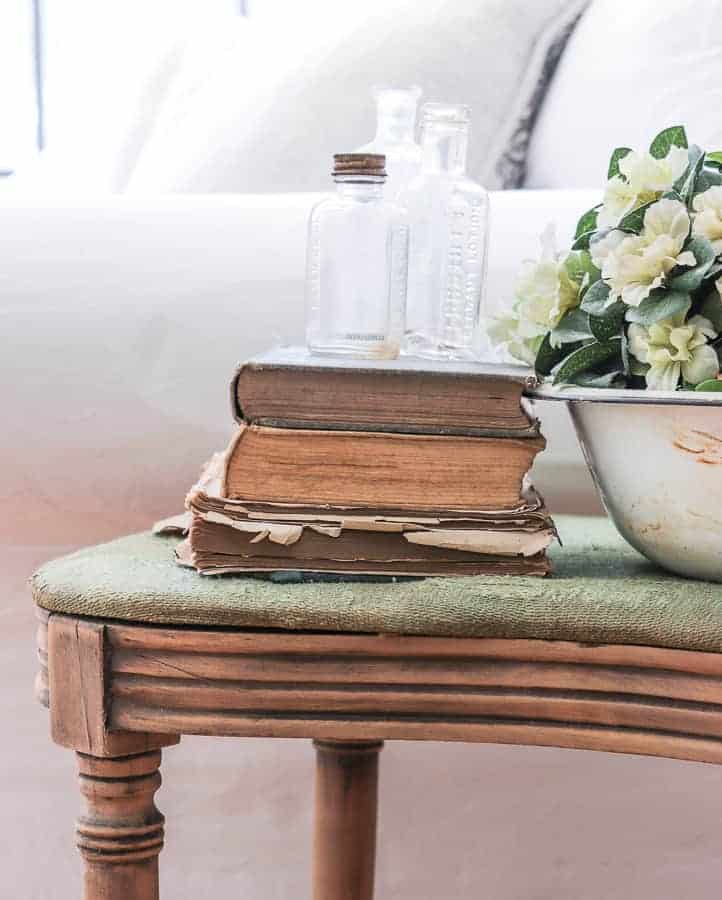
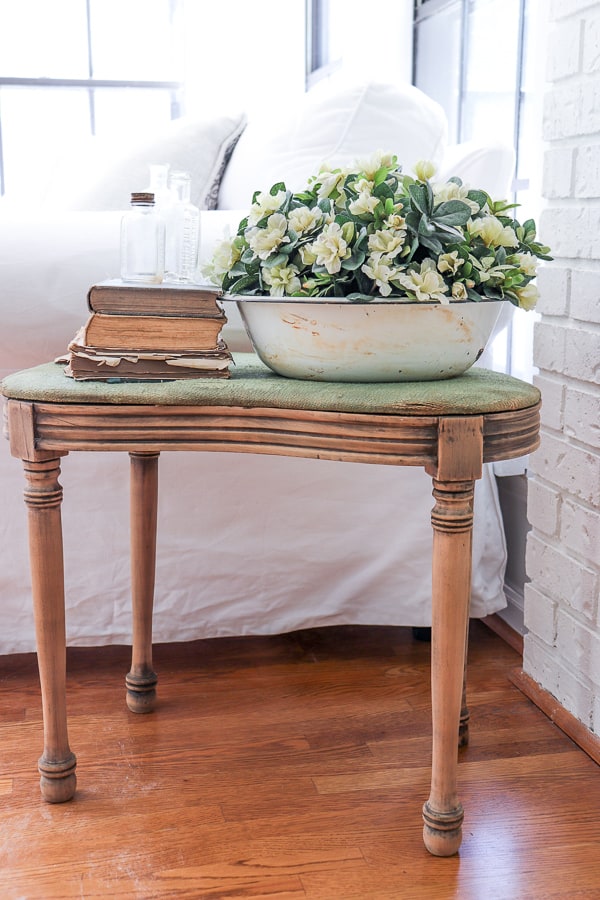
As you can see, the top isn’t pristine, but it’s perfectly imperfect.
The feel for this sunroom makeover is French Farmhouse, which means you welcome in the weathered and tattered items.
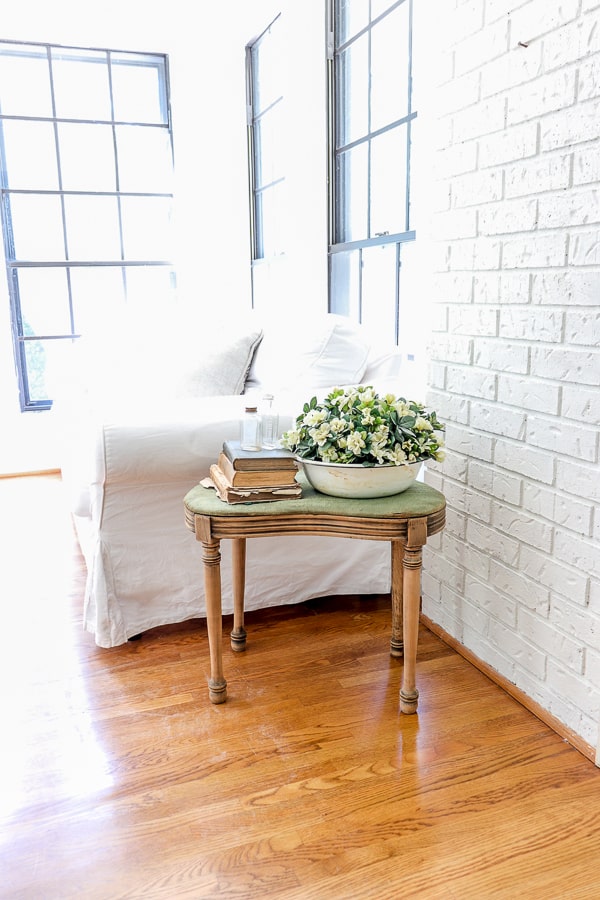
This Vintage Vanity Stool Makeover has me grinning from ear to ear. It’s like a child’s security blanket that is worn and well-loved.
This is exactly the cozy look I want. A mixture of old and new with a cozy vibe.

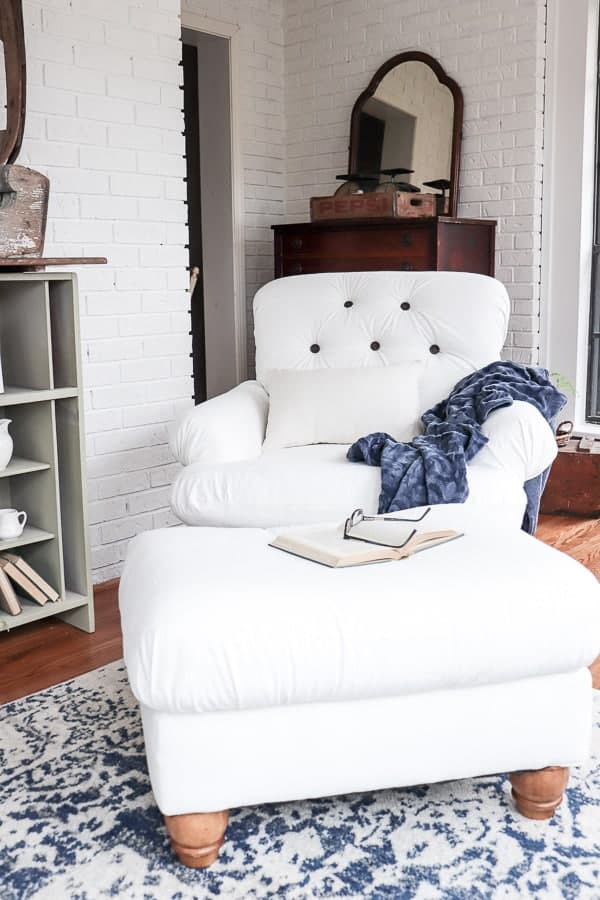
This was a much needed break from the current status of the Sunroom Makeover.
Here’s where we are with the room makeover.

The popcorn is coming down, but I needed a neck break, so this little side project gave me just enough recovery time to get back at it.
I can’t wait to show you the trick I found to make the ceiling scraping super easy-peasy.
But for now, I am loving this Vintage Vanity Stool Makeover that ended with a pleasant surprise!


That is a great idea, Jean! Thank you so much for sharing that. I will definitely have to check that out.