DIY Limewash Terra Cotta Lavender Plant
Limewash isn’t just for bricks! Thinking outside the box, I was able to create this DIY Limewash Terra Cotta Lavender Plant. So try this creative decor ideas! Thanks to Romabio for sponsoring this post.
Back in February, we selected two color samples of Romabio’s Classico Limewash to test out on our brick. The samples come in quart containers and are more than enough to try out a swatch.
But after settling on a color, we were left with lots of yummy limewash in the sample container to play around with.
Of course, being one who hates to waste anything, I started looking around for ideas on how I can incorporate these samples for other creative uses.
Recently I updated our painted fireplace using Nube Gray – which is the same color we selected for our exterior.

The lightened look of our brick is just what I had been hoping for!
But I wanted to continue to think outside the box a bit. So I came up with a fun DIY you can make with Romabio’s Classico Limewash.
Let’s start with the materials you’ll need.
DIY Limewash Terra Cotta Lavender Plant
Affiliate links are provided for your convenience.
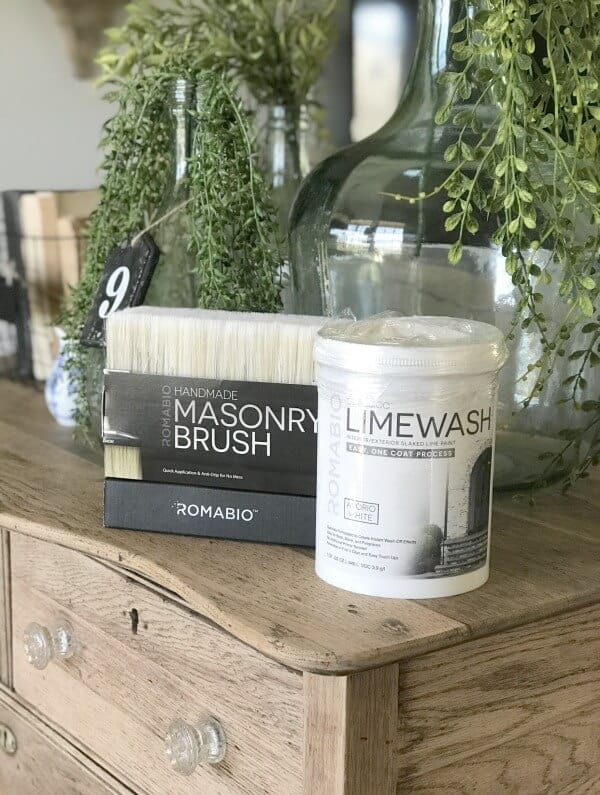
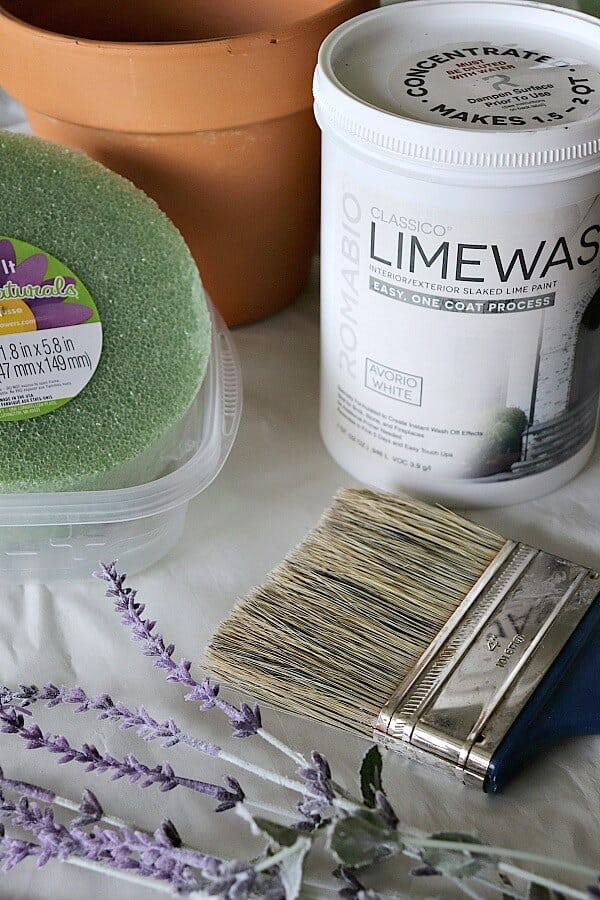
Romabio Limewash Paint Sampler
Faux Lavender Plants
Terra Cotta Pots
Foam Disc
Wire Cutters
Paint Brush
Isn’t that lime wash so pretty?
You can go to select Home Depot stores and pick up a quart to play around with or order samples directly to be shipped to you.
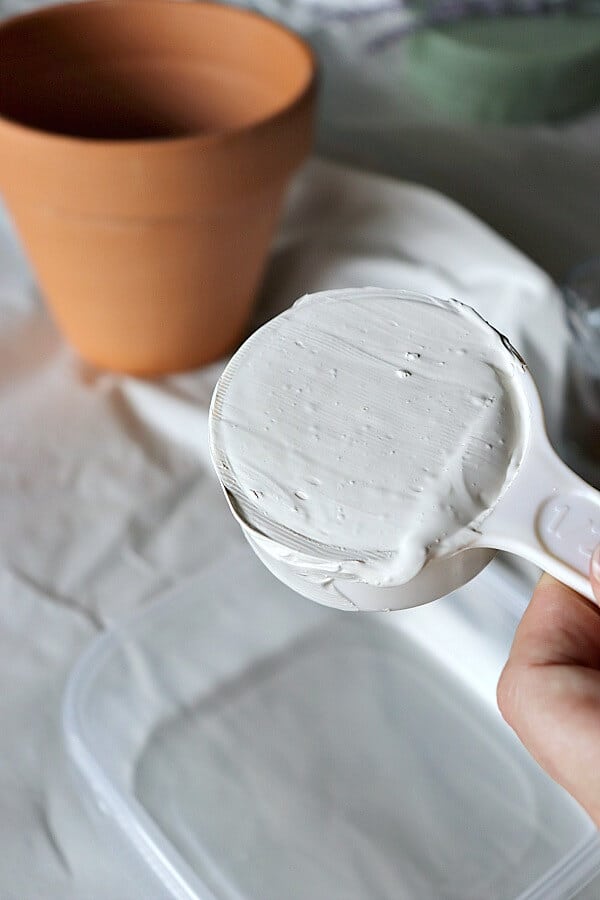
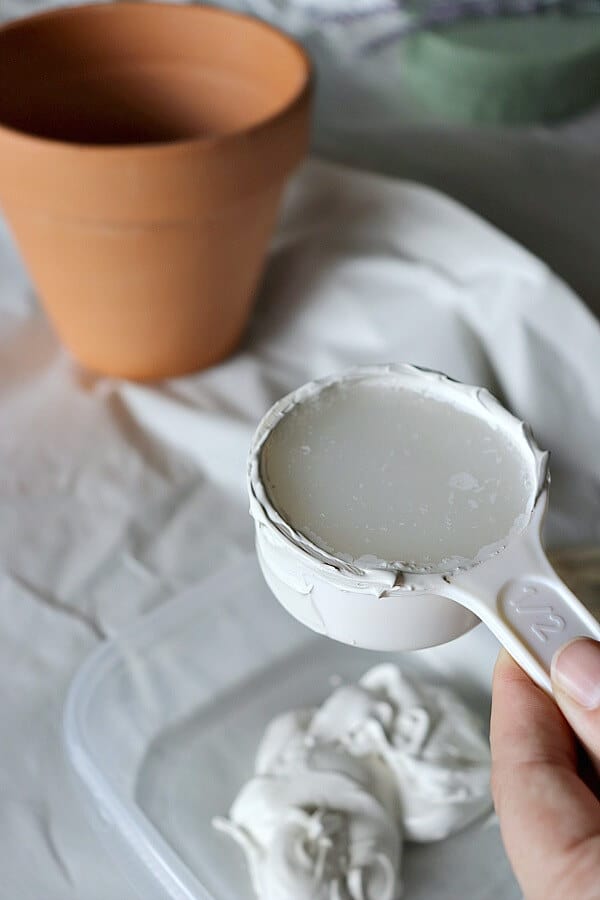
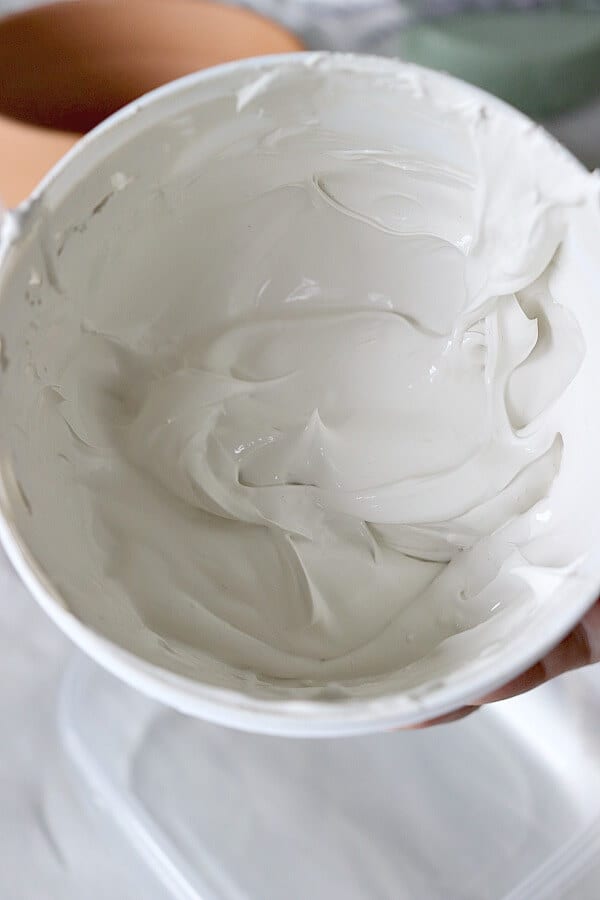
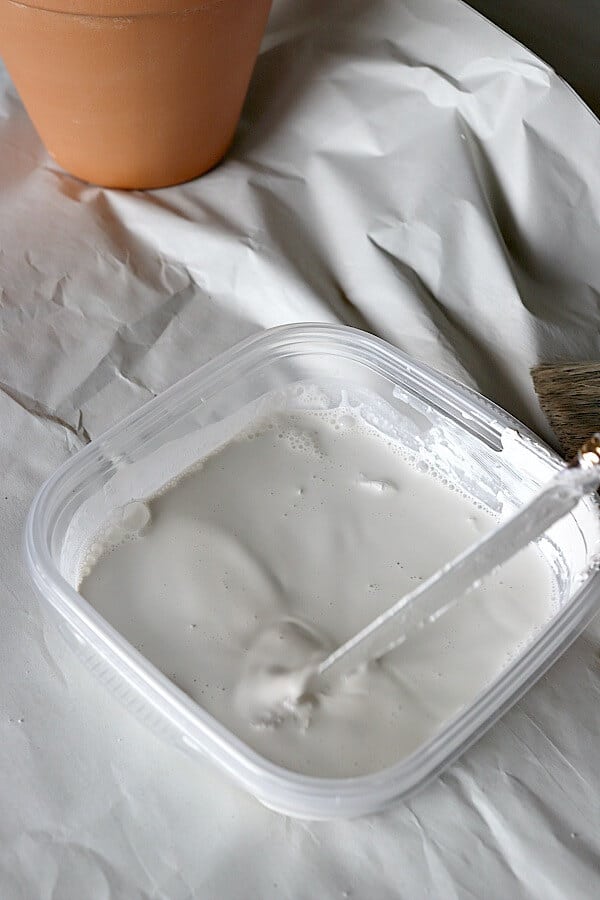
The lime wash has a consistency of creamy peanut butter.
For masonry uses, you must always dilute the lime wash and for this application, I used a 2 to 1 ratio (2 parts limewash to 1 part water).
The next step takes some patience.
You want to make sure you fully mix the lime wash and water, which may take up to 15 minutes.
But for this little amount, it mixed together in just a few.

For this small project, Romabio’s awesome masonry brush was too big.
But luckily I had a natural bristle brush on hand from years ago (remember the faux finishing and glazing phase?).
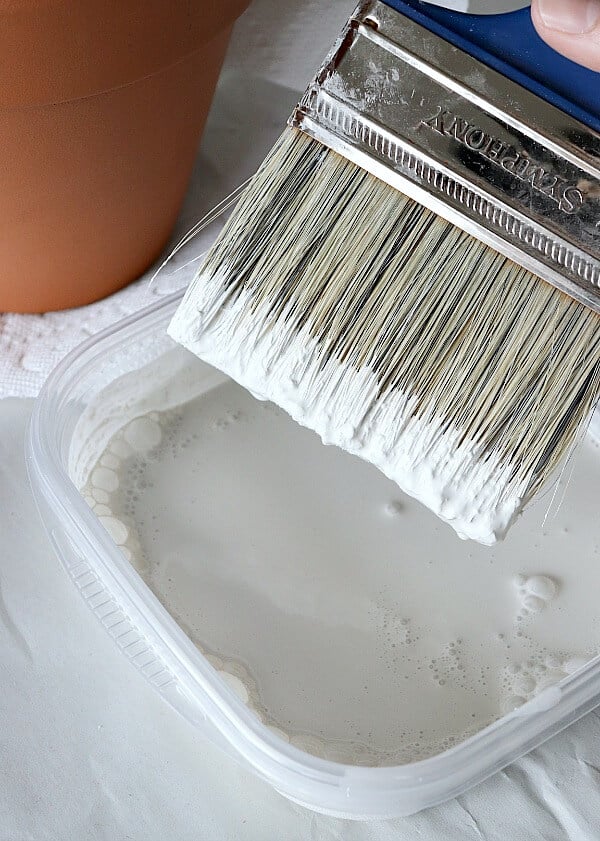
It was a perfect fit and mimicked the natural bristles of the Romabio brush.
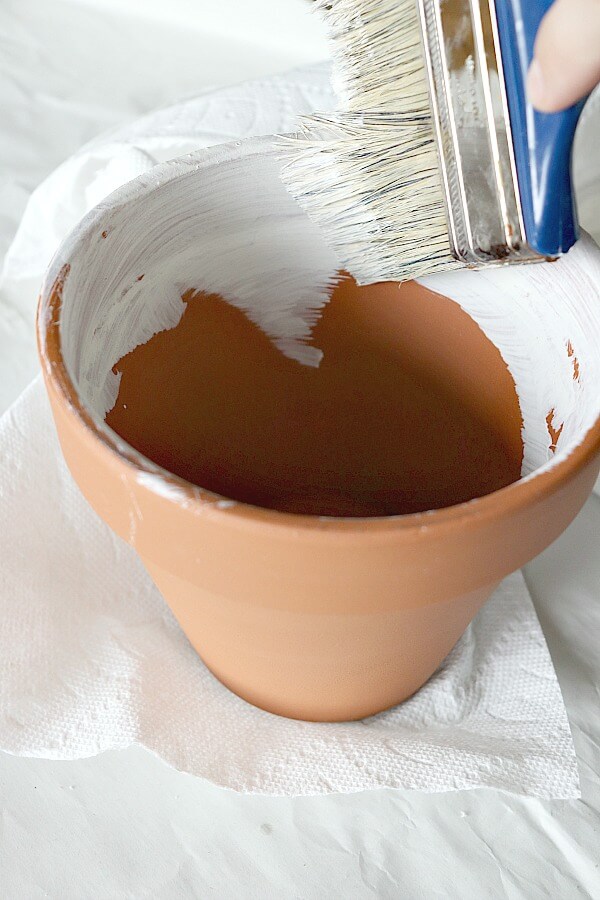
To begin with, start by wetting your surface. So I took my terra cotta pots to my kitchen sink and ran water over them.
First I painted the inside edge of the pot.
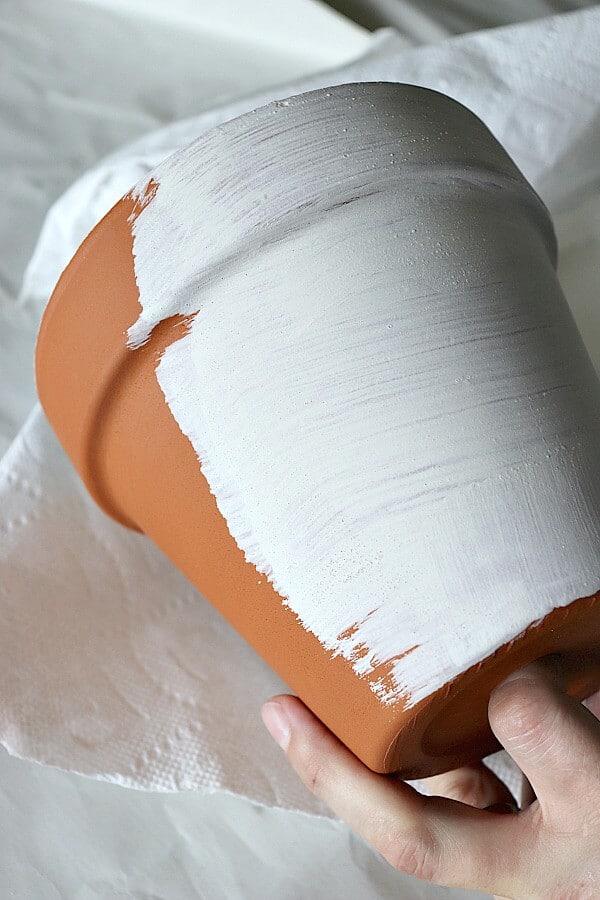
Next I moved to the outside. Since I wanted a mottled look, I varied my brush strokes.
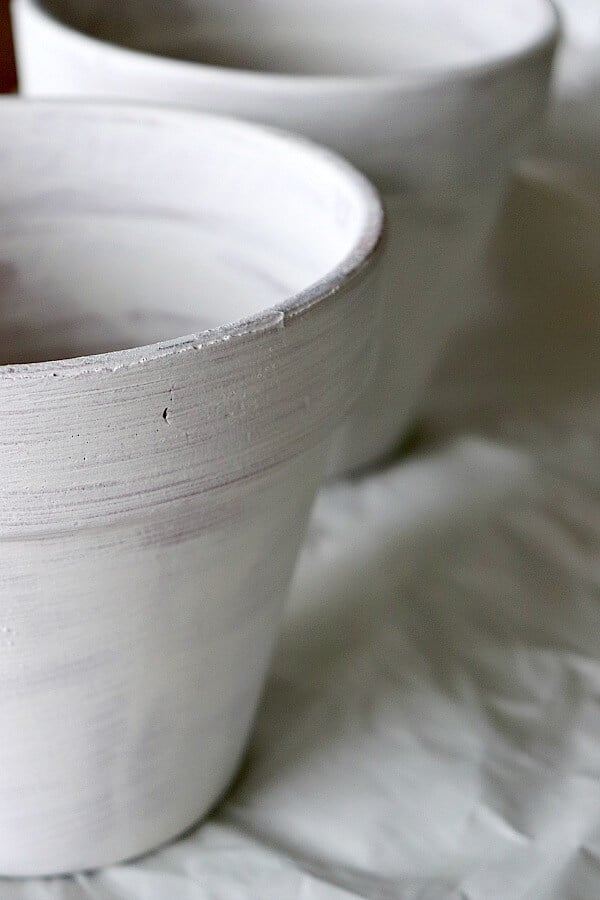
But give it time to cure – I let my pots sit for about 15 minutes.
That’s the awesome thing about working with this product. If you don’t like it then you can simply wash it off.
And since it’s eco-friendly – it won’t hurt the environment.
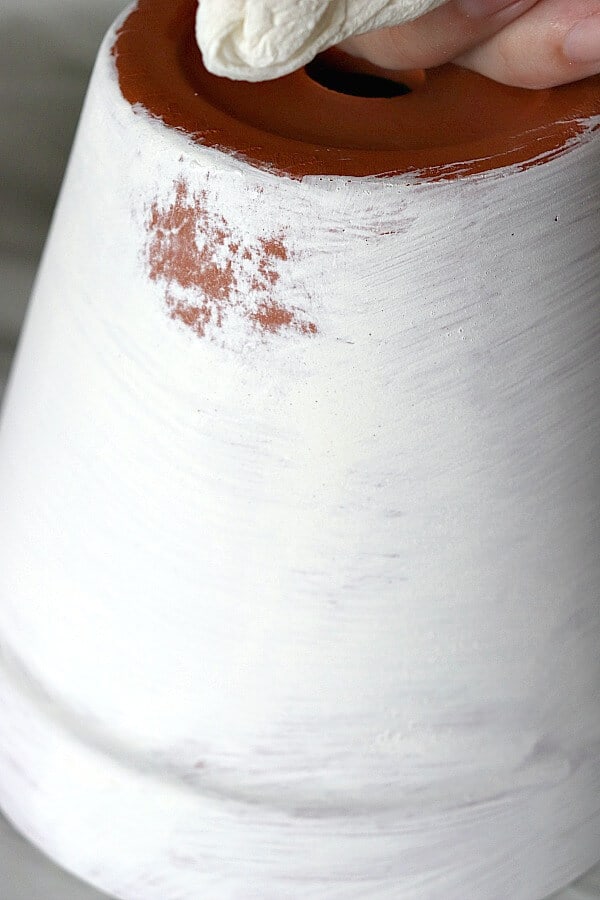
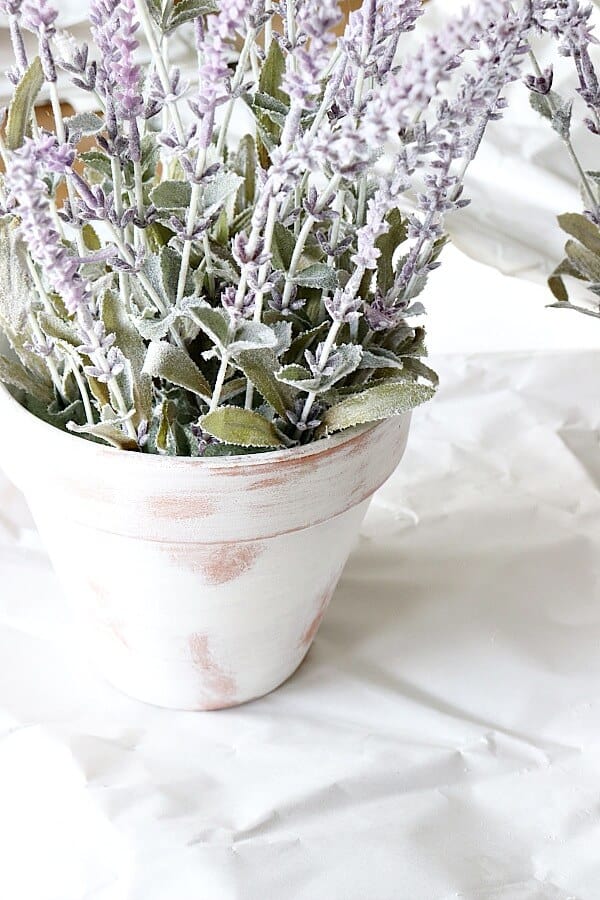
So to create the mottled look, I used a wet paper towel and dabbed away at the paint.

Here you can see the difference side by side.
Both are equally beautiful, aren’t they?

After I mottled both pots, I was ready to add my faux lavender.
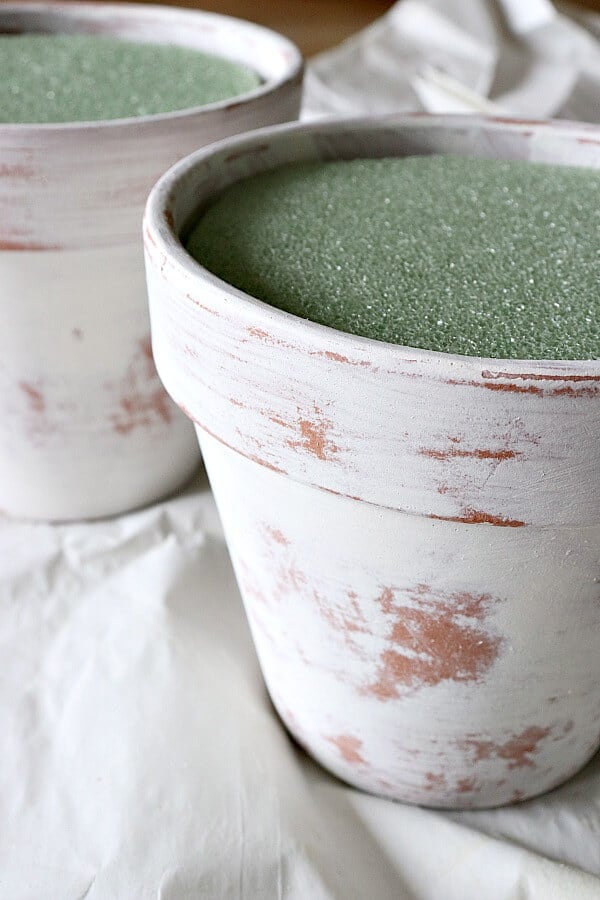
Then I took foam discs you can buy in the greenery department at your arts and craft store to insert into the pots.
But I had to trim mine down a bit to fit in the pots, which is easily accomplished with a serrated knife.
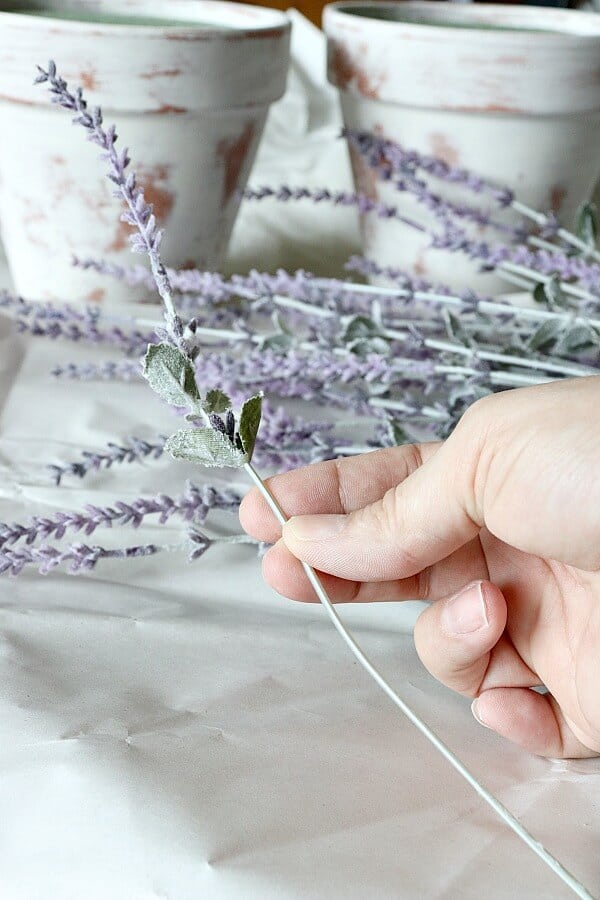
Then you clip each stem from your lavender bundle.
This allows you to have individual stems to work with, generally making the plant look more realistic.
Simply start in the center and then work your way to the outer edge.
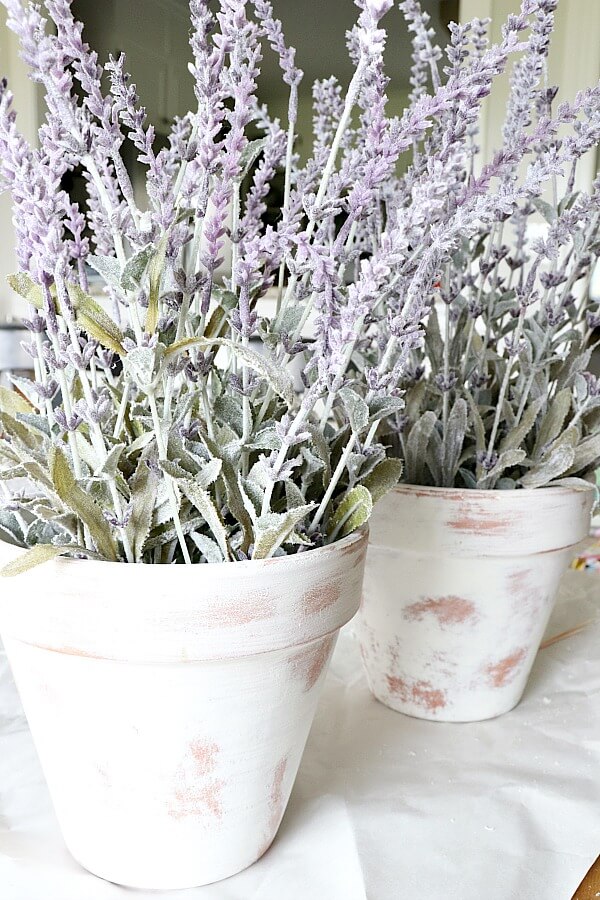
Soon you have a beautiful, fluffy lavender plant that would look beautiful in any setting!
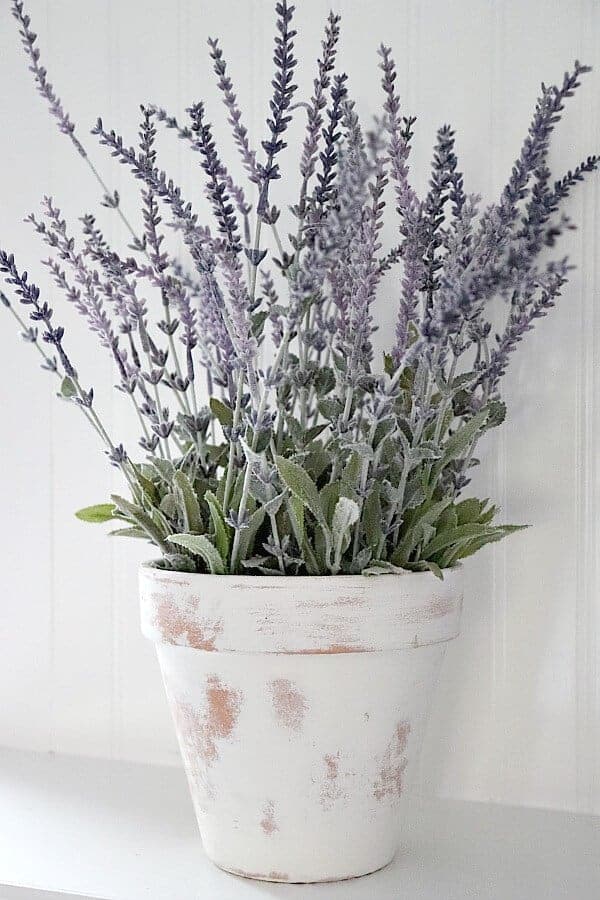

I love how these look on my mantel. It especially brings a touch of summer to the indoors! In addition, it was a pretty economical way to DIY some decor!
Of course that always makes me smile!


Thanks for the kind words – for the lavender plants, I used about 6 different bunches that I cut into separate stems.
For the Limewash – it’s not 100 percent permanent. It weathers over time, which could be many decades, but the result is a beautiful patina. We’ve had the Limewash on our house for 2 years and it still looks exactly the same.
Hmmm, does it eventually wear off your house? I thought after the curing time it was as permanent as any paint.
They look great, how many lavender plants did you use in each one?
The nature of limewash is to weather away, so over time the limewash would fade away slowly. But maybe that aging would be even more beautiful!
Thanks for sharing this step by step diy tutorial. this is really an amazing idea.
Hi Jen! Thanks for sharing this project. I’m curious whether these pots can be placed outdoors, or will the limewash wash off when it rains? Thanks 🙂
I just love these designs. These pictures are beautiful and classy. Thank you for sharing DIY and decorating ideas and inspiration.