Making Over A Music Room
Every place Trent and I have lived has had a space for us to create music. If you are looking for how to decorate, soundproof and love your audio room – follow along as I share how we’re making over a music room!

In our home, music is our love language.
Trent and I met, fell in love and got married on our college campus and lived a gypsy-filled life pursuing our music. You can read our full story here!
We went from state to state following the gig, and have had many different addresses along the way.
But one thing that has been a constant in each home is our music room.
And we have been working on updating our most recent one and I thought there has to be someone out there looking for a way to make their music room beautiful.
It could be an audio room to jam out to your favorite records.
Or what about a theater room for the family to gather round and enjoy their favorite flick.
Whatever it may be – I got you covered! Soundproofing ideas, cool design plans, and even some funny videos along the way!
So let’s jump in our Delorian and step back in time to when we first moved into this house.
Making over a Music Room
(Some affiliate links are provided below. Full disclosure here.)
THE BEFORE
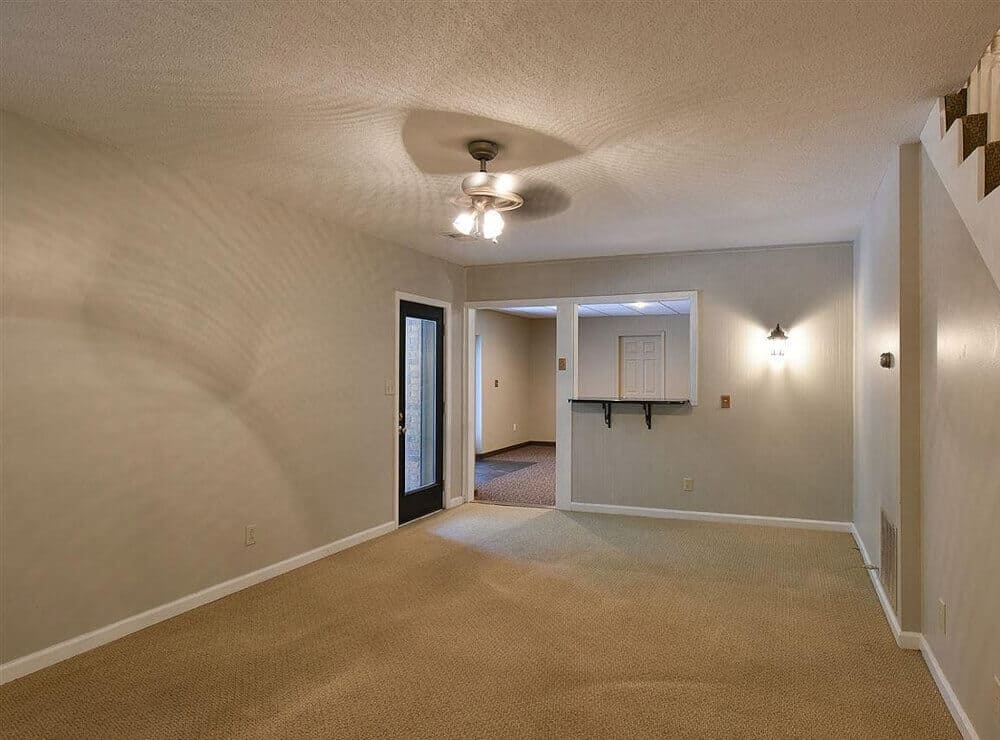
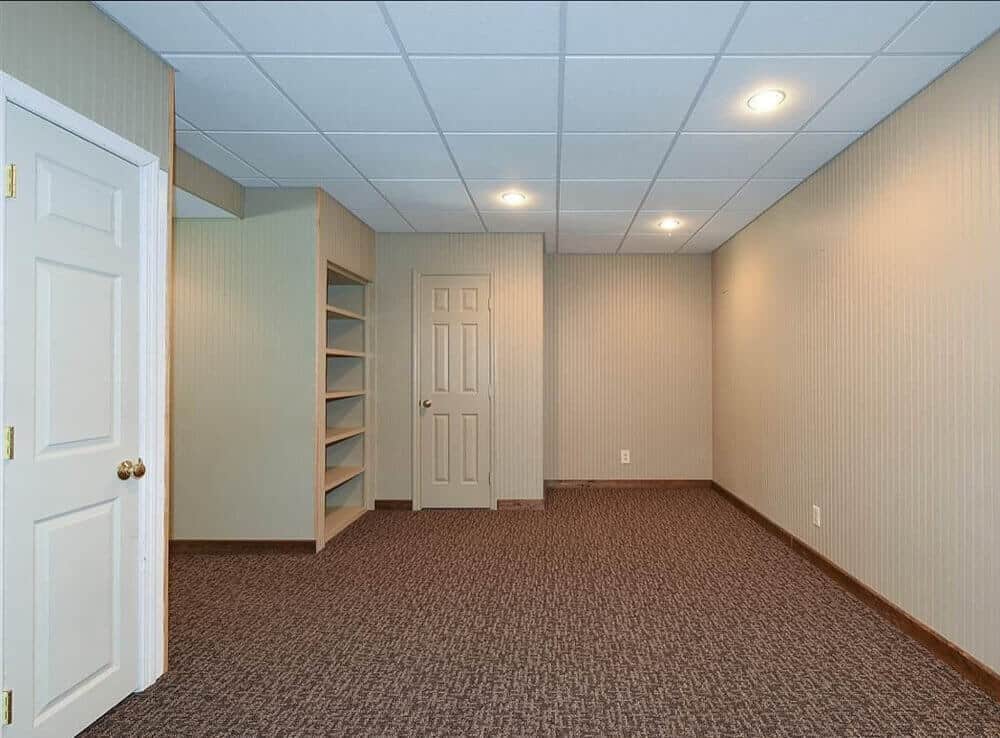
Here are some pics from the MLS of our home when we first moved in.
This is our basement with a neat little pass-through to a rec room area.
We instantly saw this as a business opportunity. A space we could totally separate for our music area.
We host band rehearsal and also teach lessons. So we flipped out when we saw it had its own separate entrance!
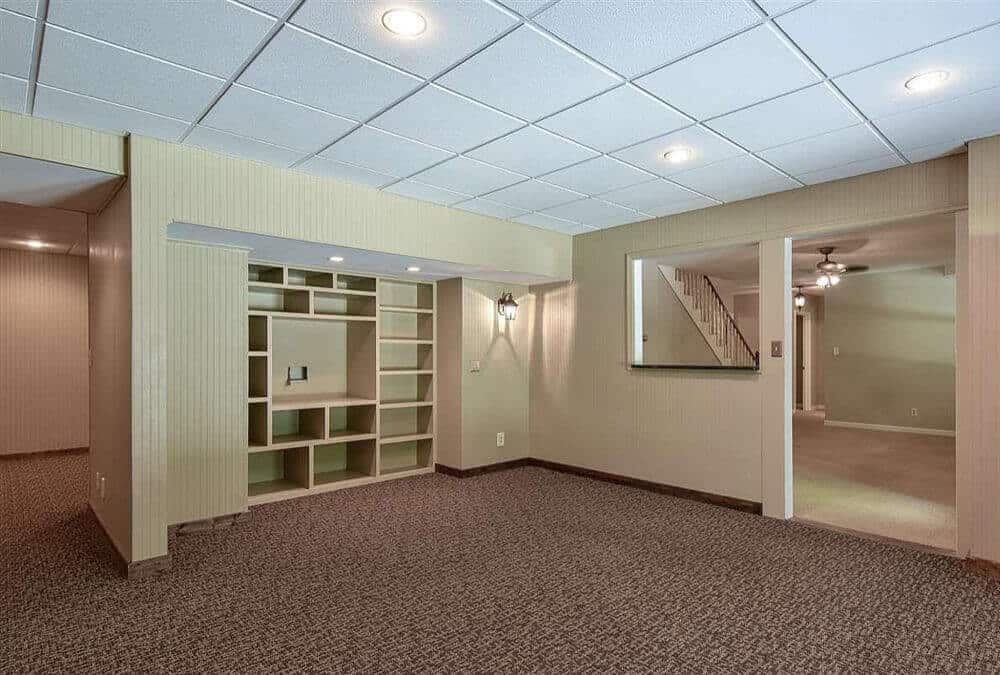
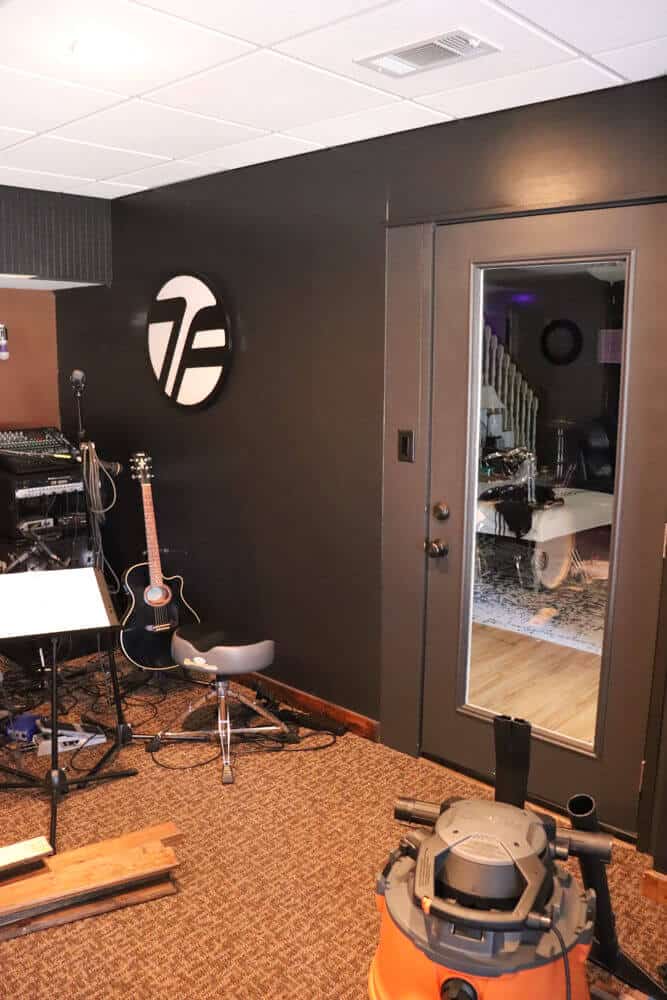
And around the corner, there is another room.
Not the room Trent is pointing at – the space behind him! 🙂

If you’re new here, then you will learn that I live with two drummers – my husband and my son.
So this space is ideal for a drum room.
Which is what we are focusing on first, but let’s share what we did get complete in the 2 years that we’ve lived here to make this a workable space.
OUR PROGRESS UP UNTIL RECENTLY
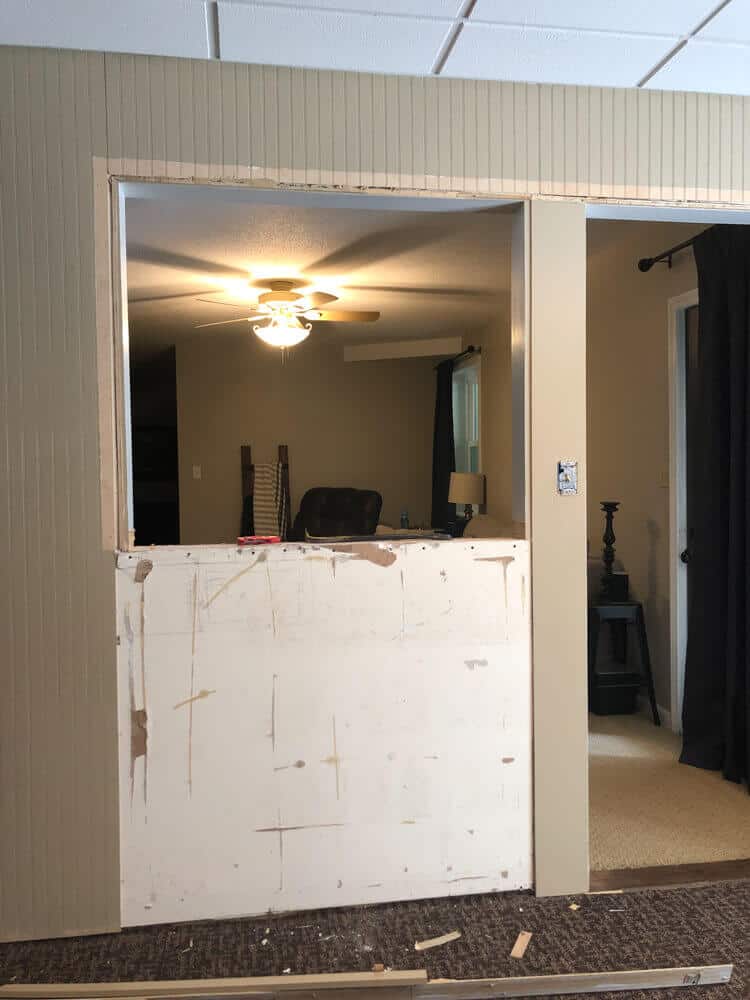
We had to close up this wall to create a totally separate space for our home.
So we took down the pass through and enclosed the wall.

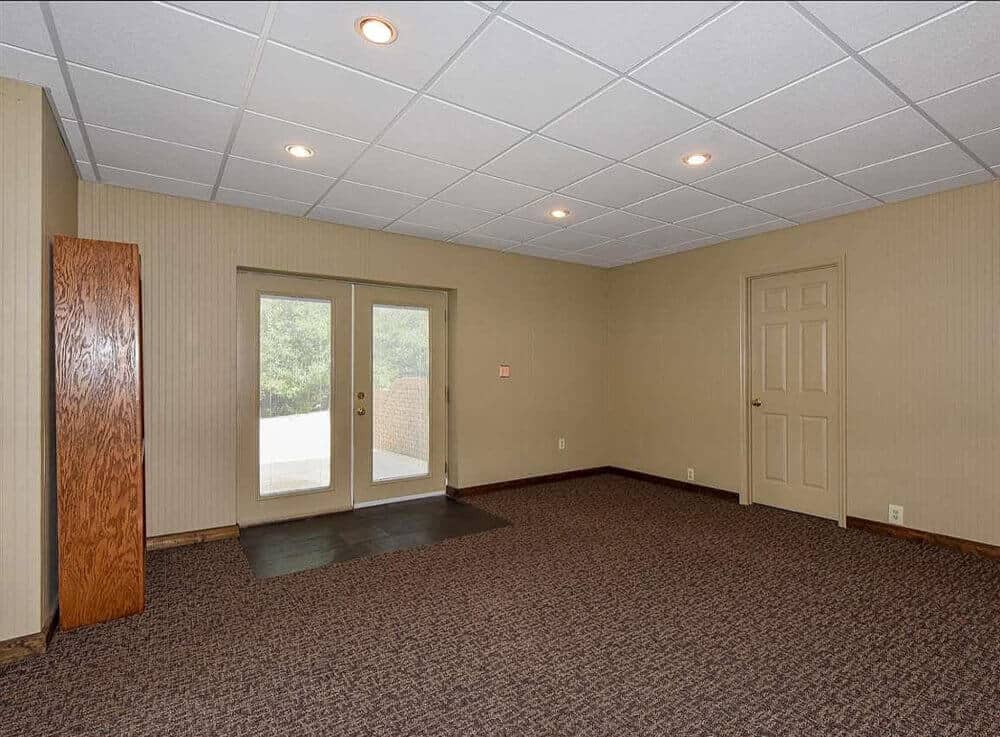
We also installed an exterior door to close off the sound.
We patched the wall and it works for the time being.
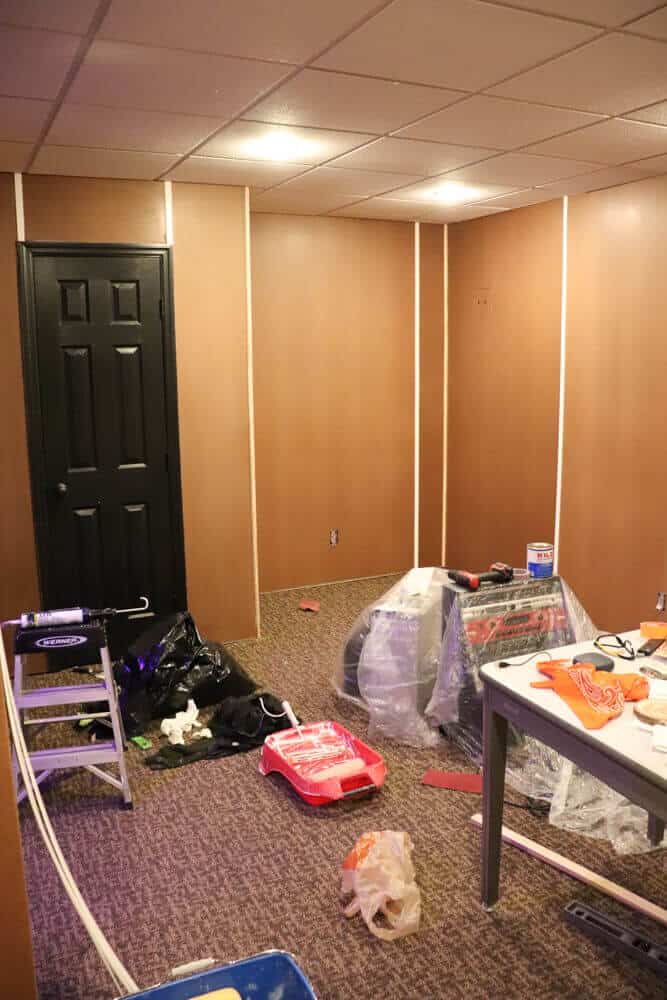
Now the carpet in our music room is – well….. blech!
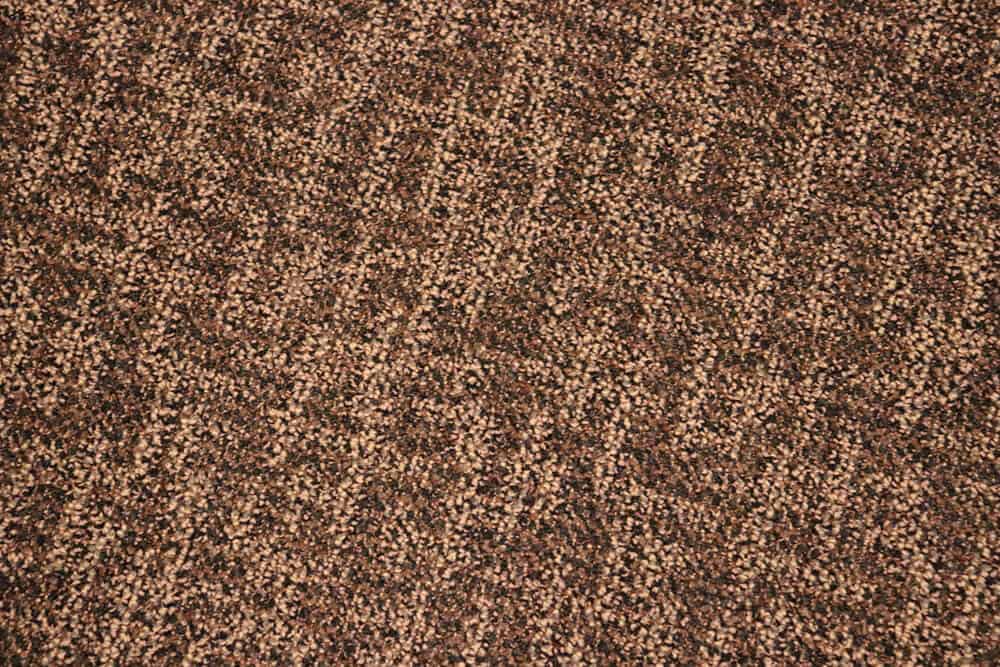
But it hasn’t been in the budget for a while to replace the carpet. So we painted the walls black hoping to offset the busy pattern.
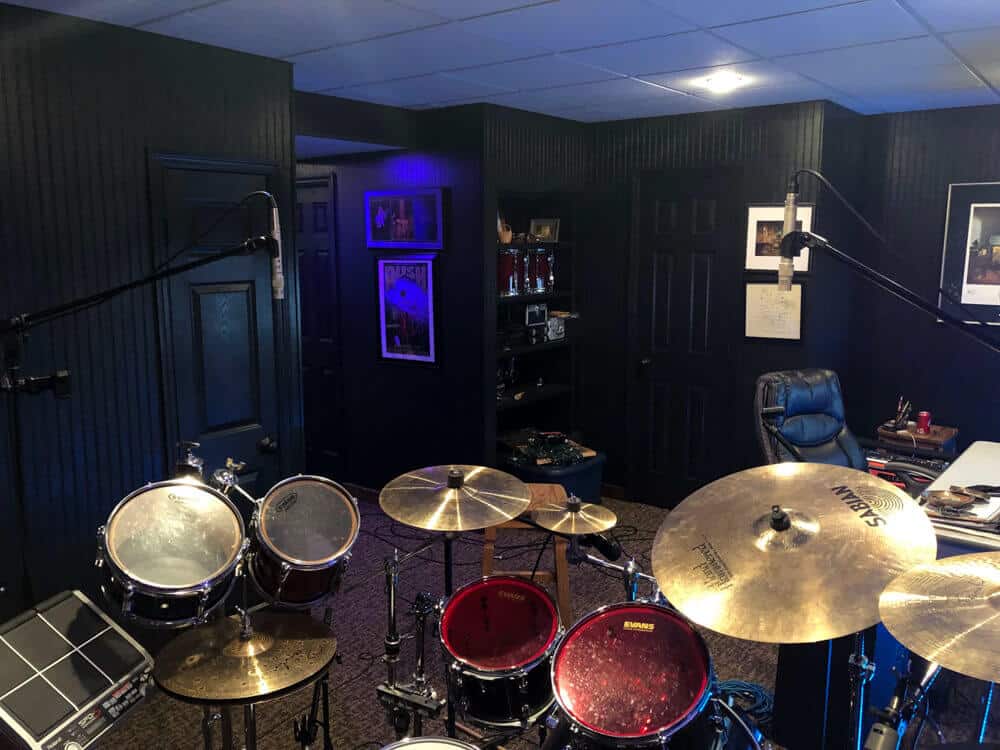
As you can see, that was a fail!
Plus it felt like a dungeon. The black was vibey – but it was just too dark.

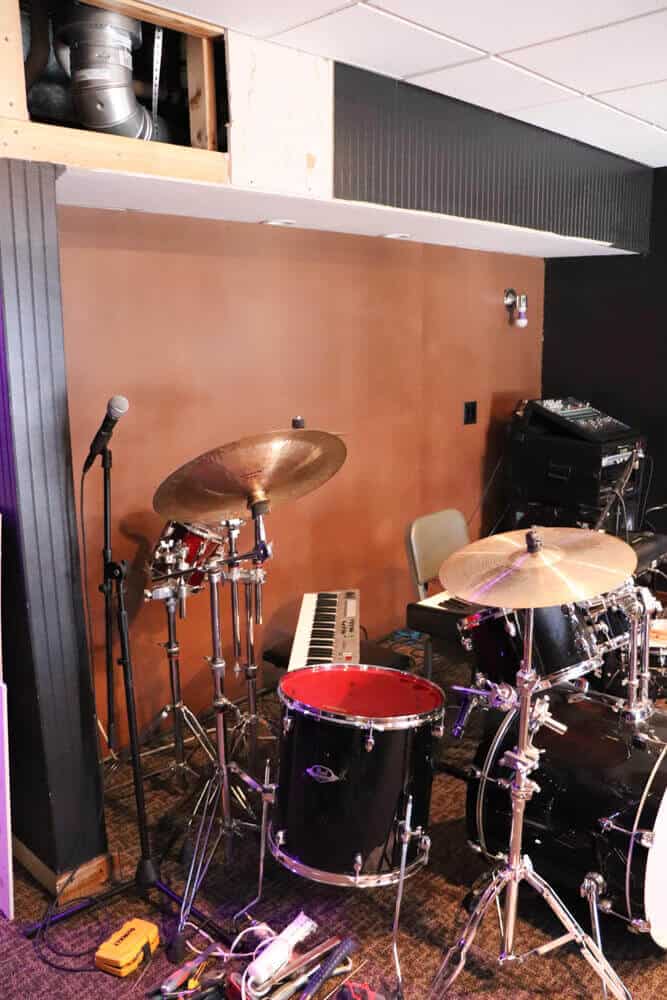
And we found there wasn’t enough space for two drum sets.
Yes, I said two drum sets – sigh…
At least they aren’t played simultaneously.
So let’s move onto the construction that we recently started.
OUR CURRENT SITCH
Our goals are to brighten the space but also reduce the sound, so a bit of construction was needed to help remedy the sound issue.
So here’s our plan:
Install insulation in the ceiling to help stop the noise from traveling upstairs.
Add another door between the two rooms to help contain the noise.
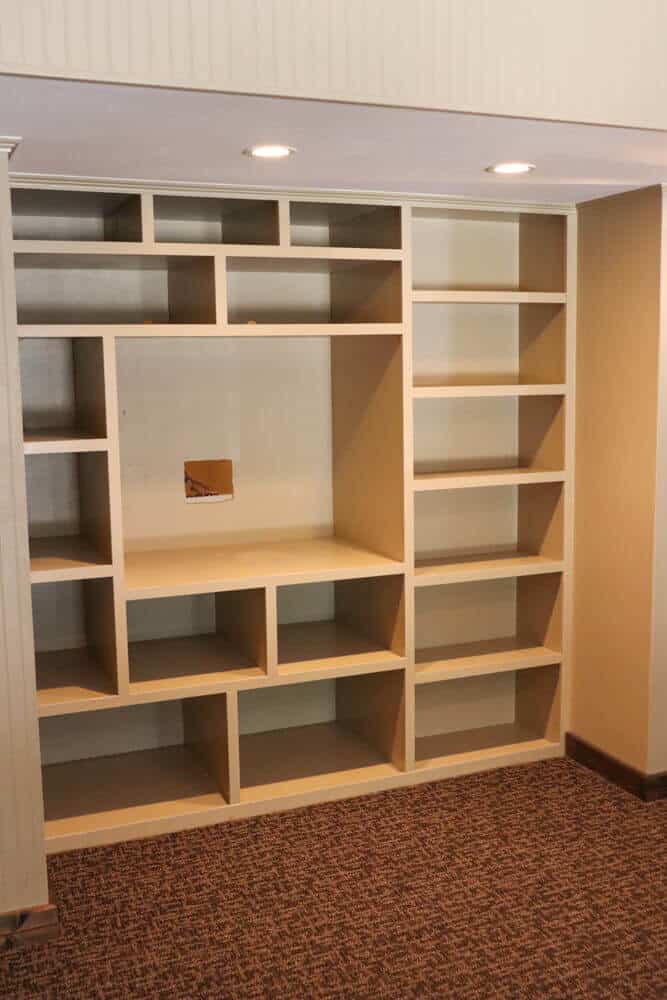
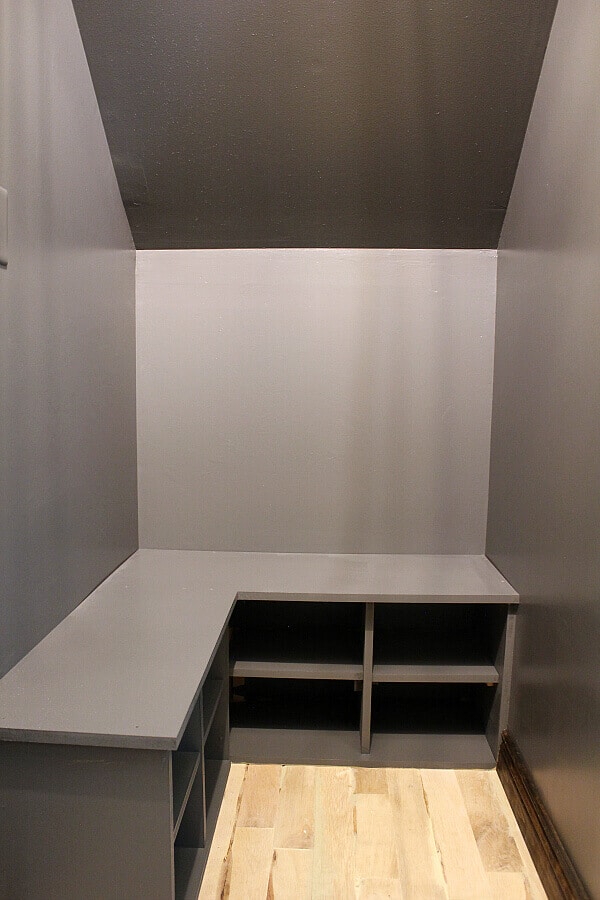
Remove the built-in cabinet to create more floor space.
Brighten the walls with lighter colors.
Replace the floors.
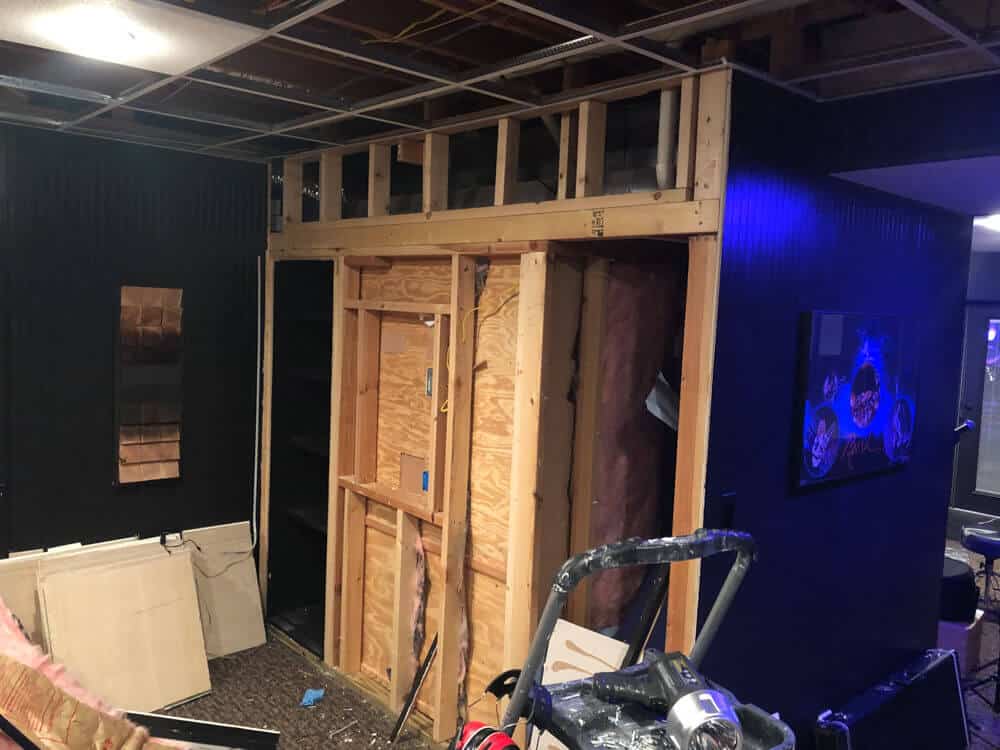
The first thing we had to do was remove that built in.
It was obviously built in the early 90s for a tube TV. It was cumbersome and could give us a huge footprint for our room.

WHOA! Instant opening! We were immediately pleased.
So the next thing Trent tackled was to fill all the ceiling joists with a product called Rockwool.
Lots of soundproofing companies use Rockwool Safe and Sound to help reduce unwanted noise between rooms.
Since we needed to really deaden the drum noise, we installed two layers between each joist.

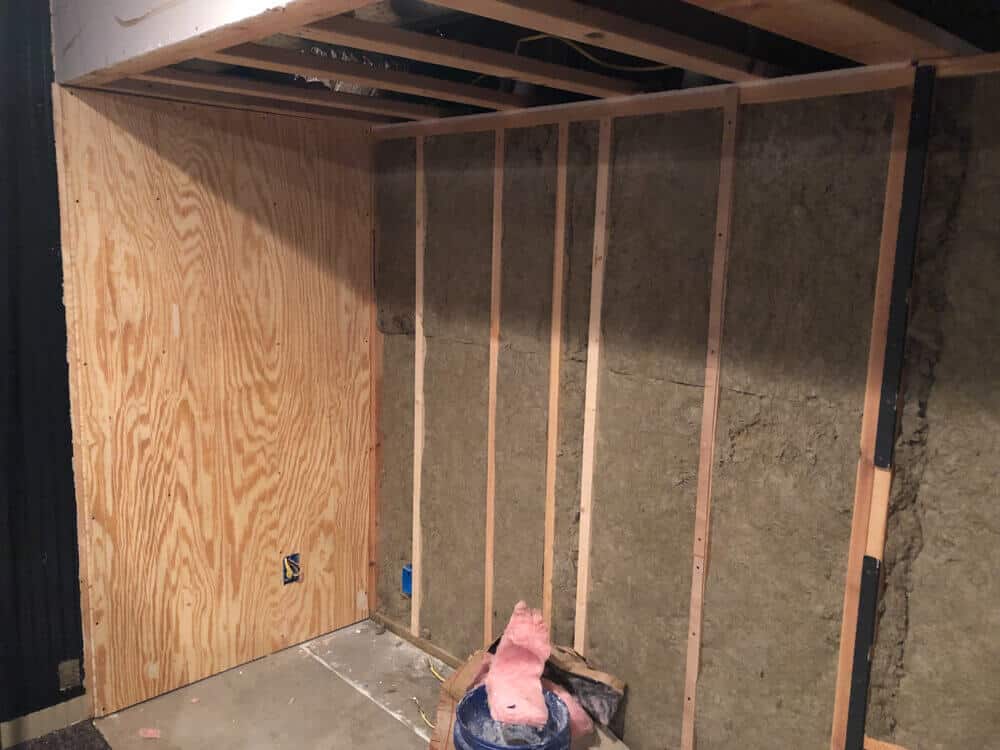
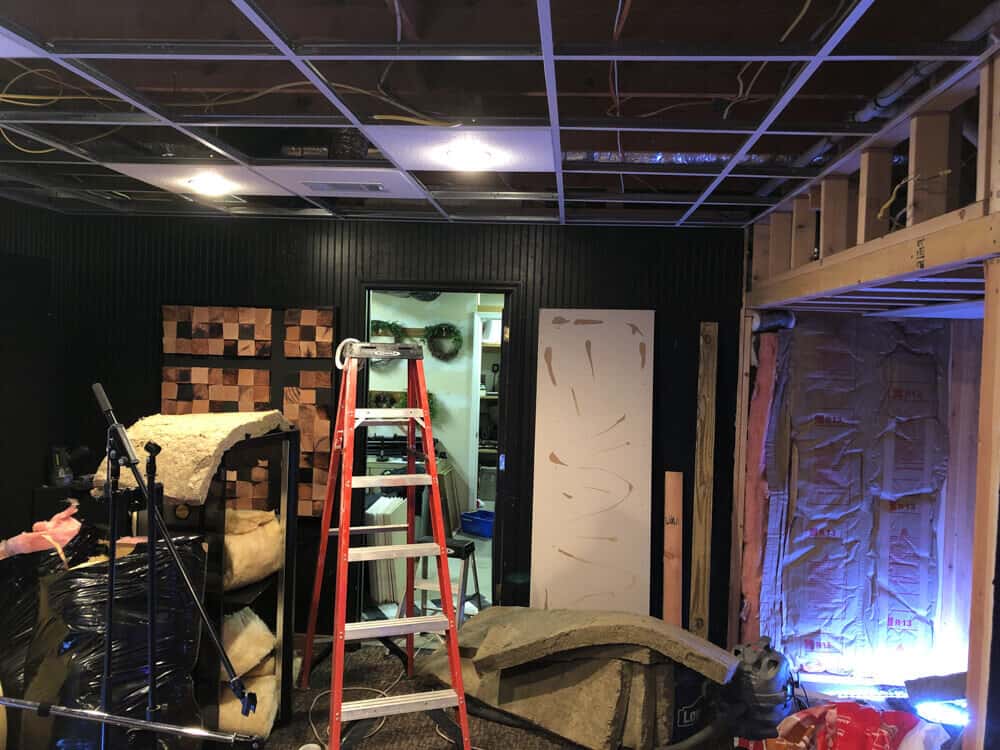
Trent also framed in the wall where the built ins used to be and added Rockwool there as well.
The last part of construction we had to do was to install a second door.
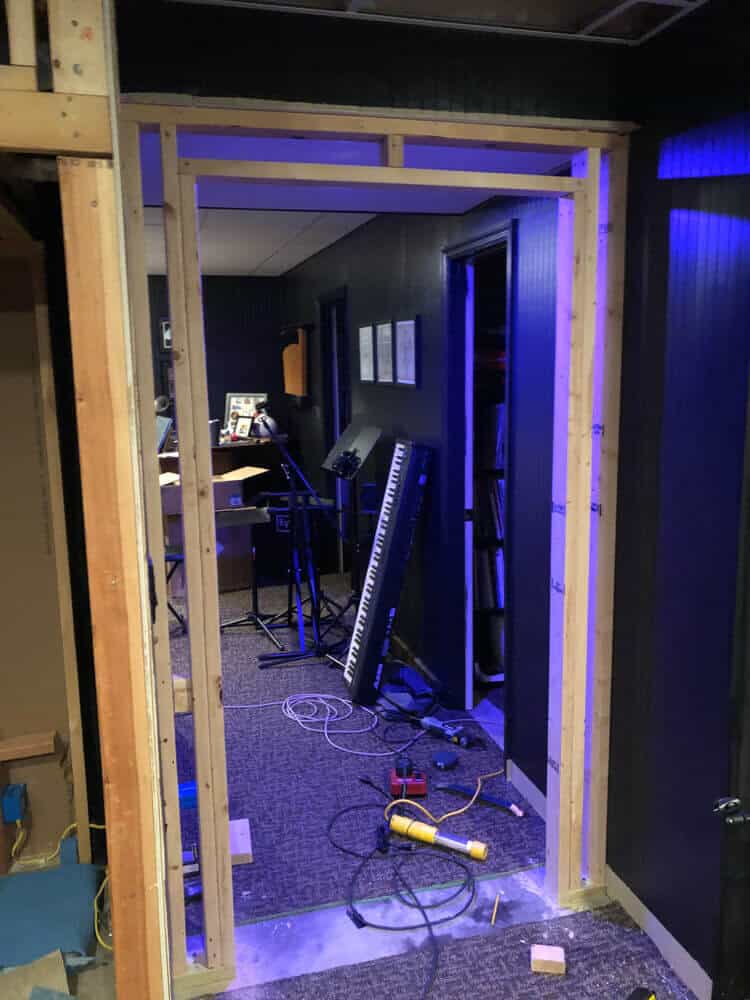
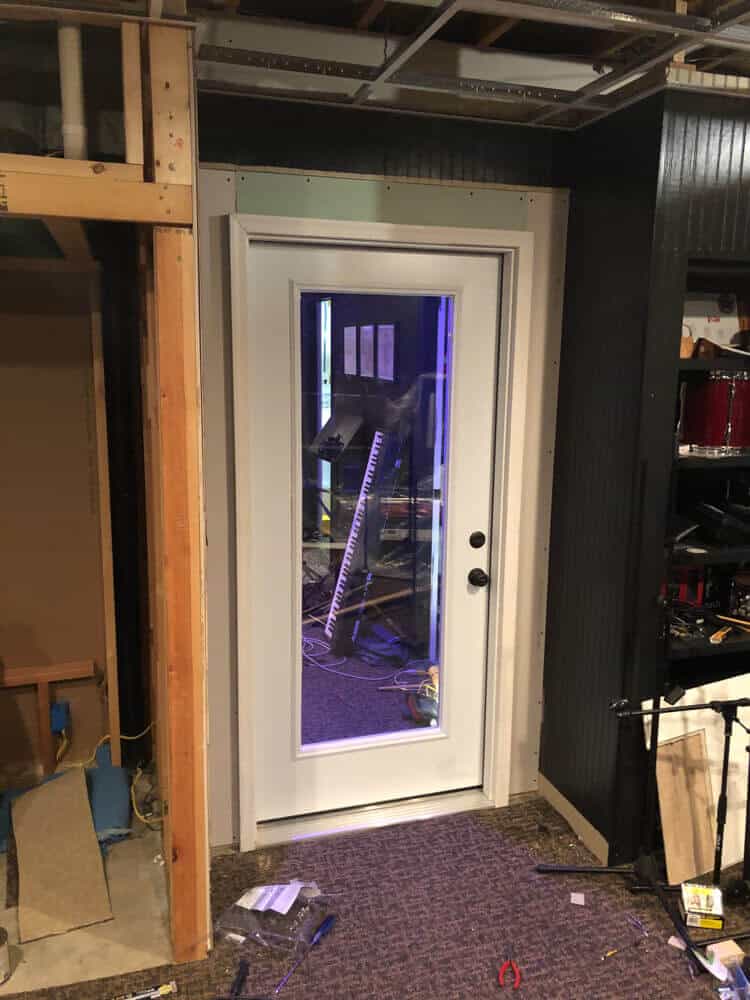
Trent did an awesome job framing in and hanging the door. Since it’s an exterior door – it’s ideal for containing sound.
The moment we closed the door, we could immediately tell a huge difference!
Next was addressing the walls.
Not only did we want to brighten the space, we also wanted to hide the beadboard. It wasn’t the best quality and our efforts to paint it didn’t help it much.
So we hung a product called Eucaboard over the existing walls. It’s only 1/8 inch thick, but instantly gave us smooth walls!
We also installed this on the other side of the built-in wall to close off that room.
Once we hung all the eucaboard – the construction was complete!
WOO HOO!
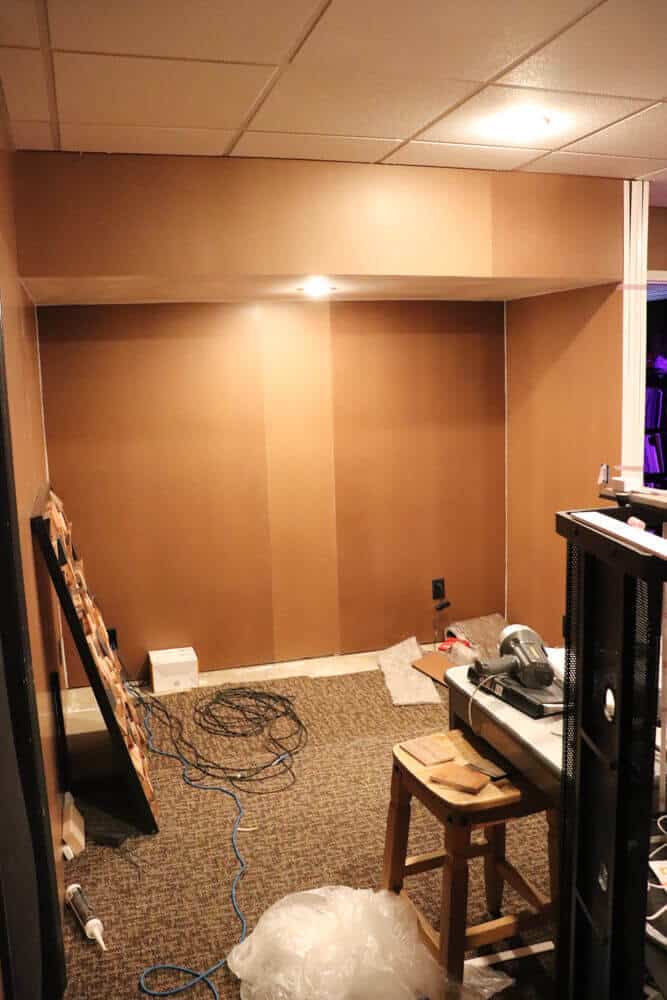
So we could start painting.
Ready for it???
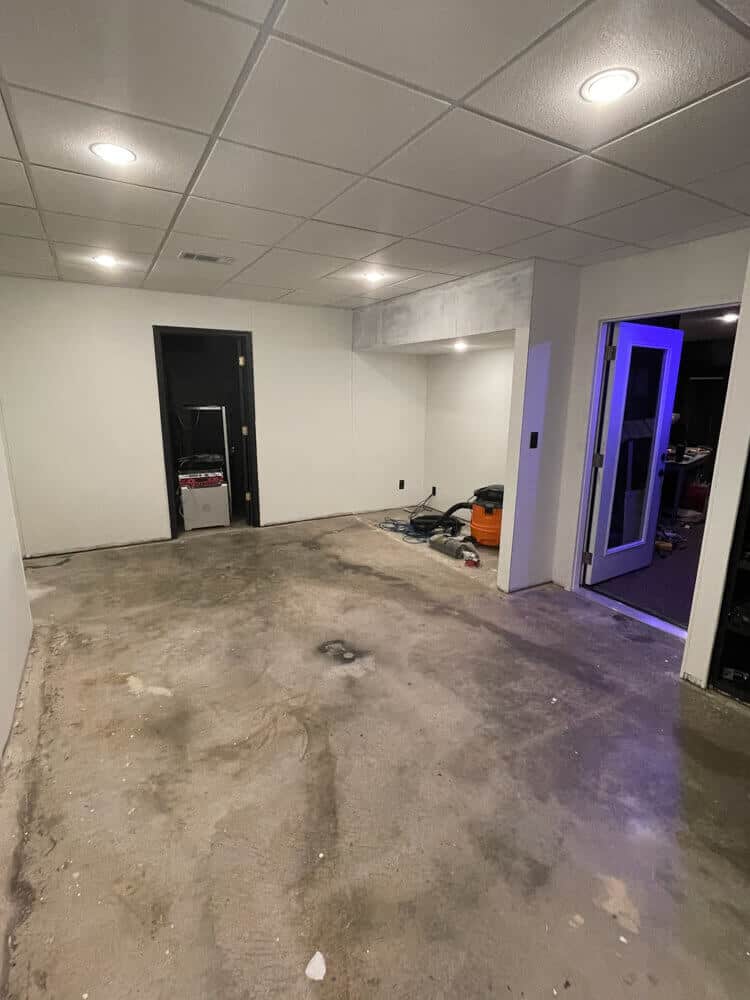
Kablam! That’s a HUGE difference!
Trent painted the walls the same color as our Master Bathroom – Paper Doll made by Benjamin Moore.

This is where is stands now.
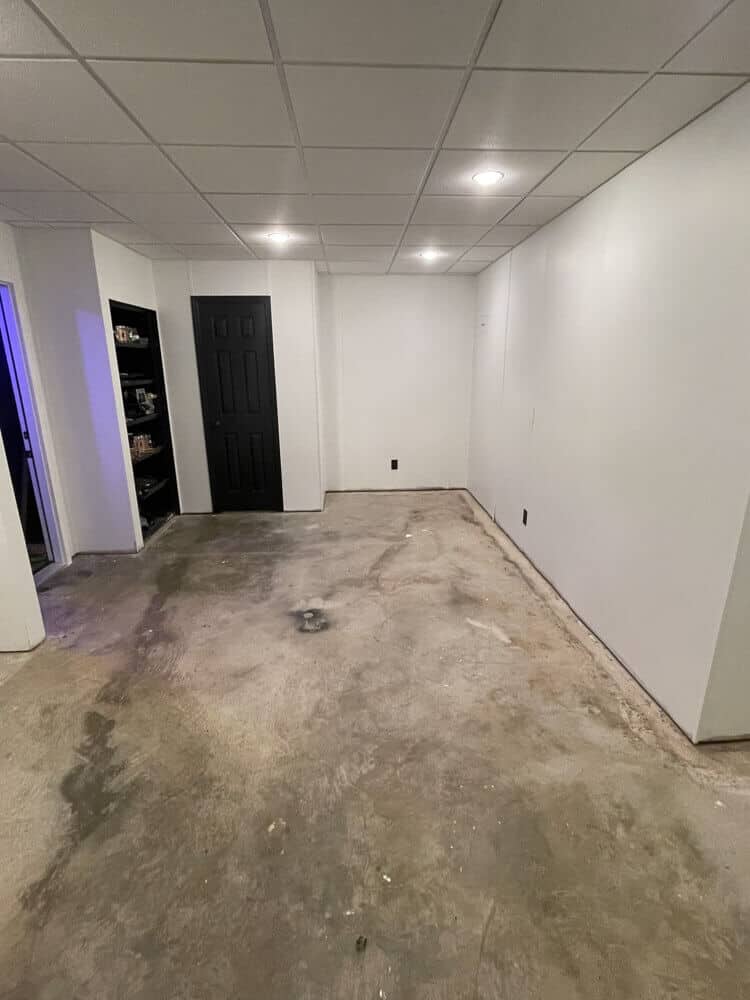
Once the painting was complete, we ripped up the carpet. It was a perfect drop cloth!
I mean, we can’t even believe the difference.
Here’s a before and after for you.
So now all the fun stuff happens!
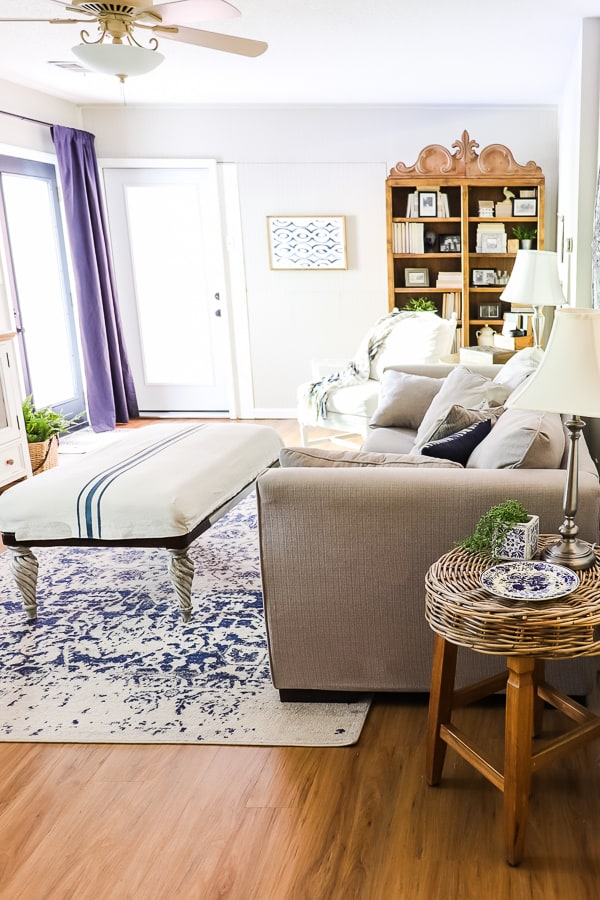
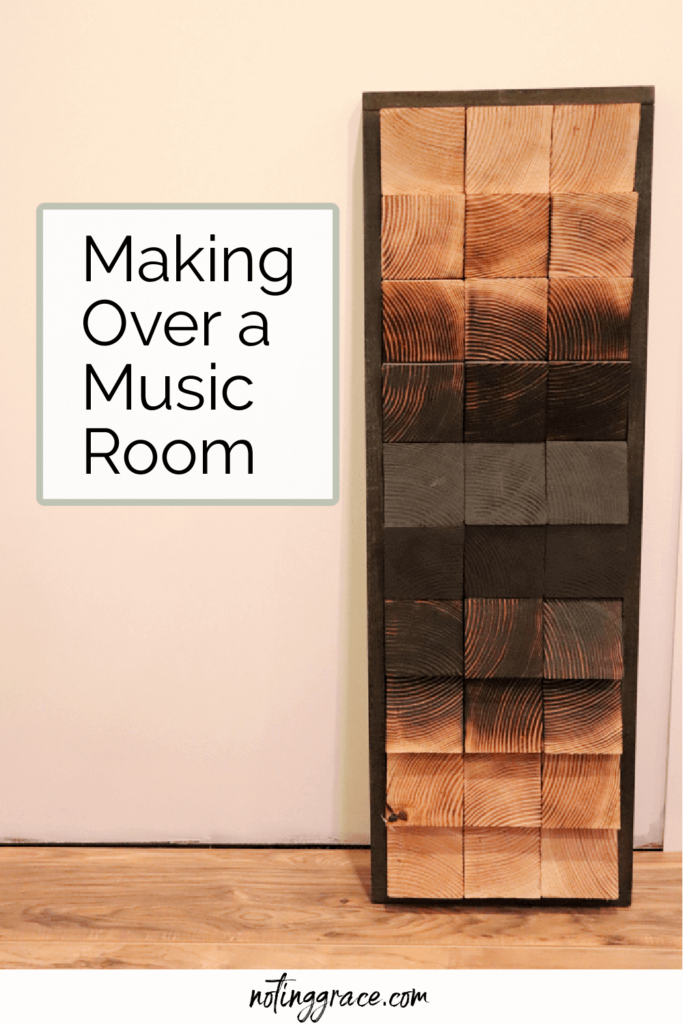
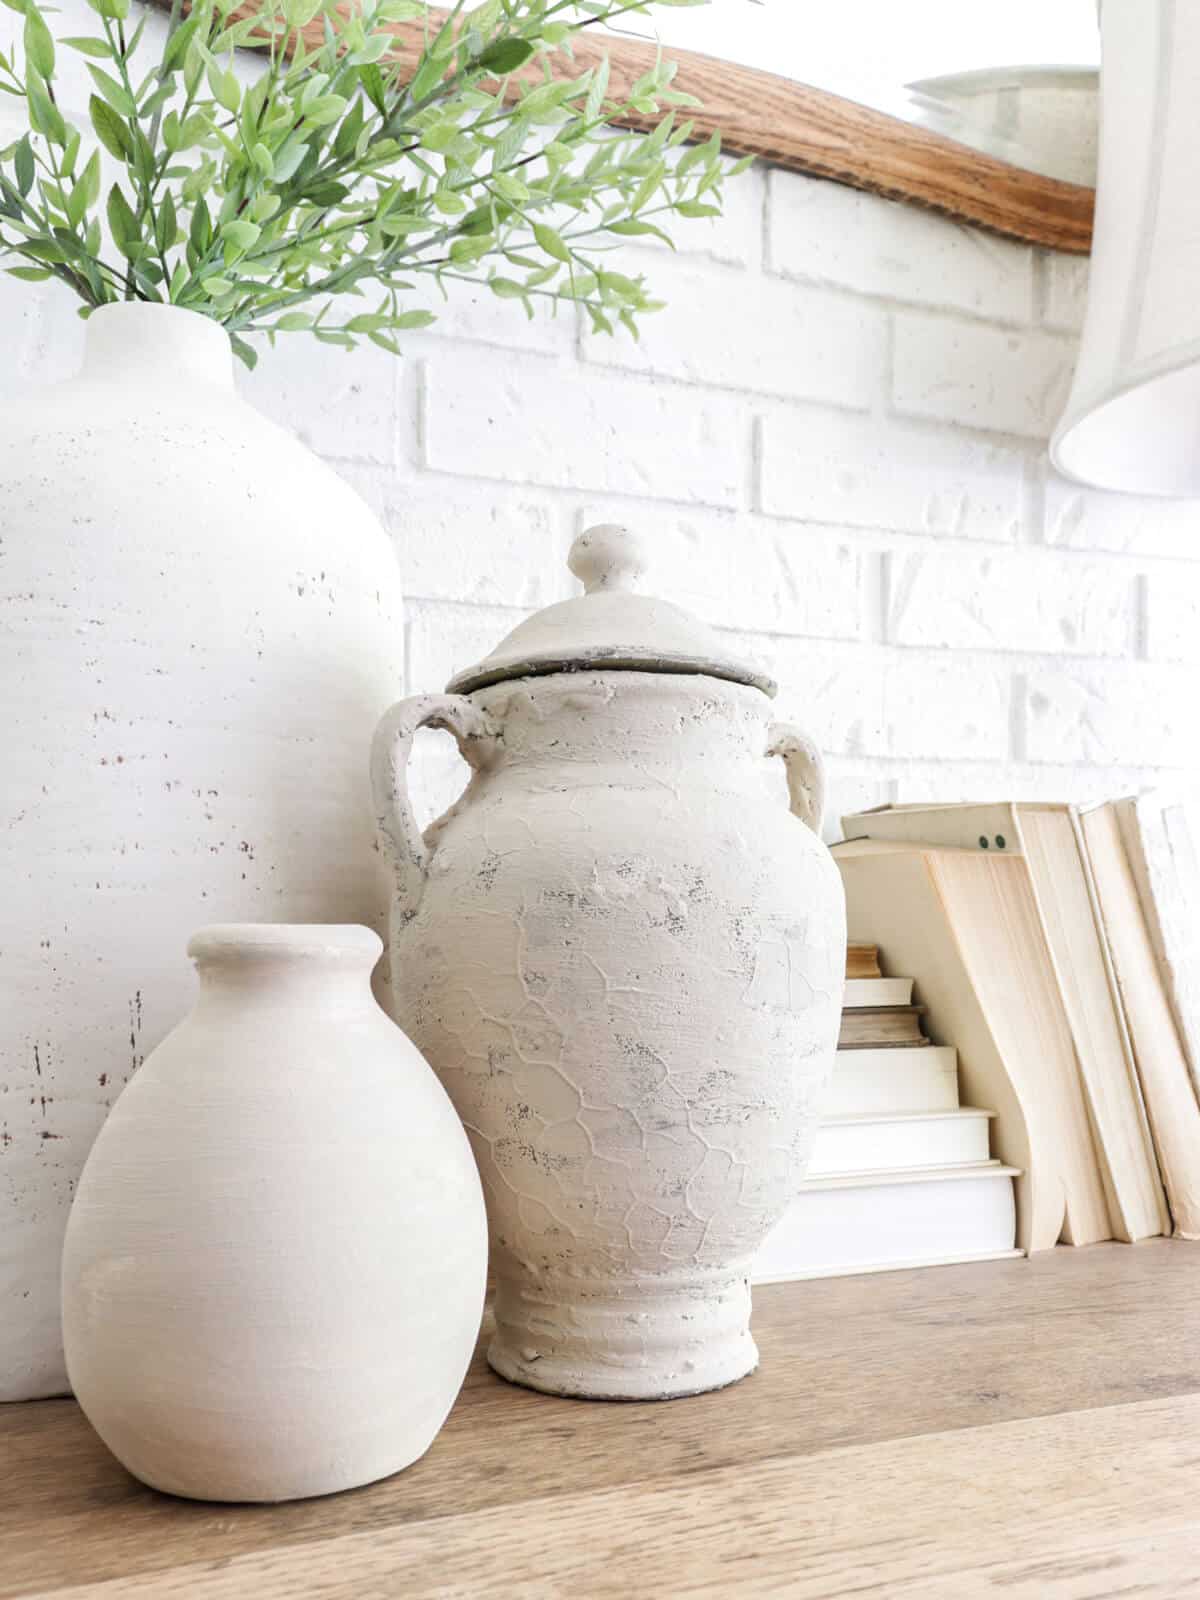
Here’s our design scheme.
Woods and Whites with black accents.
We have some sound panels that we will be hanging on the walls but aren’t quite sure which fabric we will be using just yet.
Next will be the flooring.
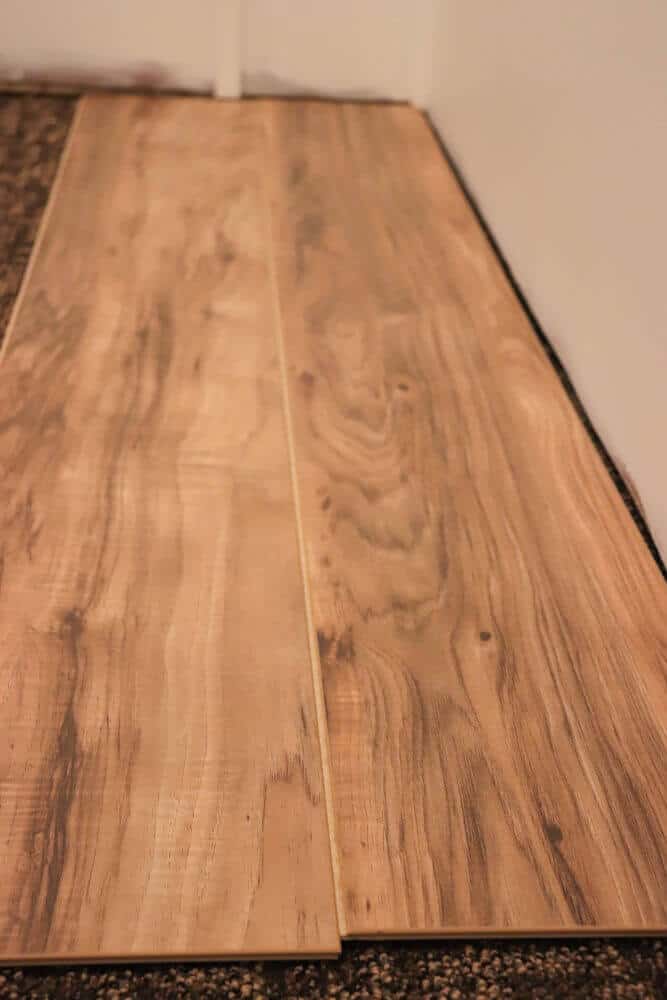
We found this floating laminate floor by Traffic Master for 81 cents a square foot! We went with their Lakeshore Pecan color.
It’s really sturdy and holds up to scuffs quite well.
Since music equipment gets moved around quite a bit, we needed something durable.
Right now we are only focusing on one side of this music room, so next will be the other side of the room, which we use for lessons and band rehearsal.
Trent and I have fun playing in a cover band, and our oldest son, who plays bass guitar, has his band over to rehearse as well.
So be sure to come back in a few weeks after we’ve made some progress in the room. We cannot wait to share more of the fun decorating stuff with you.
You can always catch the behind the scene shenangans over on Instagram or Facebook.
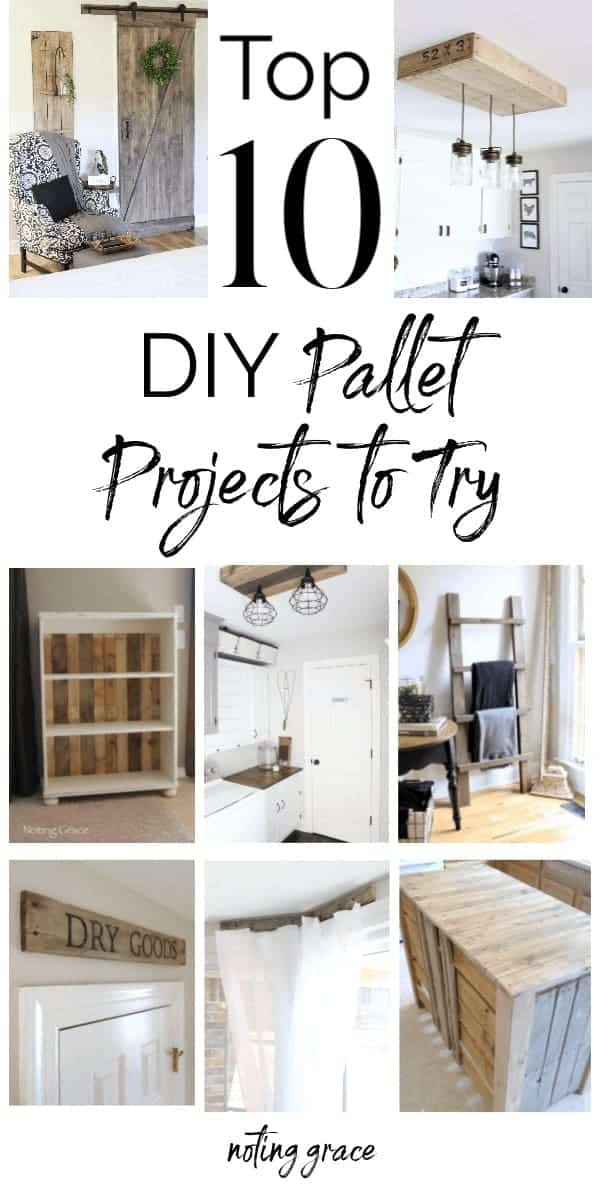
Pin this for later!

One Comment