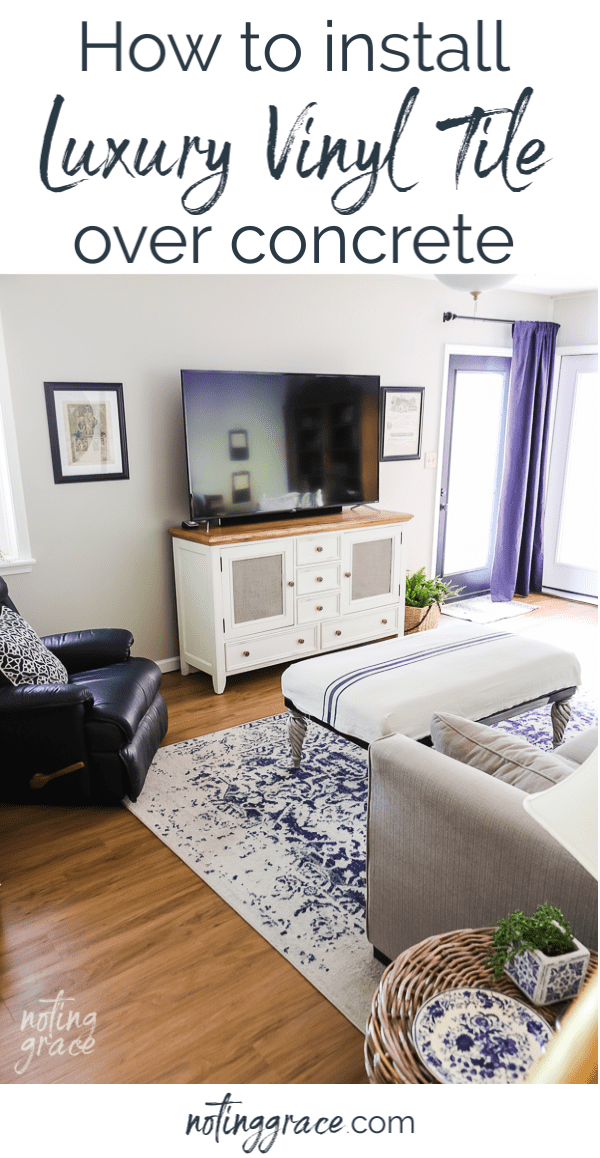
How to Install Luxury Vinyl Tile over Concrete Floors
The carpet in our basement was awful, but we didn’t know how to install luxury vinyl tile over concrete floors. Turns out it’s easier than we thought, here’s how we did it! This post is sponsored by Tarkett; however, all thoughts and opinions are my own.
Have you ever had a room you didn’t use much because it was so ugly?
That’s how I felt about our family room in our basement; the place meant for time with my boys. And that time is fleeting before they leave for college.
This past year has been a challenge for our family, moving to a new city and making this home feel like ours.
So I don’t want these special years to be spent in a room we abhor. Worse yet, what if we neglect those moments all together simply because we don’t like our family room?
But after 3 days, it’s now one of my favorite rooms in my house.
So what changed?
One simple thing: The flooring!
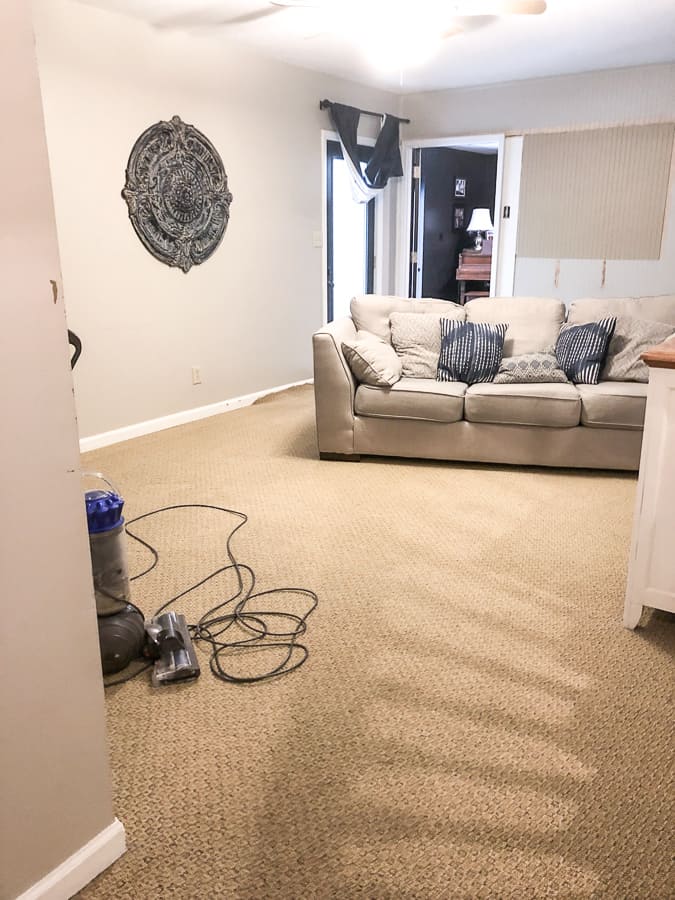
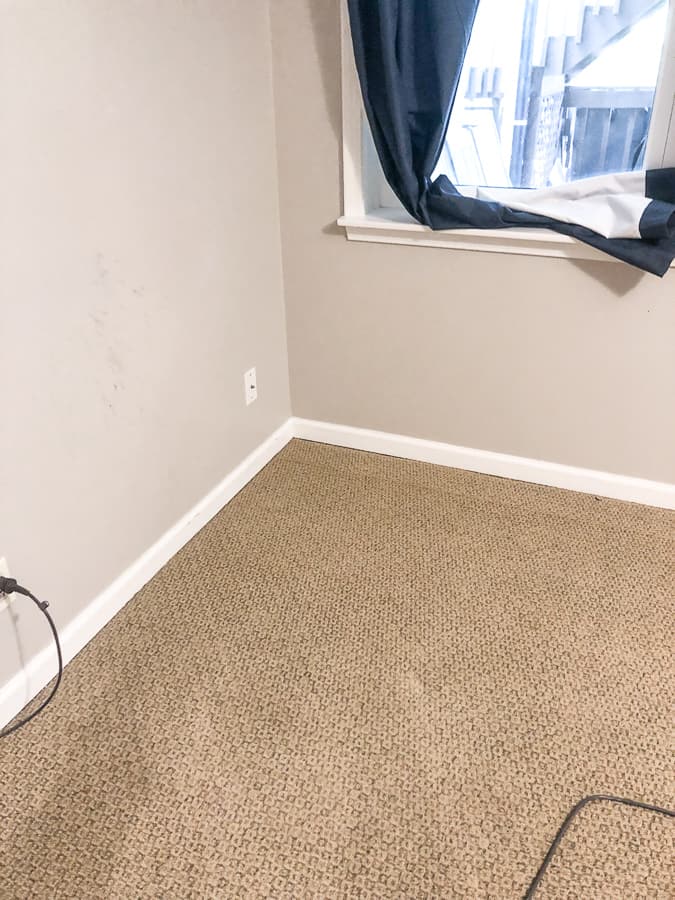
This room had ugly, dated carpet that was definitely not my style.
When we moved in, we had paperwork stating it had been cleaned, but we didn’t believe it. So we rented a machine and cleaned it again ourselves.
No matter what we tried, it still looked dingy.
I wanted to update the flooring, but there was an issue to address.
Moisture issues.
There must have been some sort of problem before we moved in because we discovered that an entire moisture barrier had been installed.
We had installed luxury vinyl plank flooring in our last home, but it was over a linoleum covered wooden subfloor.
So I need to find the best flooring for a concrete surface.
When I learned about Tarkett Transcend™ SureSet™ – I knew I had found exactly what I was looking for!
It’s a luxury vinyl tile that is ideal for areas with high moisture. They are vinyl planks with a uniquely sculpted wave backing system that allows for air and moisture in your subfloor. Plus, it’s much easier to clean than carpet!
So after reading about this easy to install flooring, I knew this was going to be the perfect solution for our room.
Here is how we transformed my least favorite room into my most favorite!
How to Install Luxury Vinyl Tile over Concrete Floors
(Some affiliate links are provided below. Full disclosure here.)
Tools Needed:
- Tarkett Transcend™ SureSet™ Luxury Vinyl Flooring (ours is Pecan Swirl in Natural)
- Shop Vac
- Utility Knife
- Oscillating Tool to trim door jamb
- Tape Measure
- Straight Edge Ruler
- Laser Level
- Putty Knife
- Belt Sander if you have carpet glue like we did
- Breathing mask and goggles
- Rubber gloves – the backing gets on your fingers after a while.
The first step before purchasing any type of flooring is to measure the square foot of the room. The rule of thumb is to add 10-20% for overage to make sure you have enough for your room.
Once your floor arrives, the next step is to allow it to sit in the room for a few days. This allows for the lvt floors to acclimate to the temperature of your home.
Then you are ready to begin the demo process!
Prep Work
So we started by ripping out the old carpet. An oscillating tool made the tear out super quick.
TIP: Be sure to wear breathing masks and goggles! You don’t want to breathe in any of that dirt and carpet fibers.
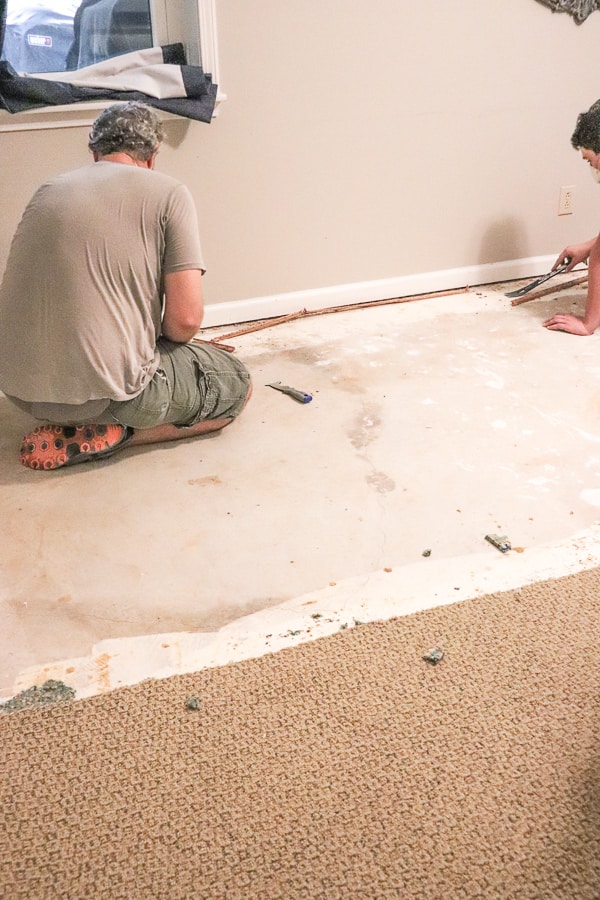
After we removed all the carpeting, we ran into our one and only problem.

They glued the carpet pad down to the concrete slab. The pad was easy to get up, however, that old glue was stuck to the concrete.
Luckily it wasn’t over the entire floor. Just in a few strips along the edges and in the middle.
The important thing with any type of subfloor is that you want to have a smooth surface for the new flooring to be installed on.
In order for the floor to lay flat, we knew we had to scrape up all that old glue.
Using a shop vac and a belt sander, we went to town.
It was a HUGE, dusty mess, but so much quicker than trying to scrape it off by hand. We kept those breathing masks handy – lemme tell ya!
It really didn’t take a long time.
The prep work took a full day and we let the dust settle overnight and gave a thorough vacuuming the next morning.
TIP: If you run into the same glue issue, after sanding, be sure to vacuum the walls and fixtures as well. The dust lands on everything!
After that was finished, we used the same oscillating tool and cut beneath each door casing. It makes the install easier with less cuts.
Now we were ready to start laying down the tile!
The Install
With all types of flooring, be sure to check with the flooring manufacturer to see where to lay the first row of planks.
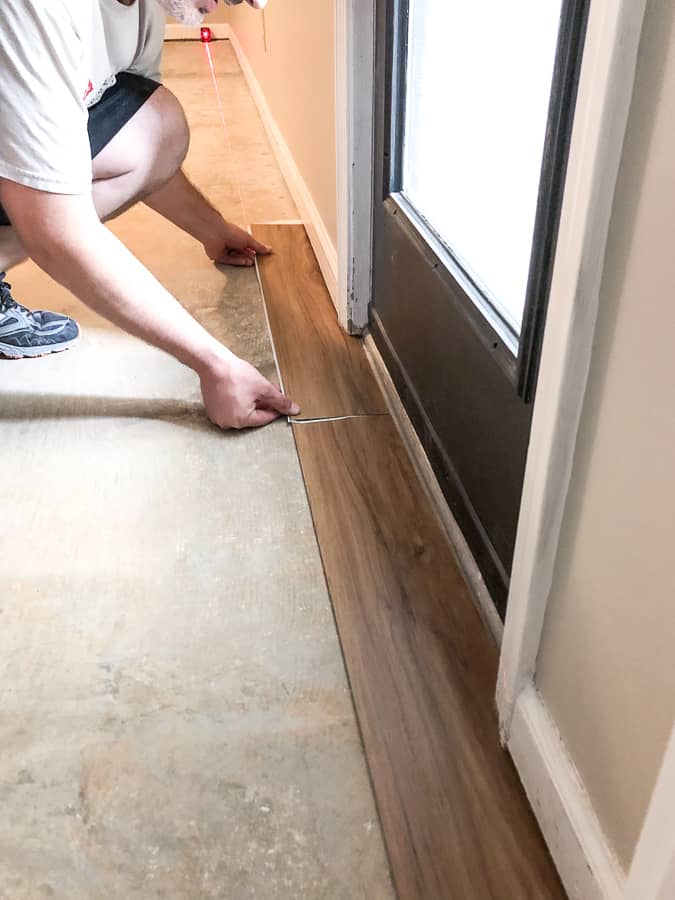
The first thing to do is to find a starting point and make sure you have a straight line.
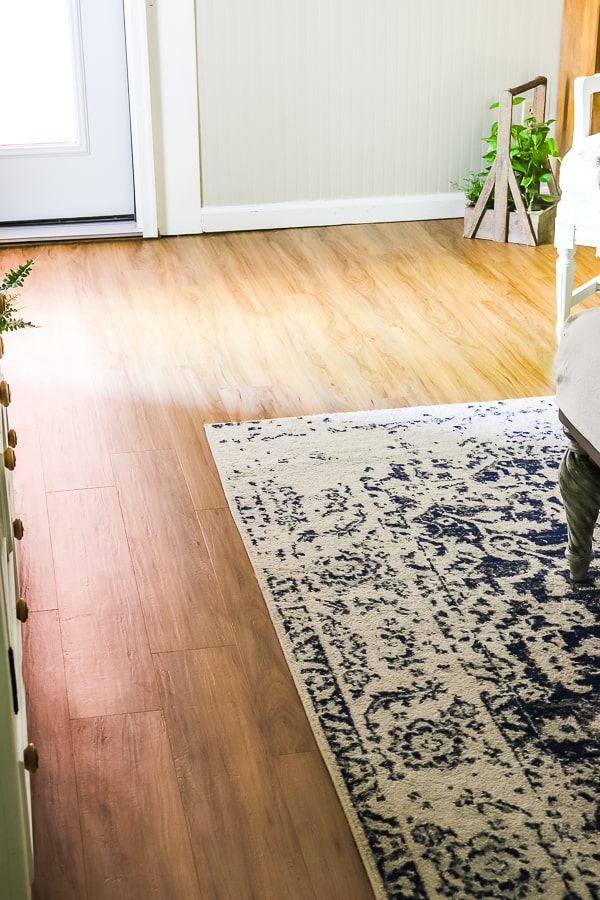
We used a laser level to make sure we had a straight edge to start to install luxury vinyl tile over concrete. Luckily, our outside wall was perfect, making the first row super easy.
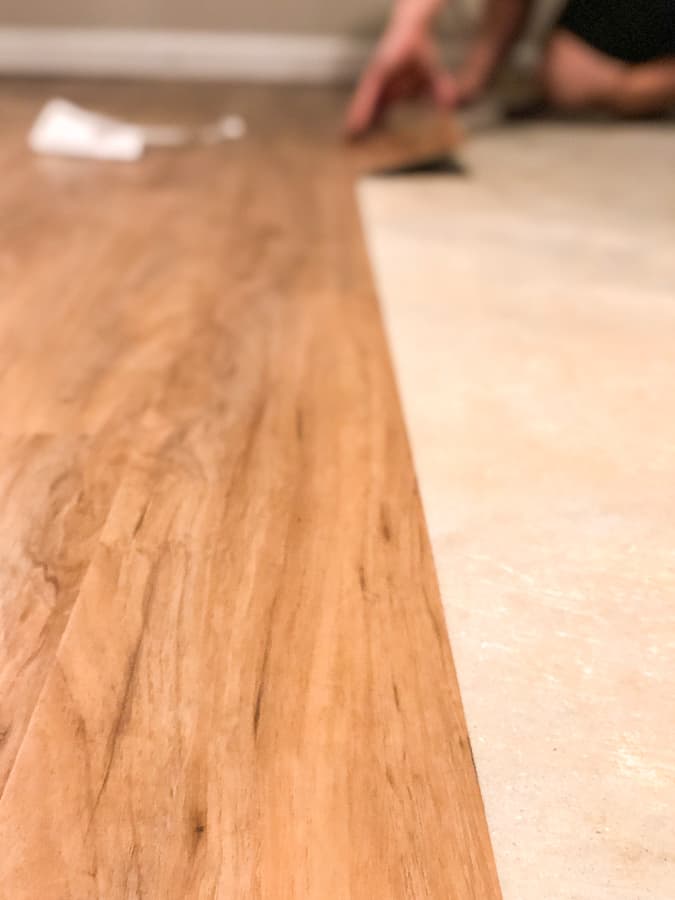
Then it was as simple as peeling and sticking down the vinyl floors.
Just make sure the second row is flush with the first row. That makes a big difference!

No need for a vapor barrier underlayment like you need with other vinyl click tile.
We opted for the Pecan Swirl plank pattern in Natural and LOVE how bright it makes the room. But these come in many different colors!
TIP: Have a good utility knife with LOTS of extra blades.
You will have to make lots of cuts, and having the right tool helps make the whole process easier.
We learned the hard way.
We worked late one evening, after all the stores were closed and we ran out of blades. Boy, we wished we had a few extra replacement blades on hand!
This flooring is high quality with a finished layer of reinforced urethane, which is great protection against scratches and prevents gouges and indentations. With that type of material, it’s a bit thicker.
So Trent had to make about 5 passes with the blade before he could bend the edge to finish the cut.
And if you make a mis-cut or accidentally lay the tile in the wrong direction, the product is flexible, and with their pre-applied adhesive, it’s adjustable for any mess ups you might make!
Our room is just over 300 square feet with a few trick cuts.
It took us one evening and one full day to install all the tile.
We were finished in just 3 days! And what a transformation!
Ready to see how it looks?
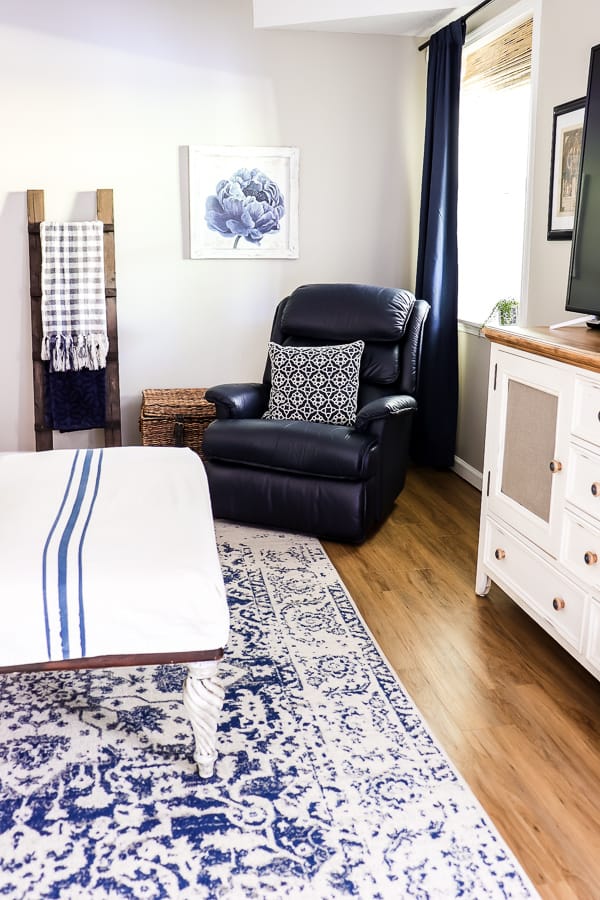
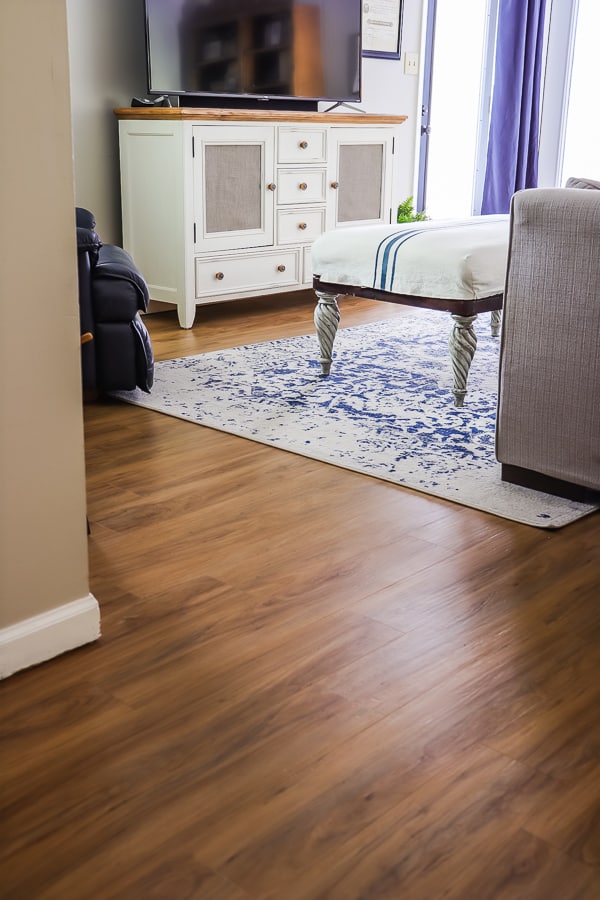
The Reveal
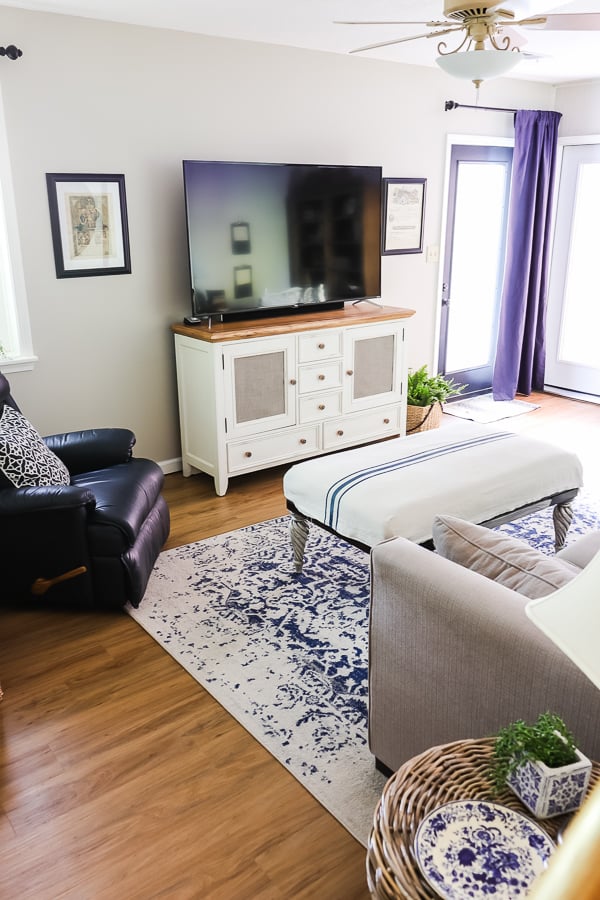
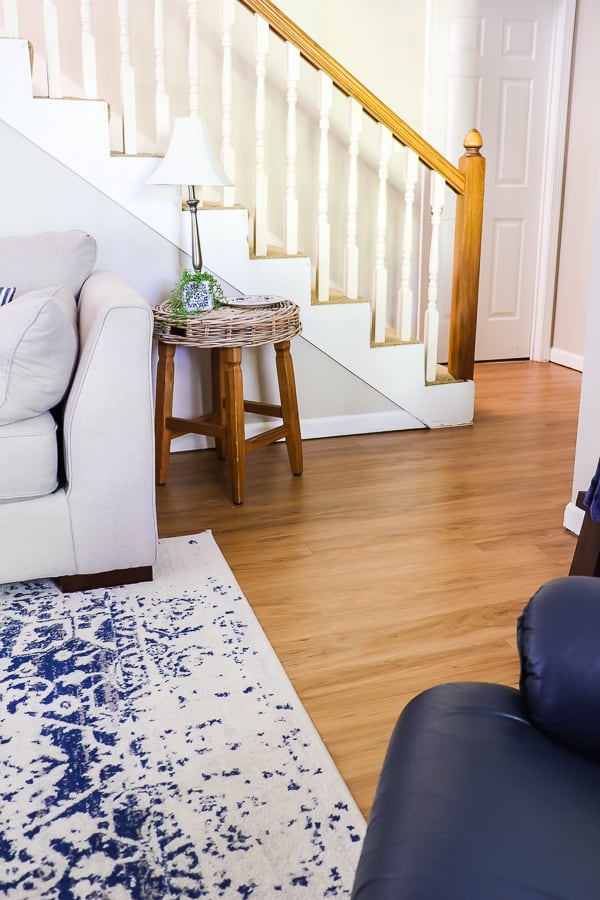
Isn’t that stunning!?!
I can’t get over how beautiful this room looks now and this was an excellent choice for our concrete flooring.
And the quality of Tarkett’s Transcend™ SureSet™ flooring is above any luxury vinyl tile I’ve ever come across.
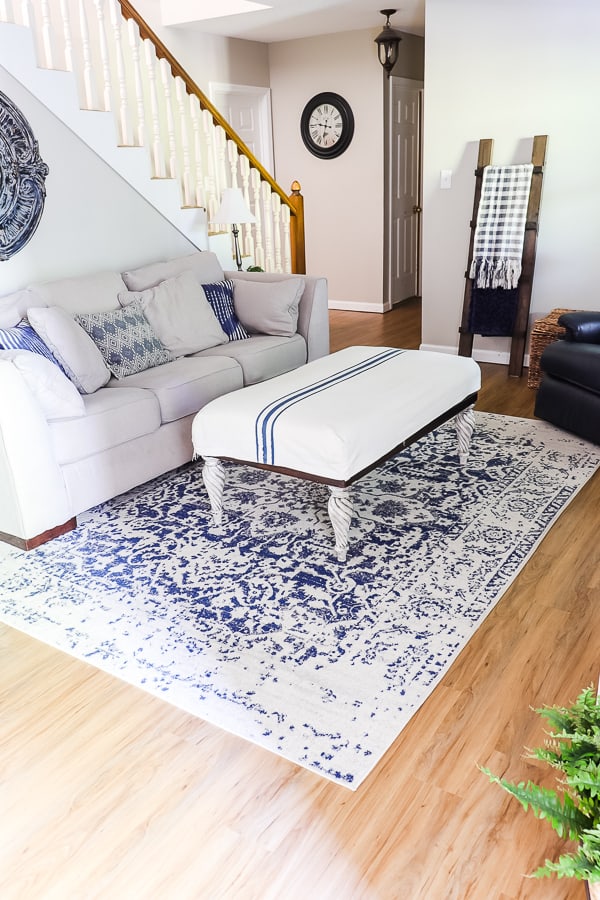
I love how this pattern we chose has a hand-scraped element to each tile.
It’s soft under foot and actually has a sound absorption element to it, so the room feels cozy and not like a echo-y basement.
This was such an easy project and can be used immediately after installation. No waiting for the floor to cure or grout to dry.
Here is what we found essential to making installing luxury vinyl tile over concrete easier.
Tips and Tricks
Have a metal ruler that can easily be placed under your baseboards. It makes measuring the cuts super simple.
After you have trimmed the pieces, always place the cut side under the baseboard. Save the other half to start a new row.

Invest in good knee pads. We used a gardening mat to help with our knees and it was a lifesaver.
Having a straight edge helps keep the cuts straight – we used that same metal ruler for that.
Did I mention to get lots of blades for your utility knife? And while you’re at it, make sure your knife is comfortable in your hand. You will be making lots of cuts.
And we also had a vacuum at the ready to clean each row before we laid down the tile.
The one thing we wished we would have done if we had more time and more money was level our basement floor. There are a few low spots and high spots here and there, but it’s not terribly noticeable.
We were hesitant to do this with the moisture concerns we had for this room. Since the concrete was in good condition, we opted not to disturb it.
So if it’s working, don’t break it, ya know?
Lastly, keep a garbage bag handy. It is helpful to gather all the paper backing from those tiles.

UPDATE: We completely renovated this space! You should see how the room looks now!

The one room in my home that I hated to go to is now my most favorite room in the house – and all it took was just 3 days!
And the best part? The reaction from my boys when they saw this room. They loved it and we already have our first movie night planned!
So I hope that helps you if you are deciding how to install Luxury Vinyl Tile over concrete.
You can do this DIY renovation, my friend! All without the hassle of finding the “perfect” contractor to do the job.
Other Flooring Posts You May Like:
- How To Install Laminate Flooring Over Concrete
- Rejuvenate Wood Floor Restorer Review
- DIY Flooring: How We Changed our Kitchen in 3 days for Less than $400
- Affordable DIY Hardwood Flooring – How We Saved Thousands


Thank you Denise!
You are so very kind, Kristin! Thank you!
Jen, this is so beautiful! I love how you lay out all your tutorial posts with photos and steps that can so easily be understood!
Looks amazing. What a transformation! Great job!