How To Install Laminate Flooring Over Concrete
When we updated our music room in our basement, the ugly carpet had to go. But what about the basement subfloor? Here’s how to install laminate flooring over concrete.
We finally have completed our Music Room Makeover and there were lots of details that we knew we had to get right.
First off, sound proofing – because living in a home with 2 drummers is loud!
And then, there was the aesthetic. We wanted it to look bright but still vibe-y.
But the biggest hurdle was the floor.
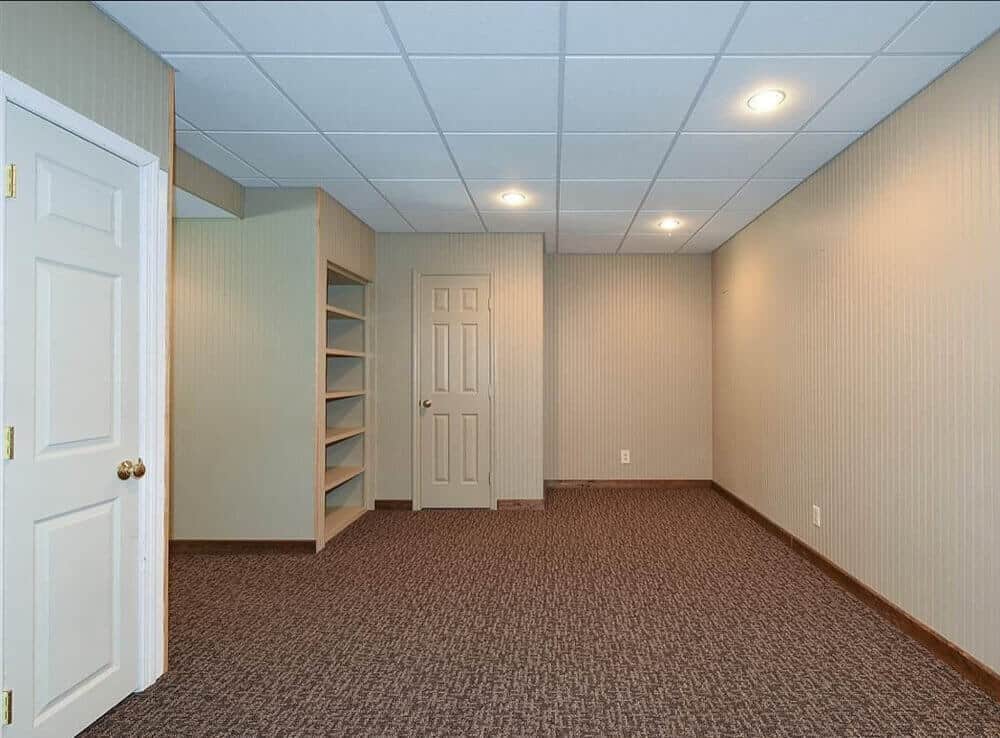
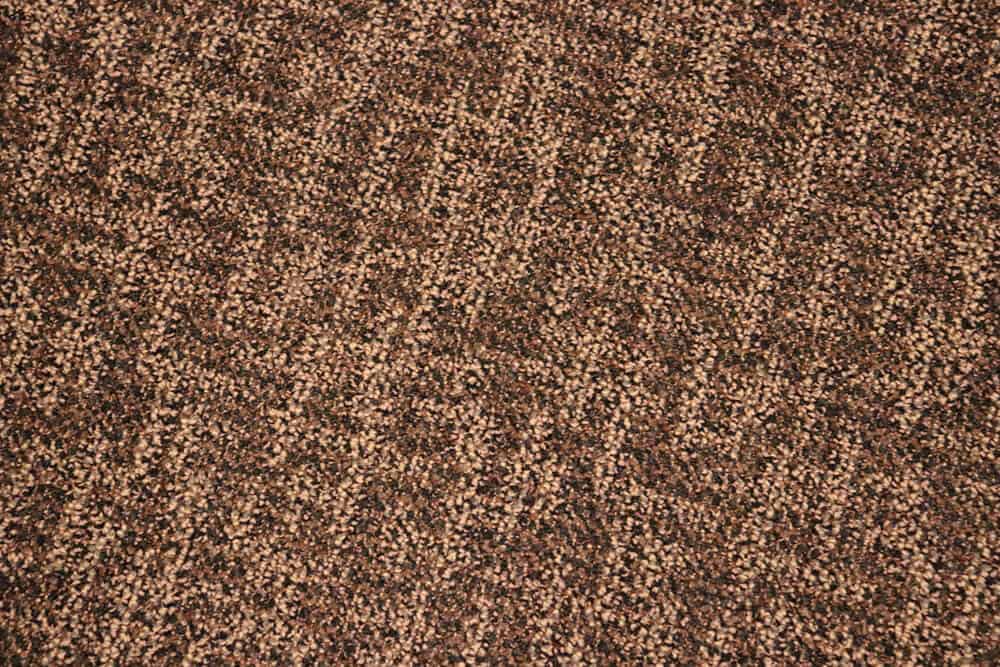
The previous owner’s had installed carpet over the concrete subfloor.
Y’all we did our best to disguise it.
We started by trying to paint the walls black, but that make the rooms seems like a cave.
Especially in a dark basement.

There was no way around it.
The ugly carpet had to go!
But what were we going to replace it with?
In our home – all our renovations are done on a dime with the bottom line being the most important factors.
So that left us with limited options.
Plus, the concrete subfloor was another element we had to work around.
And then, by kismet, we stumbled upon some great flooring at one of our trips to the Home Depot.
It was pretty, easy to install and most importantly – super affordable.
So here’s how we did it! Let me start you off with the supplies you’ll need!
How to Install Laminate Flooring Over Concrete
(Some affiliate links are provided below. Full disclosure here.)
Supplies:
TrafficMaster Laminate Flooring in Lakeshore Pecan
T Molding for finishing edges
6 mil Vapor Barrier
3 mm Underlayment – we used 2 types – this roll out type and this foldable type
Underlayment Seam Tape
Tools that made it easier:
Table Saw
Jig Saw
T Square
Flooring Installation Kit but we used a rubber mallet, a pry bar, and a piece of wood
Dremel Multi-Max – this was super helpful in trimming the door jambs
Prep Work
We started by ripping up that old carpet.
And man, was I so happy to see that go!
Our Dremel Multi Max has a carpet ripping attachment that made the process super quick and easy.
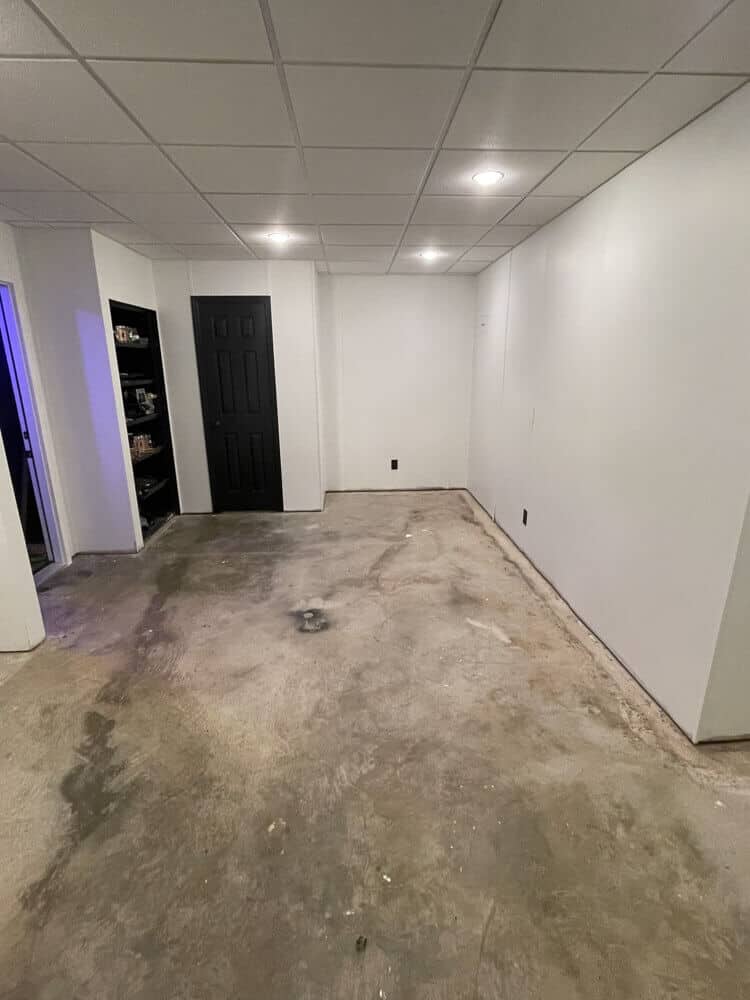
Once you expose the subfloor – you are going to want to test for moisture.
See those dark lines in the floor?

We were worried that it was a moisture issue.
So we followed the instructions from TrafficMaster on how to test for moisture. You simply tape a plastic bag over the area in question and wait 24 hours to see if moisture or condensation collects.
Luckily – ours were just stains, but if you find have moisture, you will need to address that first before installing.
Another tip would be to remove the baseboards if you can as well as cutting out the door jambs to make it easy to install around the doors.
That’s when the Dremel was another saver. We should have bought that little tool years ago!
Install the Vapor Barrier
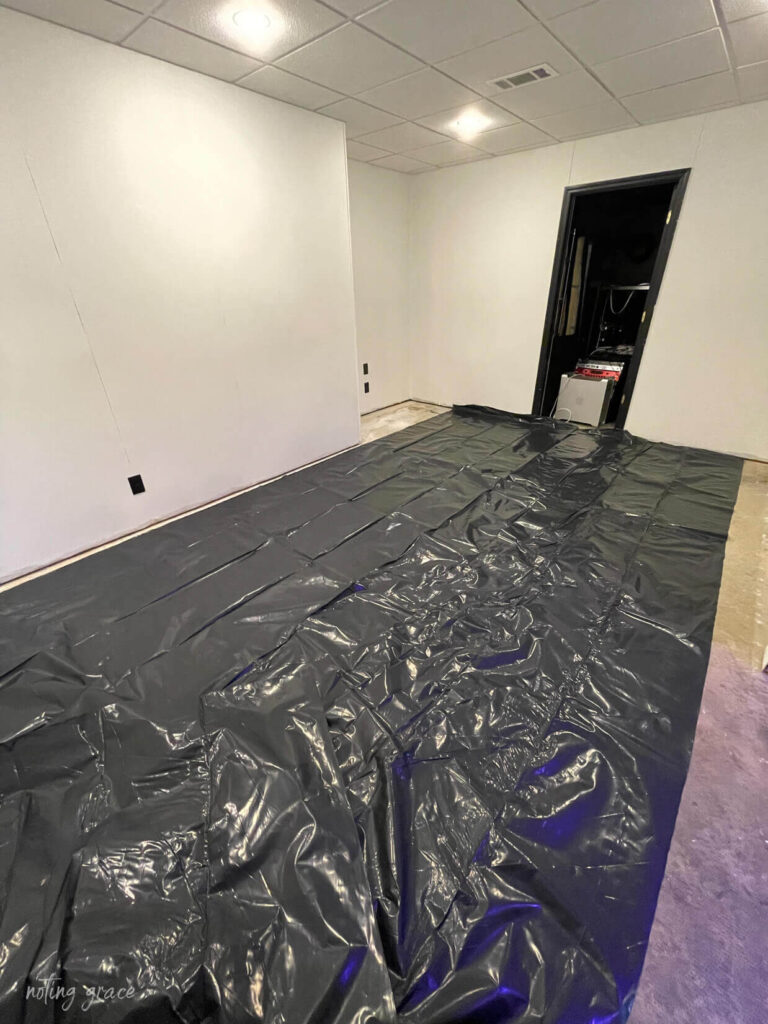
The vapor barrier goes down first. According the instructions, it needs to be a 6 mil thickness.
Our vapor barrier had an adhesive side to help it adhere to the adjacent layer.
But remember – this is a floating floor, so you don’t want this to be taped to the concrete.
Cover the Vapor Barrier with Underlayment
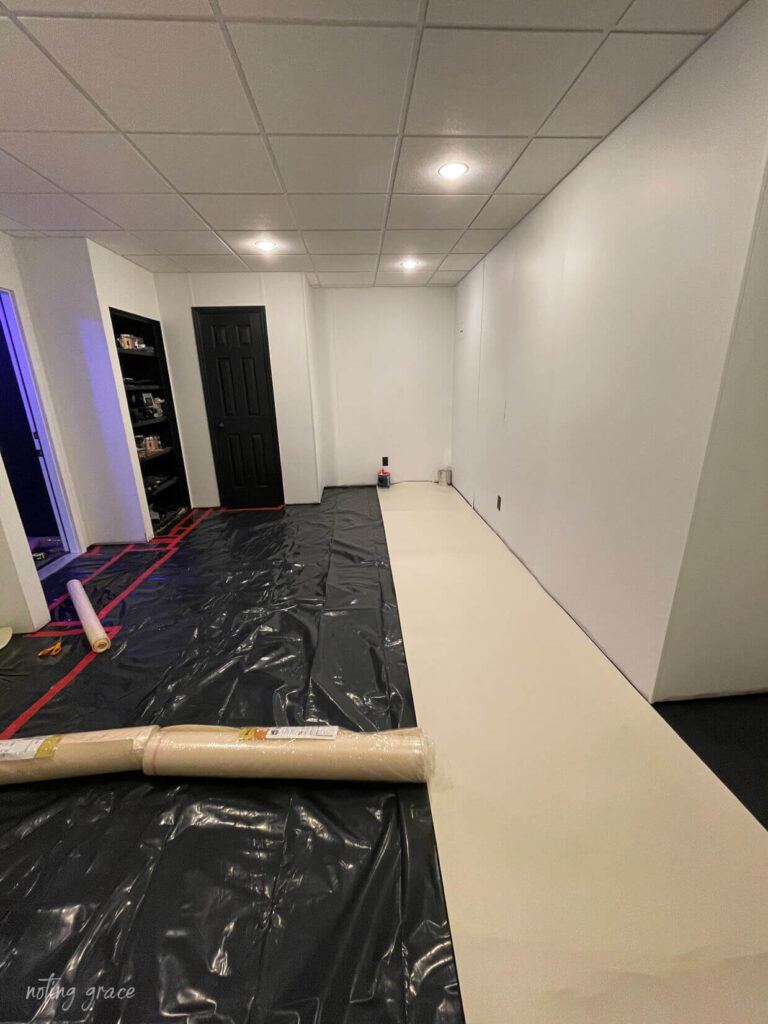
These rolls were super easy to work with, but we learned a hard lesson.
After you unroll it, flip it over so that the edges don’t curl up!
Make sure to overlap your edges.
Then we used the seam tape to keep it all together as one piece.
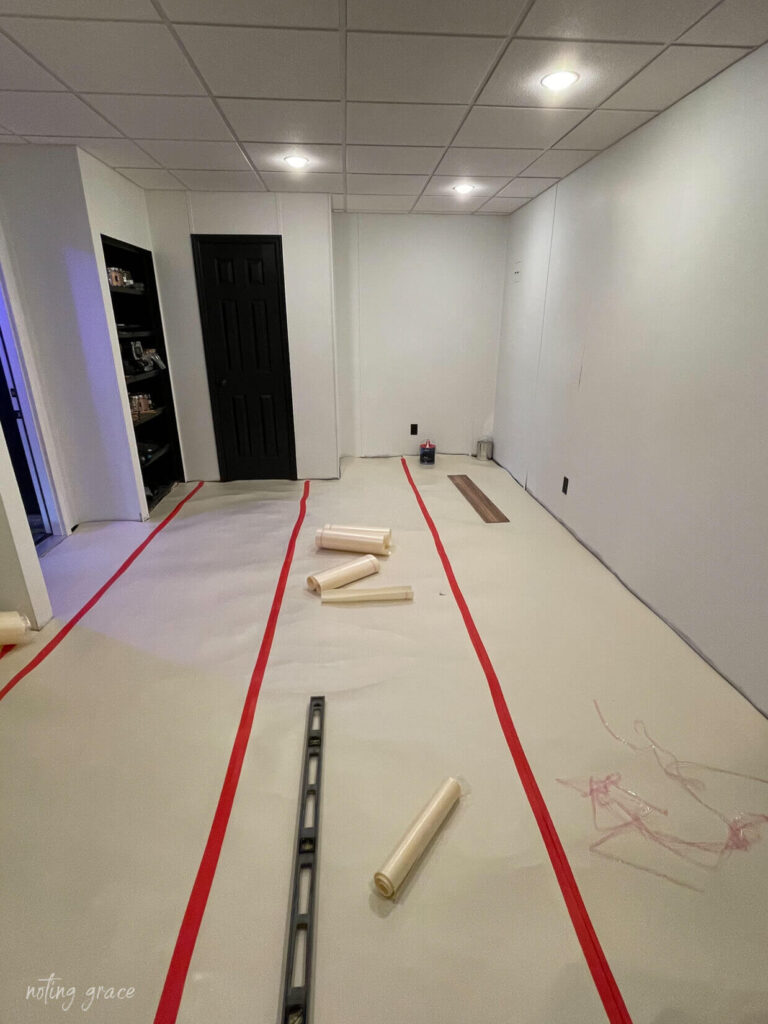
Now, our Music Studio is made up of two rooms.
So we used the rolled underlayment for one side, but they were out of stock when we moved onto the other room.
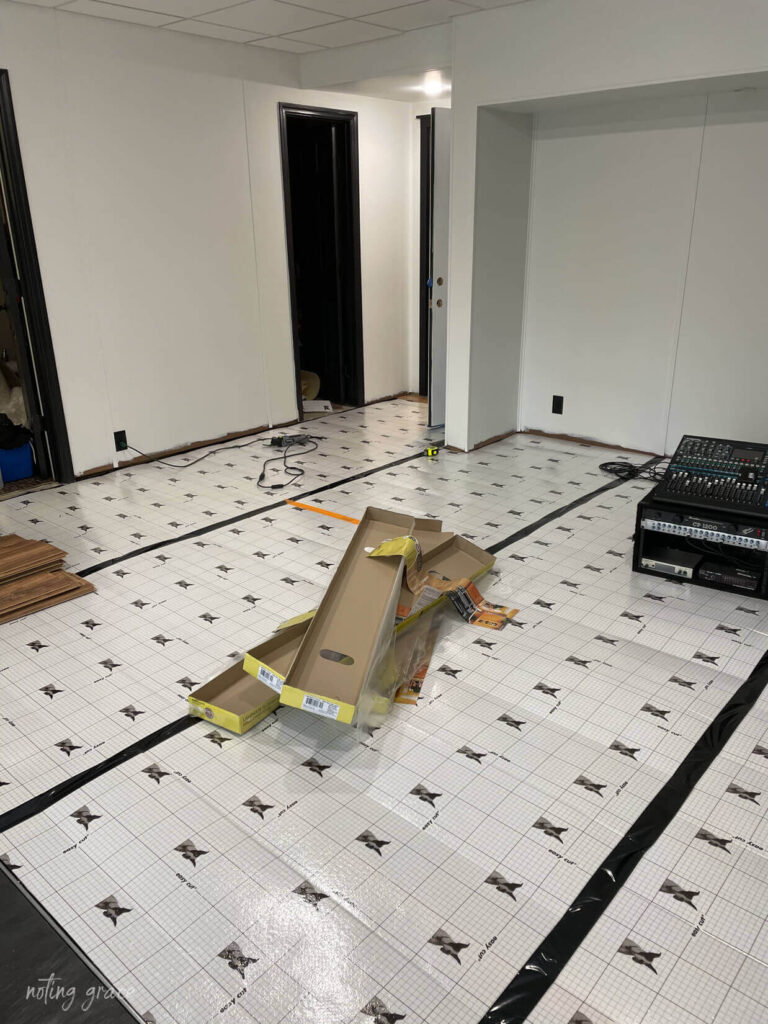
They had this foldable kind that we used on this side.
And while it was pricier – it was so worth it!
The grids made it easy to cut and it already came with seam tape.
On this side of the install – we would have opted for the foldable kind.
Once both layers are down, you are ready to install the floor!
Sort the Flooring
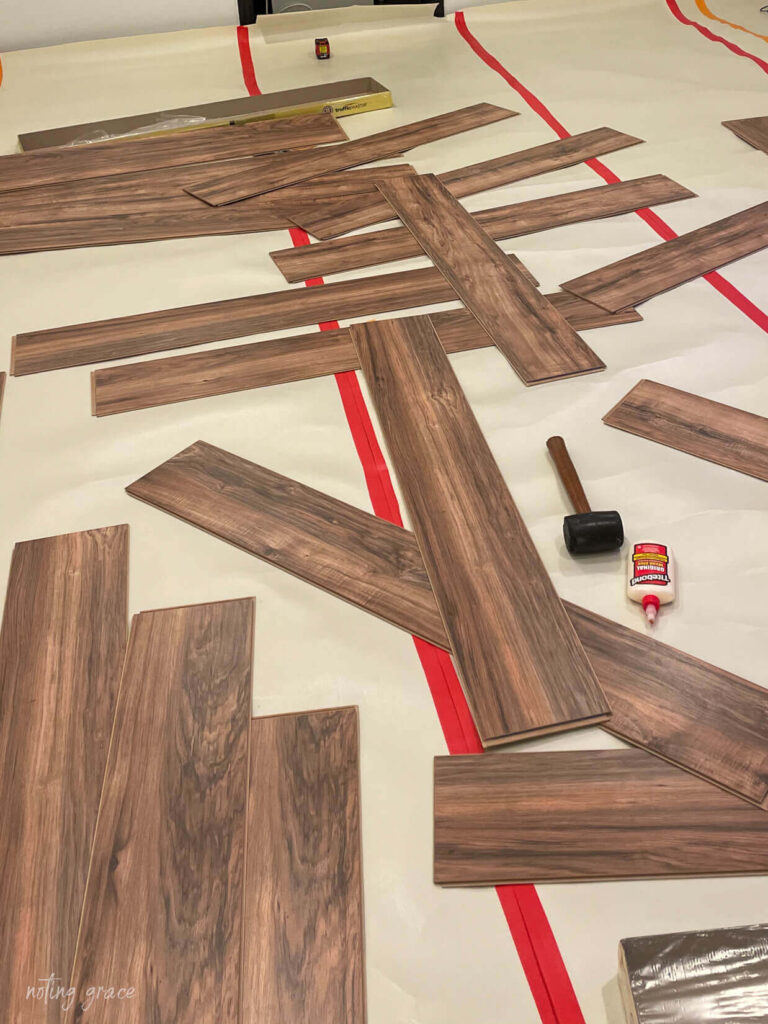
About 3 boxes into the install, we noticed that there were about 7 different patterns.
And it was easy to repeat the pattern, which would have made the floor look like it was fake.
Yes, it isn’t real wood, but you don’t want it to look obvious.
So varying the pattern is just as important as staggering the cuts.
Take a moment to open up a few boxes at a time and sort all the patterns.
Install the Floor
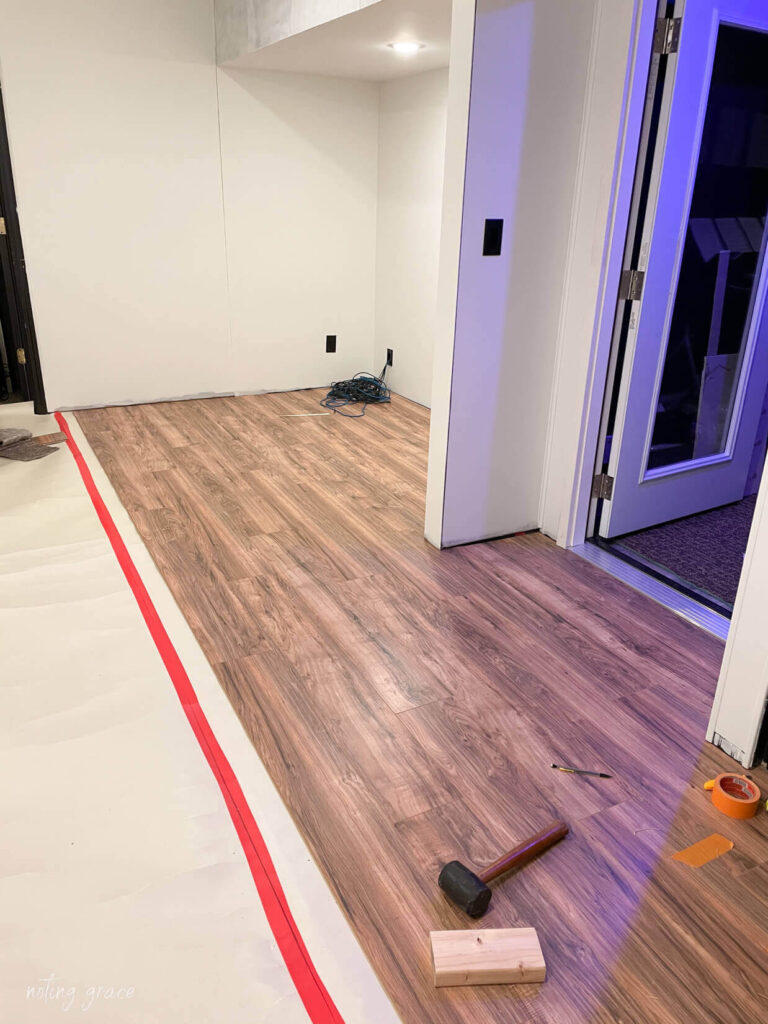
This process goes quick!
Especially if you have 2 people. One to lay the floor and the other to make the cuts.
In fact – here’s a video of how easy it is to do!
It’s really simple when you have a team.
We started on one side of the room and worked out way out.
Make sure to leave a 3/8 inch gap around the edge. The baseboards or toe moulding should cover that up.
Tips and Tricks
Now here are some tricks we found helpful that we wanted to pass along.
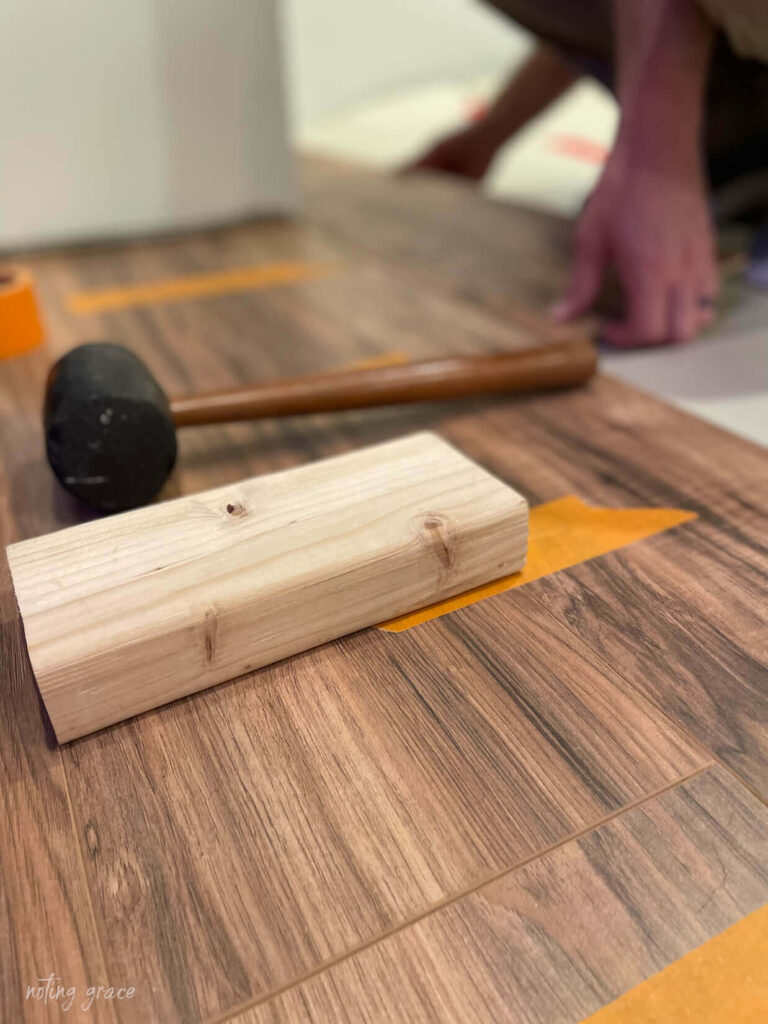
Locking Issues
Sometimes, the flooring planks don’t line up or lock together well.
We used a scrap piece of wood and a rubber mallet to help tap it into place.
But be sure to use a light touch. If you hit too hard, you could break the edge, making it difficult to install the next piece.
Gluing Pieces
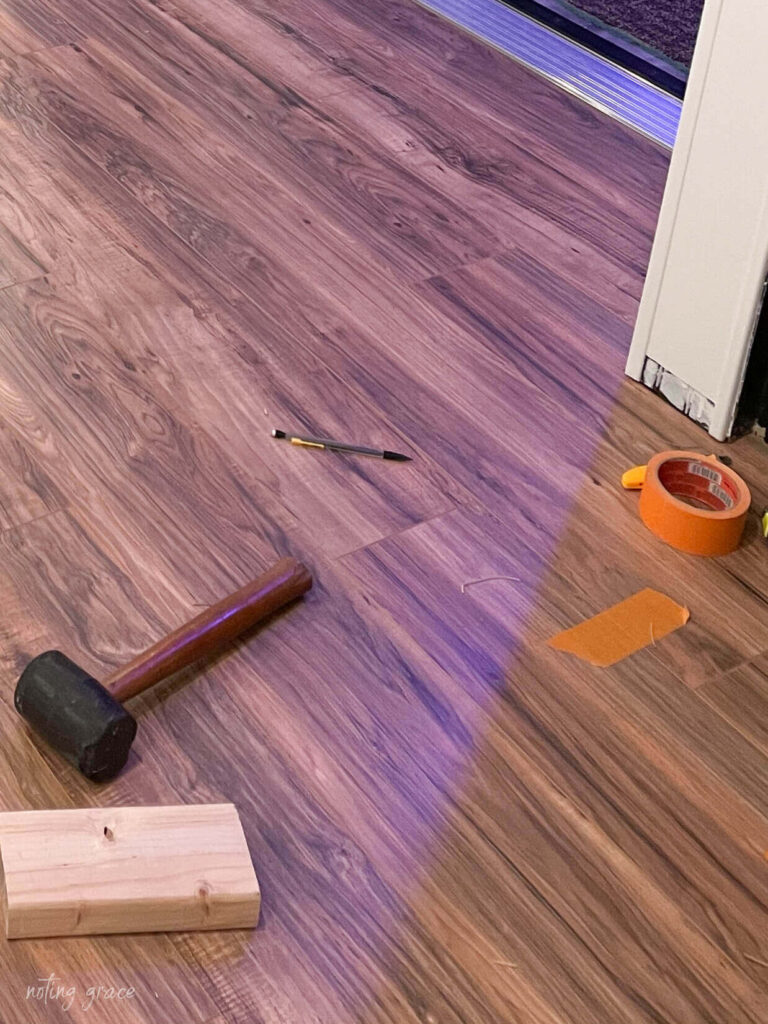
See that orange tape?
Sometimes around the door jambs, you have to trim in such a way that you have to remove the locking edge. In those spots, Trent would add a dab of wood glue and then tape the planks overnight to allow it to dry.
Have a Jigsaw Handy
Sometimes you have to make odd, angled cuts.
Especially if the floor continues around a door jamb.
A jigsaw made those cuts easy to manage.
Knee Pads or a Gardening Mat
You will be on your knees a lot, so having knee pads is a great idea.
We only have one set, so I used one of those gushy gardening pads – which worked wonderfully!
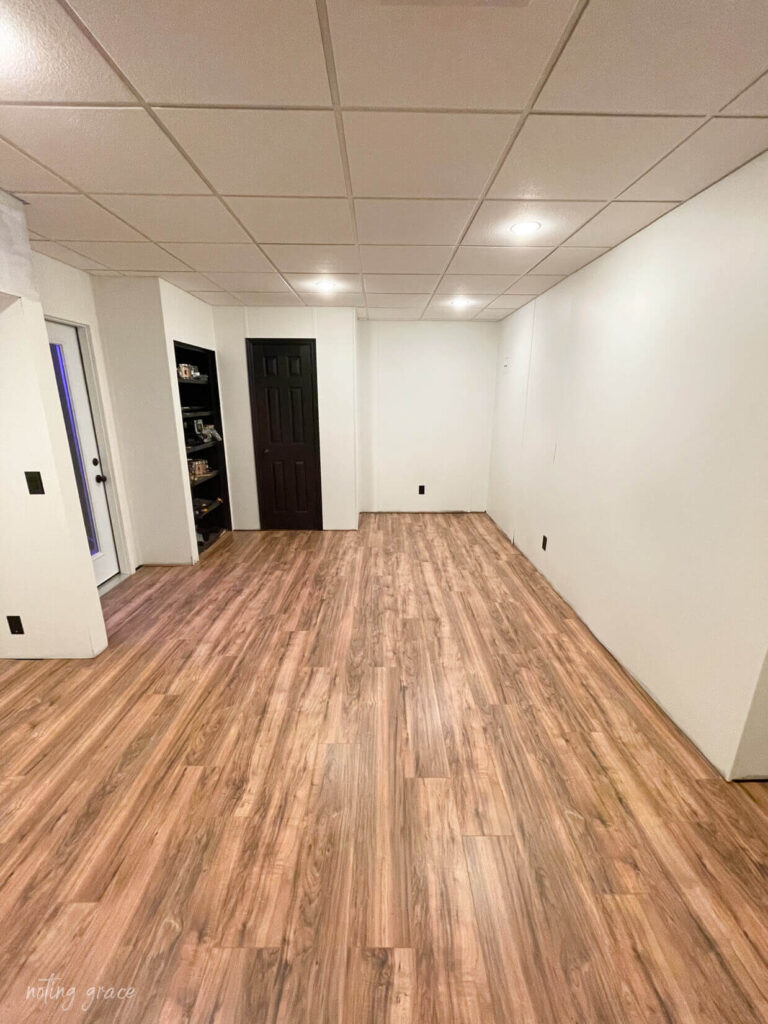
So now let’s look at the before and afters!

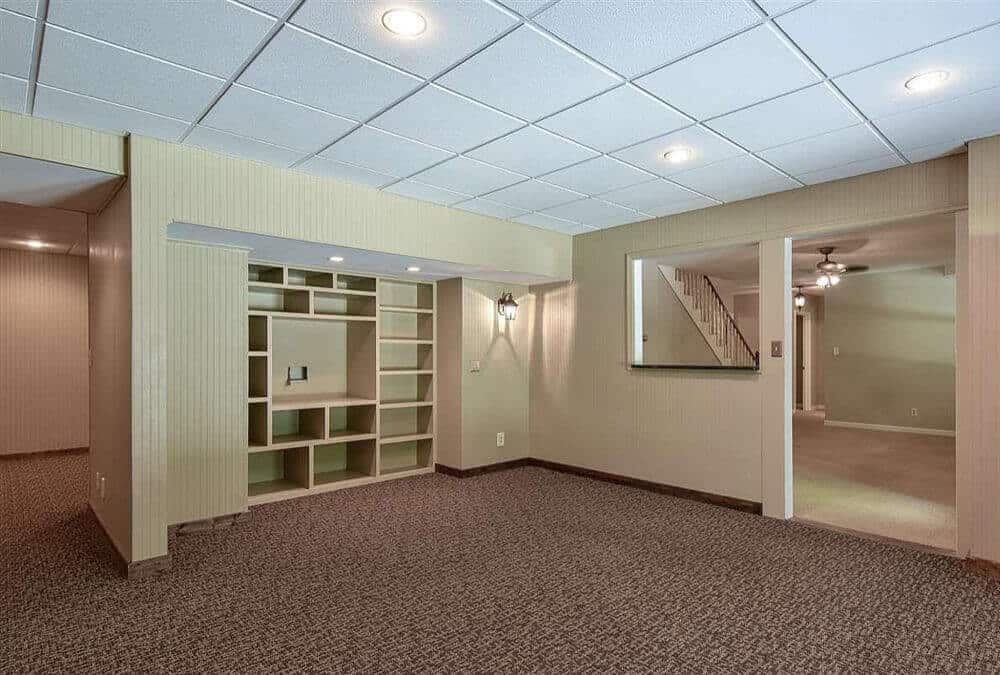
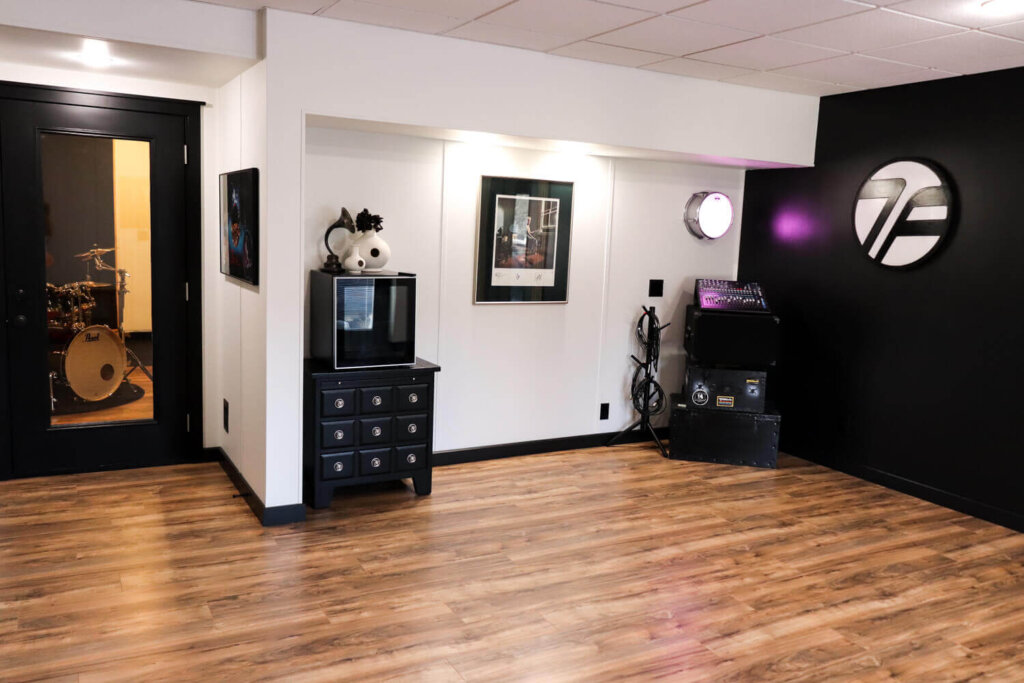
What an improvement!
And I love that we were able to finish the entire project in one, long weekend!
Plus – it was super affordable! I think the entire flooring for both rooms was under $700 including all materials.
So if you are hesitating on tackling this job yourself – give it a try!
And if you have any questions – you can leave me a comment below. I am always happy to help out!
Don’t miss out on our behind the scenes shenanigans over on our Facebook and Instagram pages.


Thanks Jennifer! That’s not too long at all. I’m hoping the weather here will hold up so we can start soon. Keep up the good work, look forward to reading all the awesome stuff you have here!
That’s a great question, Janae! We spent about a day and a half installing the laminate which wasn’t too long at all. We eventually got a rhythm going with Trent going and making the cuts while I would install the next row. It was a huge game changer for us!
Good luck with your project – reach out again if you have any other questions! We’re always happy to help!
Jen
That carpet was ugly! I have a similar situation, and when my carpet cleaners came over yesterday, a lot of the corners of the carpeting started to bulge up letting me know it’s time for it to go! How long did the project take you?
I’m so glad you tackled this project on your own and that it turned out nicely for you! Thanks for sharing your tips!
I did mine on concrete. Did not glue because can expand more with hot and cold of cement which can cause bowing of cracking. I didn’t use an underlay because it’s a basement and I’m cheap. I did use a vapor barrier. An underlay would had made it a bit smoother but it’s pretty good.