Creating a Mudroom Built In Cabinet
I’m not on speaking terms with my sons’ shoes. When I come home from running errands, either the door won’t open because one boy’s shoes are blocking the door, or it’s my other son whose shoes are so HUGE they take up the majority of floor real estate and it’s a safety hazard. It kinda drives me mad. Like mean mommy mad! Do you have a pet peeve with your kids shoes like me? This week, we’re creating a solution for my madness in our mudroom.
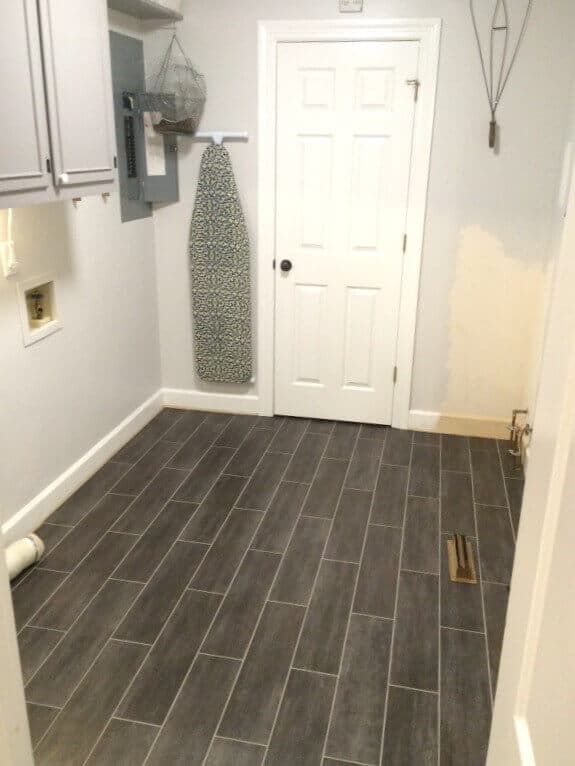
We’re getting back on track for the One Room Challenge after a small bunny trail installing these floors. If you read my last post, we continued the Luxury Vinyl Tile floors into our kitchen and it looks ah.may.zing! But now it’s week 4 of the ORC hosted by the lovely Linda from Calling it Home, and we need to get crackin’ if we are wanting to meet this deadline!
It’s all about the built ins this week! We desperately need more storage, and again, the shoe clutter needs help. Since budget is always an issue, we repurposed a lot in order to accomplish this. Here’s how we got creative to help cut down on our costs to make a mudroom built in cabinet.
Creating a Mudroom Built-In Cabinet
This post contains affiliate links.
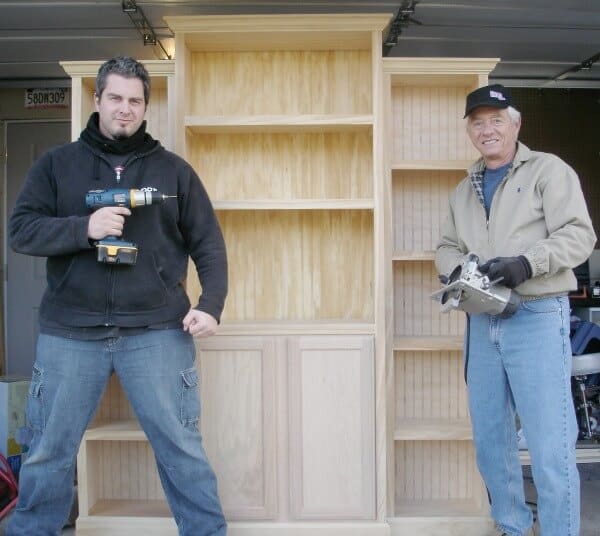
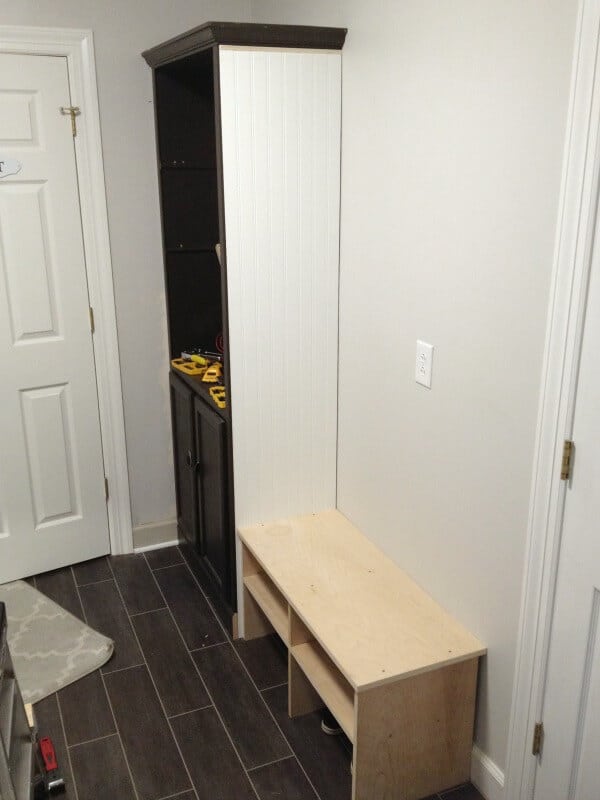
Once upon a time, in a different Tennessee home, long before I started my blog, we DIYed a beautiful bookcase. It was a lovely bookcase that moved with us from home to home, and it served us well. Unfortunately, we just couldn’t find a space for it in this ‘Almost Farmhouse’ and it has sat lonely and bare just wanting to be useful again.

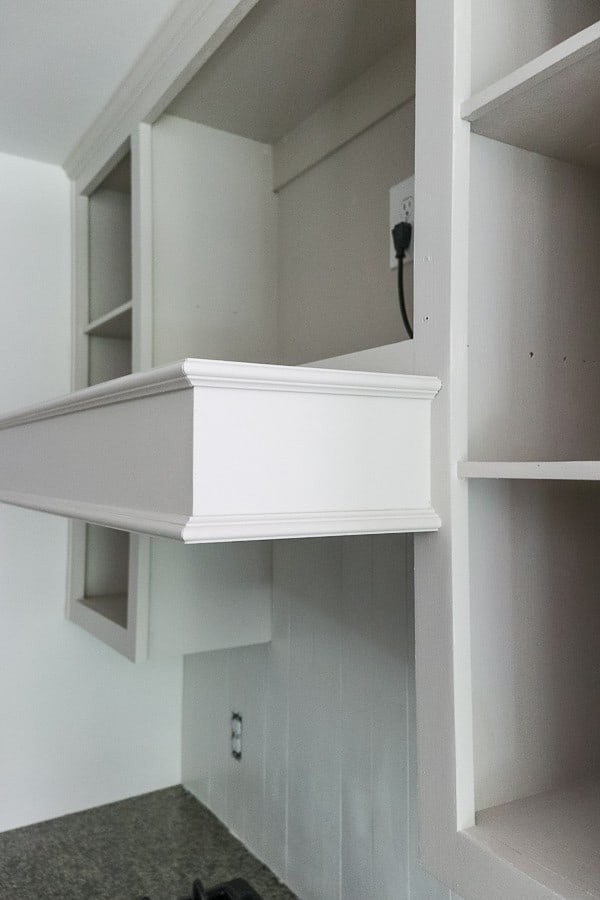
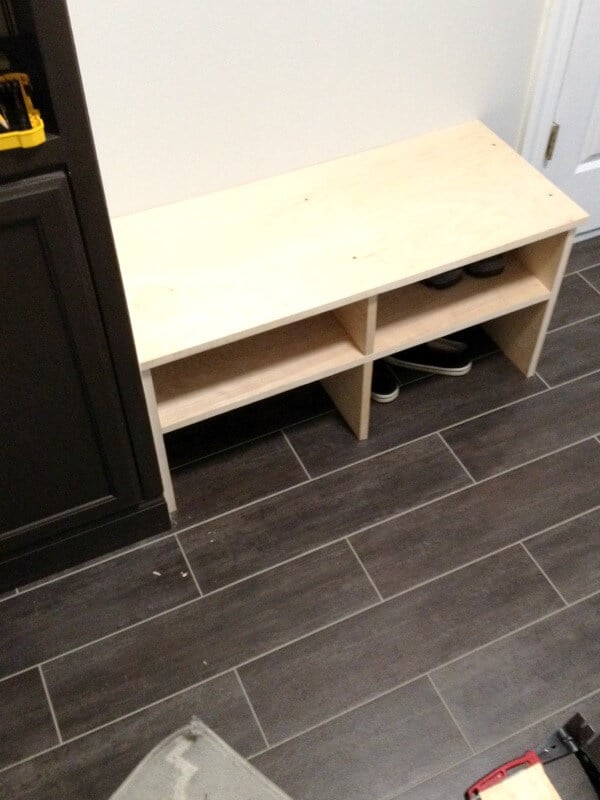
I had the brilliant idea to try to use it in our laundry room, but it was too big for this space. We also realized we wouldn’t be able to build a shoe bench if we used the bookcase as it was originally built, so we took off the two side cabinets and are only using the middle section.
We removed the trim from around the top and base of the cabinet and then attached it directly to the wall. It fit into the space beautifully to where we would still have room to add a bench.
I felt kind of like a rockstar when this worked out! Plus, free always makes me happy!
Instead of reinventing the wheel, I knew someone had to have built a shoe bench and posted it on Pinterest, so I sleuthed it out.
Steph from Crafting in the Rain, had just what we needed to fill our space, but we made a few modifications for our space. You can click the link below to read her tutorial we followed.
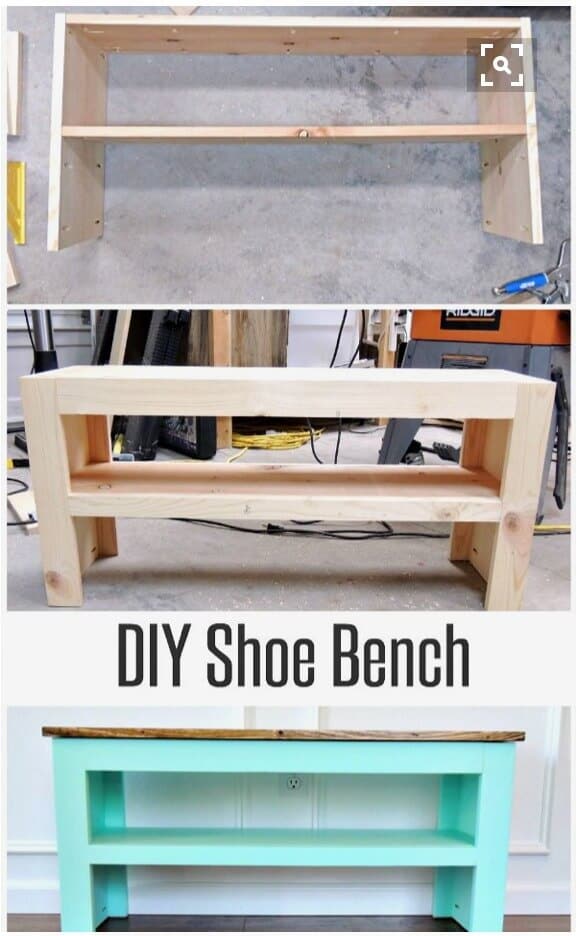
The changes we made to our bench were that we didn’t add the framing around front. We added braces in the middle to give it support when my huge boys sat down.
Or should I say plop down because my boys are also rowdy boys?
Do you see what’s happening right there?!? I can’t even, y’all!
The shoes are actually beginning to go in the cubbies and we haven’t even finished the build!! WOO HOO!! It’s a success already!
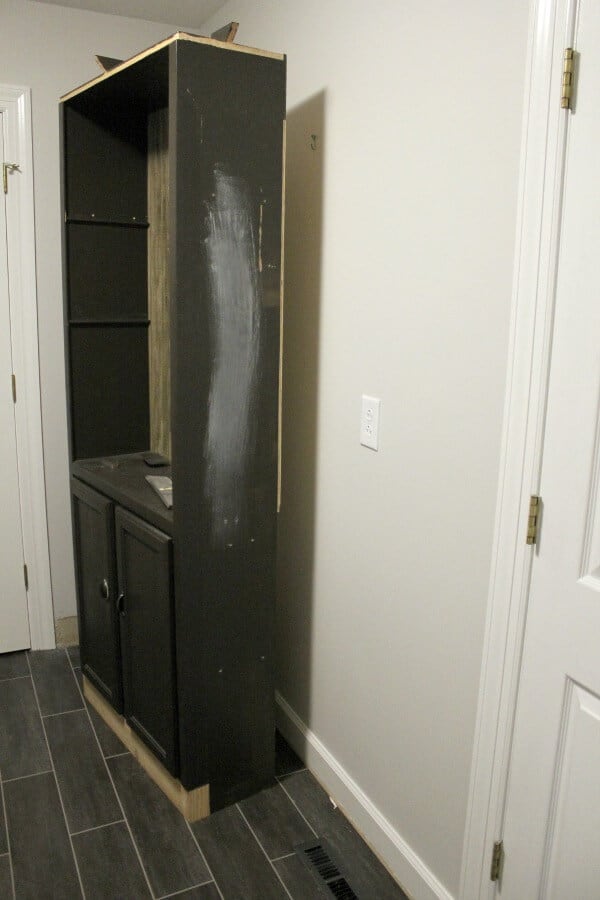
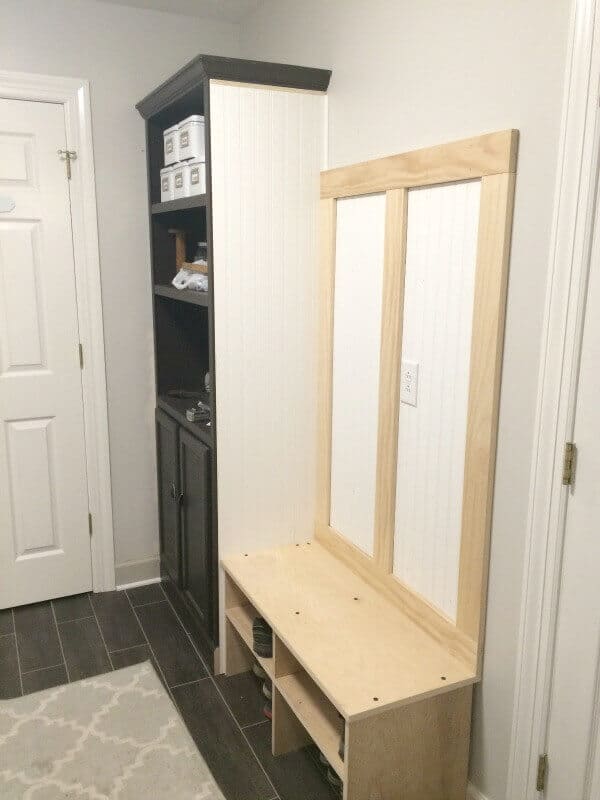
Next we started adding the beadboard and trim to the side of the cabinet and back of the bench to continue the beadboard theme that starts with our kitchen backsplash. I really want these two adjoining rooms to flow together as one. We also put the moulding back on the top and base of the old cabinet, trimming it to fit this space.
Our repurposing was a success!! The only purchase we had to for this week’s built-ins were the 3 inch trim framing around the beadboard on the wall. All other supplies came from previous project, like our updated kitchen island I’ll be sharing with you next week!
I was hoping to have this all painted, but the flooring bunny trail lead me astray for a few days. I will have to play catch up this week to make sure I still hit the deadline. But I’m extremely pleased with our mudroom built in cabinet.
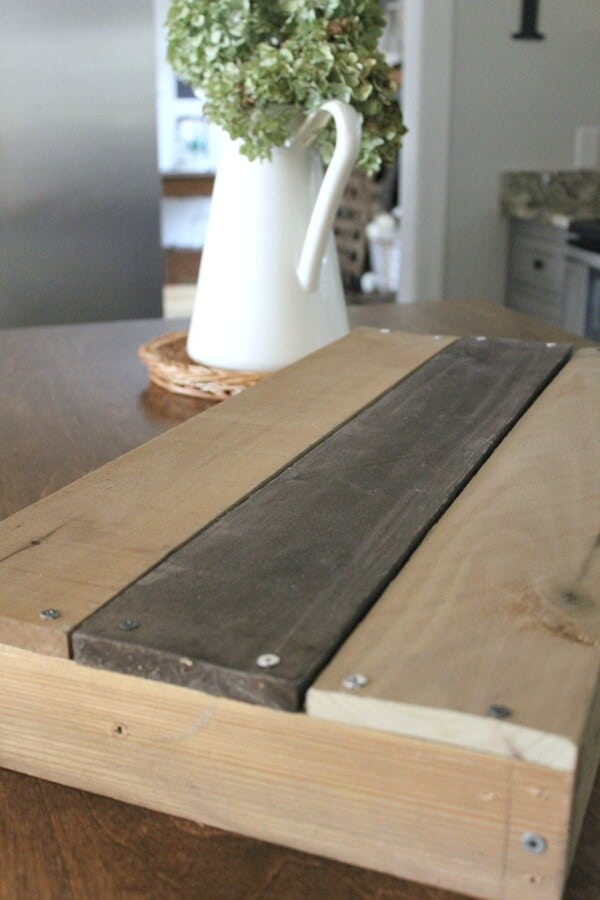
I did manage to jump ahead on the to do list one afternoon and built our Pallet Light Box for our ceiling fixture we plan to hang. It will match the same Pallet Light Box we hung in our Farmhouse kitchen. So here’s how we’re coming along.
Progress on the Plan
- Move the Water Heater.
- Paint the existing cabinets, walls, trim and door.
- Replace the floors.
- Add to existing upper cabinets to increase storage.
- Create a built-in mudroom cabinet and bench.
- Repurpose an old sink base into a folding table.
- Find a way to hide the breaker box and hang a DIY drying rack.
- 1/2 DONE: Replace the lighting with a Pallet Light Box to match the kitchen.
- Add vintage elements to tie it all together.
Yikes!! Only 2 more weeks to accomplish all of that! So this upcoming week, we’re planning on disguising that breaker box! And I’ll be painting, and painting and painting!
Last week, I escaped into Linda’s blog and visited the other Guest participants. You must grab a cup of coffee, head over to Calling it Home, and look at all the gorgeousness everyone is sharing. It is so motivating.
Be sure to follow me on your favorite social media so you don’t miss the updates next week!

Week 1, Week 2, Week 3, Week 4, Week 5, Week 6
Sources (affiliate links-see my disclosure here): 1 | 2 | 3 | 4 | 5 | 6 | 7 | 8 | 9