Removing Water Heaters and Installing Floors
We’re in the middle of our Vintage Inspired Laundry Room Makeover – removing water heaters and installing floors. Here’s how we are flipping our 80s laundry room into a farmhouse beauty.

This post contains affiliate links.
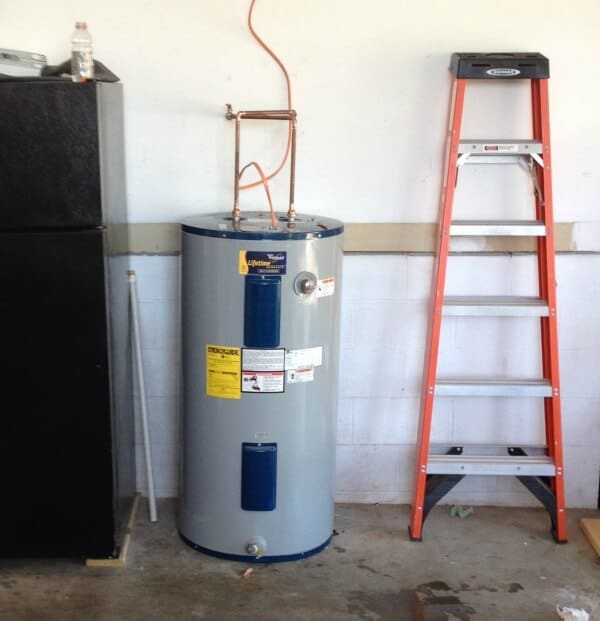
The dreaded beast is gone! This week is all about removing water heaters and installing floors.
We placed that humongo eye sore of a water heater safely on the other side of the wall in our garage. No longer a risk of the water heater leaking out into our home on our beautiful hardwood floors. Gone the ugly water heater that each guest would pass if they needed to use our loo. No more metal tank of a door stop keeping that loo door from opening properly.
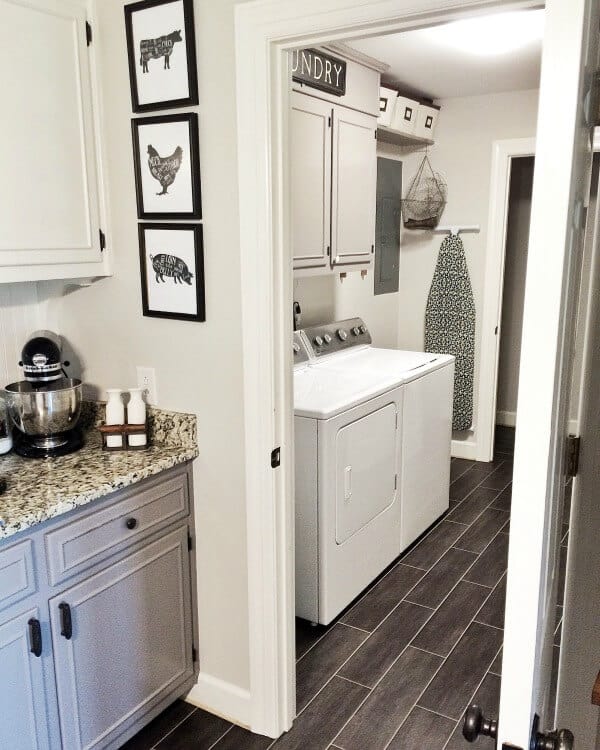
Now there’s open space to put down a beautiful floor and create a built-in for our mudroom. Happy dance going on, right here!
With the beast removed, we were finally able to start week 3 of the One Room Challenge with laying down our tile! But we really struggled with what type of flooring to use.
When we first moved into our fixer, the original plan was to have hardwoods throughout the entire downstairs, but the budget didn’t allow it, and corners had to be cut – so we opted to live with this awful vinyl flooring for 2 more years.
We hemmed and hawed over either finishing the hardwoods as first planned, or using ceramic tile, and even considered DIY plywood floors, but we finally opted for speed, ease and cost and selected Luxury Vinyl Tile.
We chose Stainmaster Casa Italia Peel-and-stick tiles. I loved this tile because it had a rich, espresso finish with slight touches of gray throughout each tile. Each piece is 6″ X 24″ and is groutable. We chose to grout it with gray grout because, well, boys. My sweet stinkies track in all kinds of gunk and I wanted a color that would conceal it as much as possible.
To begin with, first we cleaned the existing linoleum floors about 3 times with TSP to ensure that all grime was removed and to prep the surface for adhesion.
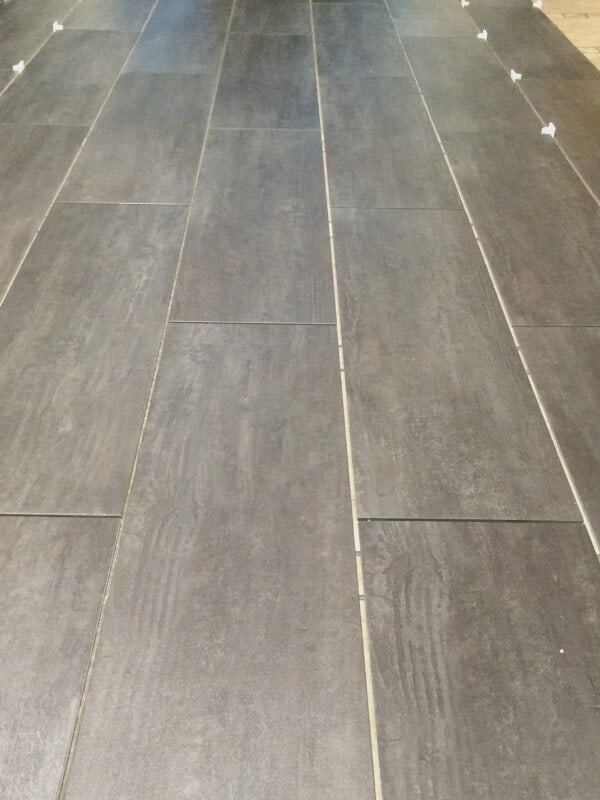
But the only great thing about the old, grid patterned floor is that it gave us a line to follow as a starting point. So we worked from the center and out to the edges of the room. You literally peel, stick and use spacers to set the next tile.
With all tiles finally down, we started grouting. This room took us an evening to lay the tiles and about 3 hours to grout. Here’s a close up of our finished product.
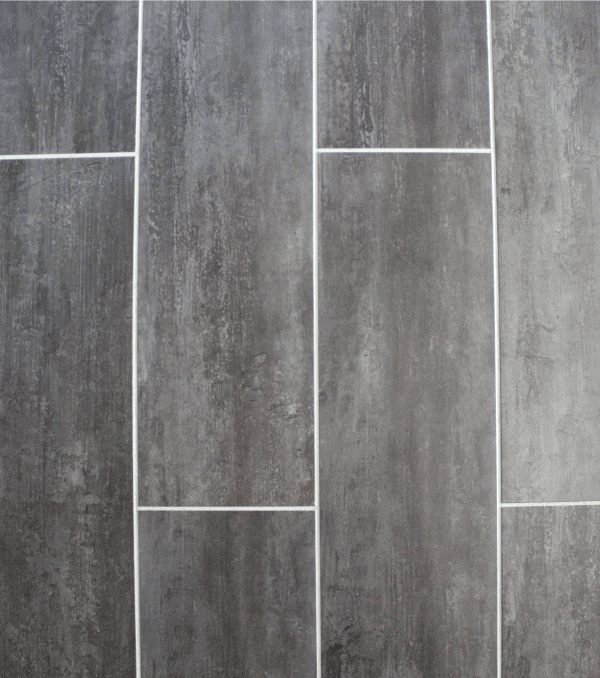
Isn’t it beautiful? The grout calls for 24 hours before heavy traffic, so we lived with our washer and dryer in our living room for a few days.
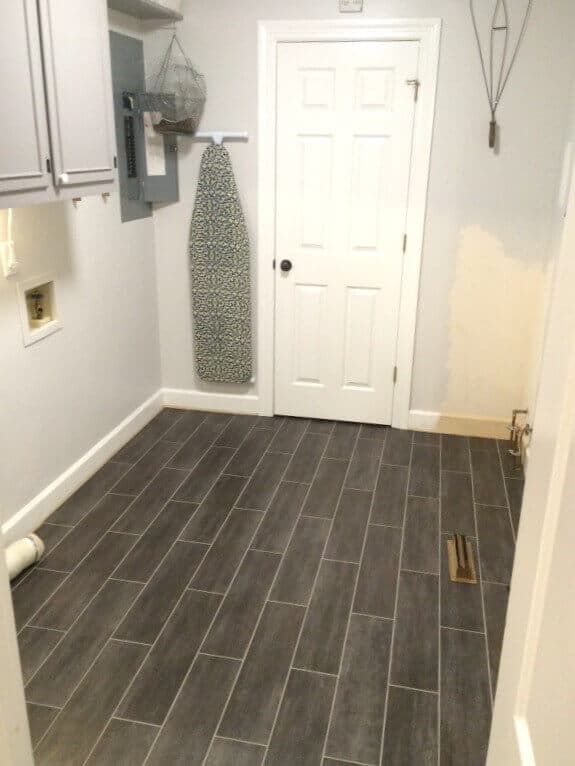
Now that’s it dry, we can get started on the next step. Building our mudroom bench where the old water heater was. Since my plan is to repurpose an old cabinet Trent and his Dad built to add extra storage and some shelves, I’ll have to get to sweet talking again.
We still have a bit more to go, but I’m ecstatic with the results so far. Above all, I’m ecstatic that my washer and dryer are out of my living room and back in their spot.
Progress on the Plan
- Move the Water Heater.
- Paint the existing cabinets, walls, trim and door.
- Replace the floors.
- Add to existing upper cabinets to increase storage.
- Create a built-in mudroom cabinet and bench.
- Repurpose an old sink base into a folding table.
- Find a way to hide the breaker box and hang a DIY drying rack.
- Replace the lighting with a Pallet Light Box to match the kitchen.
- Add vintage elements to tie it all together.
So I can’t believe we’re halfway through the challenge and halfway through the list. I love how the kitchen and laundry room are starting to flow together. This progress gives us so much momentum to wrap this up.
Be sure to follow me on your favorite social media so you don’t miss the updates next week, where we tackle those built-ins! Bring on the beadboard!

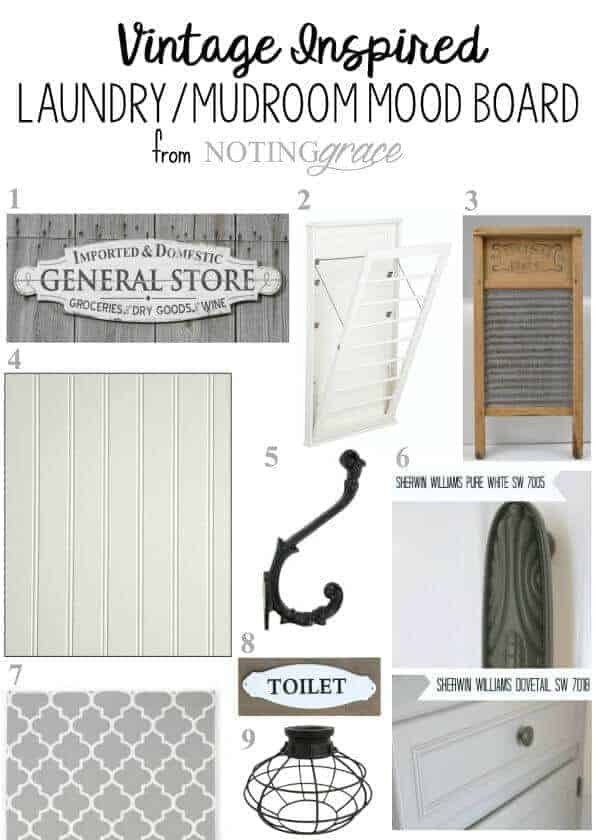
Sources (affiliate links-see my disclosure here): 1 | 2 | 3 | 4 | 5 | 6 | 7 | 8 | 9