How to Install DIY Decorative Wall Molding on a Budget
Today we are showing you how to transform your plain walls with some easy picture frame molding. Learn how to do this DIY decorative wall molding installation on a Budget.
We were able to add some picture trim molding under the chair rail molding in our Dining Room to make it look a lot more upscale.
And we have some easy tricks that we’re excited to share with you.
This do it yourself wall picture trim installation is very affordable giving pro looking results.
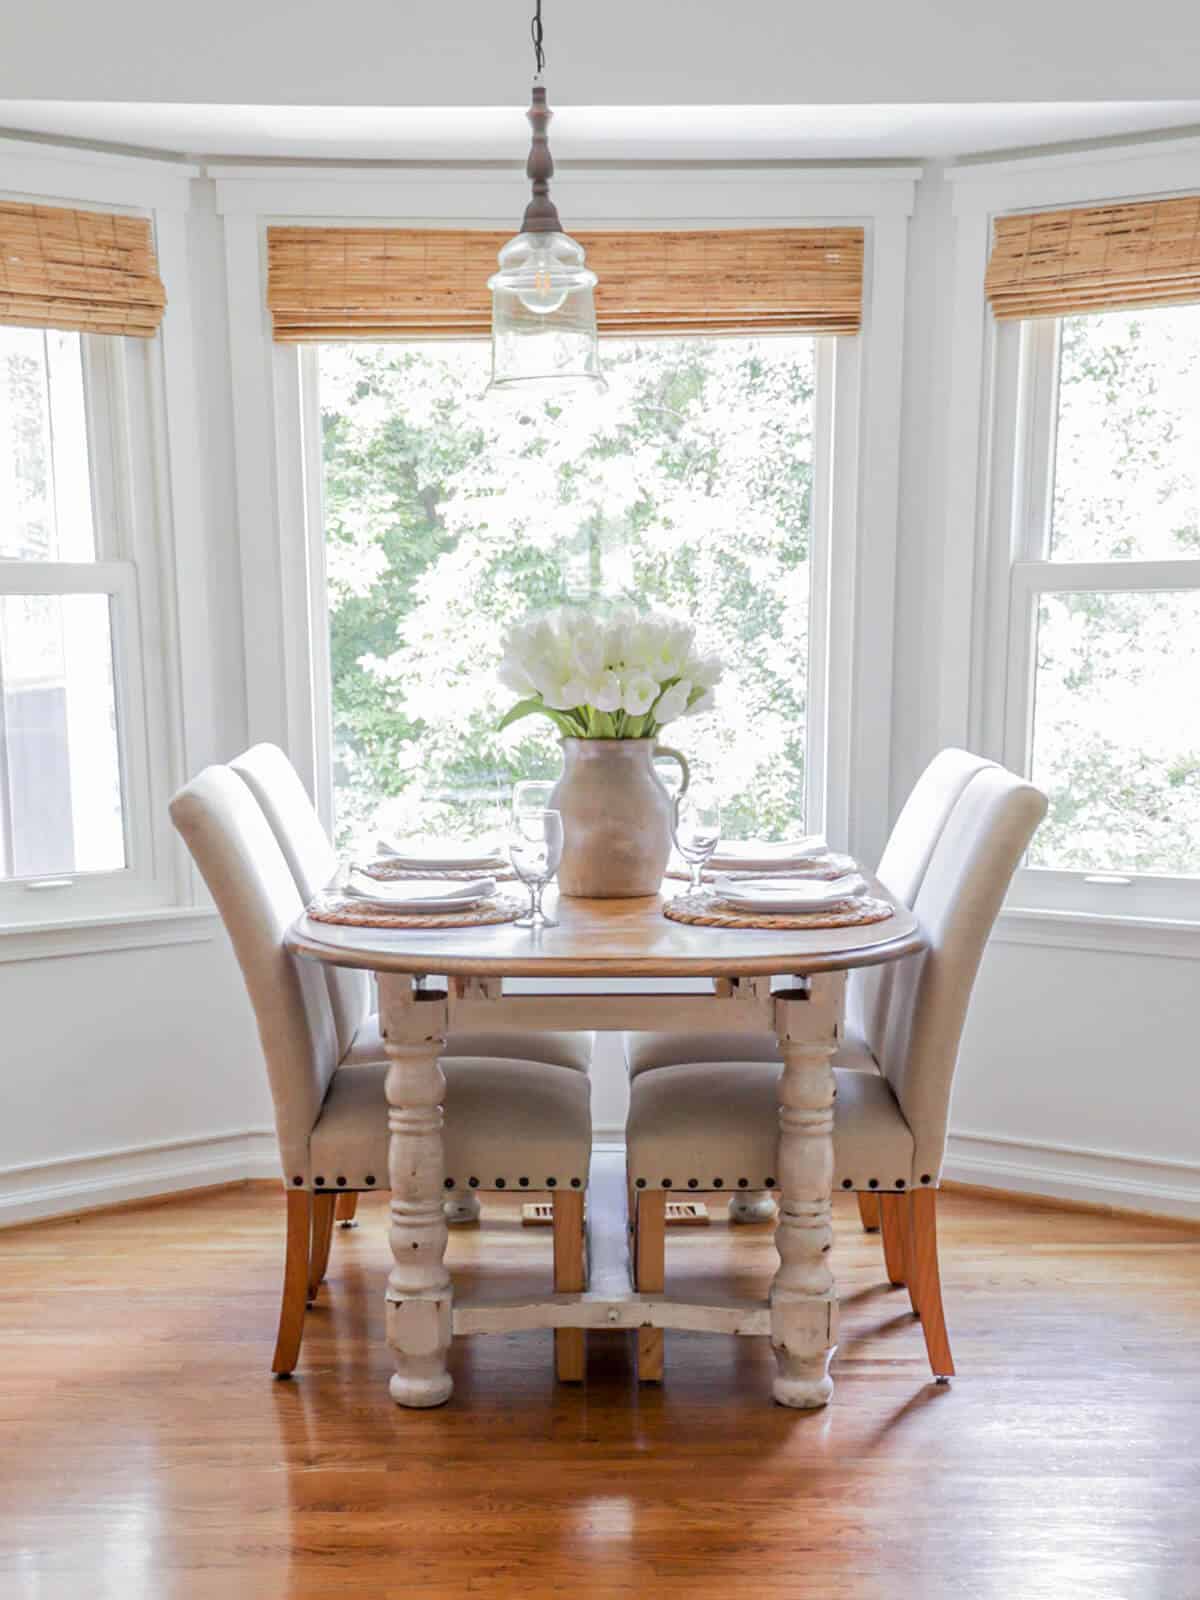
When we moved into our Birmingham home, our dining room was plain with dated chair rail molding.
Here’s how it looked:
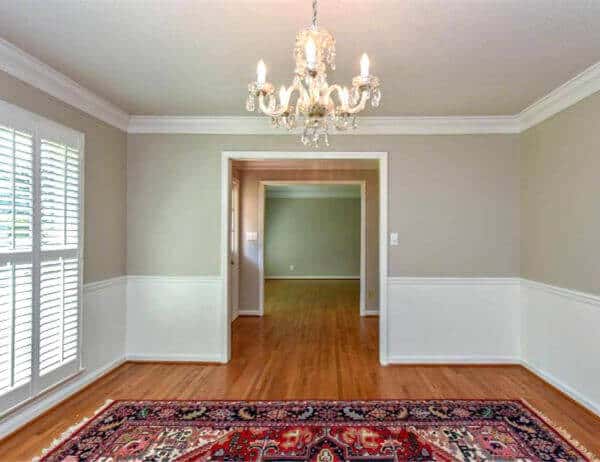
Not too bad, but a bit on the boring and slightly dated side.
And this was how we styled the room a few years back.
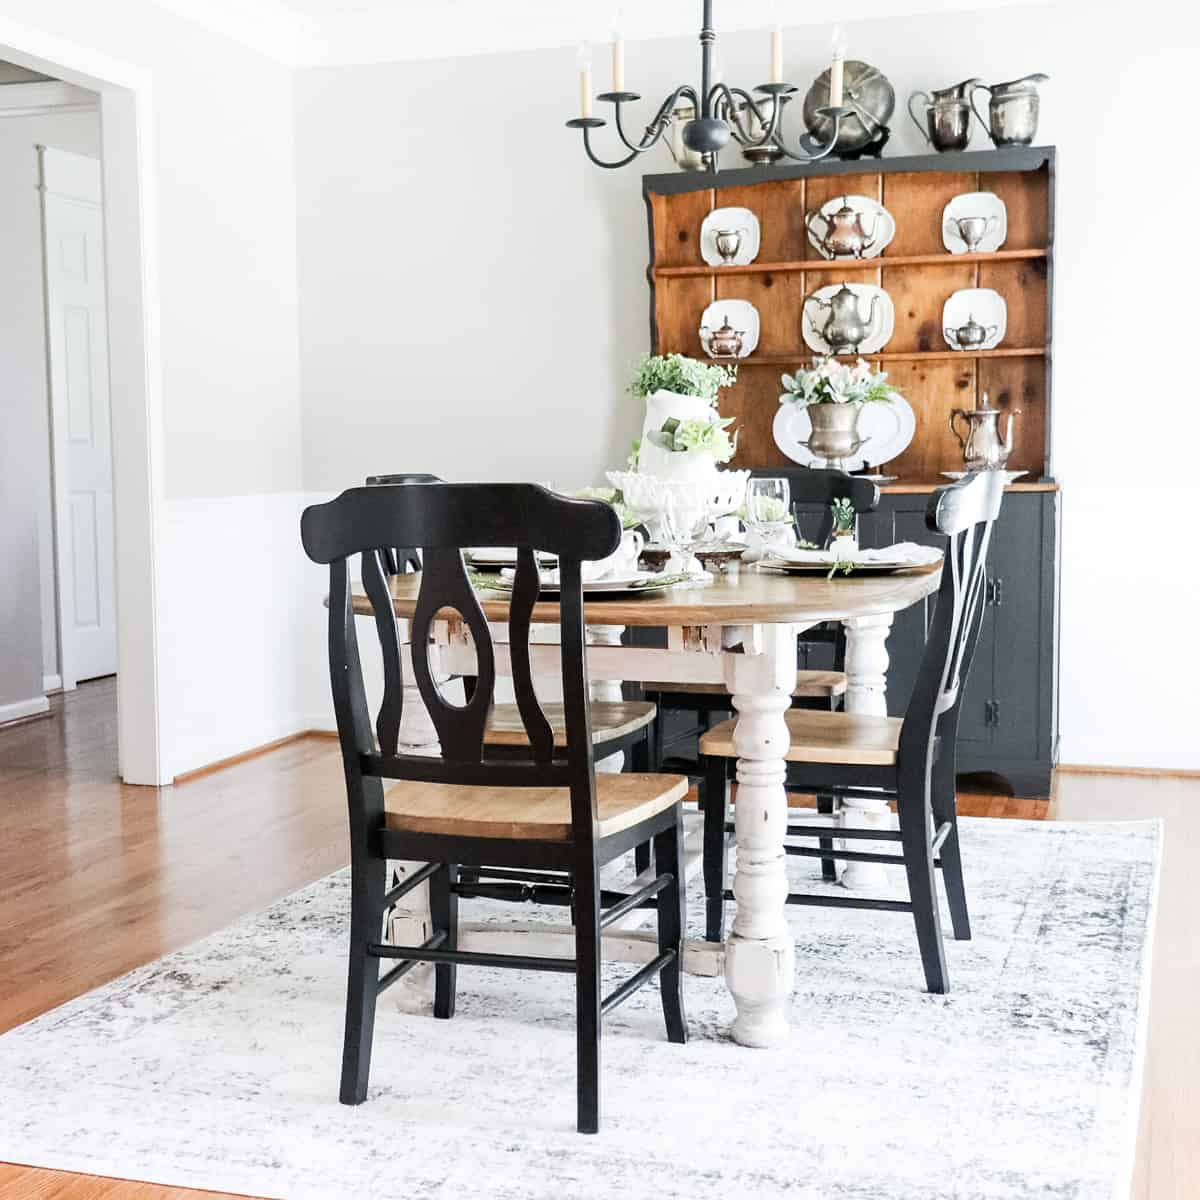
For our Dining Room, it already had chair rail molding as well as crown molding.
The paint and trim colors were the same as when we moved. We just swapped out the chandelier with another one from our home.
But we were ready to change out the colors and add a more traditional vibe to this room.
And now this room is fan-freaking-tastic!
And it’s with the cost of just about $100 bucks!
So here is how we did this in just about a week making this dining room look fresh and new!
Watch our YouTube channel for the video footage of this project:
DIY Decorative Wall Molding on a Budget
(Some affiliate links are provided below. Full disclosure here.)
We’ve been making over our Dining Room and are almost to the point where we have it done.
There’s just a few more finishing touches that we have to complete.
We will be sharing the reveal pretty soon, but we wanted to dive deep because when Trent added the picture molding to the wainscoting – it was such a game changer!
These are the supplies you’ll need for this project.
- Wall and Cabinet Trim Molding – we used this kind from Home Depot
- Miter Saw
- Brad Nailer – options: pneumatic (ours), electric, or cordless
- Air Compressor (if you are using a pneumatic nailer)
- Tape Measure – we love this one!
- 2 x 4 scrap wood
- Small Level
- Pencil
- Paintable Caulk
- Wood Nail Filler – this is my favorite – it’s pricey, but awesome!
- Painters Tape
- Paint – we used Instant Chateau from Romabio Paints
Installing the Picture Trim Molding
The trick to making installing DIY decorative wall molding budget friendly is to do a little bit of homework beforehand.
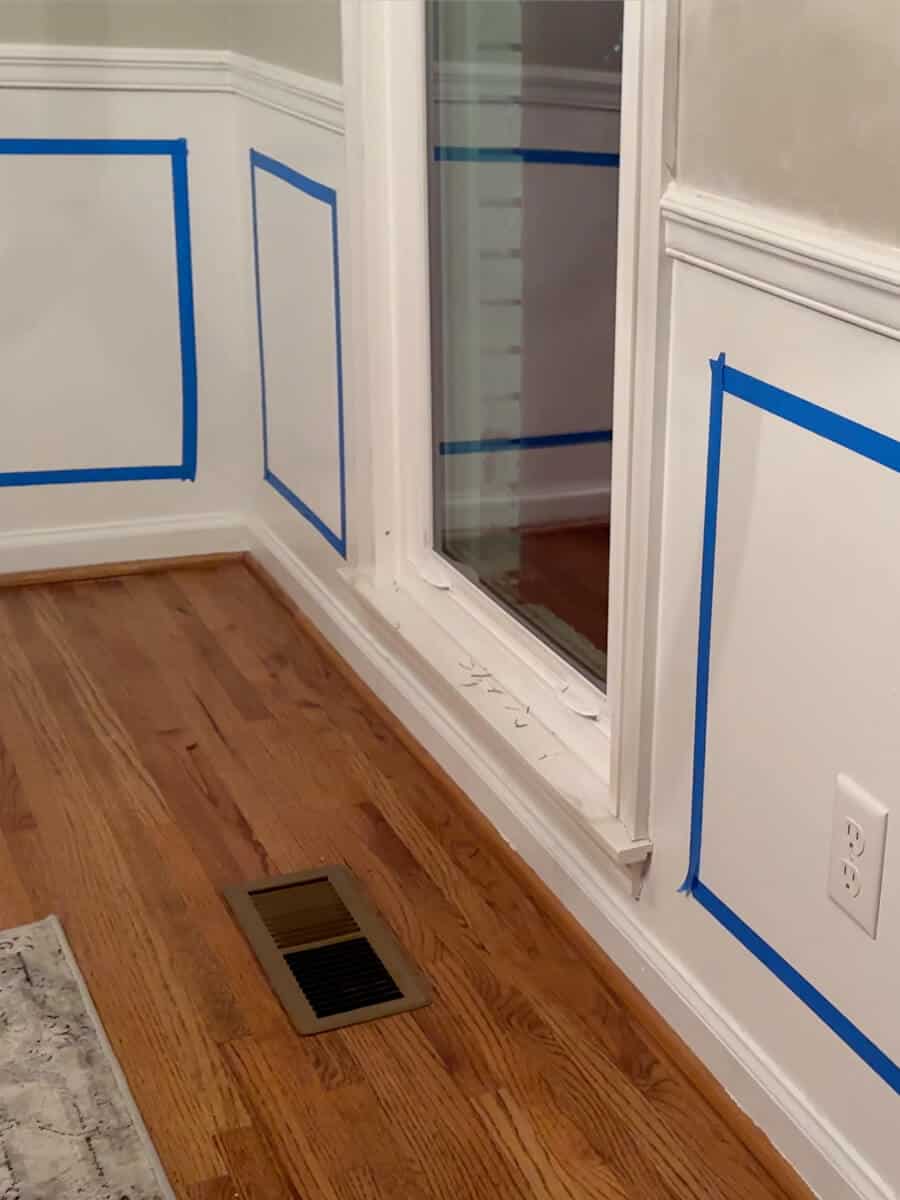
Figure out your design plan with a little bit of tape.
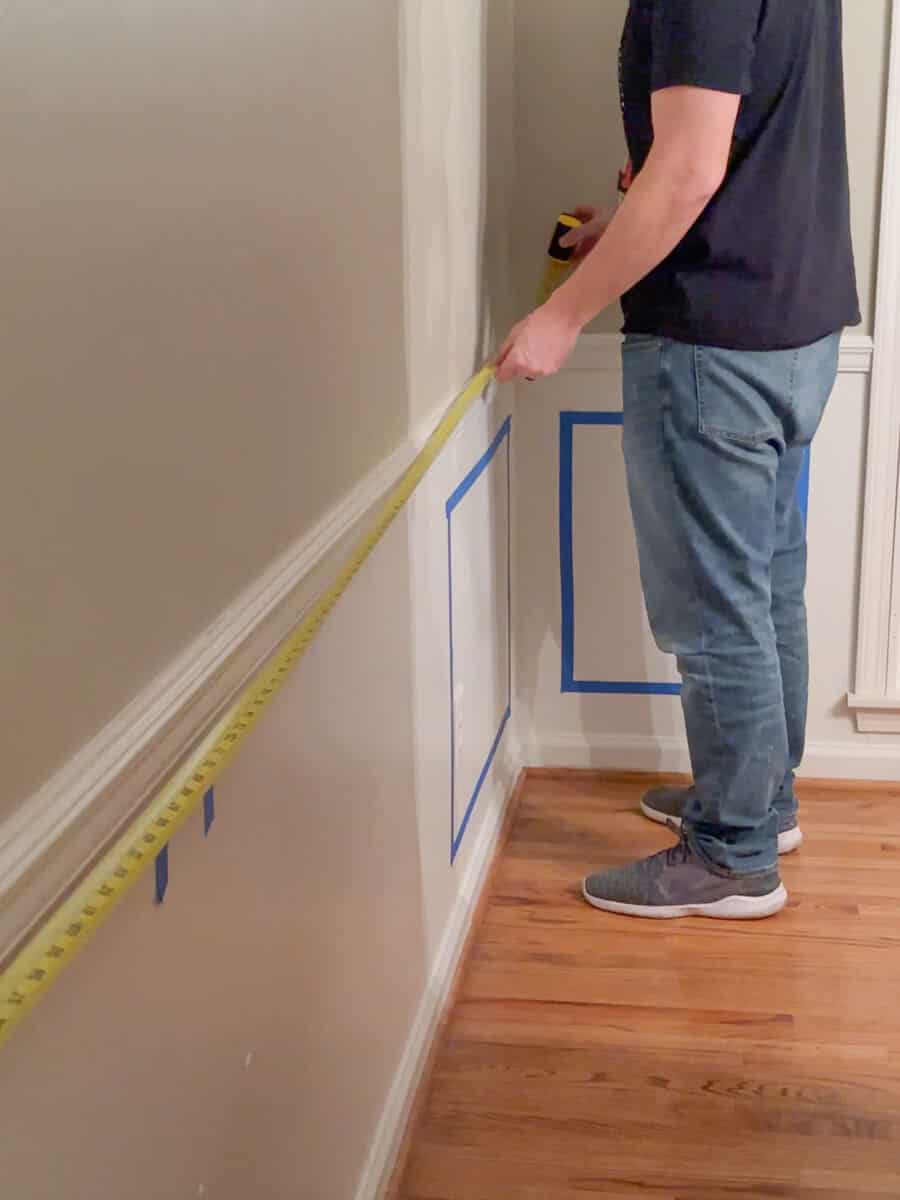
Take some measurements of your room and use painter’s tape to mock up the molding you want to add.
Our molding is called picture trim molding, but can also be listed as wall or cabinet trim molding.
Now this is a trick we found from someone else – this was not an original thought that we came up with.
They started with framing the the picture frame molding using a 2×4 as a guide.
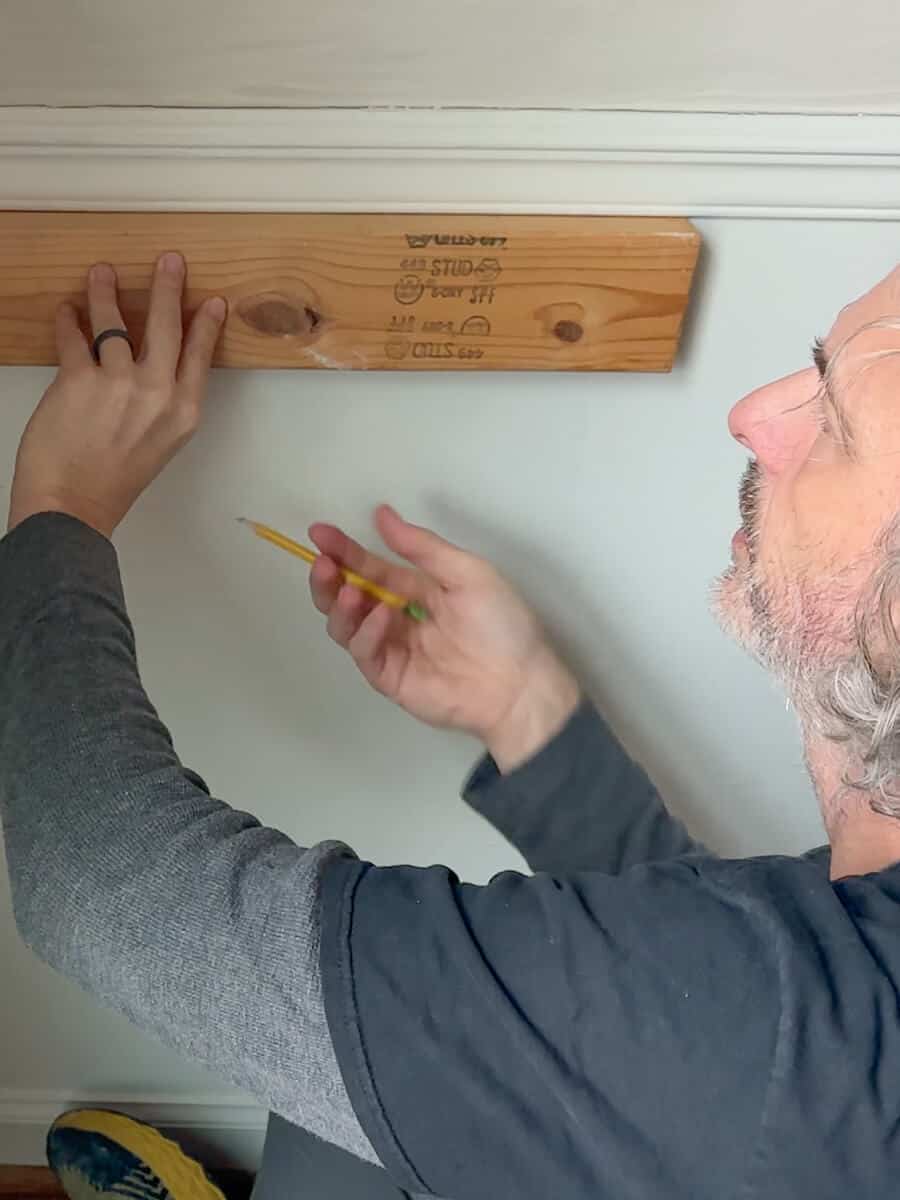
They would place the two by four along the top of the baseboards, under the chair rail molding as well as the corners.
That way, you will have precise measurements for your picture trim molding.
After you mark the walls, you will can use your tape measure to take your measurement for your cuts.
Now you will have the same cuts for the vertical pieces of each picture trim molding ‘box’ you make.
The measurements for the horizontal pieces will be the only thing that changes.
Measuring for multiple frames on one wall
If you have a series where there’s multiple picture frame squares going down one wall, you will need to figure out how many boxes you plan to have.
We only had two walls where we had to figure out the math.
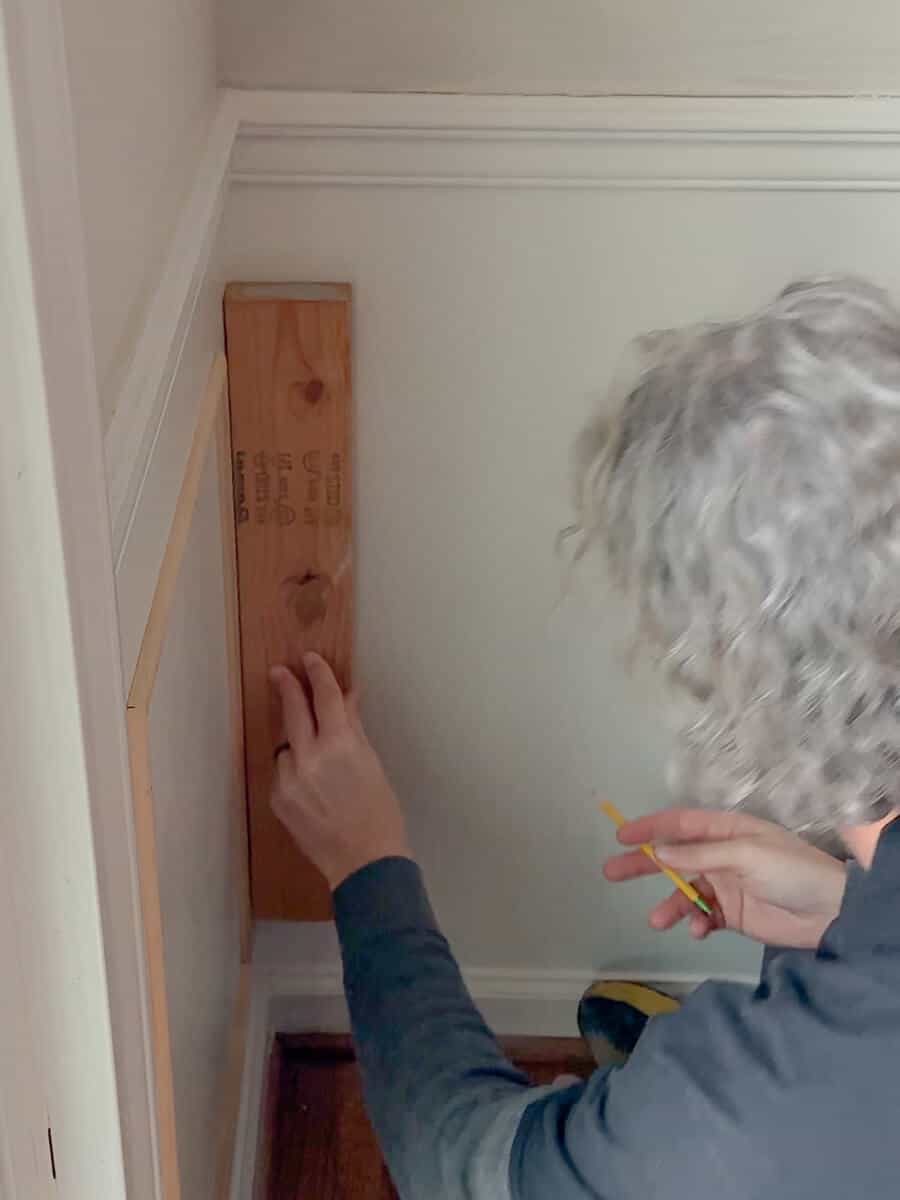
If it was a small section of a wall – like in between windows or next to a door frame, we just used the 2×4 to measure the distance of the one rectangle.
So in our room, they’re all different shapes and sizes with the exception of the large wall.
We wanted an even look running down the entire wall.
In our case, we decided that four boxes would be best for our long wall.
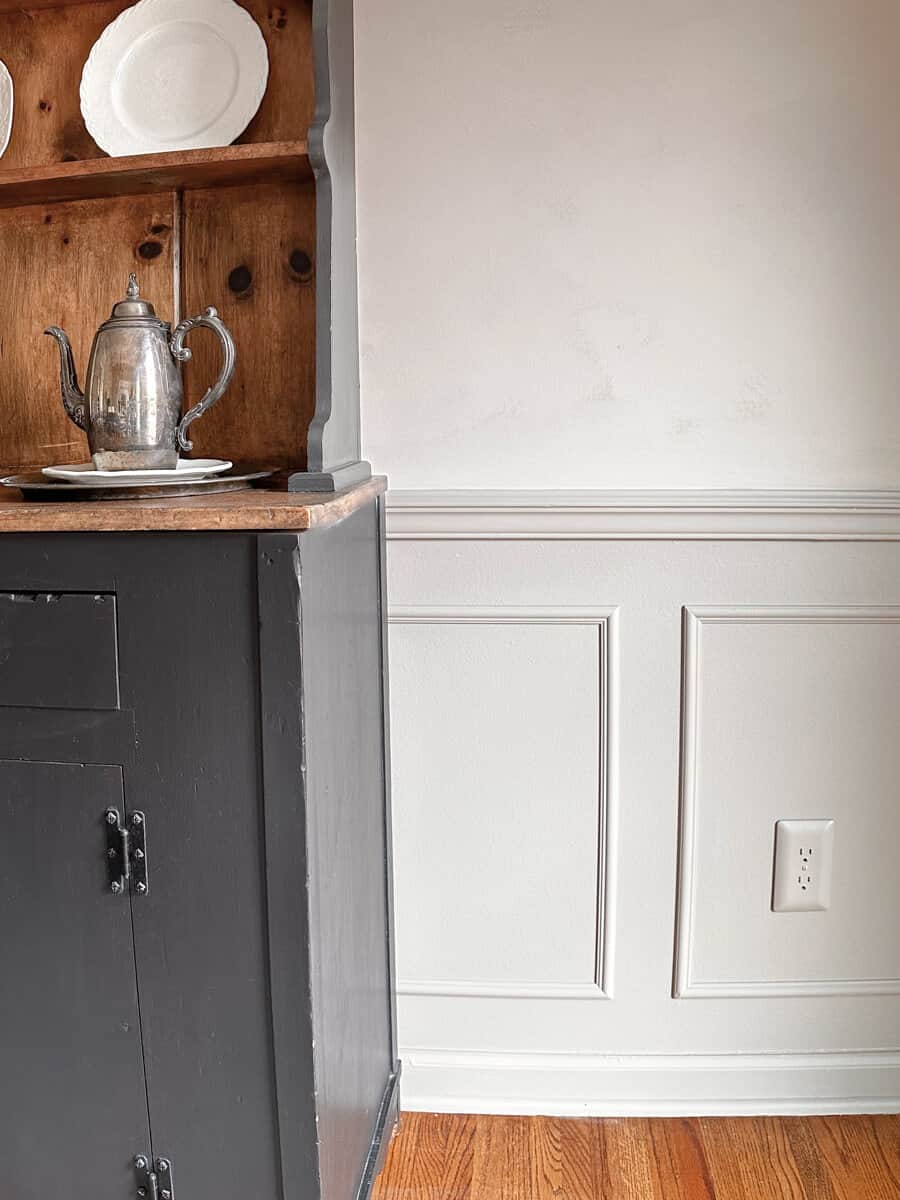
Here’s a tip: If your wall has electrical outlets, be sure to factor those in when deciding how many boxes you plan to put on your wall. You don’t want the trim molding to compete with that outlet.
So the first thing to do is measure the length of your wall from corner to corner.
Now’s here where it might get tricky.
You need to factor in those 2×4 spaces between the number of boxes you plan to install.
So with our four boxes we were going to have 5 measurements of 2×4 across the wall.
Since I’m mathmatically challenged, let me try my best to make it simple for you.
- Measure the width of the wall.
Our example: 166.5 inches - Multiply the number of spaces between each box by the width of the 2×4.
Ex: 5 x 3.5 inches = 17.5 inches - Subtract that number from the width of your wall.
Ex: 166.5 – 17.5 = 149 - Divide the remainder by the number of frames or rectangles you plan to have.
Ex: 149 / 4 = 37.25 inches wide for each frame.
This is the easy, cheaty, DIYers way to figure it out and I hope this makes sense to you, because I’m still struggling with it! 🤣
Making the cuts
Since we used the chair rail molding and baseboard as guides, the vertical length was the same for each rectangle.
So that meant all the sides of each frame would have the same cut.
The only measurement that changes is the top and bottom measurement.
Trent plans on sharing tips soon on how to make a jig to have all those cuts go super fast with a template that he used for our Dining Room.
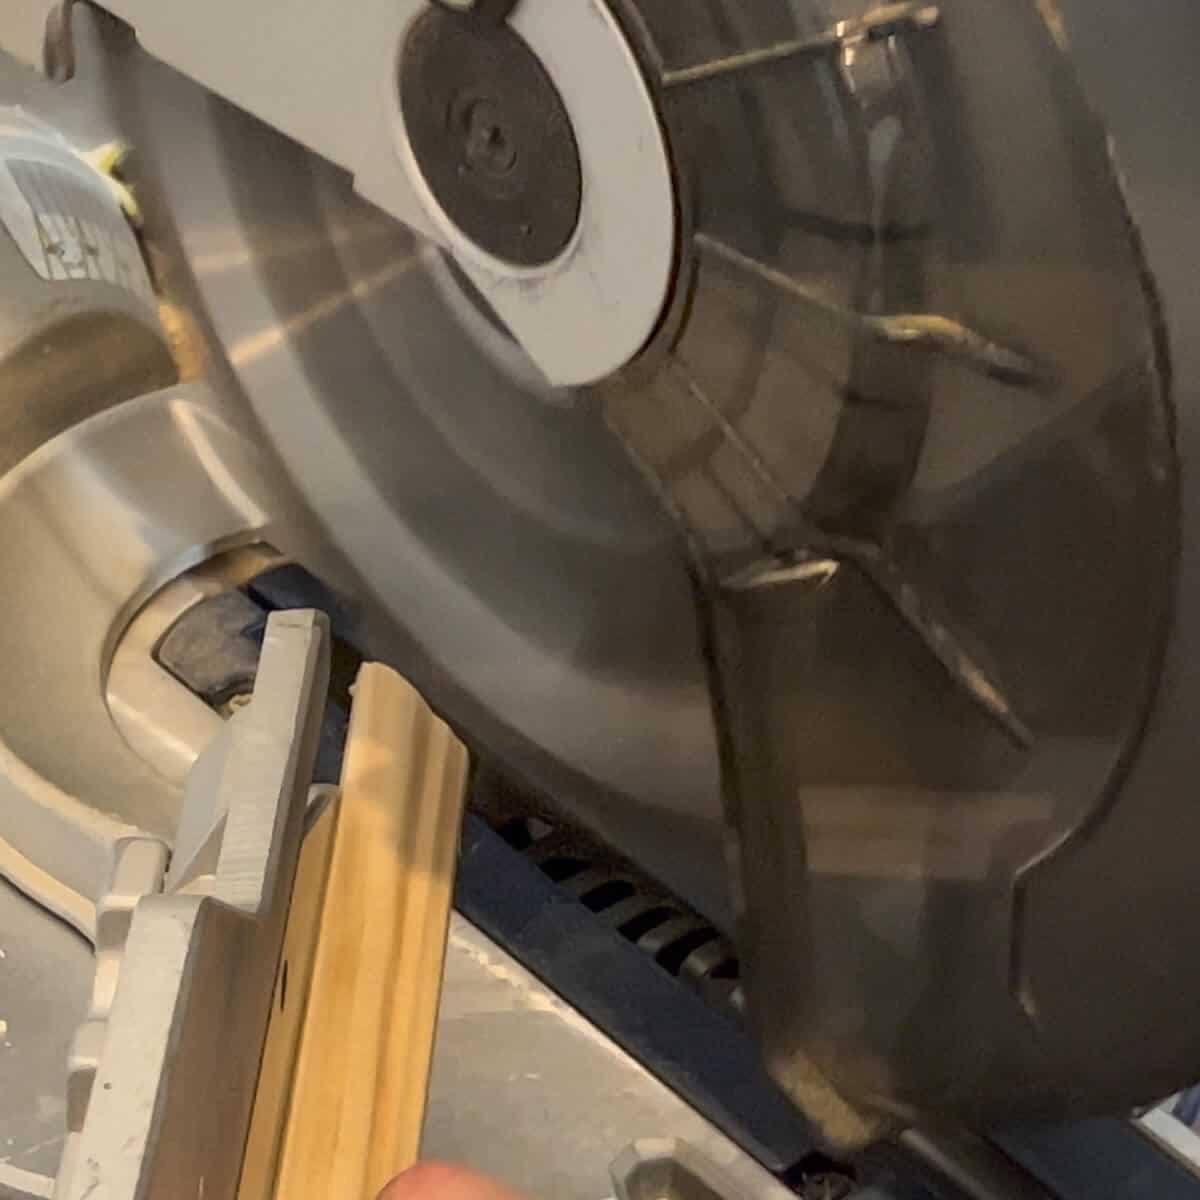
We opted for mitered corners, so we used our miter saw to make each cut at a 45 degree angle.
If you don’t have a miter saw, you can get a miter box and handsaw for not a lot of money! 😉
After each cut, you may need to scuff the ends with some sandpaper to make sure the edges are clean.
Installing the DIY Decorative Wall Molding
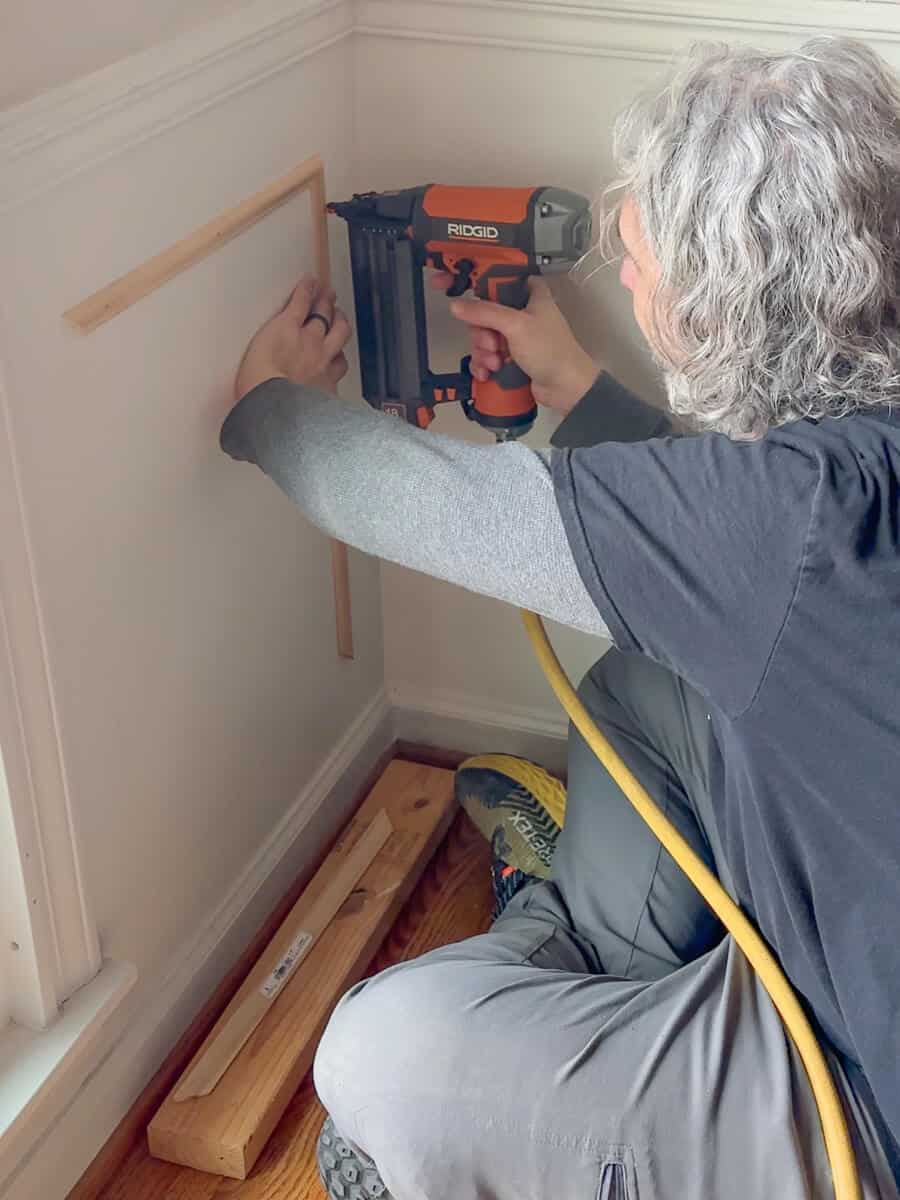
You will definitely need a brad nail gun for this part of the process.
We used an 18-gauge pneumatic nail gun that requires a pancake air compressor. However, they do sell electric or cordless nail guns if you want to check those out.
Now we do have a huge tank air compressor and we wheeled that huge thing in and out of the house so many times.
We finally said – okay this is ridiculous – and this small pancake compressor was a huge game changer for us.
Especially for me if I was doing a project by myself because that larger tank was pretty crazy to move by yourself!
So many projects can call for that kind of a tool, so it’s worth the investment to me.
We started by adding the top trim piece, and then installing the sides.
It’s a good idea to have a small level handy, because nothing in this world is perfect.
Especially our walls in our old house.
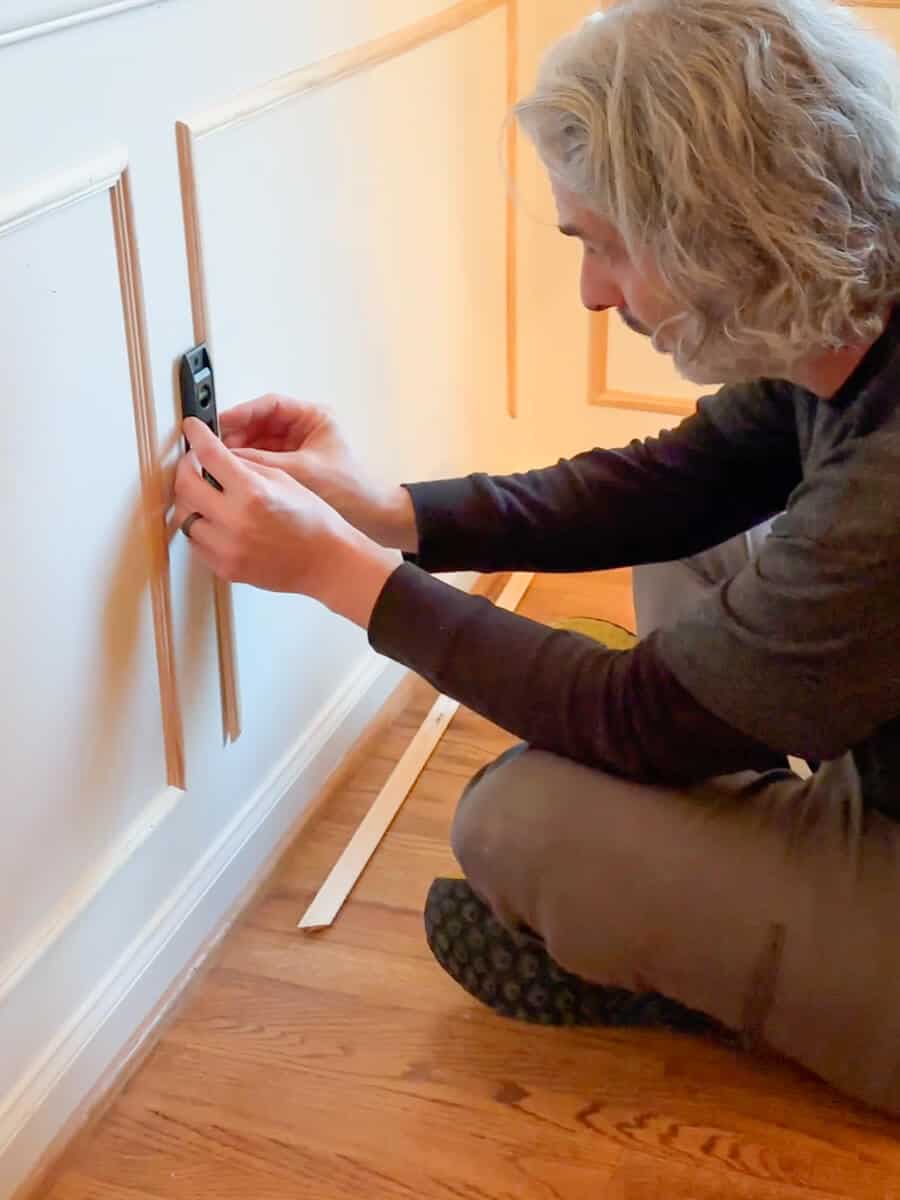
So right before Trent would nail the trim piece in, he would make sure it was a straight edge.
And here’s a great thing to remember.
Top tip
Caulk is your friend! If you’ve made little tiny errors, caulk will fill those corner gaps that may happen. Once it’s painted, it will look beautiful!
And this is the best painter’s putty to fill in those nail holes.
It’s white wood filler that is super easy to work with.
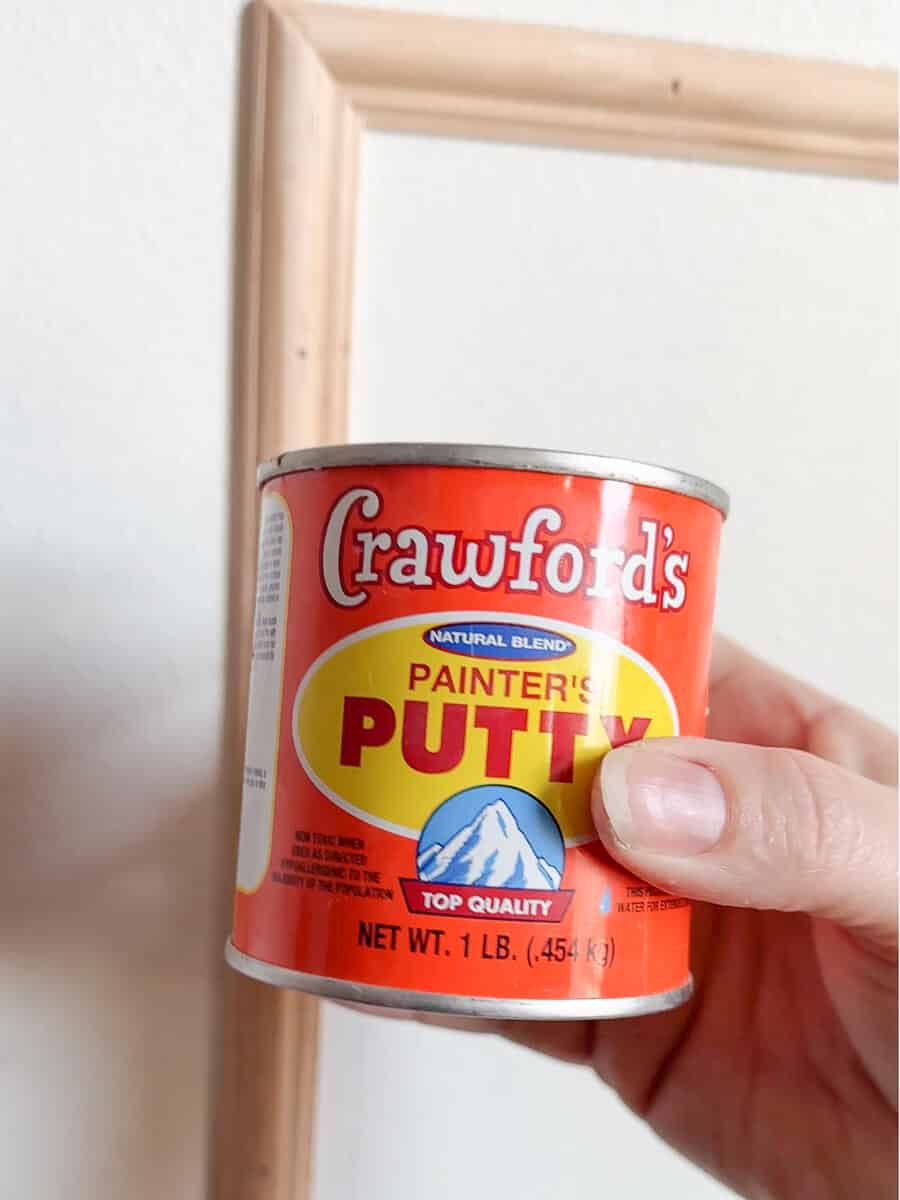
Now it’s on the pricey side, but this small can will last a long time!
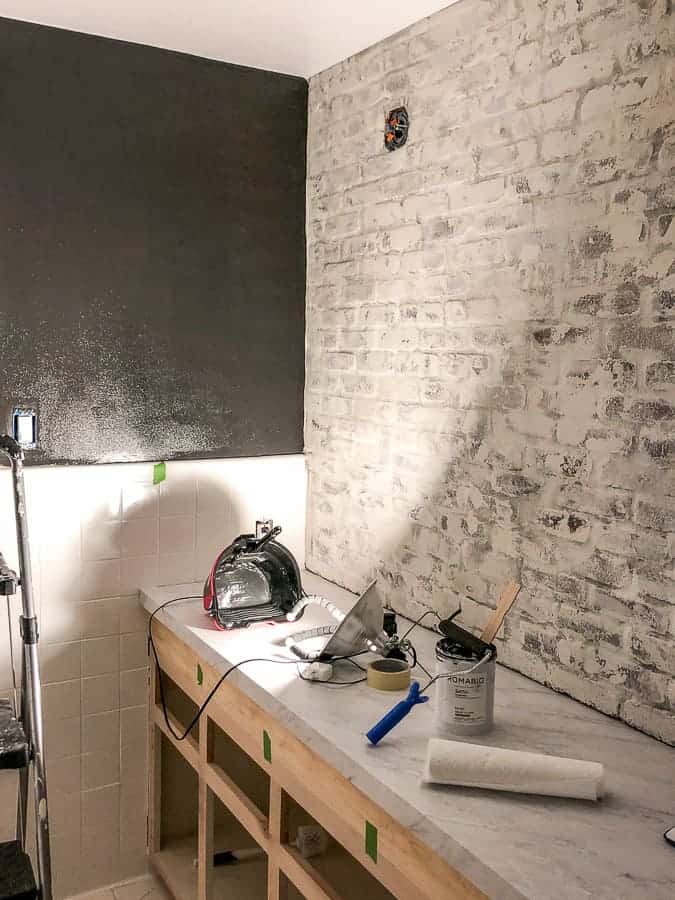
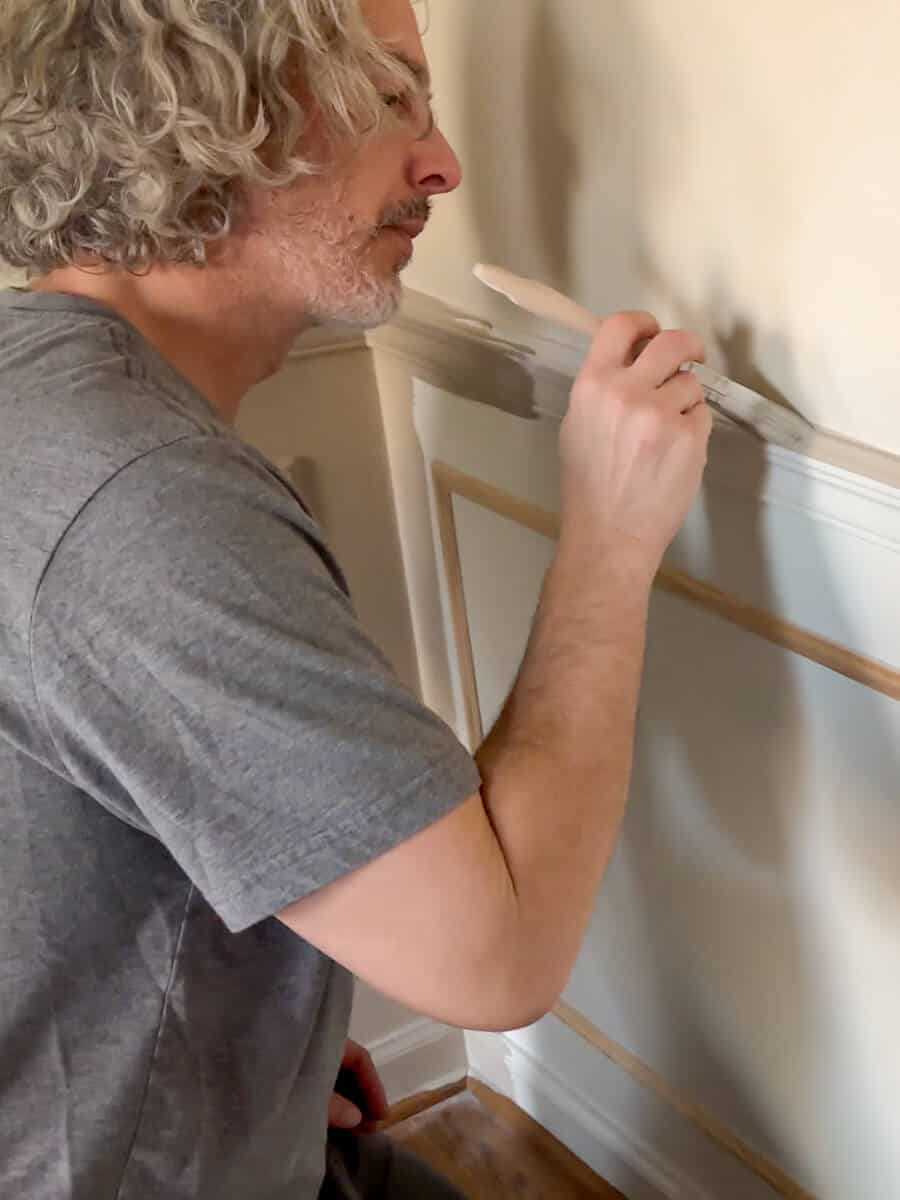
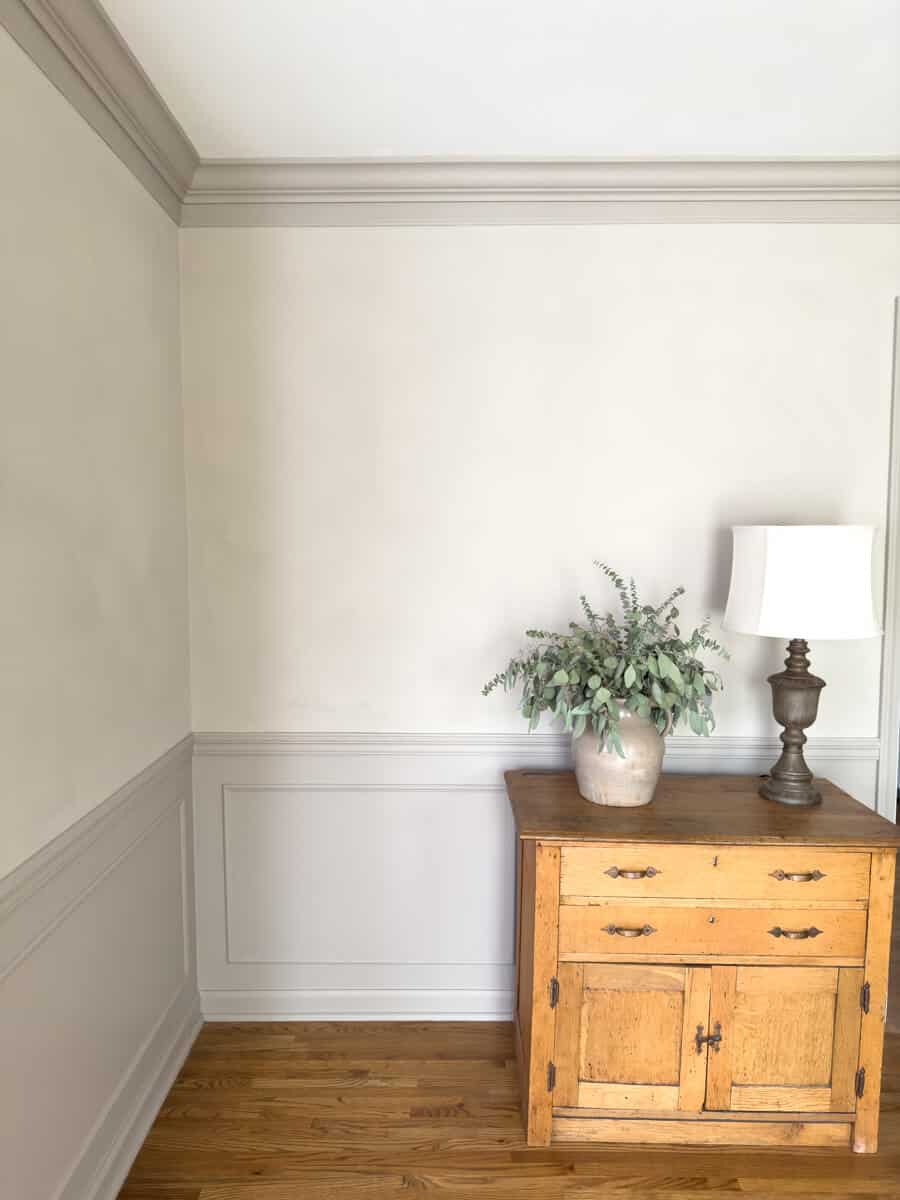
Painting the trim
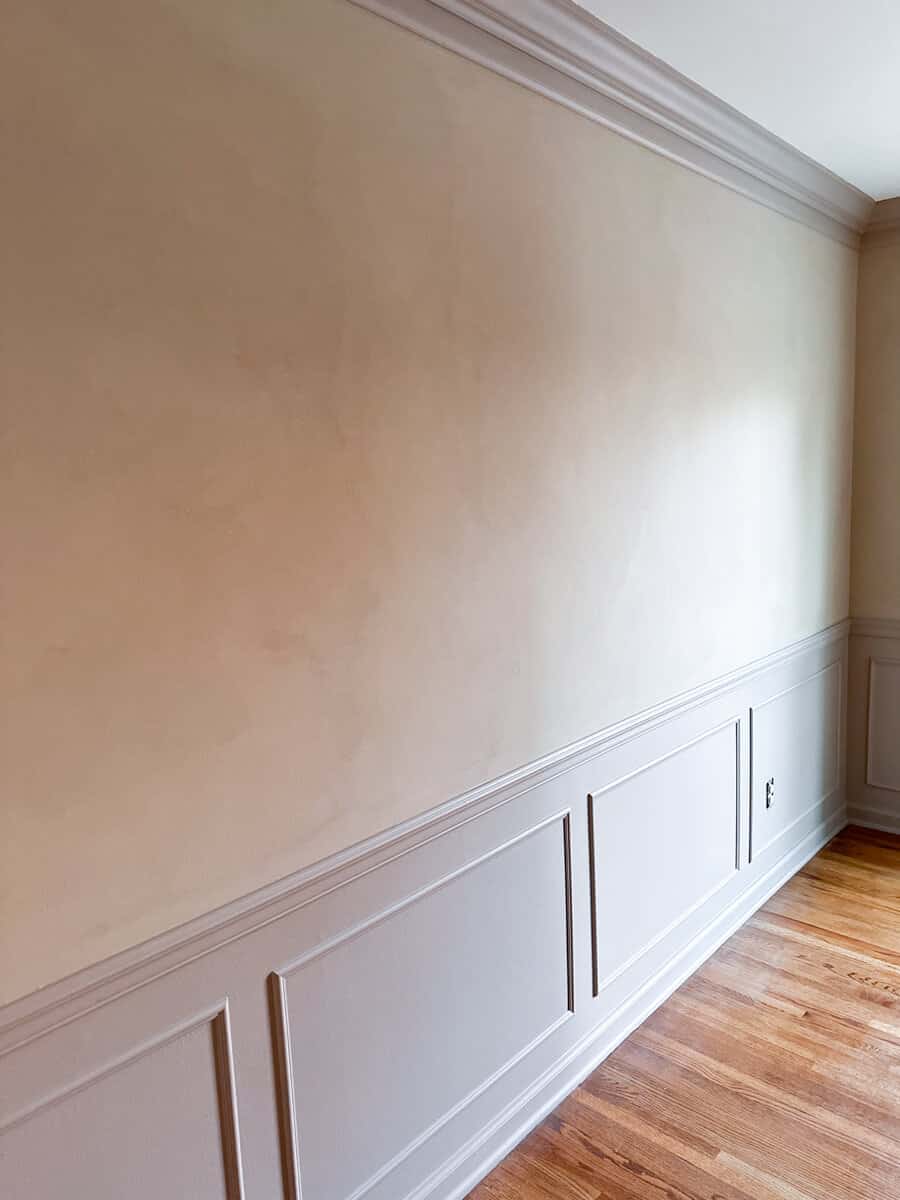
Once the caulk and nail holes were dry, we were ready to add a fresh coat paint to the wainscoting as well as the crown molding.
I opted for this gorgeous greige color called Instant Chateau from Romabio Paints.
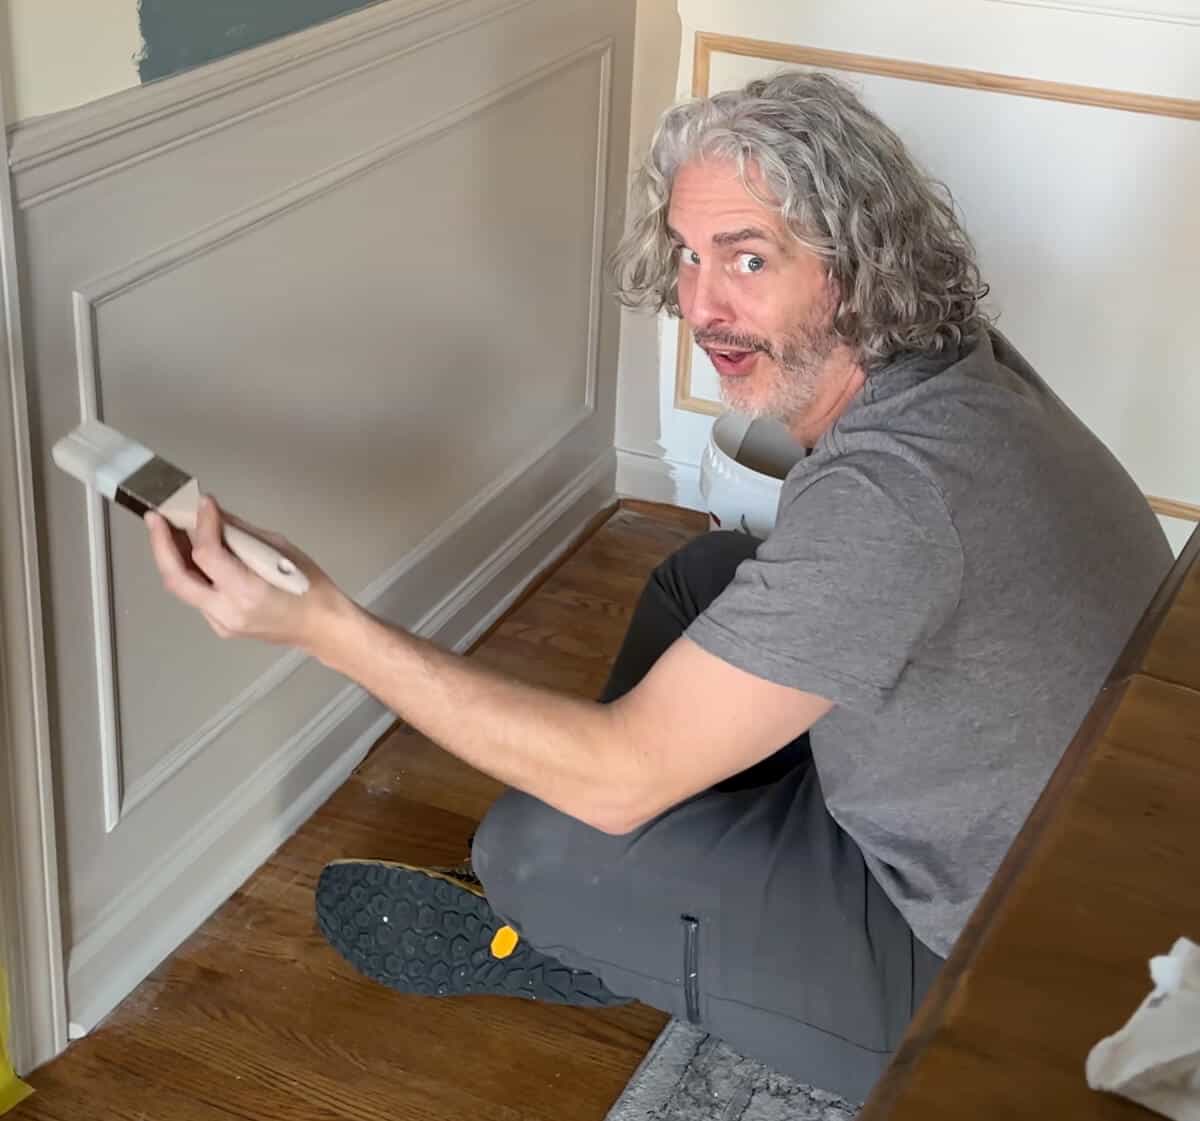
Of course, Trent is always there being goofy! I think I have more pictures of him making faces than smiling!
The lower trim is in a satin finish and looks stunning once it’s dry!
Today we are showing you how to transform your plain walls with some easy picture frame molding. Learn how to do this DIY decorative wall molding installation on a Budget.
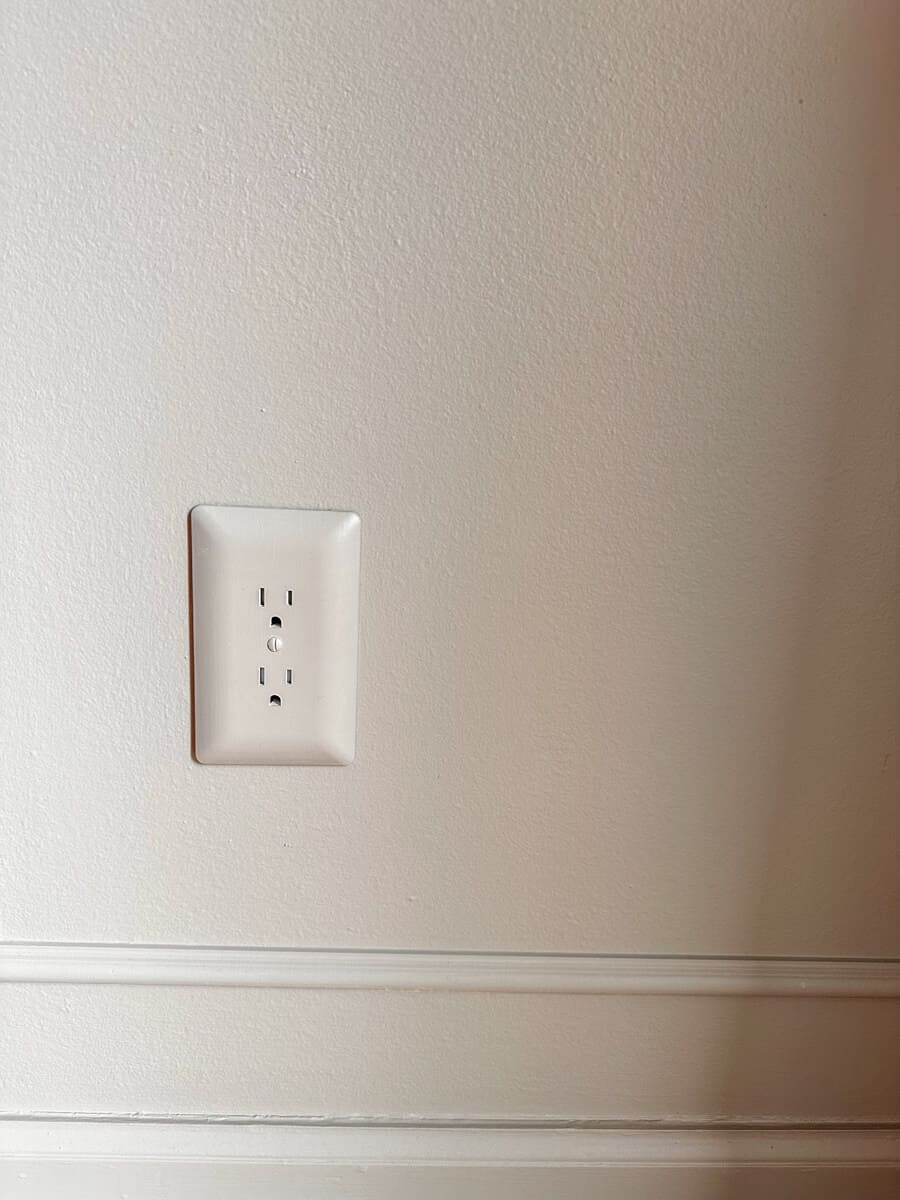
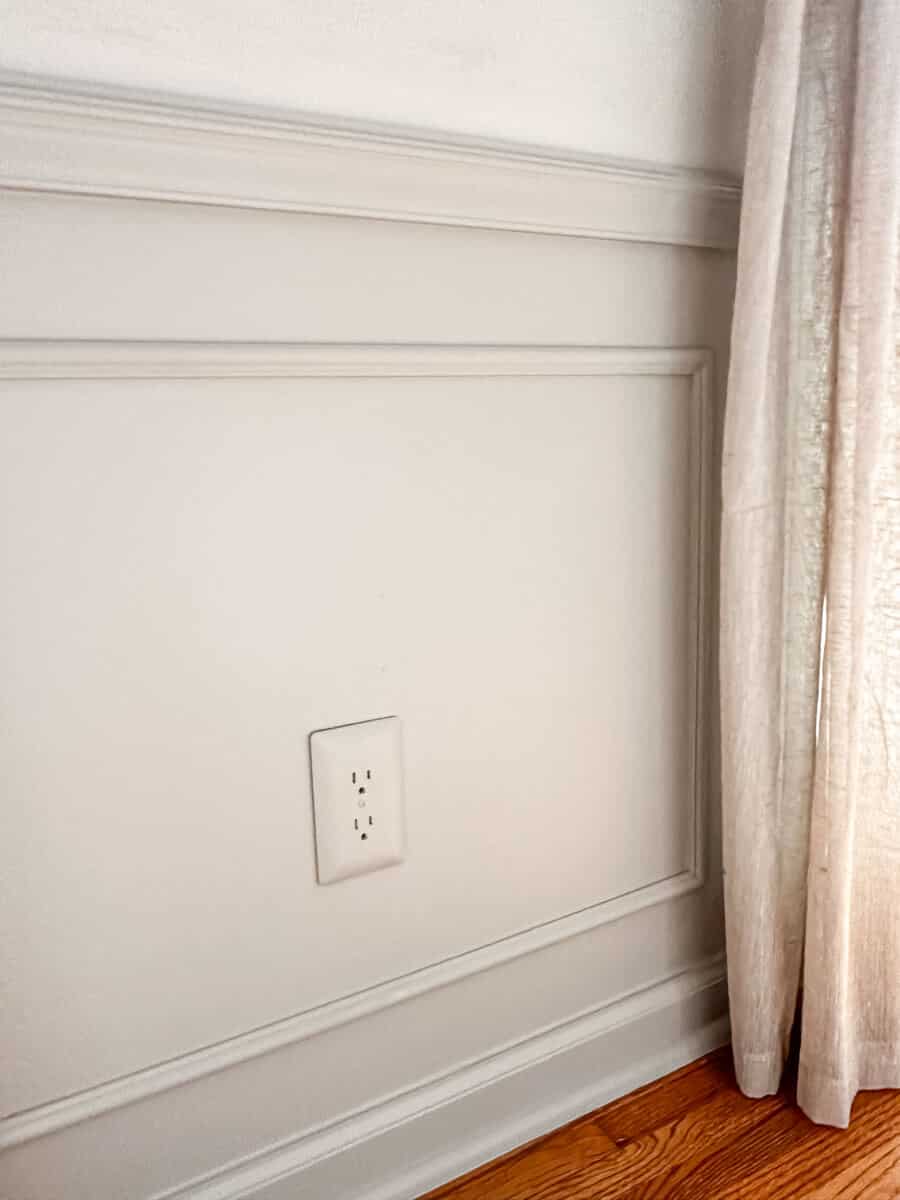
The last element that we added were some paintable outlet covers.
We started to put those old outlets back onto the wall, but the white plates that surrounded the outlets were really really ugly.
I didn’t know that they make paintable outlet covers!

Now I do wish I would have prepped them a little bit differently.
Because – while it looks perfect and it really blends in – but even just installing them back in, my fingernail scraped a little bit of the paint off.
So you can imagine plugging and unplugging things.
And I wish I would have used a foam roller because the foam roller has a tendency to allow the paint to lay flat.
If you get really close you can see the brush marks but they look great. Very much worth it!
So super easy DIY picture frame moulding is a great way to create a new look for an entire room.
You could even use this as an accent wall in a master bedroom or living room!
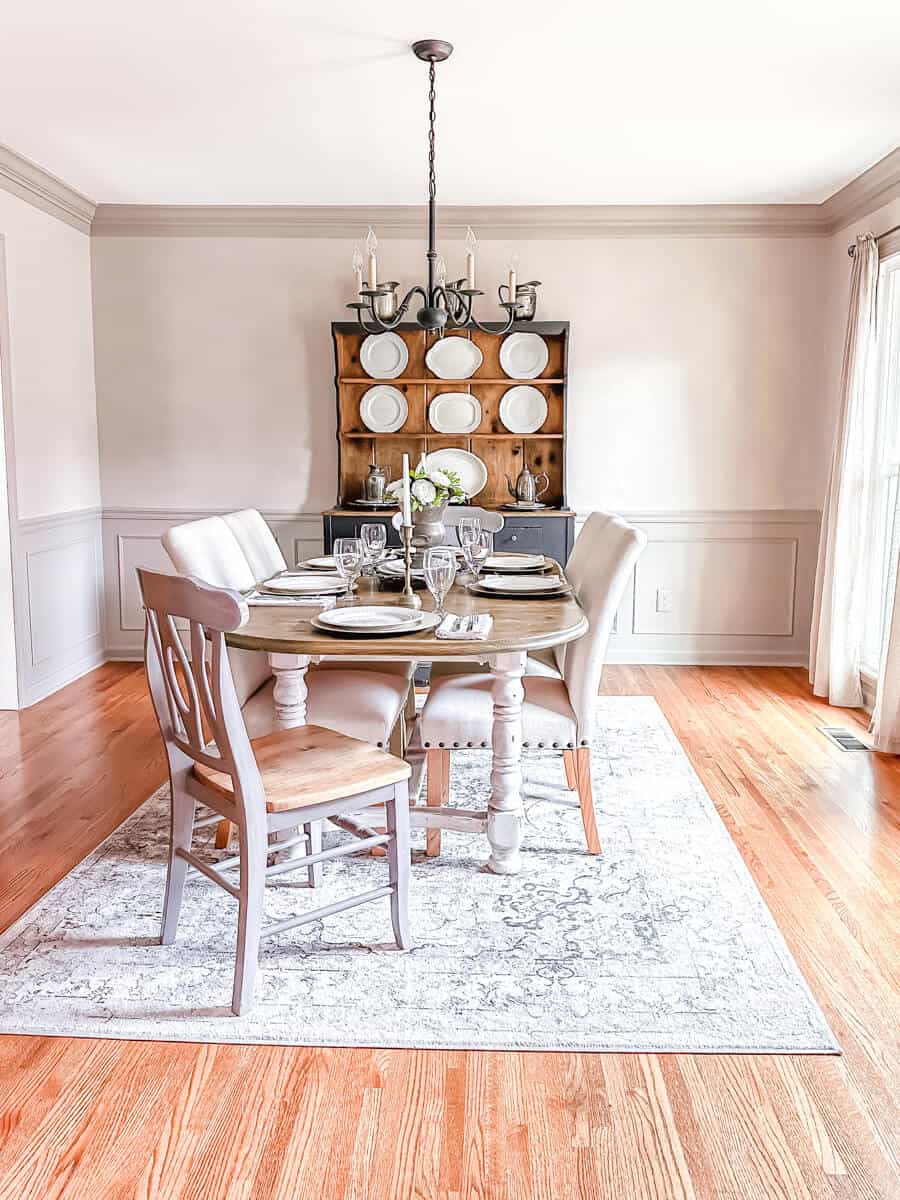
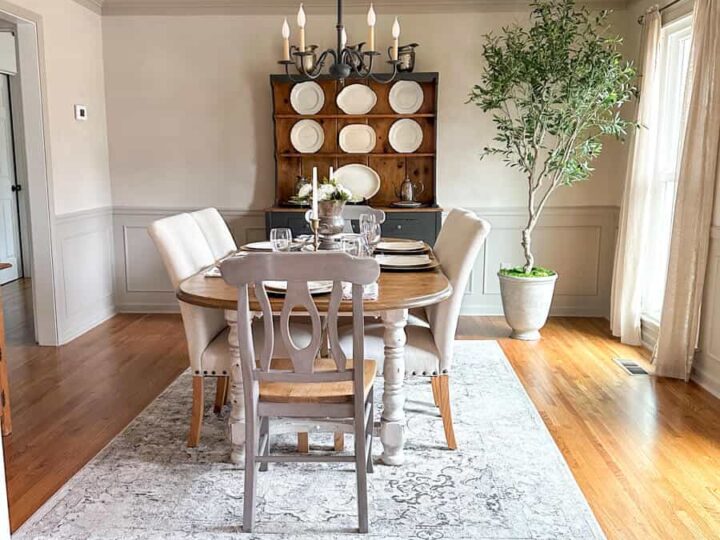
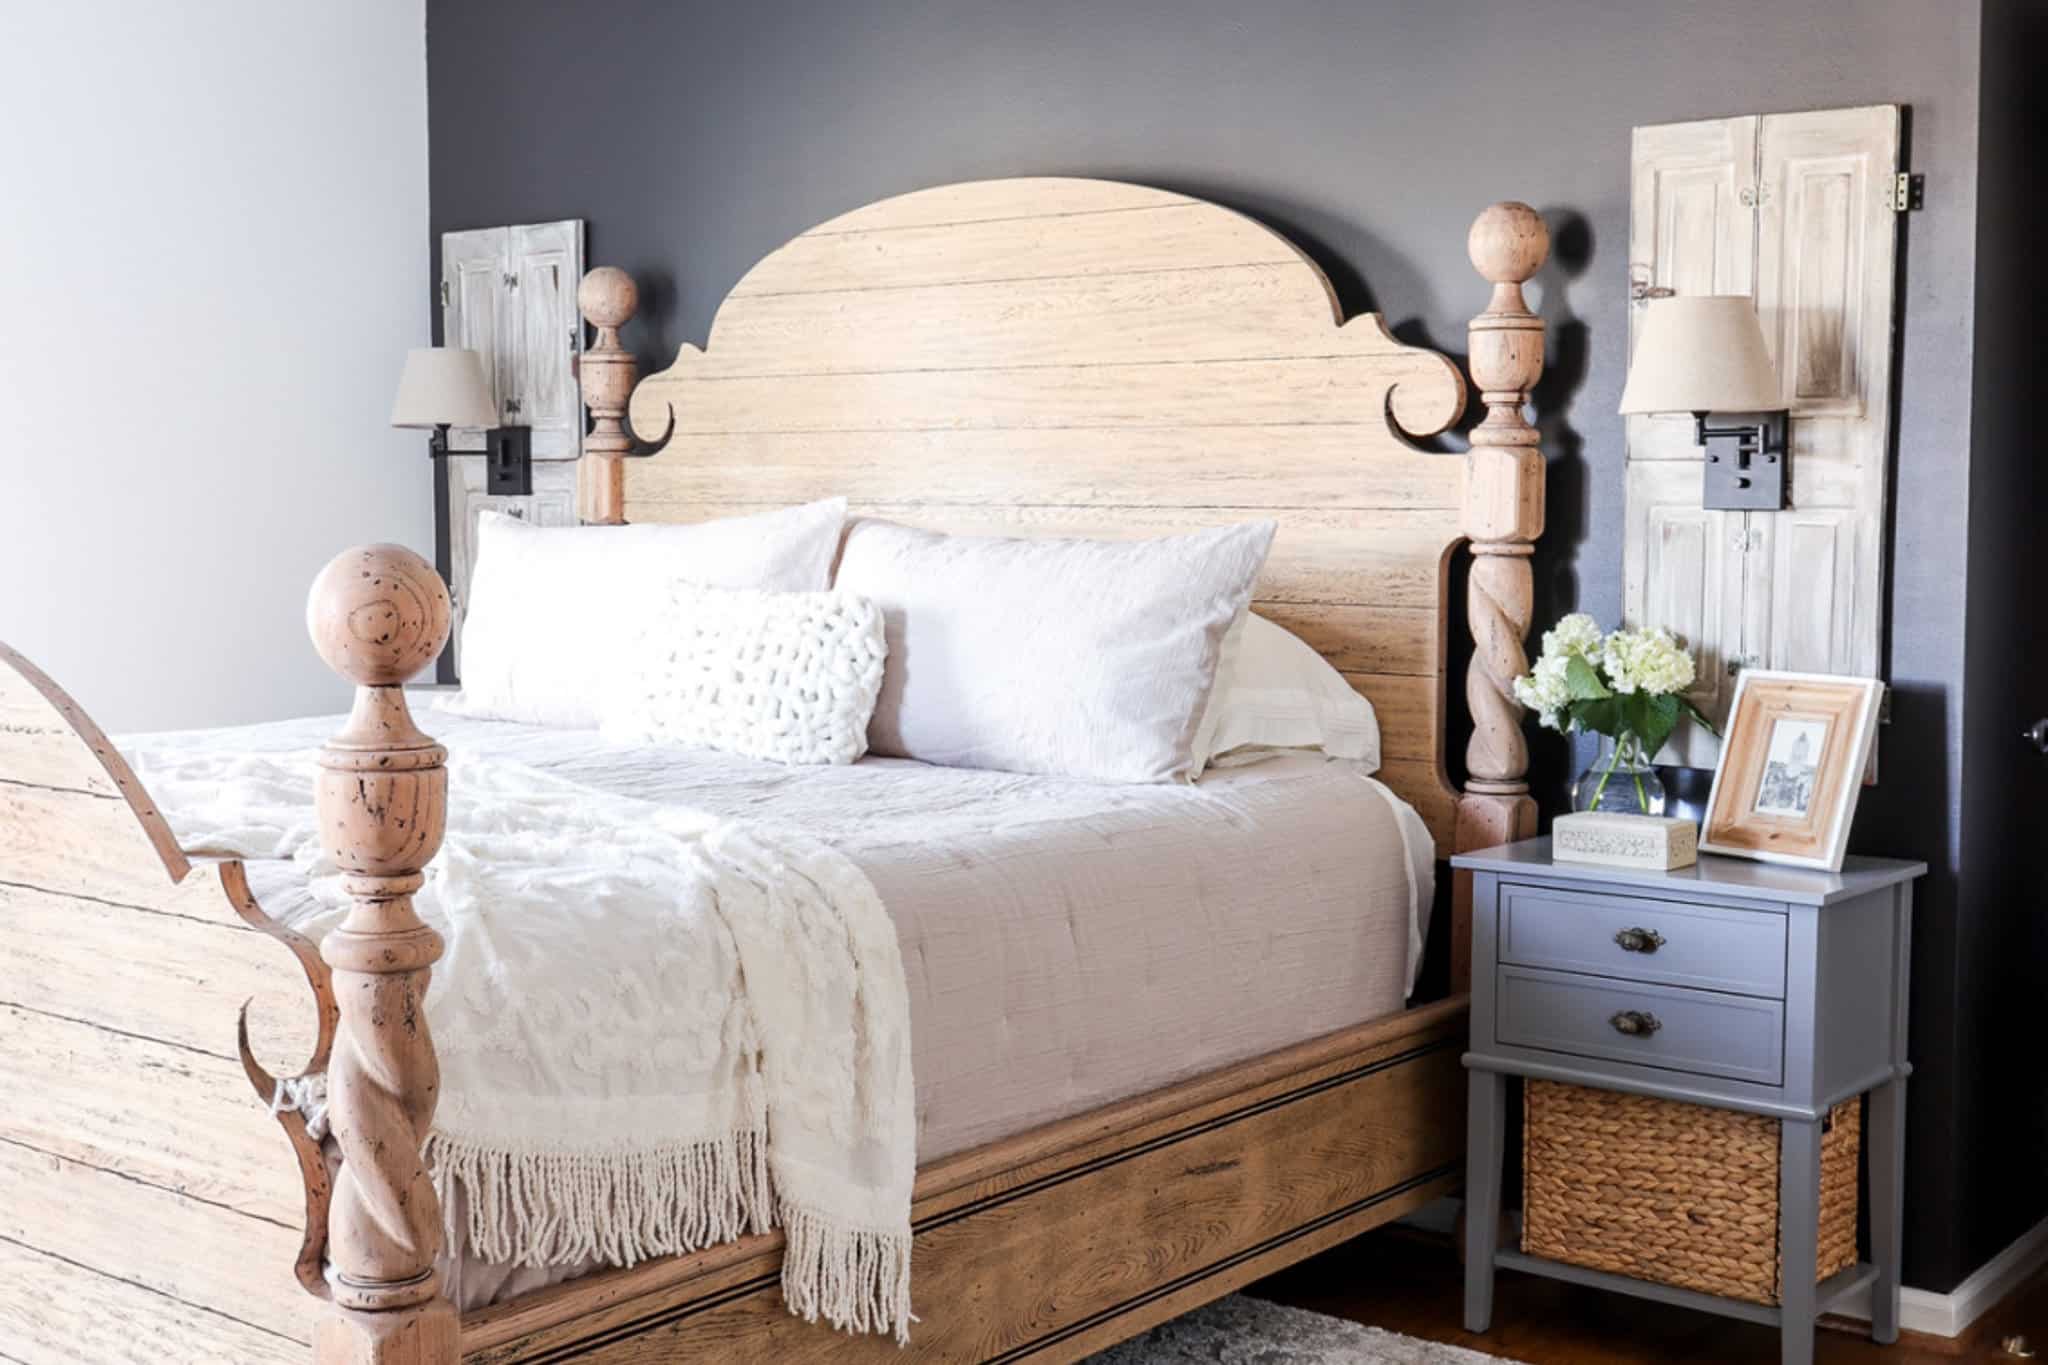
Now, the full reveal will be next week, but here’s a sneak peek before I share the final look.
I love how the decorative trim adds classic style to this room.
And all for very little additional cost!
Today we are showing you how to transform your plain walls with some easy picture frame molding. Learn how to do this DIY decorative wall molding installation on a Budget.
These molding boxes are just the architectural details this room needed and add visual interest and a touch of elegance to our dining room.
Now it feels fancy-schmancy!
It adds a classic look and would be an easy weekend project to tackle.
If you plan to do this for your own home, it doesn’t take a lot of time!
Installing the decorative molding and painting the trim pieces for this entire project took us just a day or two, if you factor in drying time between coats.
I hope this tutorial helps you out!
Be sure to come back to see the full reveal of this room as well as how we painted these gorgeous walls next week!
Shopping List
Other Dining Room Projects


Resources
Ways to Shop Our Home
If you’re looking for sources for items in our home, you can find them here!
From furniture, home decor items, and some of our favorite tools, small appliances and organizing bins, you can find anything you are looking for.
Since most of our projects here at Noting Grace are DIYs or thrift store finds, we’ve done our best in finding budget-friendly alternatives for you.
Happy Shopping!
More Ways to Shop
Amazon Storefront
Our regular one-stop-shop for all things home. Shop all our favorite items in our home.
Shop By Room
Love the look of one of our rooms? Shop this list to find the exact link you are looking for.
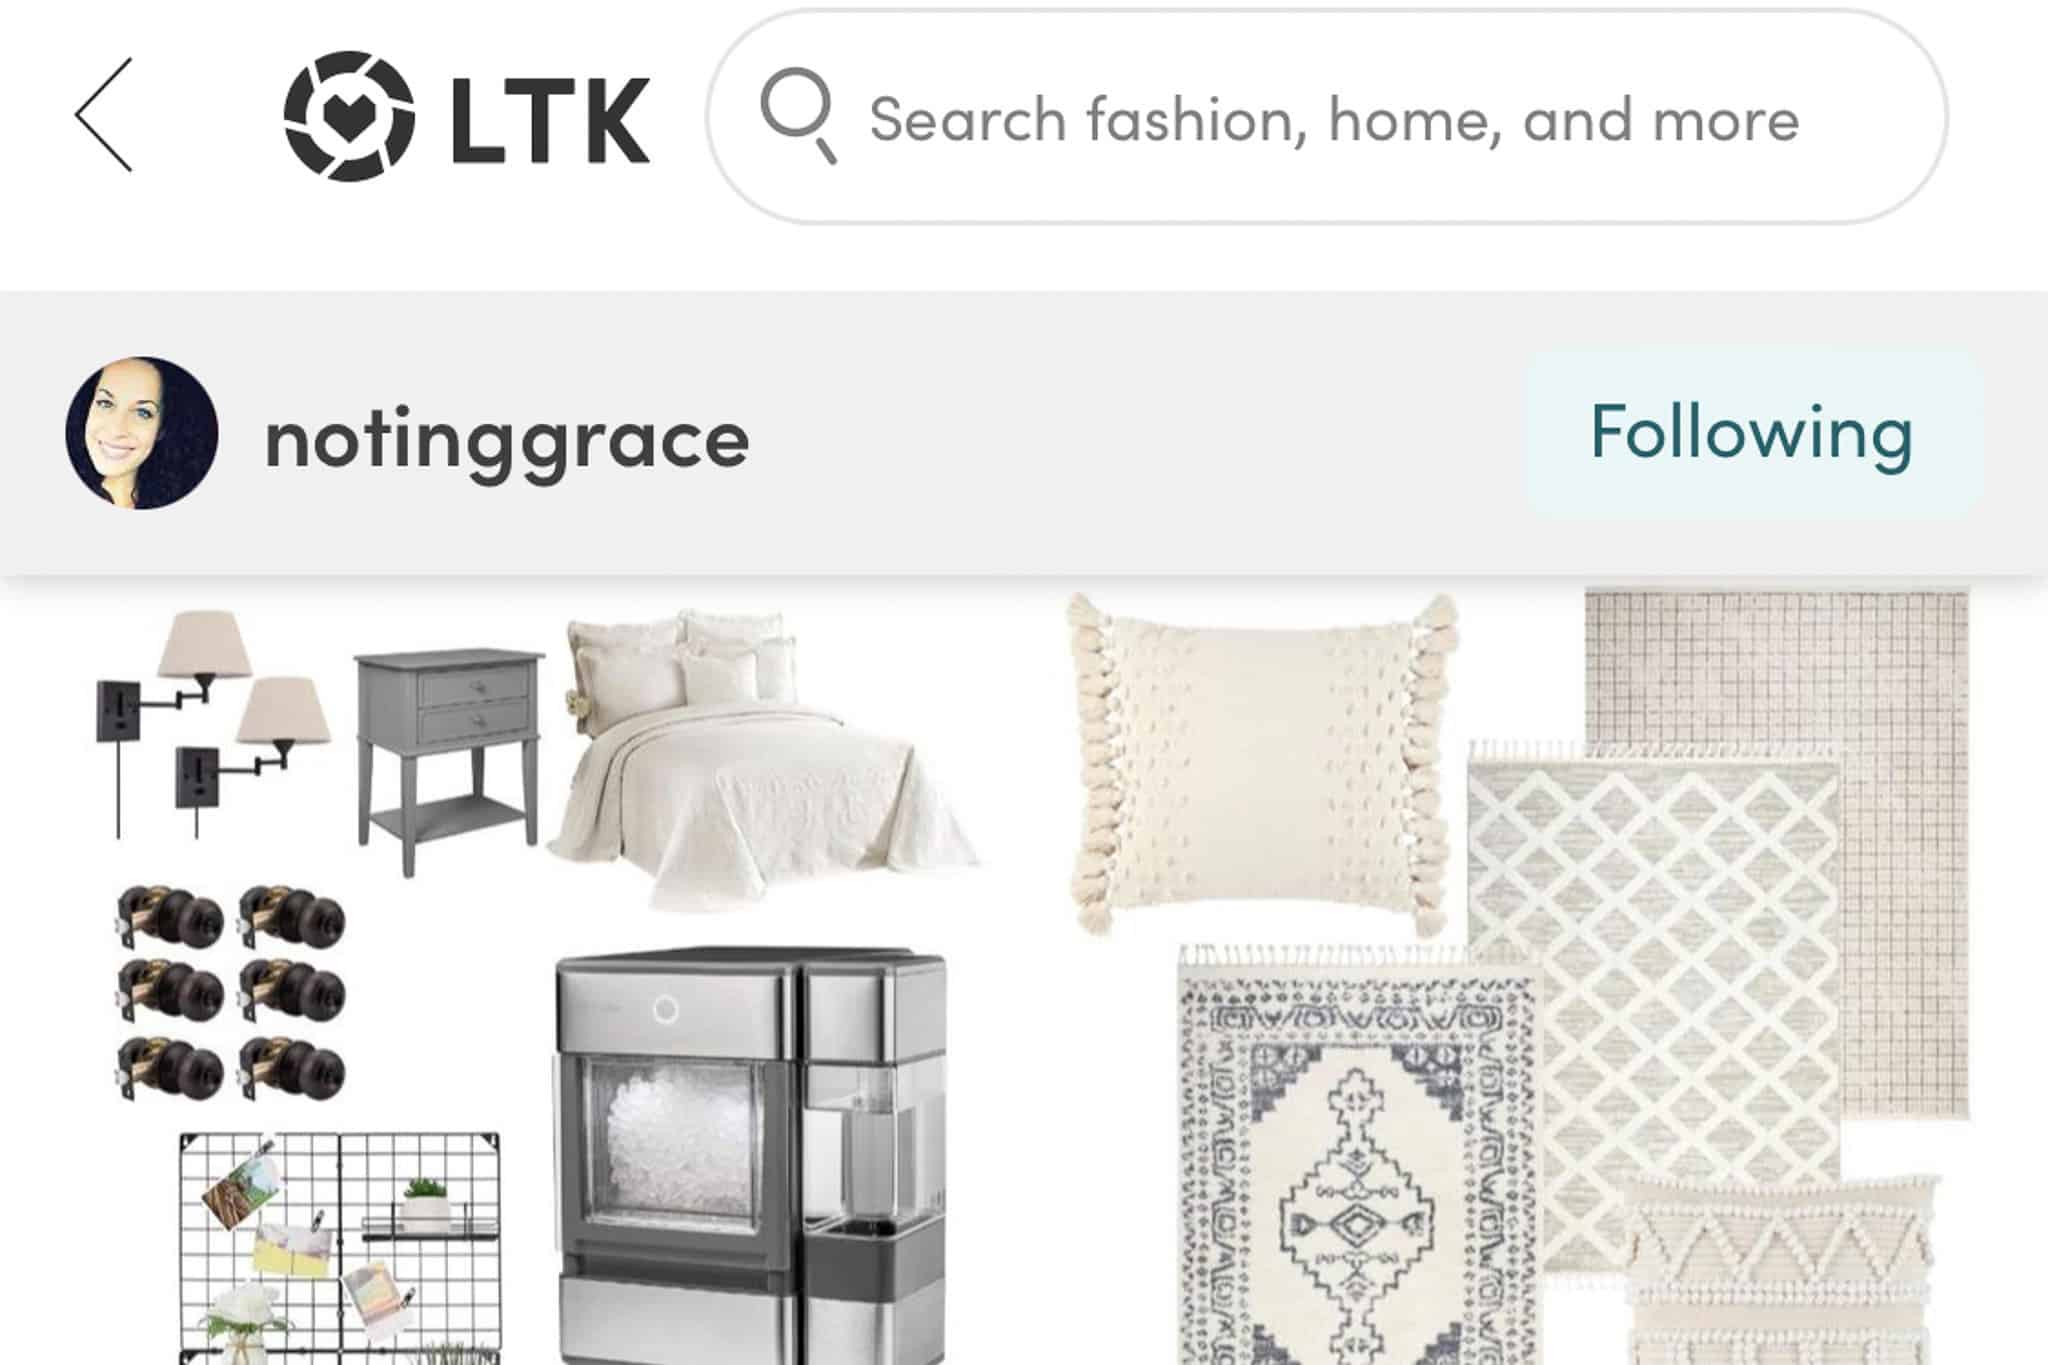
Shop our LTK
Here is where you’ll find our Instagram round ups, upcoming sales and gift guides.