Limewashed Walls Featuring Velatura Mineralwash: Our Dining Room Reveal
Do you love the look of plaster and want an easy DIY hack? Check out our Limewashed walls in our Dining Room reveal featuring Romabio Velatura Mineralwash.
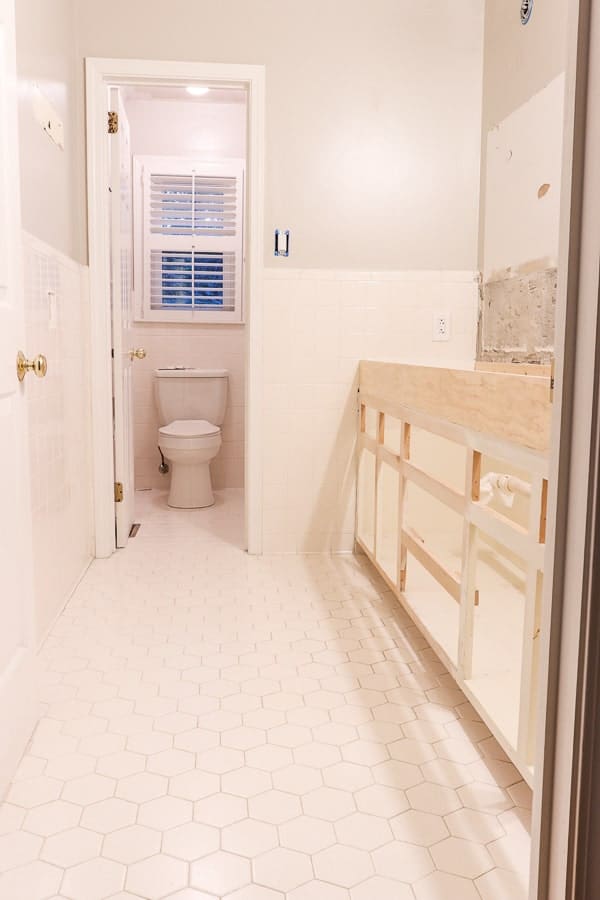
When we moved into this home about 5 years ago, the dining room looked a little bit dated.
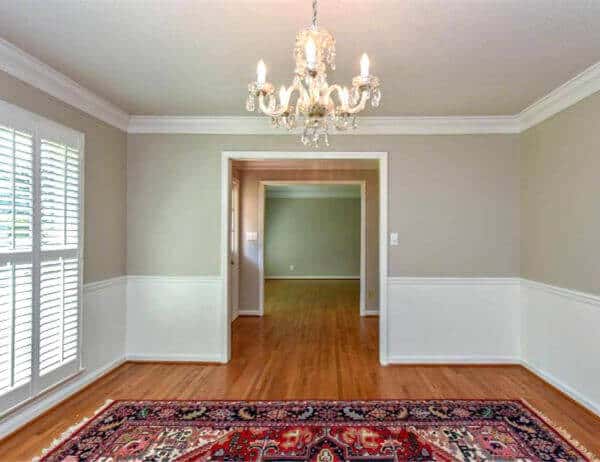
So we were finally ready to make a few changes that finally reflect our style.
And I have loved the look of lime washed walls. The movement and texture are perfectly moody and welcoming.
But since Trent uses Limewash for his painting business, I knew that the brand we loved wasn’t the right fit for interior walls.
That is, until they introduced a new product and I am in love!!
Here’s how we gave our dated Dining Room a much needed update!
Limewashed Walls in our Dining Room Makeover
(Some affiliate links are provided below. Full disclosure here.)
You might be considering giving your room a complete makeover.
One way to do this is by using Velatura Mineralwash, which a unique product from Romabio that can transform your walls with a beautiful, limewashed effect.
We will take you through a step-by-step guide on how to use Velatura Mineralwash to give your dining room a refreshing new look.
These are the supplies you’ll need for this project:
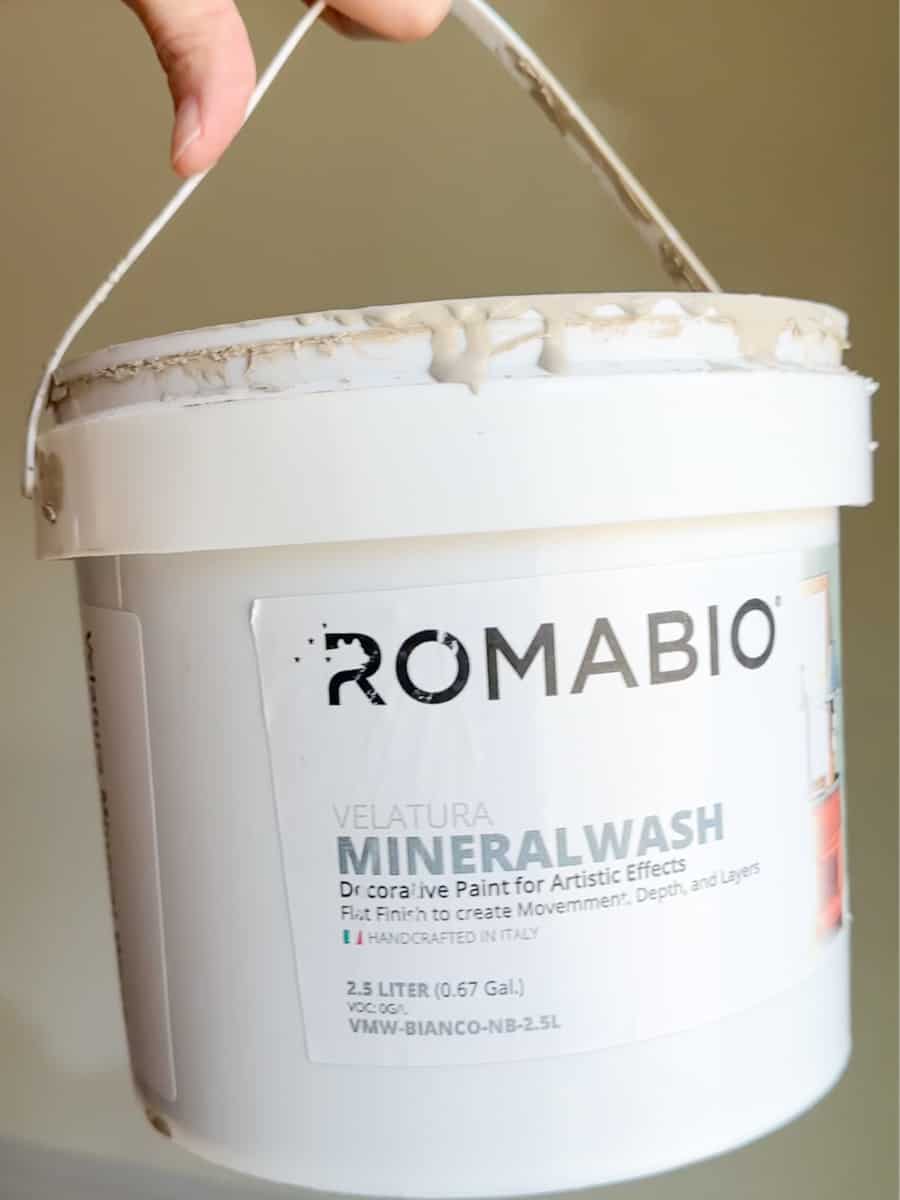
- Romabio Velatura Mineralwash – we used the color Instant Chateau
- Trim and Molding Paint – Romabio Satin Paint
- 4 inch paint brush for Crosshatching
Velatura Mineralwash is a versatile product that can be used on a variety of surfaces, including walls, ceilings, and even furniture. However, in this post, we will focus on how to use it to transform your dining room walls.
So, before we get into the tutorial, we had to address a few other design hurdles first.
We began by scraping the ceiling.
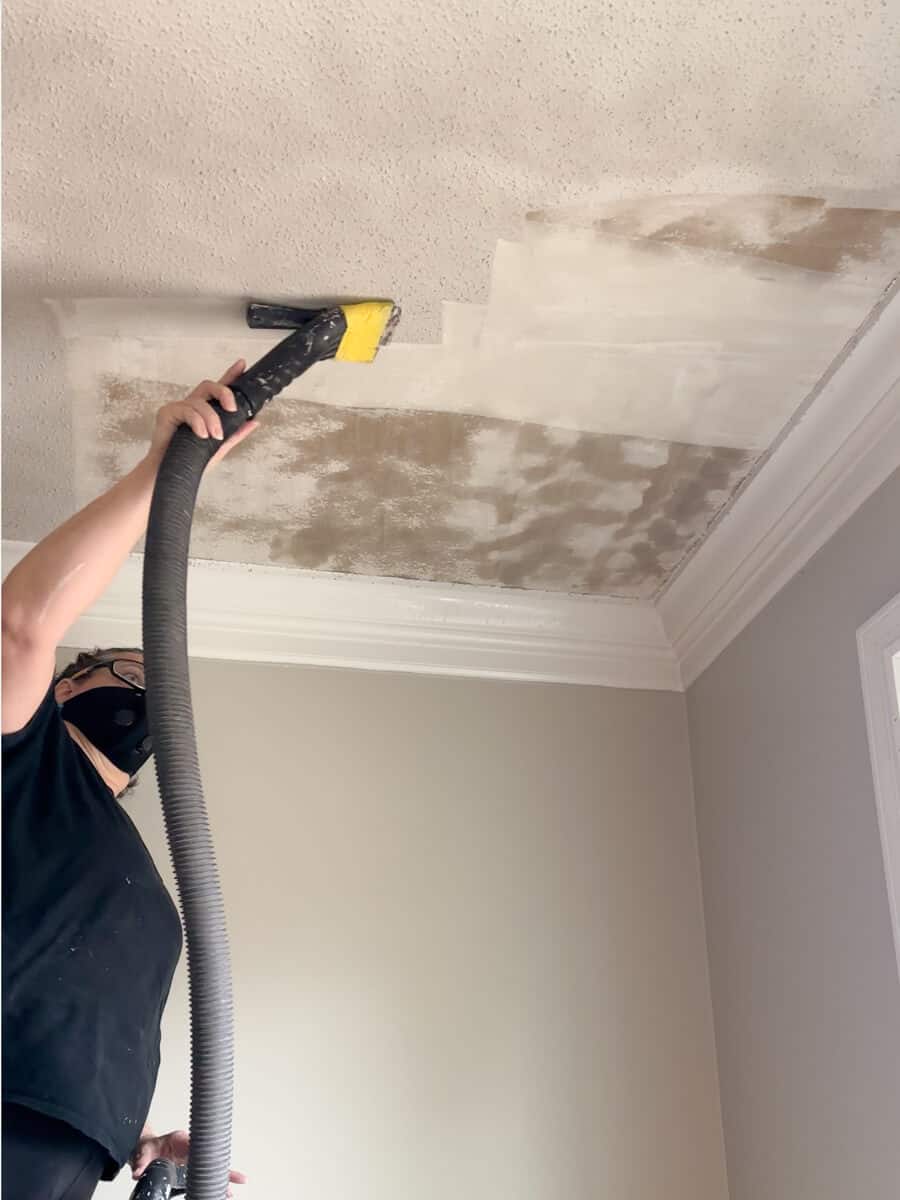
And, of course, I have a full tutorial on how you can scrape your popcorn ceiling without making any mess. You can check our DIY scraping hack linked here or watch our tutorial video.
The whole ceiling scraping process only took just a couple of days. And now we’re down to only about three rooms left in our home that need to be scraped.
2023 goals, for sure! 😉 I will be very happy once all of that popcorn is finally gone!
So after the ceiling was scraped and painted, we were ready to update the dated wainscoting.
This dining room already had an existing chair rail molding around the perimeter of the dining room.
But we wanted to bring it a little bit more up to date.
So we added some picture trim molding and painted the wainscoting as well as the crown molding the same color.
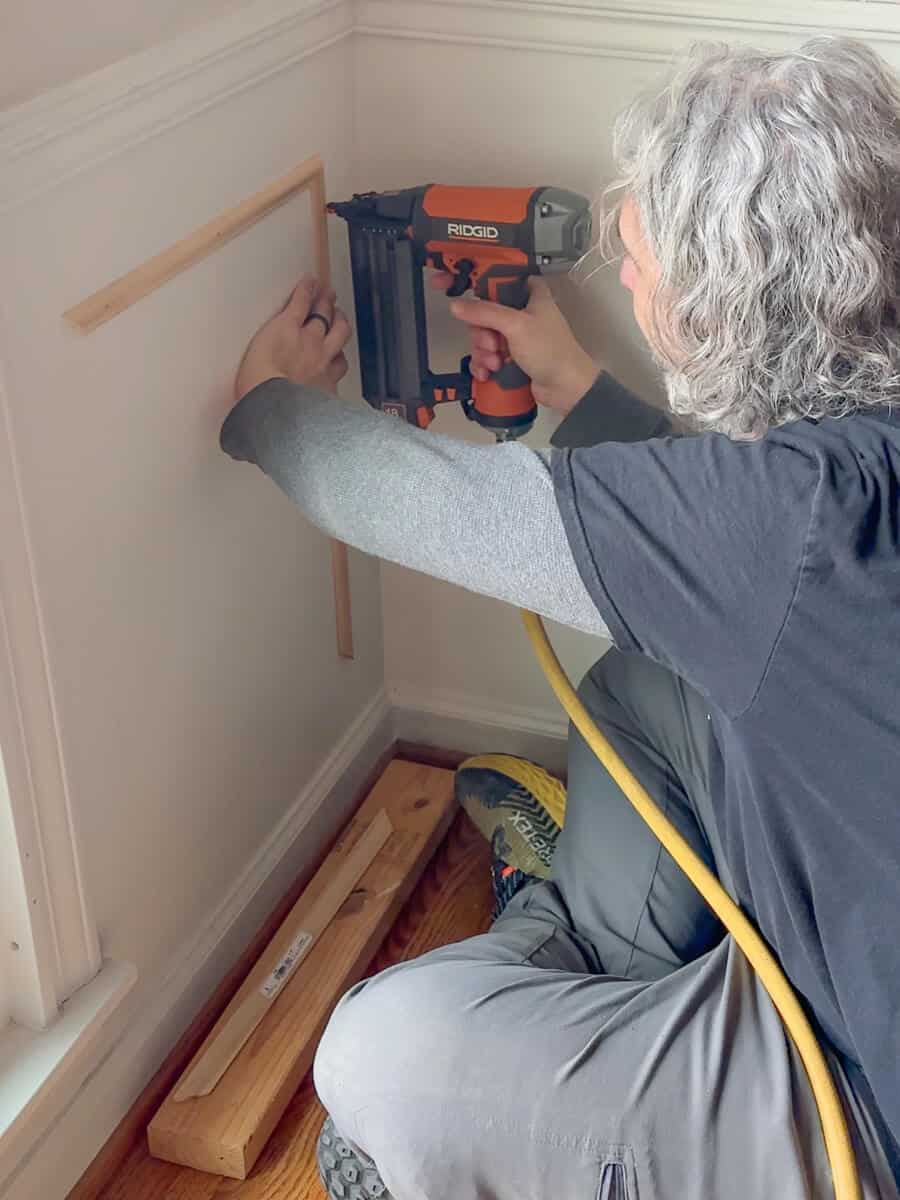
Here’s the full tutorial on how to add picture trim molding to your walls on a budget.
It has definitely given it a much more cohesive look and we absolutely love it.
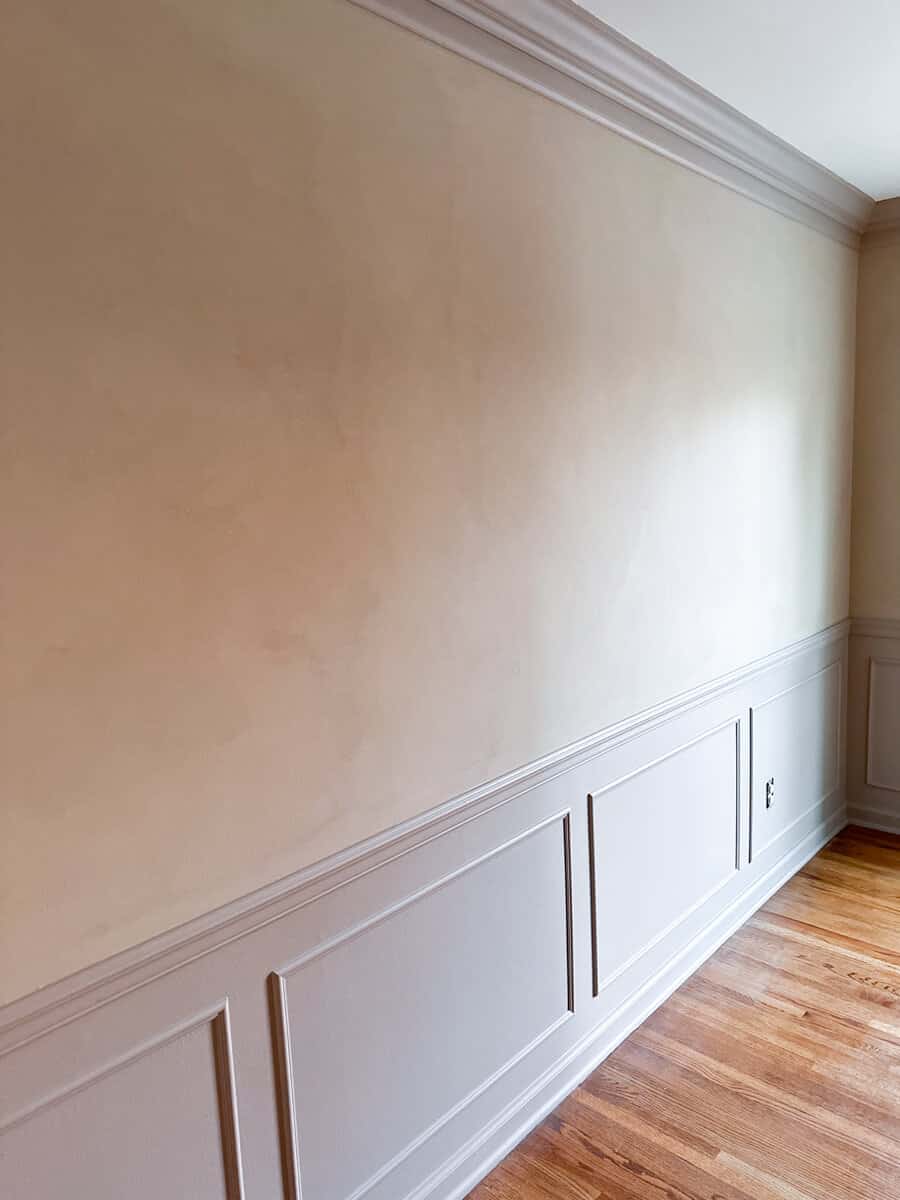
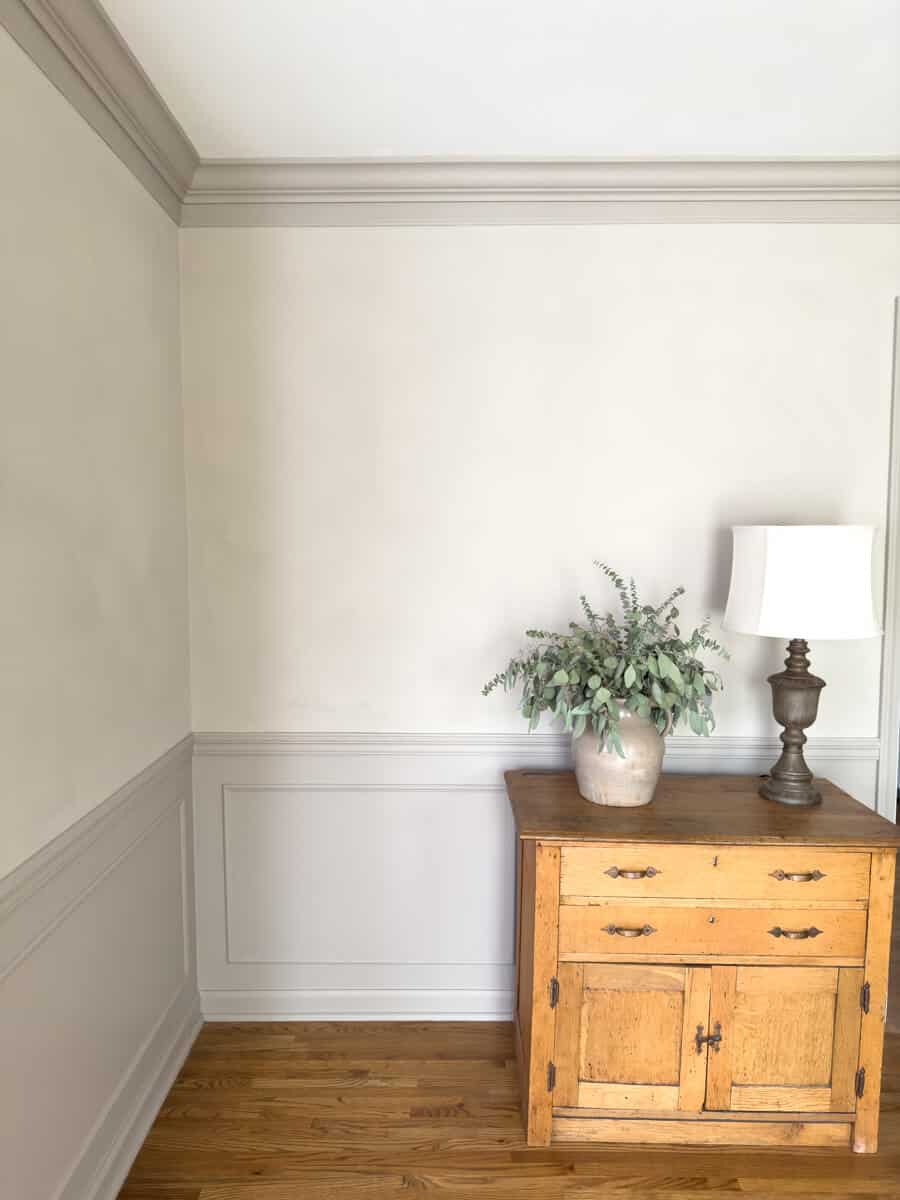
The color that we used is from the brand Romabio and it is called Instant Chateau – which is this beautiful gray taupe-y color.
It adds some warmth without it being one of those typical bland neutrals that you’ve seen over the past decade.
We also have a full video tutorial on how we installed the picture trim molding if you want to check it out.
It was a pretty easy process so you can check that out if you are wanting to learn how to do that.
Once those projects were finished, we could finally get to the good stuff!
What I am most excited about is the wall finish!
It is a brand new product that I am so honored to have had the opportunity to test out for the brand Romabio.
It is called Velatura Mineralwash.
How to Achieve Limewashed Walls
Featuring Velatura Mineralwash
The first step in this makeover process is to prepare your walls. Make sure they are clean and free of any debris or dust.
Next, if your walls are unpainted, you will need to apply a base coat of primer to your walls. This step is important because it will help the mineralwash adhere to your walls properly. Once your primer is dry, it’s time to mix your Velatura Mineralwash.
Simply pour the contents of the package into a bucket and add water, following the instructions on the package. Mix well until you get a smooth, creamy consistency.
It is like creating that plaster-like finish without having to plaster and is the DIY-ers easy faux plaster look.
It looks like suede or crushed velvet . And it’s absolutely stunning!
It gives a softness – almost textured finish to the walls. It’s inviting, it’s comfortable and I absolutely love it!
We’ll definitely be using this product in more rooms in my home for sure!
So the way the product works is you do have to dilute it for the first coat.
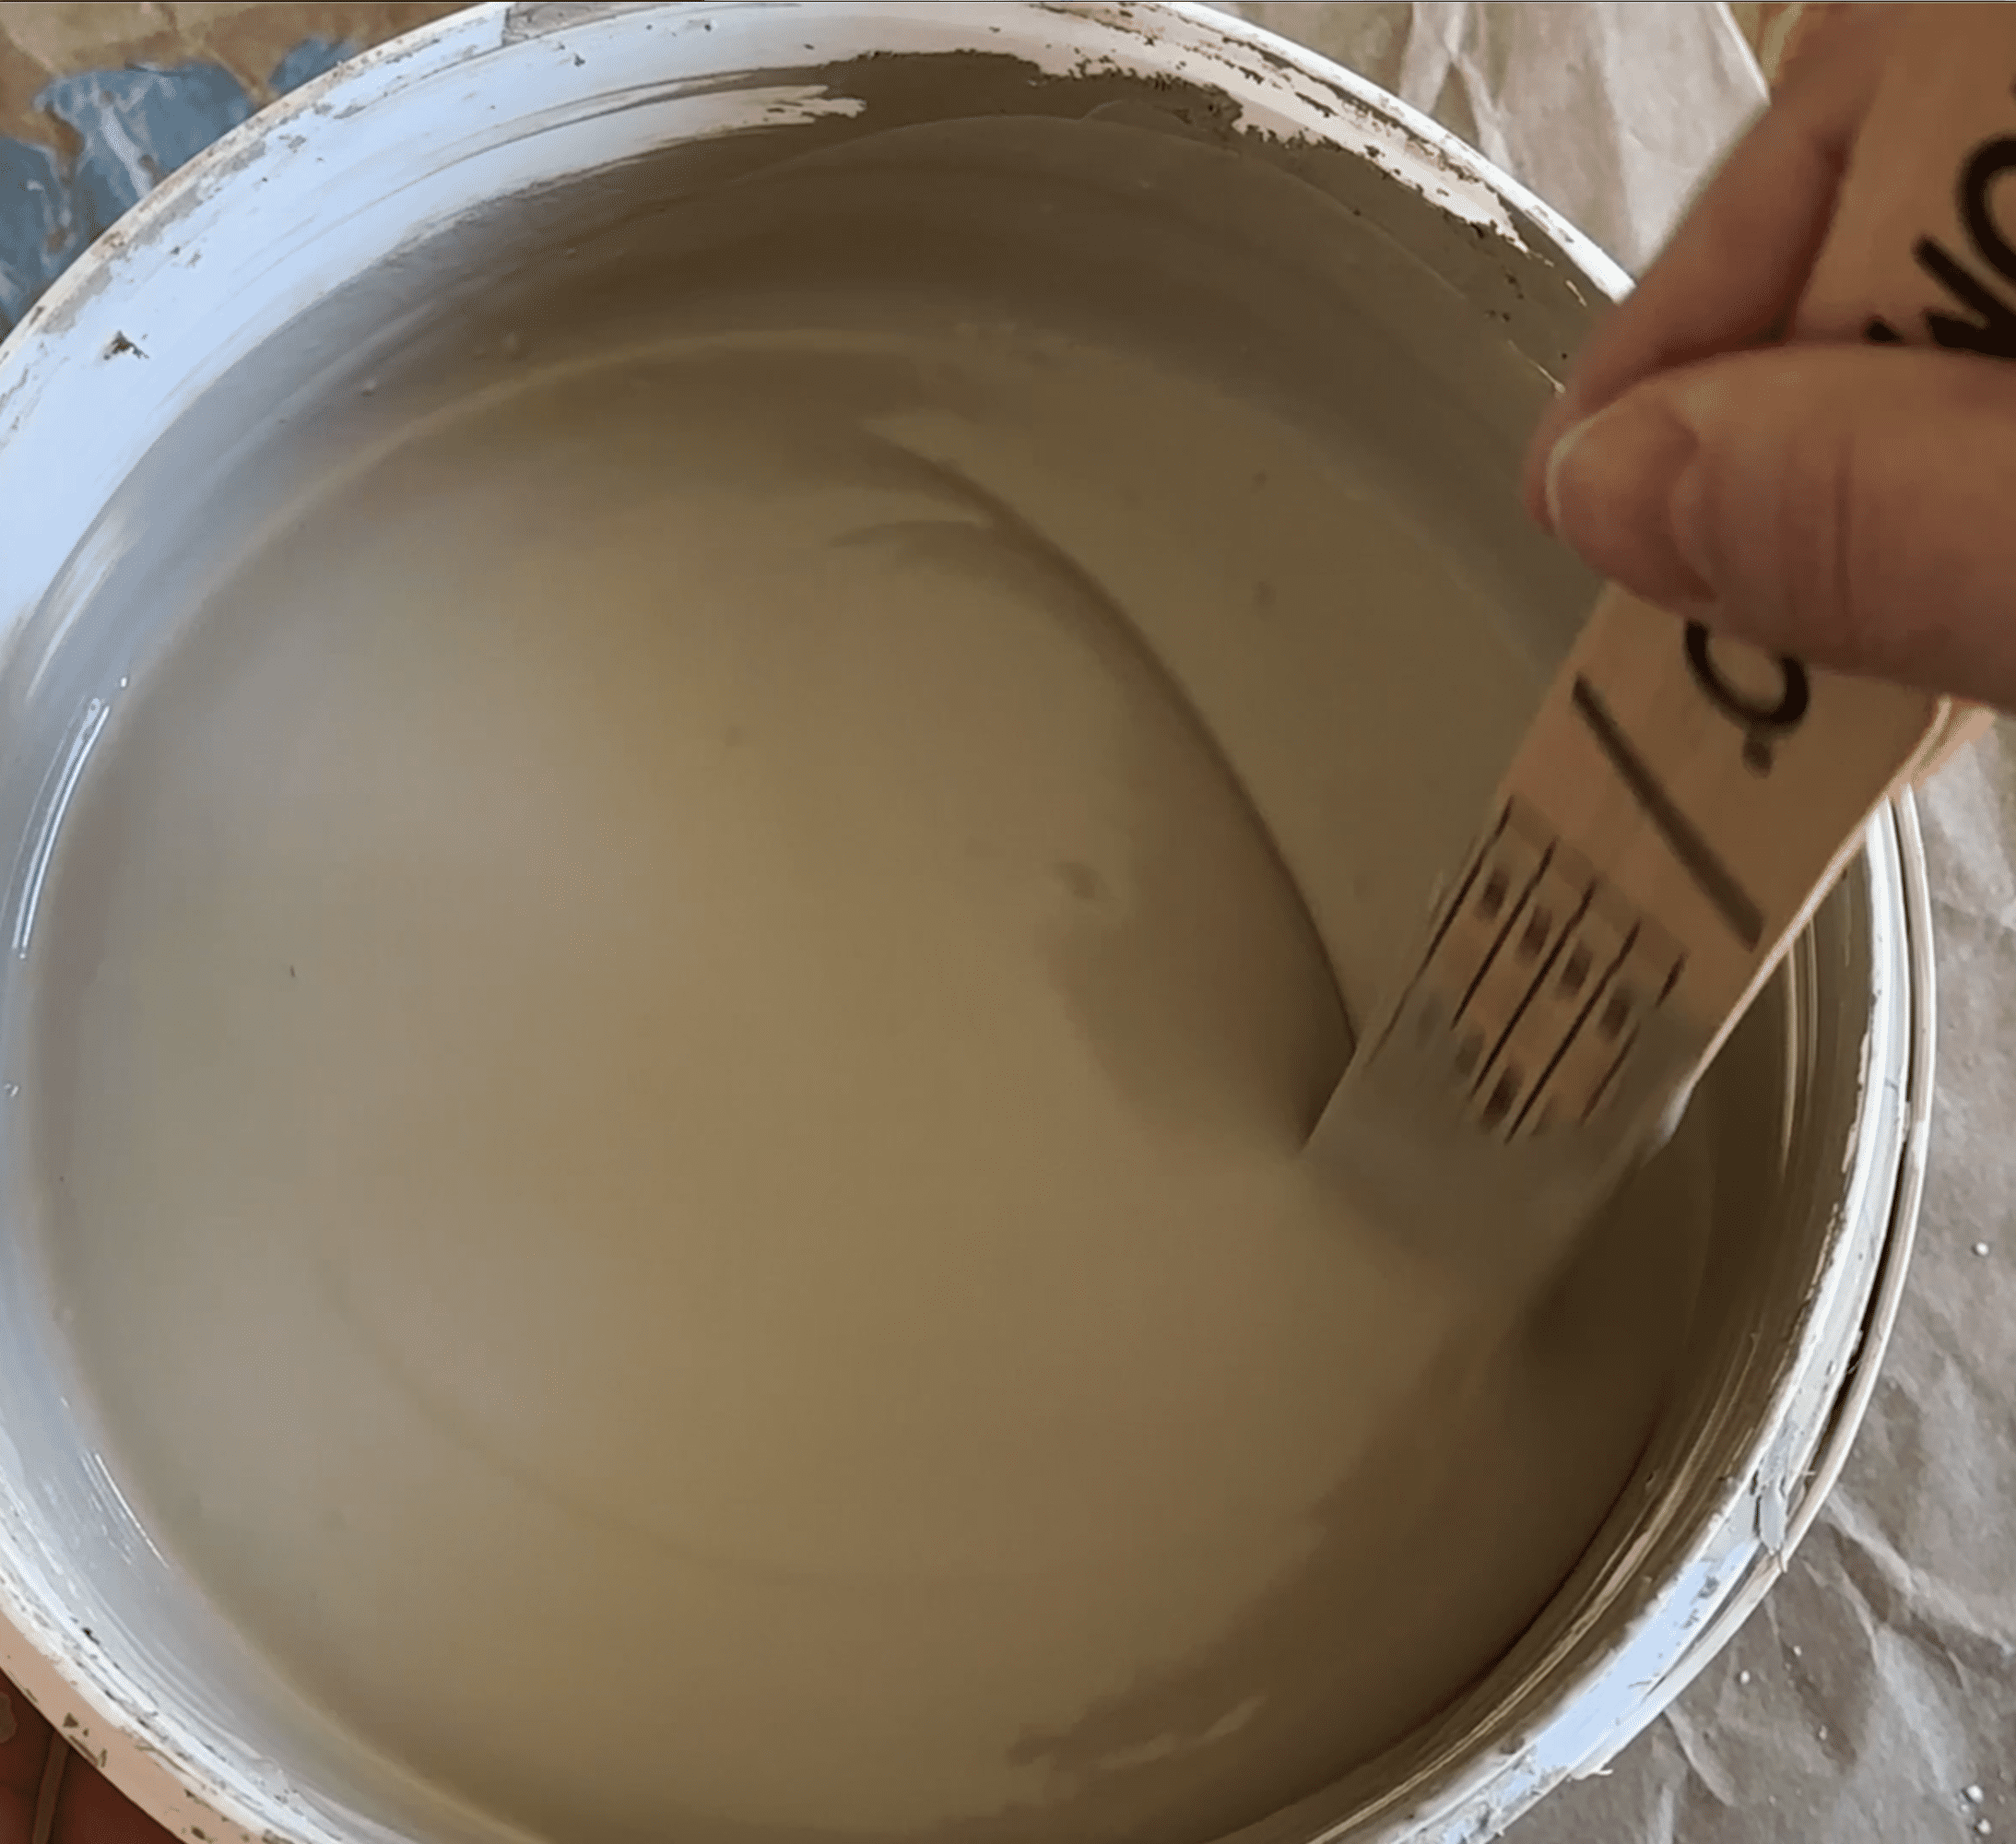
I barely diluted it – I think I added just a splash of water just to make it easier to apply.
Application Instructions
Now, it’s time to apply Romabio Velatura Mineralwash to your walls.
It is a brush on project and you have to use a cross hatch technique.
Use a paintbrush to apply the Velatura Mineralwash in a random, x type motion.
Make sure to work in small sections at a time, so the Velatura Mineralwash doesn’t dry before you have a chance to work with it.
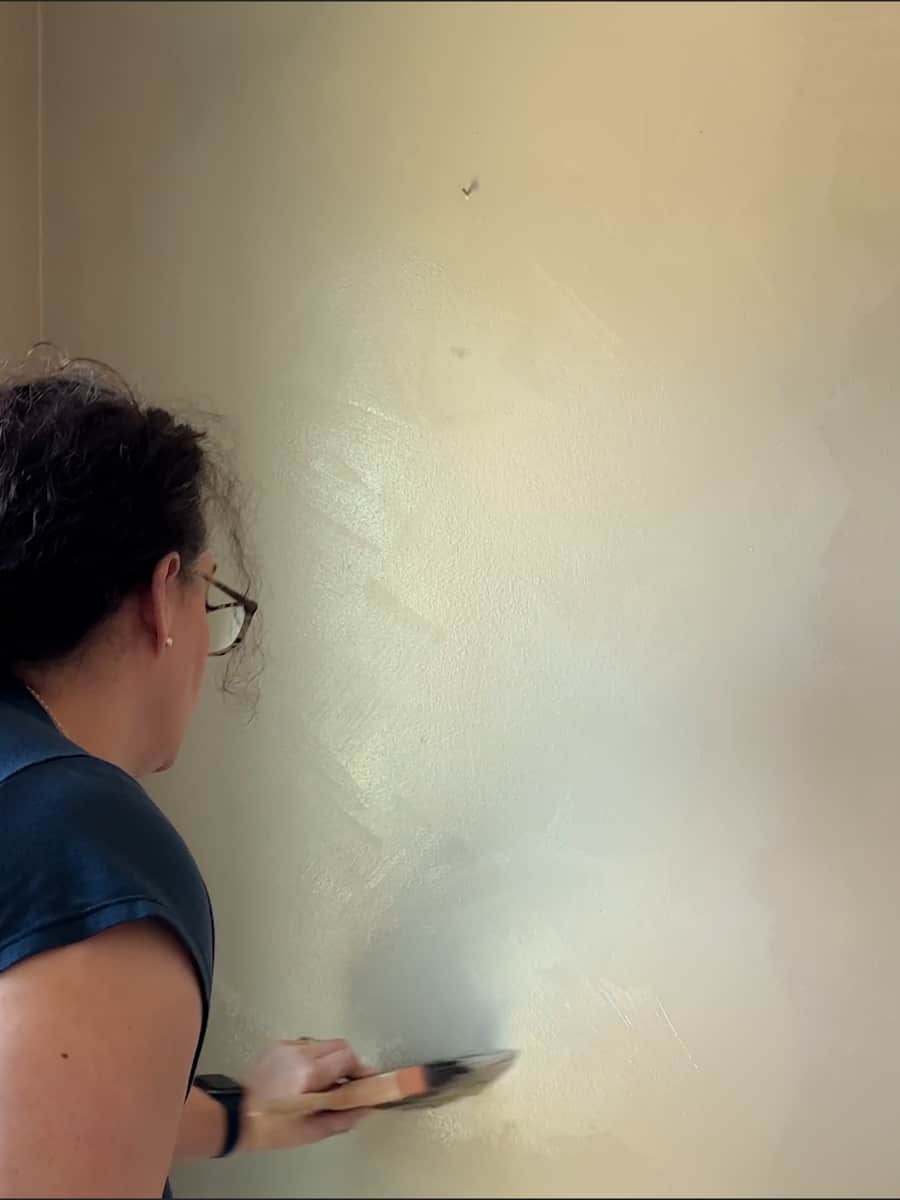
That basically means you’re making little X’s all up and down the wall.
Once you have covered a small section, you can also use a damp sponge to blend the Velatura Mineralwash and create the effect of limewashed walls.
This is what creates that movement effect. You can see the technique in action in this YouTube video.
Repeat this process until you have covered all your walls.
And painting by hand does not take that much time!
I believe I got the first coat done in just a few hours.
Now granted – the bottom half of our wall was done in a satin finish so I was only working with upper half the wall.
So that might be something to take into consideration if you’re considering doing a full wall with this technique.
Let me show you another photo.
Now one thing that I found neat (cuz I did test another color) – if you have a deeper color, the more you dilute it – it does kind of change the tint of the color.
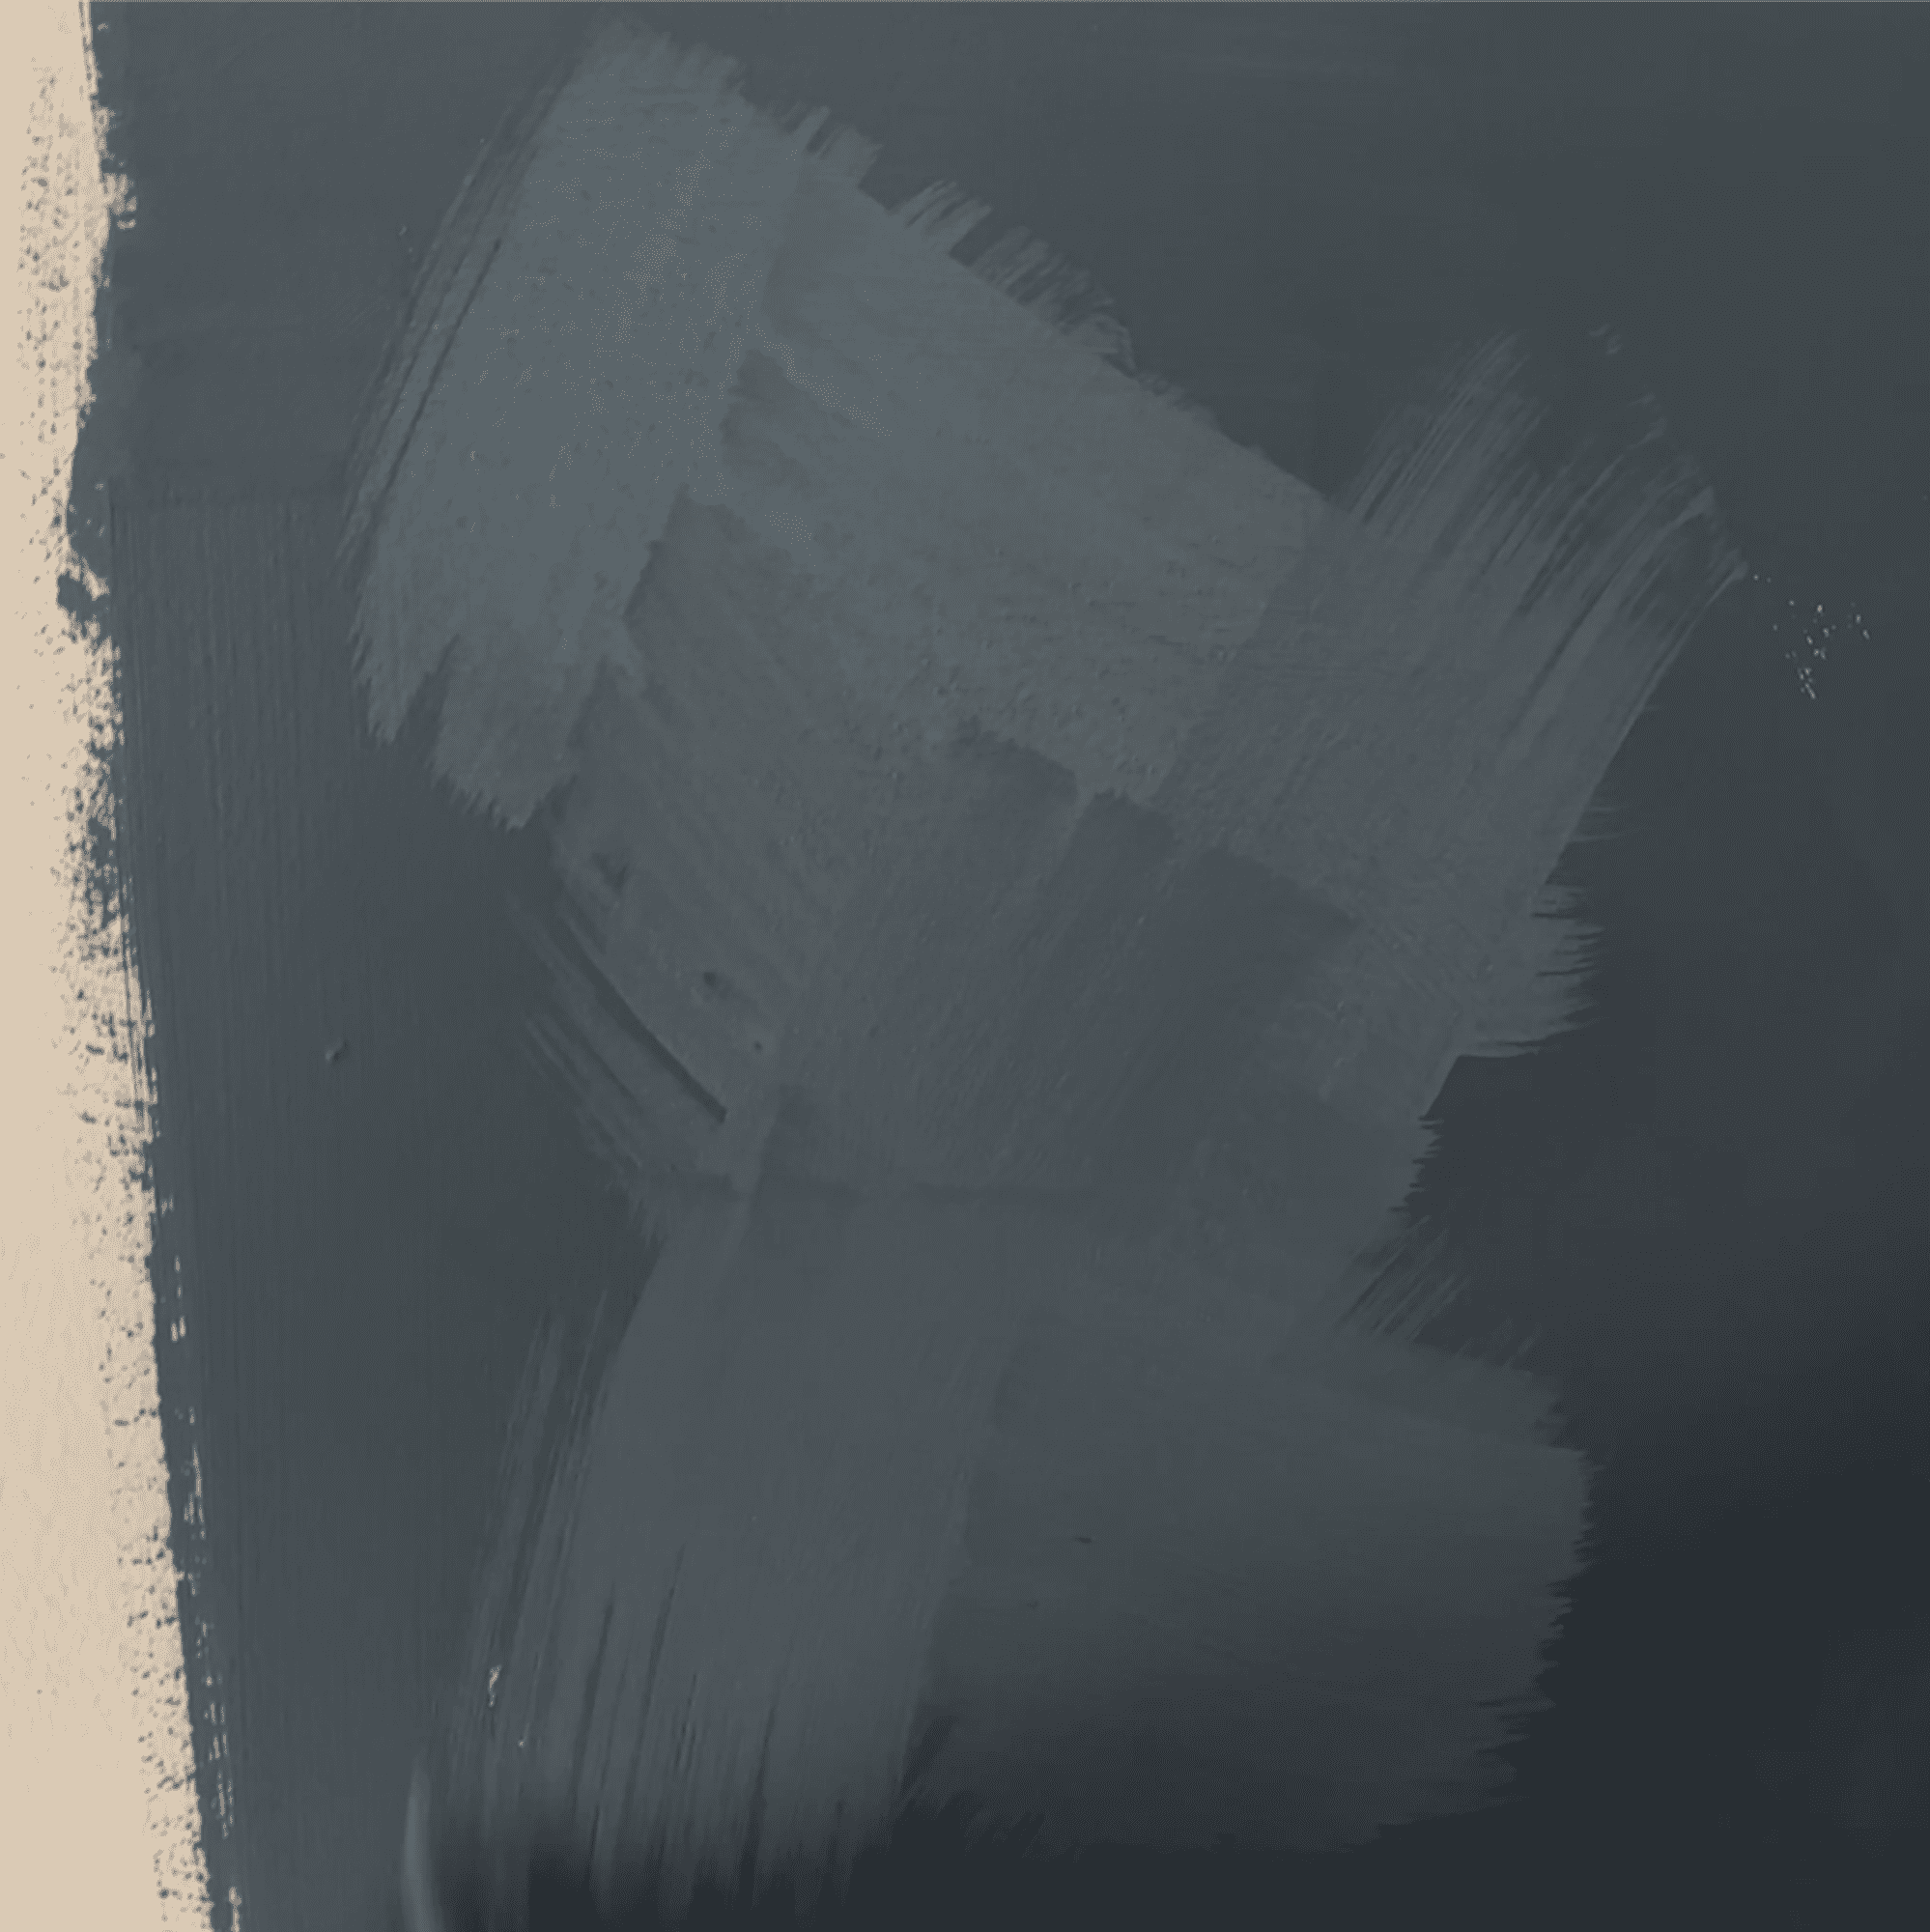
If you look in the photo above, you’ll see the brush strokes in the wet paint.
It’s in the same family, but it does have a little bit of a lighter hue.
So if you’re wanting kind of a color variation with depth, I definitely suggest going with a darker color.
And with a lower dilution rate.
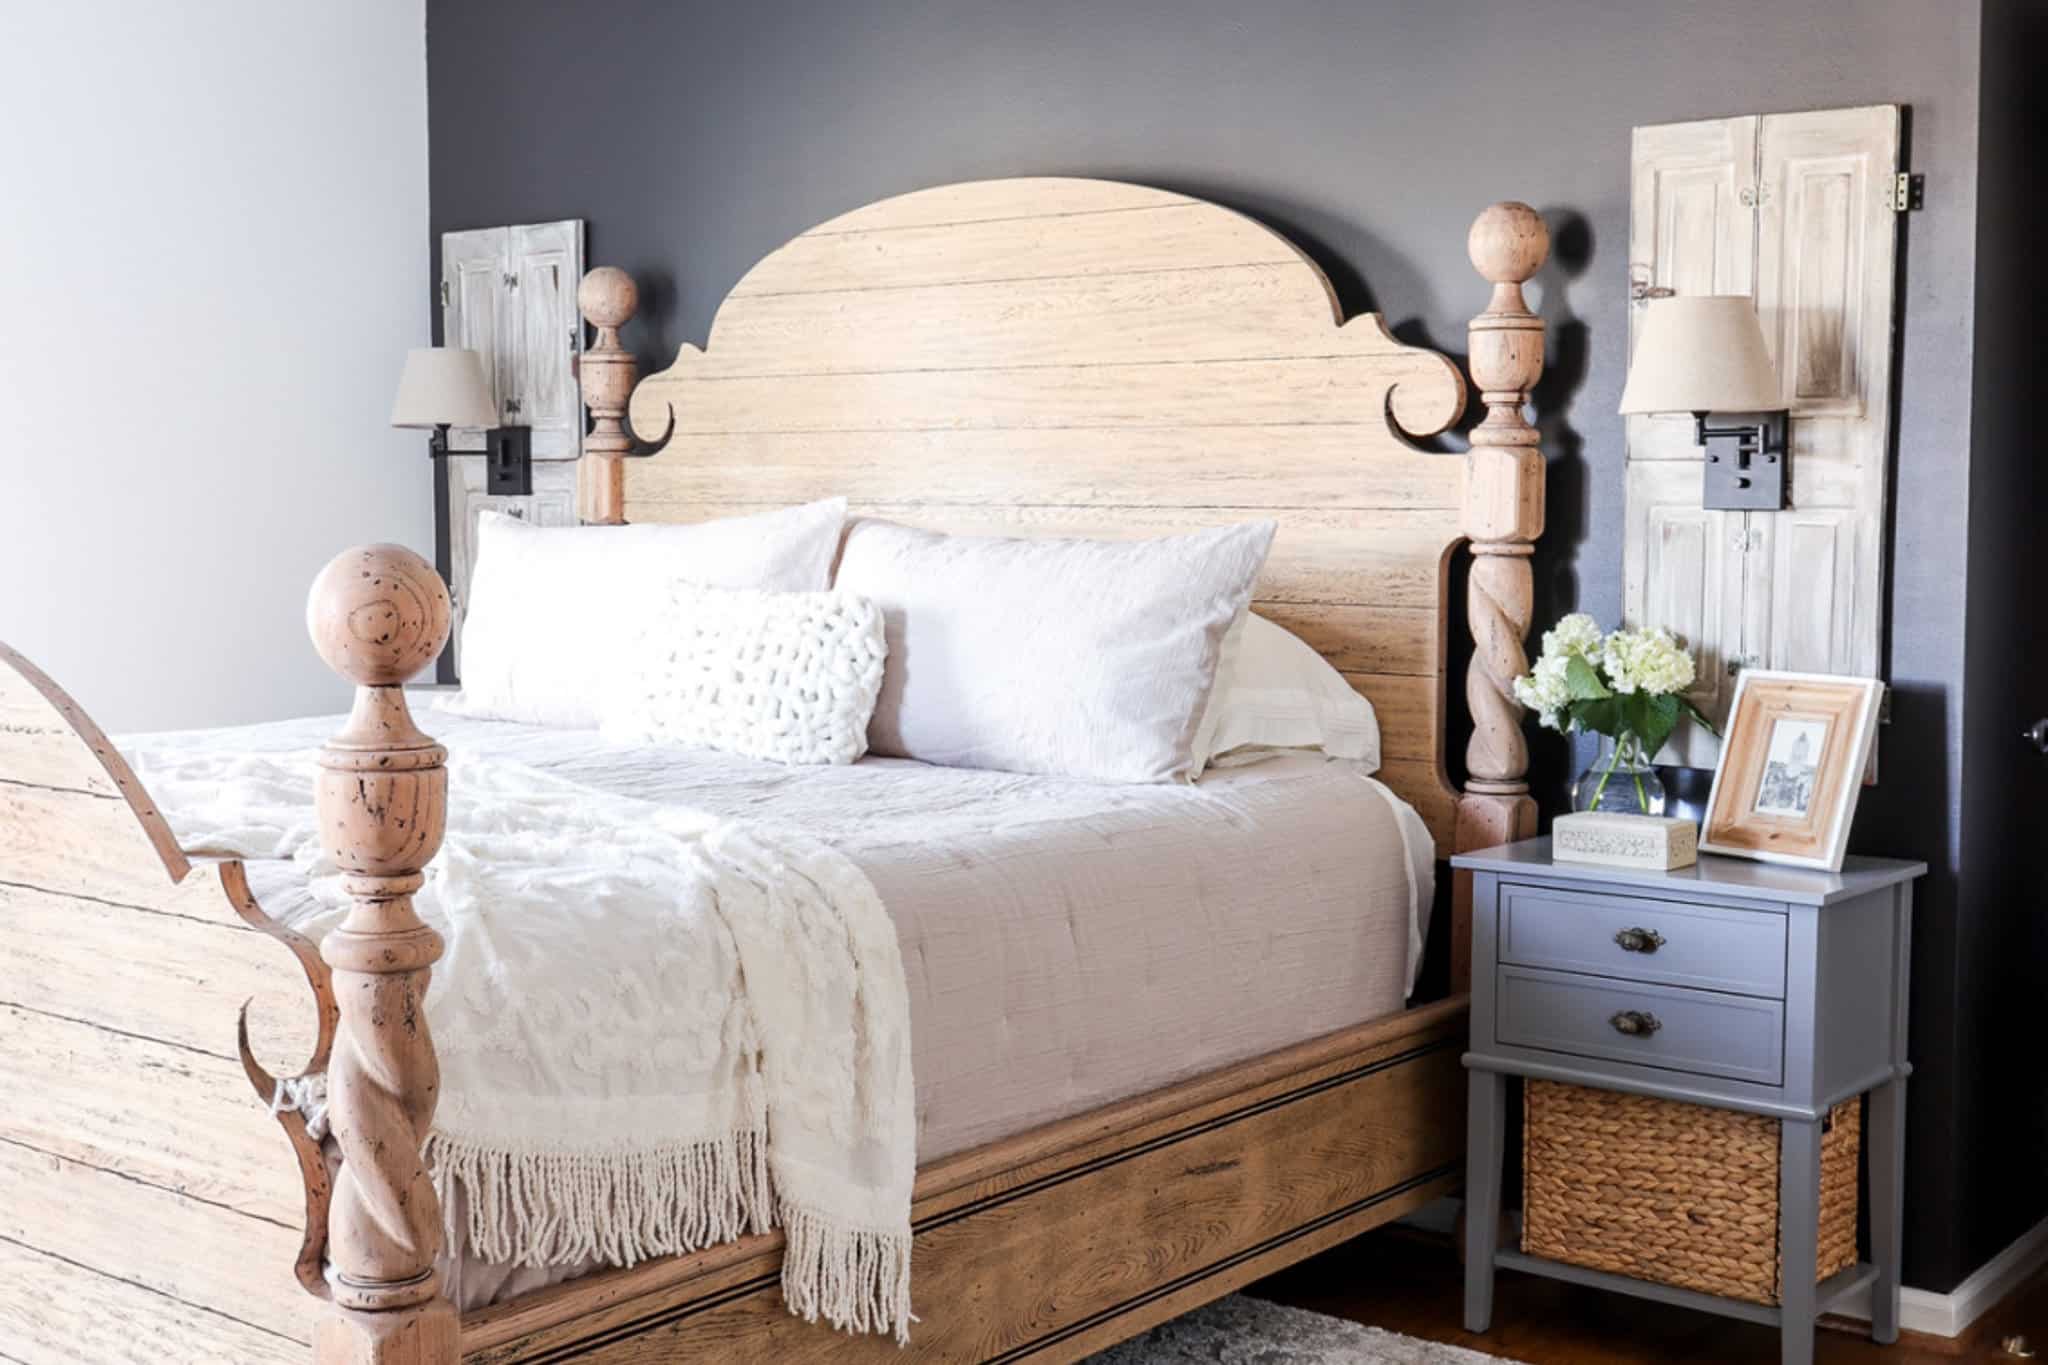
Here is my son’s room with an accent wall painted in the Velatura Mineralwash. The color is called Midsummer.

For the second coat, I did dilute it a little bit more – probably about twenty percent.
And just went over with the same cross hatching pattern.
That is when you can really start to see that movement in the wall in the paint start to appear.
It’s so beautiful!
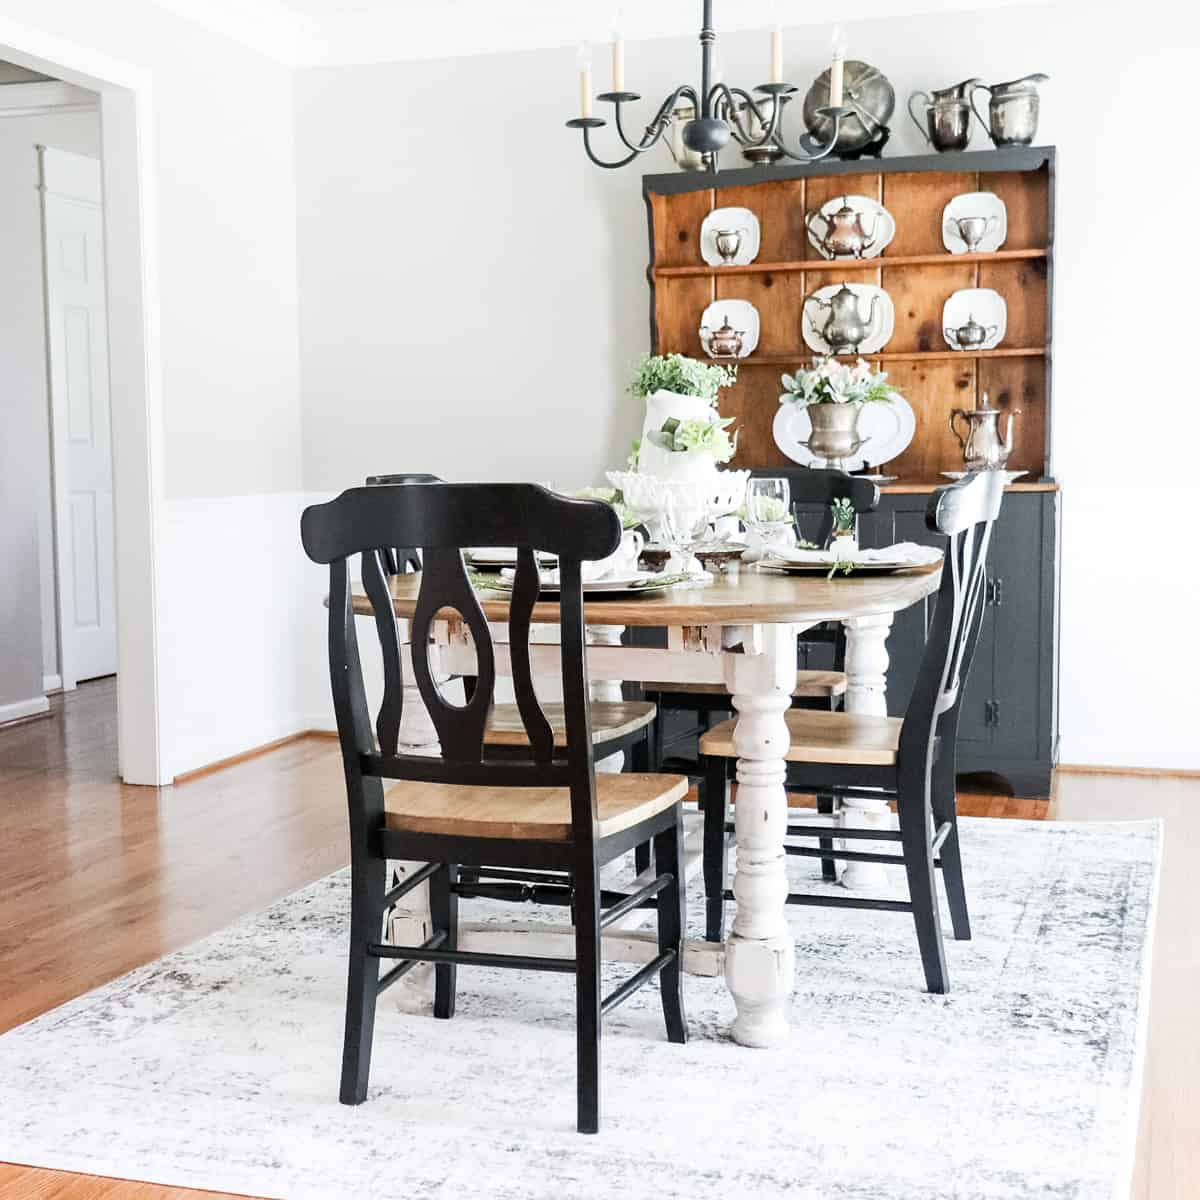
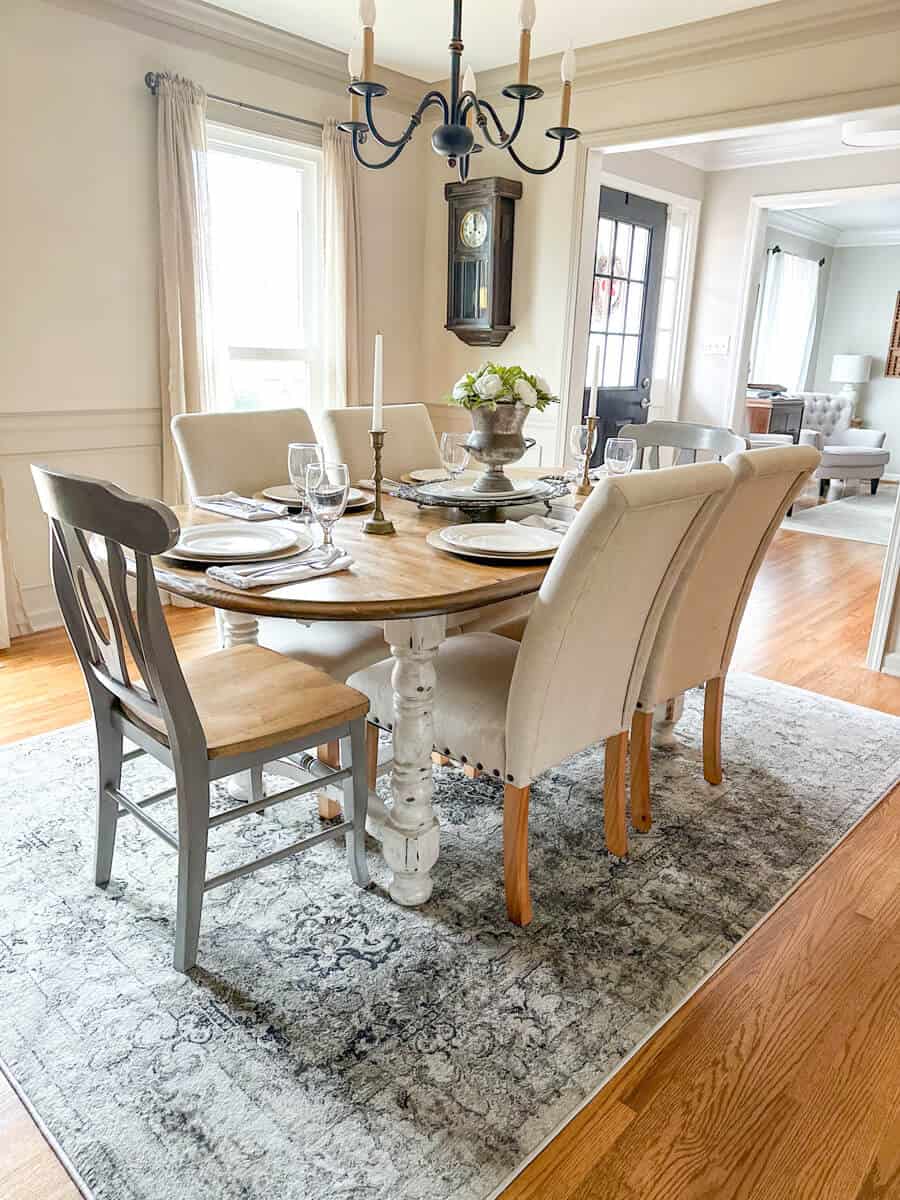
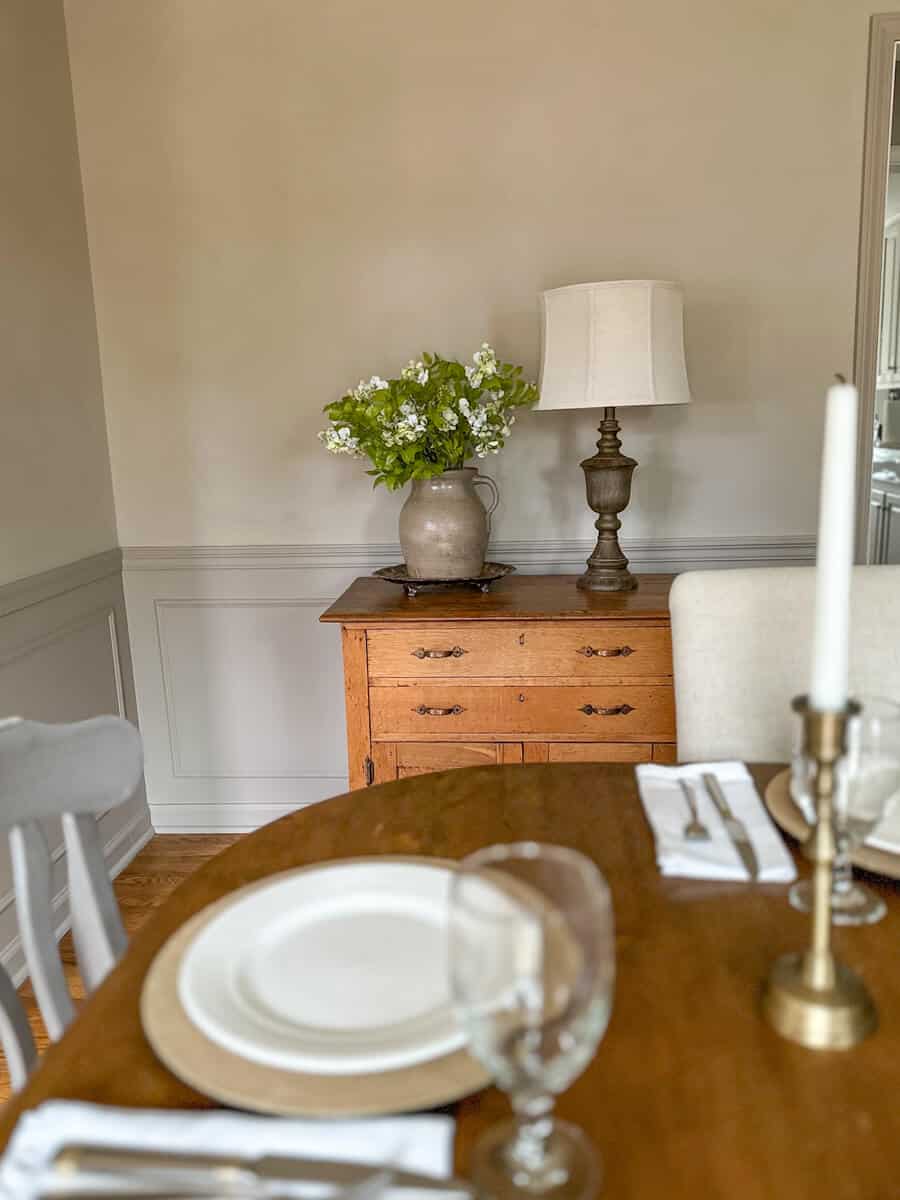
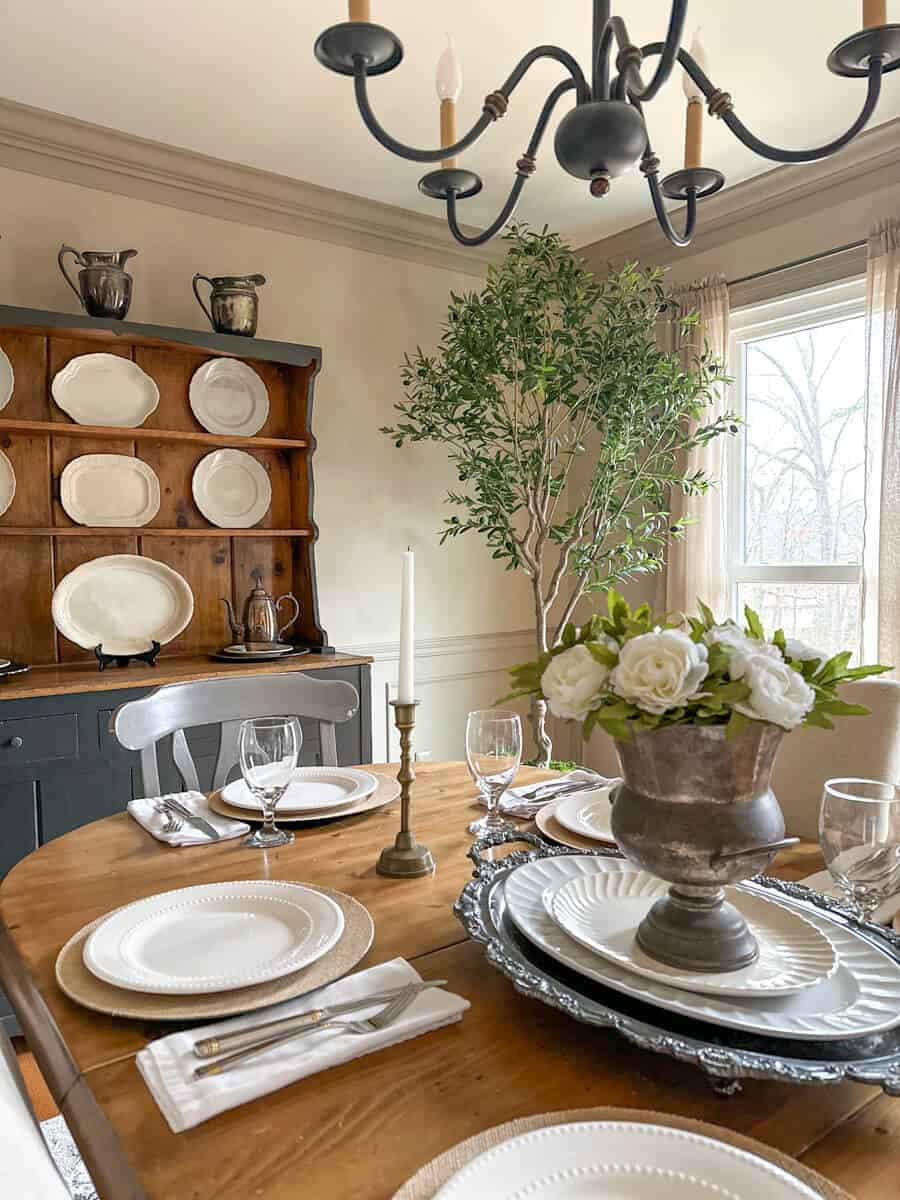
So here is how our Limewashed Dining Room Makeover looks once it’s all pulled together.

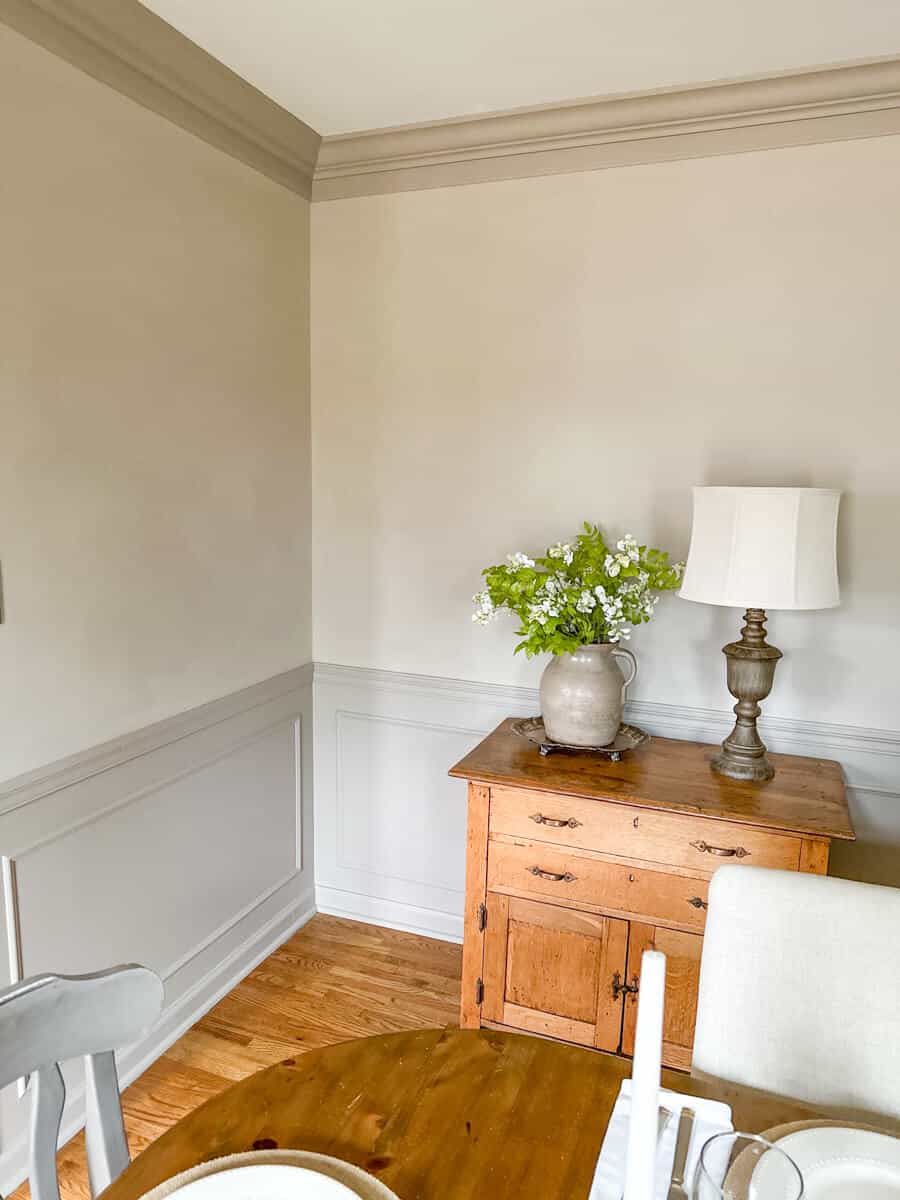
The hutch is a family heirloom that we have given a bit of an update too a few years back.
It was a very orange-y pine color.
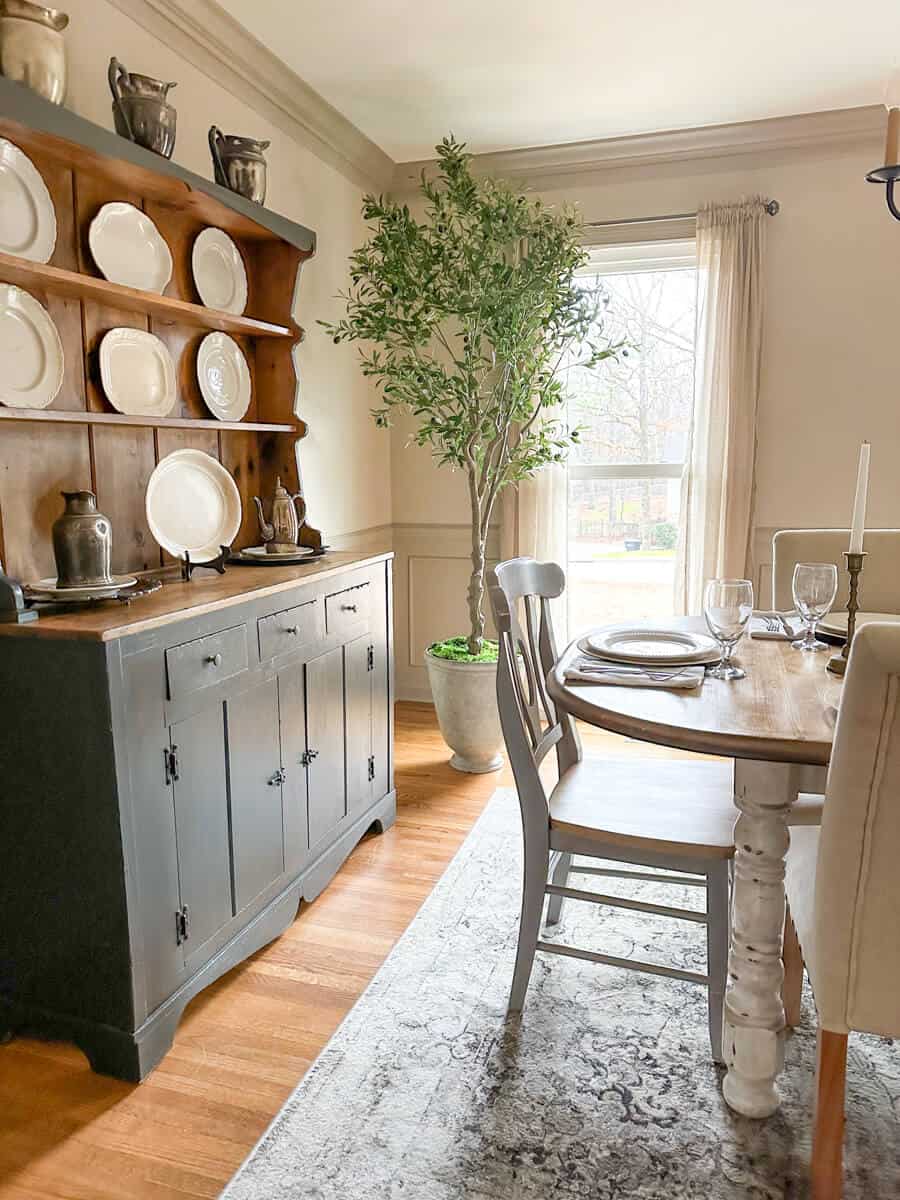
I was a little hesitant to give it a new look with paint.
But I love how it turned out! I was able to get rid of some of that yellow tone by putting some antiquing glaze on the unpainted parts.
Here is a full tutorial on how I did that linked here.
I went with the same Farmhouse Dining Table and Chairs.

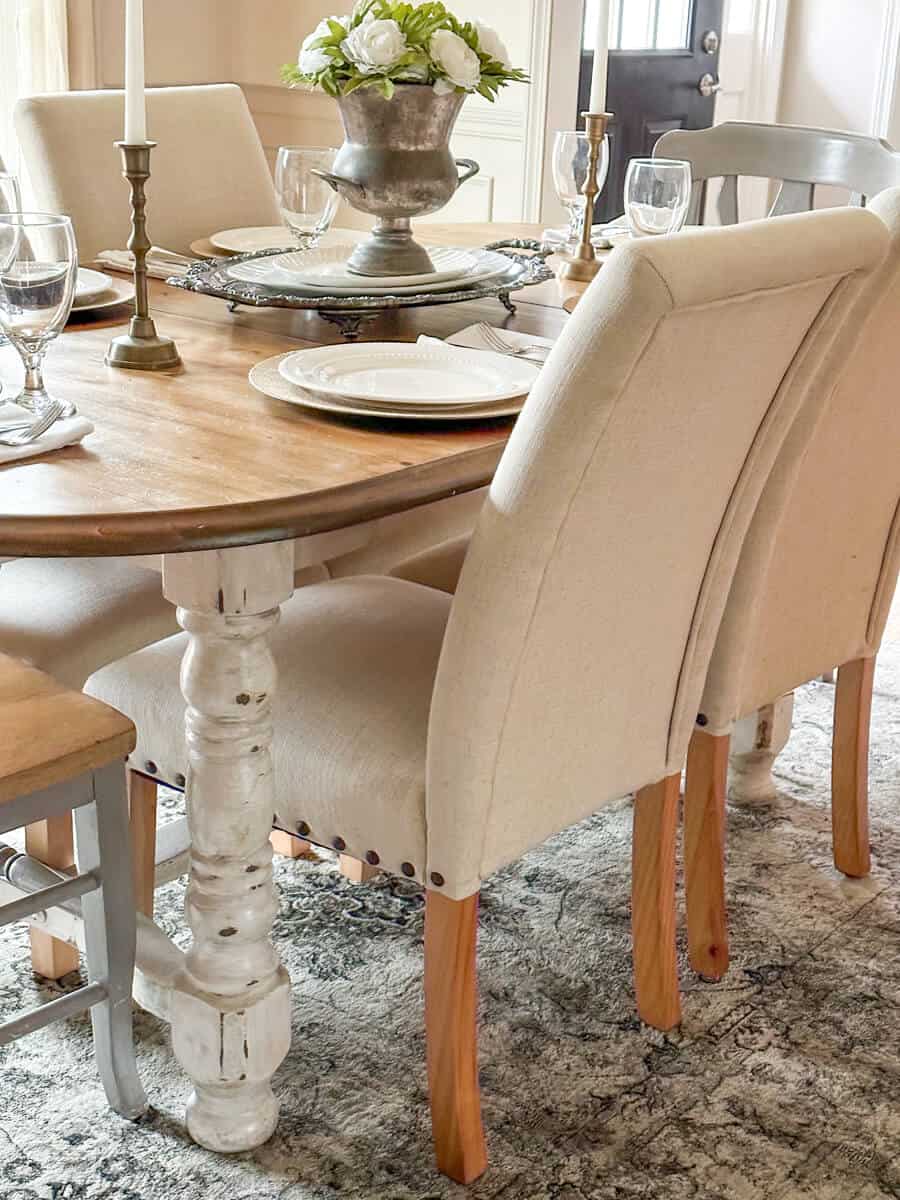
This is an old DIY that has had a few looks over the years. It was a Craigslist find. We are still using the same table.
The rug is a purchase from a few years ago and matched the walls perfectly, so I decided to keep things under budget by reusing this same rug.
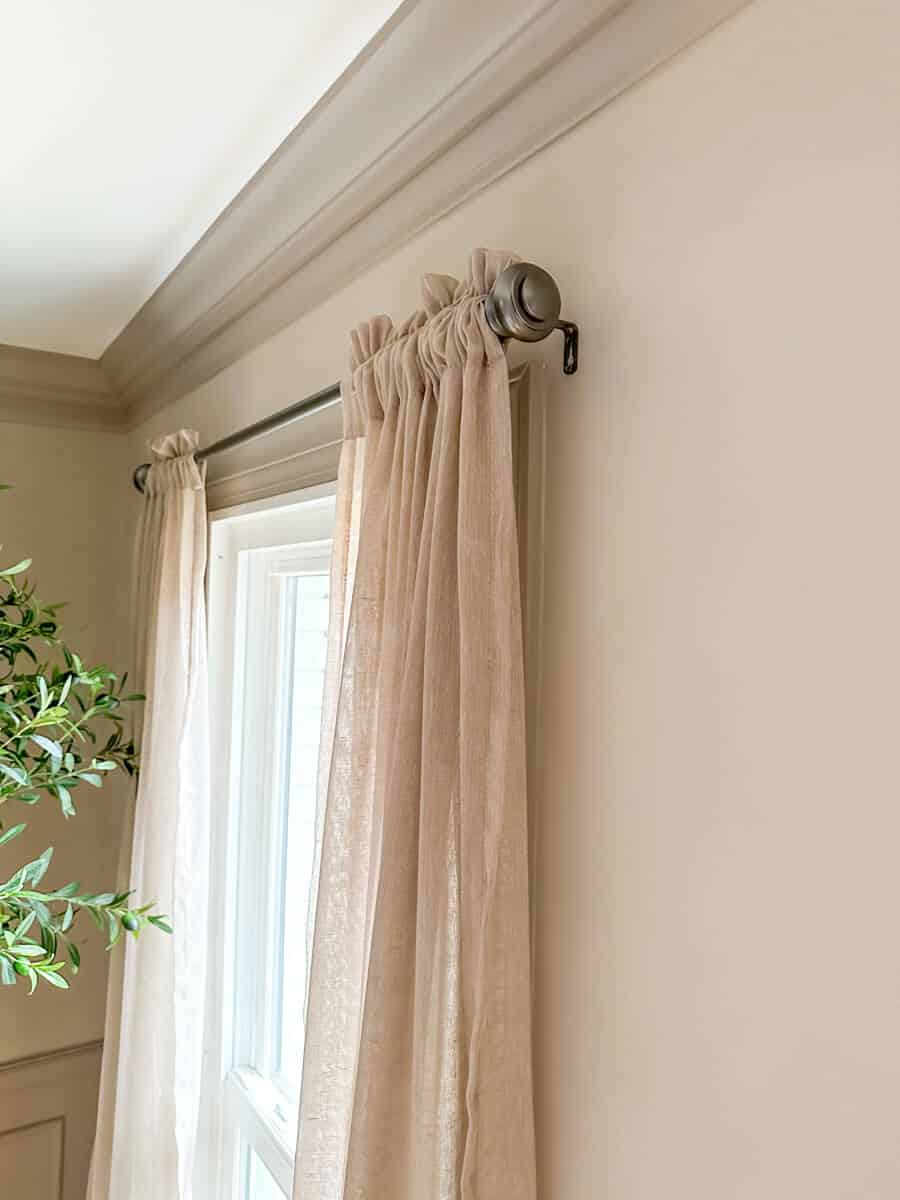
But what is new are these linen curtains.
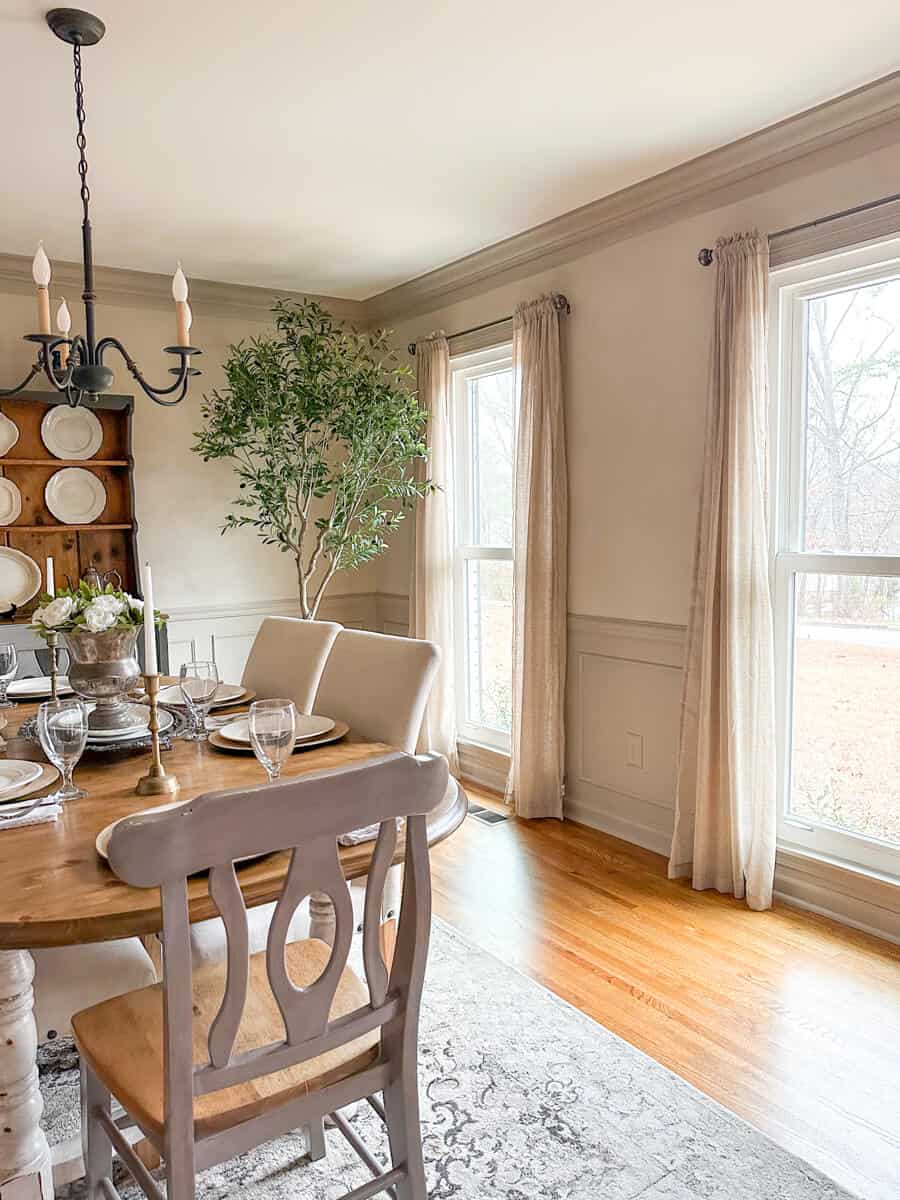
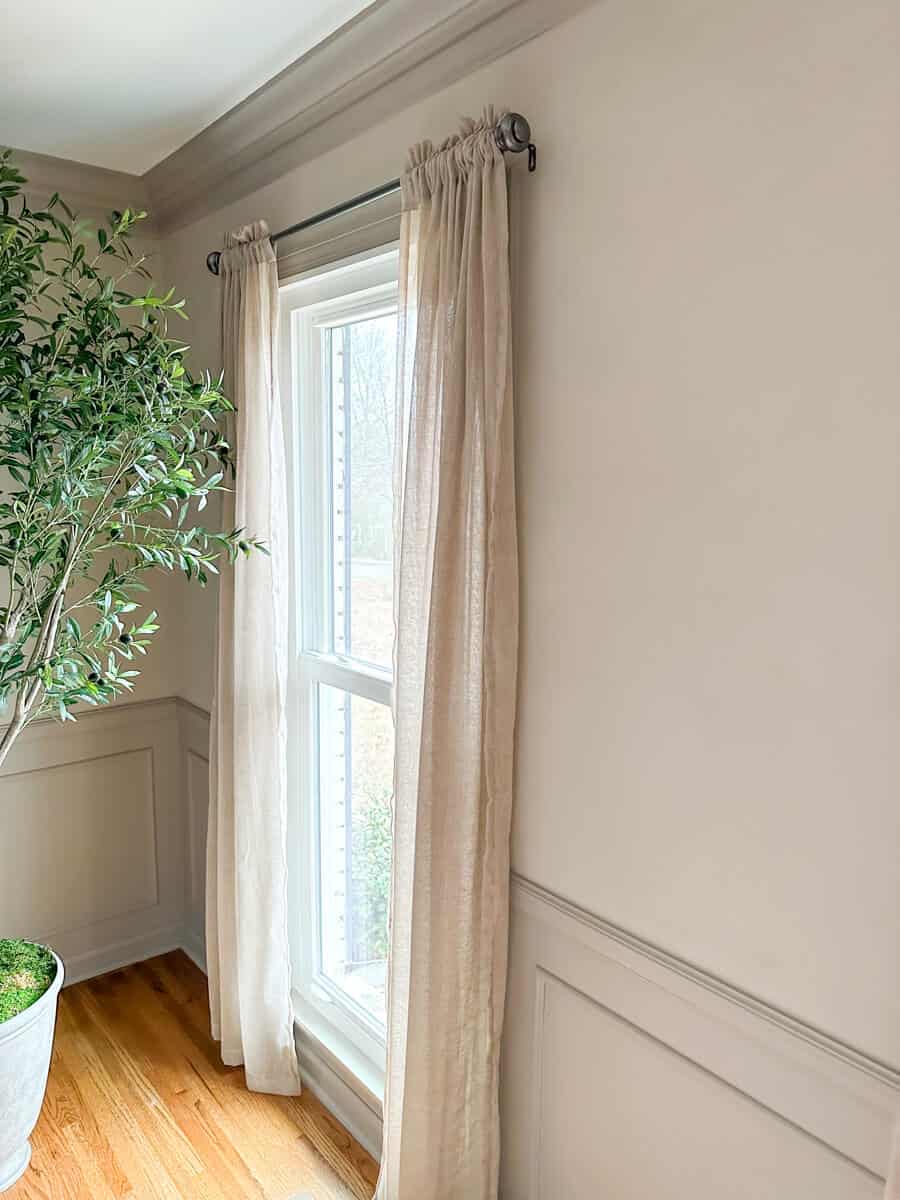
They’re absolutely beautiful!
They are sheer and they are the perfect match to this wall color.
I’ll make sure to put a link to those curtains here if you are wanting to use the same color in your room.
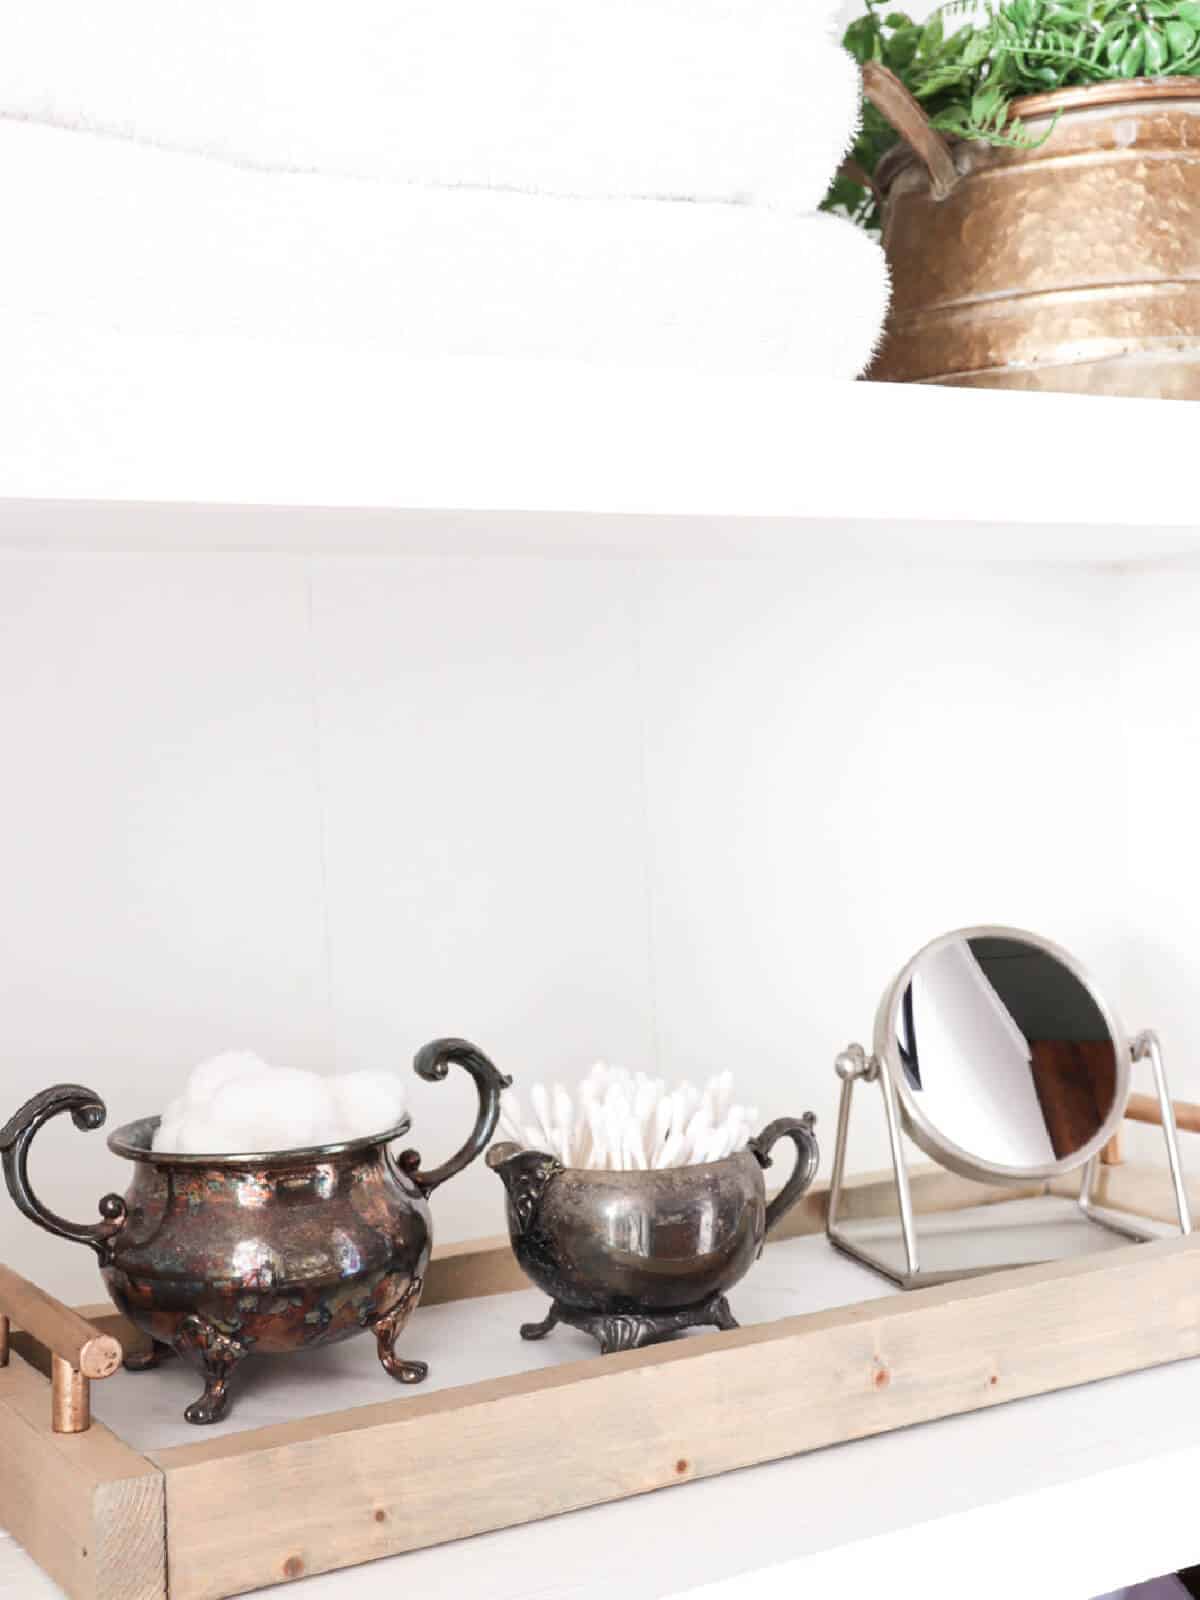
If you’re new to our website one thing that you may not know about me is that I love silver.
But more importantly – I love tarnished silver and it’s a favorite that I love to collect.
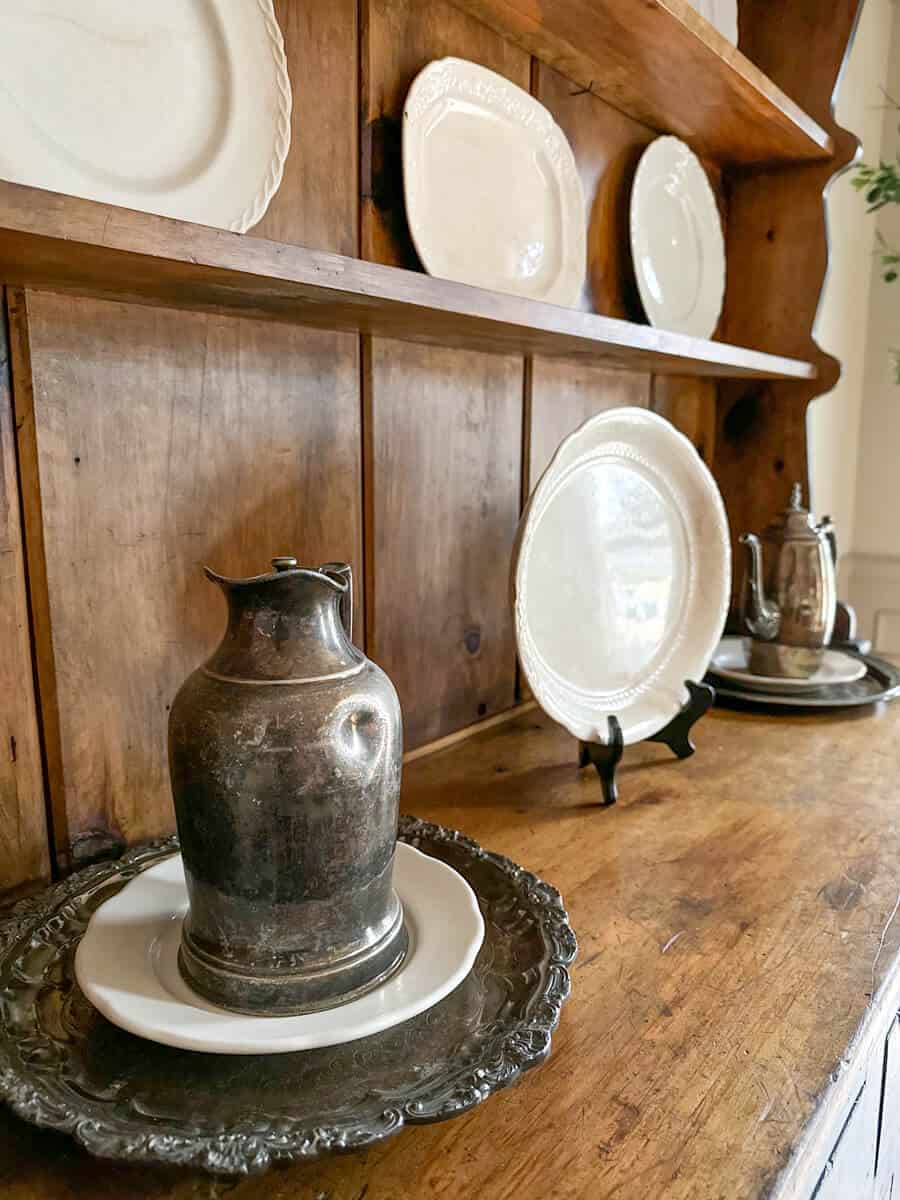
There is something about that oxidation that happens to the silver where it gets that black hue
I just I love that combo of the silver and black.
So when it came to choosing hardware for the room, I wanted to make sure to purchase curtain rods that were a pewter color that would match the silver.
We also selected a pewter color for our light fixture.
And I think it flows so seamlessly.
We’re very pleased with how that looks.

This clock is a garage sale find I actually got it at the end of a garage sale.
We hit a community yard sale while we lived in Vegas many years ago.
The person used to be in the military and he bought that clock back when he served over in Germany.
It is so beautiful and I got it for five bucks!
So it’s definitely one of my favorite pieces that we have found.
The small hutch is actually a family heirloom.
It came from my great-grandmother.
The story is that their house burned down and this hutch was only one piece of furniture that they were able to save.
When I was growing up, it sat in my great-grandfather’s house where the coffee pot was.
The top is coated with coffee rings and little burn marks from where the heat of the always-on coffee pot left a mark.
And it’s absolutely perfect – I don’t ever want to change it because it’s where generations and generations of my family have gone to fill up a cup of coffee and.
So that’s just this very sentimental piece to us.
Finally, the other new purchase for this room is this Olive Tree.
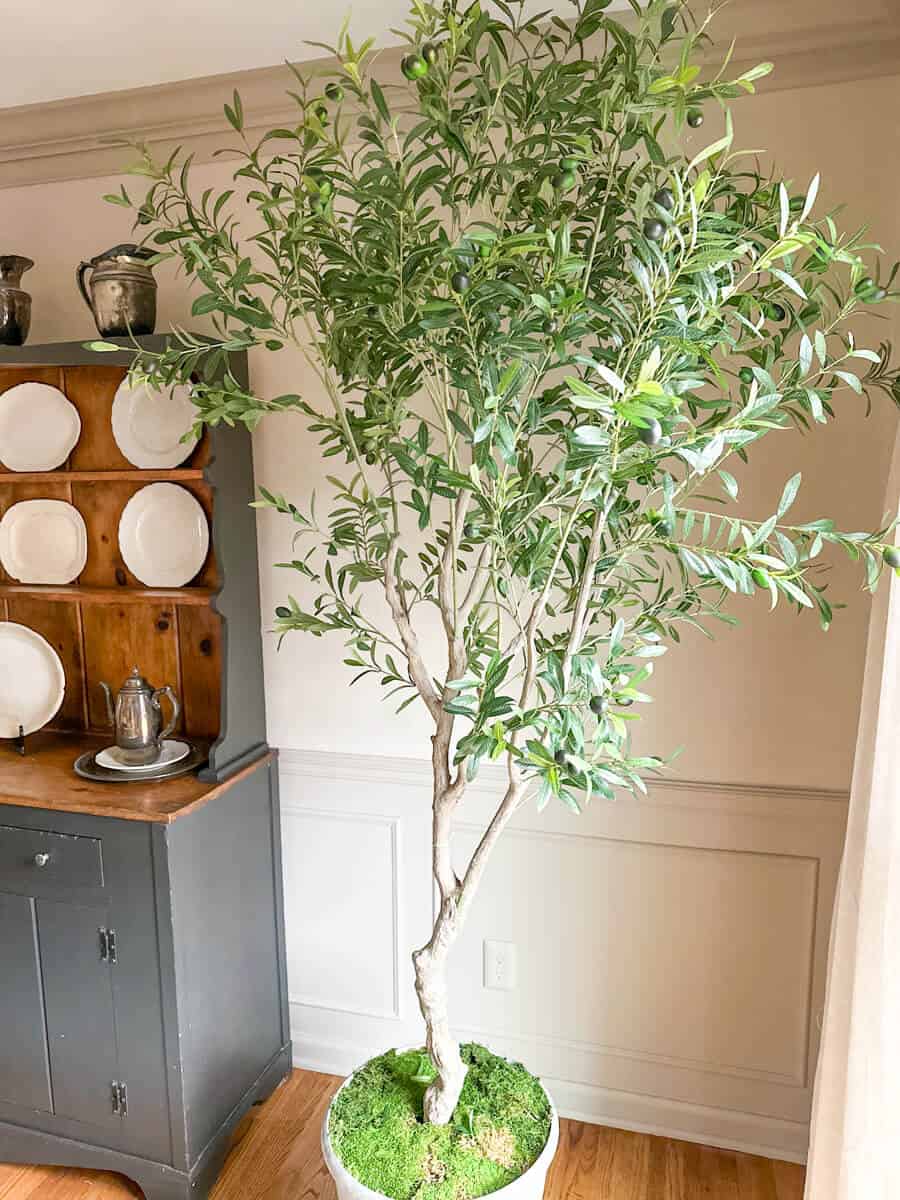
We lived out in Las Vegas for about 7 years and while we live there we had an olive tree in our backyard and I absolutely loved it.
But being in the South we don’t quite have the same type of climate for that.
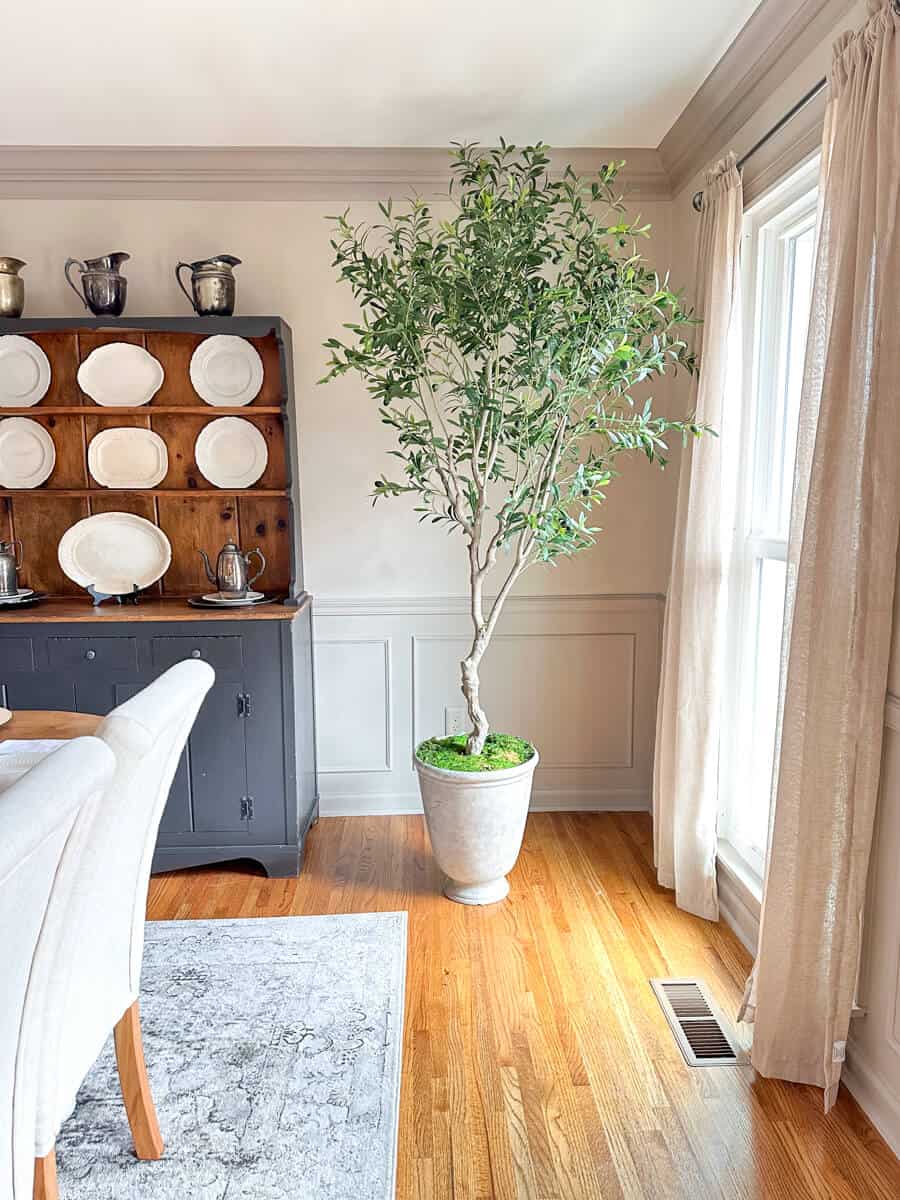
So I found this gorgeous faux olive tree that I put in this planter that I found at Walmart.
It is a Better Homes and Gardens planter I purchased for just about 17 bucks.
The Olive Tree is a bit of a splurge but it has been one I’ve been wanting for quite some time.
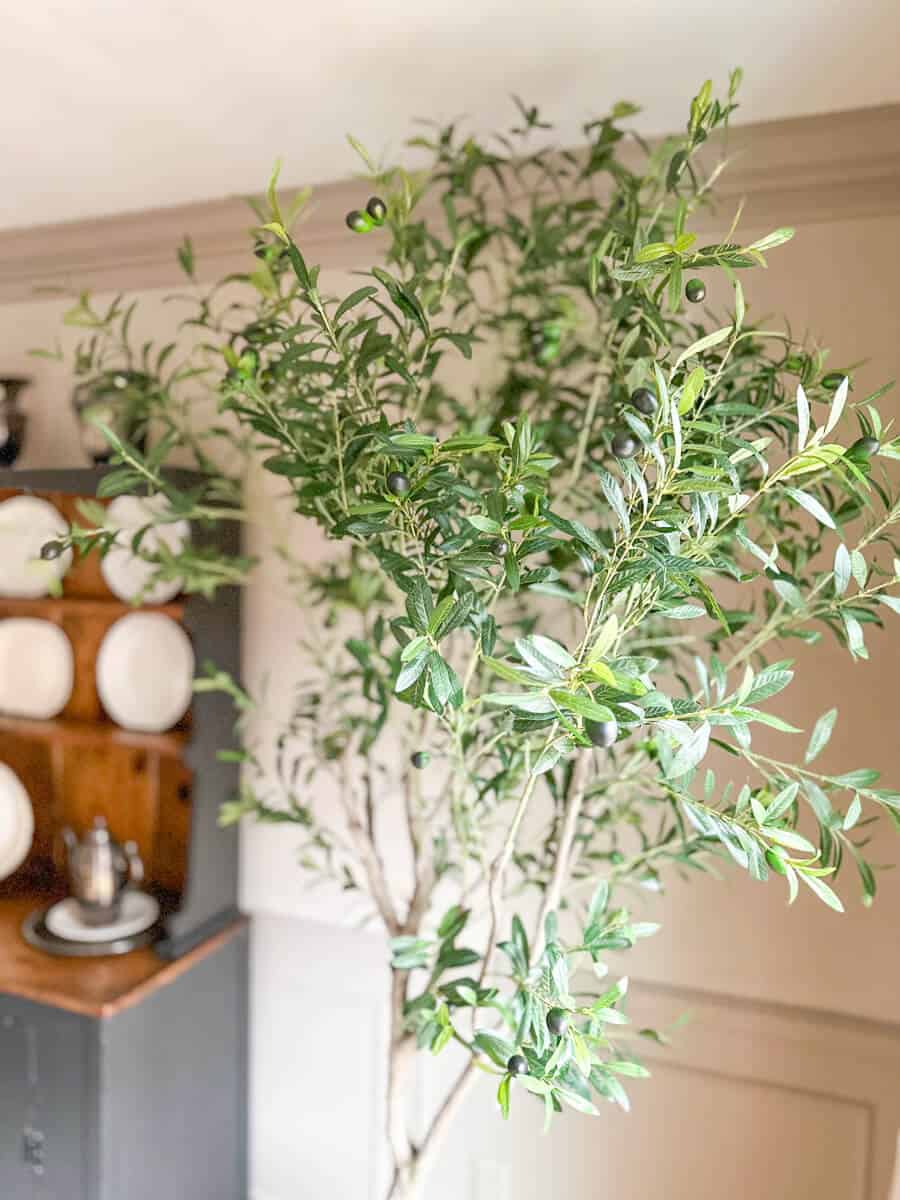
Every now and then it’s okay to give yourself a little bit of a splurge on that home decor and I’m very happy that I finally made that purchase.
So that’s it for this tour- I hope that you enjoyed our Limewashed walls featuring Velatura Mineralwash in our Dining Room reveal.
If you’re looking for a way to refresh a room in your home, consider using Velatura Mineralwash.
It is a fantastic option that can bring a touch of elegance and sophistication to the space.
With its natural and low-VOC formula, ease of use, versatility, and affordability, this product is a fantastic choice for anyone who wants to transform their space.
By following the steps outlined in this post, you can create a stylish and inviting dining room that you and your guests will love.
So, why wait?
Start your room makeover today with Velatura Mineralwash!
Thank you so much for following us.
We always love to hear from you and it is such an honor and a joy knowing that you read our posts and catch our videos each and every week.
If you’re new to our website, be sure to subscribe to our newsletter so you don’t miss the next project coming out very soon!
Frequently Asked Questions
What are the benefits of Romabio Velatura Mineralwash?
One of the benefits of using Velatura Mineralwash is that it is a natural product.
It is made from natural minerals and does not contain any harmful chemicals, making it safe to use in your home.
It is a low-VOC product, which means it has low levels of volatile organic compounds. VOCs can be harmful to your health and the environment, so using a low-VOC product like Velatura Mineralwash is a great choice.
Another benefit of Romabio Velatura Mineralwash is its versatility.
As I mentioned earlier, it can be used on a variety of surfaces, making it a great option for DIY projects.
It’s also easy to use and can be applied by anyone, regardless of their skill level.
When it comes to the application of Velatura Mineralwash, it is important to note that it is an affordable way to give any room a fresh and new look without having to break the bank.
It is a DIY project that can be done in a weekend, giving you the chance to show off your new and improved dining room to your family and friends.
Why can’t I just use Romabio’s Classico Limewash on my walls?
Without getting too science-y, it all boils down to chalking.
Romabio Classico Limewash is formulated to apply to absorbent surfaces like brick or stone.
And it is a wet on wet application meaning that you wet the surface before applying.
Sheet rock or drywall isn’t absorbent, so when the product dries, chalking may occur.
Which means, if you rub up against the wall, a chalky substance may rub off onto your clothing or whatever is against it.

Resources
Ways to Shop Our Home
If you’re looking for sources for items in our home, you can find them here!
From furniture, home decor items, and some of our favorite tools, small appliances and organizing bins, you can find anything you are looking for.
Since most of our projects here at Noting Grace are DIYs or thrift store finds, we’ve done our best in finding budget-friendly alternatives for you.
Happy Shopping!
More Ways to Shop

Amazon Storefront
Our regular one-stop-shop for all things home. Shop all our favorite items in our home.
Shop By Room
Love the look of one of our rooms? Shop this list to find the exact link you are looking for.

Shop our LTK
Here is where you’ll find our Instagram round ups, upcoming sales and gift guides.
Share something here that you think is key